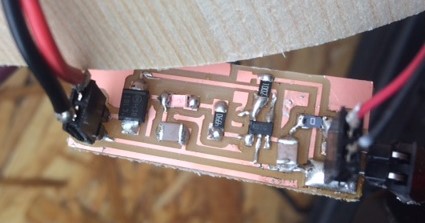
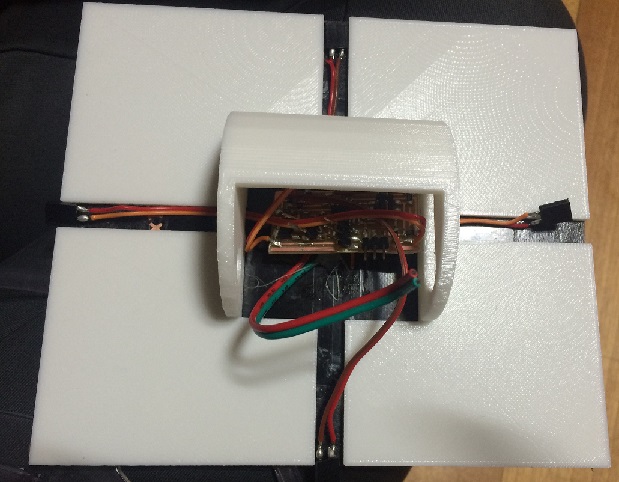
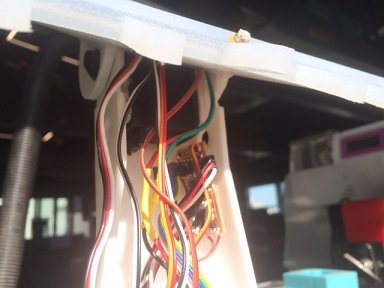
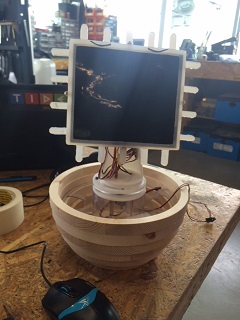
 Final PCB with..
 ..ears!(phototransistors)
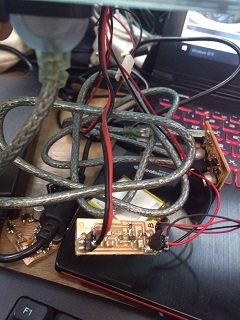
2. Battery management PCB: regulates power from solar panel to charge lipo battery
3. USB charging PCB: regulates voltage from battery to 5V

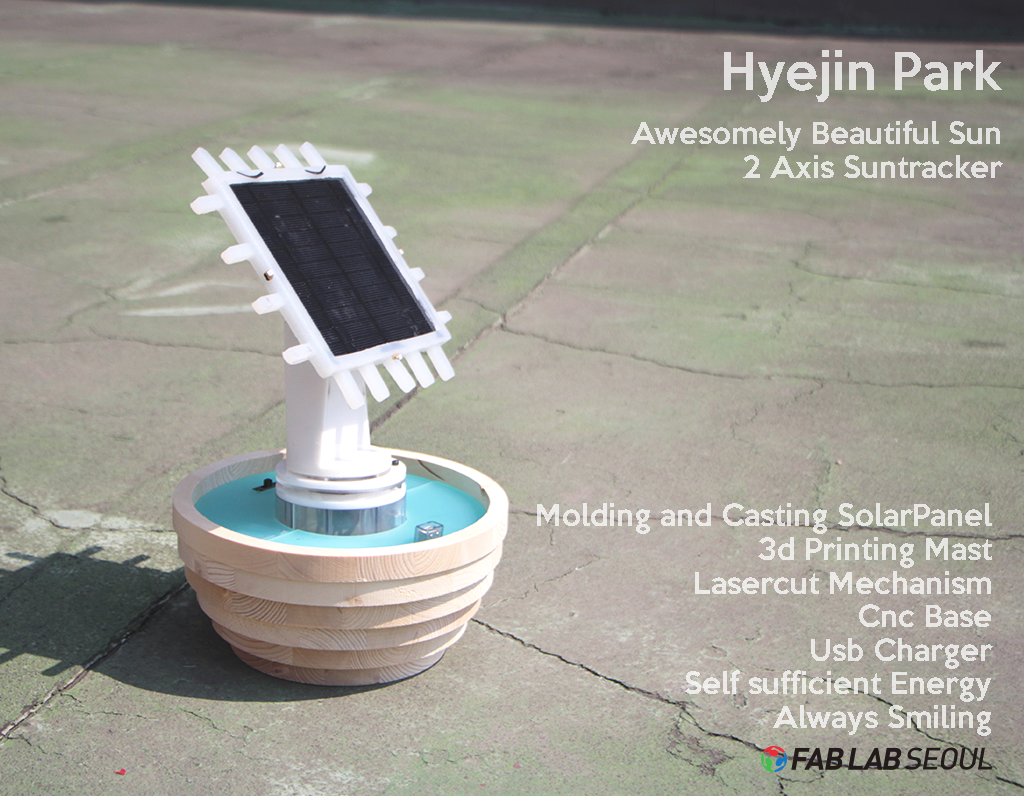
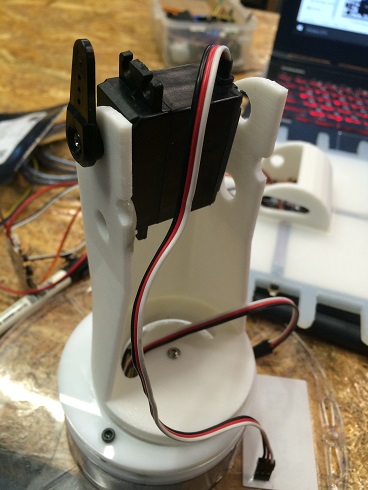
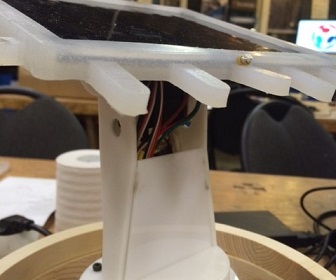
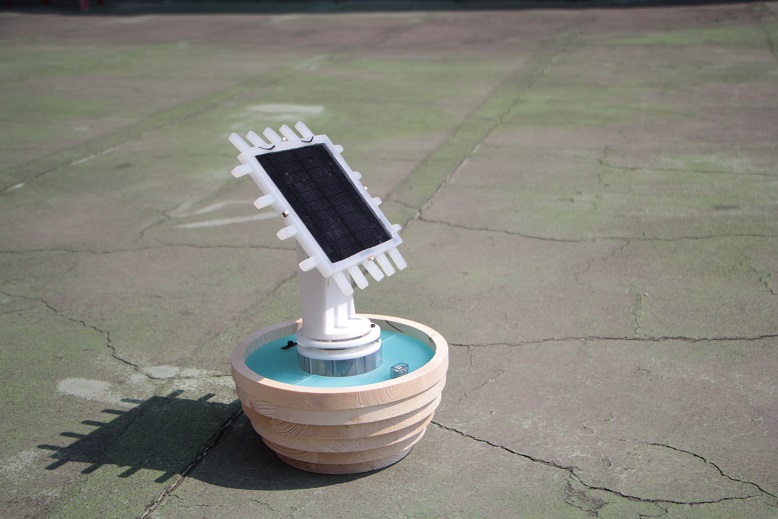
I made two axis self-powered sun tracker.
You can download video file
here.
Most components are from the lab. I bought only some components such as LT1302 from Digikey.
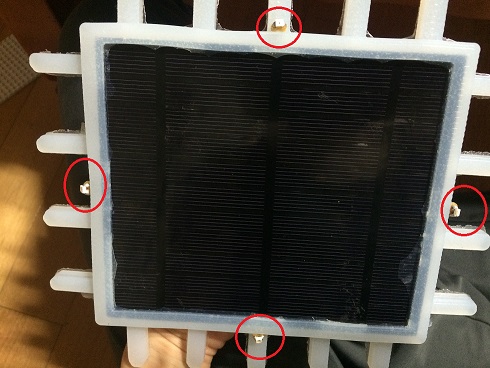
Solar panel (138x160mm, 3W, approximately $12 at seeedstudio)
+ 3D Printer filament($4)
+ 3mm,5mm acryl (just small leftover pieces, totally less than $5)
+ 18mm Plywood piece for pot (not indispensable. Small leftover pieces. Less than $5)
+ wax (I recycled chips. New wax is worth about $25.)
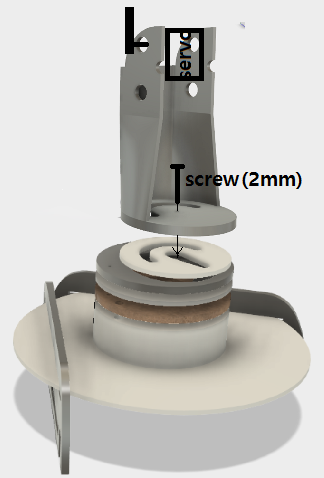
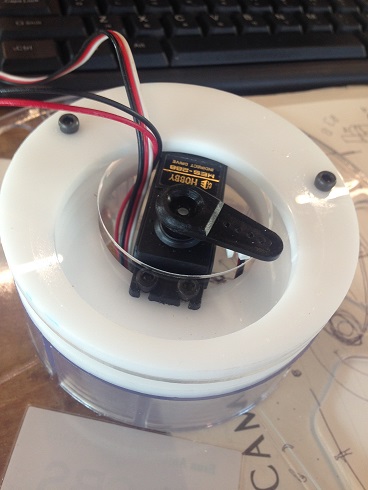
+ 2 servo motor (Hobby Electronics HES-288. less than $4 at aliexpress)
+ Lipo IC controller MCP73831 (less than $1 at digikey)
+ LIPO battery (3.7v, 1100mAh, about $5 at aliexpress)
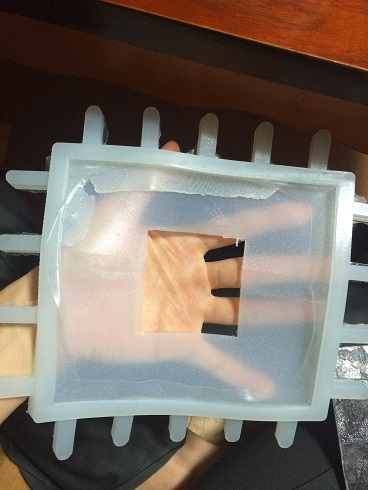
+ Mold max 10t silicone (used less than 1/3 lb, so about $5)
+ 3D printer filament stool(free)
+ Boost switching regulator: LT1302($6.5 bought from digikey)
+ All the other components on PCB + copper plate (totally less than $10)
=Totally worth $82.5 (although we spent only about $10 for real).
1. Light sensor+servo motor PCB:
moves towards stronger source of light
Final PCB with..
..ears!(phototransistors)
2. Battery management PCB: regulates power from solar panel to charge lipo battery
3. USB charging PCB: regulates voltage from battery to 5V
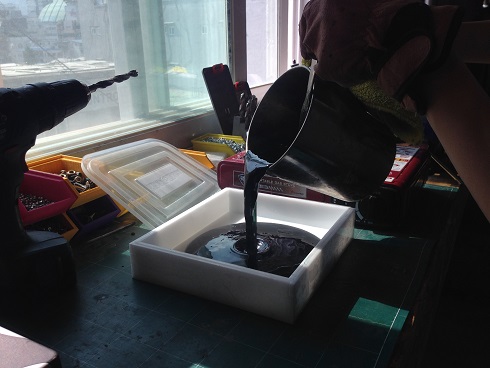
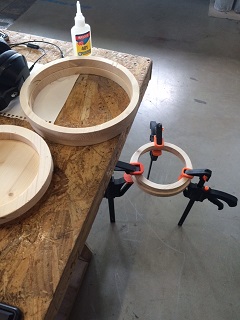
1. Recycling wax chips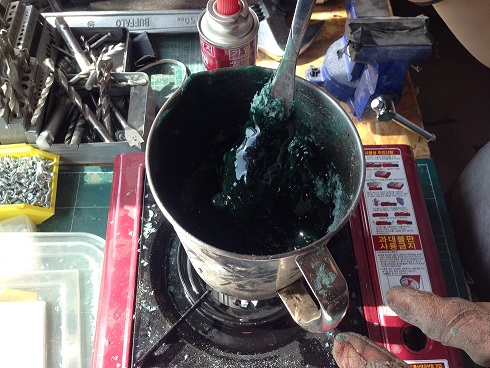
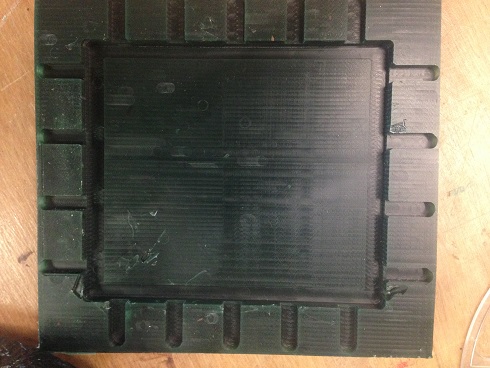
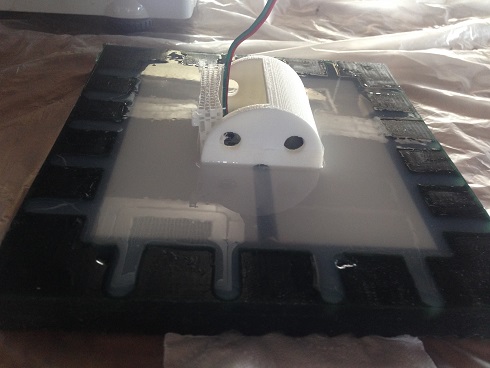
2. Casting (silicone)
3D printed and laser cut parts:


(By the way, my original concept was to use 3D printer filament stools like this:)

![]()
Thank you very much for these beautifully taken picture and video!!
You can download all the files in the project development page.
