3D scanning and printing: The fun so SO so fun machine!
Assignment
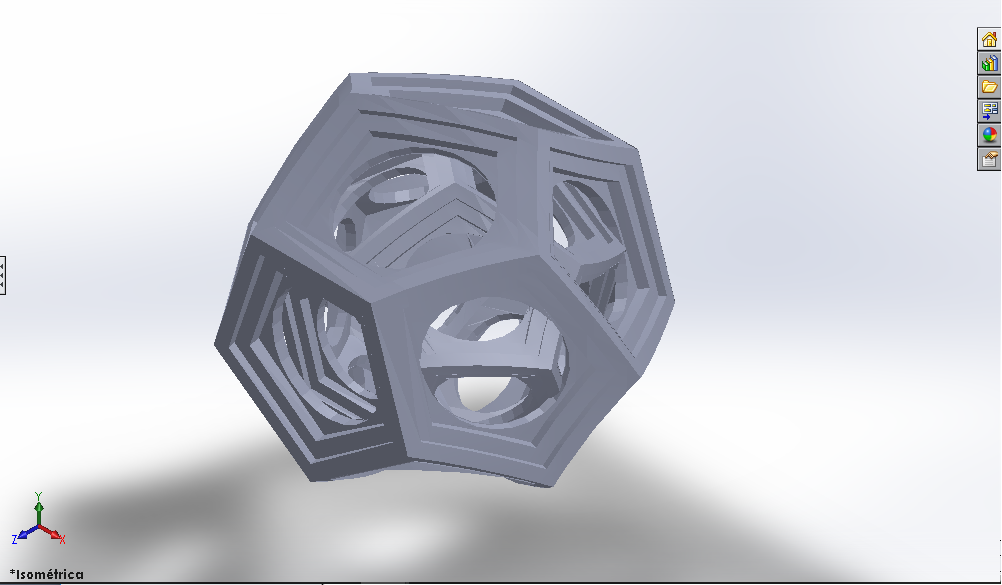
Design and 3D print an object (small, few cm) that could not be made subtractively * 3D scan an object (and optionally print it)
Machine in FAB LAB: Makerbot Replicator 2.
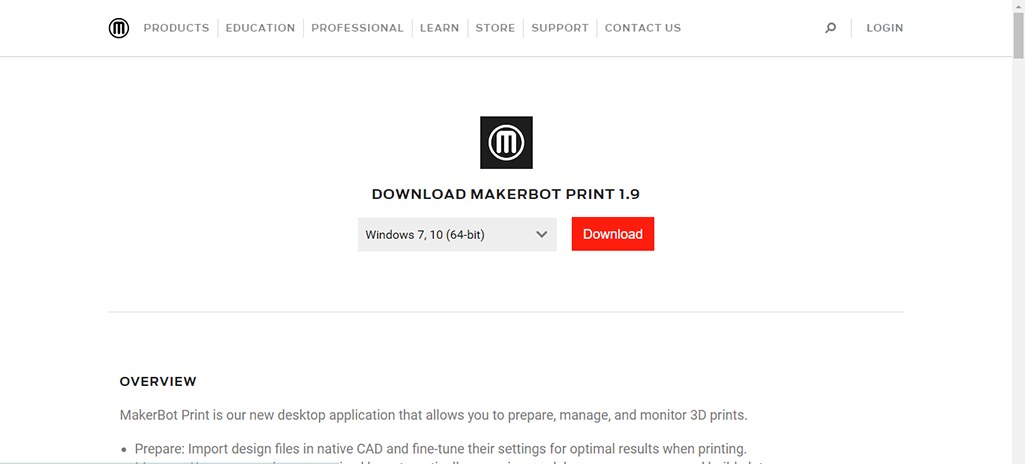
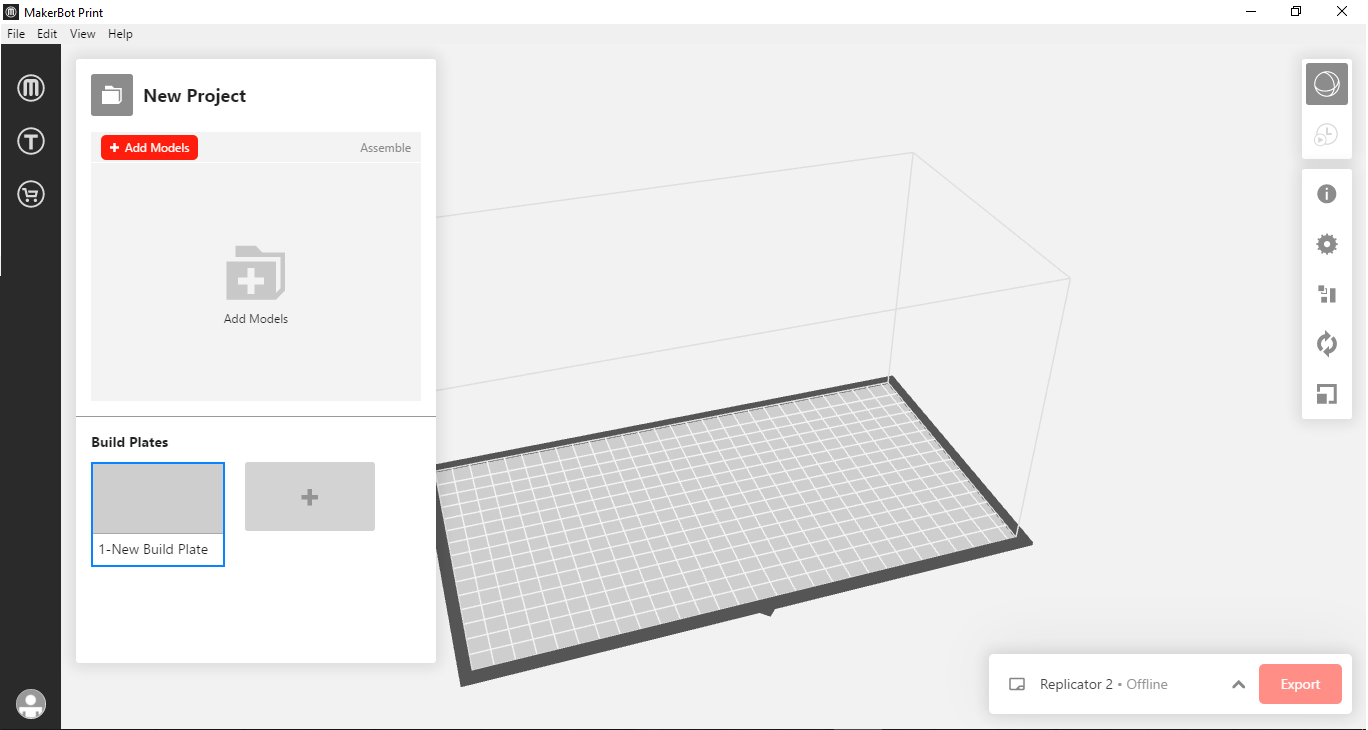
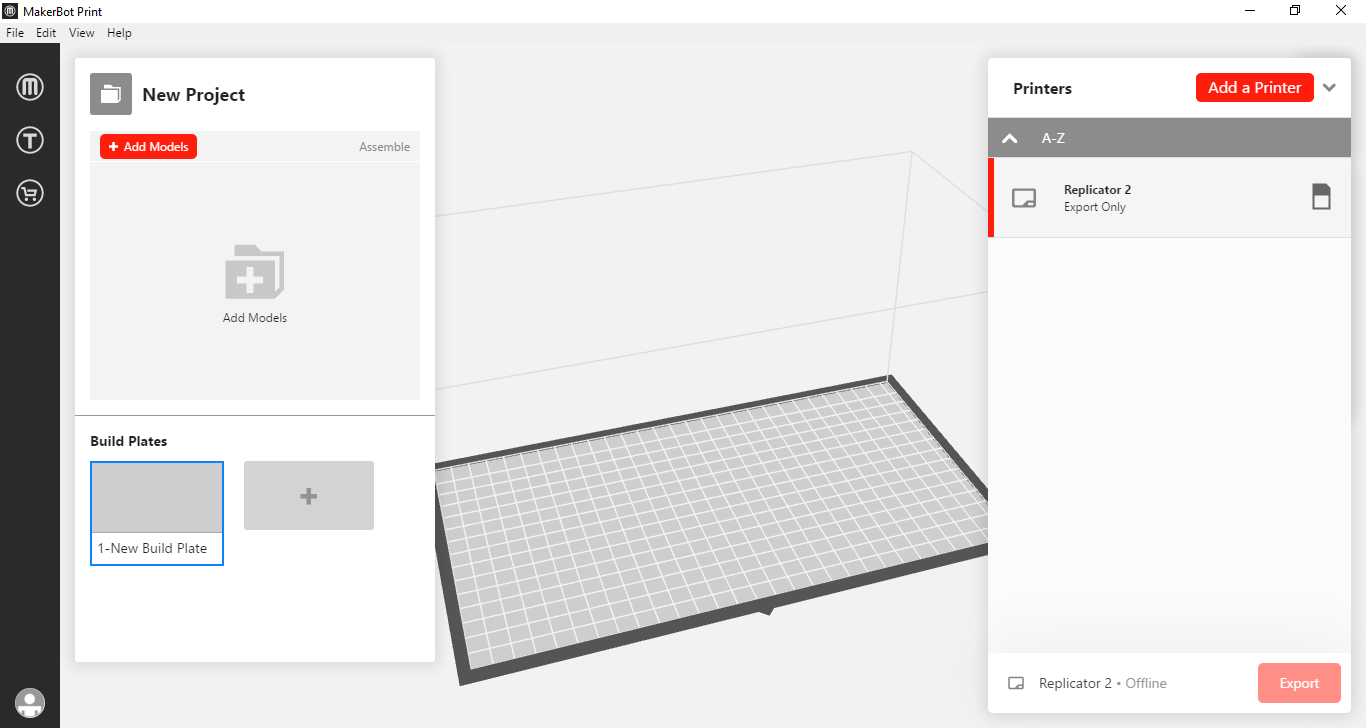
The first step is t download the machine software (image at the left) and once download you have to define the model you have in my case REPLICATOR 2 (RIGHT) (image at the right)
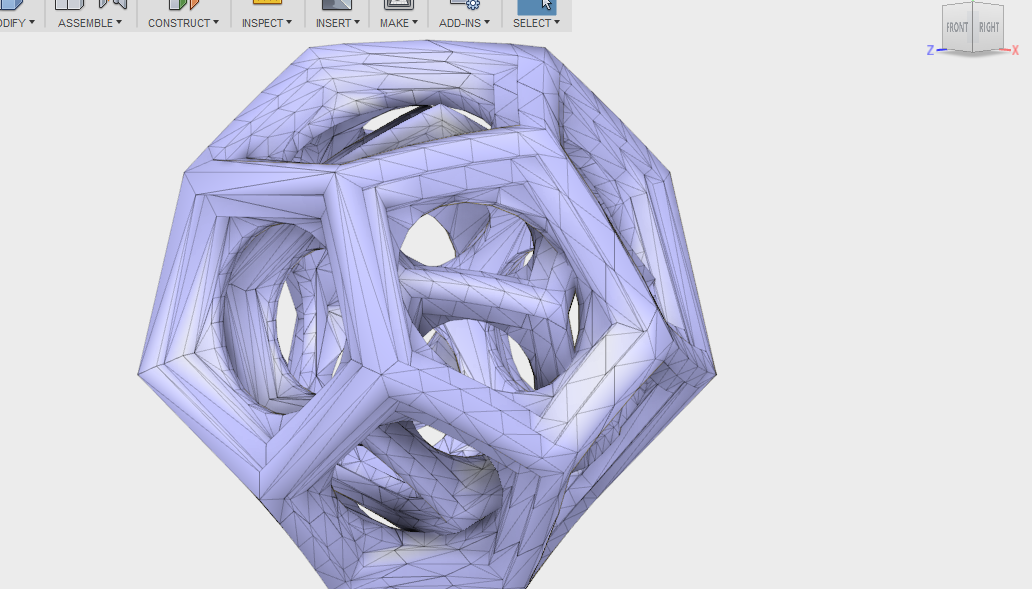
After you have design your piece be sure you save it as a .stl file
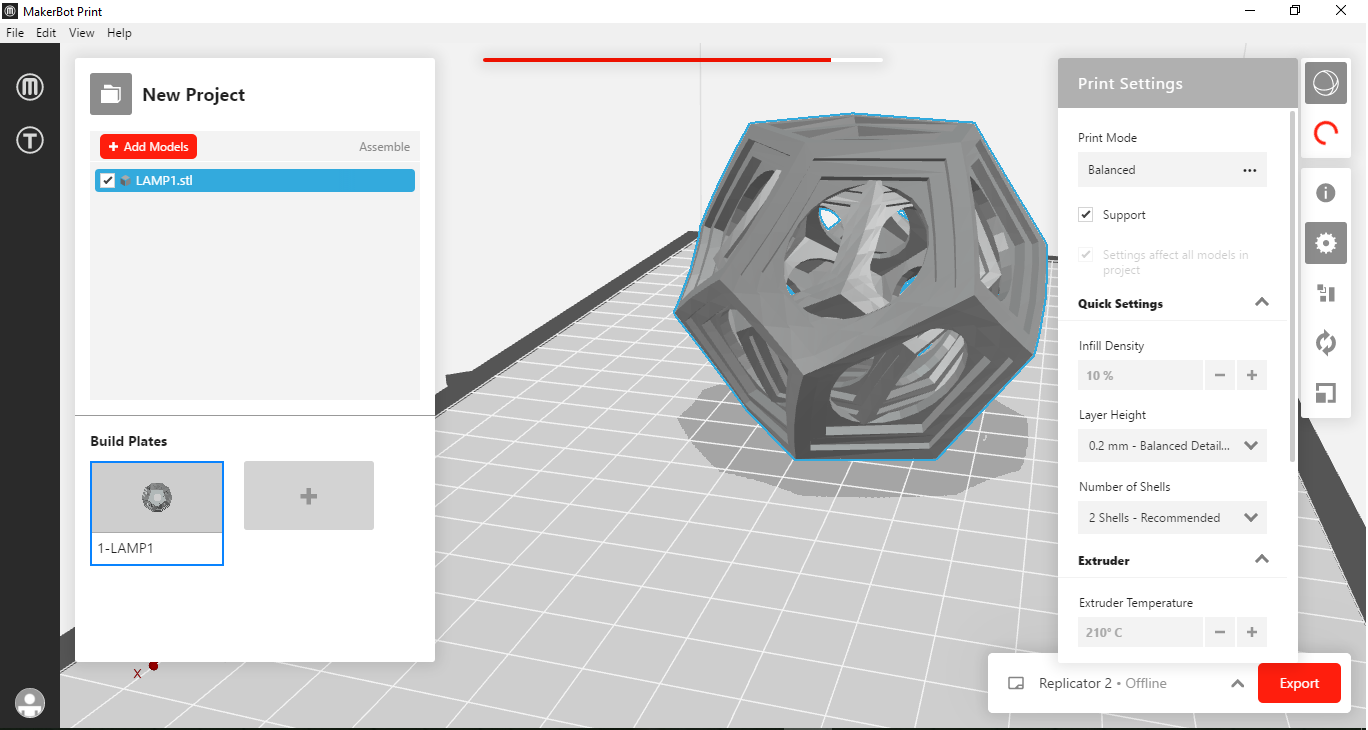
Upload your file on the Makerbot Software and make sure you setup the following parameters to print: (images at the right):
- Supports
- Infill Density (10% Recommended) this will define how hard you printing will be, in other words to be a complete solid o shallow
- Layer height (0.2mm Recommended)
- Number of Shells (2 Recommended)
- Extruder Temperature (the most important) this should be between 200-230° depending on what you are printing
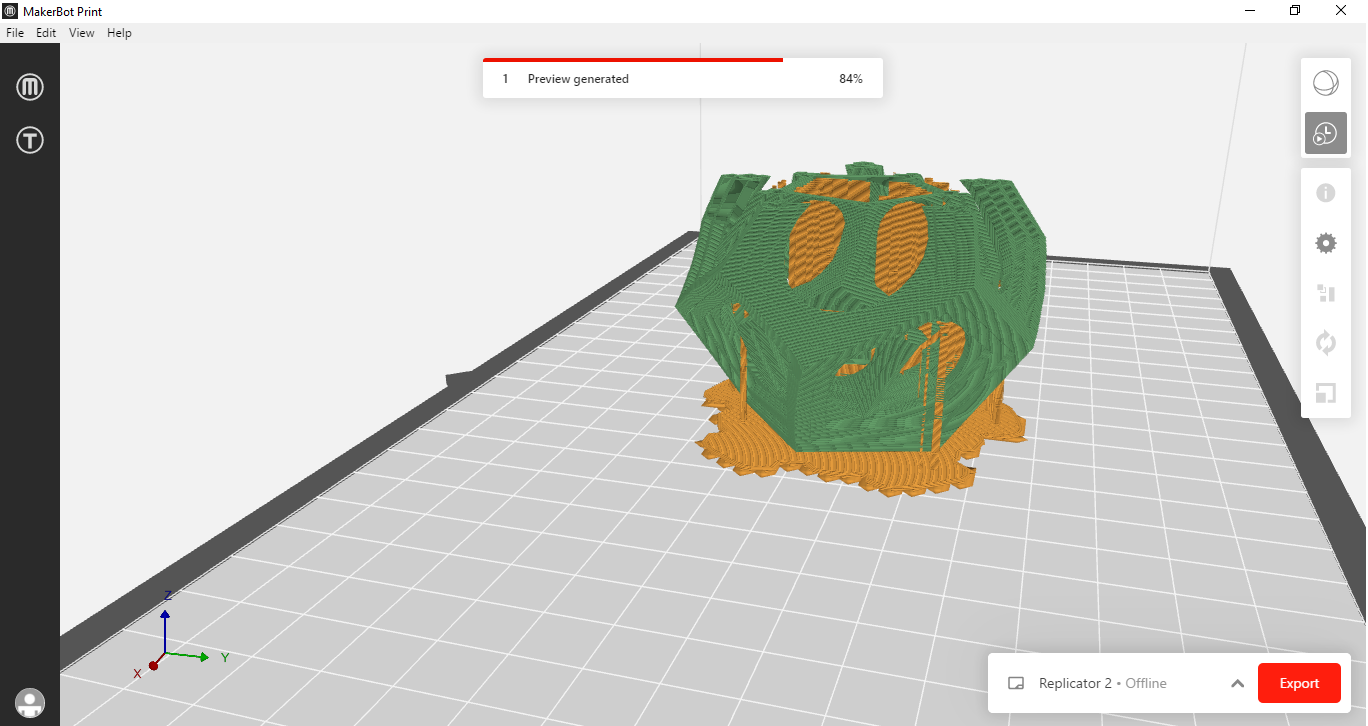
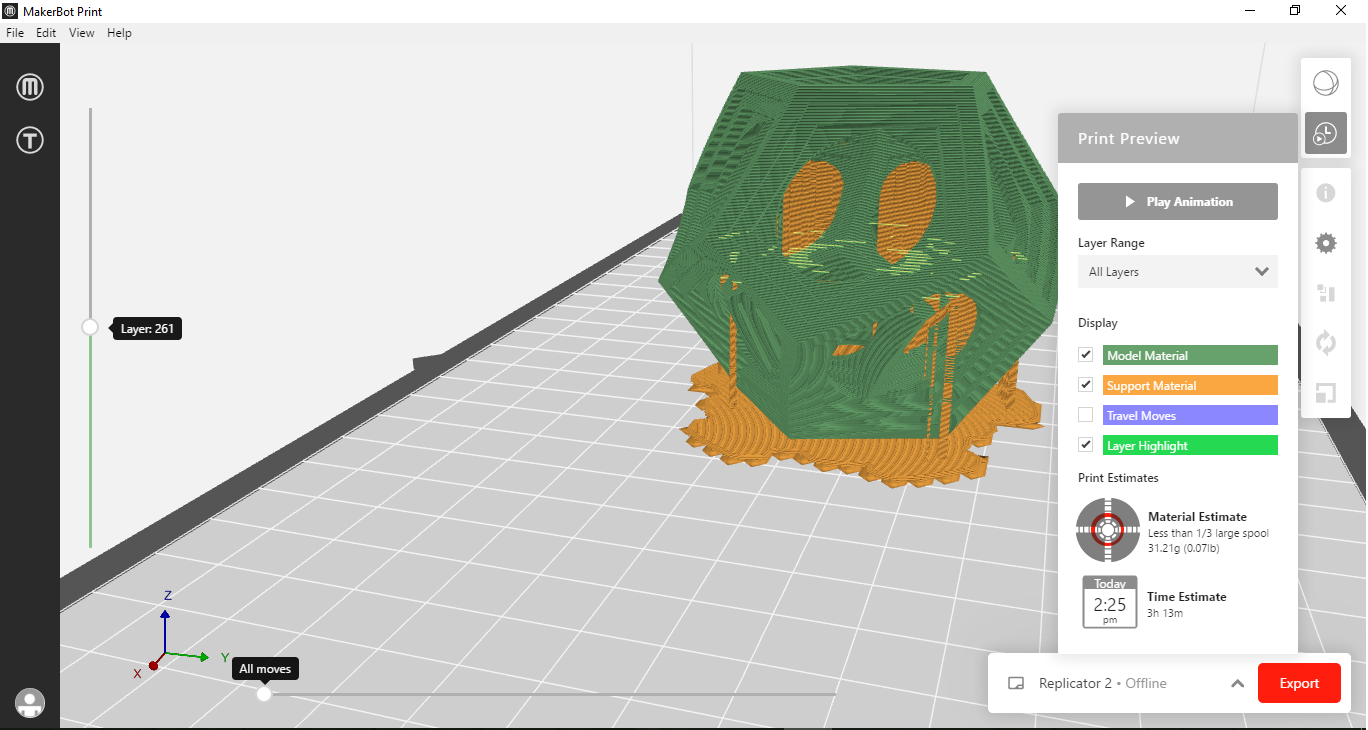
Save your file as .x3g (image at the left) and then you can see a simulation of how will your piece will be printed (image in the center). Finally you can see how long you piece will take to print and the amount of fillament that it will consume, for my piece is was:
- TIME:3hrs
- MATERIAL:31grs
(image at the right)
Now you are ready to send your piece to the machine, watch the following video that illustrates the process:
Setup to 3Dprint from Norella Coronell on Vimeo.
Some useful TIPS:
- Make sure your bed is completely flat (tape is all in its place)
- You can help your piece stick better to the bed by spraying some hairspray on the surface os the bed
- Make sure the machine gets to the temperature you set up (Sometimes it doesn't, so make sure)
- Wait until the machine builds the Raft and it makes at least 2 layers of the design, that means you are safe to leave it printing!
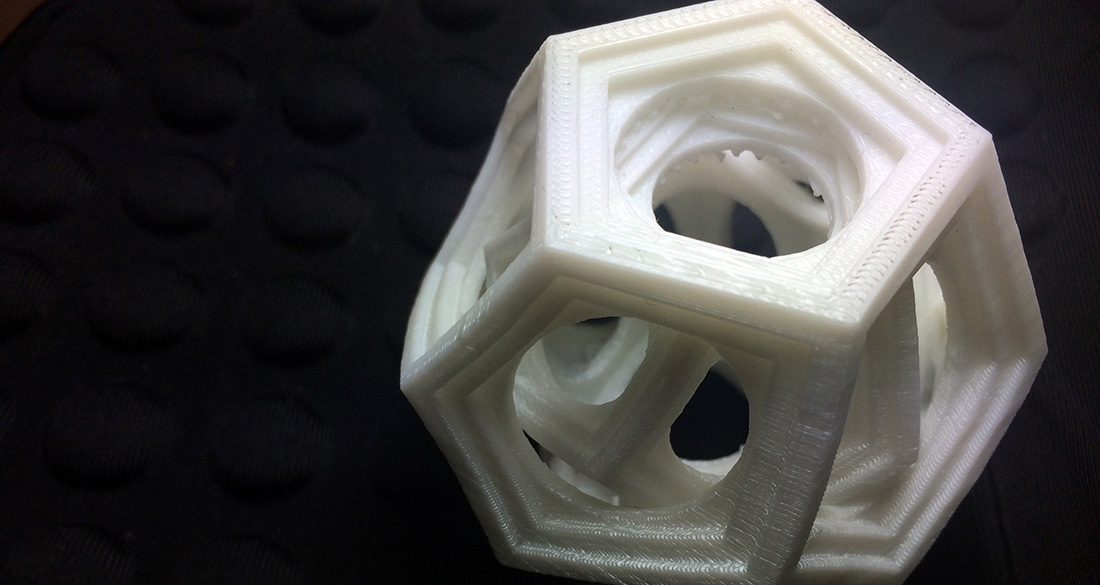
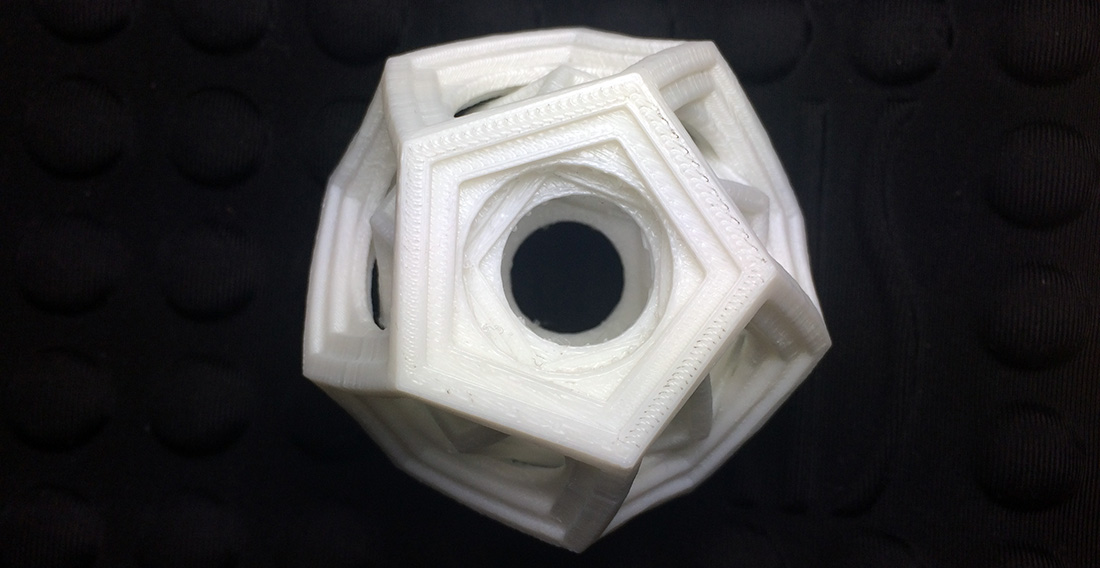
Final piece.
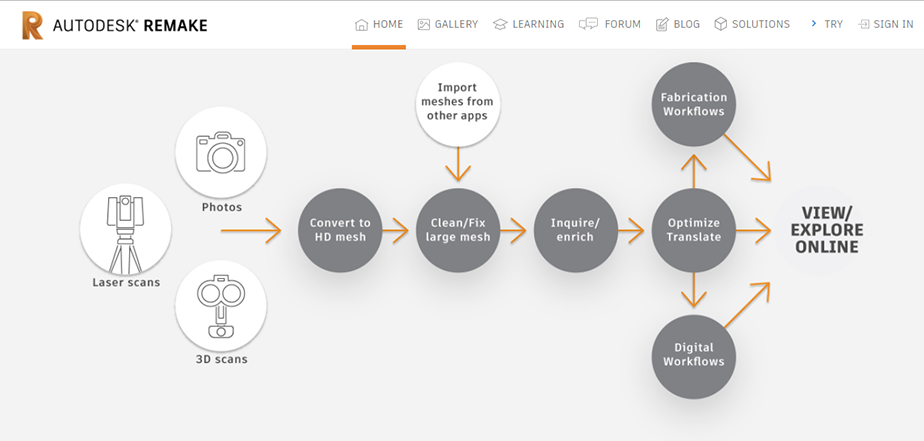
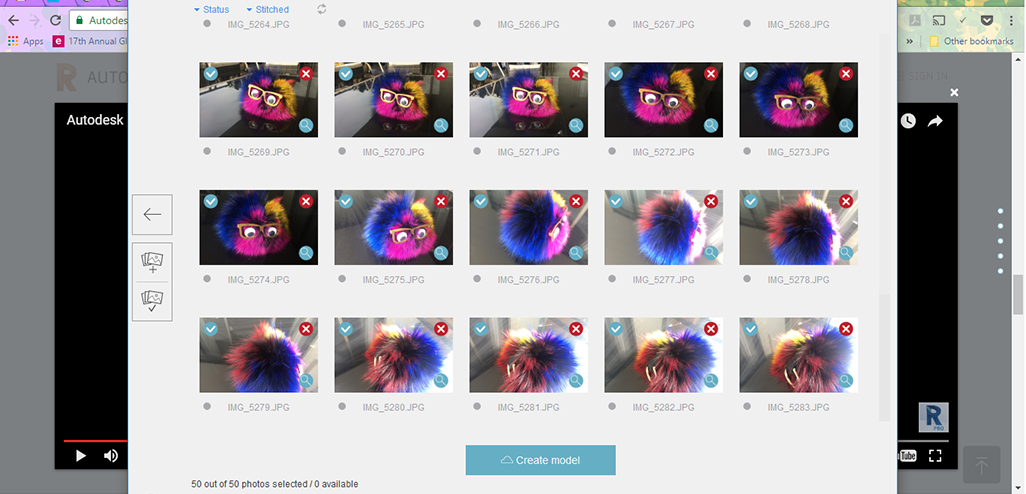
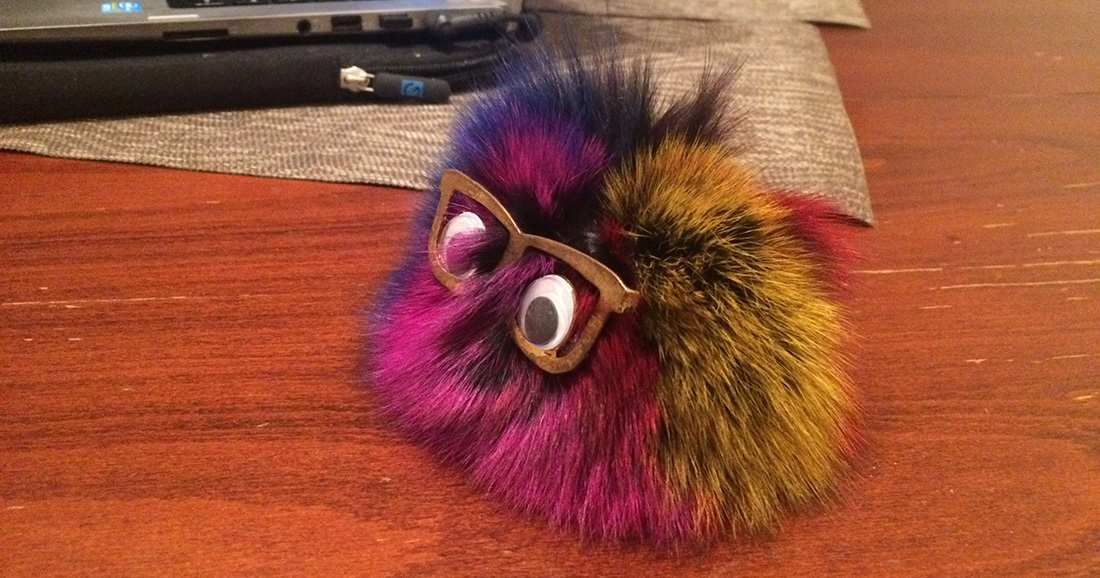
We will be using the photometry method, for this you need to take pictures of your object in all directions in a circular way, simulating a 360° view
Useful REMAKE LINK: From Photos to 3D Model
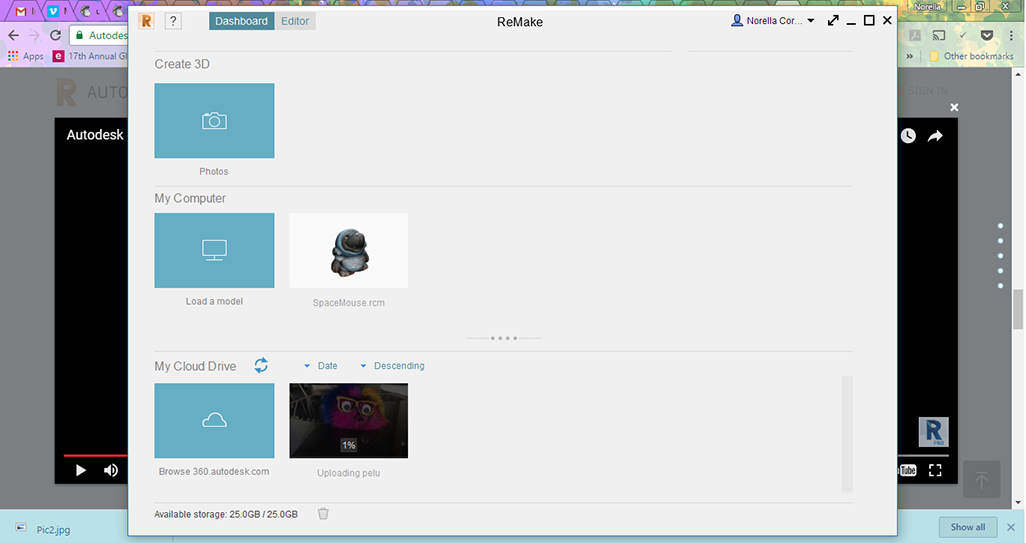
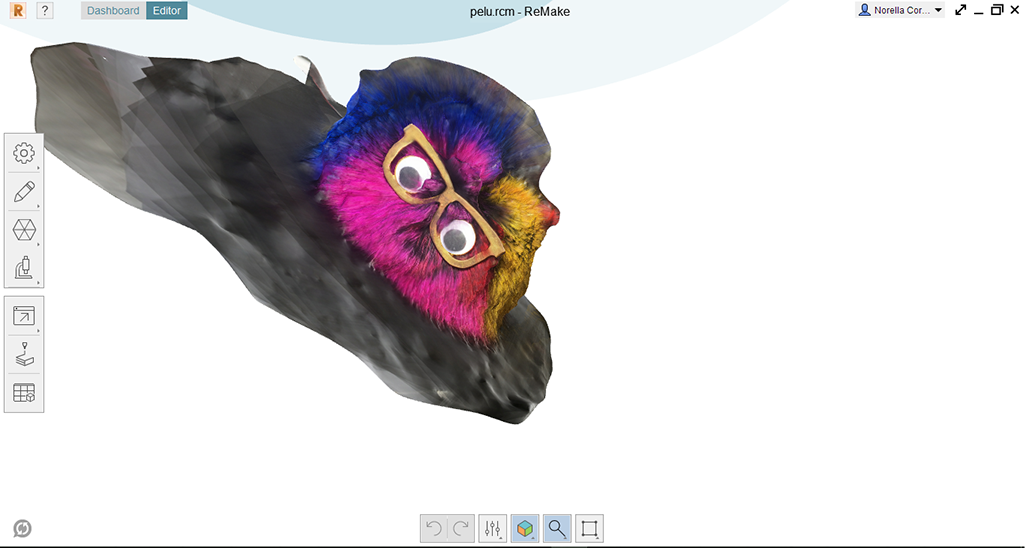
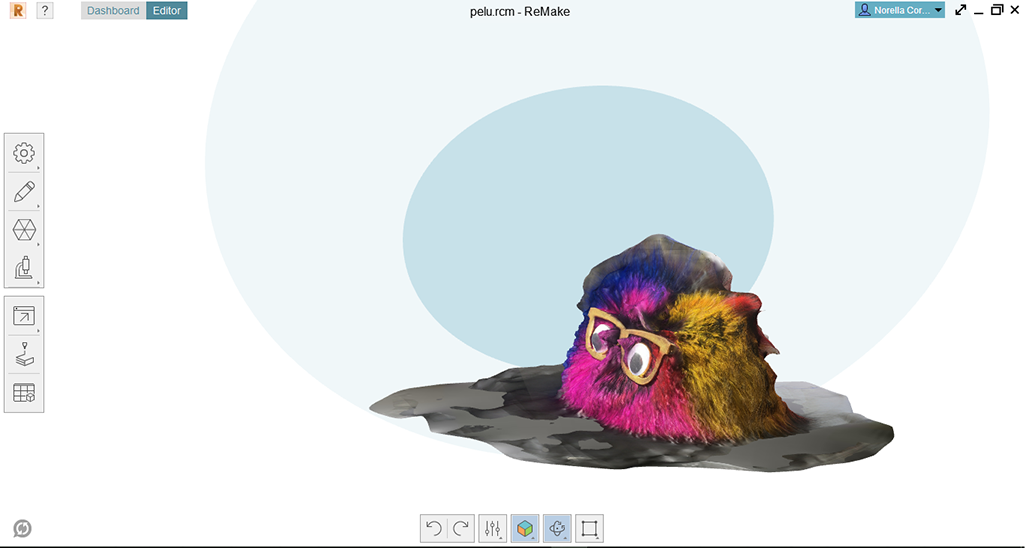
After you select all the pictures the file will start to upload (image at the left) and then you would be able to see your scan (image at the right)
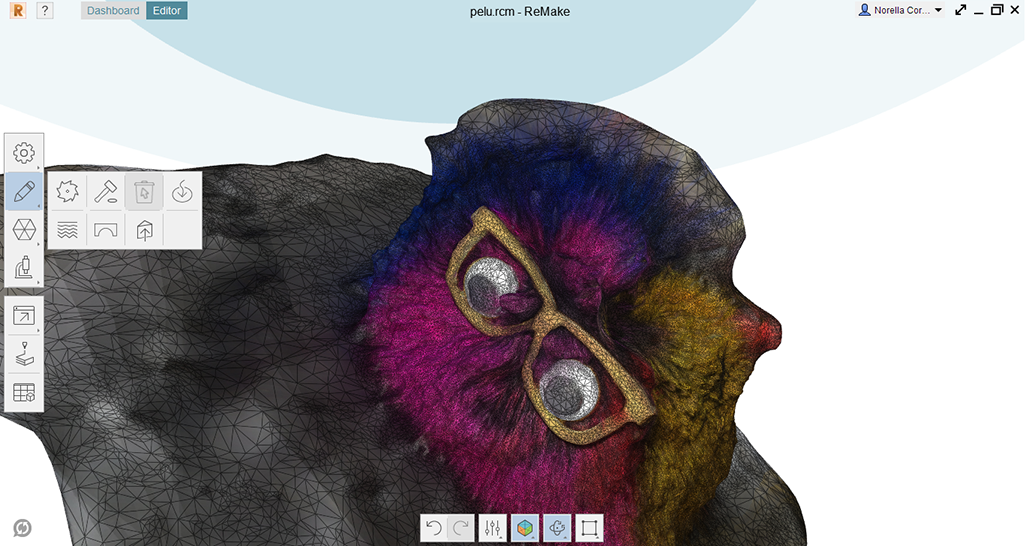
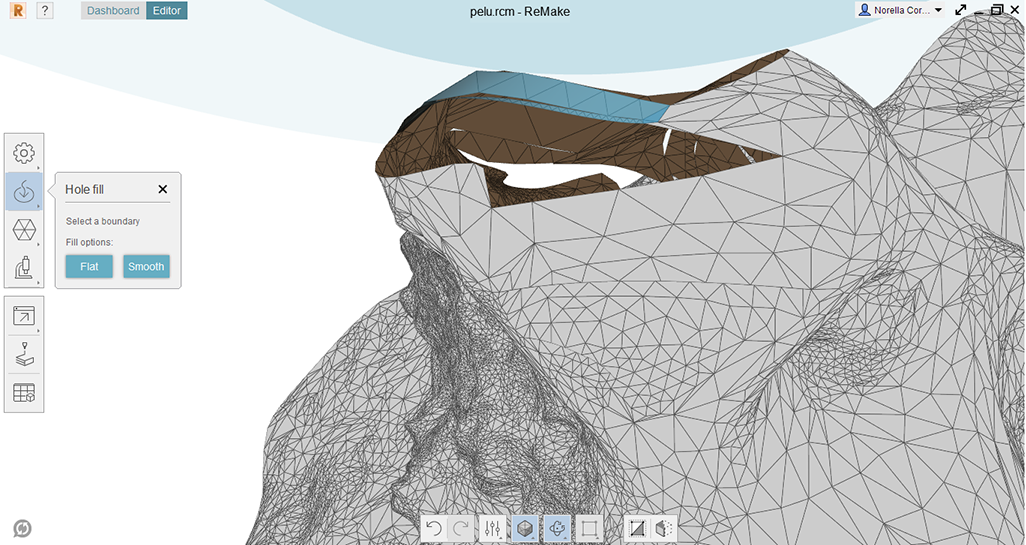
Once we have our file we proceed to fix it (images above)
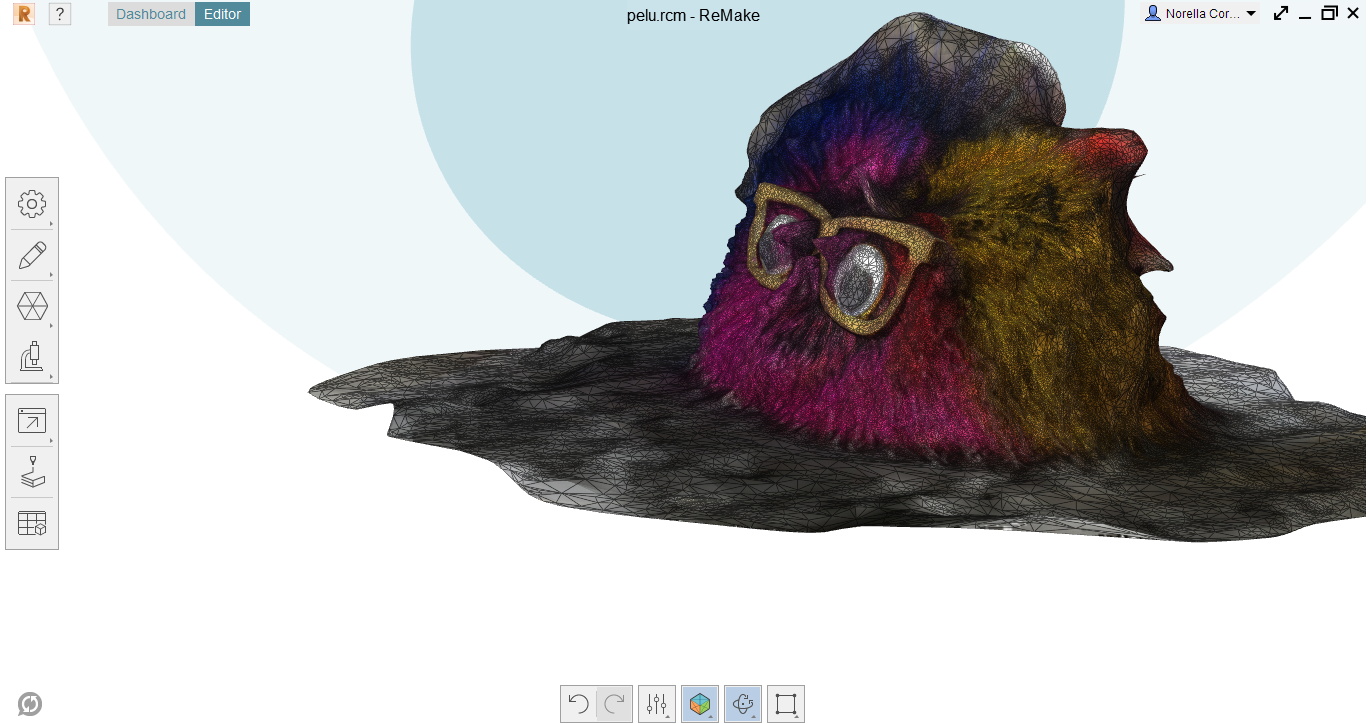

And then diagnostic to make sure your model has the minimum standards to be printed (images above)
Download Files here:
3D Printing Files