Interface and App Programming. Let's Interact.
Assignment
Write an application that interfaces with an input and/or output device that you made
This week we had to make and interface , translation: make an app in your computer that can communicate with a made PCB and that can measure something. Based on my final project we decided to make a reflective sensor interface that could show in a graphic way that could detect the reflectivity of the materials.
I use QT Creator Qt is a cross-platform user interface (UI) software, in other words Qt Creator is a fame work development for interface.
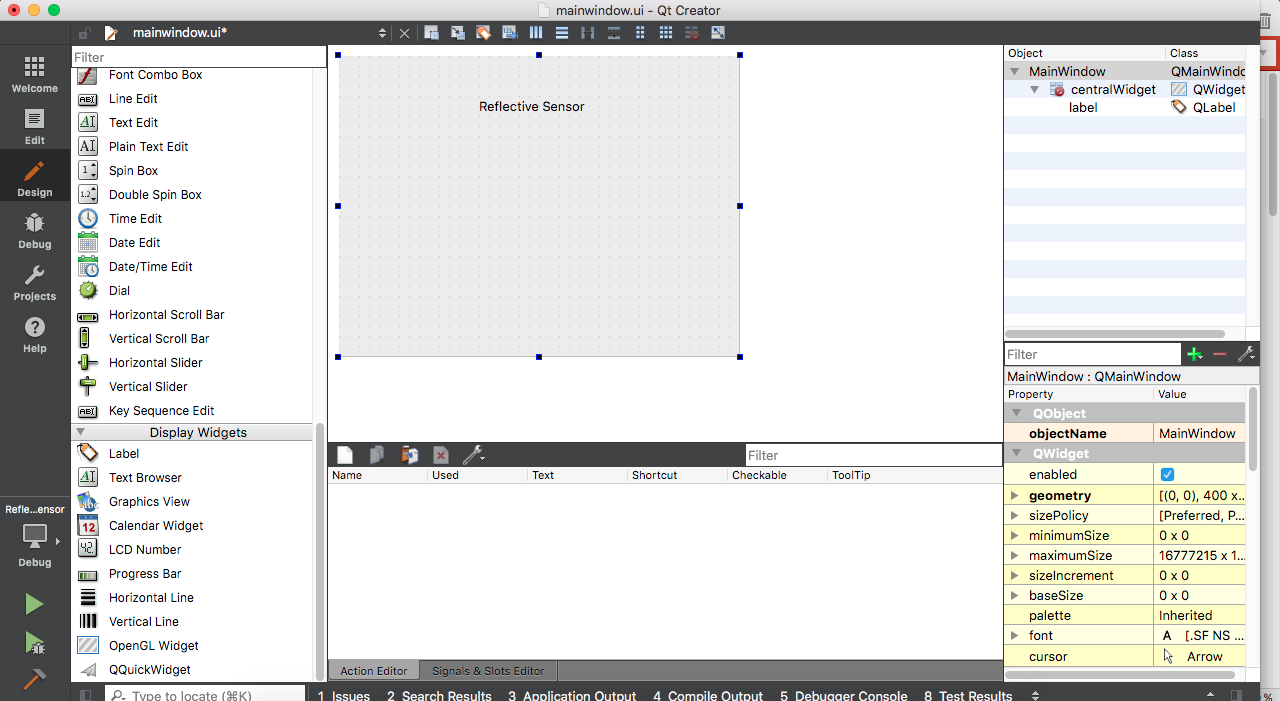
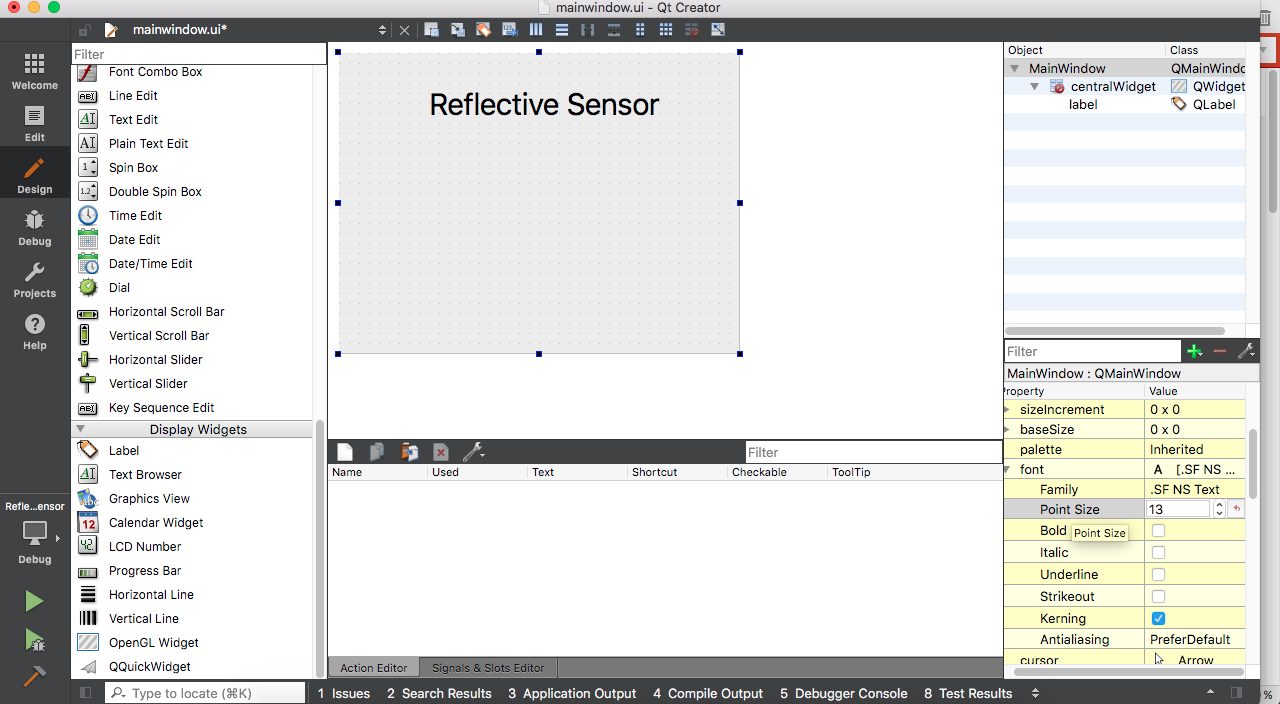
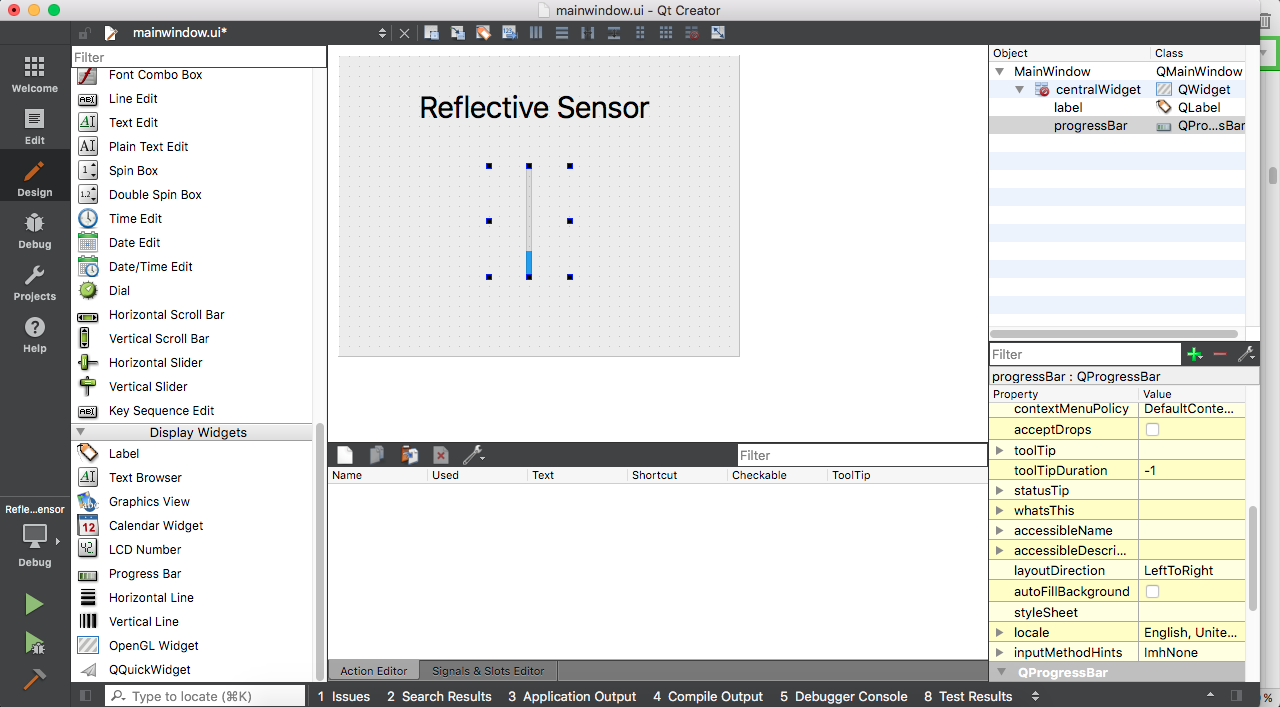
Images above show the process.
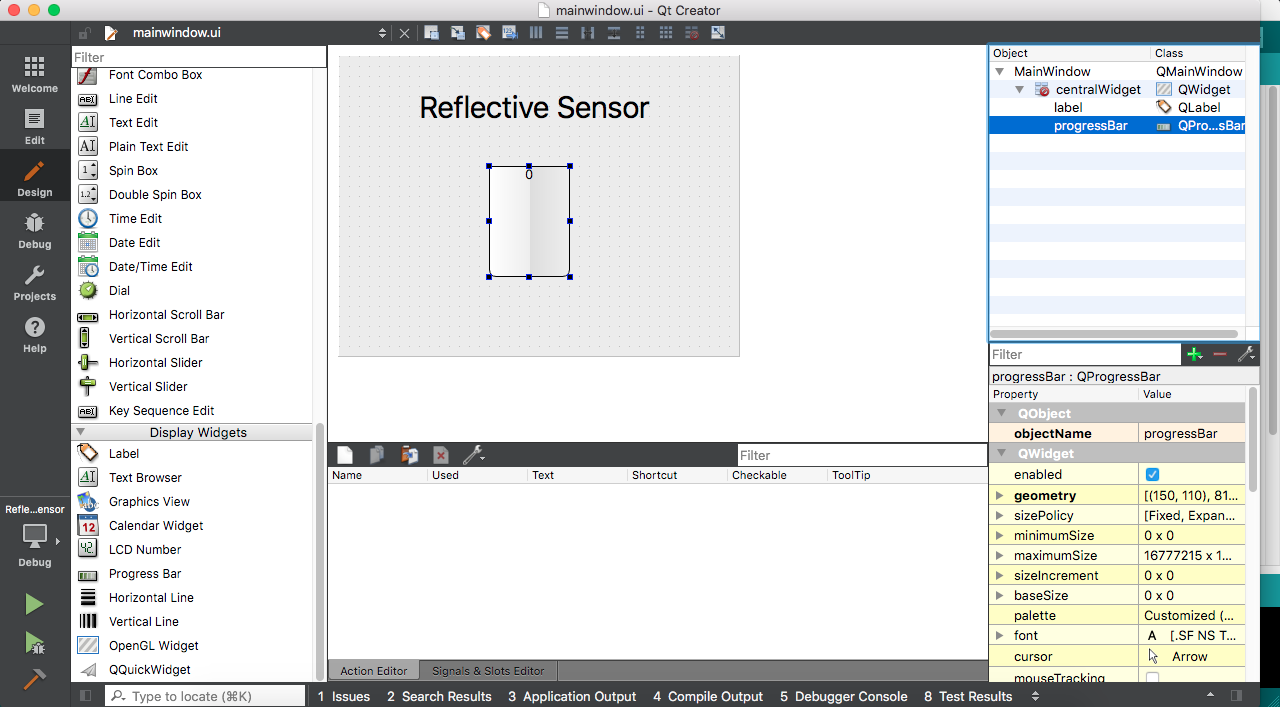
The way to create an interface is not complex, is just to add the components that are needed and then in a later stage is programmed each of the actions of the components in the interface.
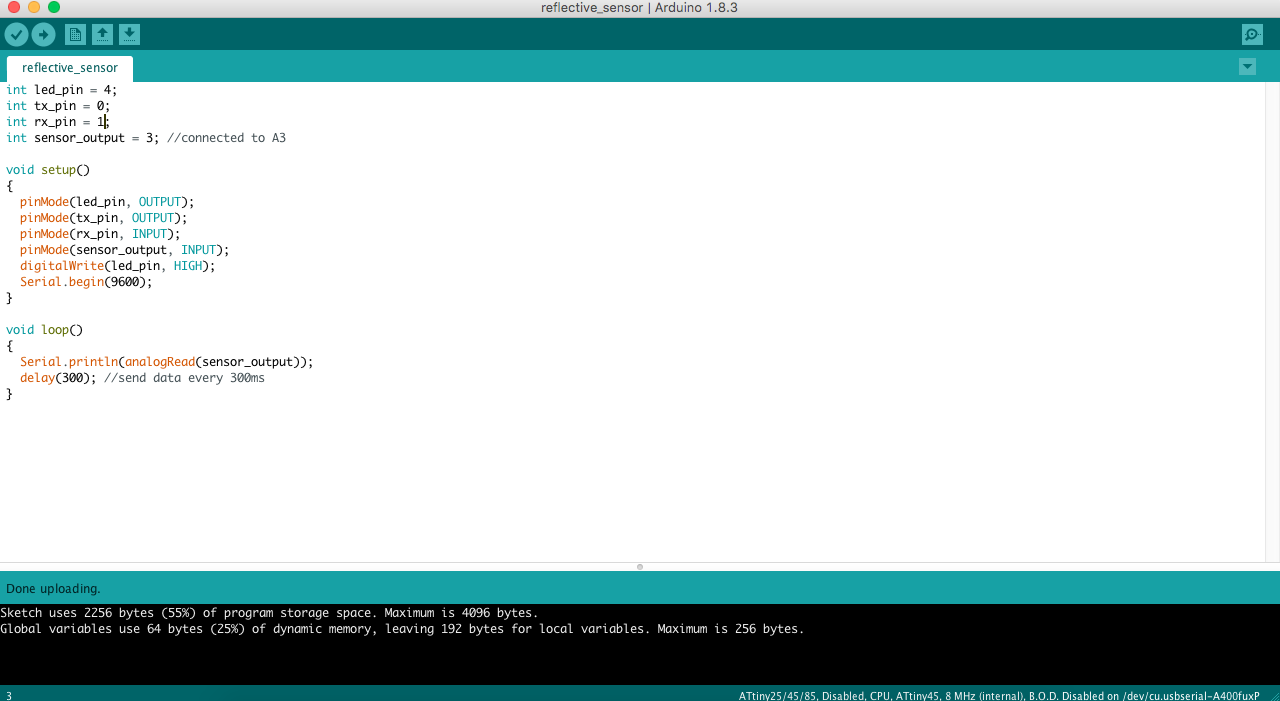
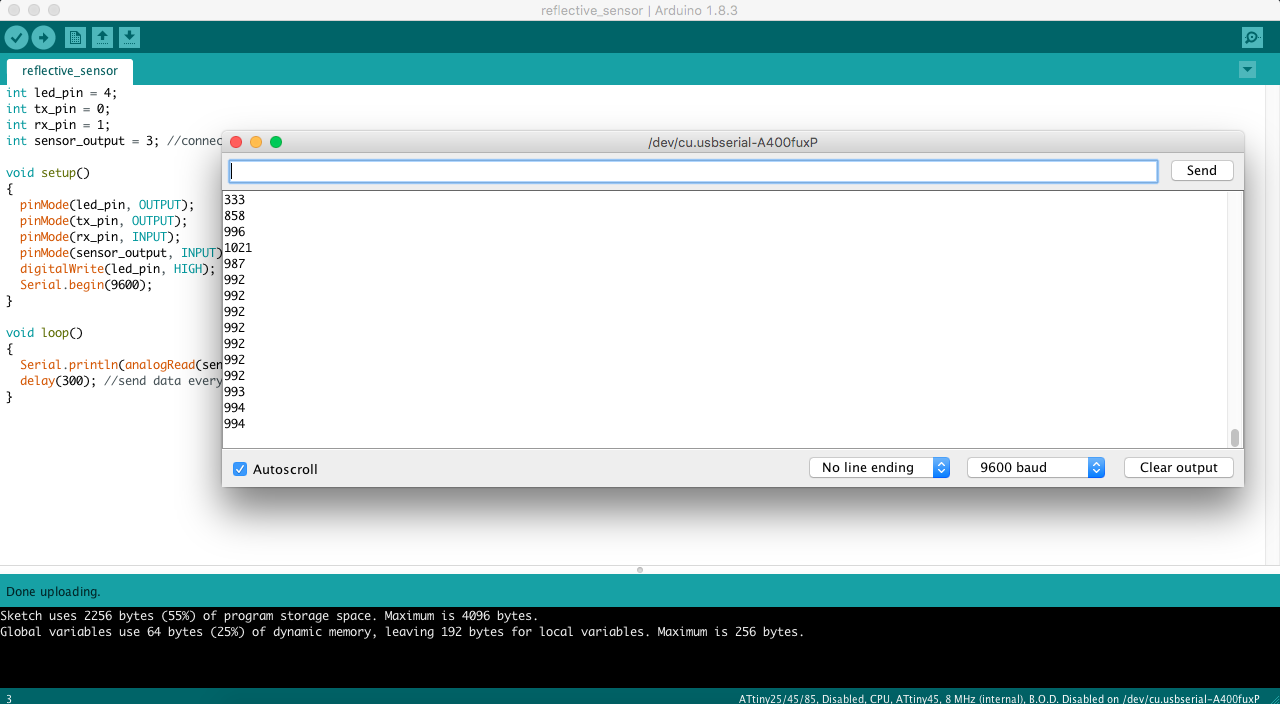
The interface layout was created using Qt along with Qt Creator, then this interface has to be programmed to read the information sent by the board to the pc. Using part of the work that was done in the Assignment 15 - Networking and Communications The board reads the analog sensor voltage (value between 0 and 1023) and sends the data to the PC via the serial bus. This value is sent with an extra character, '\ n' which means newline and is used to know when a complete data arrives to the pc..(image on the right) The program in arduino uses the function Serial.println to send a data with the \ n character at the end. Using the analogRead function, the sensor data is read (as it was done in the input and output Assignments).
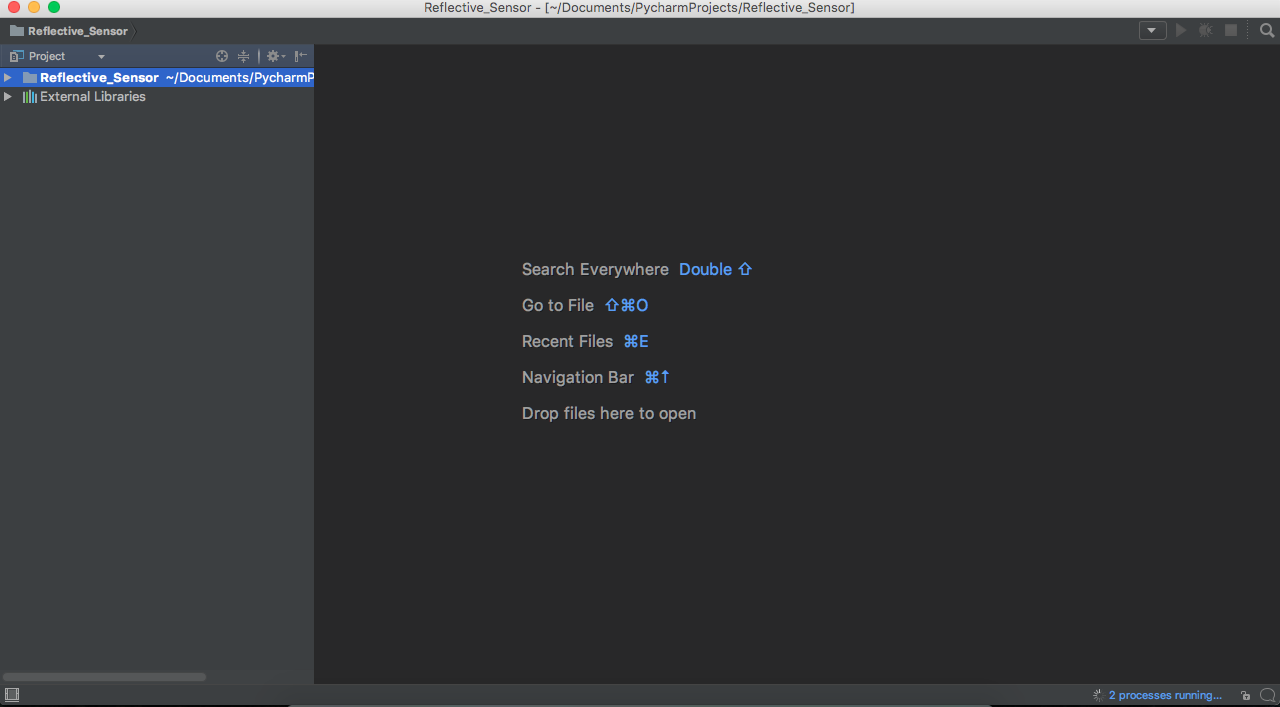

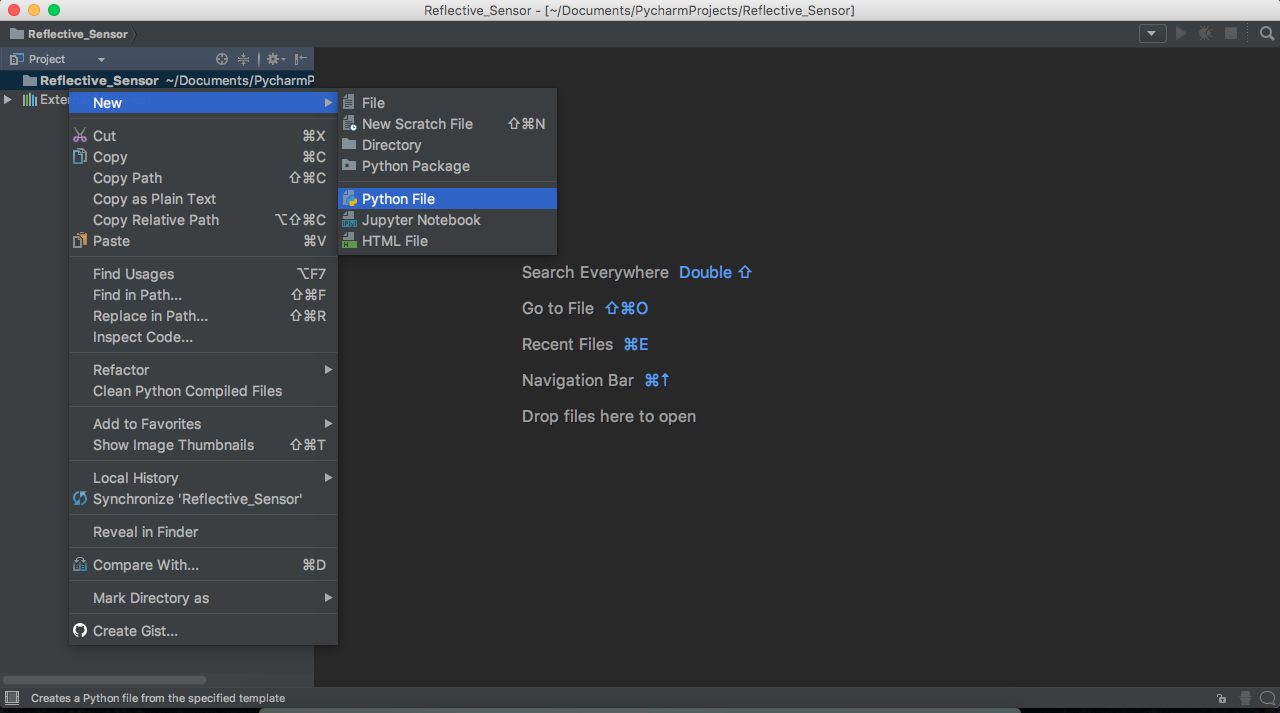

To handle the serial communication and the interface in the pc is used python by means of two modules or libraries, PySerial for the communication and PyQt that are a binding for Qt. To program Python we used PyCharm, an IDE to develop programs in python.(in images above)
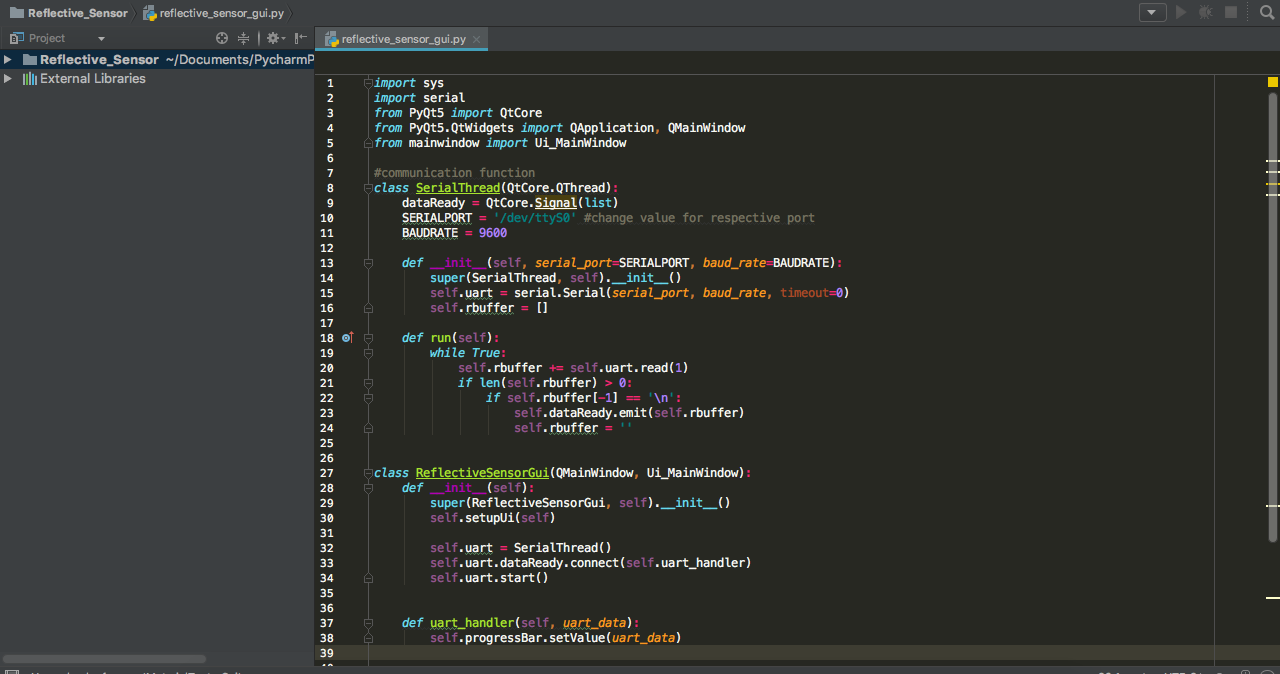
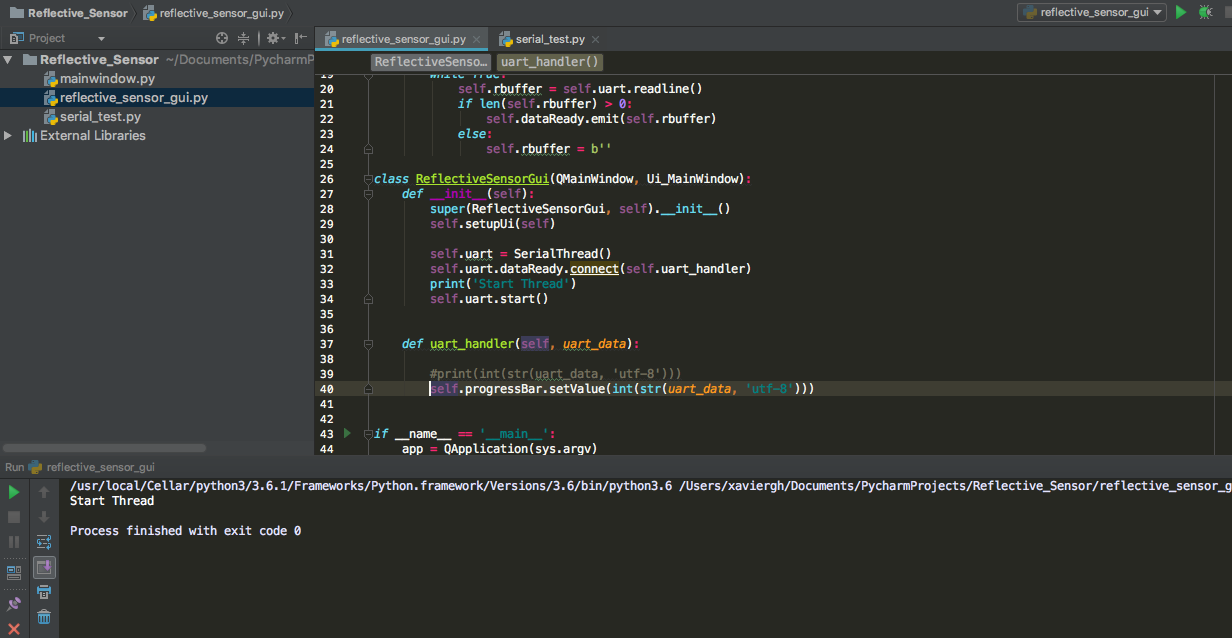
The program in python has two main parts, communication and interface. For the communication, we know that the sensor reading comes in the form of "data + \ n", for this, pyserial has a function called read-line () which allows data to be read by the serial bus until the \ 'n ', This part is presented below:
- Import serial
- SERIALPORT = '/dev/cu.usbserial-A400fuxP' #change value for respective port
- BAUDRATE = 9600 #set baud rate
- Serial_port
- serial.Serial (SERIALPORT, BAUDRATE, timeout = 1) #configures and initialise the communication port
- Buffer = b '' #buffer that receives data
- While True: #read loop
- Buffer = serial_port.readline () #reads the port for incoming data until it gets a '\ n'
- #print (buffer)
- If len (buffer)> 0: #if buffer is not empty prints the data
- Print (buffer)
- Else:
- Print ('Empty')
In the second part, to handle the interface you need to install PyQt (put the web with instructions for windows). Then using the pyuic5 utility that comes with PyQt converts the Qt Creator file into a Python file, this file is incorporated into the python code using the following line:
- From mainwindow import Ui_MainWindow
- Where the file name is mainwindow.py.
- For the management of the interface using pyqt we used the information found in this Useful Tutorial(images above)
The main part of the code in python is to update the interface every time a board arrives, through the line:
- Self.progressBar.setValue (int (str (uart_data, 'utf-8')))
Where progressBar is the bar in the interface that we want to update and setValue allows us to update the value of the bar in the interface.
With the lines int (str (uart_data, 'utf-8')) we convert the data to an integer (integer) in order to update the numerical value in the interface
FINALLY THE INTEGRATION OF THE INTERFACE AND THE APP PROGRAMMING:
Interface and APP programming from Norella Coronell on Vimeo.
Download Files here:
Interface Reflect