Molding and Casting. Let the mixing begin!
Assignment
Design a 3D mold, machine it, and use it to cast parts
Try One:
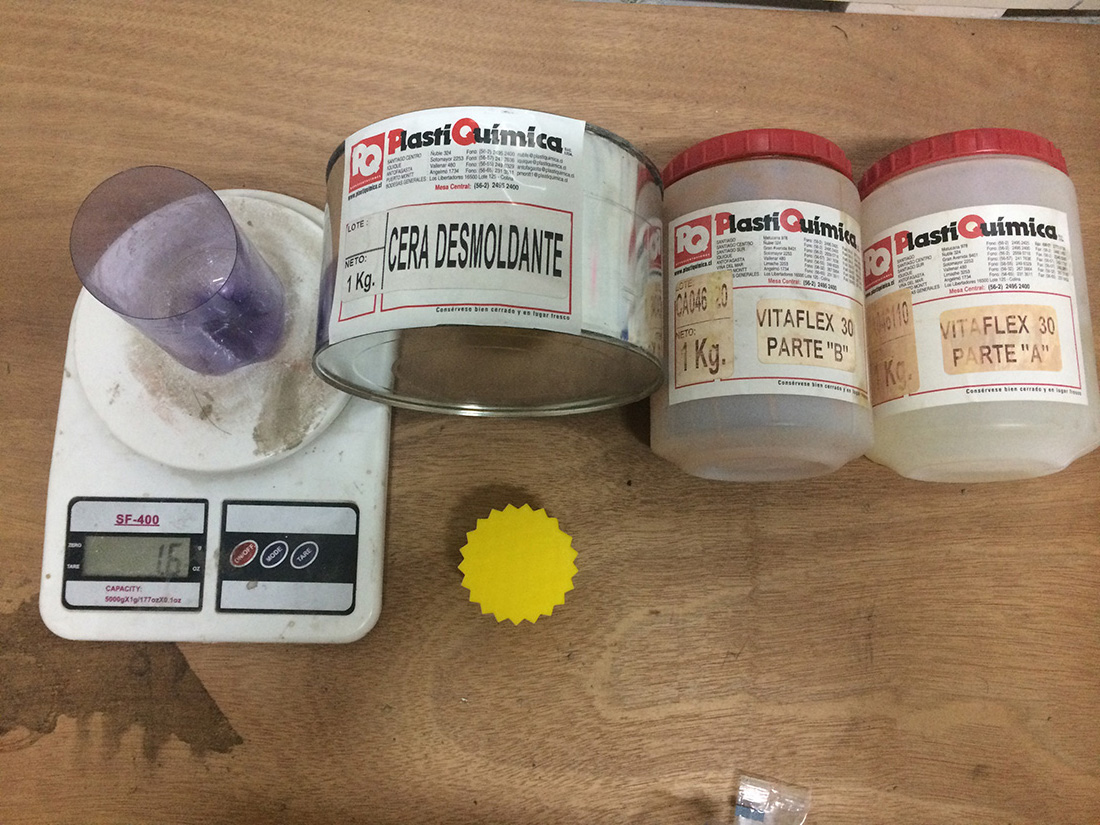
After we made the design in Fusion360 and printed, we proceed with the process of getting it casted. For this you need the following components in equal parts
- Part A PlastiQuimica Vita Flex 30
- Part B PlastiQuimica Vita Flex 30
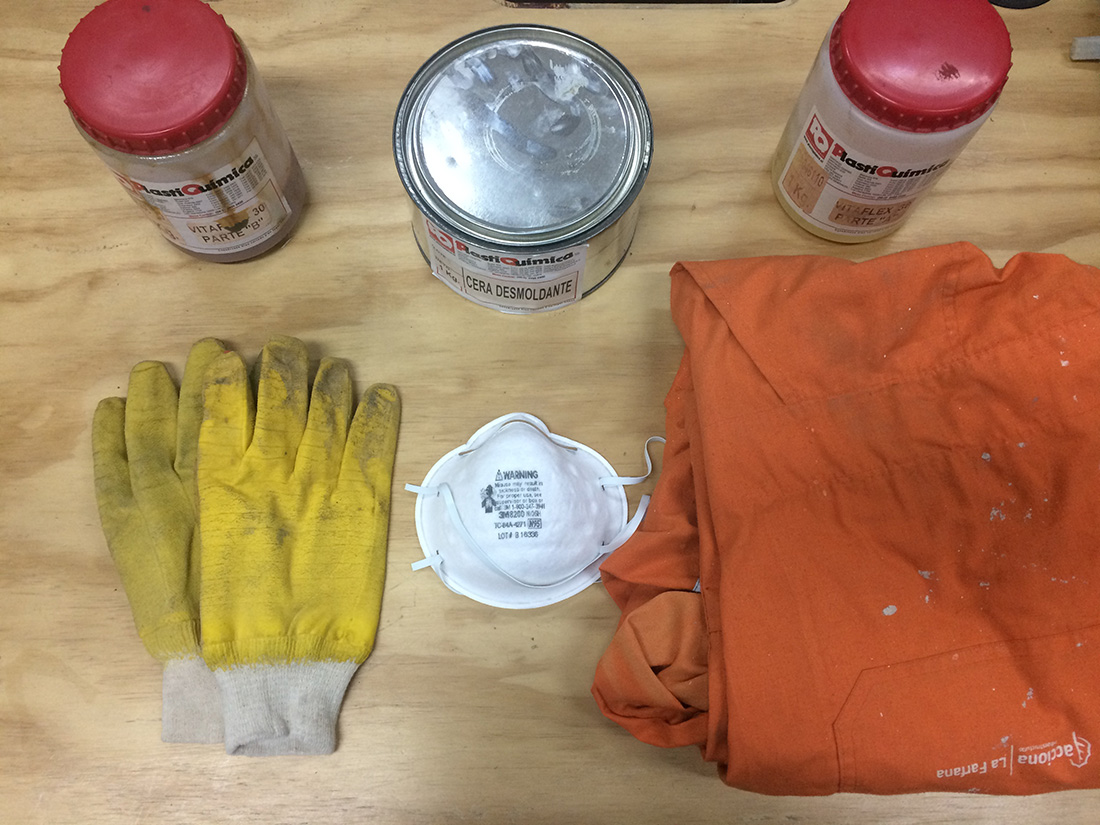
You will also need a mixing cup and stick, a weight, casting wax and in my case a container to cast the shape (I used a plastic bottle) and took in consideration the safety rules of using gloves, an overall and a mask.(see all the components in the images above)
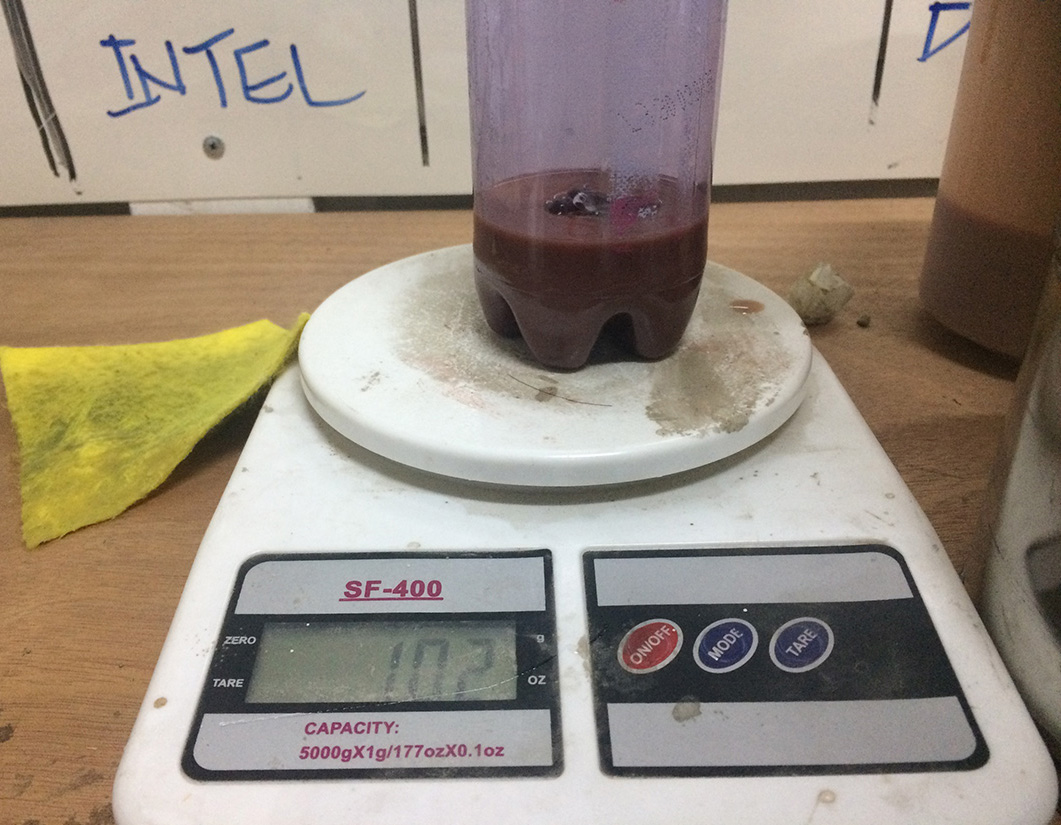
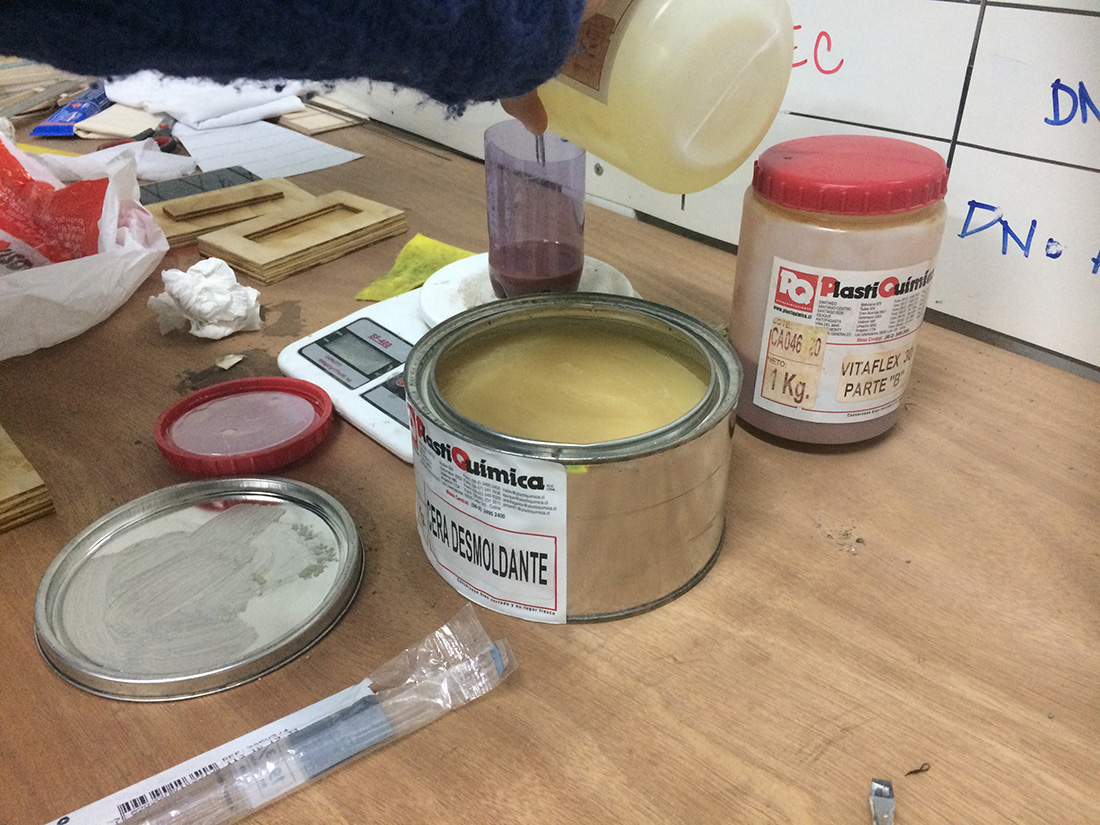
Weight in equal parts, (image at the left) after the parts are even, mix. (image in the center) and finally put your mix into a container(image at the right) where I had to add some additional weight to make it stay on the mixture and wait for 15 to 24hrs to curate.
A day after the mold came out of the cast (as you can see in the images above)
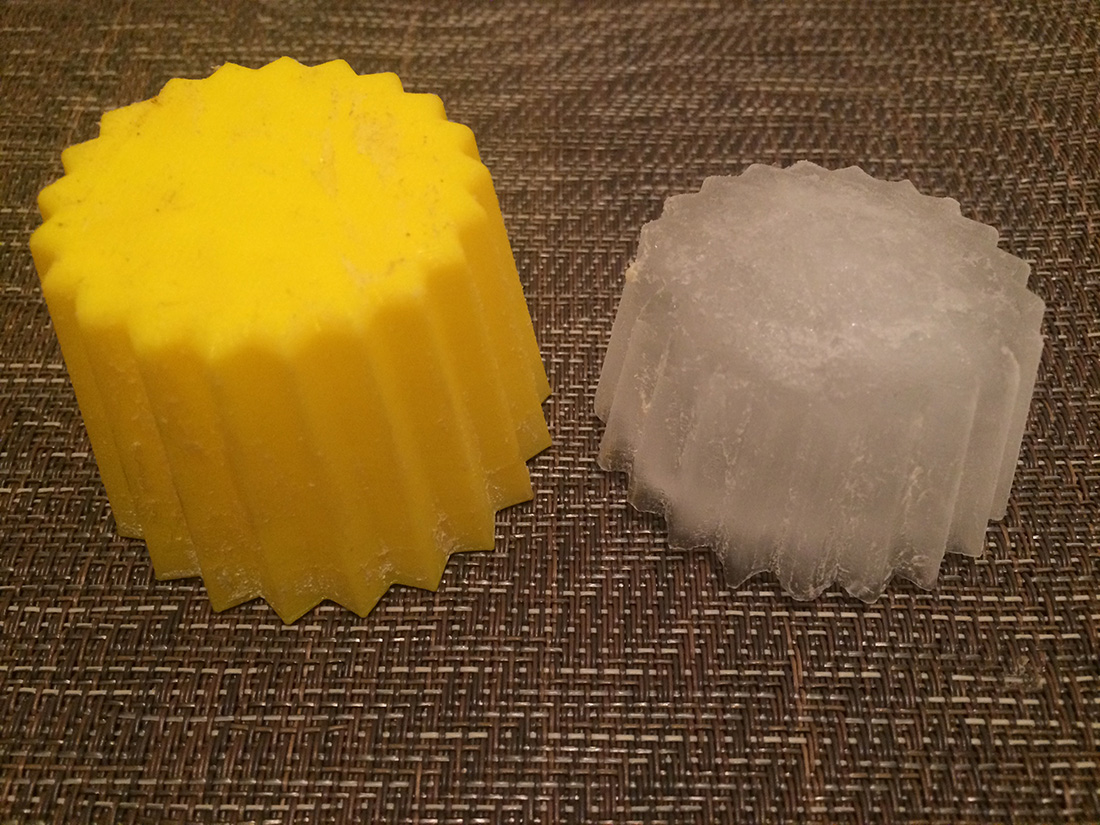
Finally I made some test on molding in the cast with some water (making some ice) and in the images above you can seethe results.
Try Two:
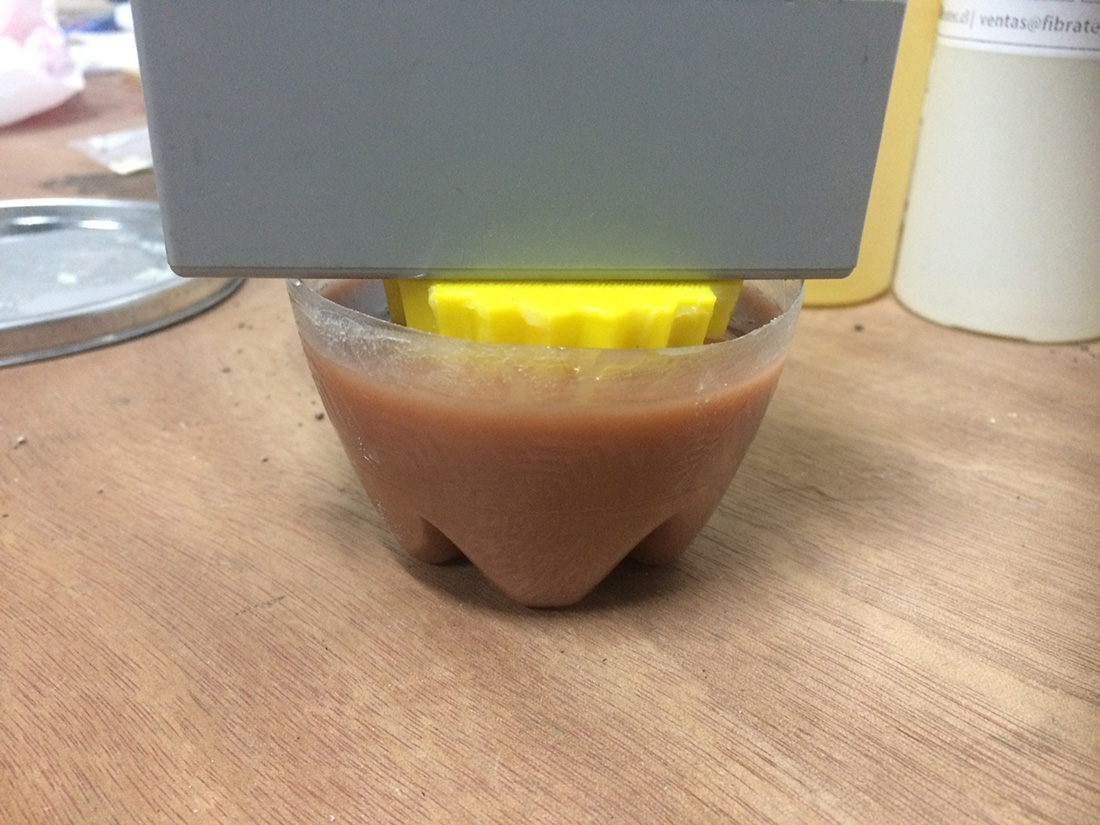
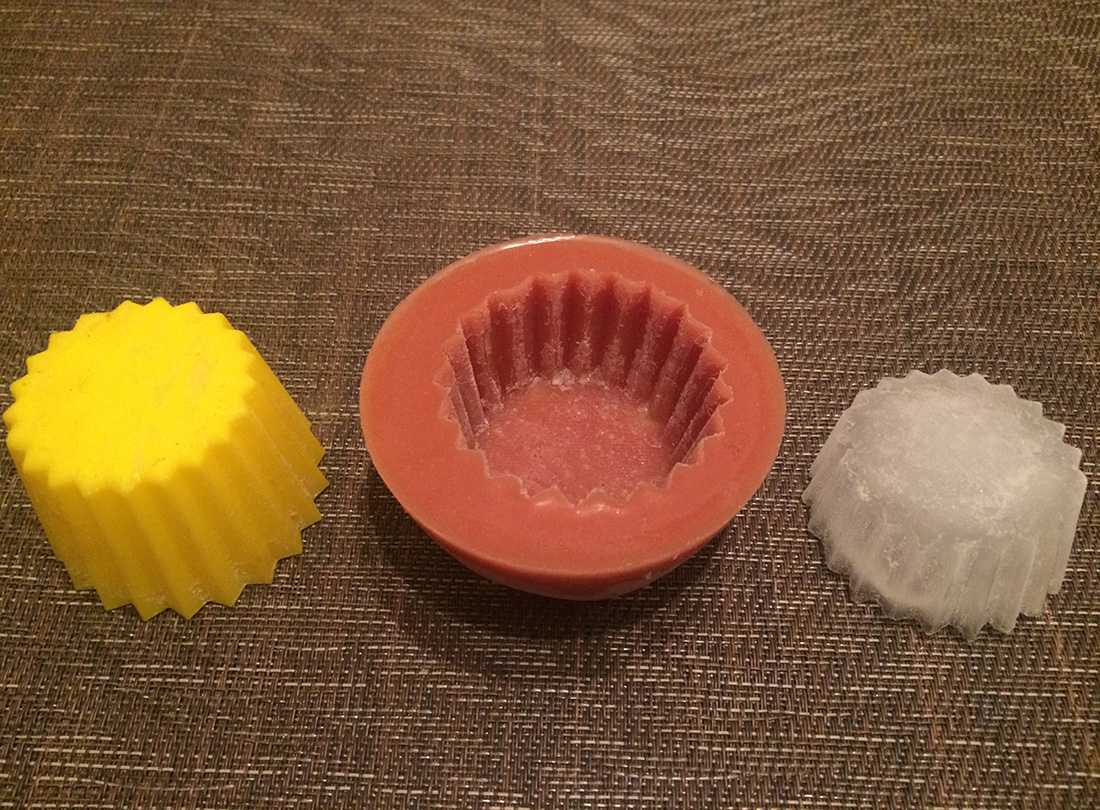
We used the exactly same materials of PlastiQuimica as in Try One, but this time we took into consideration that we had to make a module, not an object to cast. The Lab has a E-commerce brand called Maquinar.io and that needed to make some tries of this materials, so we had the change to correct the task. For making this type of mold we just needed a .dxf files since all the parameters are placed in the machine and its softwares as we did con Assignment 7- Make something Big
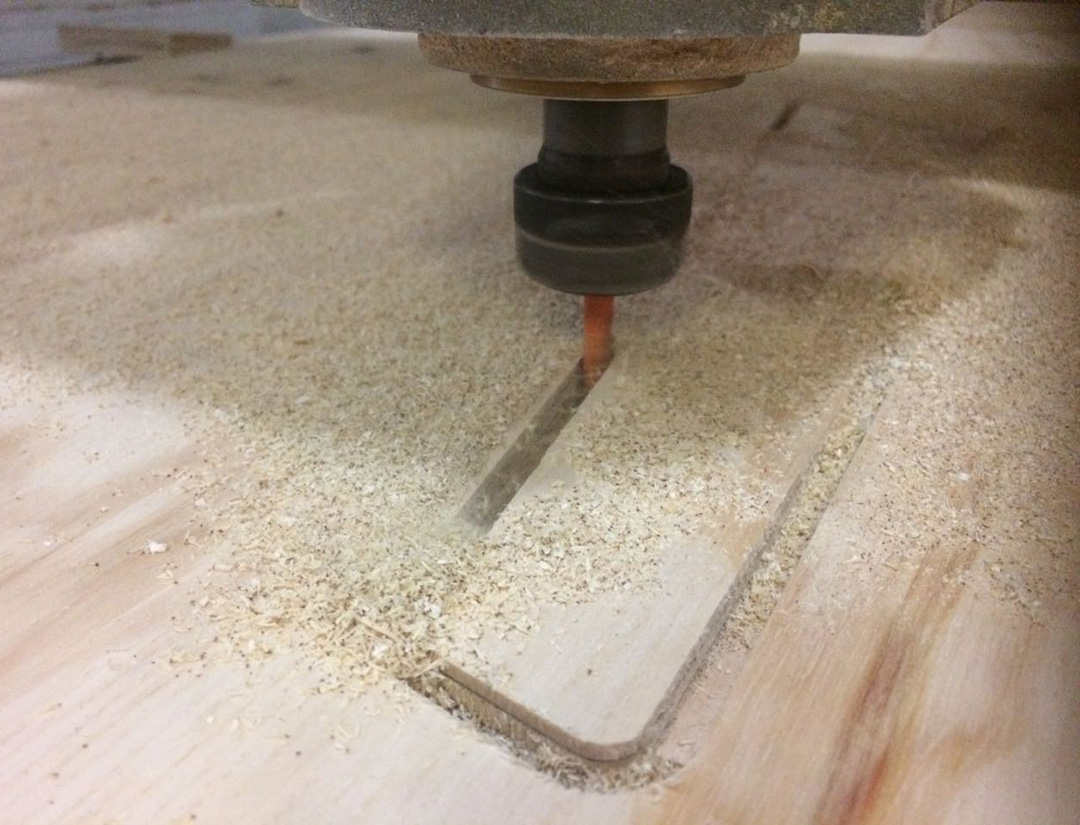
Let the milling begin!
After Mixing part A and B, and waxing the mold, we proceed to poor the mixture inside the mold. See video below for process.
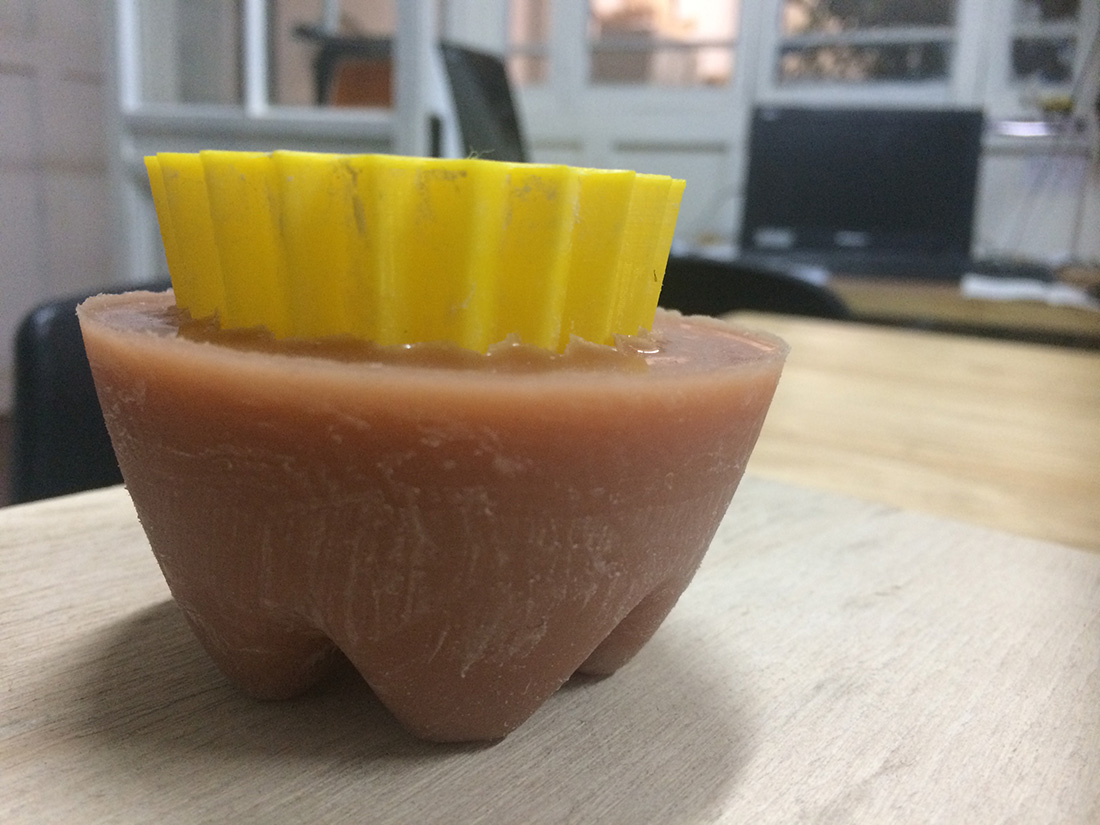
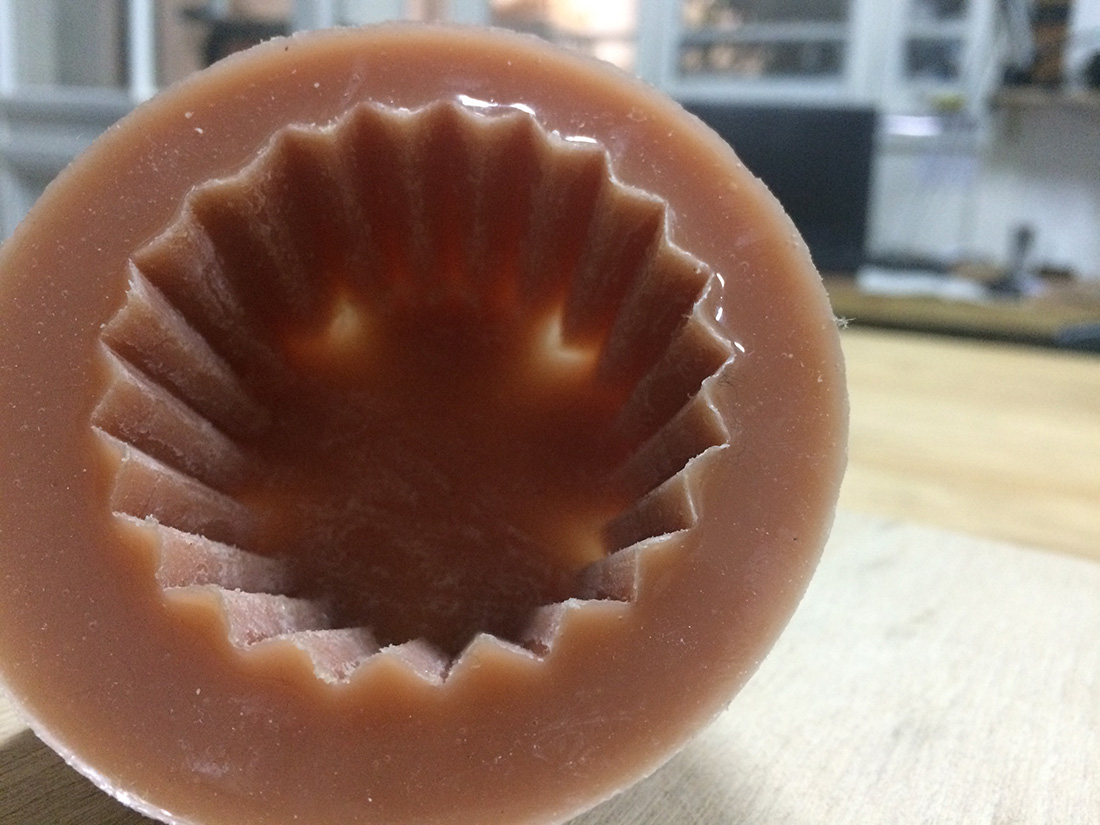
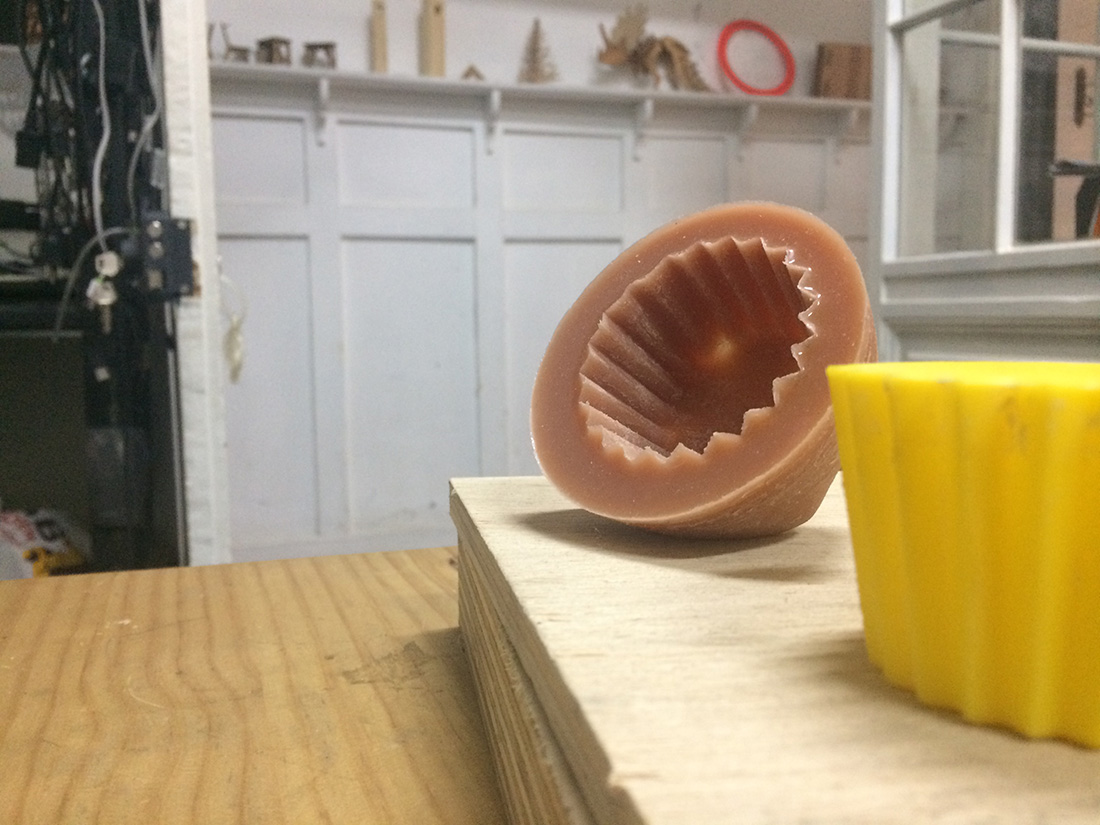
24hrs later after letting the mixture dry we are ready take out our casted mold. (images above)
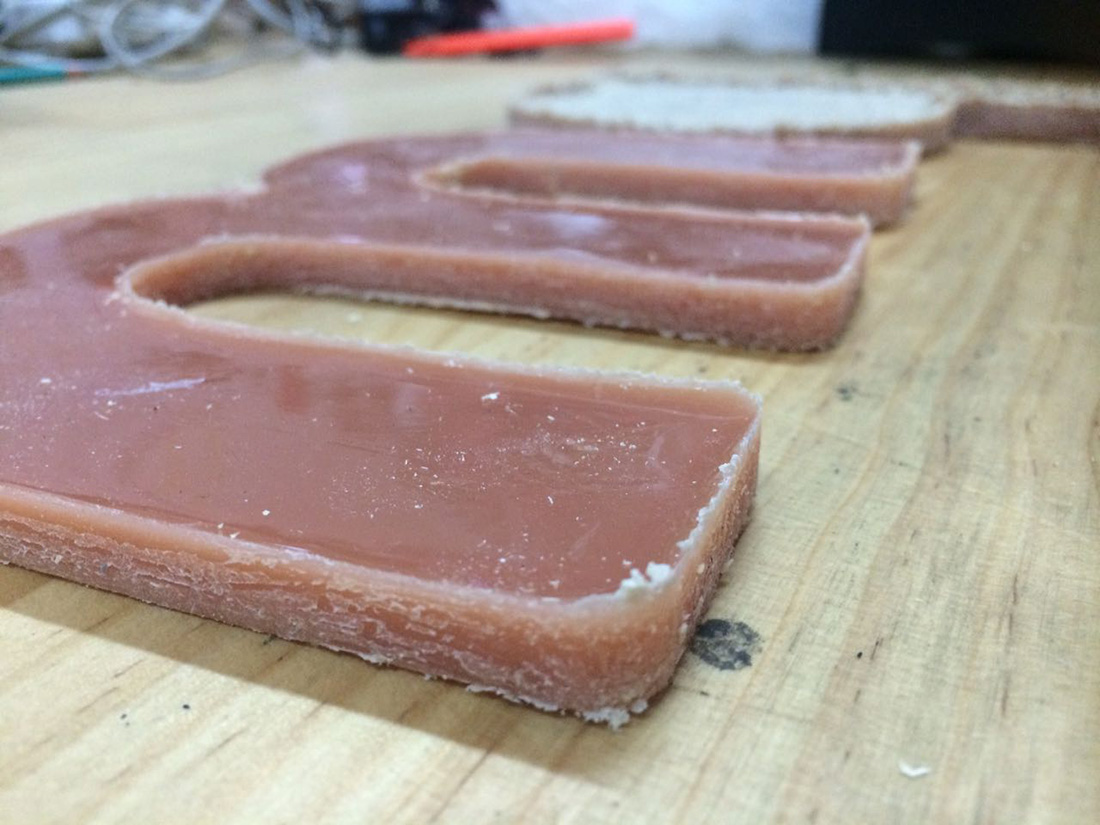
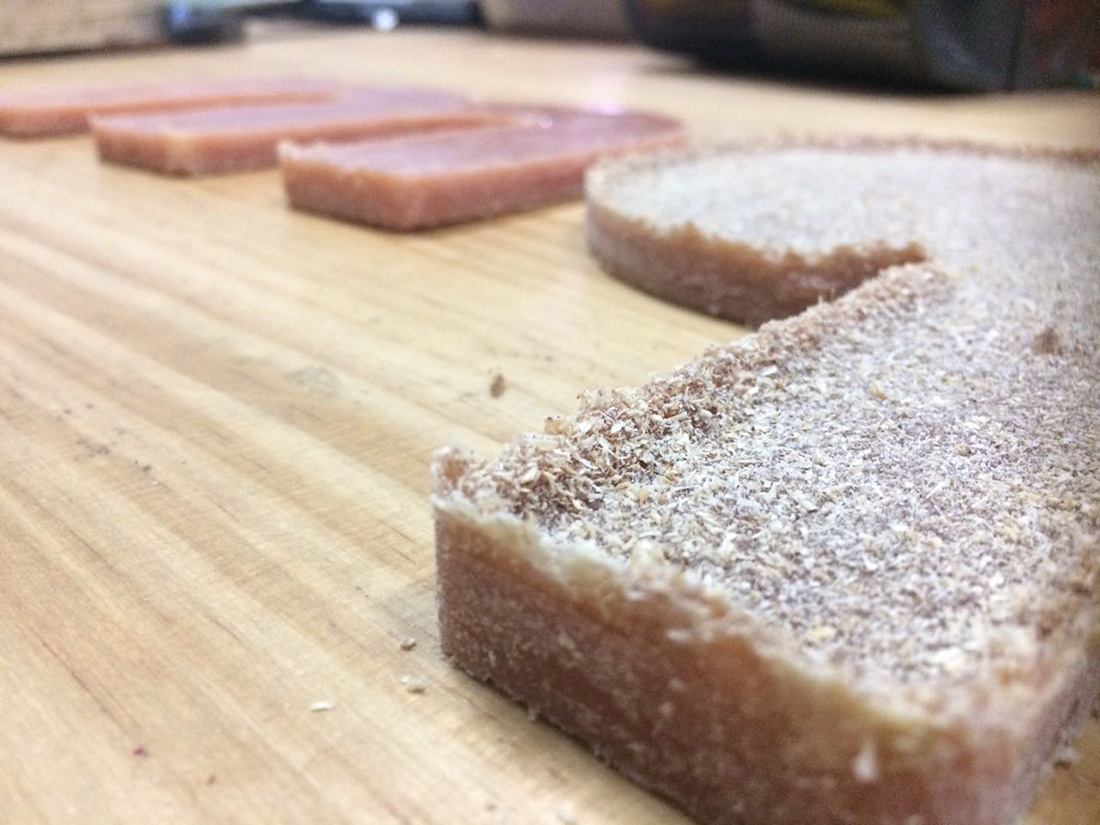
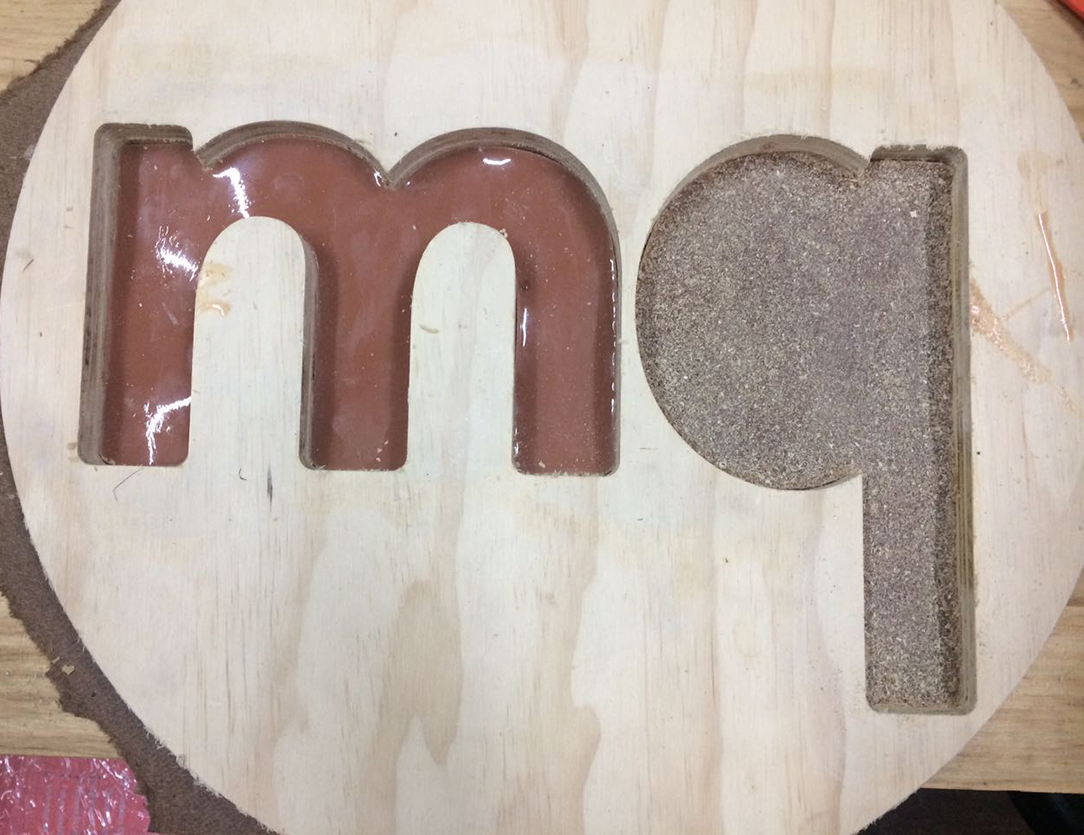
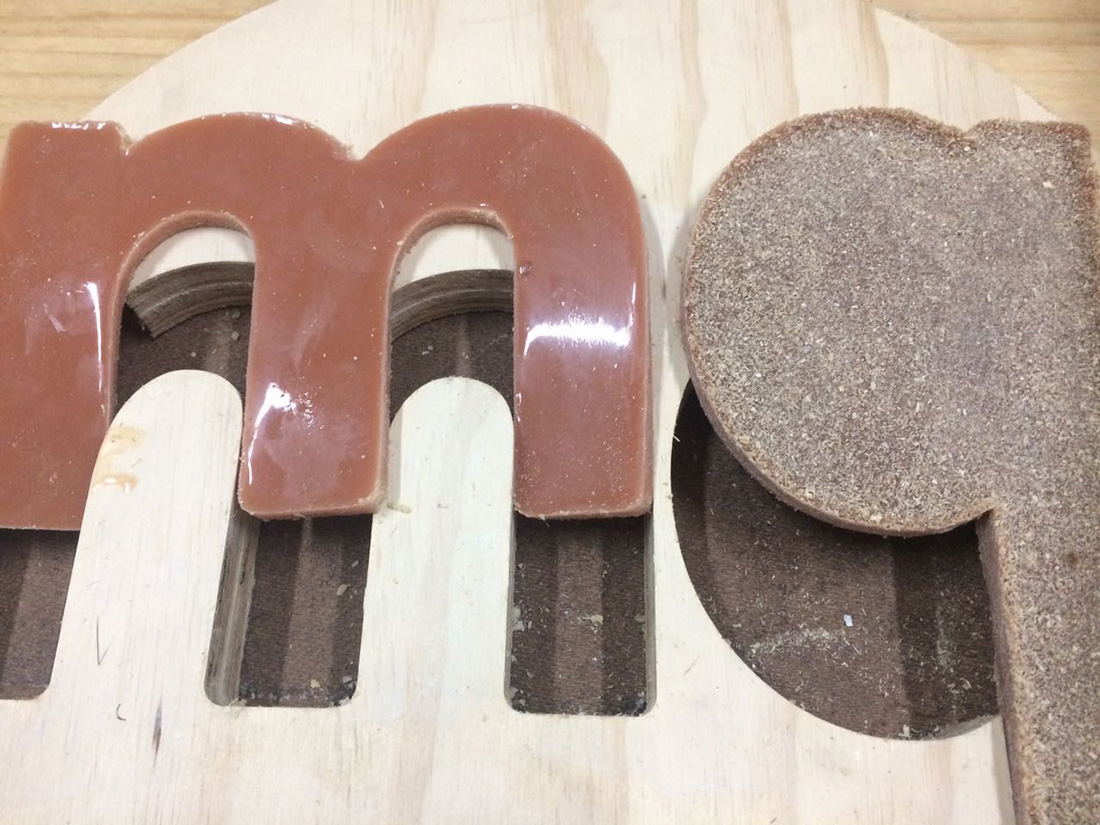
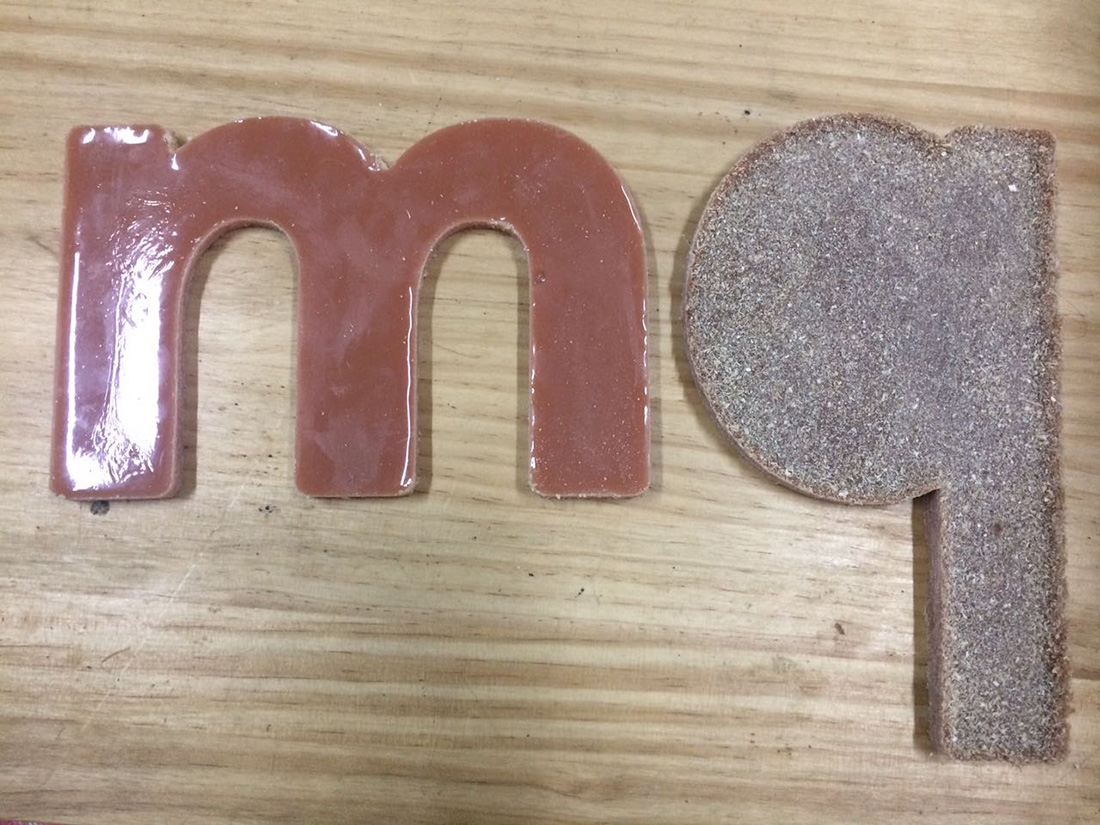
A close up on experimenting with the mixture just part A and B (image at the left) and the other one adding some sawdust to make the mixture even harder (image at the right)
Try Three:
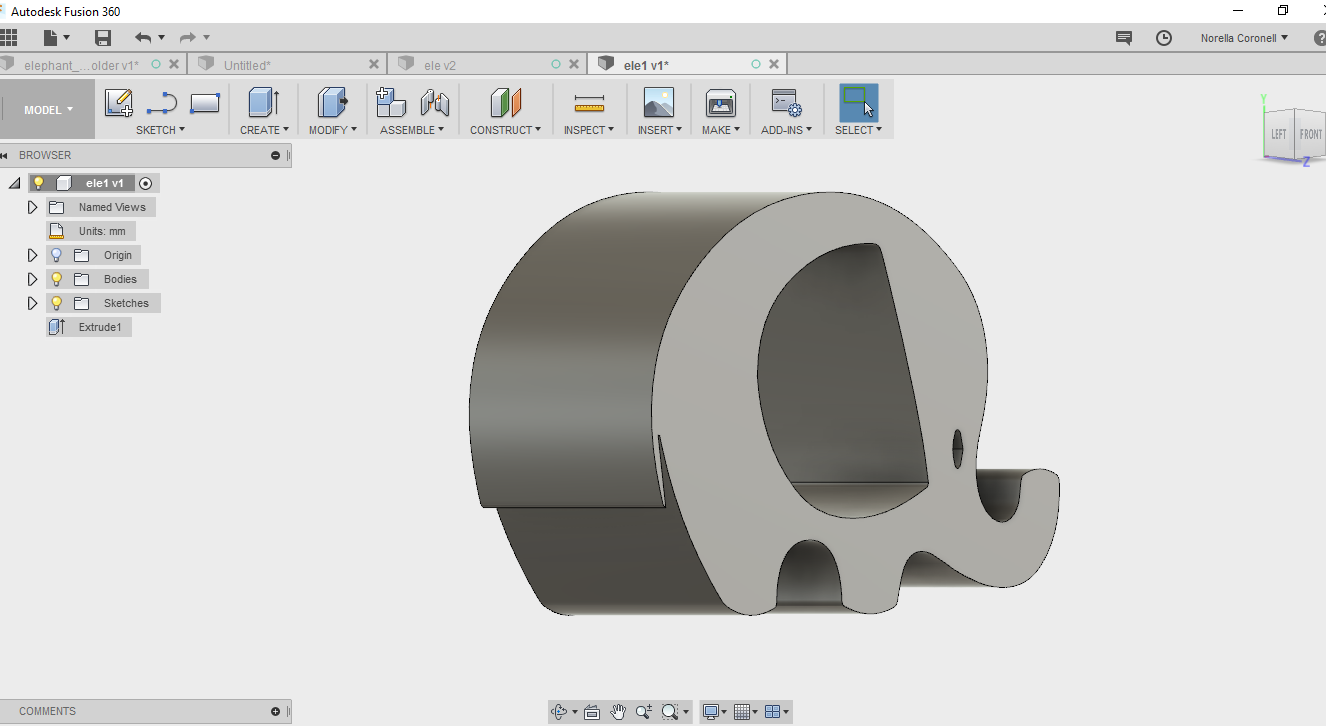
This time we finally understood the task and decide to make some resin elephants as you can see in the images above. The plan for a 2 day job started as a good plan but braking tools didn't let me have my molds for molding as I expected.
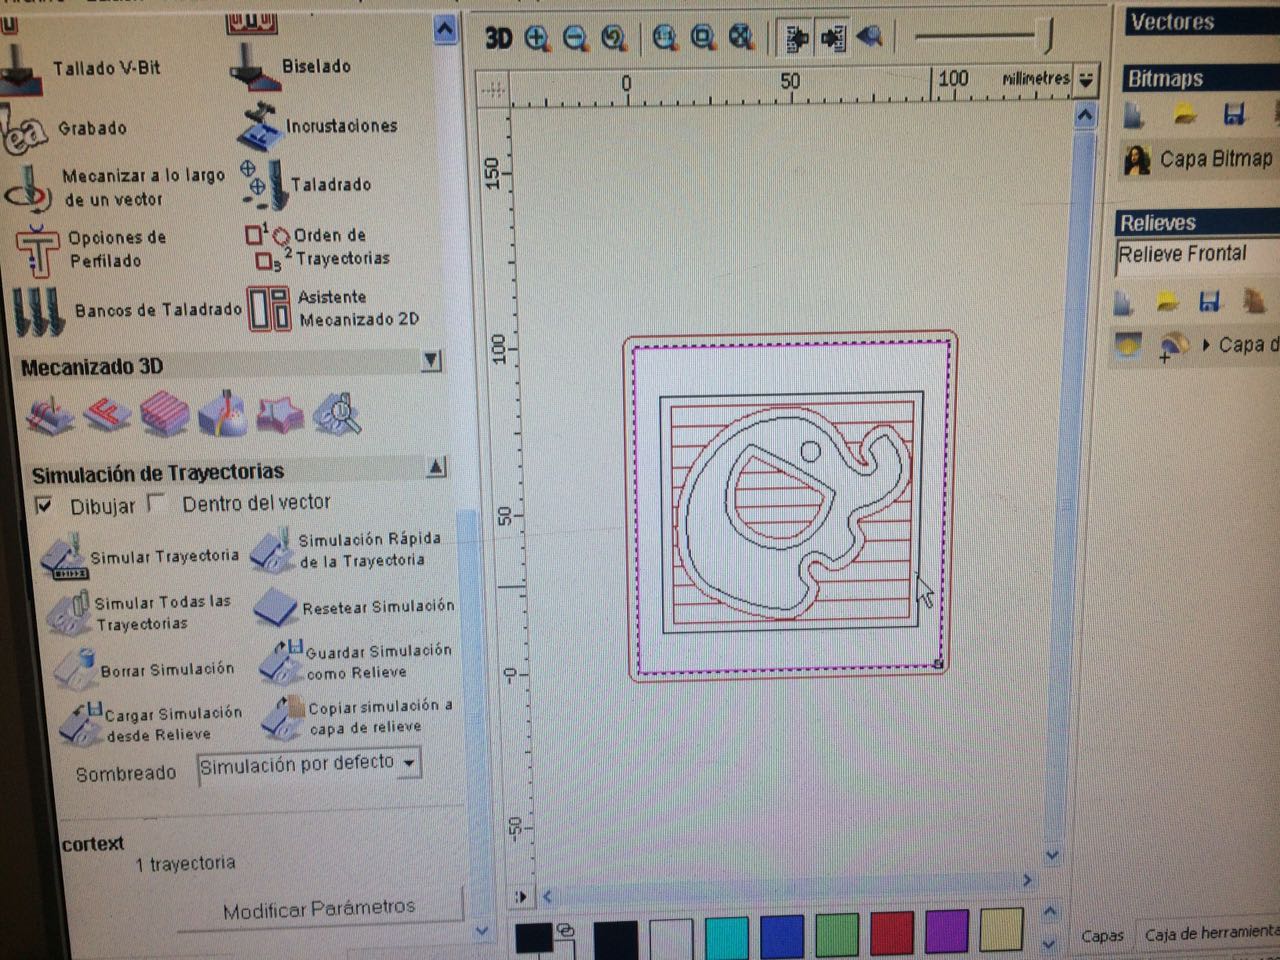
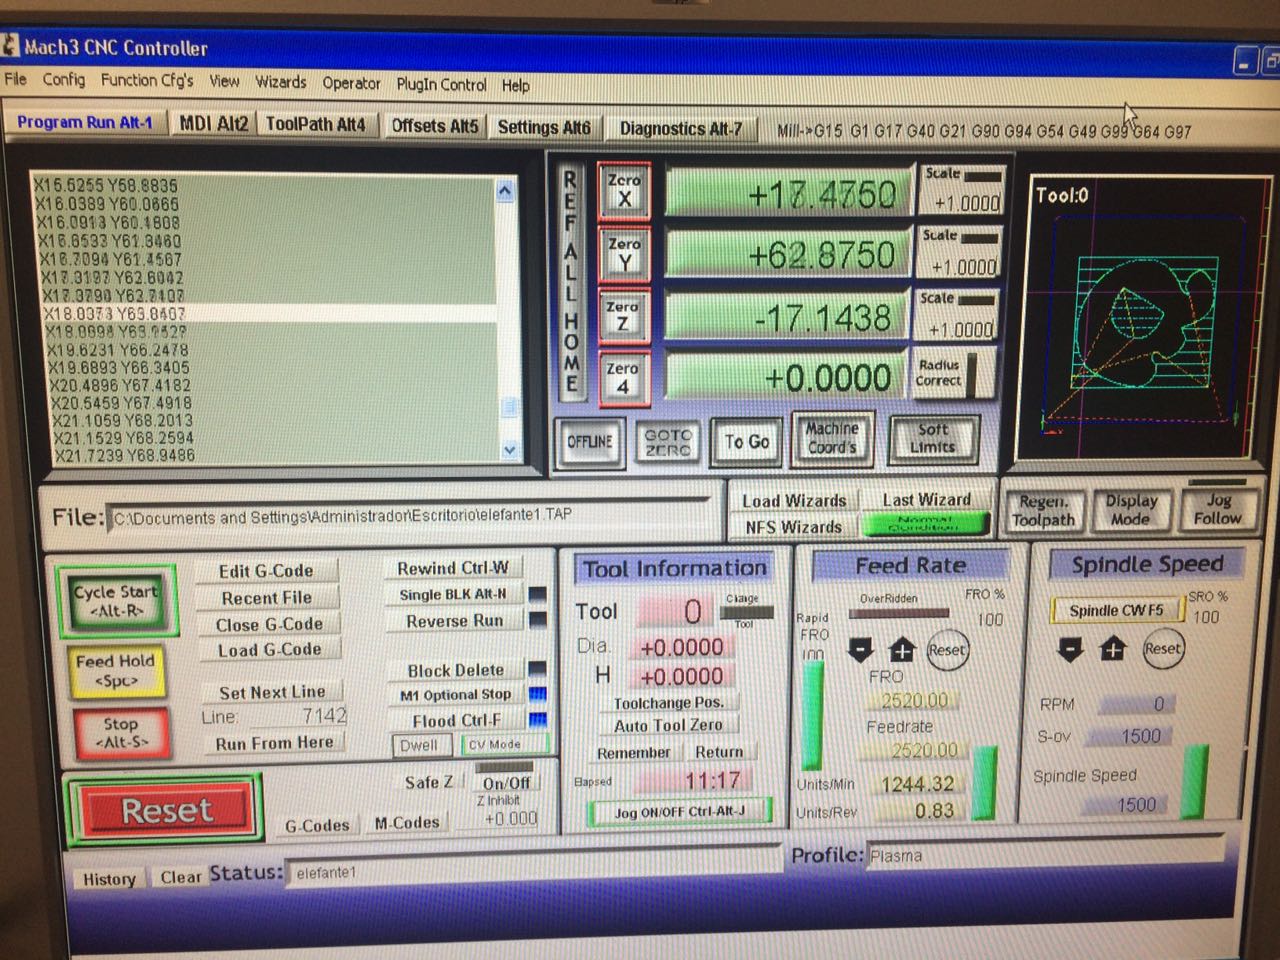

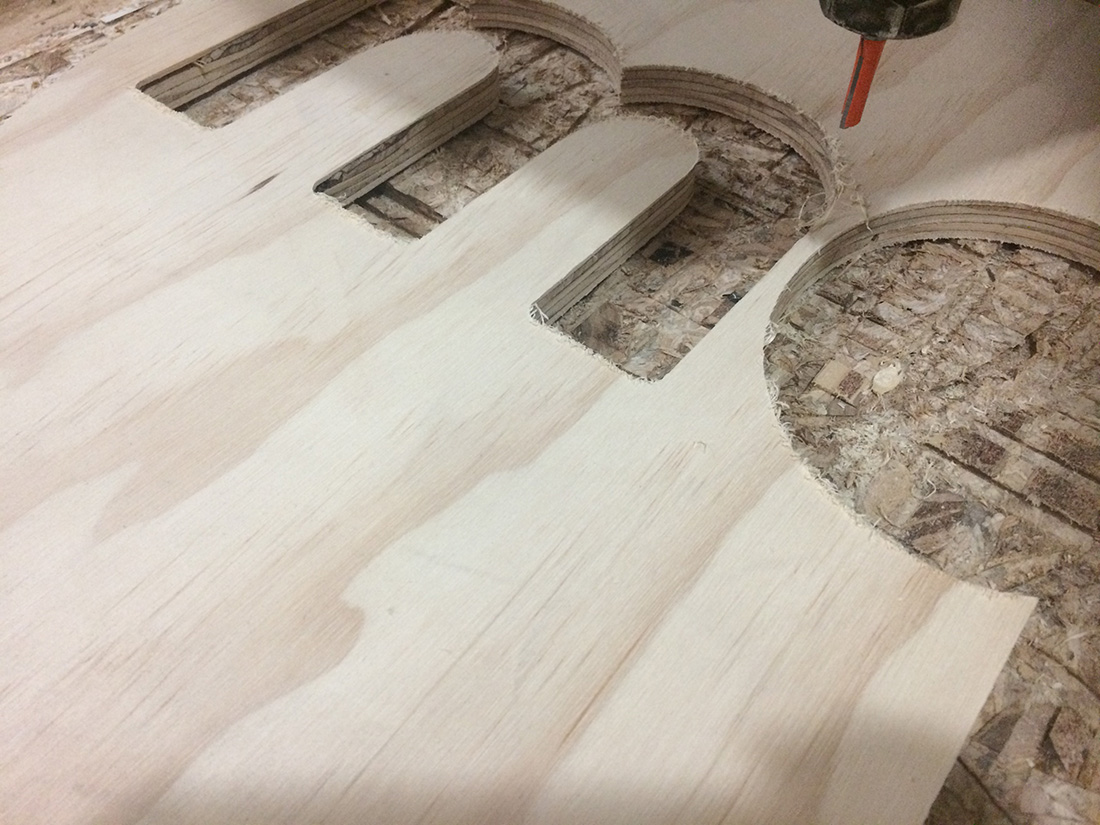
Using the iModela Milling machine was not gonna let me have the task done on time, so I decide not to use wax (because we run out of it) and go with the Big CNC Machine with some wood, I basically scale the 3D mold to fit a 10x10cm area and started the milling process exactly the same as we did for task Assignment 07 -Making something big
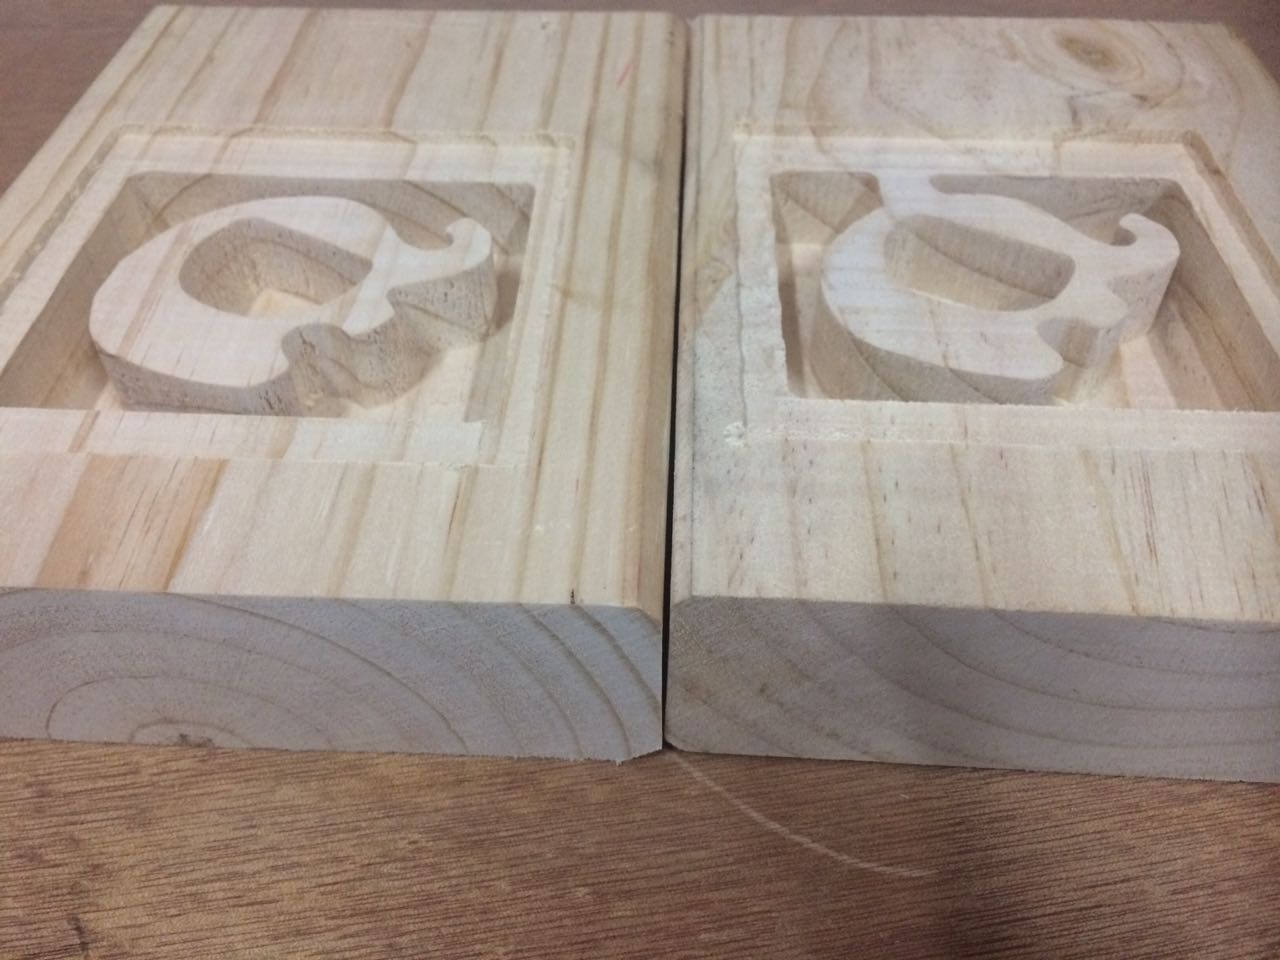
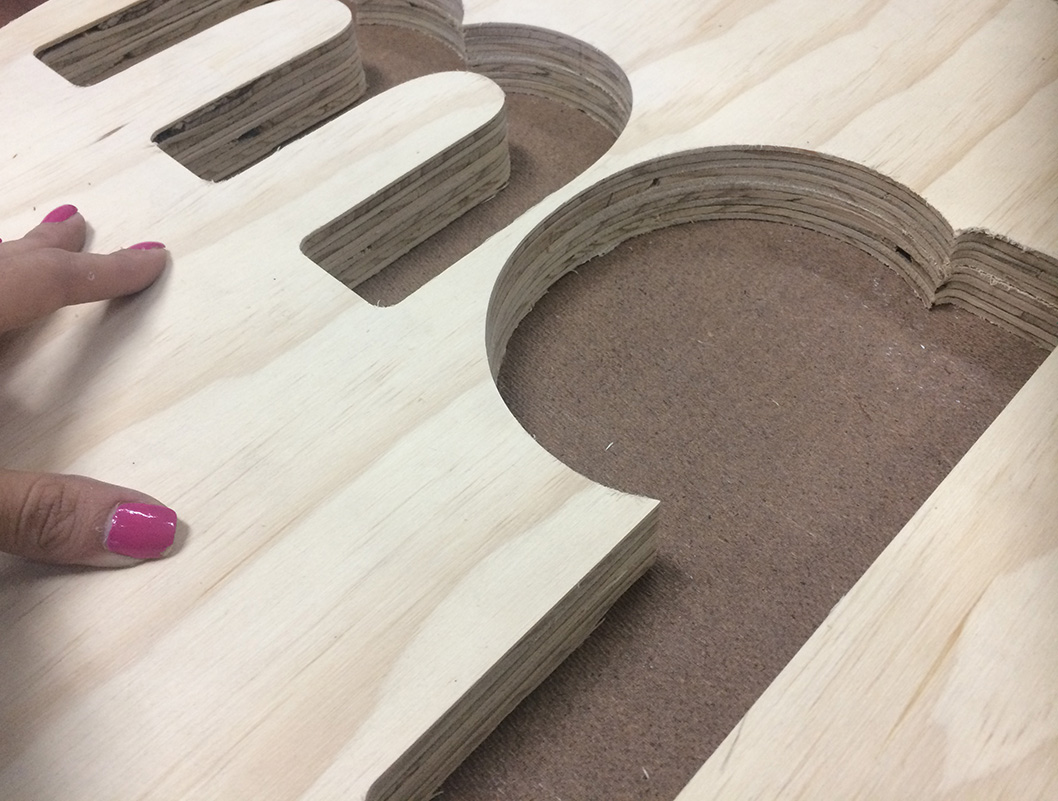
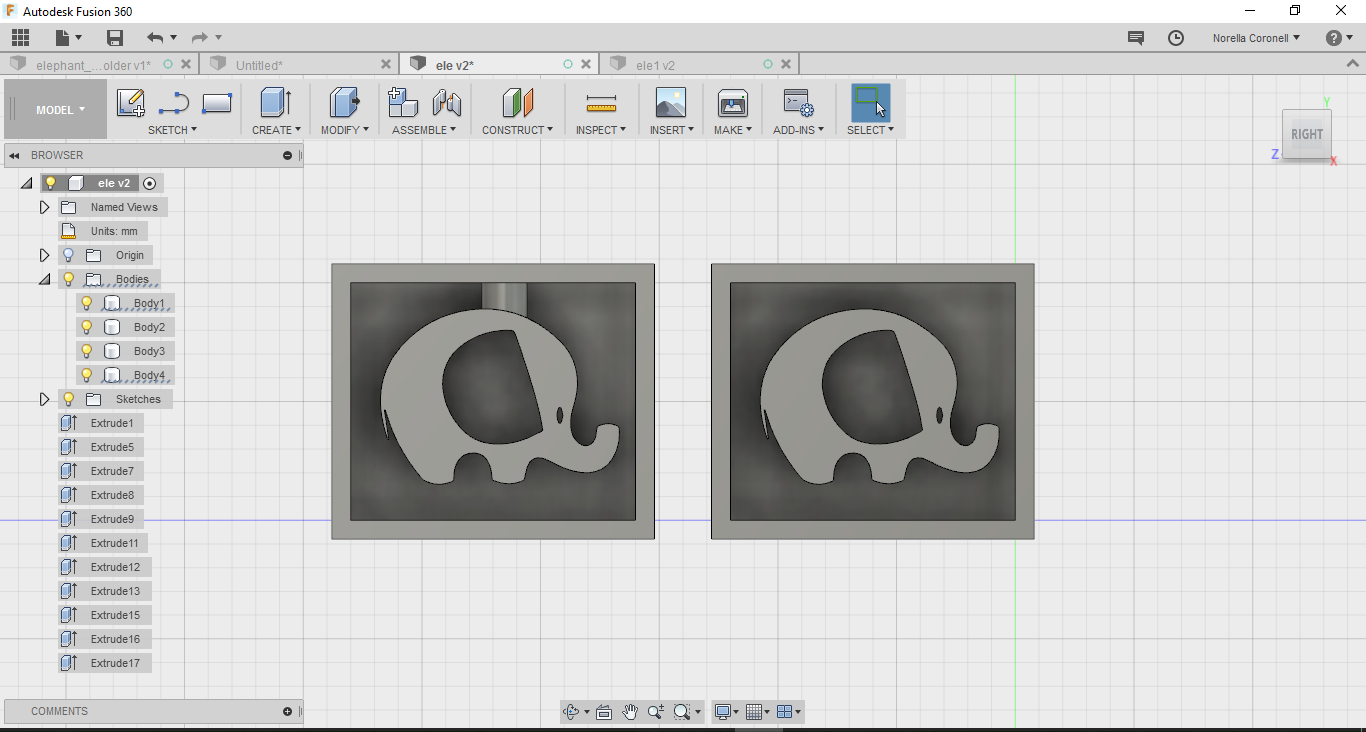
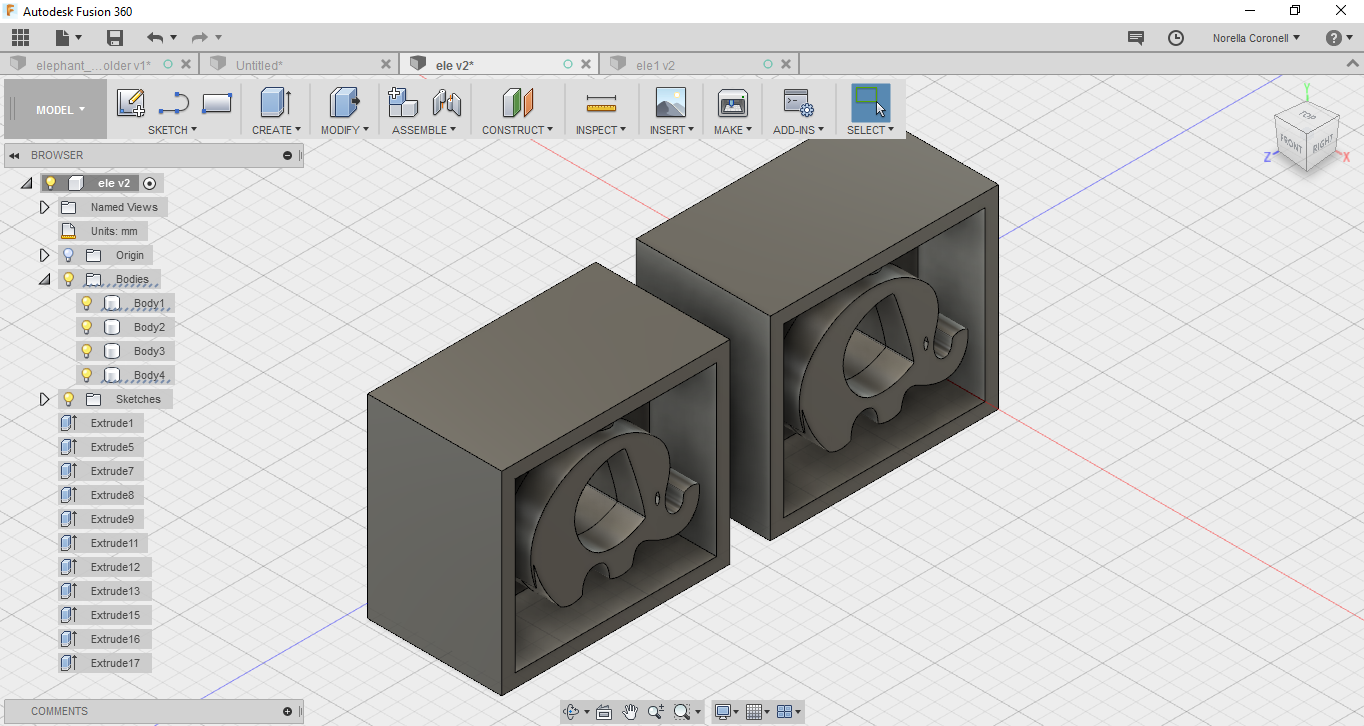
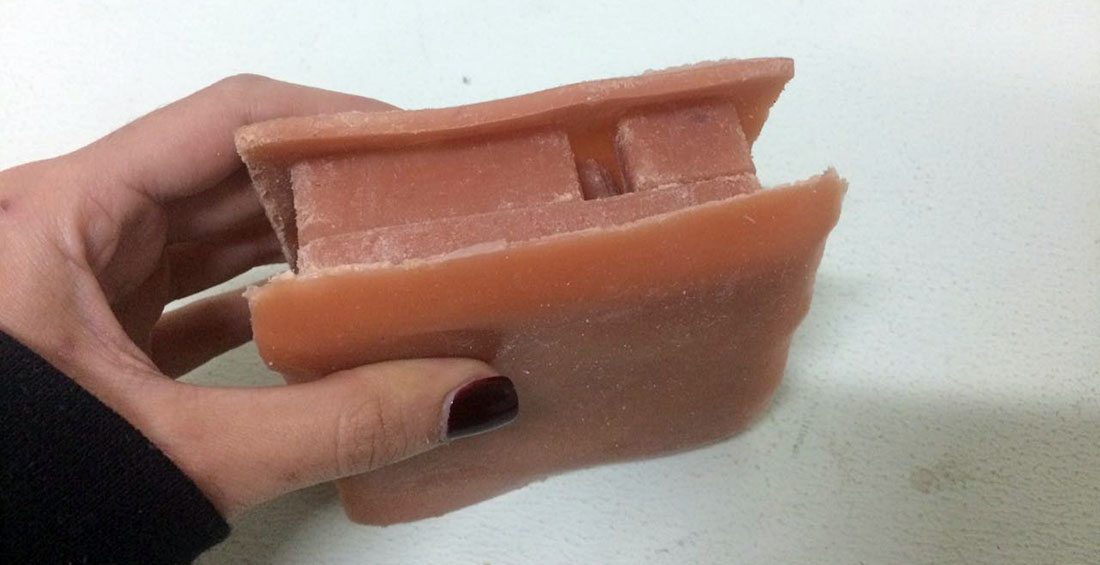
After a few minutes we have our molds ready as you can see on images above, the ones in the image show a mistake! WARNING:When you are doing mold make sure that one of them is in a mirrors stage so that both mold can fit. I realize con time and had to re make on of the molds.
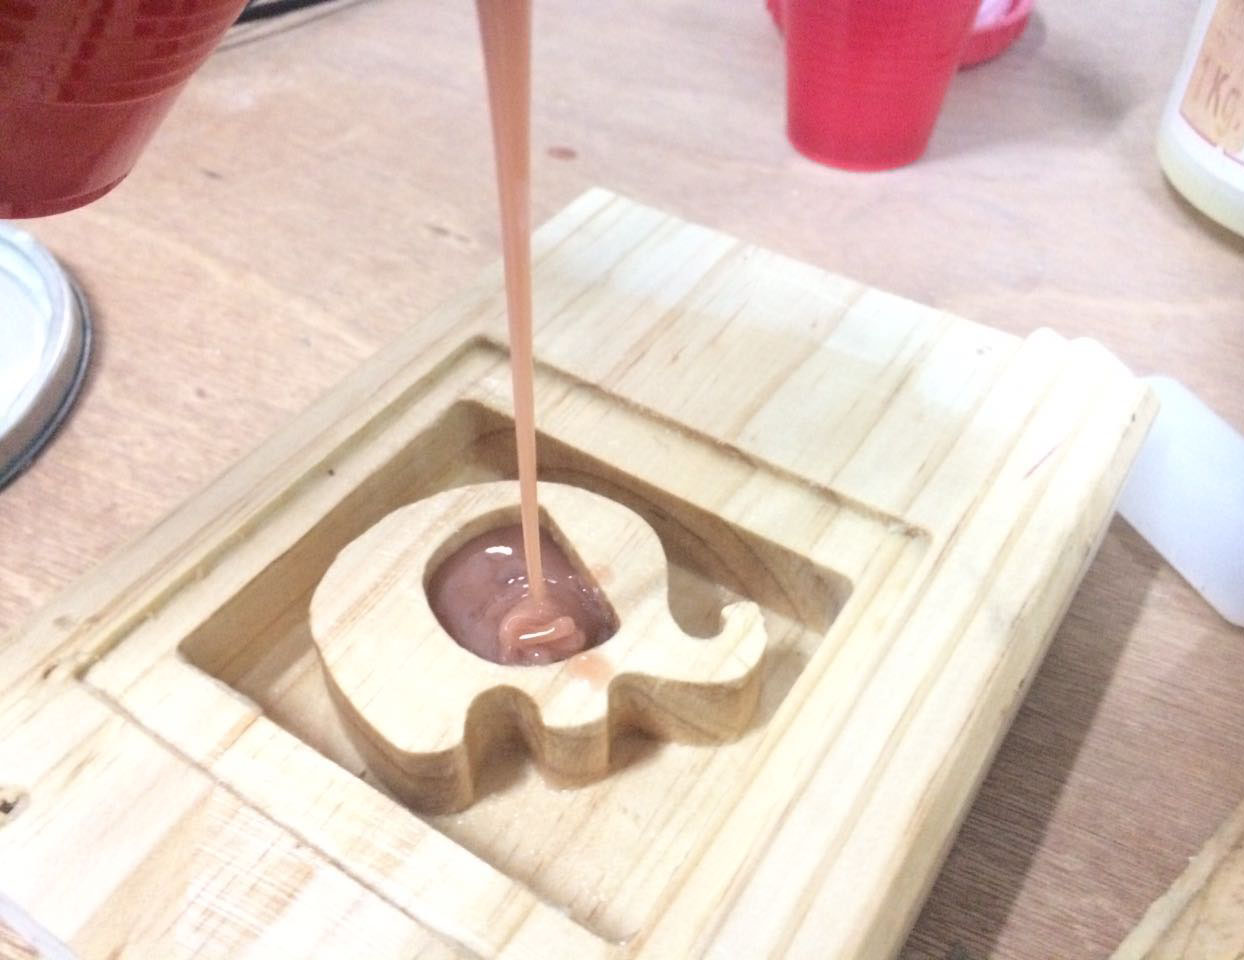
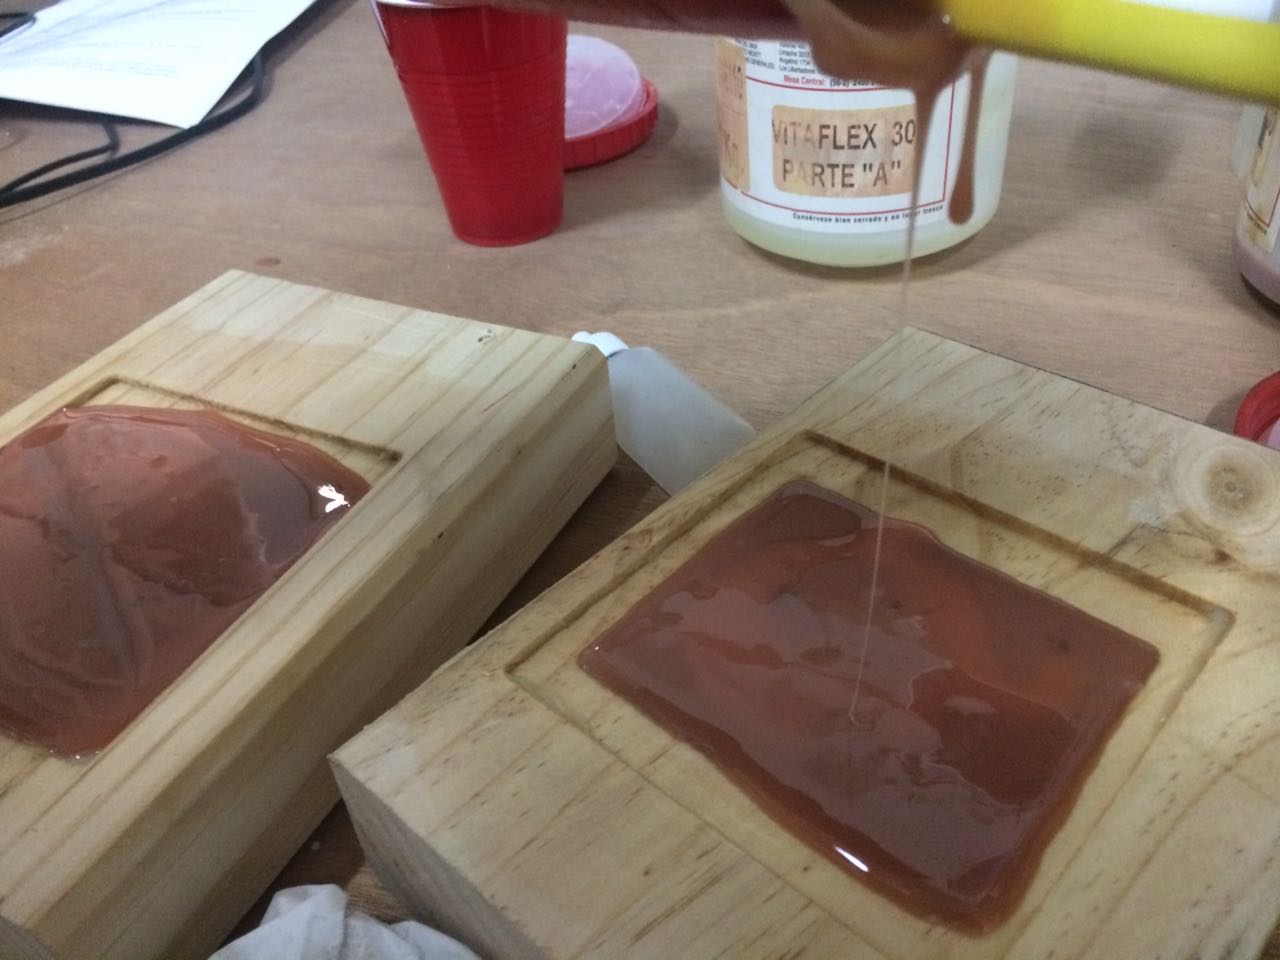
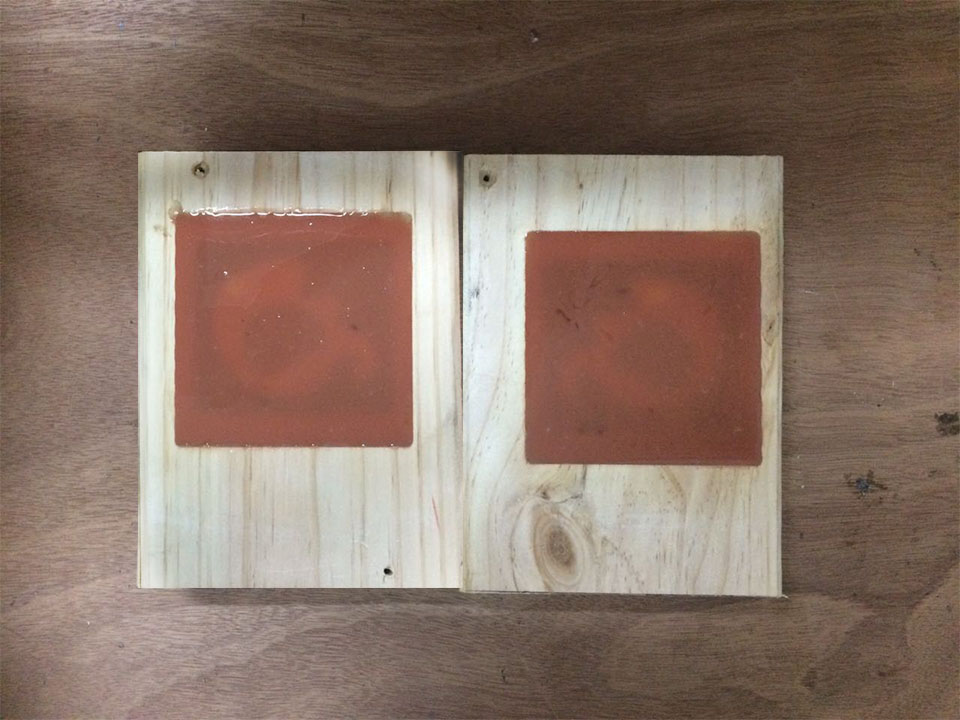
Once I have my two molds, we wax again our molds to make sure that the silicon doesn't attach and mix parts A and B and pour them into the molds. Finally the 2 molds are complete and now we have to wait 24 hrs until it can curate (images above)
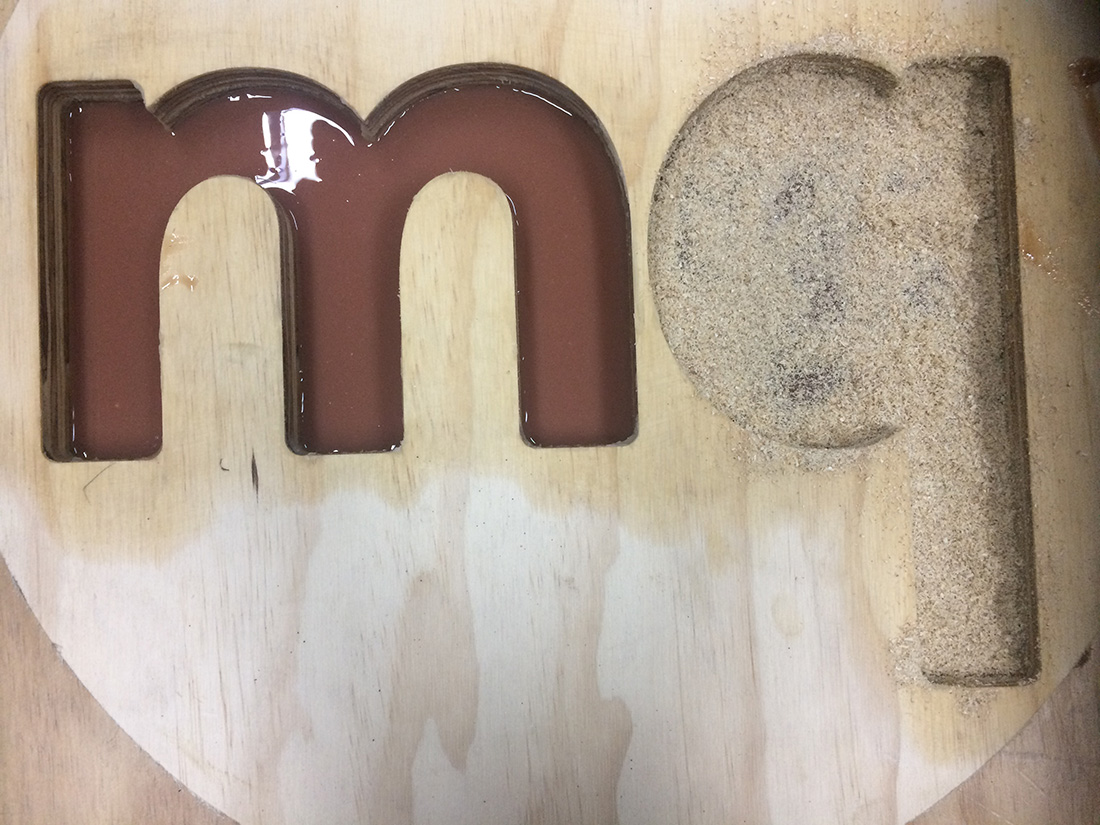
Now we finally have our 2 molds to cast this resin. To make it more efficient I recommended you to make some joint holes so that the to pieces don't more and can assure a safety cast. In my case I had to be very careful but it worked. Now we will wait for 24 more hours. (image above)
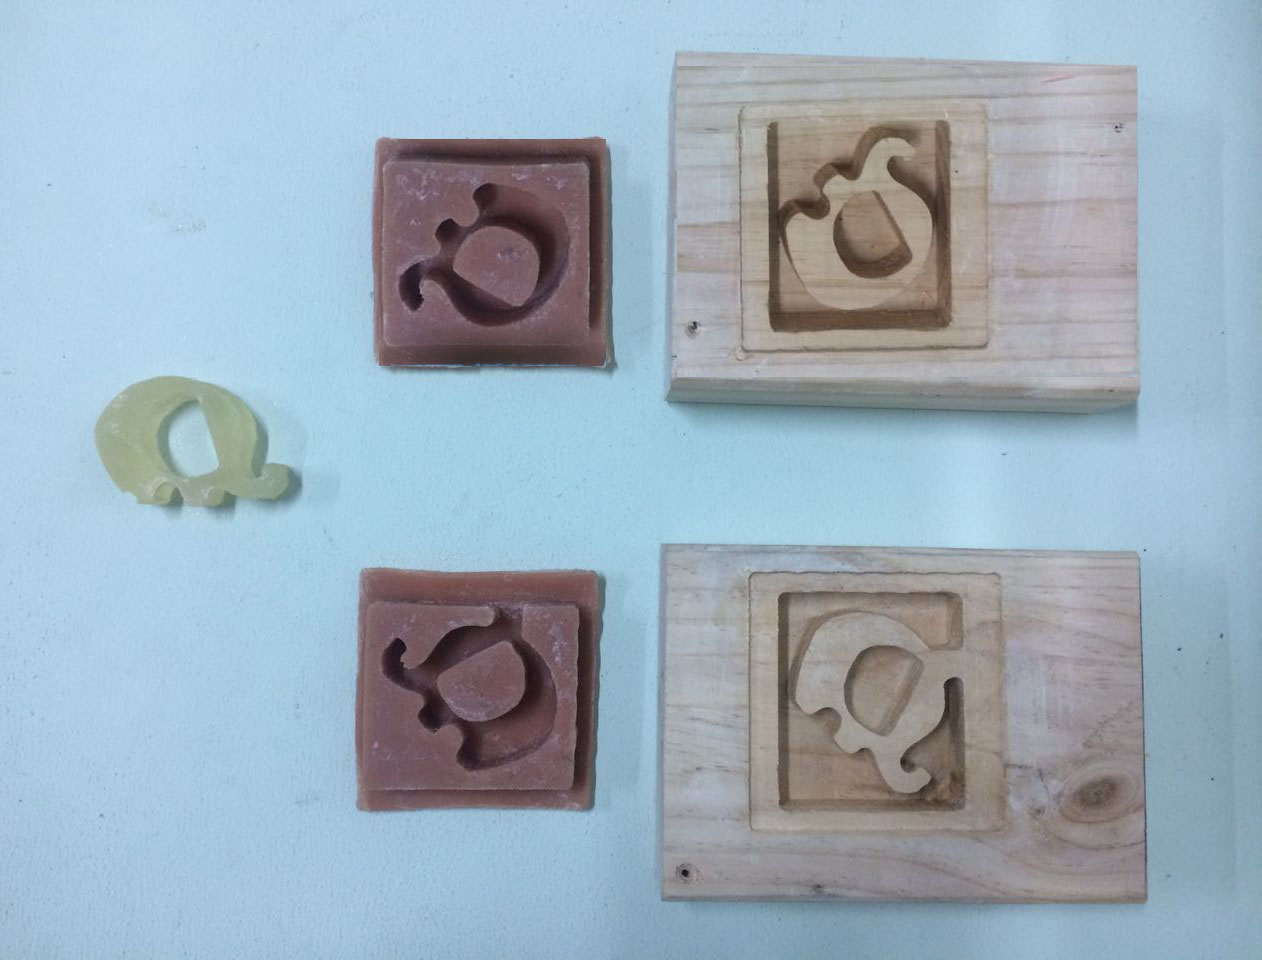
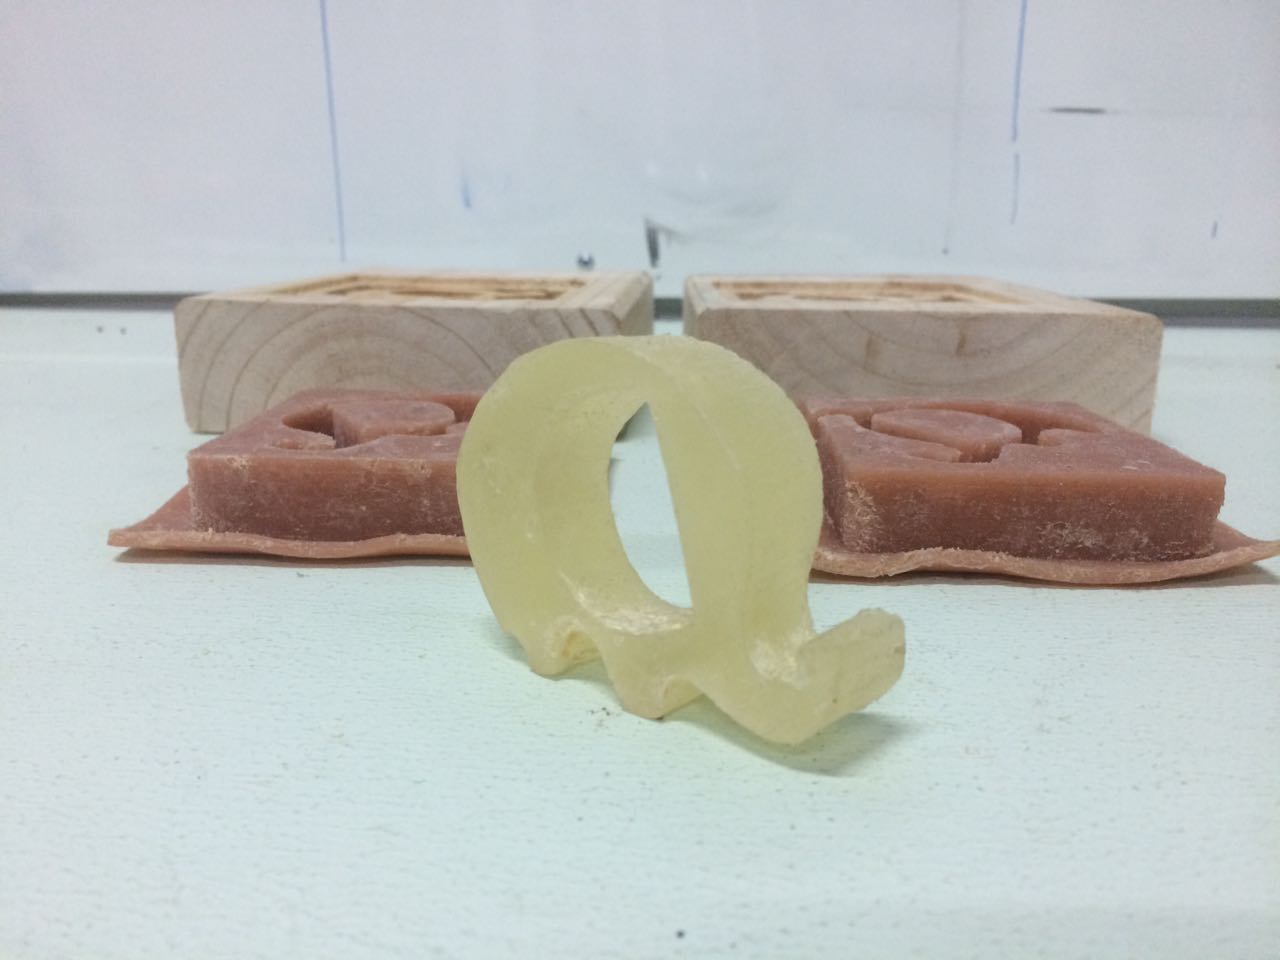
Finally after 3 tries, 4 wood molds, 1 3D printed mold and no wax mold, I have finally finished my molding and casting assignment!!!!!(images above)
Download Files here:
Modeling and Casting