Machine Design. Automate your machine!
Assignment
This is group assignment: automate your machine, document the group project and your individual contribution
We now continue from Assignment 9
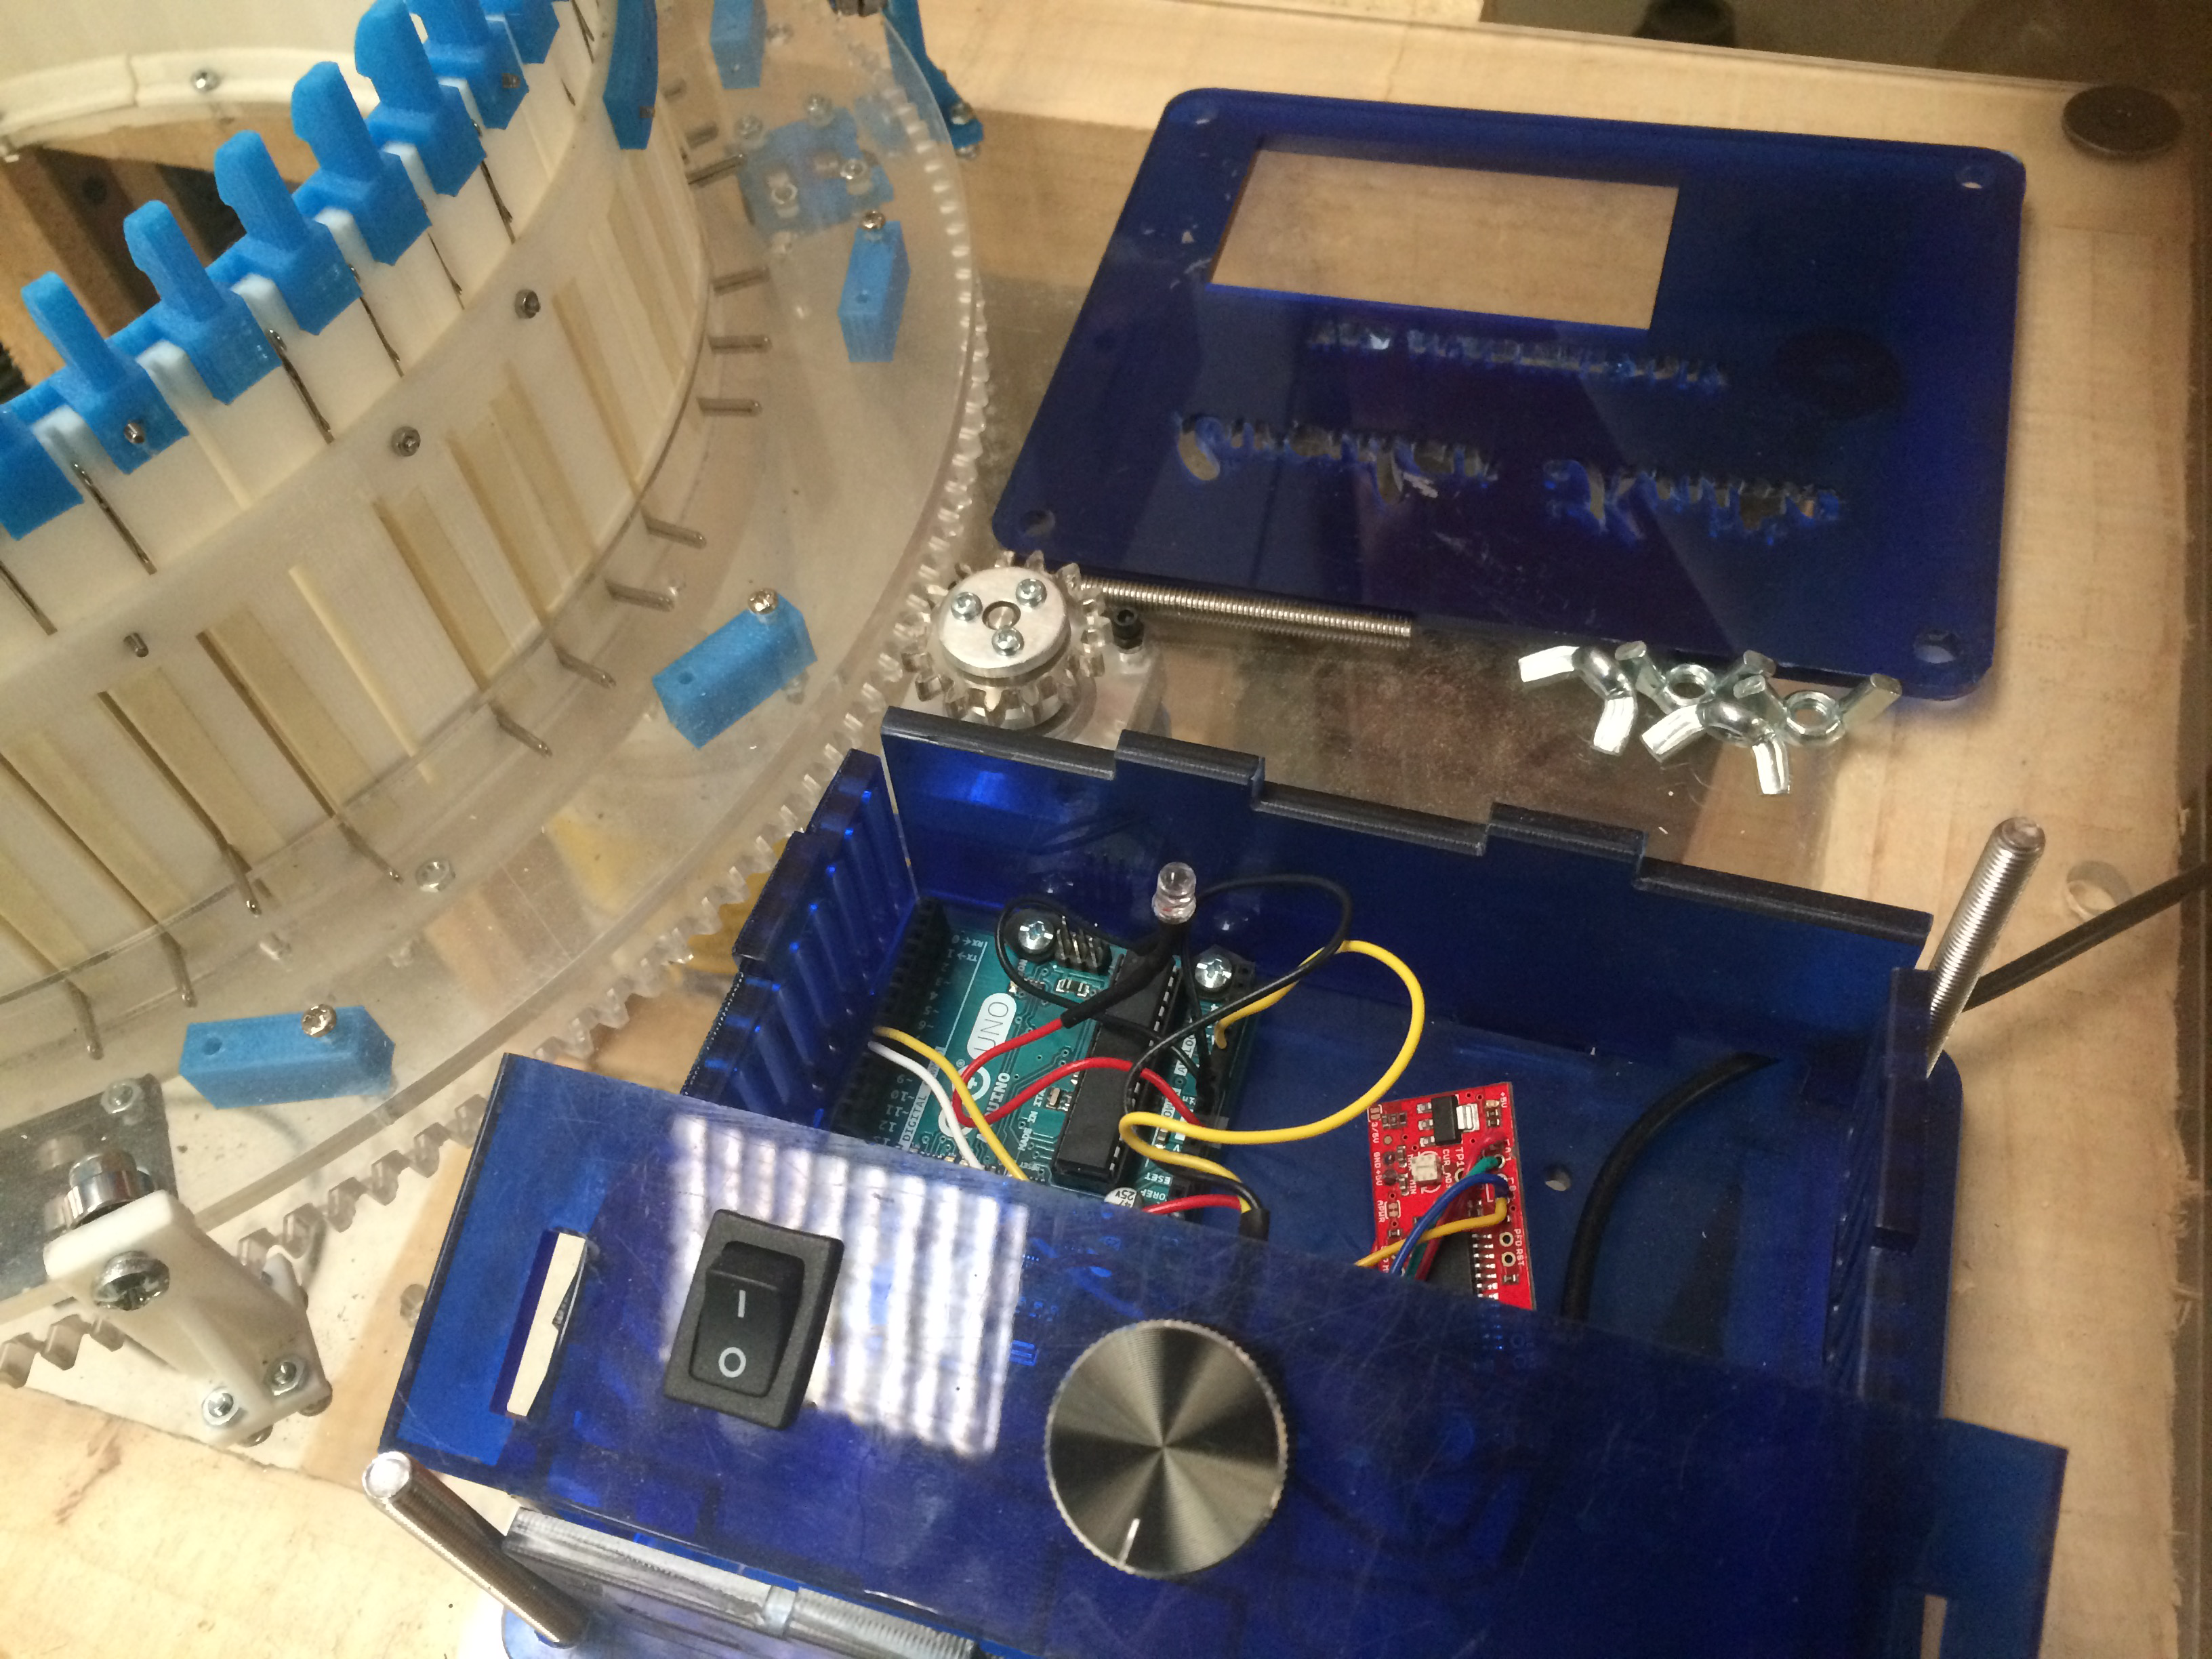
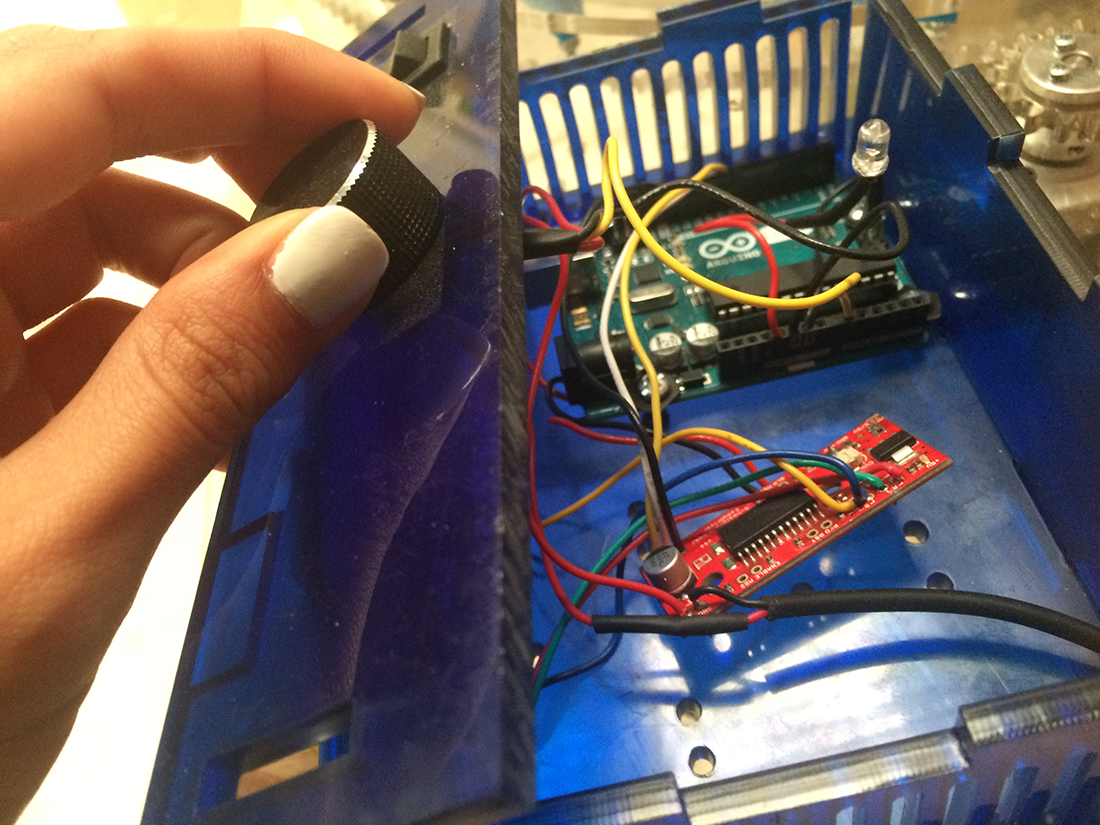
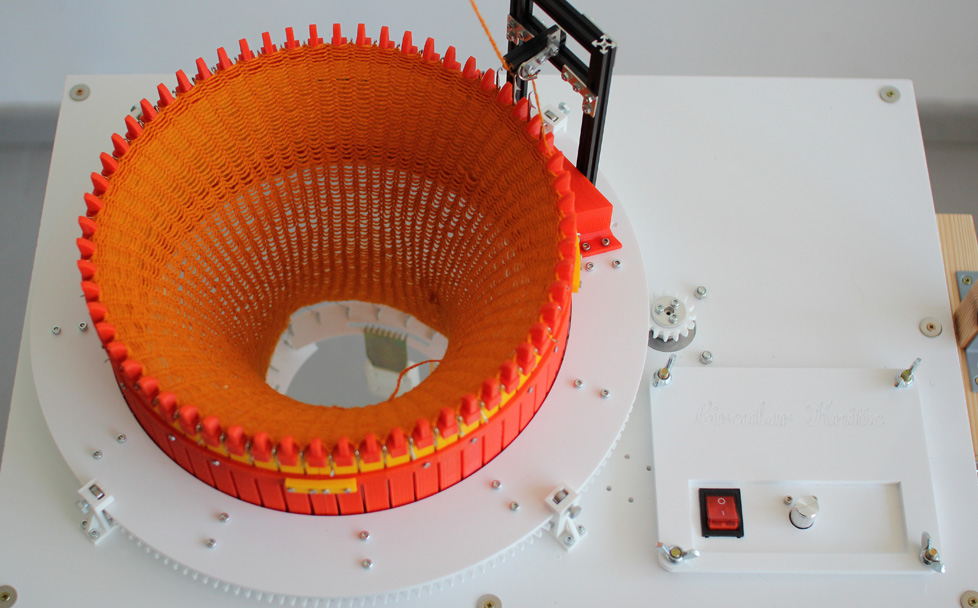
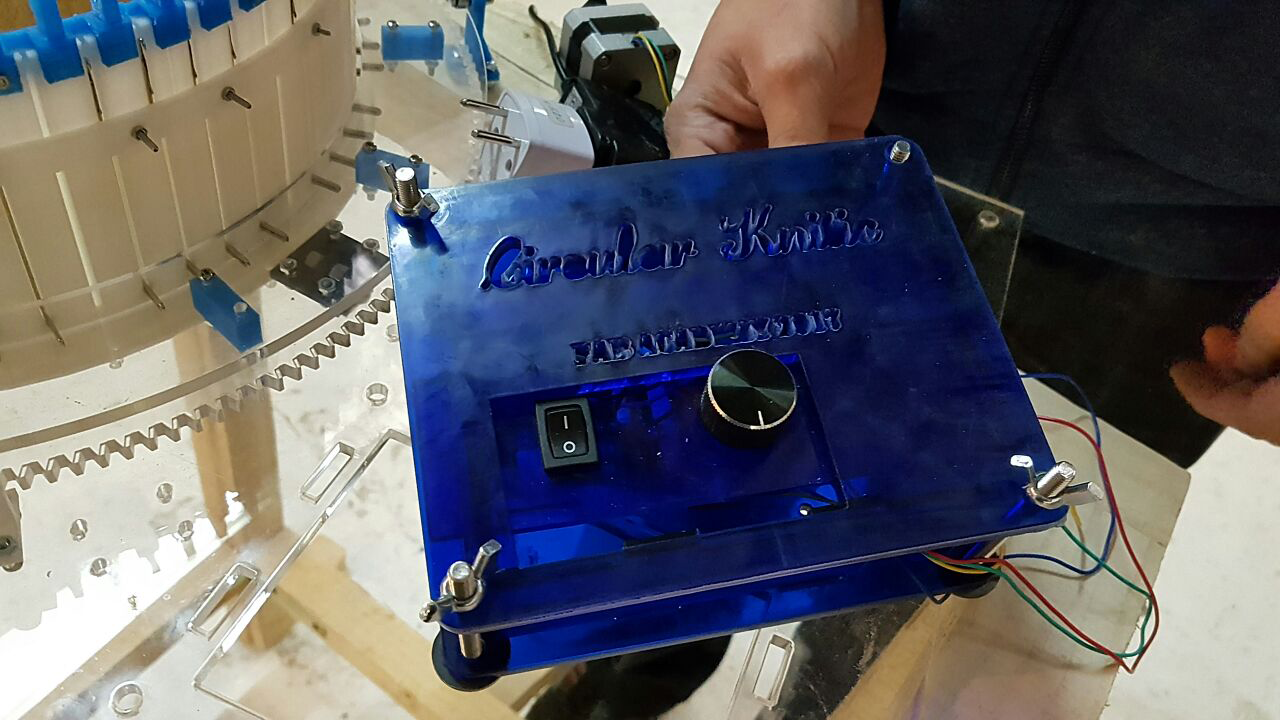
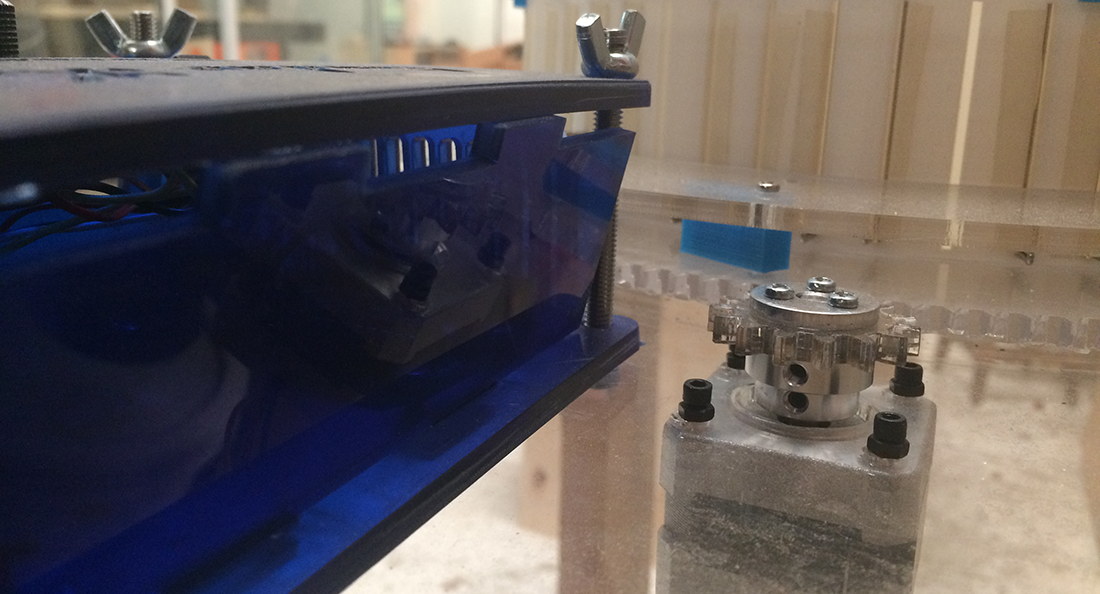
Step 7: Electronics, Mount electronics, motor and box to the base of Circular Knitic.
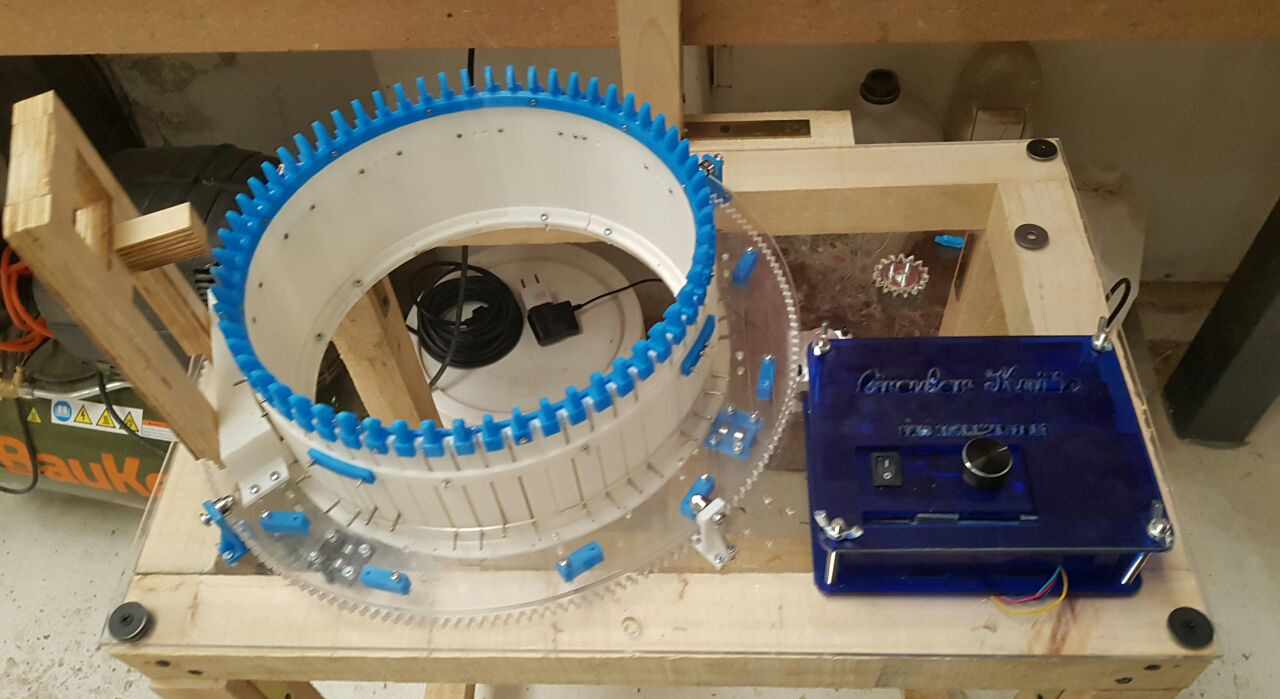
Step 8: Mounting Outers, Mount 3d printed parts called outers to the base and fix with the screws and nuts.
Machine Design Try 1 from Norella Coronell on Vimeo.
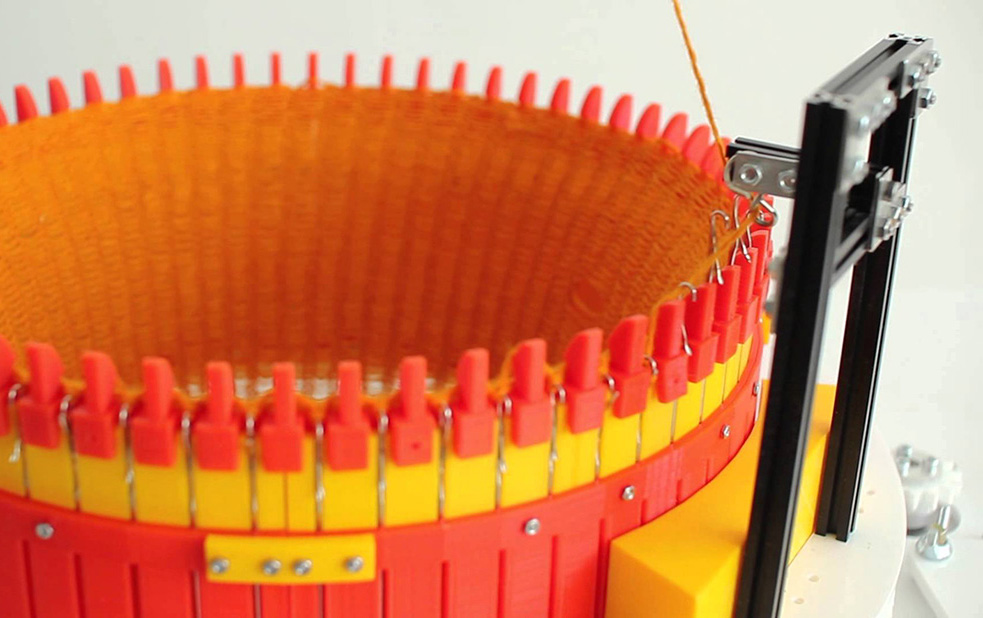
Step 9: Place Needles, 3d-printed parts called Inners serve for holding needles. Circular Knitic uses 60 needles and 12 inners. It makes 5 needles per an inner. Place needles to an inner and then fit it to the outer. Fix with m2 screws and nuts. Make sure that the needles are moving smoothly up and down. if not, make sure that you are placing the parts right and file them if needed. Leave one inner not placed.
Step 10: Program the speed control of your knitting Machine.
Machine Funtion from Norella Coronell on Vimeo.
Step 11: Mountain, Make yarn feeder from the listed makerbeam parts and fit to the laser cut upper surface. Afterwards use 30mm m3 screws to fix the 3d-printed connectors to the surface. Next place the mountain to its place and fix with screws.Use the empty entrance to place the upper surface to the Circular Knitic. Make the needles to enter the mountain, connect upper surface and big gear, and place the last inner with the needles. Now make sure that the needles are moving and following the mountain shape.Place also 4 outer-connectors and try that everything moves well. This instruction sound very nice, but we had a problem, the needles we purchase where too small and didn't move along, but we made it work.
Mechanism Machine from Norella Coronell on Vimeo.
Step 12: Yarn Holders, Now place yarn holders on top of the inners. Look that the parts enter until the end and fix them with the screws and nuts.
Step 13: Yarn Feeder, Make the yarn feeder holder from the wood and attach to the main structure.
Improvements: Replace th needles for a standard needle form or at least one that is affordable in most of the countries, the needles that where suggested where not found and we had to replace them by another type, a similar but not the same thing.
What would be done differently: To create a machine made by someone else where most of the materials couldn't be found is not comforting even though toy have all all the instruction and everything you won't be able to make it. In our case we ha to improvise. I would change needles, do a more packaging case for the electronics, replace maker-beams with wood to make it a more natural structure and even replace acrylic with wood.
The problems we faced:
1. Buying components
2. Laser Cutter not cutting
3. Replacing missing components with what we had
4. Not having enough hands to have the job done on time
5. Screws not fitting and at last minute trying to replace them
6. Tying to make the machine knit after all the changes, basically it turned in a circular way, but form there to making it actually knit, we need more time and to change lots of thing to make it work in a proper way.
7. Finally one good advice is that before you try to make a machine (any machine) make sure that you can get all your materials in a local way, this will save you a lot of time!.
Download Files here:
Circular Knitic Instructable
Group Page
Video