Computer Controlled-Cutting
Week 3
Tools Used :
-
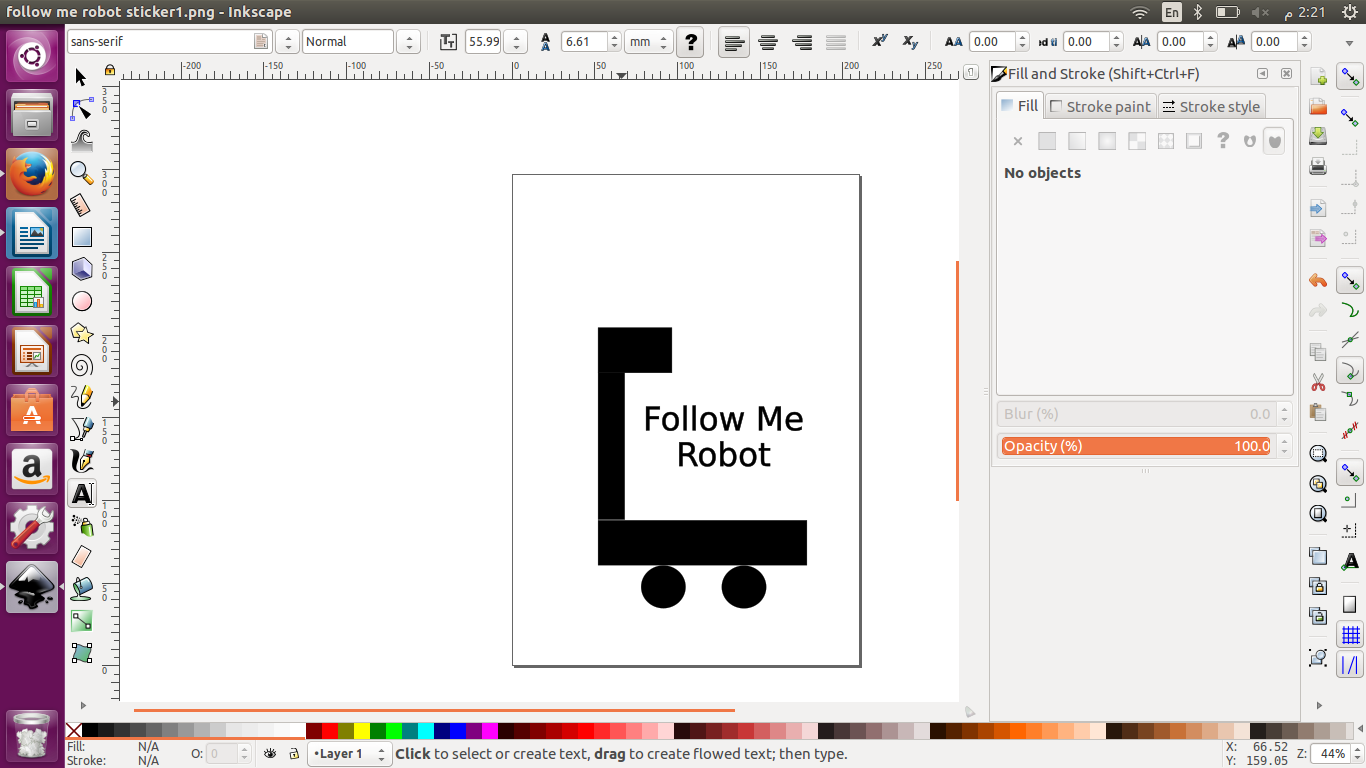
I used InkScape for 2D designing to design a Sticker
-
I used OnShape for 3D designing for laser - cutting
Vinyl Cutting :
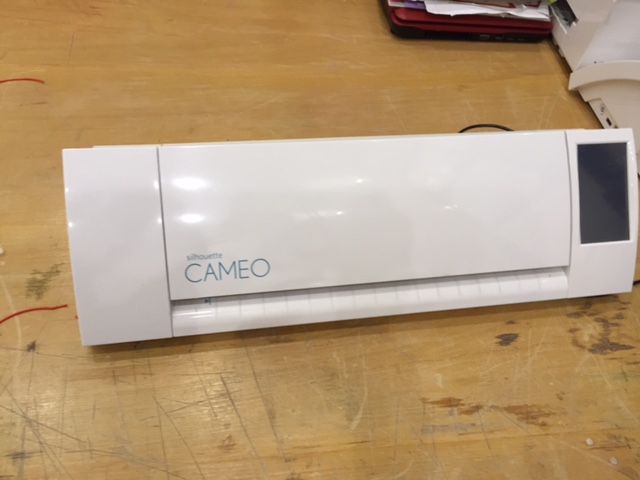
In this vinyl cutter we are using the (CAMEO) printer and for the controlling , we are using Silhouette software studio. Vinyl cutting is a printer we can control using a computer to print stickers.
Design :
While using InkScape to Design my logo sticker , I used rectangle and circle shapes to design a logo for my final project. I felt that this software has limited capabilities. For example inserting a rectangular shape or a circular shape seems like rocket science to ths software compared to the normal paint program in Windows its much easier and user-friendly than InkScape. The main problem I faced was mainly finding the different available tools and using the options.
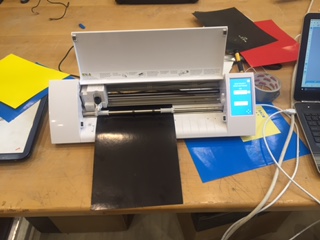
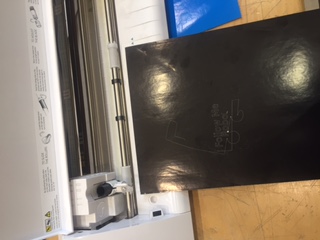
I placed the vinyl sheet and made sure it was straight then I turned the printer ON by pressing the right side button. Then I loaded the cutting bladde to the machine after pulling the knob to open the slot, and closed it after placing the blade.
After that I uploaded the vinyl sheet to the printer.
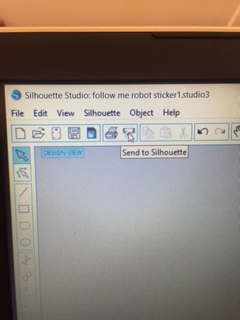
We are using Silhouette software studio for controlling the vinyl printer , you can see above there is an option (send to Silhouette) which will send. It will generate a toolpath for the design to cut.
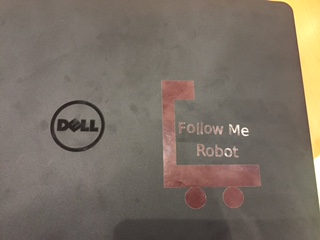
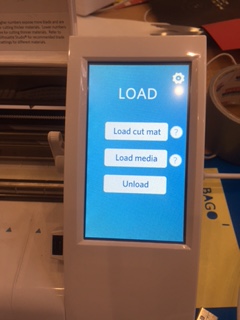
Once the job is completed , I unloaded the vinyl using "unload" option in the machine. Here is my sticker after I sticked it using plucker to remove all the unwanted stickers. Using double sided tape to remove my design from the vinyl sheet , then I sticked on my laptop and peeled off the tape and applied on the surface to which you want to transfer.
Mistake :
I didn’t fix the vinyl paper holders to be exactly fitting from one end to another on the top, so it ruined while printing. Thats why before printing we have to make sure that the side holders are holding the vinyl papers tight.
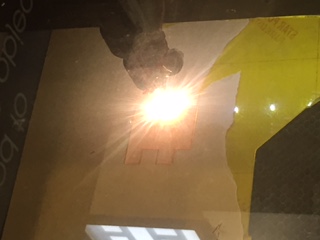
Laser Cutting :
Laser Cutting is an interesting thing to do and can make almost any structure using the laser cutting device. First I export my design from Onshape (in my case) in .dxf format. Second I import the .dxf file in lasercut5.3 software. Third , I drag the parts to the location I would like to print on the acryllic sheet. Fourth , I download my design to the laser cutting device test the exact place I am cutting to be sure that there is acryllic in that place that fits my design part/s incase I am using a used acryllic sheet. Fifth , I start cutting my design.
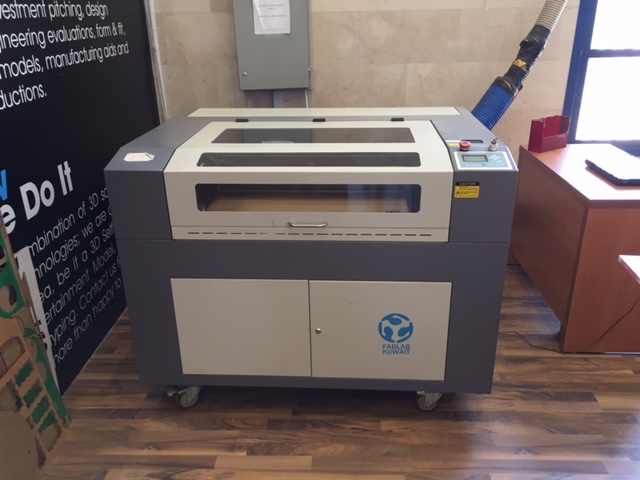
This the laser cutting device we have in our lab , and the one I used. Co2 laser cutter and usng lasercut5.3 software.
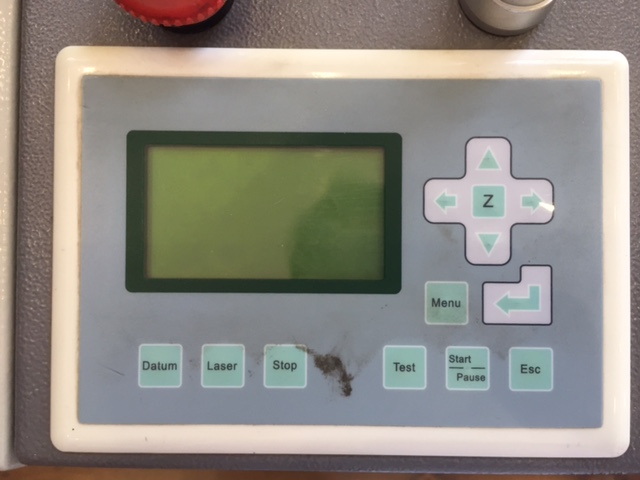
This is the control panel of the laser cutting machine which is really simple to use to start cutting , stop cutting , and to test the place of the cutting before starting to be sure that there is enough space to cut in the existing sheet.
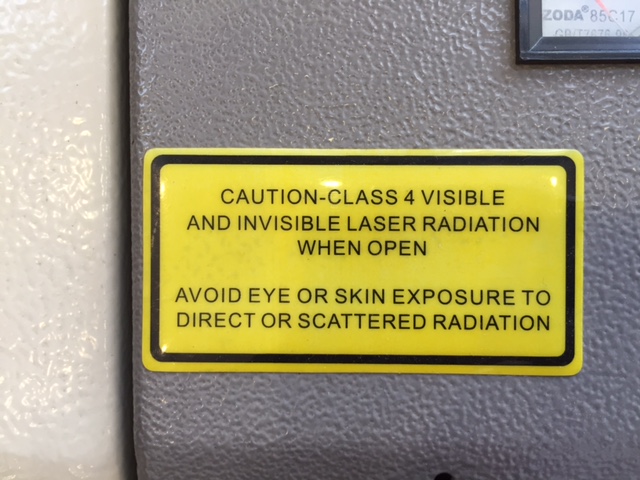
This is the caution sticker on top of the machne which mainly warns about eye and skin contact with the radiation.
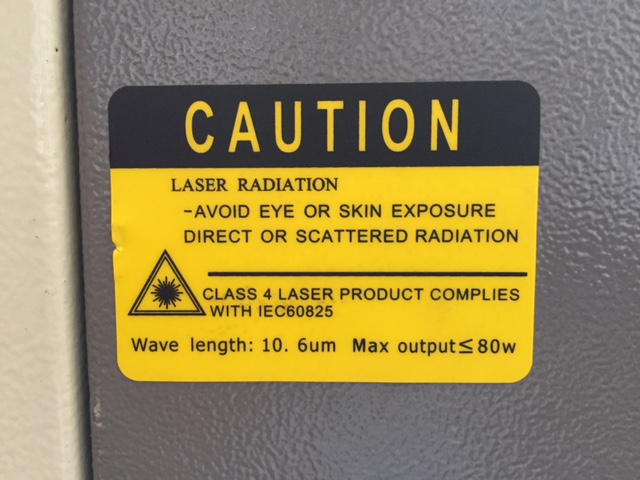
This caution sticker is in the front side mainly also warns from the radiation.
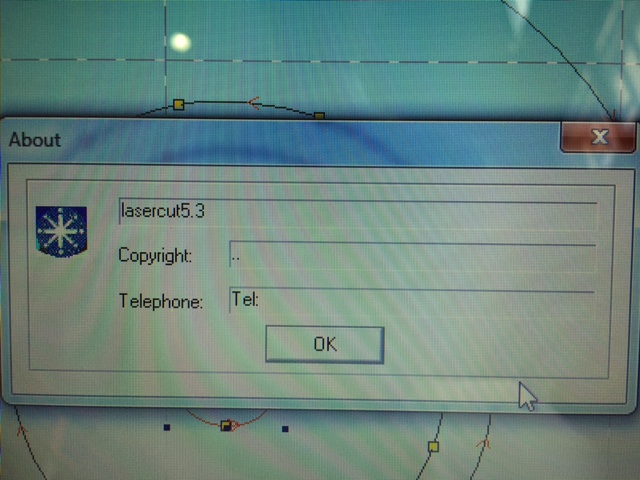
This is the lasercut5.3 software I used importing my dxf files to cut.
Mistake 1 :
My difficulty designing to laser cut was that I used first InkScape which was a little hard to set parameters for different shapes and not that userfreindly layout. And I designed a cube by making four squares with press-fit shapes on top and bottom using the line tool , it felt like designing in the stone ages it had a manual feeling when designing.
So my mistake was the teeth like shapes were too long so I fixed it as shown above , my dimensions were wrong because I gave te height of the press fit teeth more than 3 mm , the acrylic sheet thickness is 3 mm.
Mistake 2 :
My second mistake was that after I tried to reduce the height of the teeth shaped press fit to be fixed , it was still loose as shown above
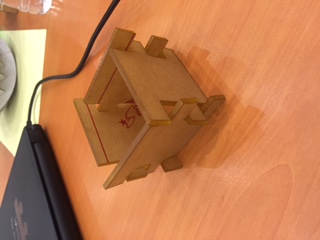
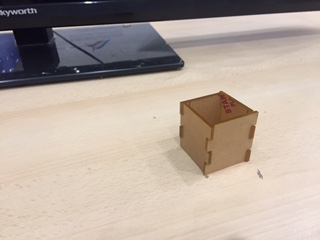
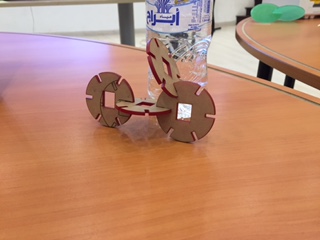
Final Result :
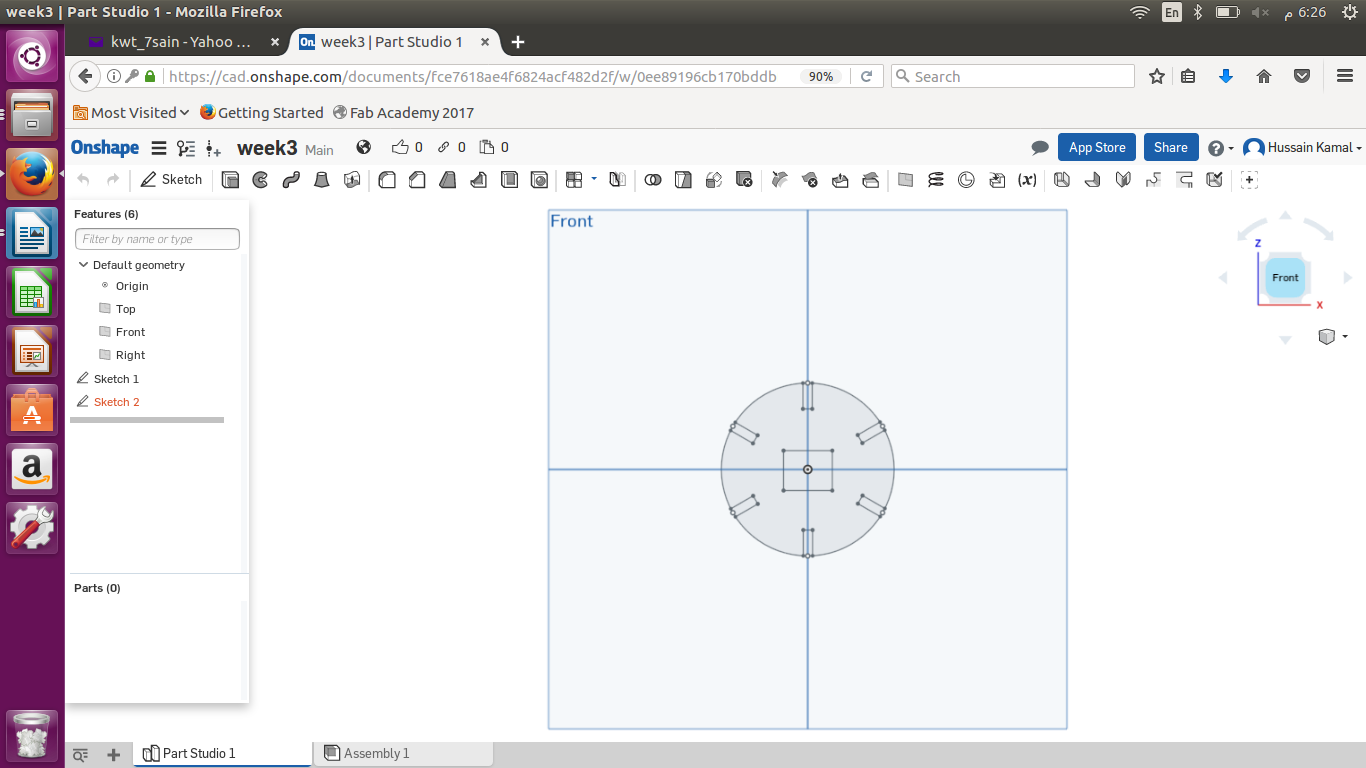
Then I realized that I have to use OnShape because it has parameters , so I used OnShape and designed a circular shape, with six rectangular slices equally distributed around the circular shape with a square cut in the middle , the small rectangular slices width were 2.7 mm due to the thickness of the acrylic I’m using which was around 2.68 , I made the width f the slice a little wider in order to fit a duplicate piece of my design. The idea is to duplicate my circular shape many times and make any object I desire.
I made a motor cycle by duplicating the circular shape I designed. And this picture also shows how its press-fit.