Design a 3D mould, machine it, and cast parts from it.
What is moulding and casting ?
Moulding is the process of manufacturing by shaping. A mould is a hollow out block that is filled with a liquid. Casting is the manufacturing process in which a liquid material is poured into a mould.
3D Moulding Design:
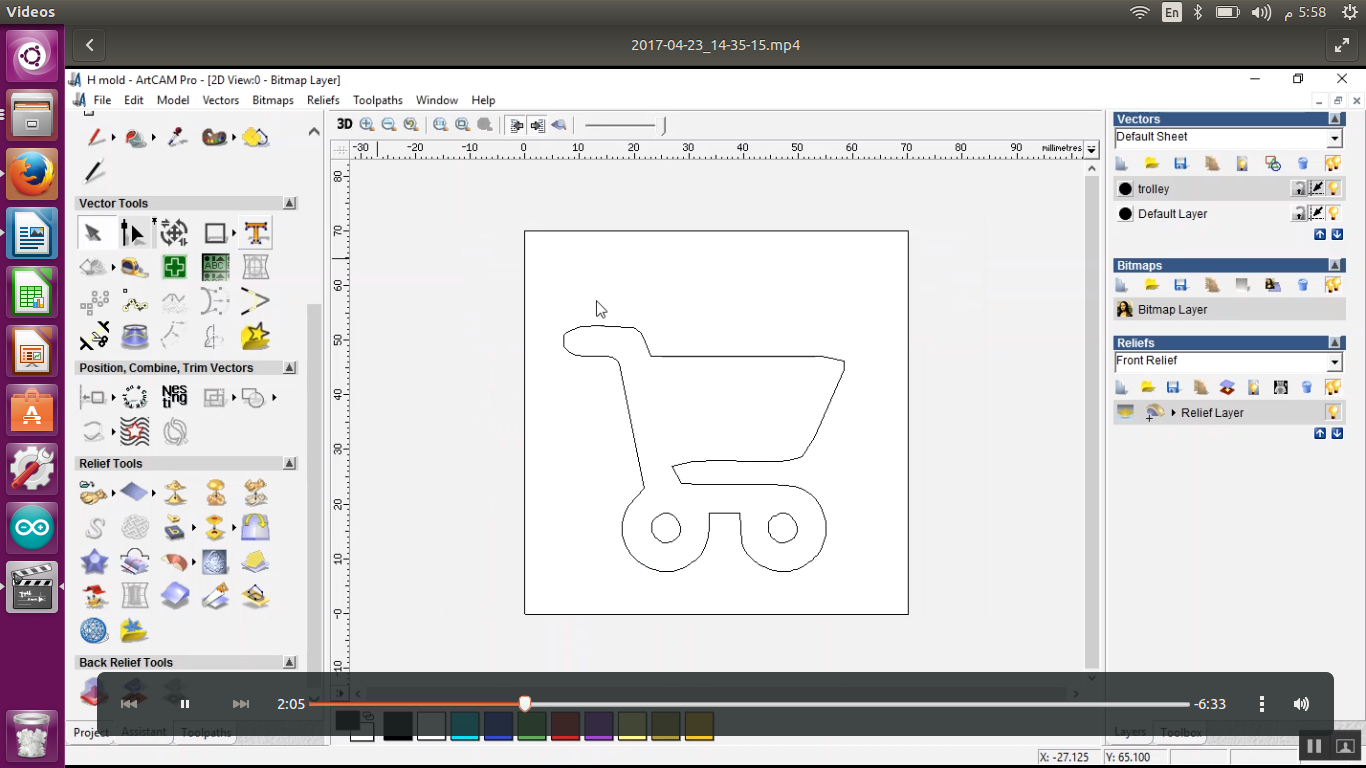
I used ArtCam software to design my 3D shape. I designed a trolley along with my initials on the trolley (HK). My final product is a trolley thats why I decided to make this design. For the Artcam I surfed some youtube tutorials and it was easy fordesigning. During the previous weeks I used Onshape so I decided to experience a new software.
First I placed a trolley shape
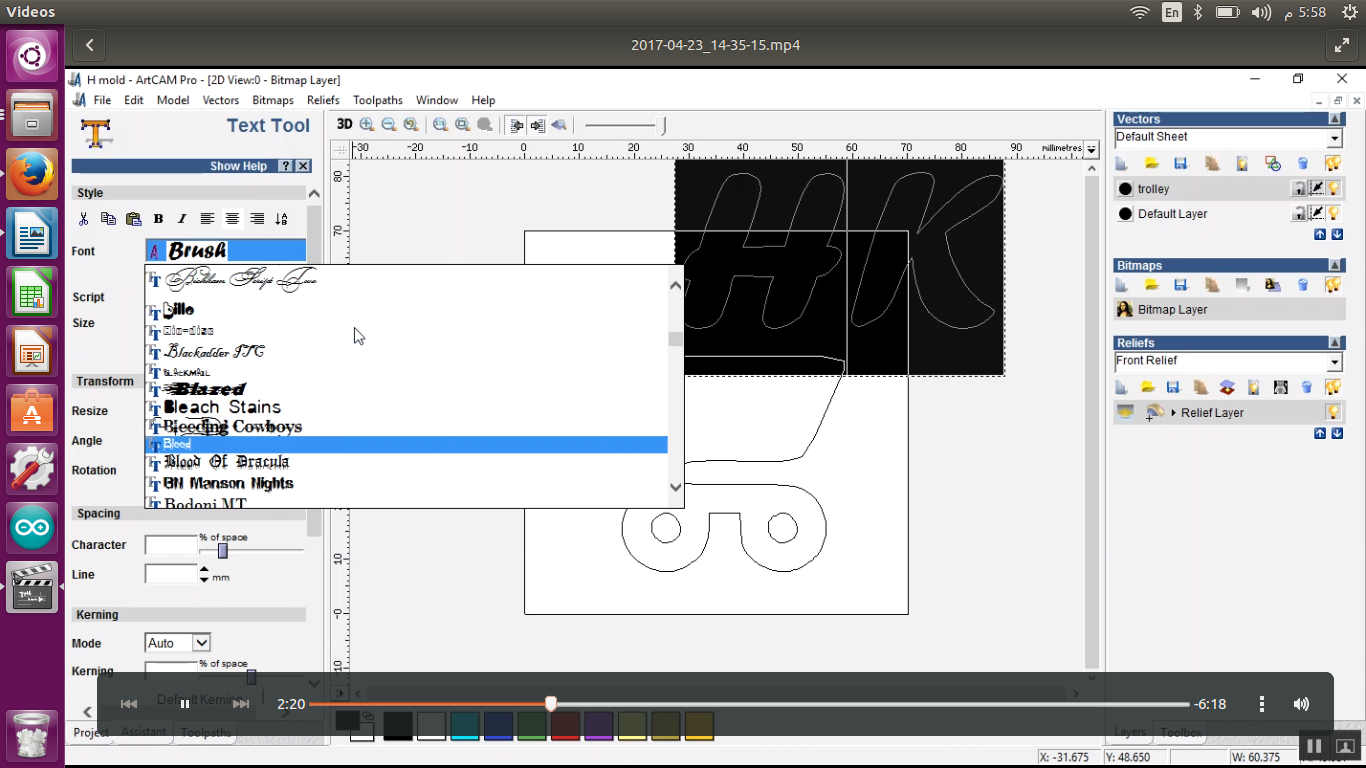
Then I typed my initials in a text box to keep it on top of the trolley.
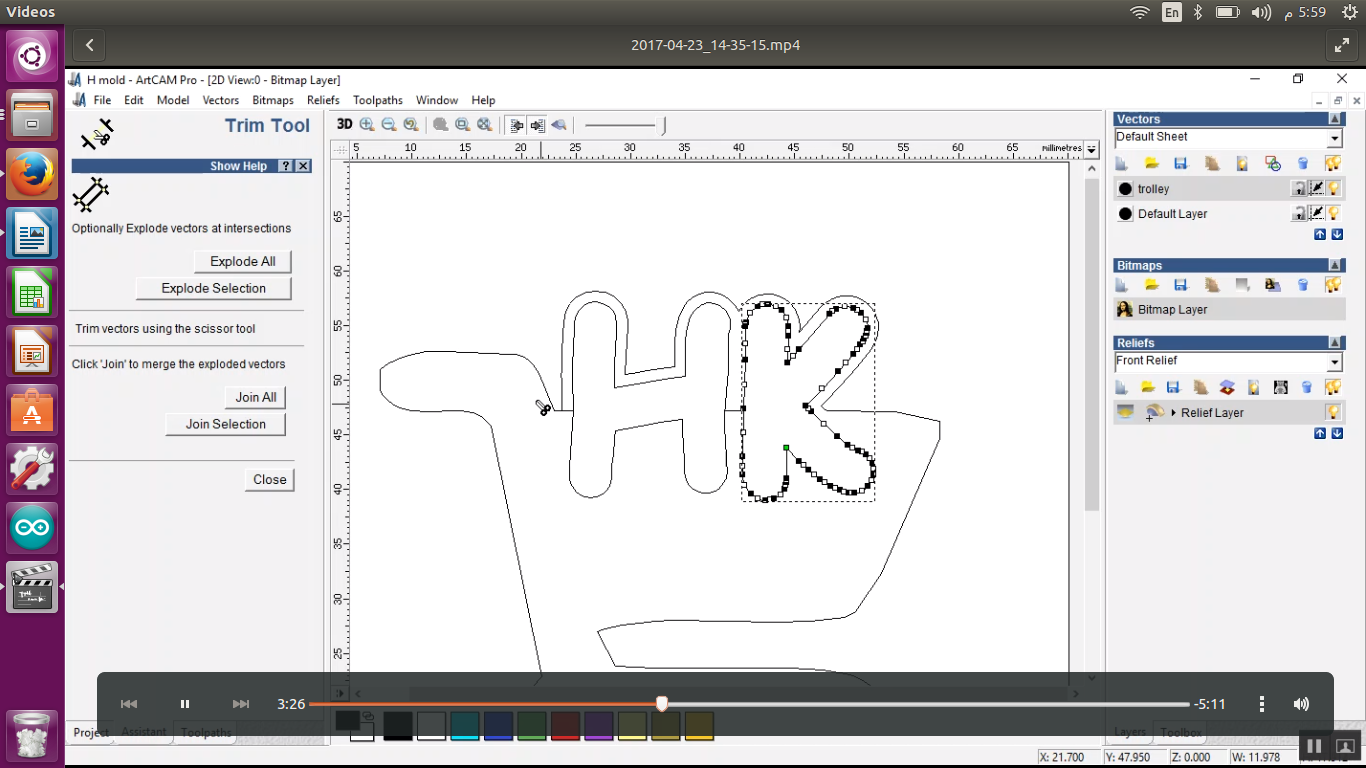
Then I changed the font of my initails and made borders
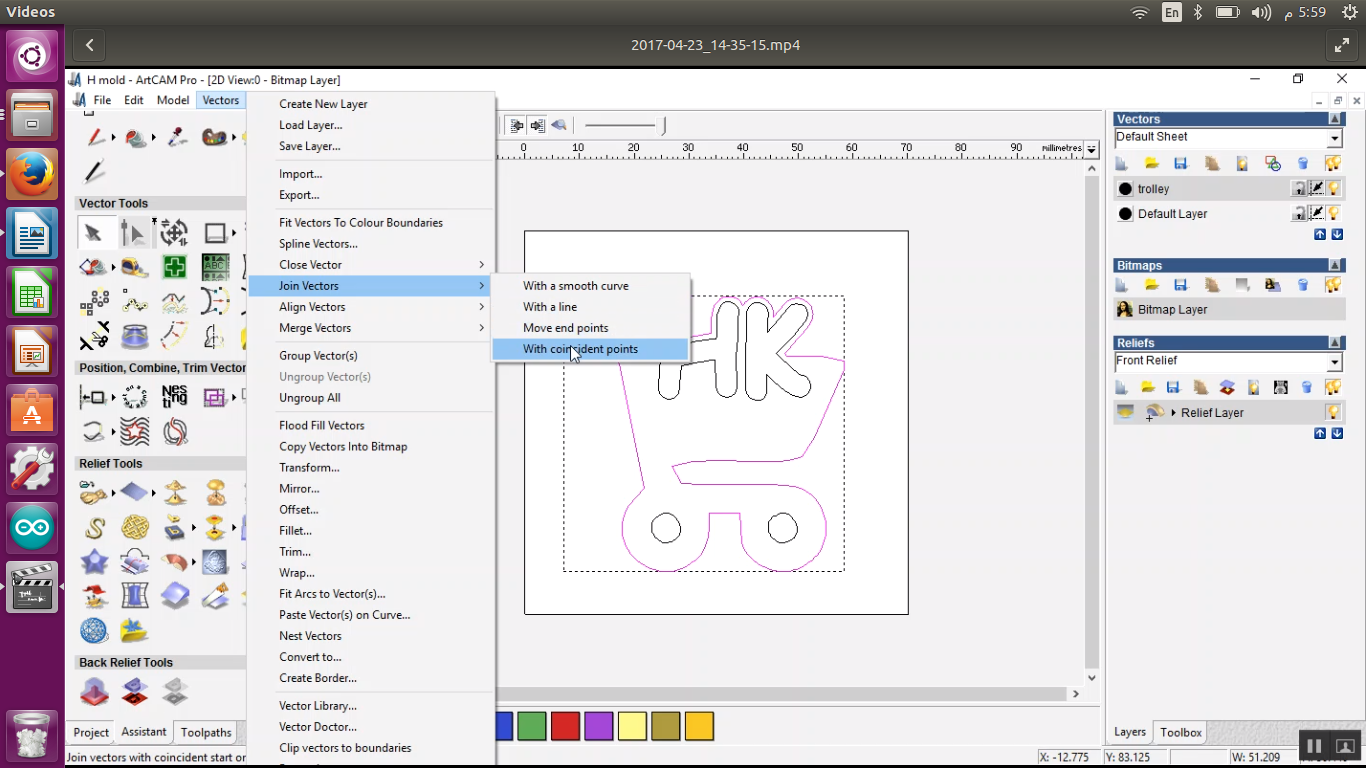
Then I joint vectors with confident points
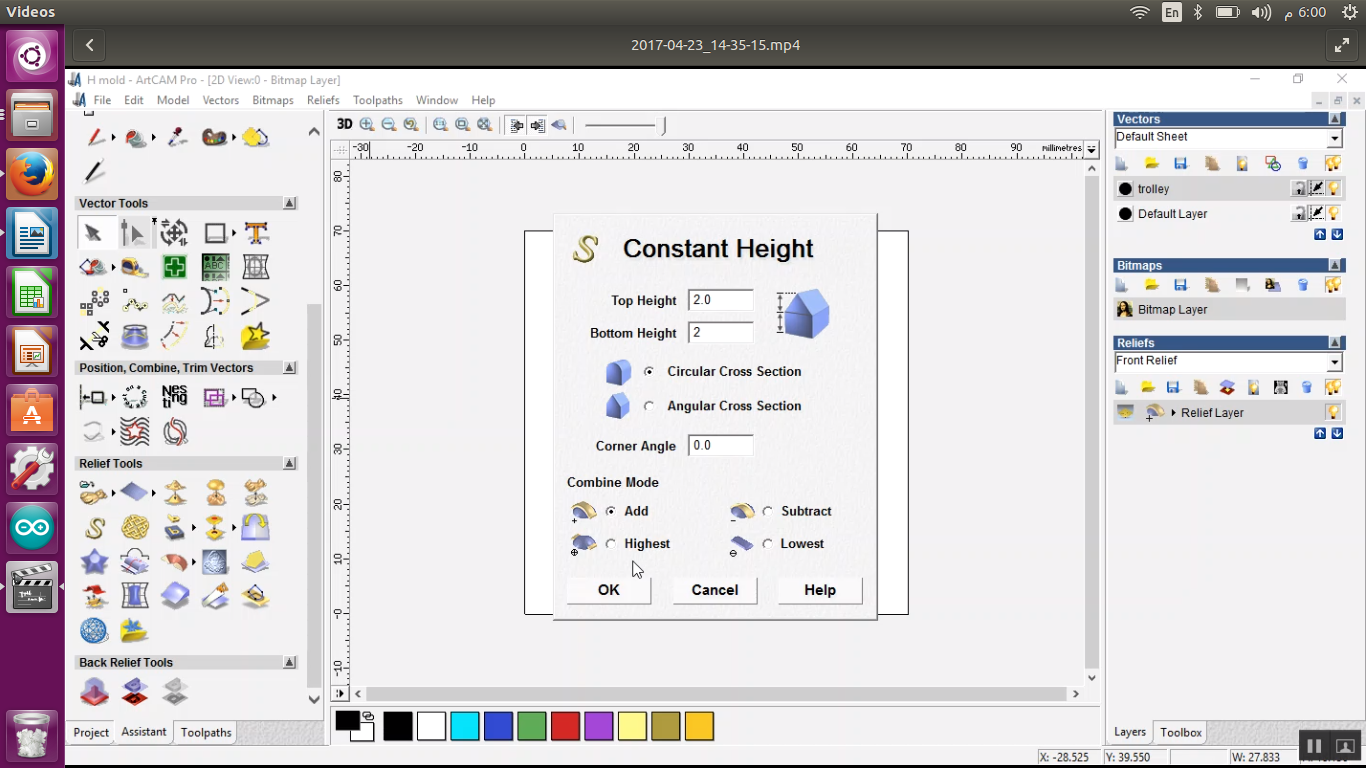
I defined the height of the shape.
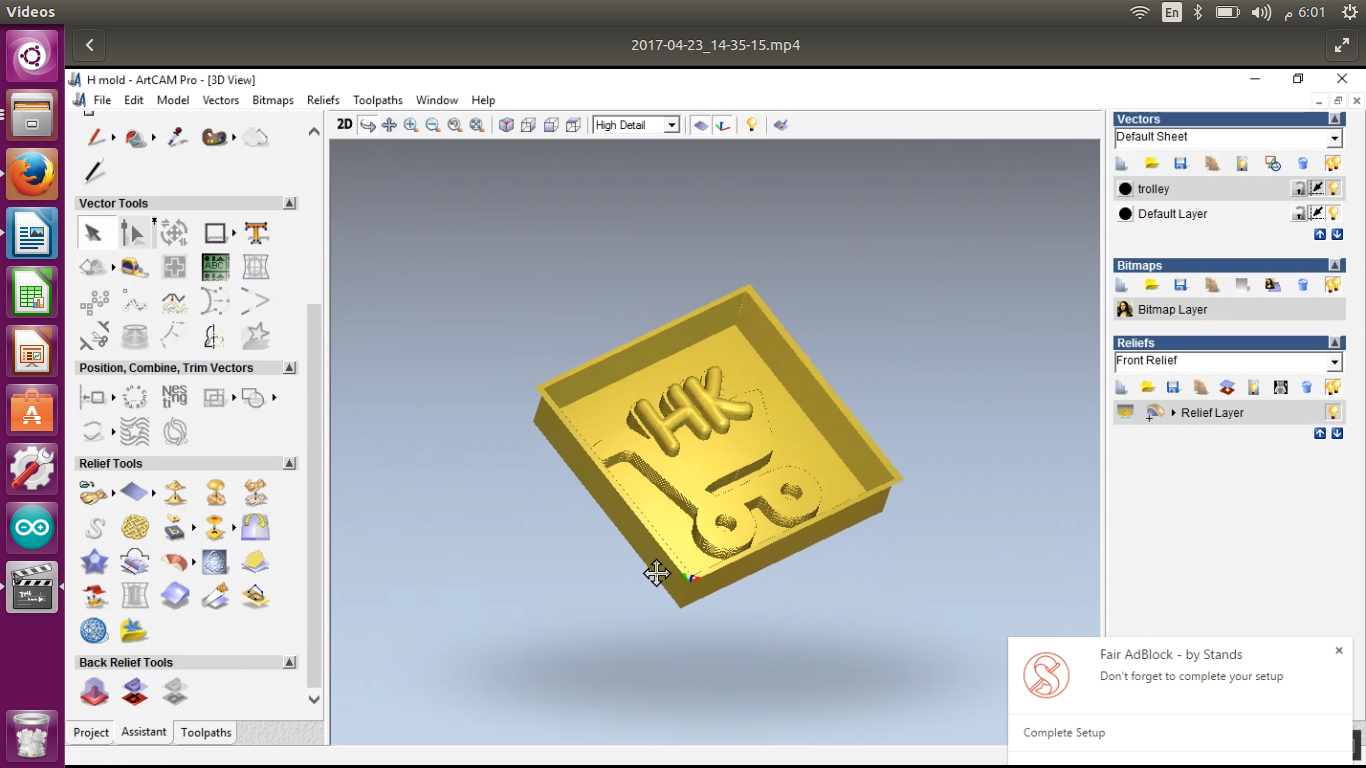
This is how it's going to look like after I cut my shape in the wax block.
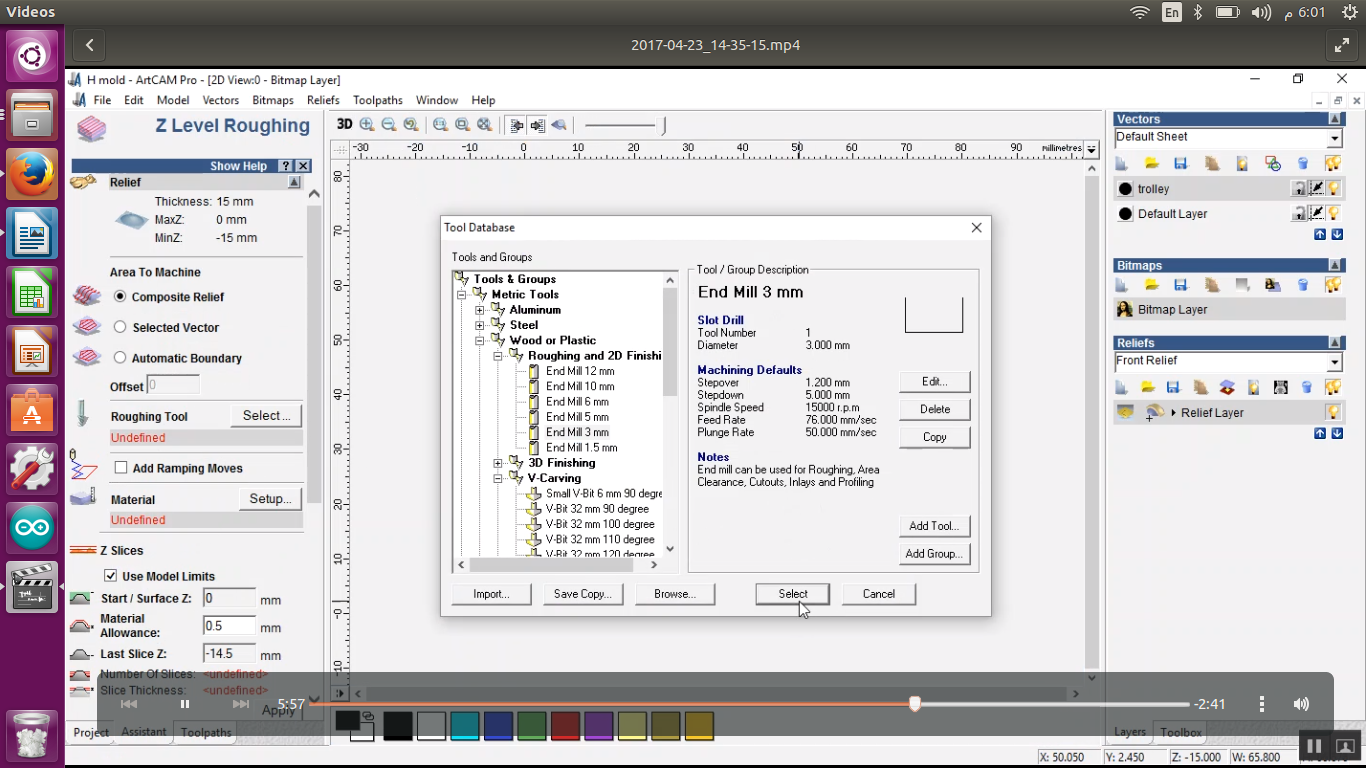
For the milling I am using two bits , 3mm rough cut and 3mm fine cut. Then I prepared the 3 mm rough cut file which cuts the general shape of my design.
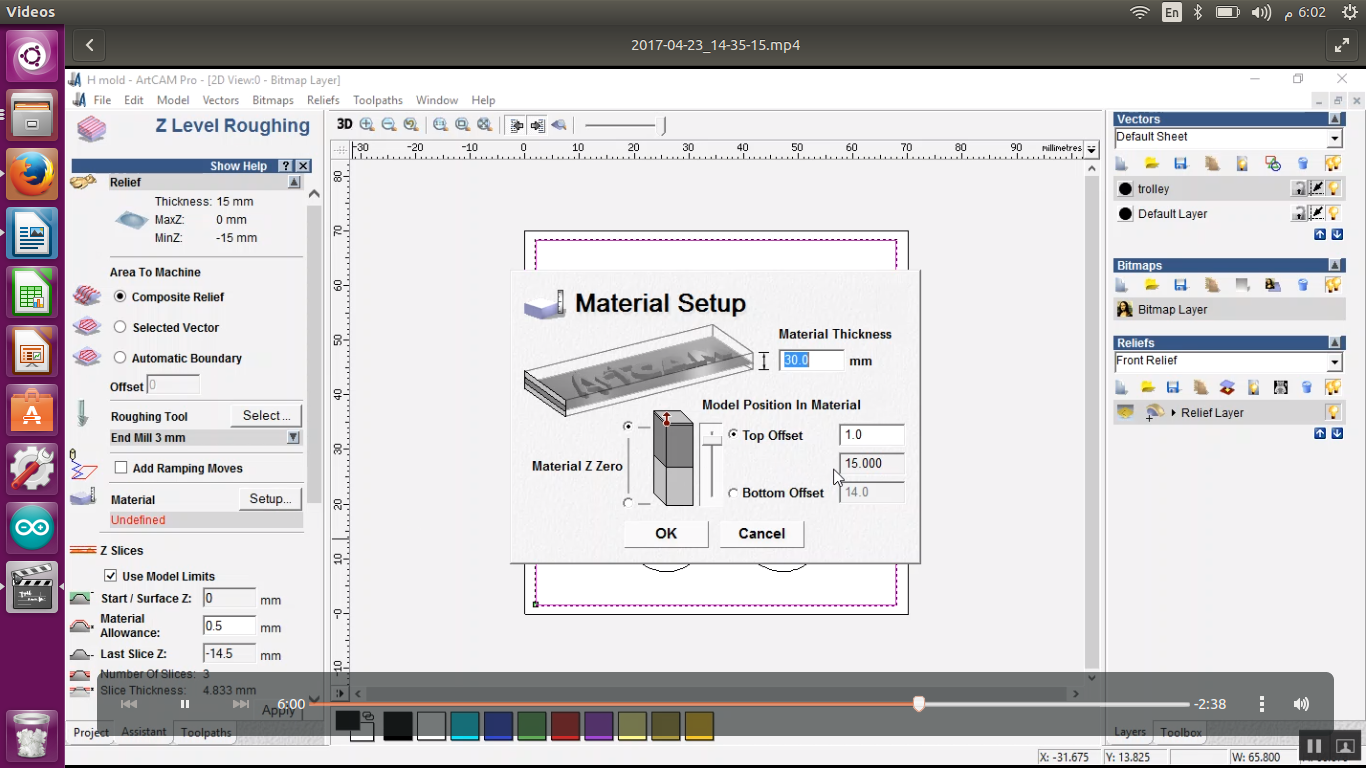
Then I defined the height of the wax block which is 30 mm and the z-axis depth I wanted to mill up to which was 15 mm , half of the wax.
I used the CNC machine , I already discussed about using CNC machine in week 7. Then I fixed the wax on the CNC bed to mill my 3D mould design. When your placing the wax make sure that it's fixed tightly on the bed , also use double sided tape below the wax.
Then started the rough cut process. For that I changed the bit to 3mm rough cut.
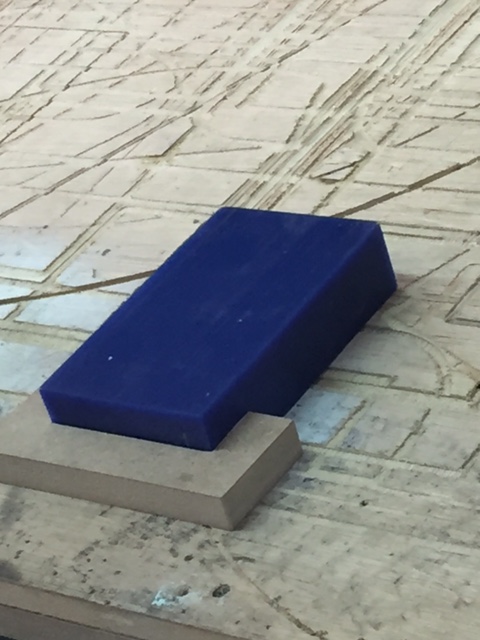
And finally this was my design after the final cut which was pretty cool , I liked it had such a smooth cut.
Moulding :
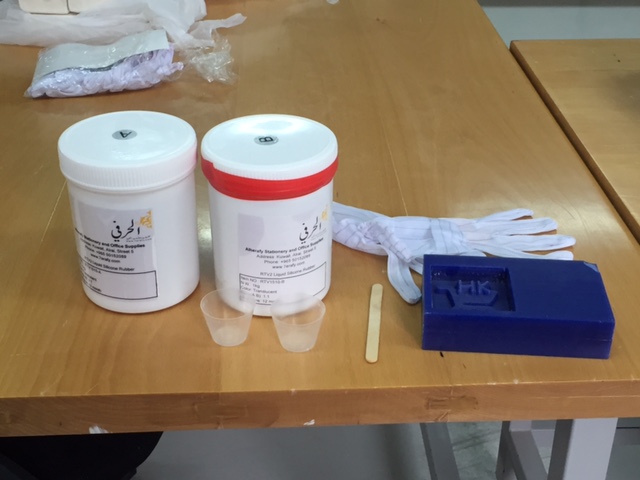
Materials :
- 2 transparent glass cups
- stick (for mixing)
- gloves (safety)
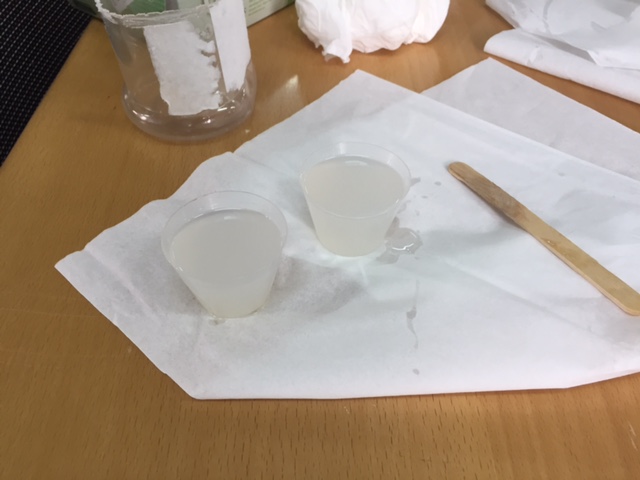
I used two solvents RTV2 Liquid Silicon Rubber, Solvent A (RTV1510-A) and Solvent B (RTV1510-B) , the mixing ratio is 1:1.
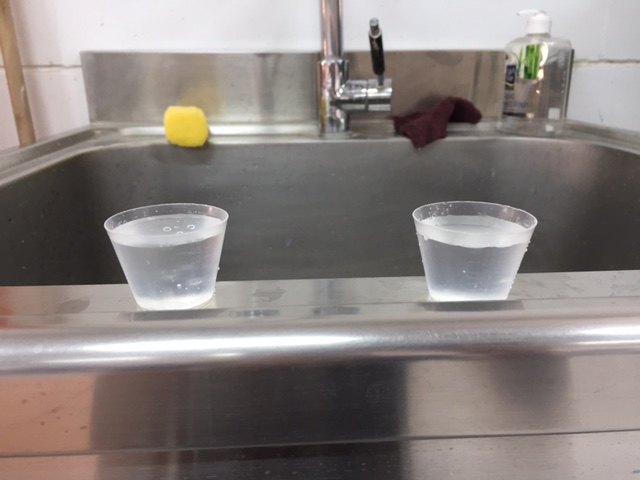
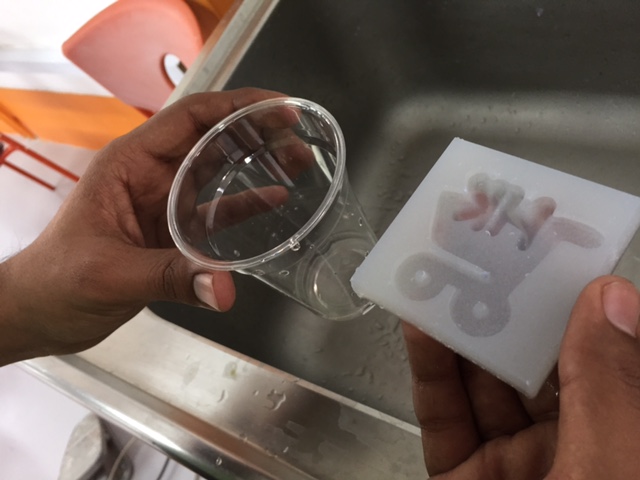
Step 1 : I don't know how much quantity I need , So I poured water in the milled wax design and measured how many how many quantity I needed.
Step 2 : I split them in half to divide the two solvents equally as their ratio is 1:1.
Step 3 : I mixed Solvent A & B very well for about 7 minutes.
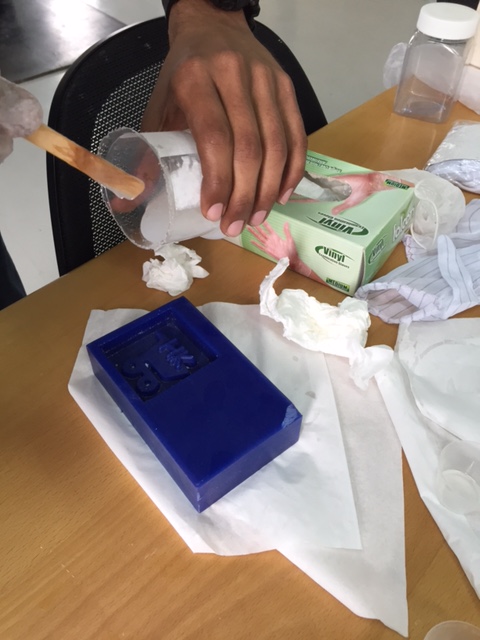
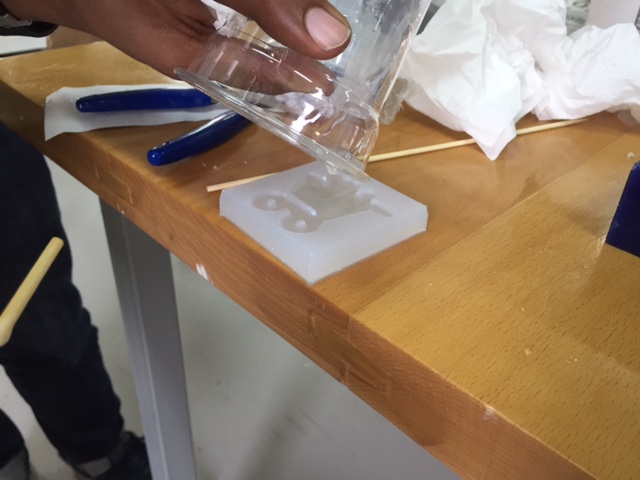
Step 4 : I poured the mixed solution in my wax. When pouring I kept some distance and avoided shaking to avoided bubbles in the mould. Then waited for one day.
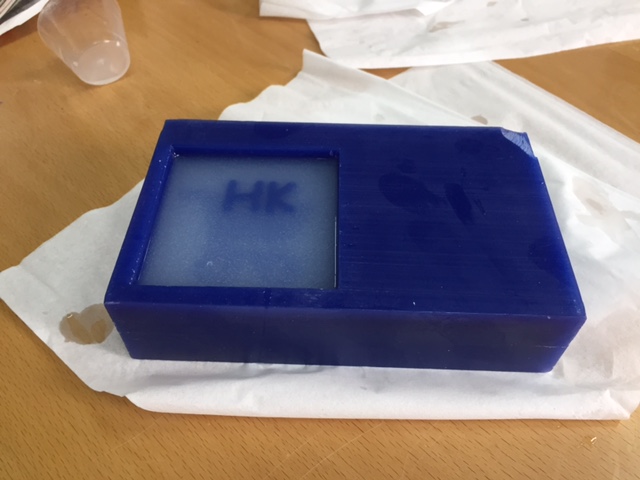
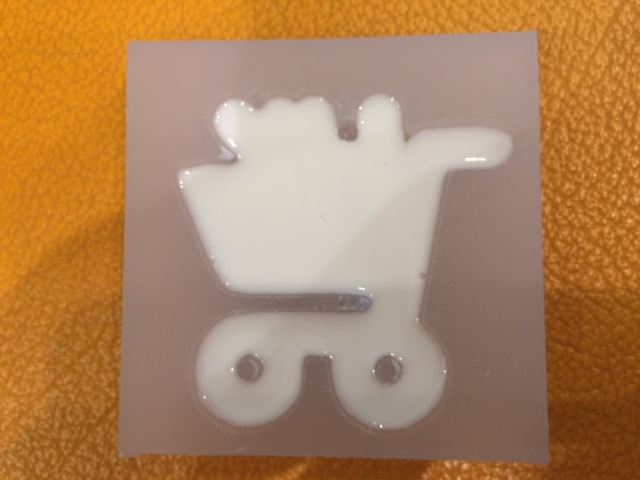
After pouring the mixed solvent , it looked so perfect and cool , I like it
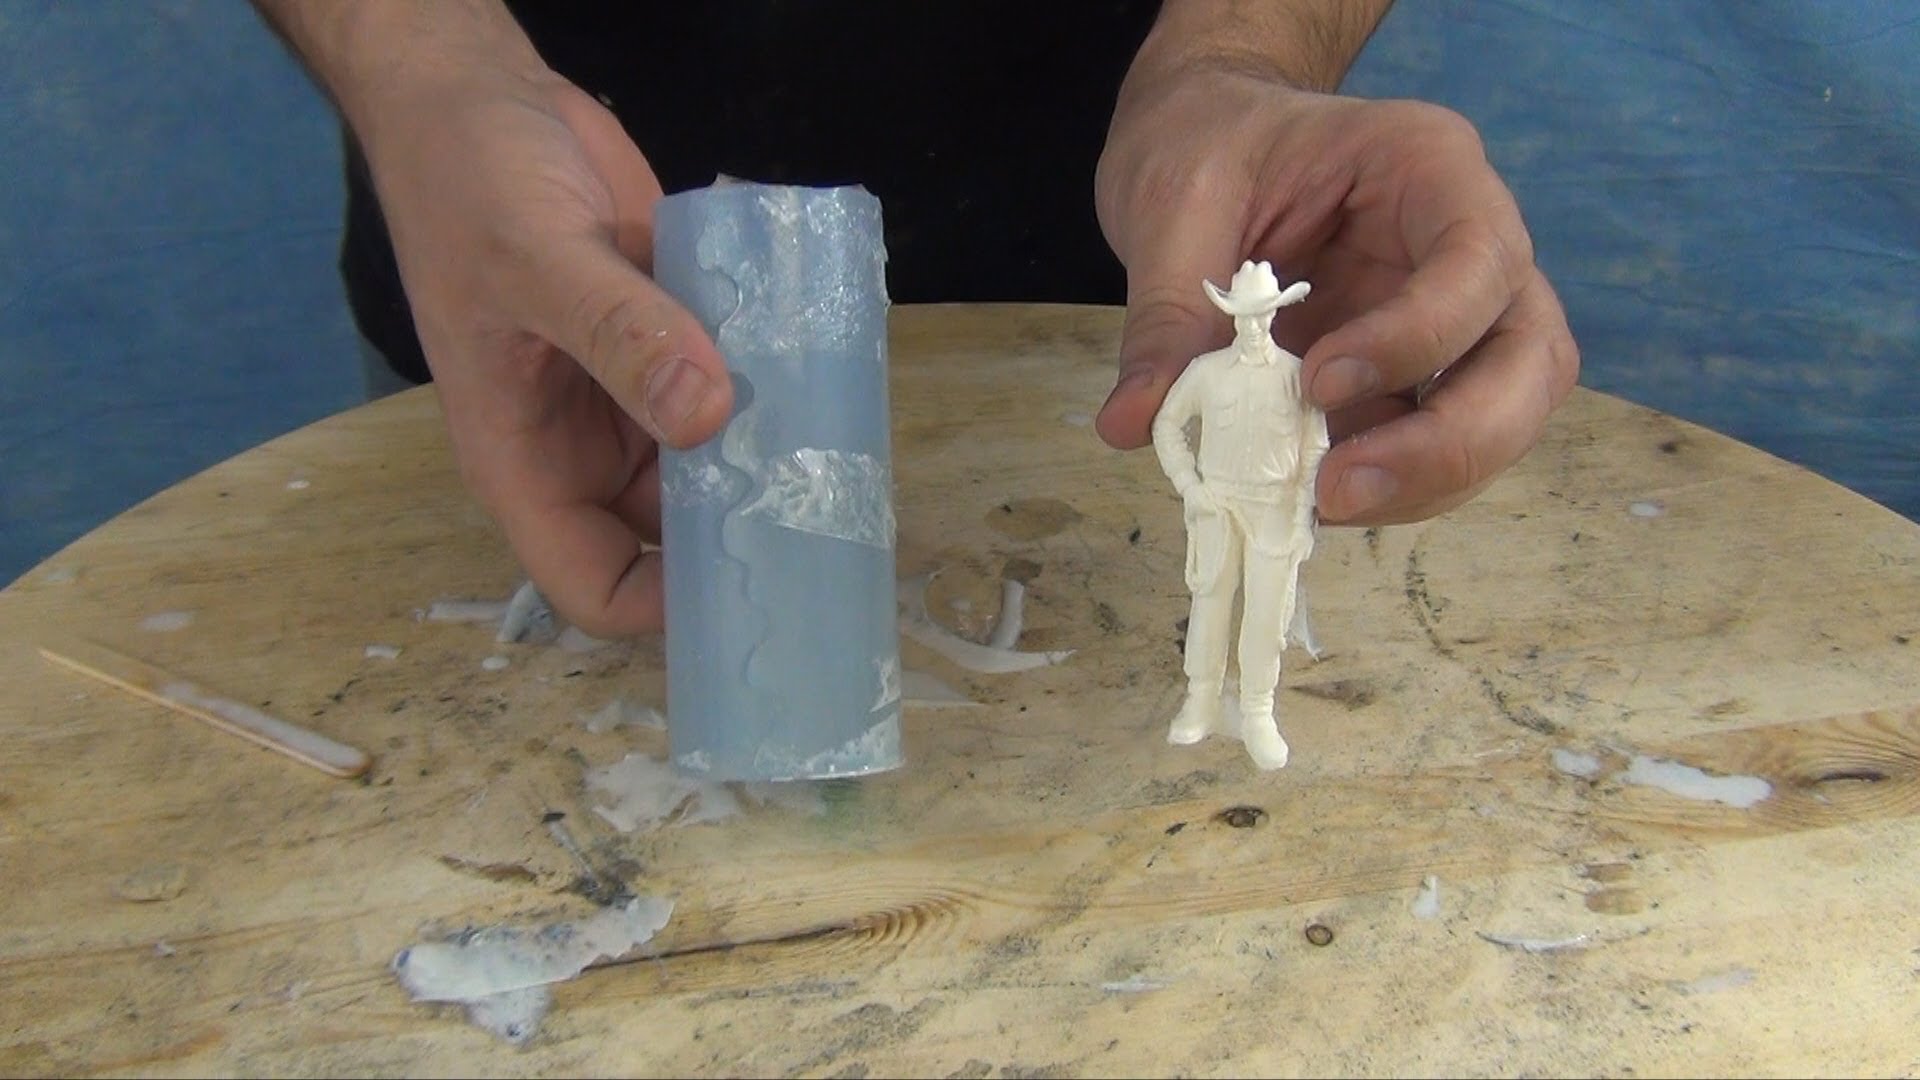
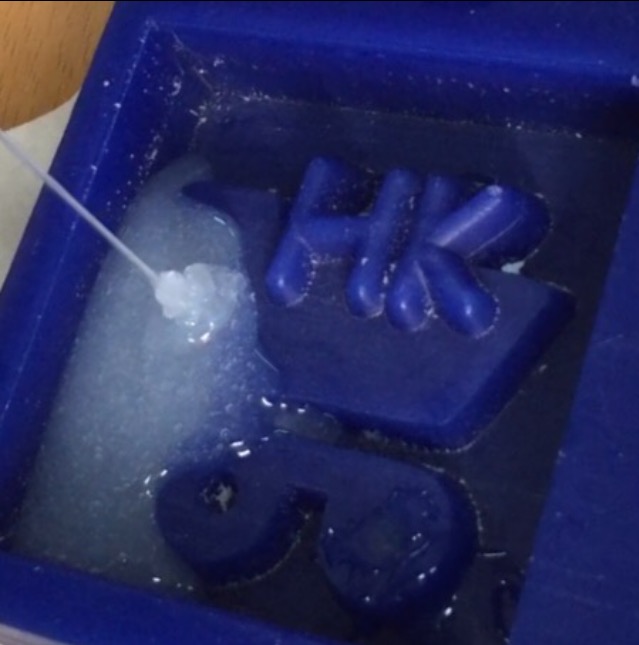
Step 5 : Finally , I got the mould from the wax. (Mould Result)
Note: Used gloves while molding. Because we are using chemicals which may cause skin allergies.
Casting :
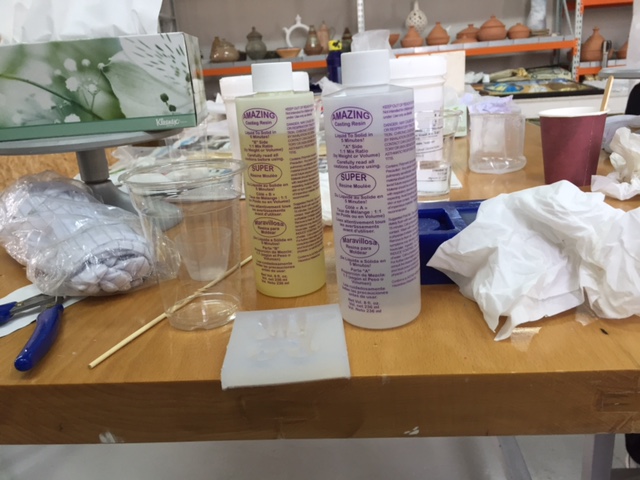
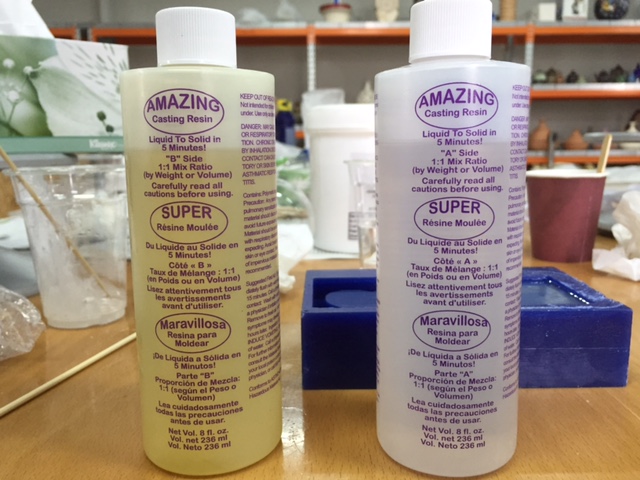
I used two resins Amazing Casting Resins, Resin A and Resin B , the mixing ratio is 1:1.
And these were the two solvents I used an mixed with their details showing cearly.
Step 1 : For mixing the two resins I used the same method in moulding except , ratio is 1:1.
Step 2 : I mixed Resins A & B very well for about 30 seconds because they dry very fast.
Step 3 : I poured the mixed solution in my silicon mould. Then waited for 10 minutes for the great result.
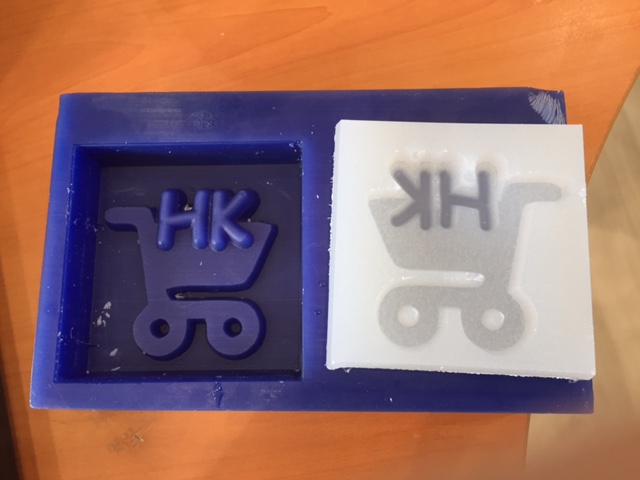
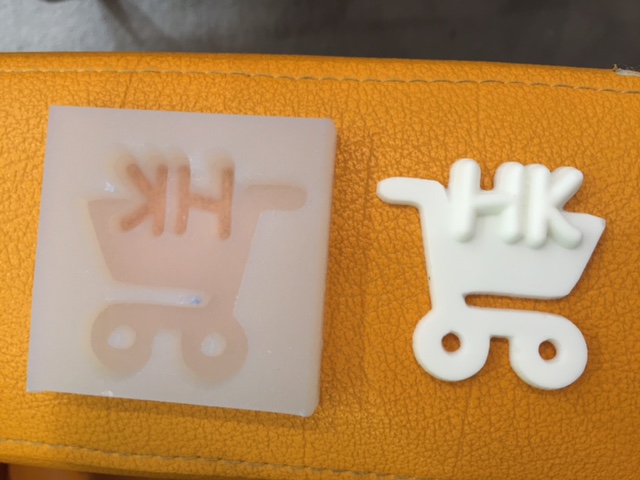
After 10 minutes this was the result which seemed to be great.
Result :
I removed the casting from the moulded rubber , and it was hard and neat no bubbles were their quite smooth surface.