
At the week-2 lecture, Prof. Niel explained us basic concepts of Computer-Aided Design(CAD). He introduced us to various 2D and 3D design tools. I had tried tools like gimp, inkscape and imagemagick before. But I am totally new to 3D design. The assignment of this week is to experiment with some design tools and create a 2D and 3D sketches of final project designs. As I am working in gnu/linux, I decided to try some free and opensource tools.
- This week's lecture : Lecture
- Fab Tutorial Link : Tutorials
- Fab Tool's List : Tools List
Introduction to design tools
Computer-aided design (CAD) is the use of computer systems to aid in the creation, modification, analysis, or optimization of a design. CAD software is used to increase the productivity of the designer, improve the quality of design, improve communications through documentation, and to create a database for manufacturing.(Wikipedia)
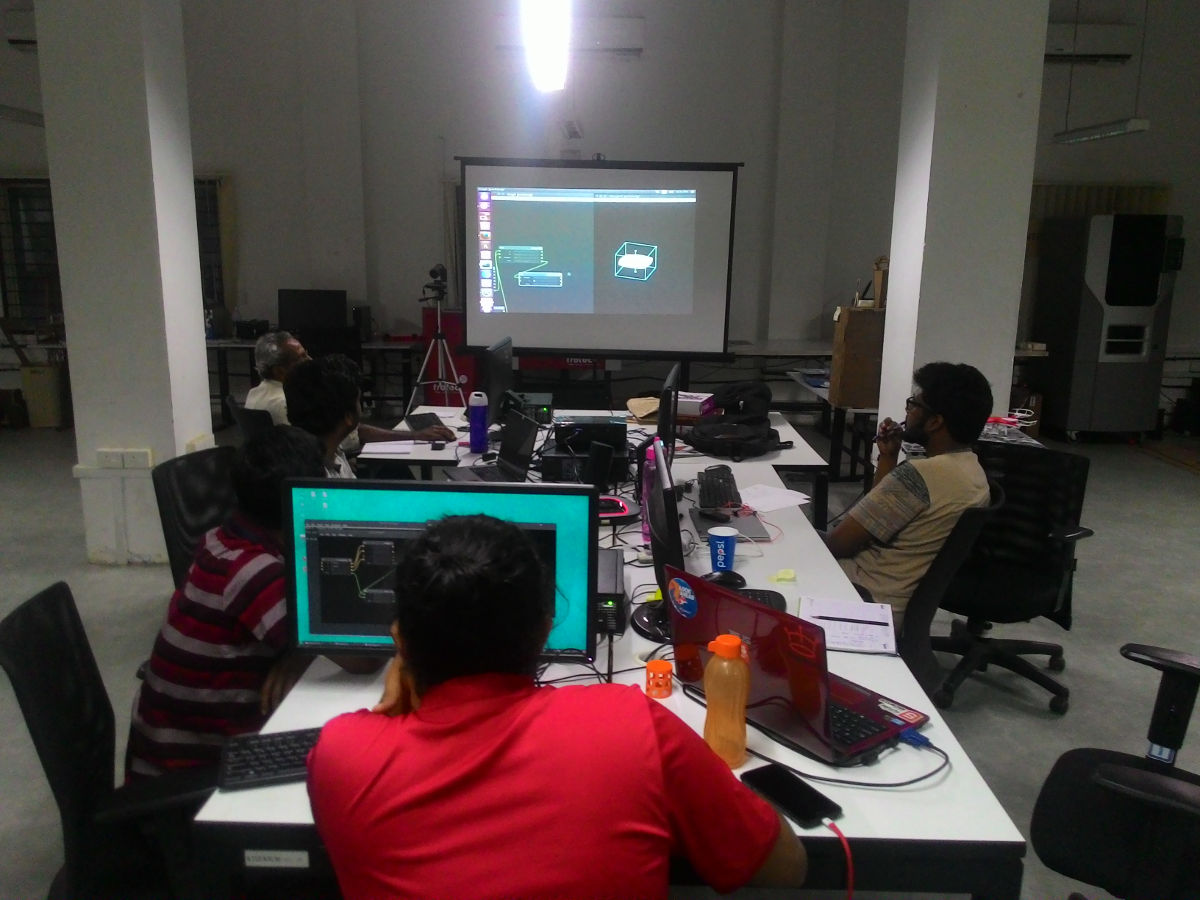
On the first day after week-2 lecture, our local instructor Sibu introduced us to a bunch of tools. He talked about Openscad, Freecad, Gimp, Inkscape, Krita, Imagemagick, ffmpeg, Kdenlive and some desktop capturing methods. Also, there was a demonstration on basic usage of a tool named Antimony.
I installed gimp, inkscape, krita, kdenlive, imagemagick, openscad and freecad as below.
sudo apt-get install gimp inkscape krita imagemagick openscad kdenlive freecad
I tried compiling Antimony from source. But I failed poorly. I spend lots of time trying to fix the issue without success. I was running out of time. So decided try it later.
Raster and Vector
There are two main type of images: Raster and Vector. Raster images are more common in general such as jpg, gif, png, and are widely used on the web. Vector graphics are common for images that will be applied to a physical product. Also used in CAD, engineering, and 3D graphics which we do not provide information nor services for.
In raster programs we can blend colors to soften the transition from one color to another. When using a vector program we draw the outline of shapes. These shapes display one single color each. Some vector programs do have the ability to create color gradients within one single shape, but these are actually raster effects. A vector graphic with gradients contains both vector and raster elements. Its not 100% vector or true vector art.
Raster images are made of pixels. A pixel is a single point or the smallest single element in a display device. A raster image has a specific number of pixels. When we enlarge the image file without changing the number of pixels, the image will look blurry (Start to see a lots of tiny squares). On the other hand, vector images are mathematical calculations from one point to another which form lines and shapes. When we enlarge a vector graphic, graphics is rendered without losing quality.
Here is an image taken from wiki

| Vector | Raster |
Form shapes using Mathematical calculations Best for creating logos, drawings and illustrations, technical drawings etc Able to scaled to any size without losing quality Conversion to raster is easier It is not the best for continuous tone images with blends of color or to edit photographs ai, cdr, svg etc are common vector file formats Adobe Illustrator, CorelDraw, Inkscape etc are some common vector programs. |
Images made of pixels Best for editing photos and creating continuous tone images with color blends Image must be created for desired usage size. Scaling cause quality loss. Conversion to vector may take time. Depend on complexity of image. jpg, gif, png, psd etc are common file formats. Photoshop, GIMP etc are common programs used. |
GIMP
GIMP (GNU Image Manipulation Program) is a free and open-source raster graphics editor used for image retouching and editing, free-form drawing, resizing, cropping, photo-montages, converting between different image formats, and more specialized tasks. GIMP provides easy-to-use, professional design tools that are comparable to Photoshop, for free. Its a cross-platform image editor licensed under GPLv3.
Installation
GIMP installation is very easy. Run the following codes in terminal.
sudo apt-get install gimp
Experimenting wih GIMP
Simple image edits
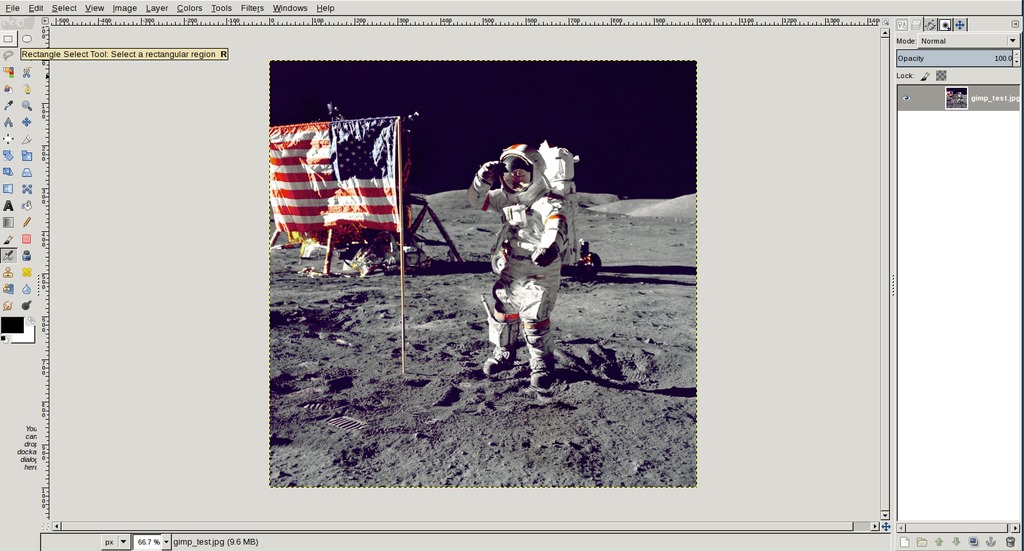
Downloaded an image from unsplash and opened in Gimp
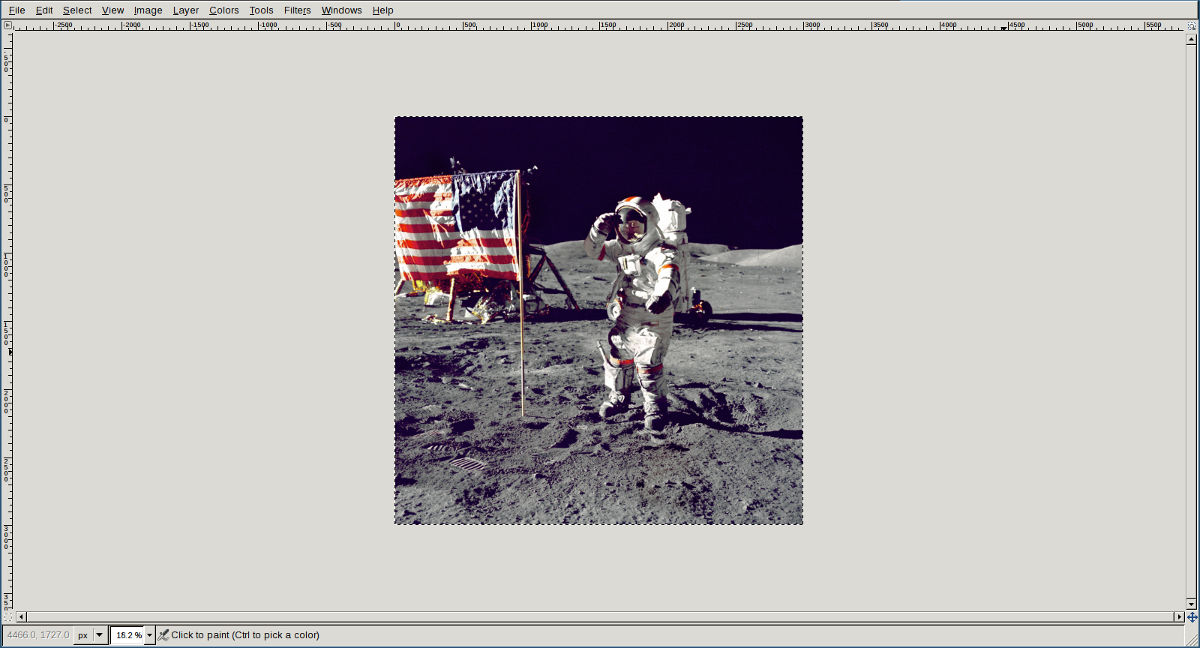
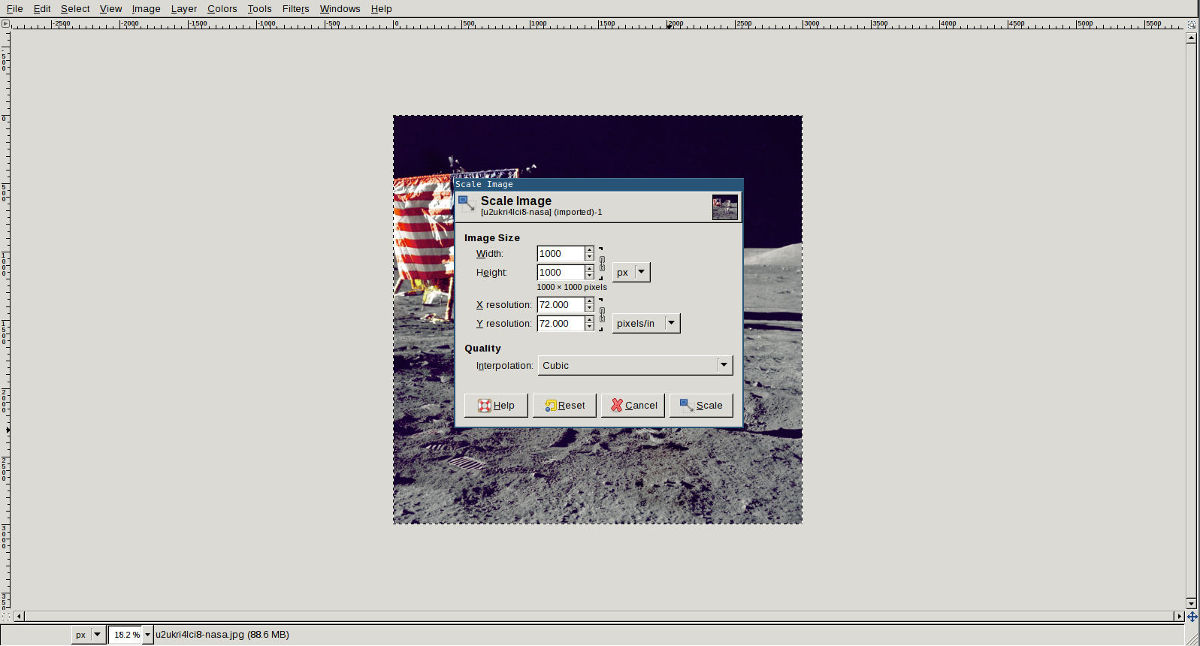
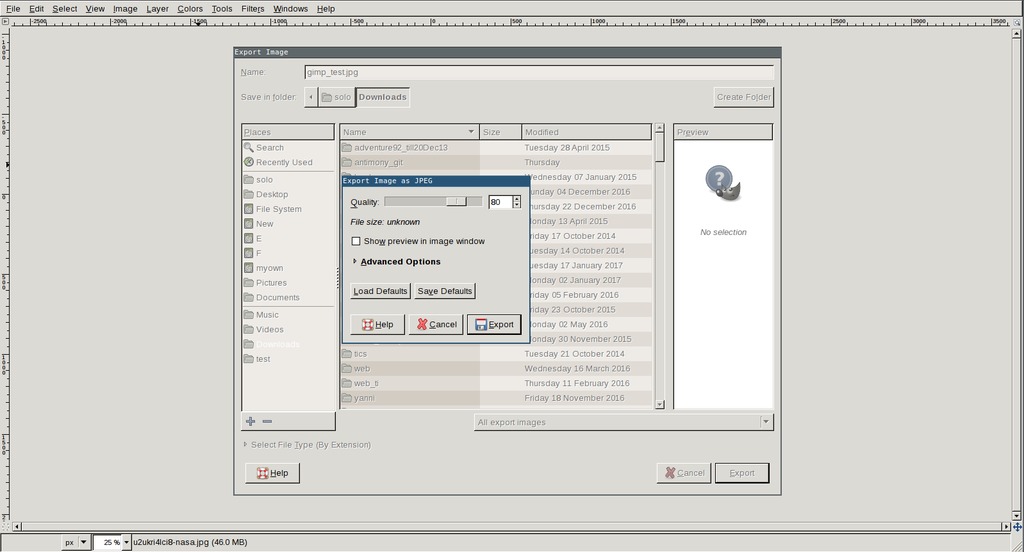
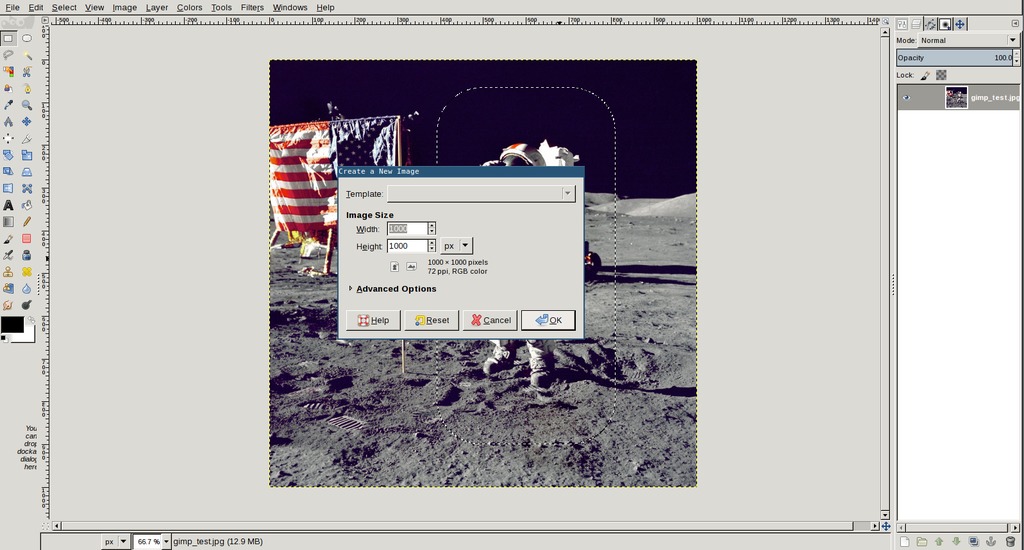
Image size was around 3000X3000. Reducing size to 1000x1000 and exprting image as jpg file.
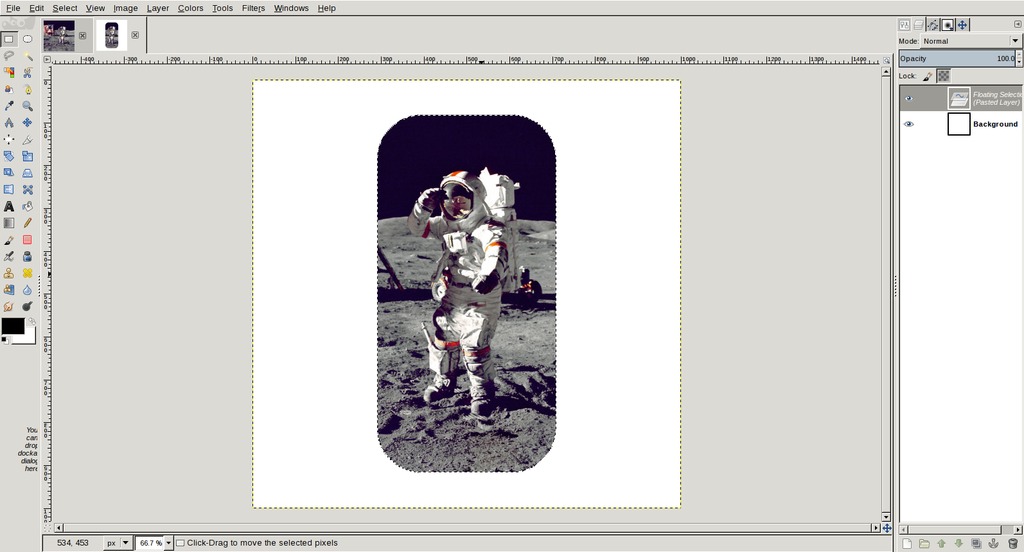
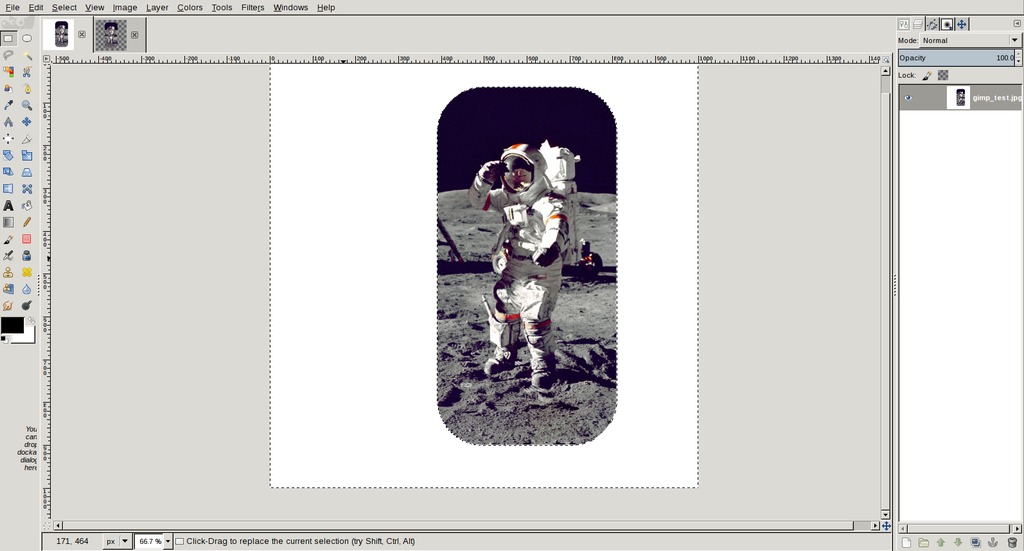
Selecting rectangle tool from toolbox and drawing drawing rectangle by dragging with mouse. To make it rounded rectangle, right click on the selection and goto select > Rounded Rectangle. I copied the selected section by using keyboard shortcut Ctrl + c. Also opened a page for pasting the selected image.
Pasting image in new page using key board shortcut Ctrl + v. On the right side(Layers) pasted image is displayed as 'floating'. So I created a new layer to use the pasted image and joined it with background layer. To merge layer with bottom layer right click on the layer and select Merge down option.
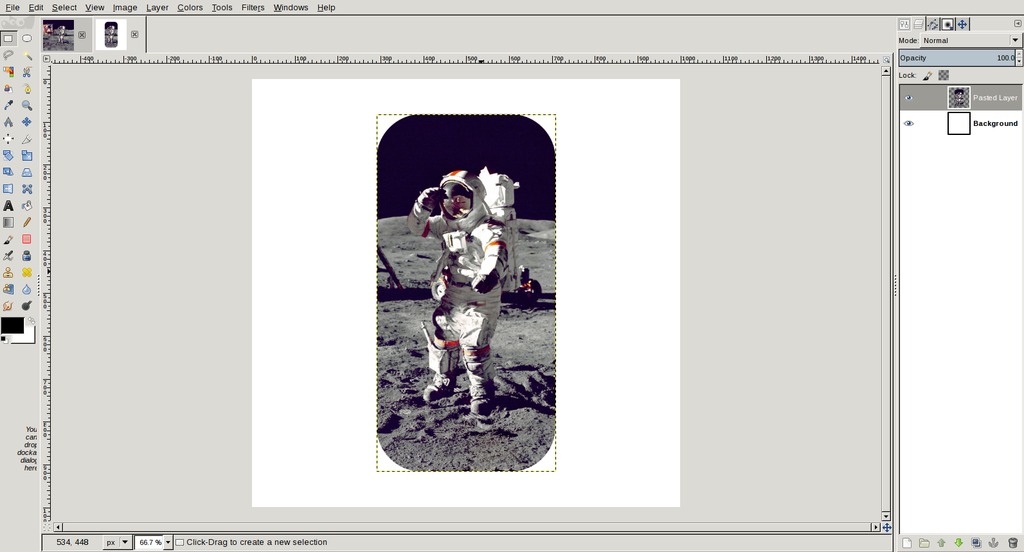
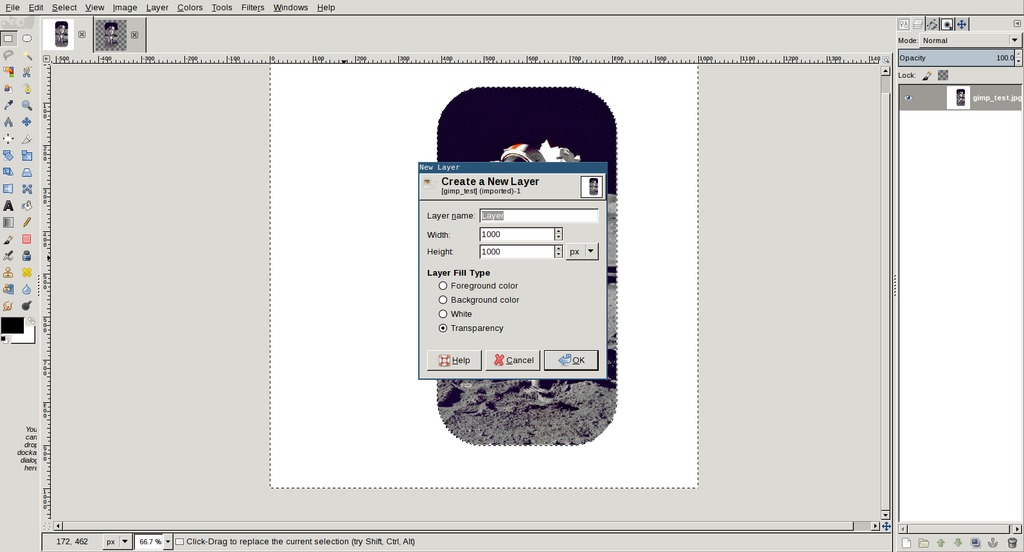
Creating new transparent layer using Ctrl + Shift + n. Dragging new layer down and merging top layer with bottom like I mentioned above.
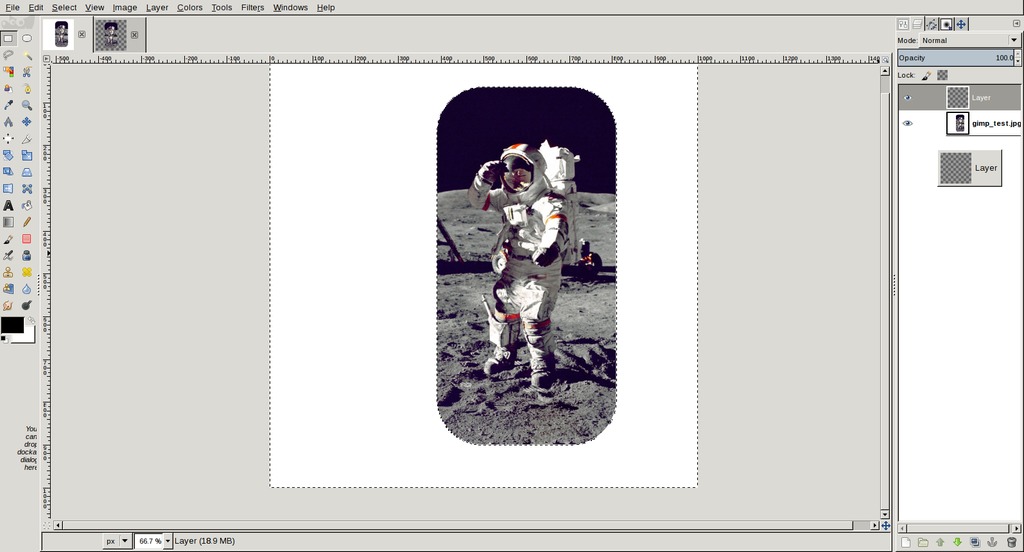
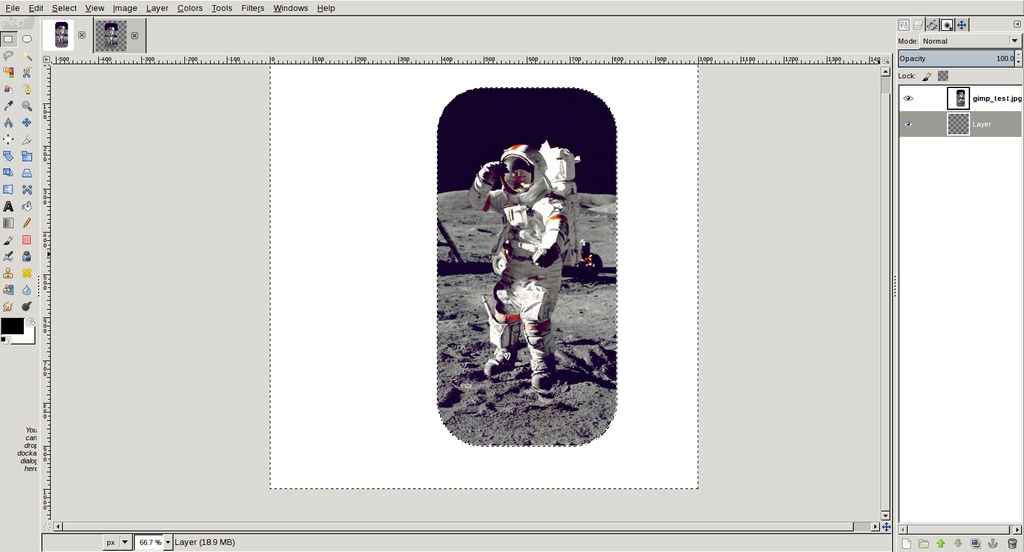
Selecting 'Fuzzy Select Tool' from tool box and selecting the white background by simply clicking with mouse. And then use 'delete' button on keyboard to remove selected section.

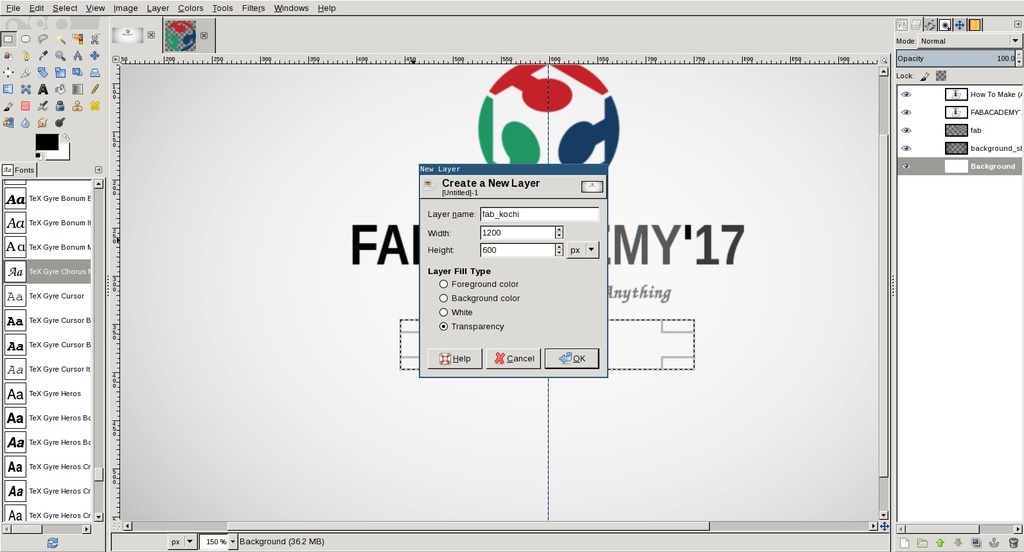
FabAcademy Poster
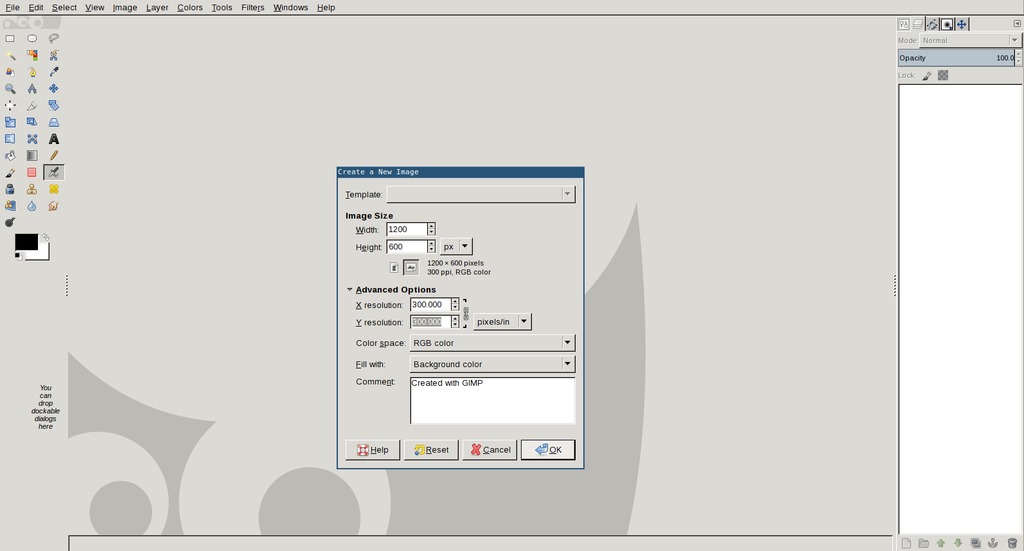
Creating new image using keyboard shortcut Ctrl + n. Set size to 1200x600. A new transparent layer is created and filled with foreground color using 'Bucket Fill Tool' from toolbox.
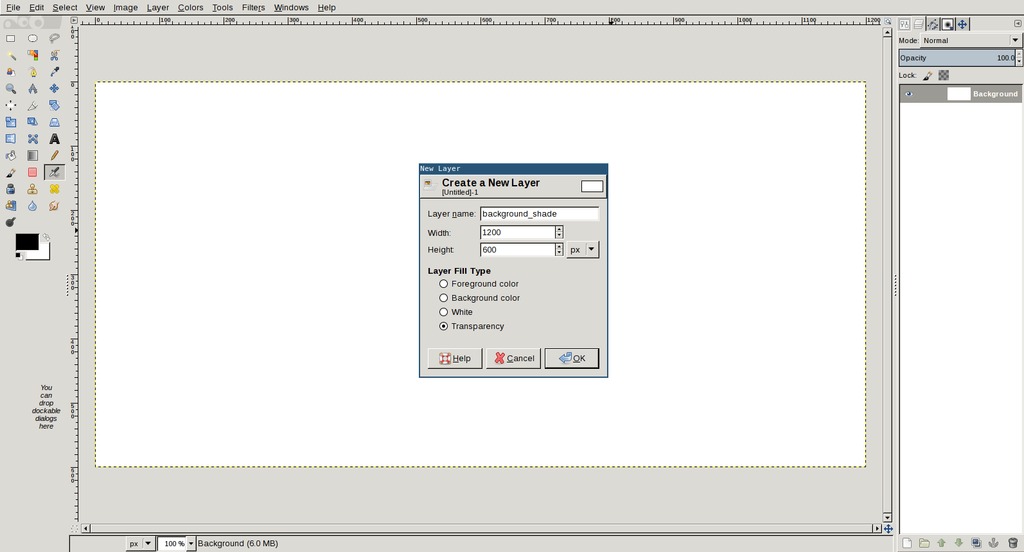
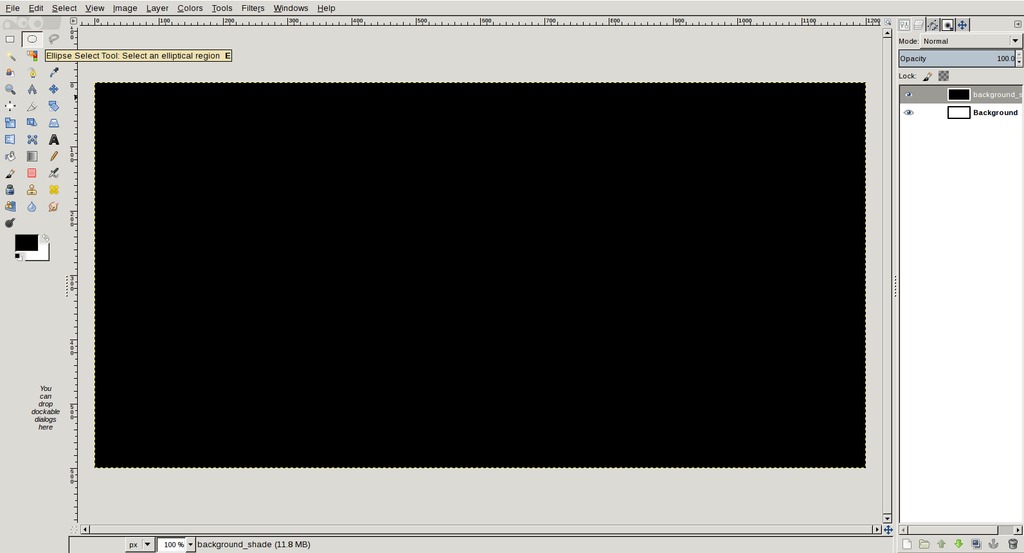
Creating new transparent layer
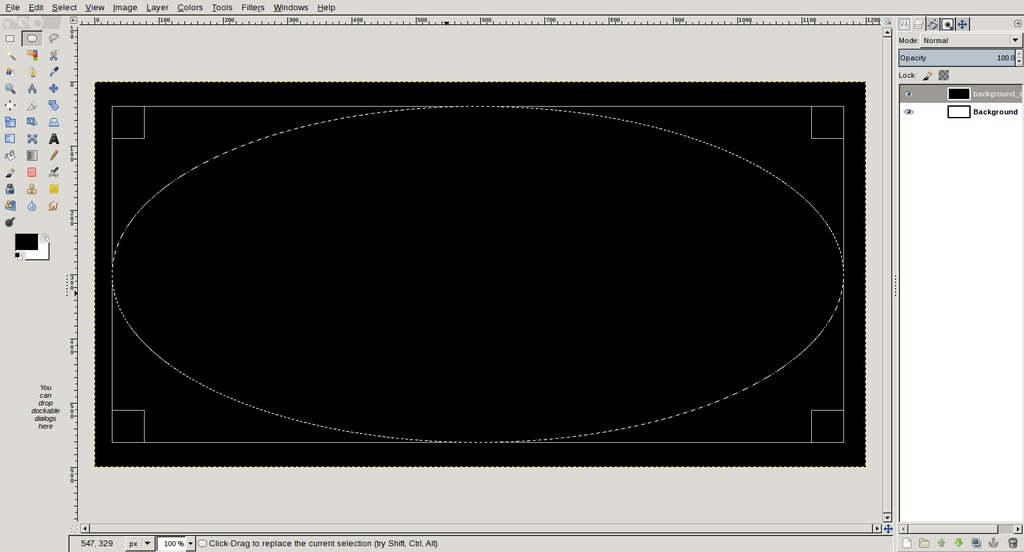
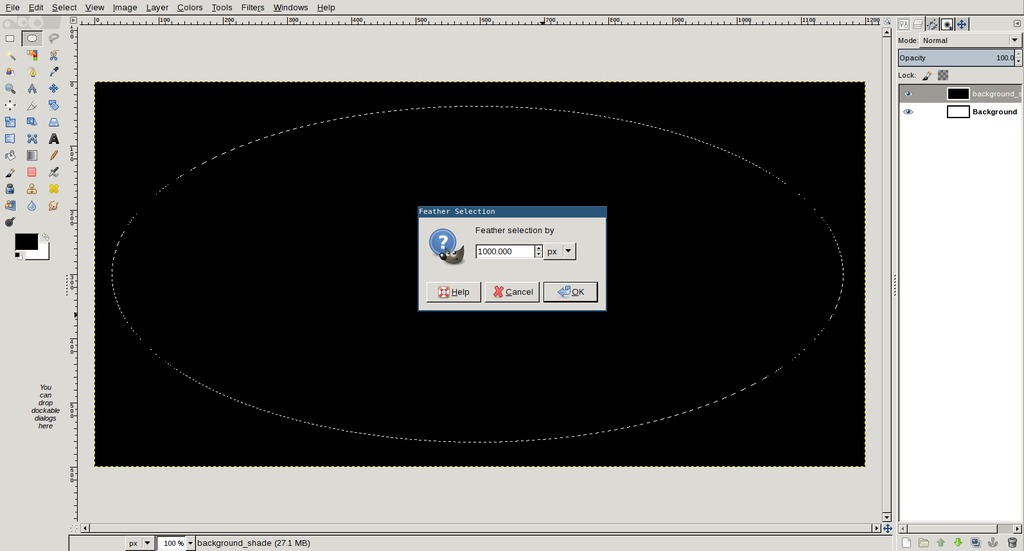
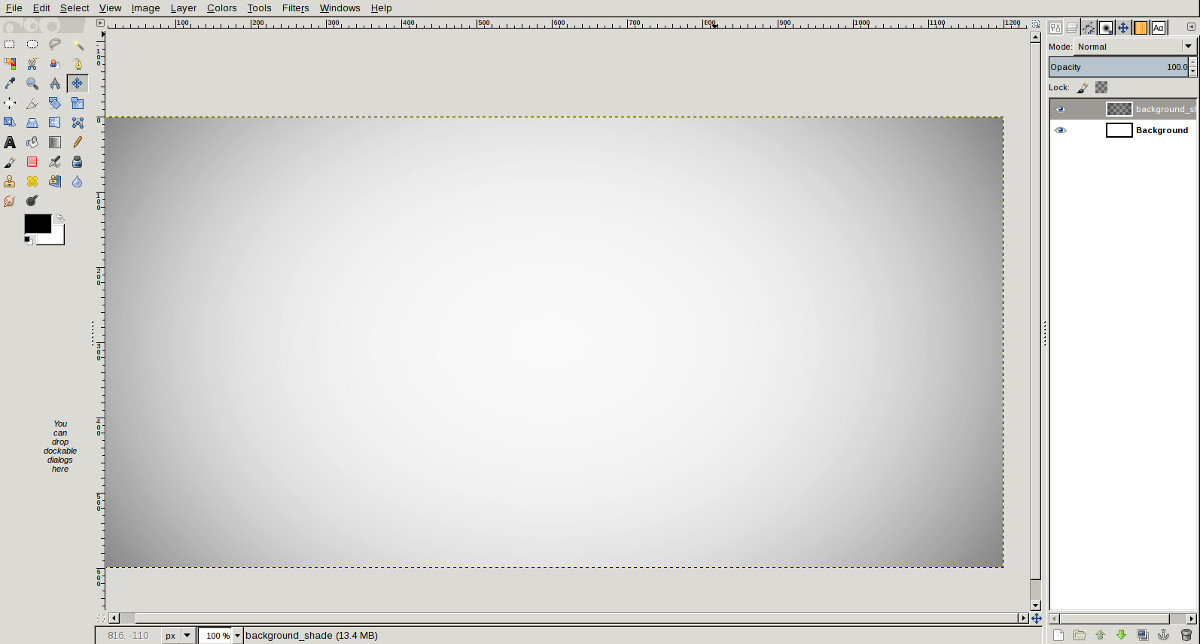
Select 'Ellipse Select Tool' and drawing an elliptical shape. Now I want to make the selection gradient type. For this 'feather' (right click > select > Feather) option is used. Now press 'Delete' button on keyboard to form a gradient background.
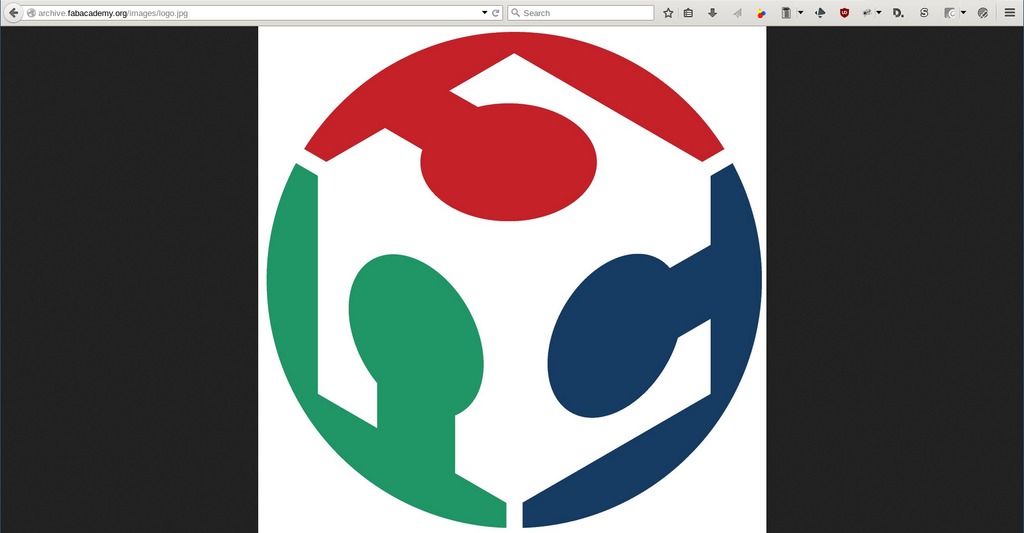
Downloaded fabacademy's logo from archive and opened in Gimp.
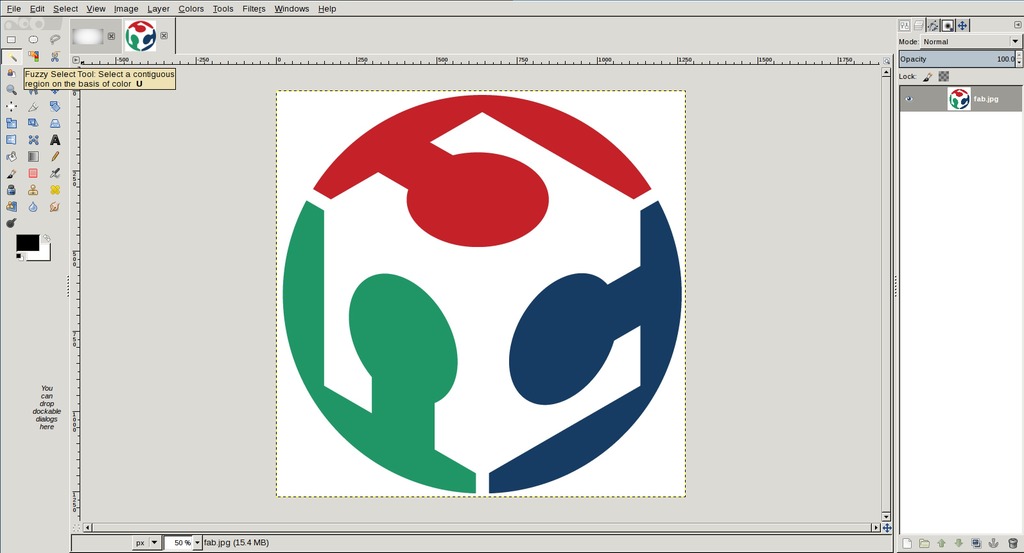
Selecting the white background using 'Fuzzy Select Tool'. And removing background layer.
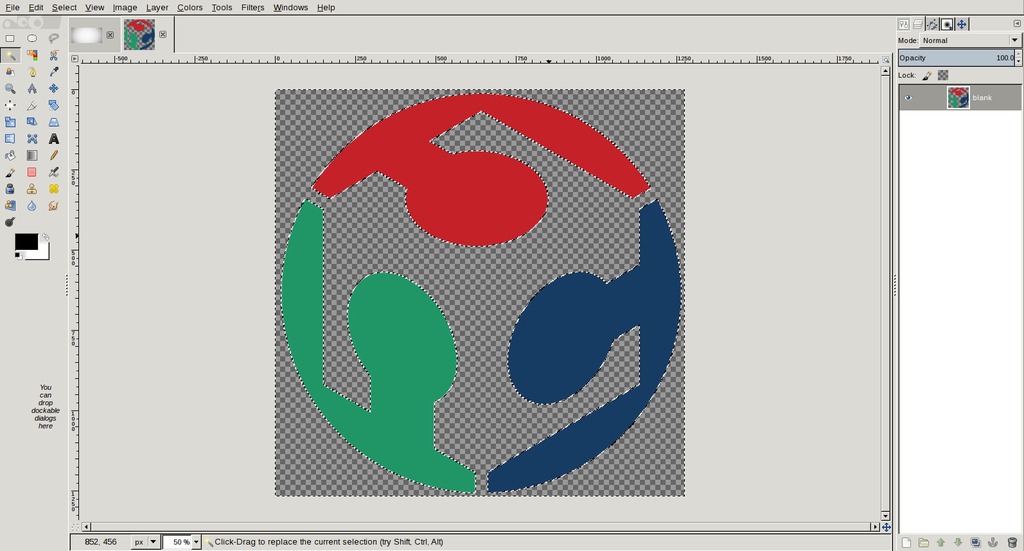
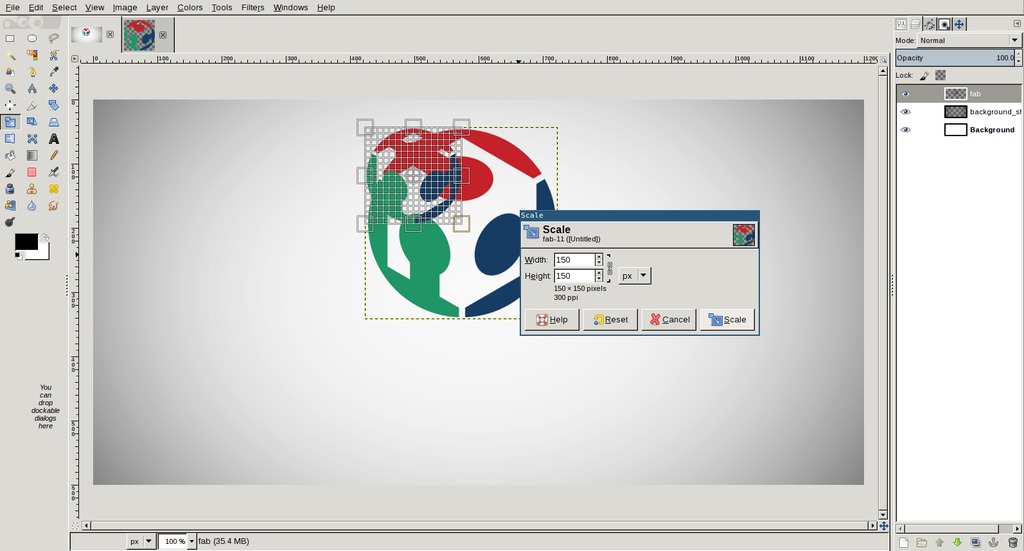
Pasting logo into the main image and scaling logo using Shift + t

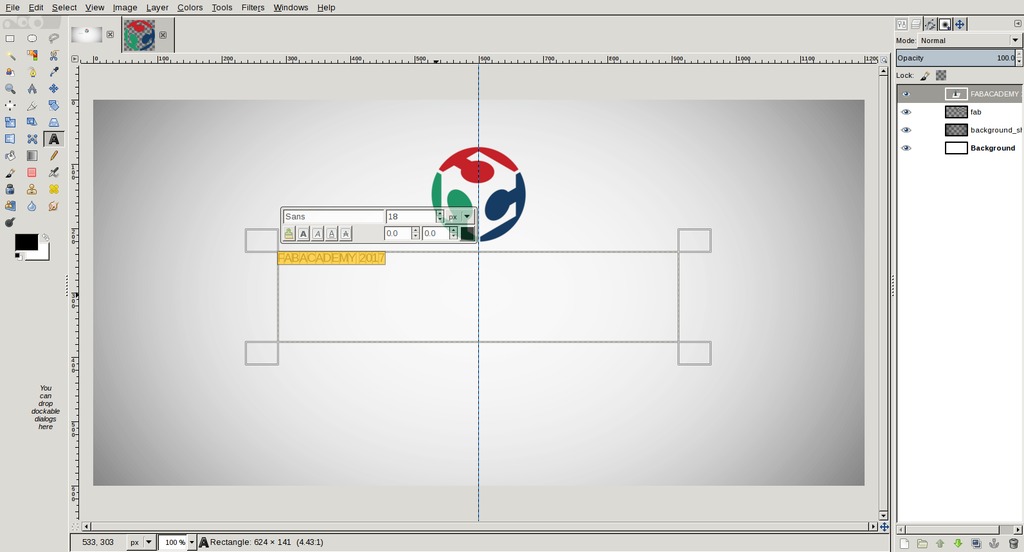
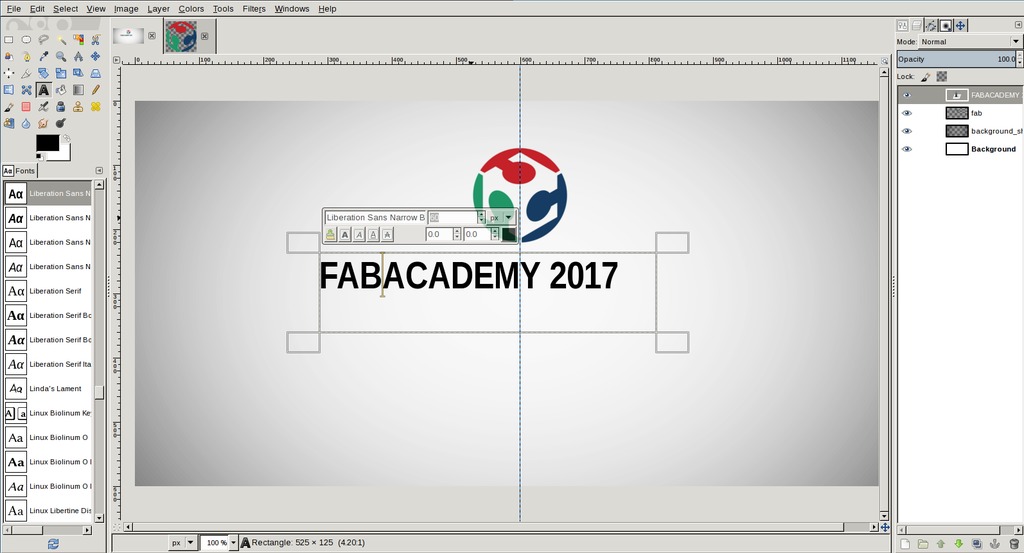
Selecting 'Text Tool' and writing contents and adjusting font type and size

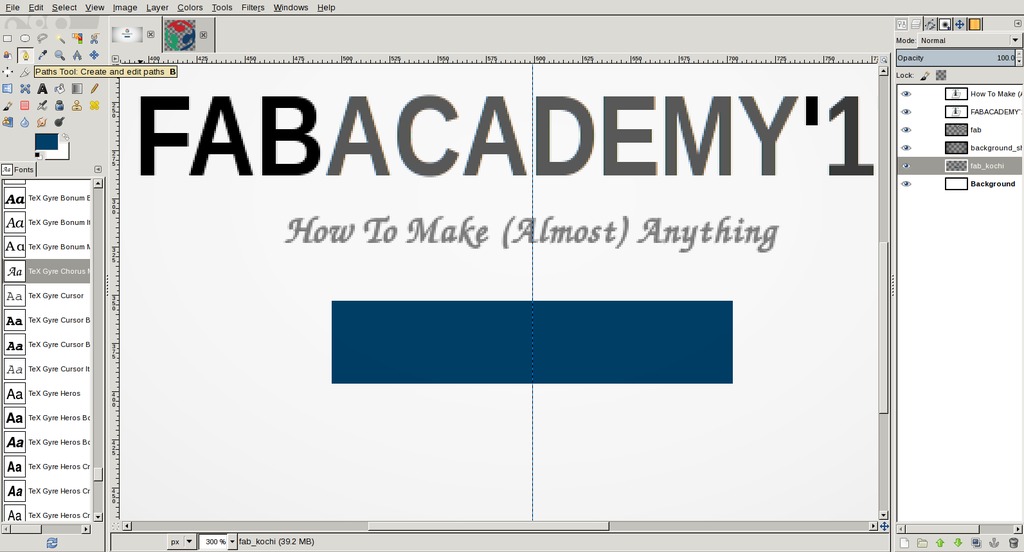
Adding new layer and creating a rectangular box then filling blue color.
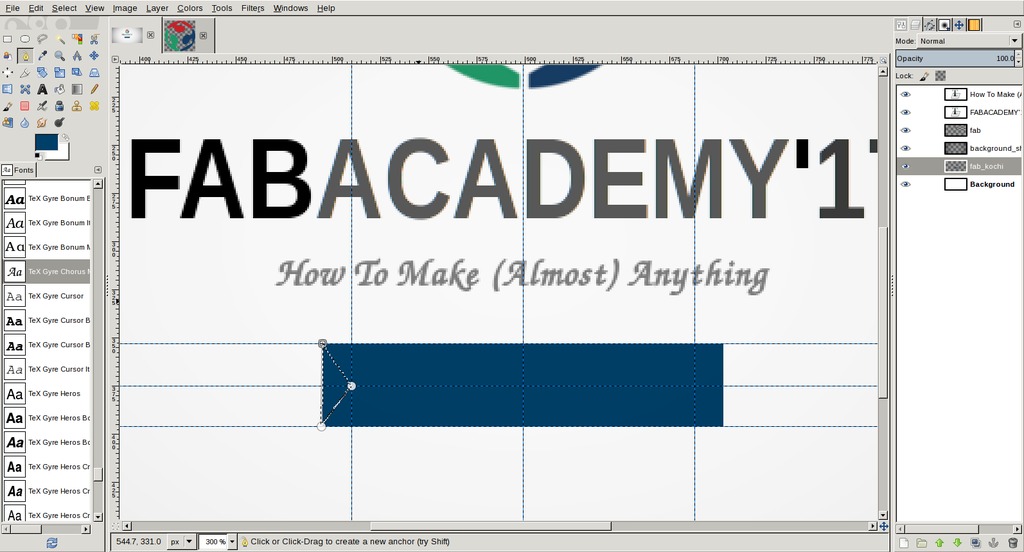
Using pen tool to create triangular shapes on two sides of box and cutting them out.

Adjusted opacity of blue box using opacity option available just above layers. Creating new text above blue background. Whole layers above background where moved down all together by locking layers (click on the 2nd small box on the left side of selected layer, then a 'chain' icon will be displayed). Exported images to jpg.
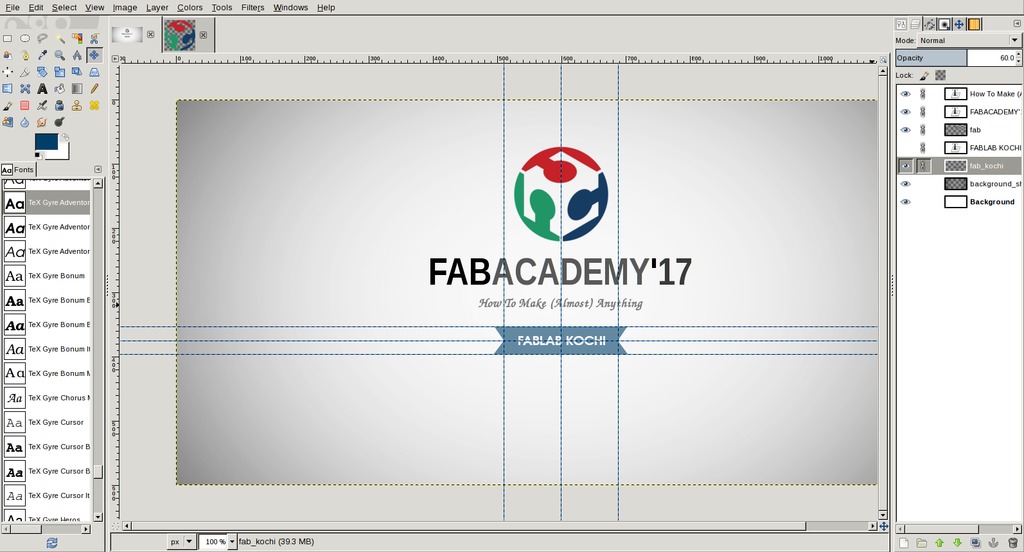
Final image

Inkscape
Inkscape is a free and open-source vector graphics editor; it can be used to create or edit vector graphics such as illustrations, diagrams, line arts, charts, logos and complex paintings. Inkscape's primary vector graphics format is Scalable Vector Graphics (SVG), however many other formats can be imported and exported. (Wikipedia)
Inkscape can render primitive vector shapes (e.g. rectangles, ellipses, polygons, arcs, spirals, stars and 3D boxes) and text. These objects may be filled with solid colors, patterns, radial or linear color gradients and their borders may be stroked, both with adjustable transparency. Embedding and optional tracing of raster graphics is also supported, enabling the editor to create vector graphics from photos and other raster sources. Created shapes can be further manipulated with transformations, such as moving, rotating, scaling and skewing.
Installation
Inkscape installation is done using the code below, in debian based gnu/linux.
sudo apt-get install inkscape
Experimenting wih Inkscape
Testing some basic tools I tried some stuffs like creating shapes, filling colors, resizing shapes, transformations, skewing etc. I used pecil tool, brush and also familarised with layer union, intersection, difference, division etc.

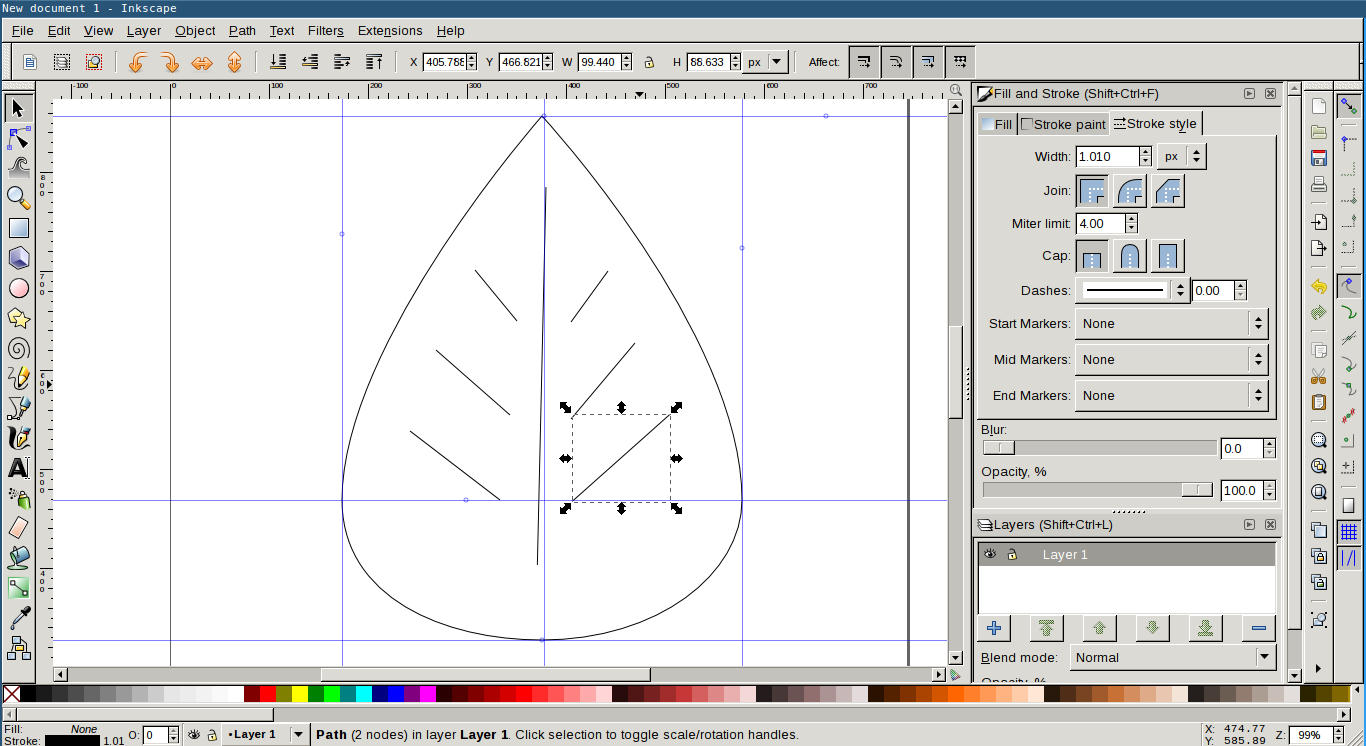
Drawing a leaf
- Below are some screenshots taken while trying to draw a simple leaf. First I created some guide lines for drawing shape of a leaf.
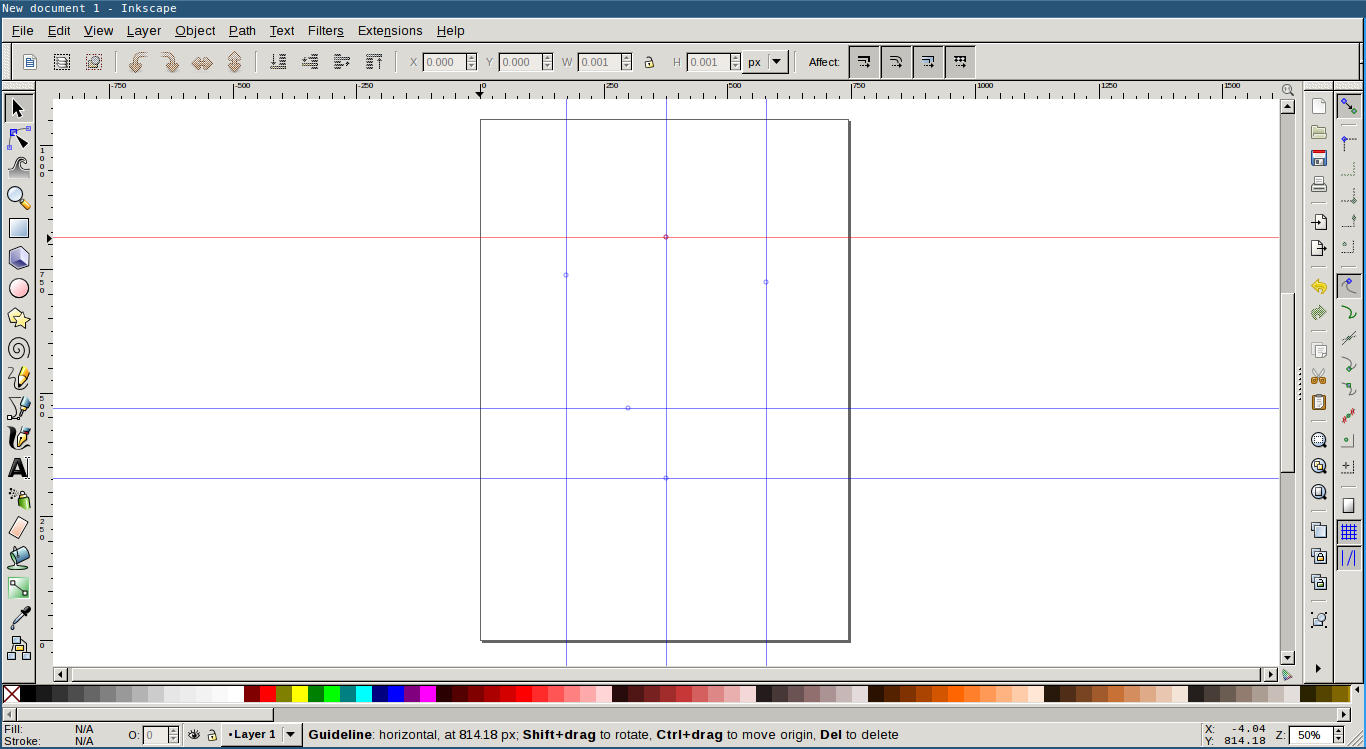
- Drawing outlines
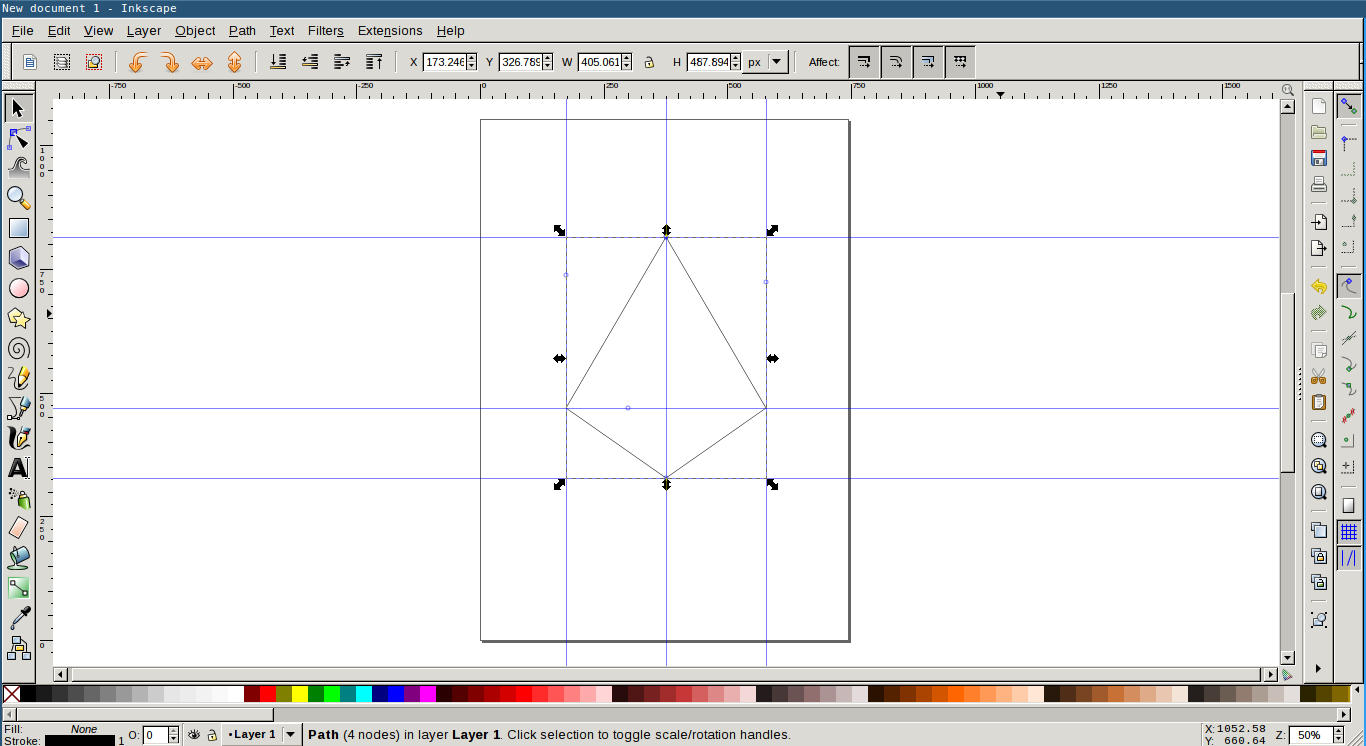
- Making the shape curved
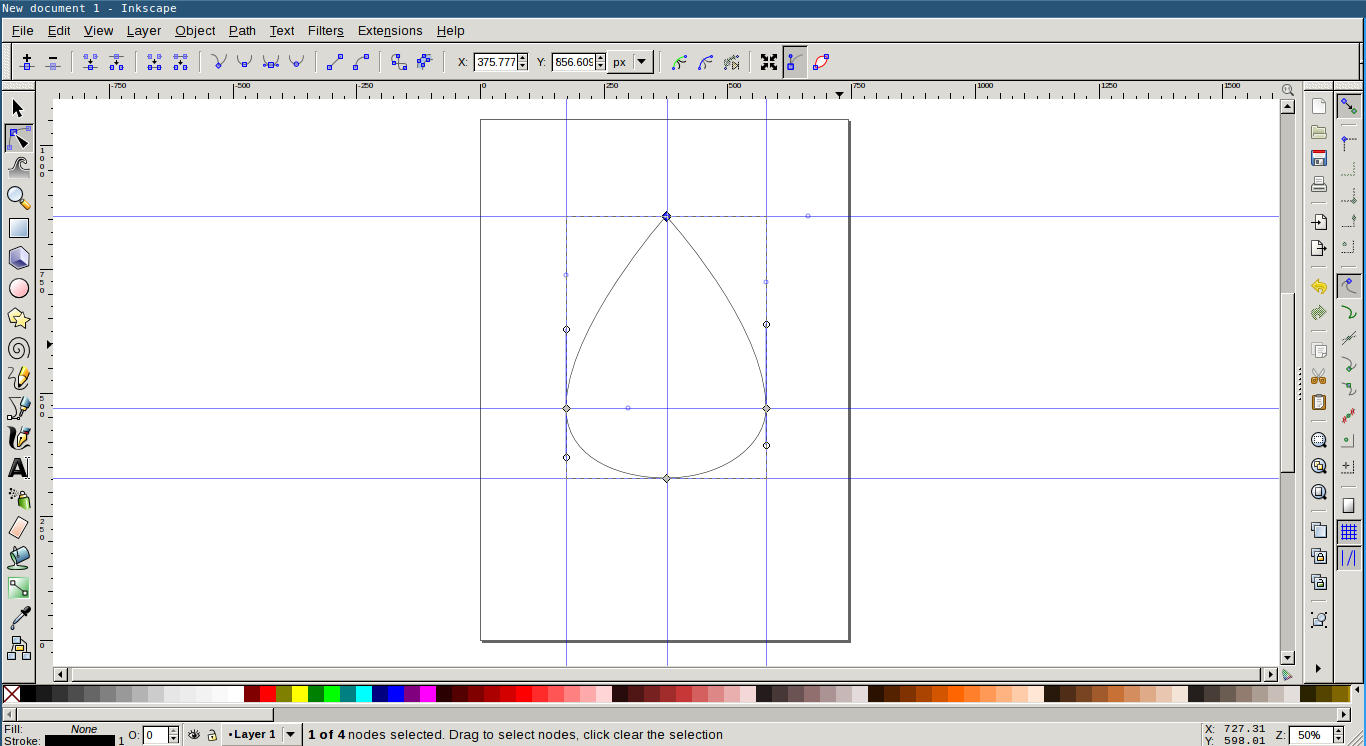
- Drawing lines inside
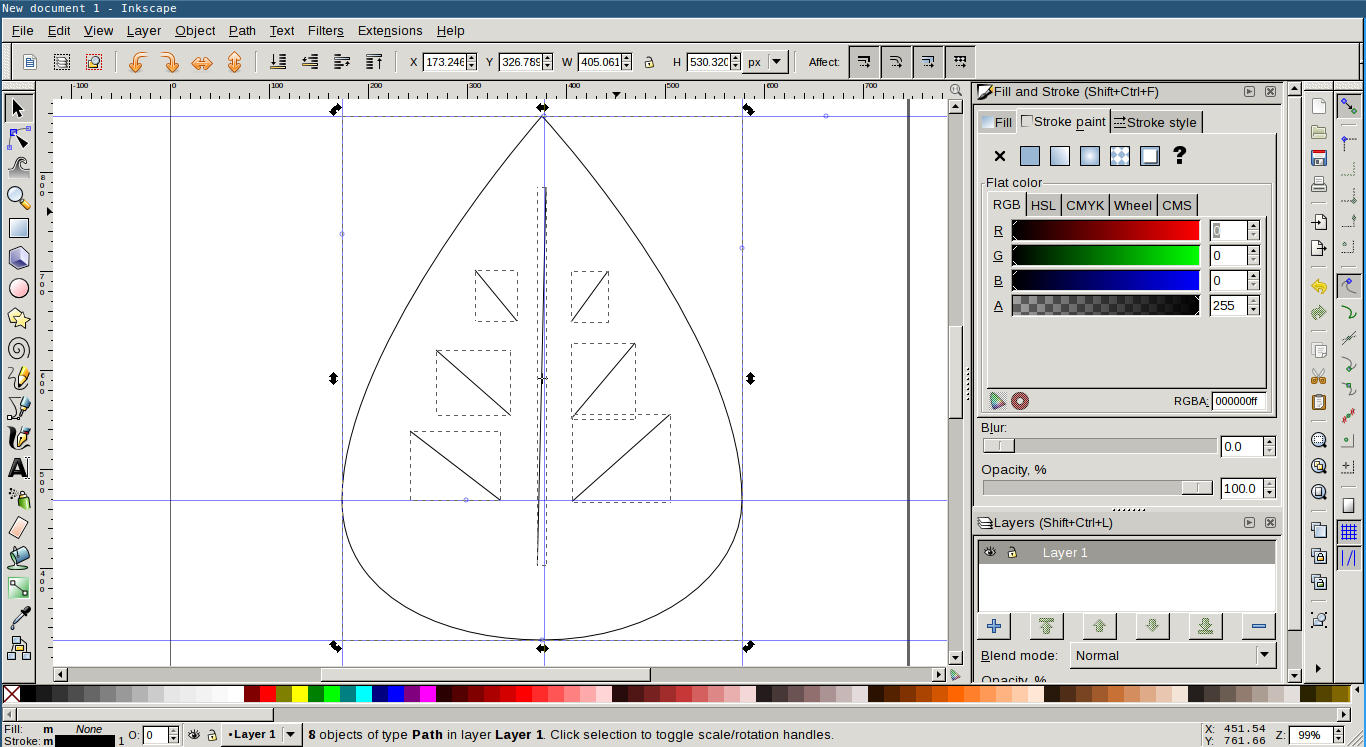
- Selecting whole together to display scaling handles on the edges

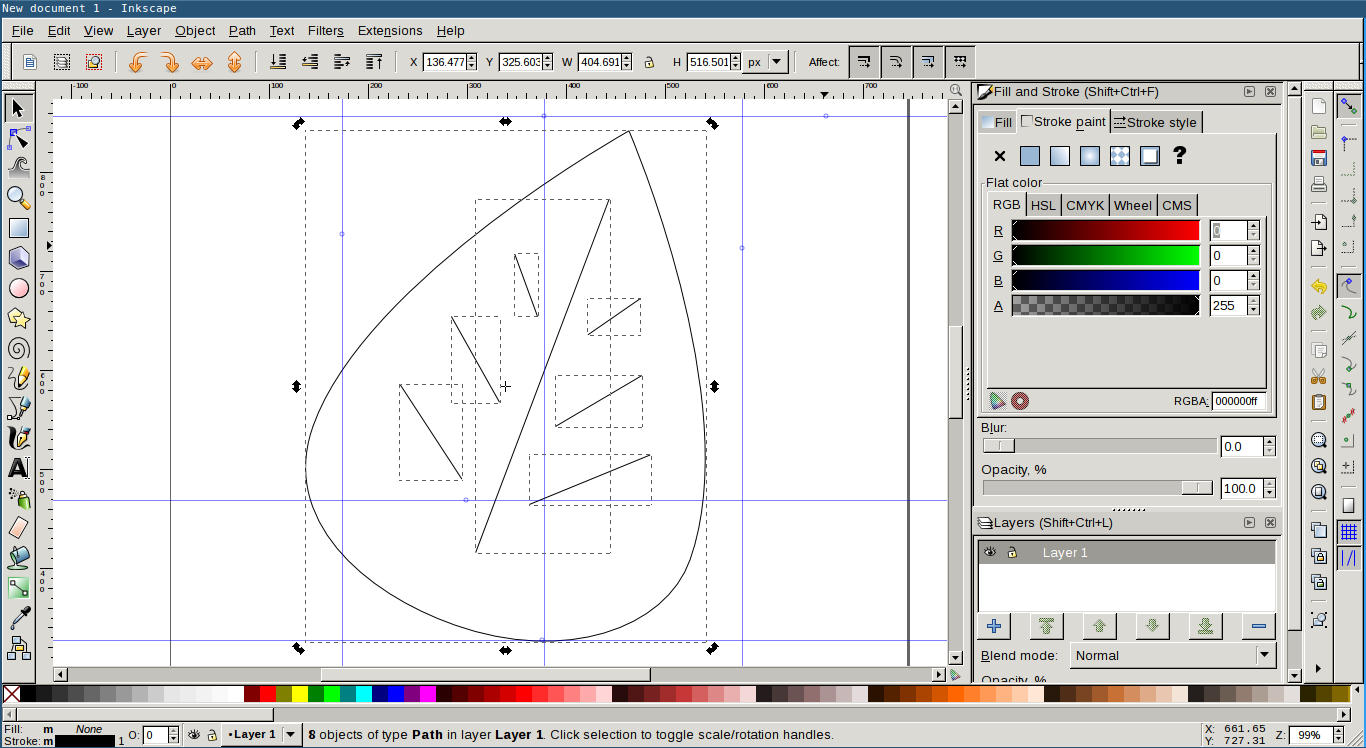
- Click again to display rotation handles
- Rotating image a bit
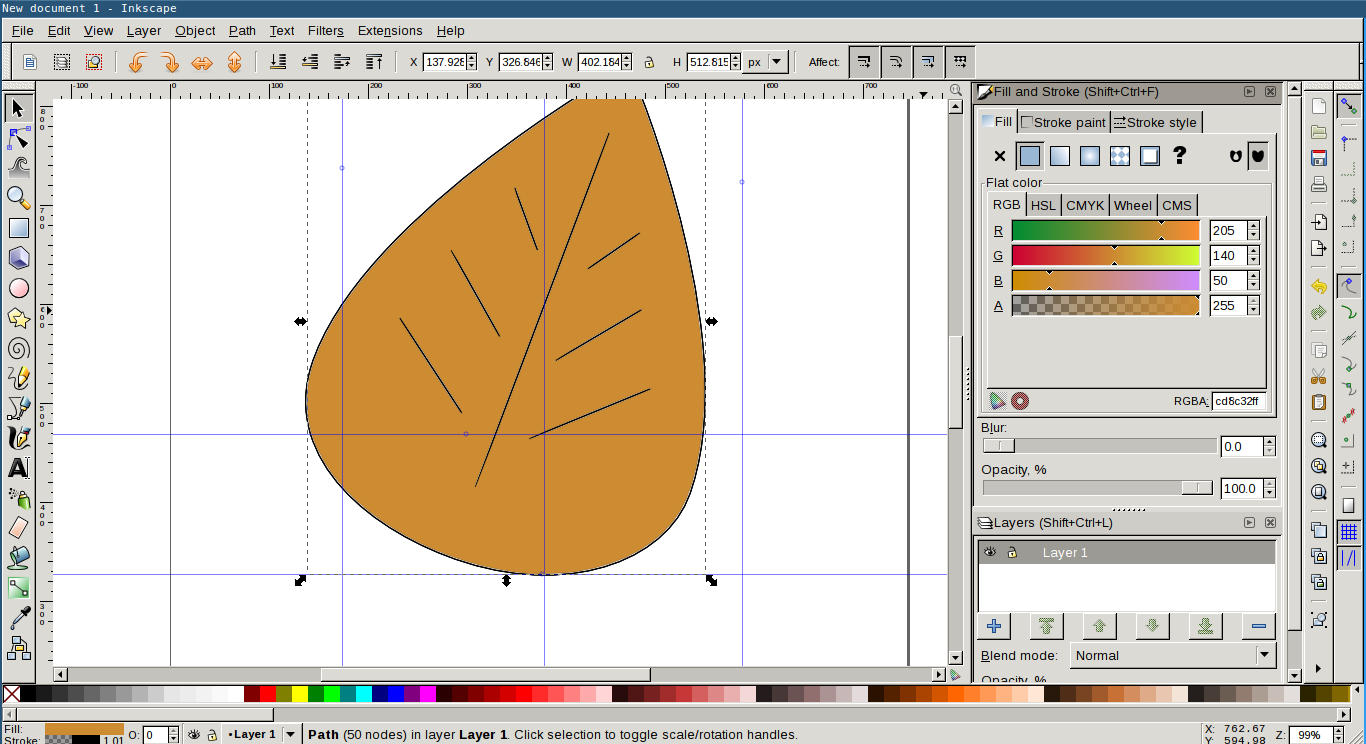
- Filling with color
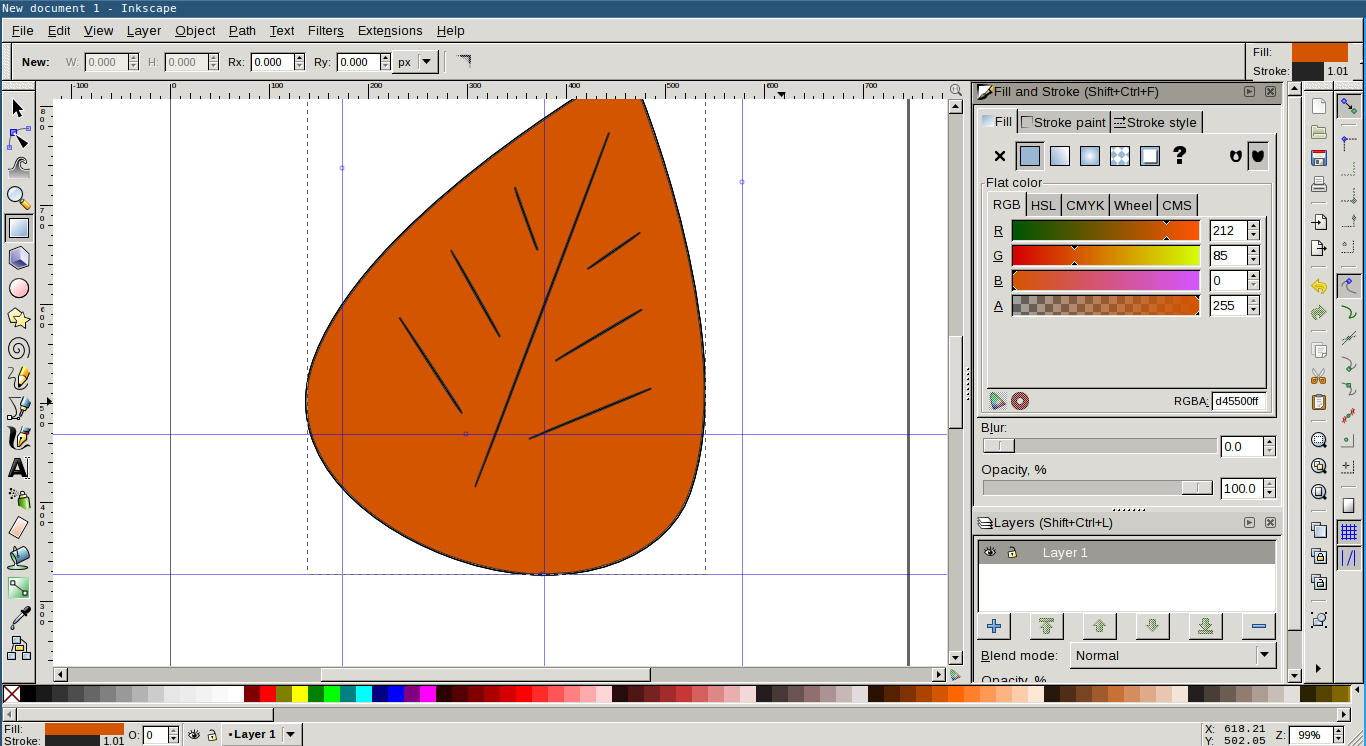
- Changing color using R, G and B values
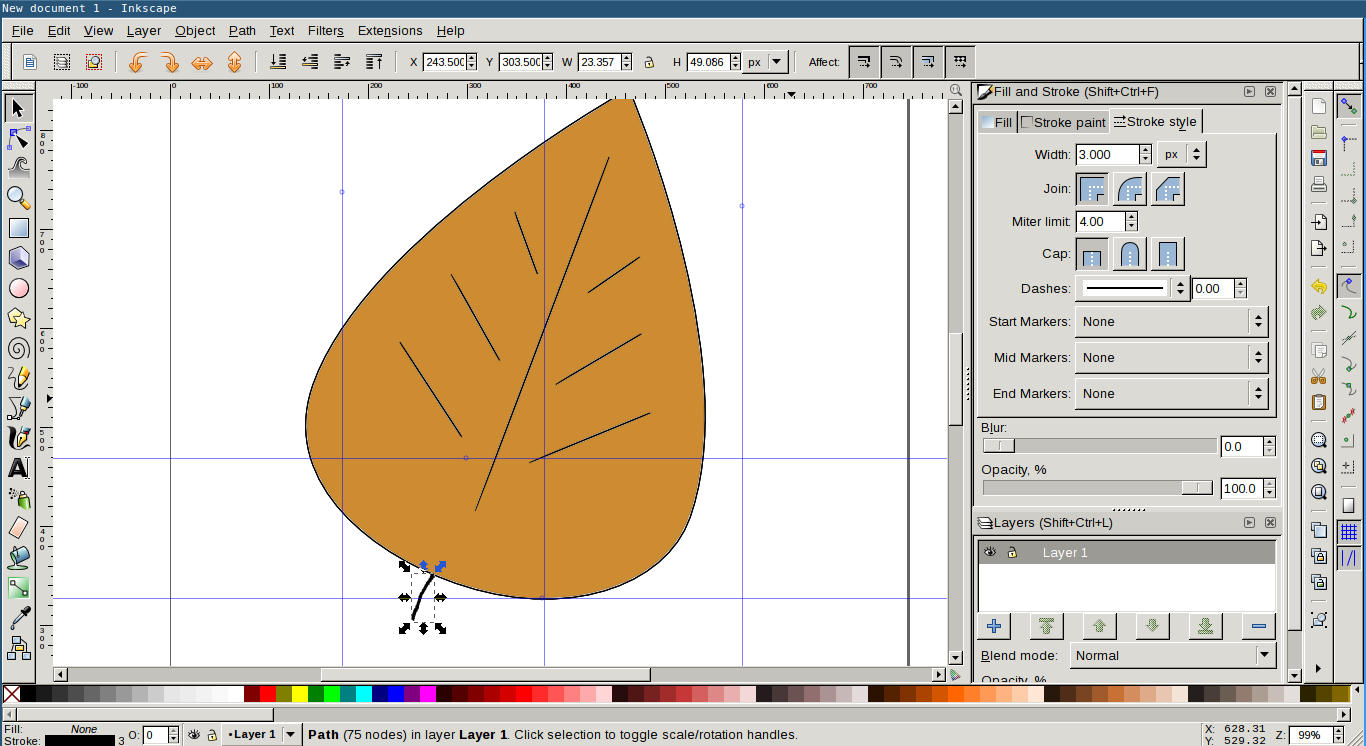
- Drawing leaf tail
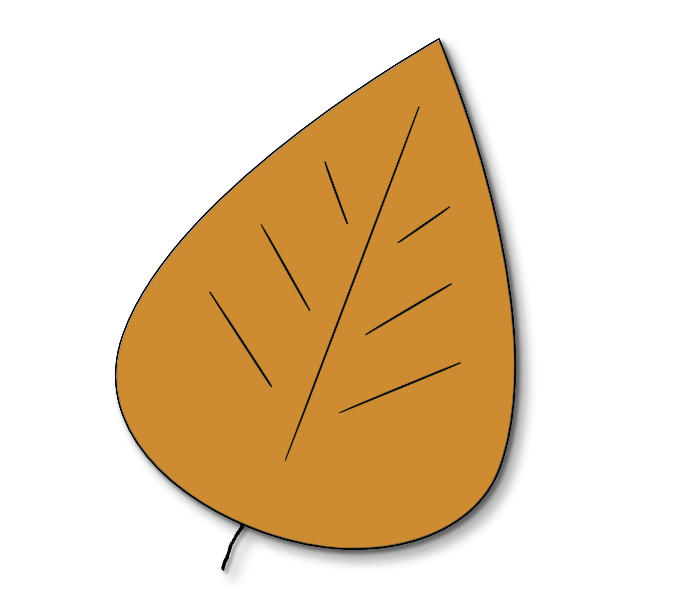
- Adding shadow from Filters > Shadows and Glows > Drop Shadow

- Final image
Experimenting wih Imagemagick
Imagemagick is a free and open-source software suite for displaying, converting, and editing raster image and vector image files. It can read and write over 200 image file formats. (Wikipedia)
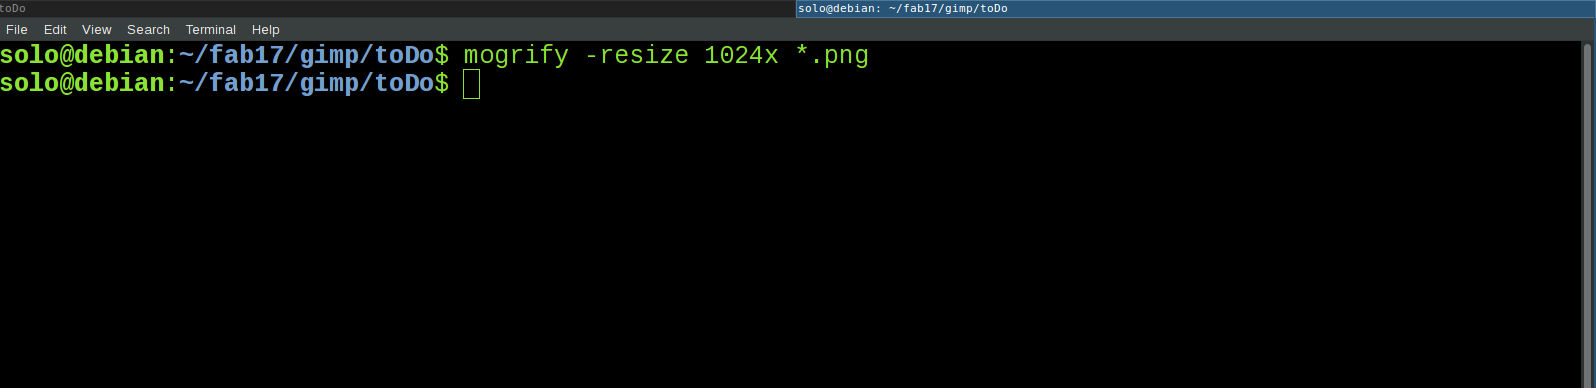
I had to crop lots of screenshots I took while playing with gimp. I want to convert all images to same width. I am not concerned about their height now. I used imagemagick for this. Below command was used for this.
mogrify -resize 1024x *.png
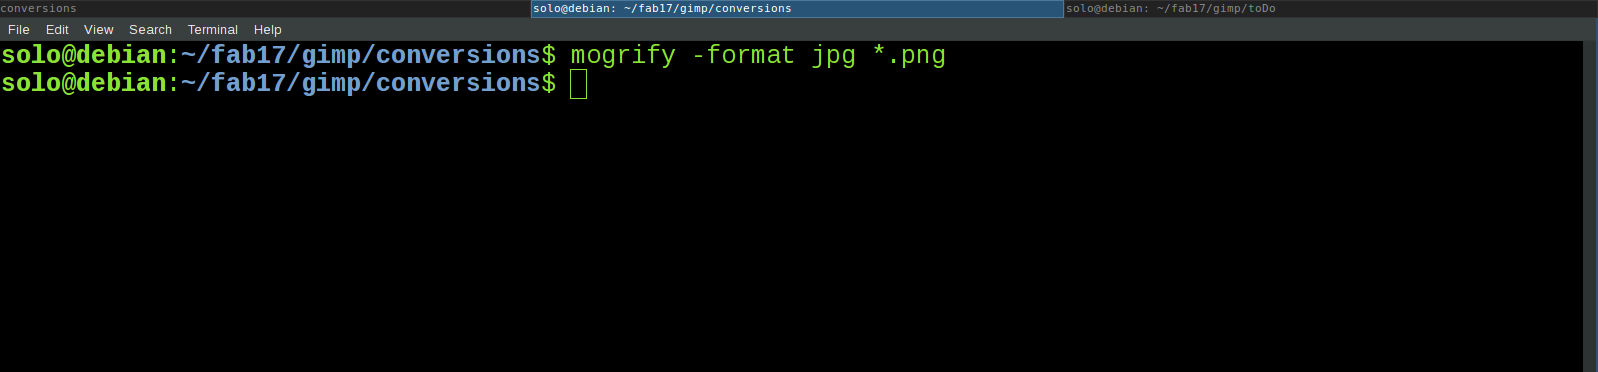
I copied all the files to another folder. Now I want to convert all these images into jpg format. I ran below code for this.
mogrify -format jpg *.png
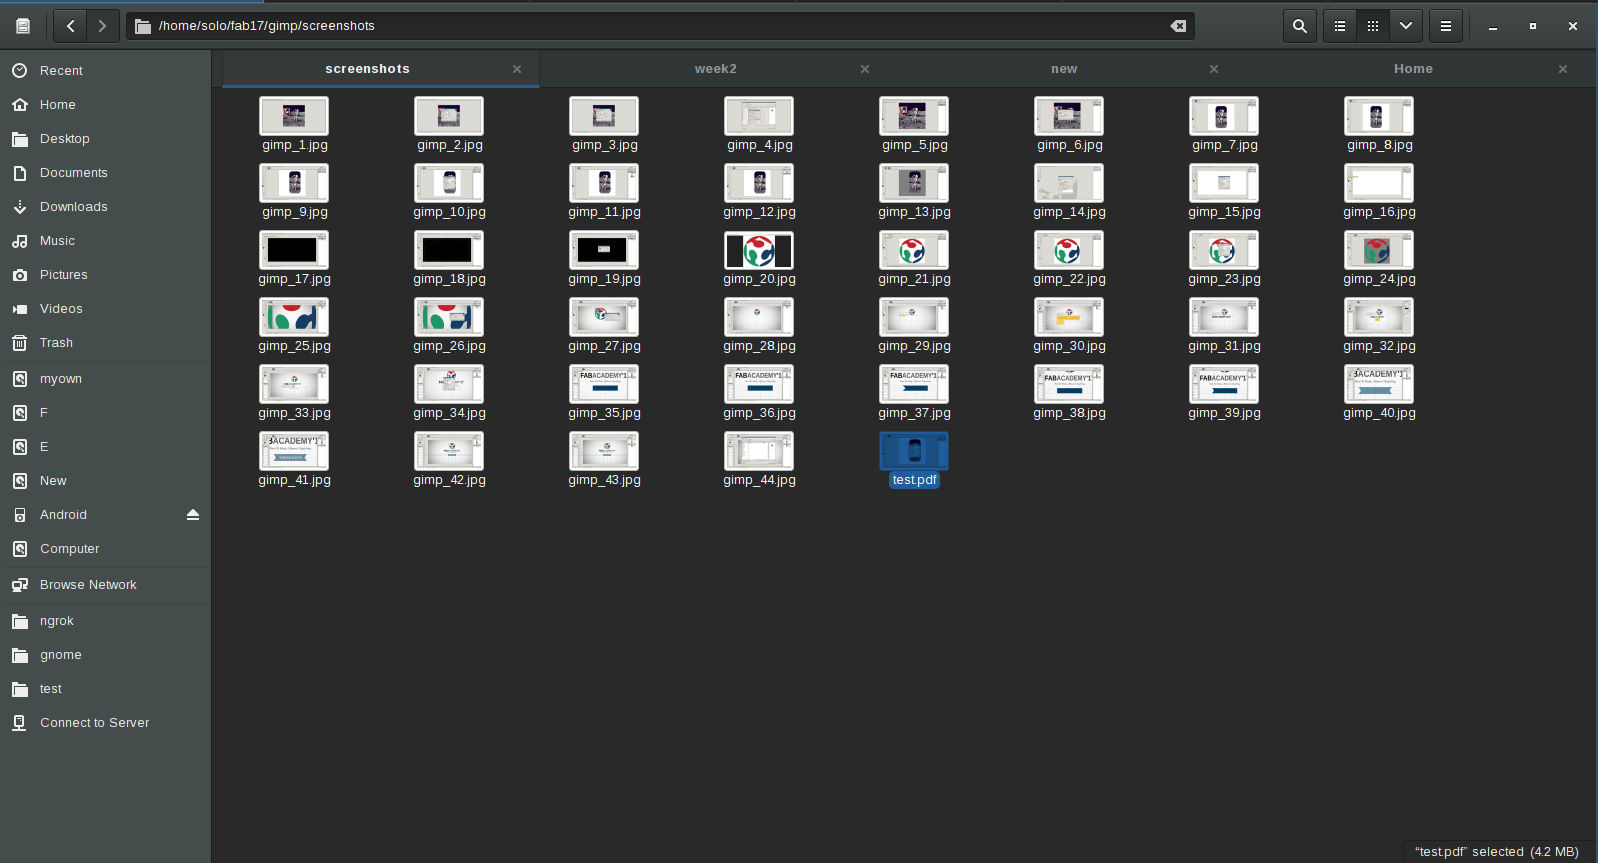
I had also tested PDF generation from image files. Below code were used for this. Generated pdf file is highlighted in the screenshot below.
convert *.jpg test.pdf
Freecad
FreeCAD is a free and open-source (under the LGPLv2+ license) general-purpose parametric 3D CAD modeler and a BIM software with FEM support. FreeCAD is aimed directly at mechanical engineering, BIM and product design but also fits in a wider range of uses around engineering, such as architecture or other engineering specialities.(wikipedia)
FreeCAD is a parametric 3D modeler made primarily to design real-life objects of any size. Parametric modeling allows you to easily modify your design by going back into your model history and changing its parameters. FreeCAD is open-source and highly customizable, scriptable and extensible. FreeCAD is multiplatfom (Windows, Mac and Linux), and reads and writes many open file formats such as STEP, IGES, STL, SVG, DXF, OBJ, IFC, DAE and many others.
Installation
Freecad installation in debian based gnu/linux can be done using command below.
sudo apt-get install freecad
Experimenting with freecad
I am going to do some simple experiments with freecad.
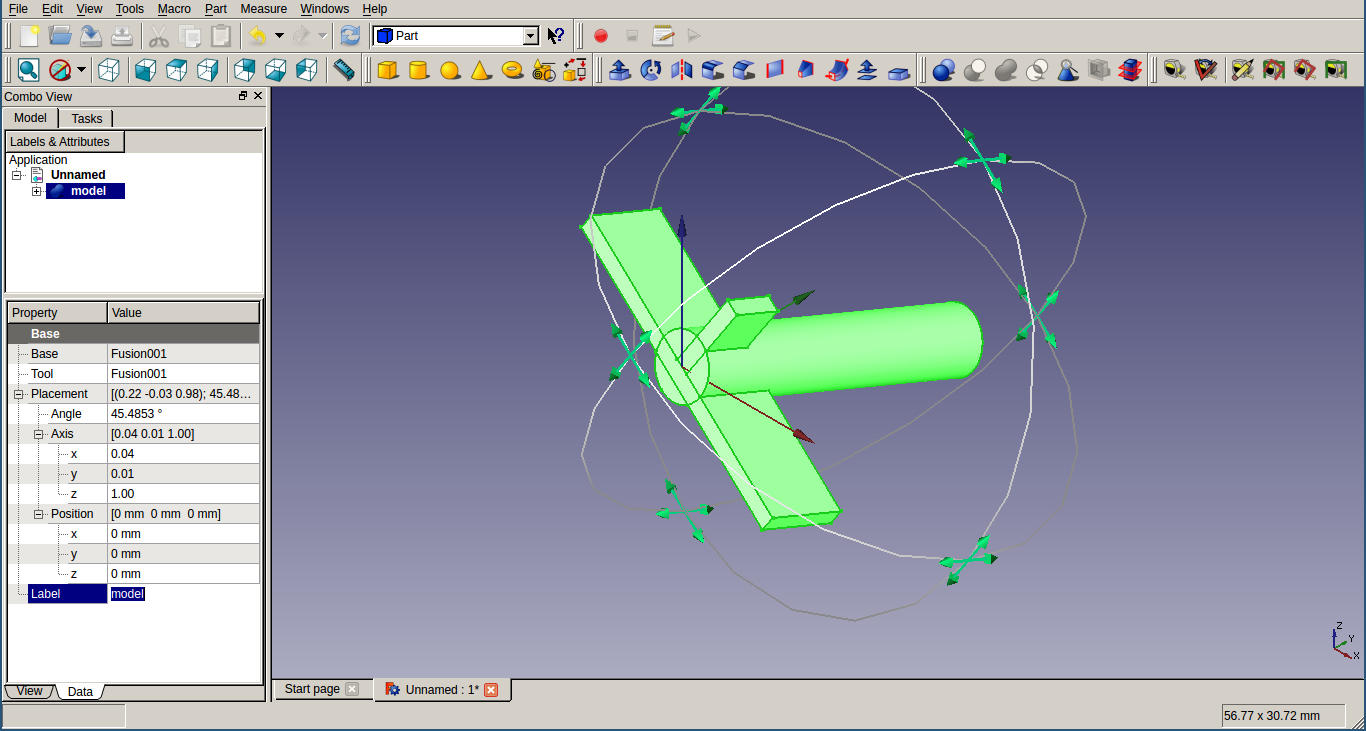
- Opening freecad
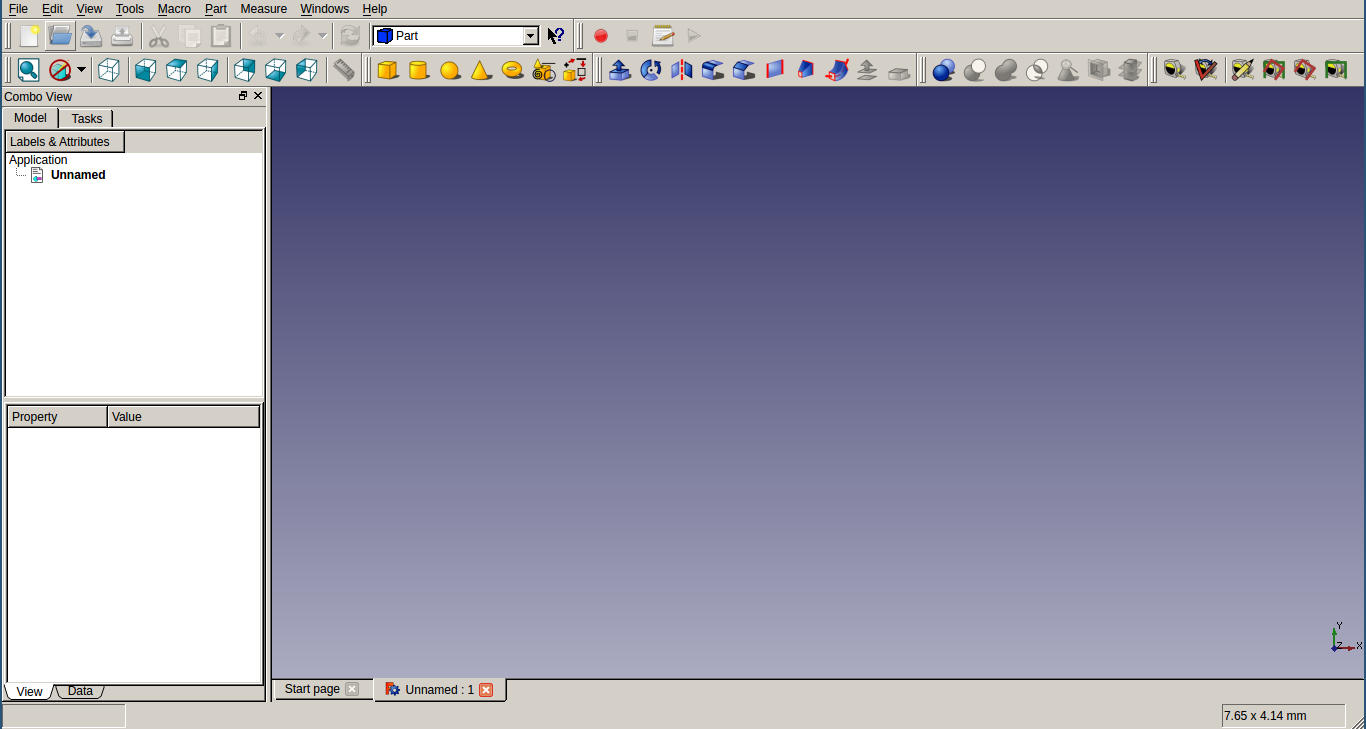
- Opening a new 'Part Workbench' from View > Workbench > Part
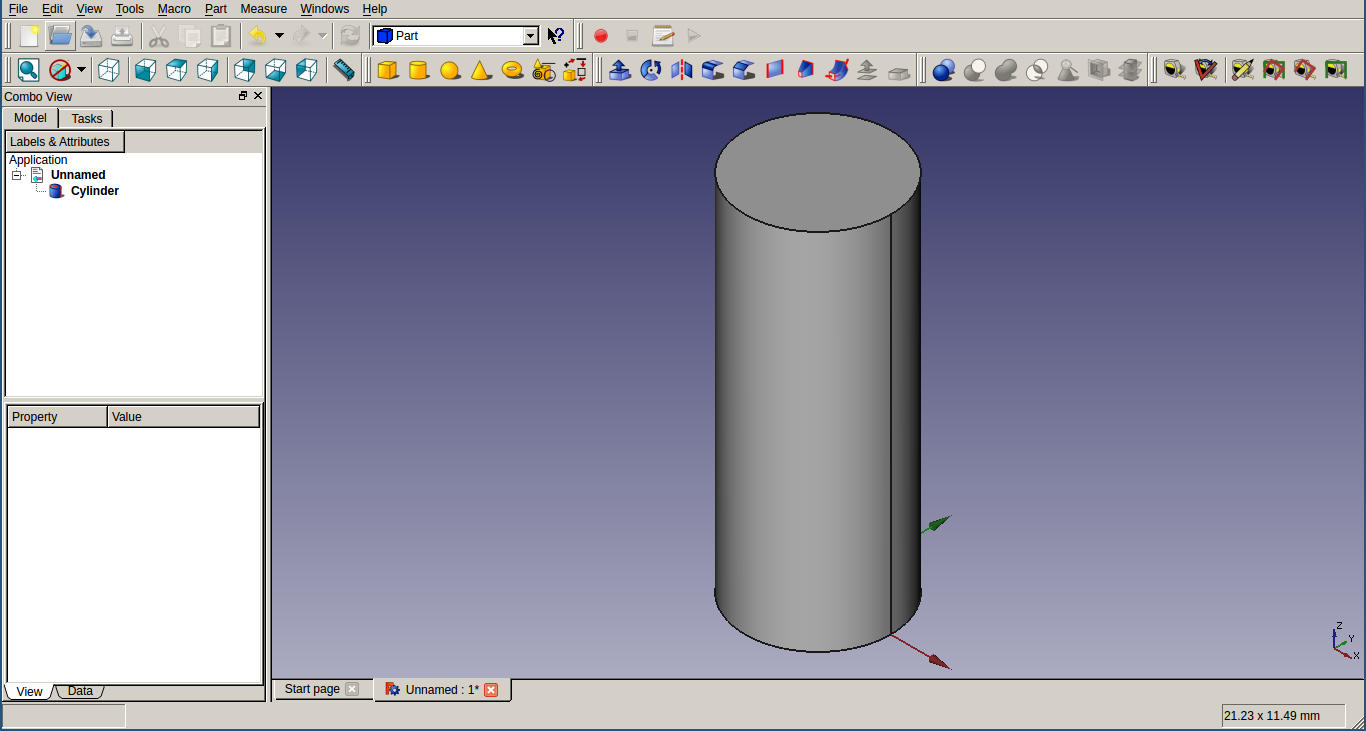
- Choosing cylindrical shape and clicking on project window to generate a cylindrical shape.
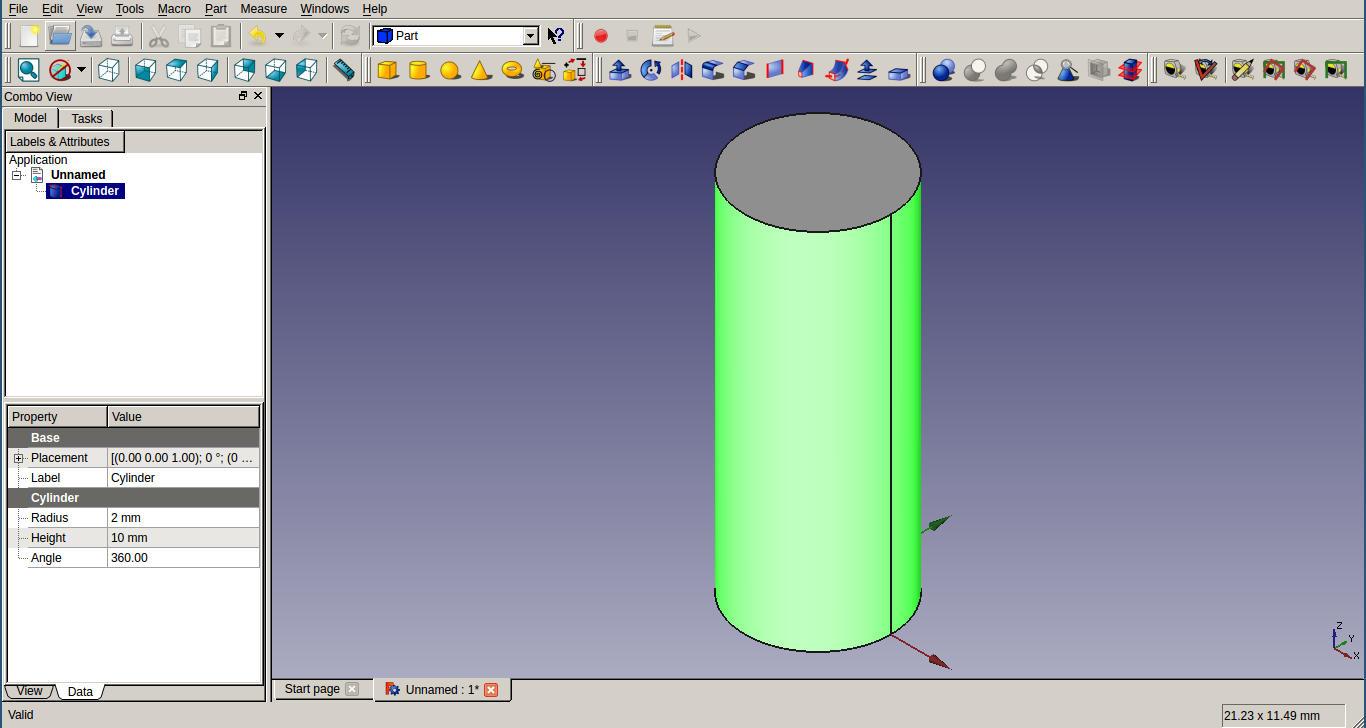
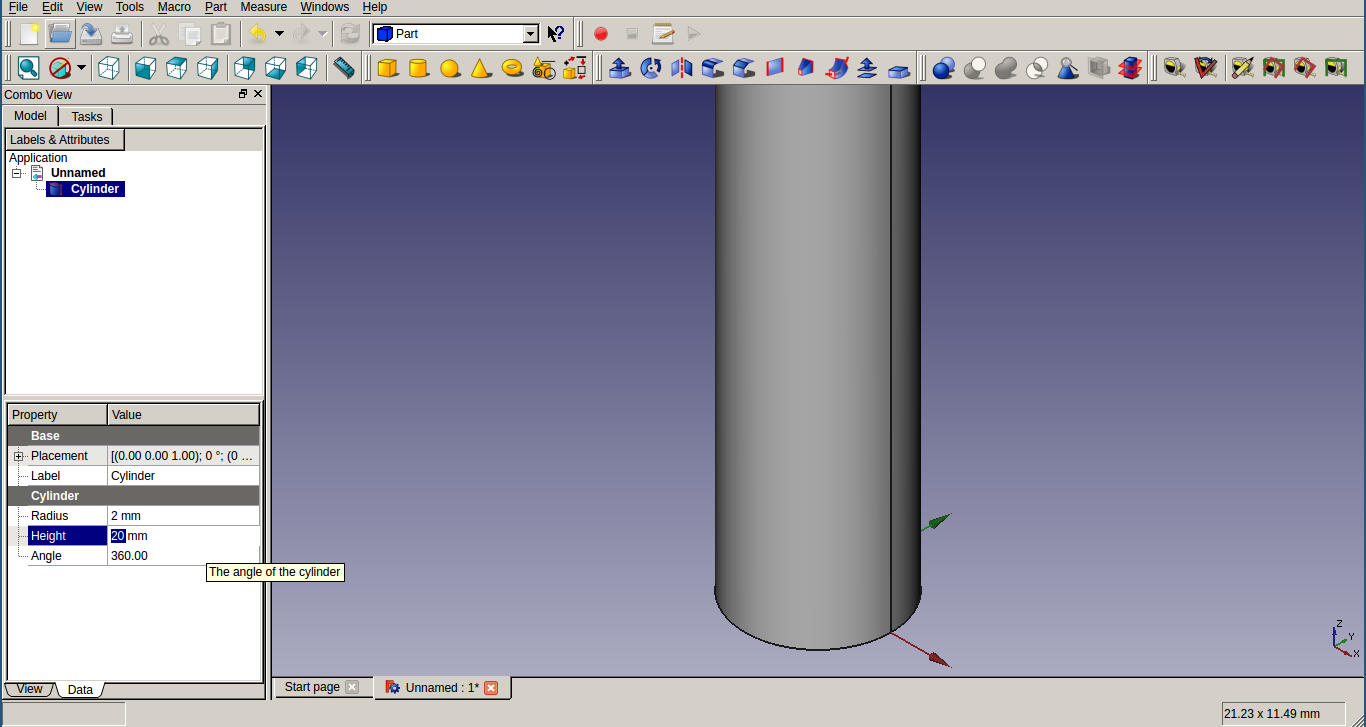
- Click on the cylinder and change sizes as: Height to 20mm and Radius to 2mm from Data tab at the bottom left side of the window.
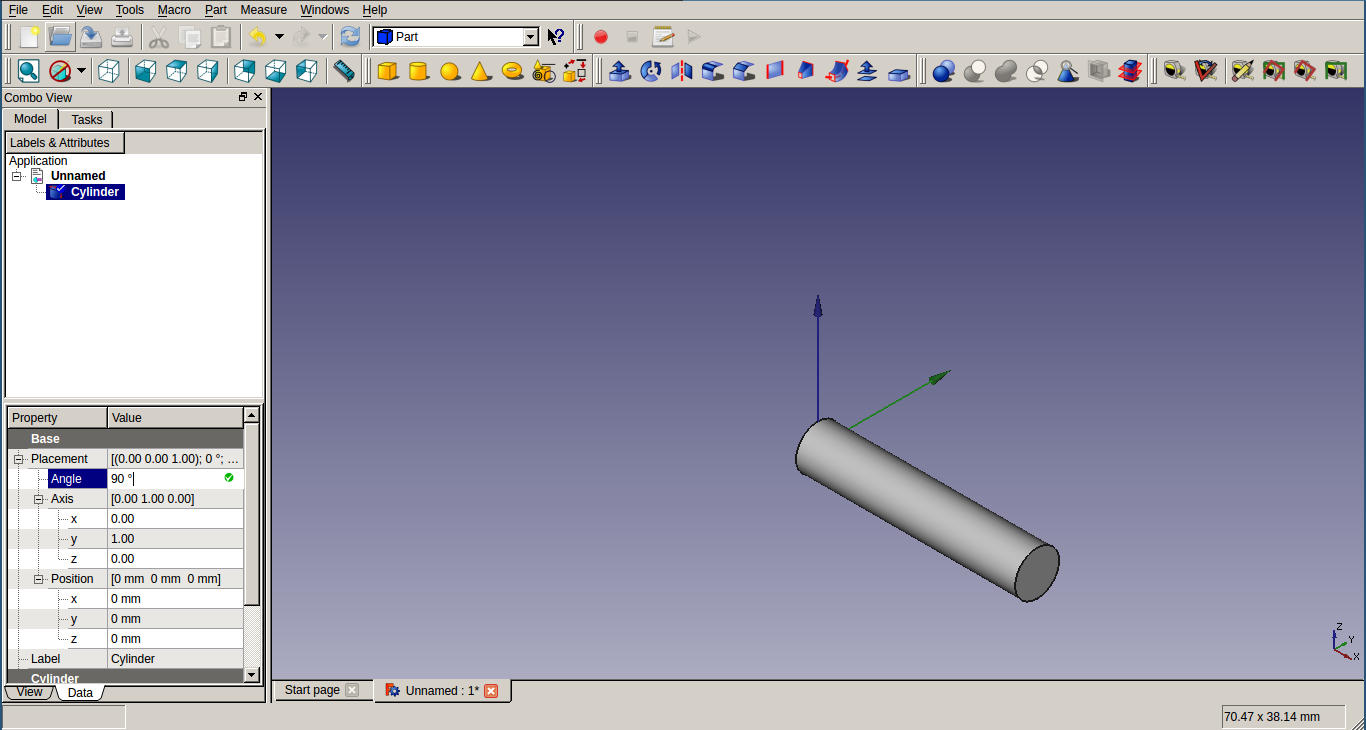
- Click on 'Placement' option and change angle to 90 degree and change y-axis to value 1.
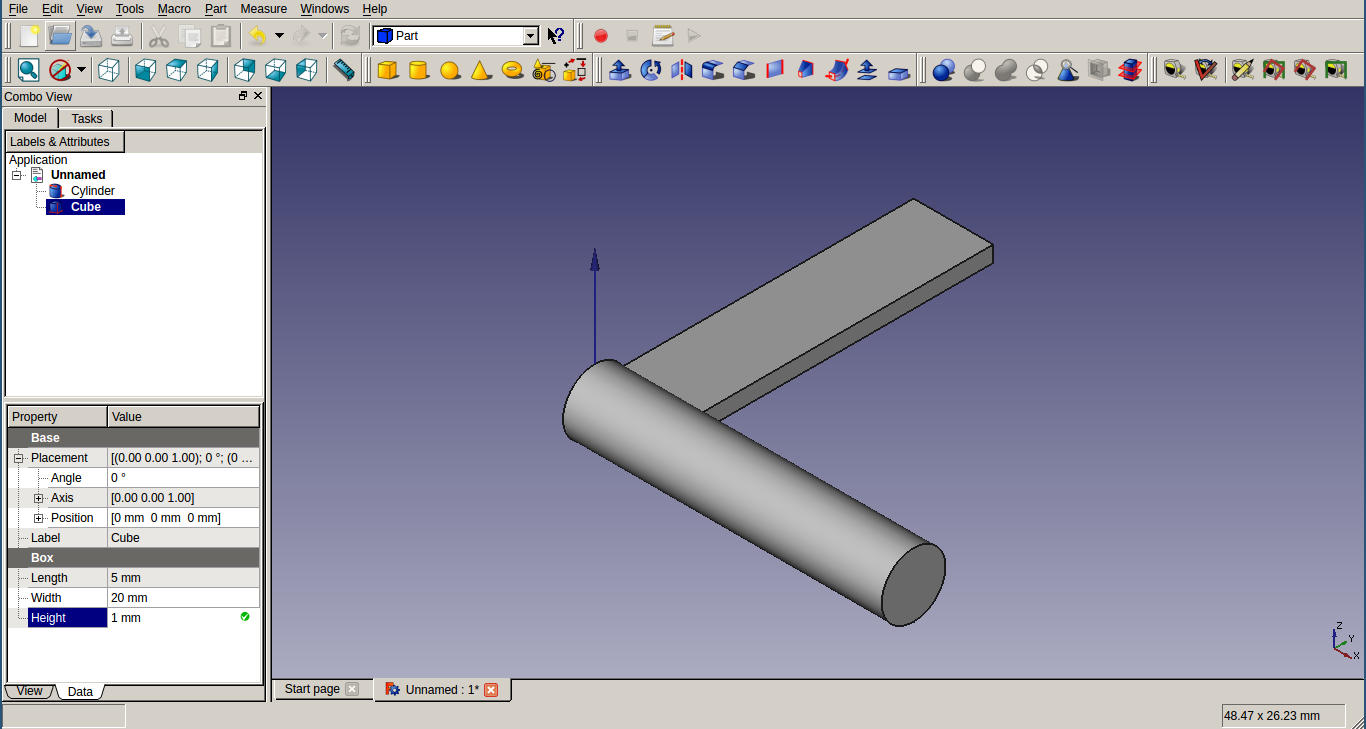
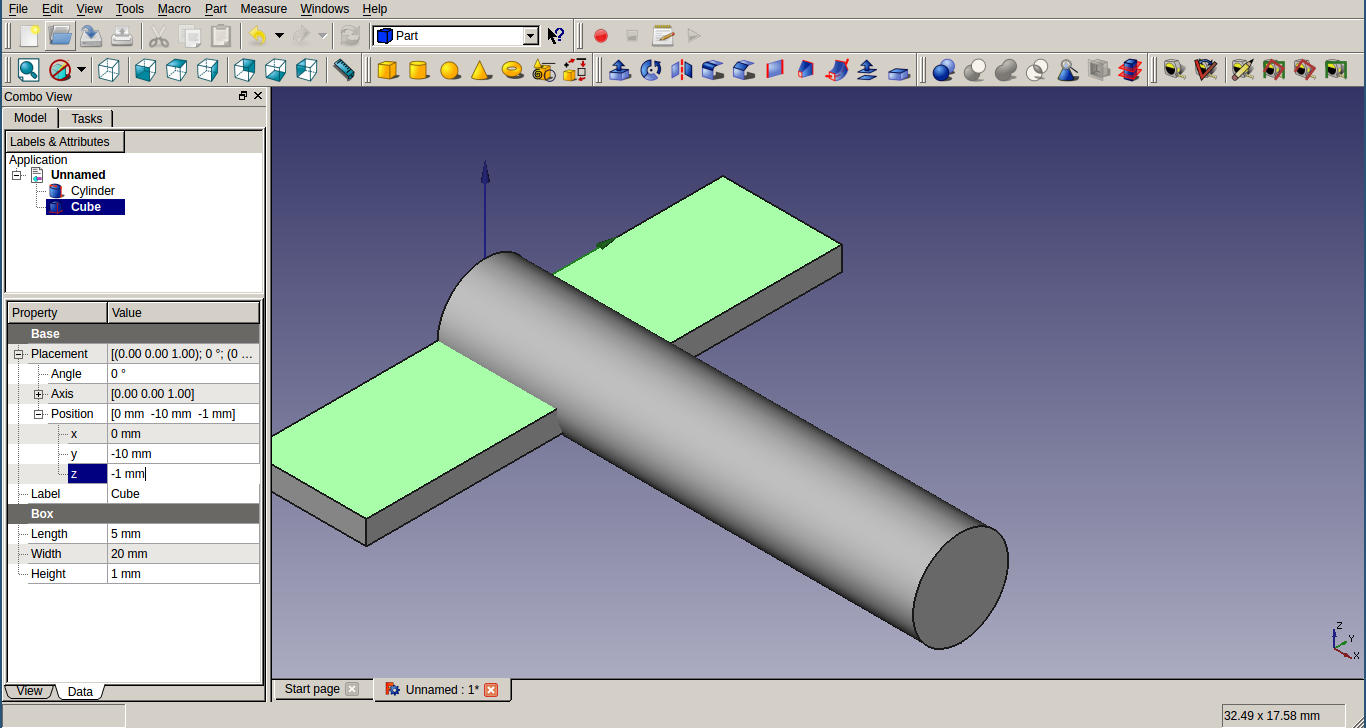
- Now select the cube drawing tool and click on work window. From Data tab length, width and height to 5mm, 20mm and 1mm respectively.
- From Position menu under Placement section, change x,y,z to 0mm, -10mm, -1mm respectively.
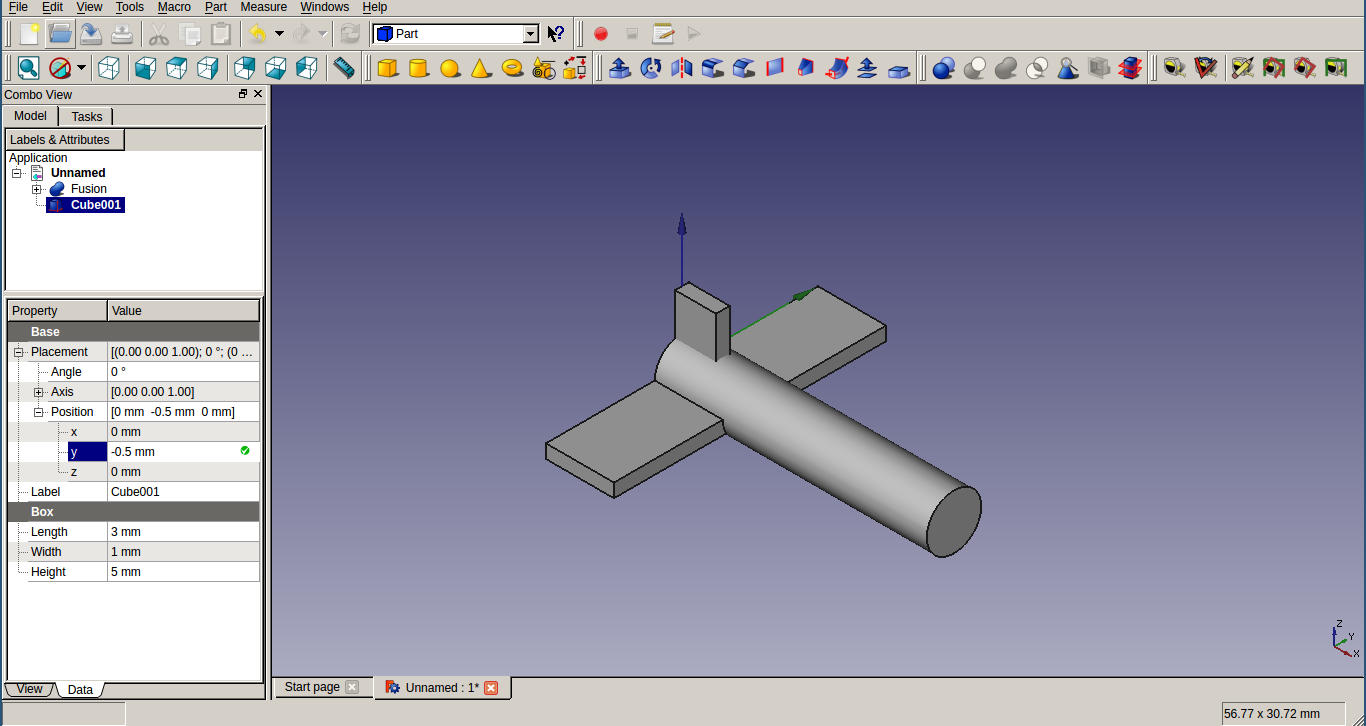
- To merge these two shapes together, choose Boolean button and the Tasks viewer will display the Boolean Operation selector. Select Union and make sure the Cylinder and the Box are each ticked once in the two shape lists. Click on Apply and then Close. We now have a single object called Fusion. Creating another cube and change length, width and height to 3mm, 1mm and 5mm. From Position menu under Placement section, change y to -0.5 mm.

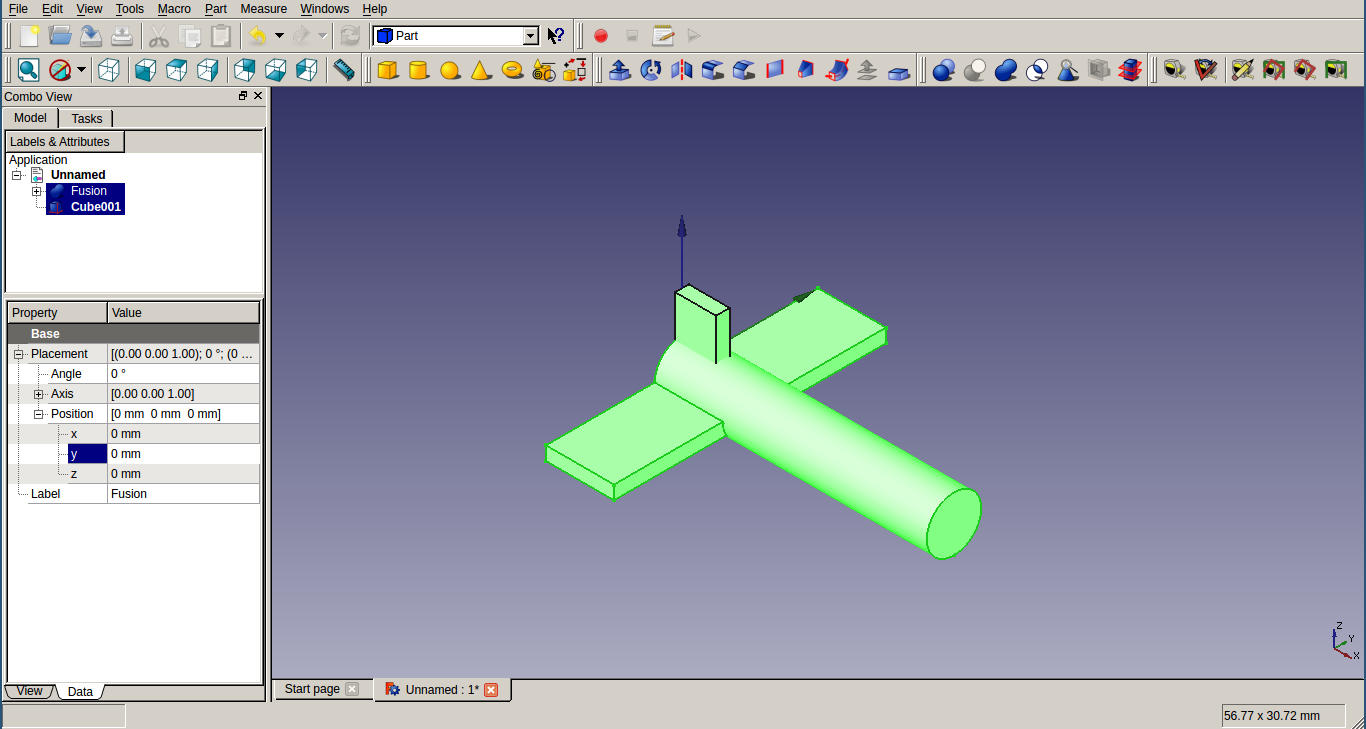
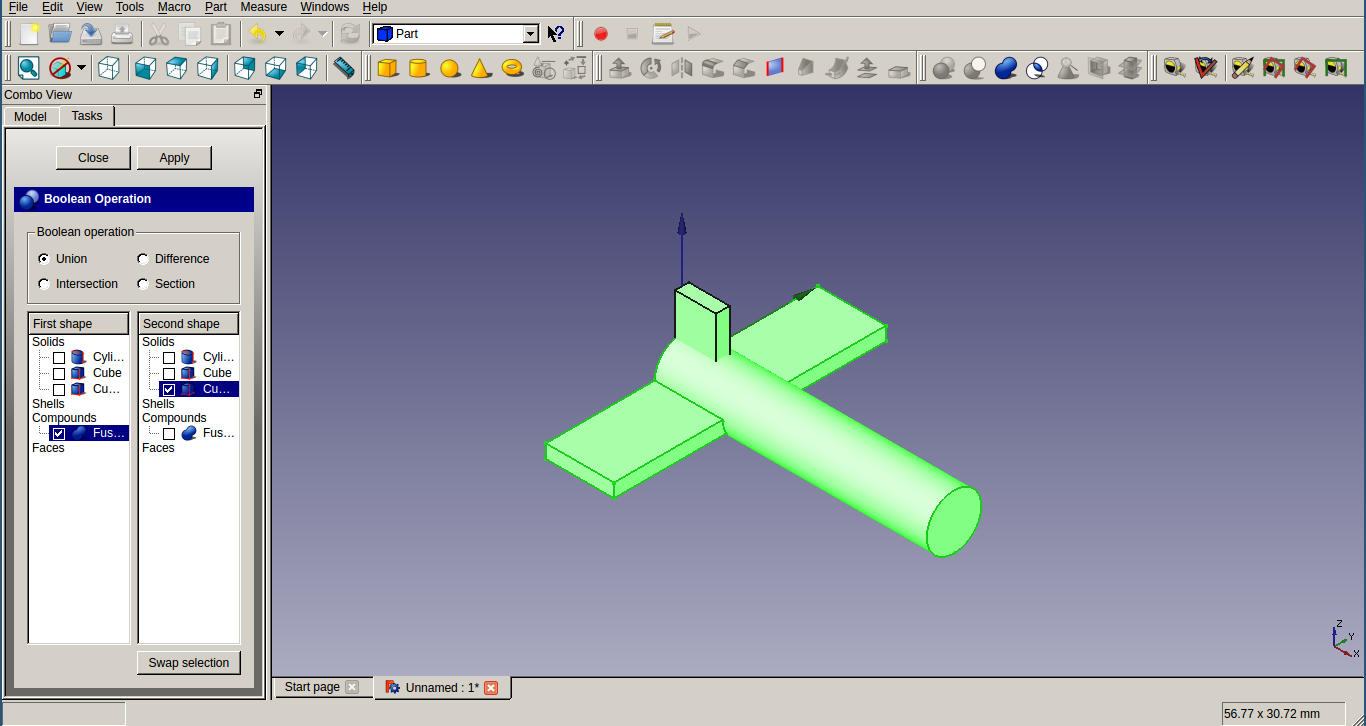
- To join our Fusion to Cube001, click on Fusion in the Project viewer and CTRL-click on Cube001. This selects both parts together. Choose Boolean button and the Tasks viewer will display the Boolean Operation selector. Select Union and make sure the Cube and the Fusion are each ticked once in the two shape lists. Click on Apply and then Close. Now we get Fusion001. We can change the label from 'Label' option under Data tab.
After thoughts
Tools used so far
- GIMP
- Inkscape
- Imagemagick
- Freecad
- Update: Also tried OpenScad and Onshape.
As you can see I have not tried any apps that does not work on gnu/linux. I want to stick with linux in future days. I am well comfortable with Gimp, but I decided to use Inkscape since it provides vector output. I will be using imagemagic for doing format conversions and size scaling of multiple images. It saved lot of my time.
For 3D designing I used only freecad for now. I had planned to try Antimony and Onshape but I ran out of time. I spend lots of time trying to install Antimony but it didn't work in my system. As I am very new to 3D designs, I find it a bit difficult to work with CAD tools. Also I think that freecad is not much newbie friendly. I shall try Onshape in coming days.
UPDATE: : I am not a fan of online tools, as internet connection is so unreliable here. But, as a newbie in 3D designing, I find it very difficult to use freecad. Thats how I started trying OpenScad and Onshape. I tried OpenScad in week-3 for laser cutting. I liked OpenScad very much. Programming approach for designing was easier for me since I have programming background. But OpenScad is time consuming and as far as I know, it cant be used for complecated designs.
I moved into Onshape soon. I loved it. Its very easy to use, it has lots of features and it has a good documentation, and yea...its free :). I started by reading documentaion from help section. I will be using Onshape for my project designs.
Final Project Designs
I have tried only 2D design. Like I wrote above, I am running out of time. I shall upload 3D designs after trying more tools in 3D.
2D screenshot
UPDATE: 3D design using Onshape
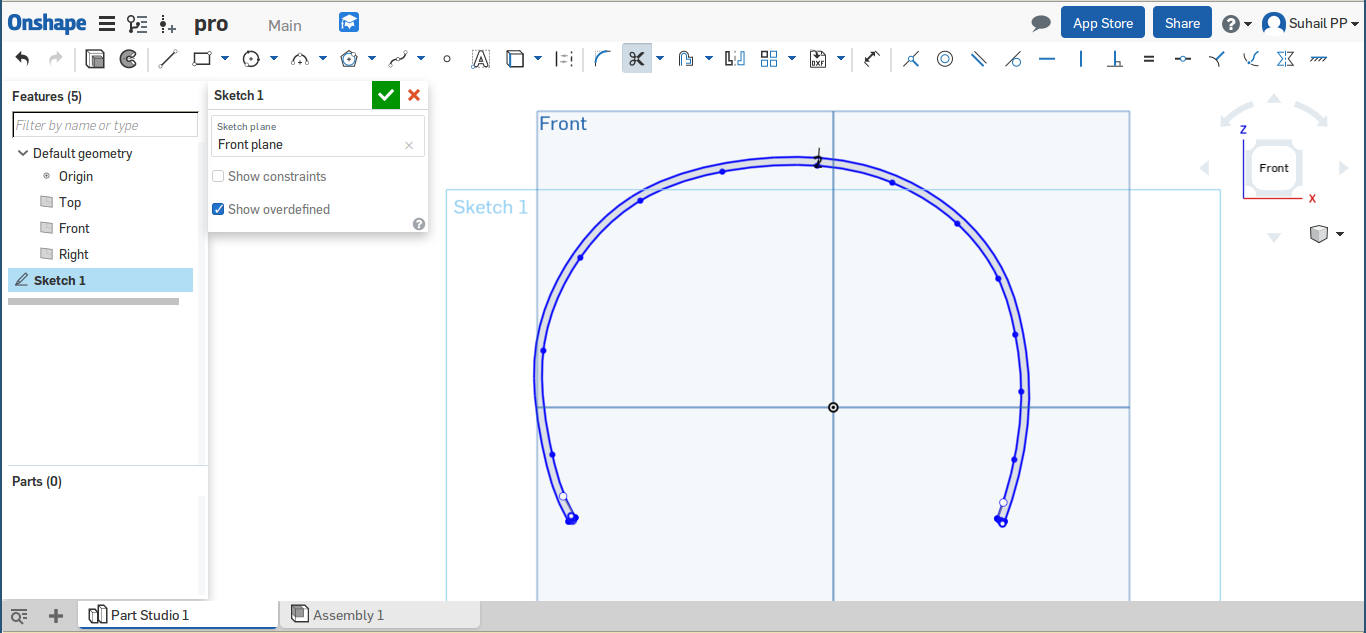
Here is a rough design made in Onshape. Steps I followed, along with some screenshots are below.
I started drawing a sketch in a plane using spline tools, which is used for drawing curves. This sketch is for the top part of the head band. Then I used extrution tool to extrude the shape in required width.
Next step is to draw the ear-top section on both sides. I selected new sketch and chose plane which is 90 degree with previous sketch and completed the sketch using spline tool. After extruding small thickness, I applied fillet at the bottom using fillet tool, as you can see in screenshot.
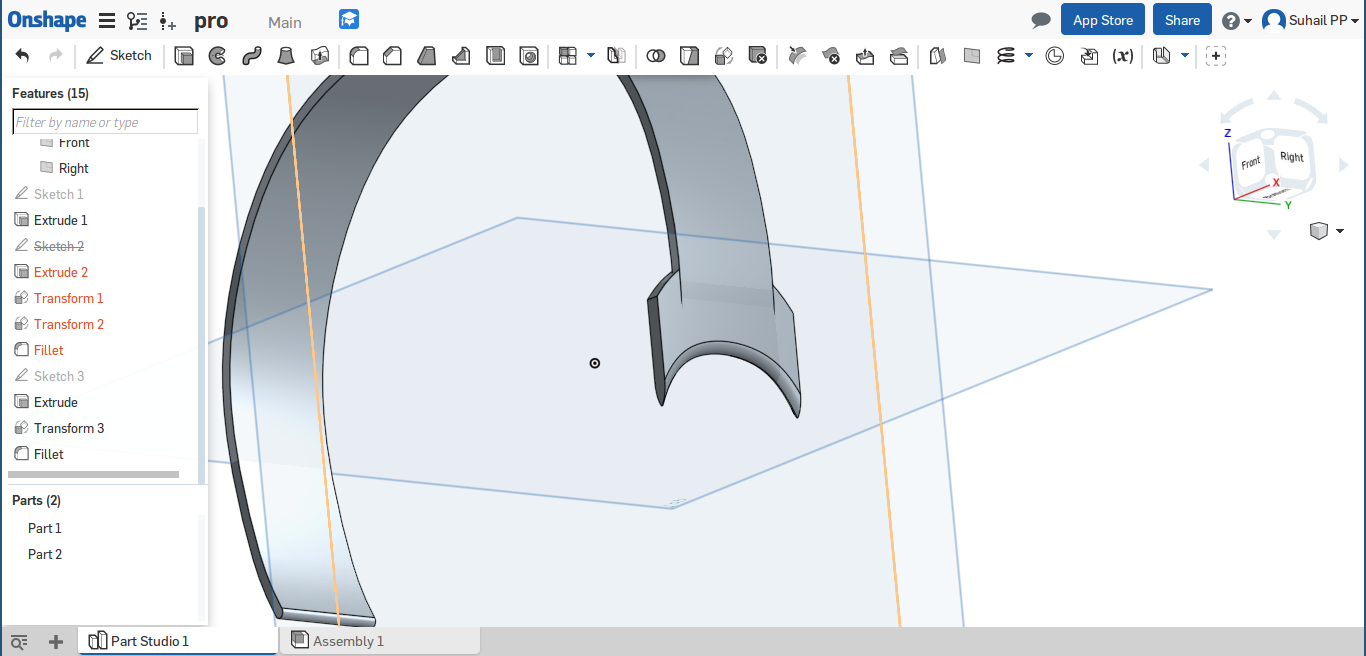
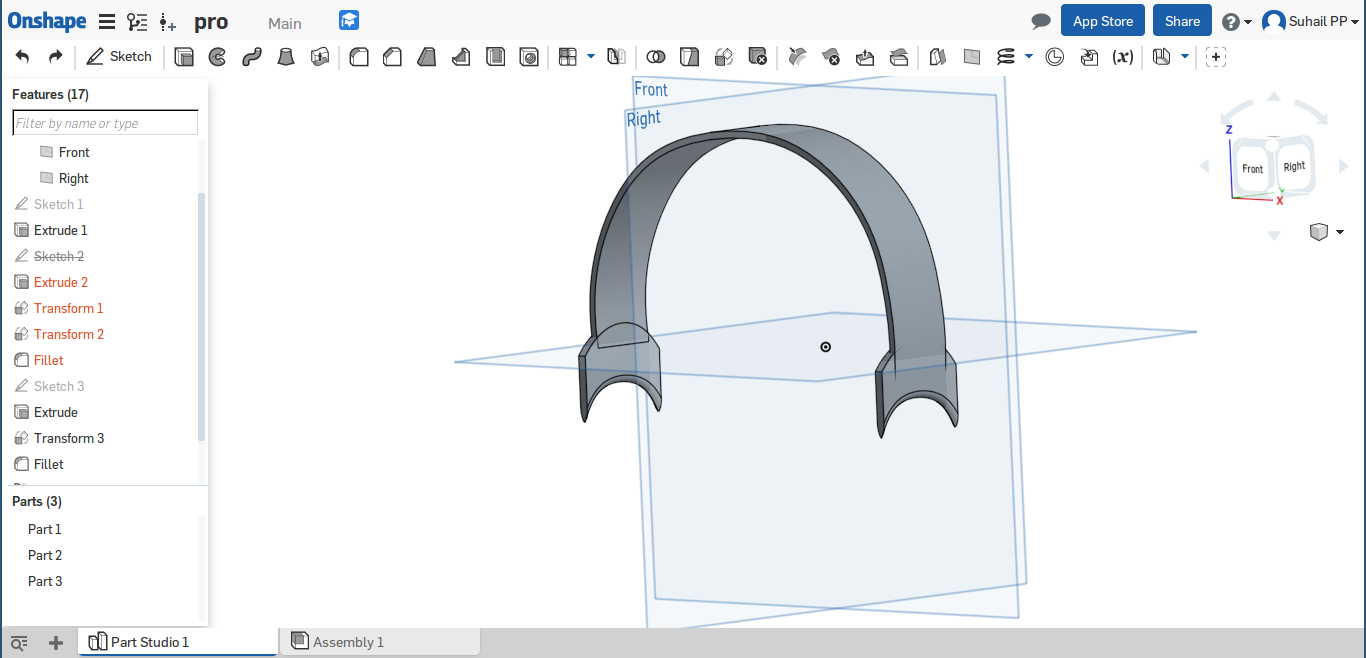
I took mirror image of second sketch using mirror tool from toolbar.
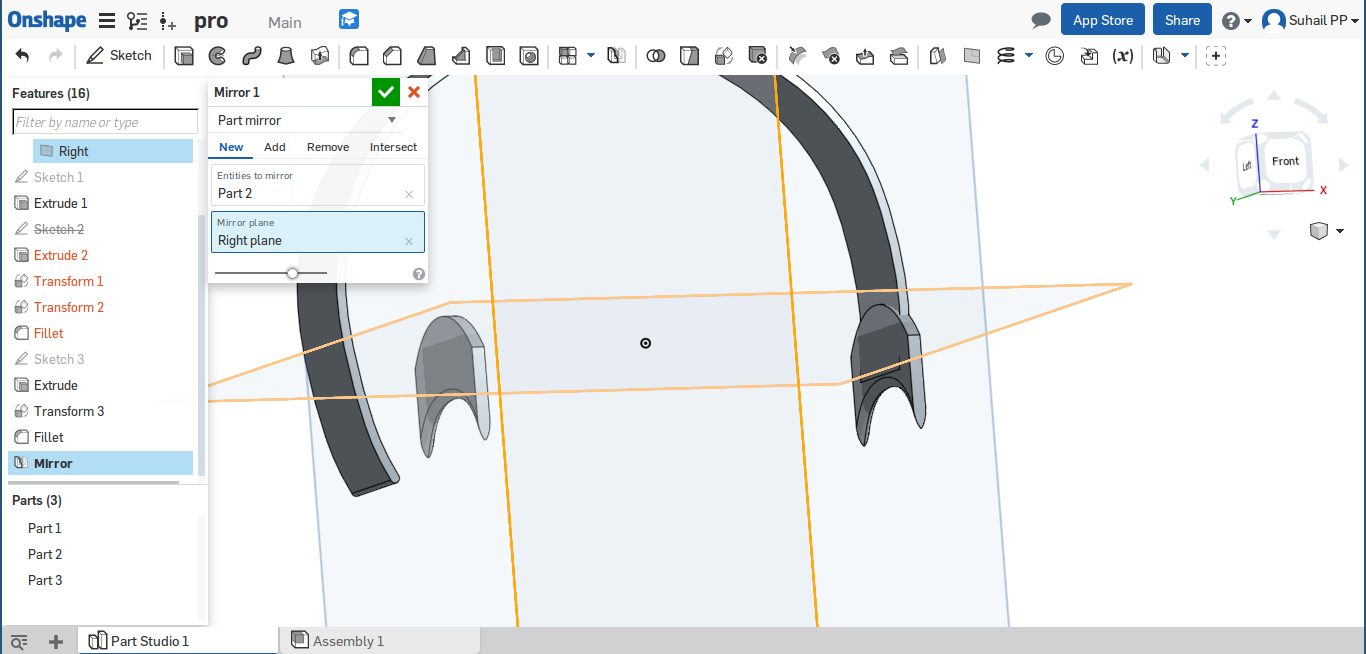
Then the position was corrected using transform tool. Extra length were cut using trim tool from sketch.
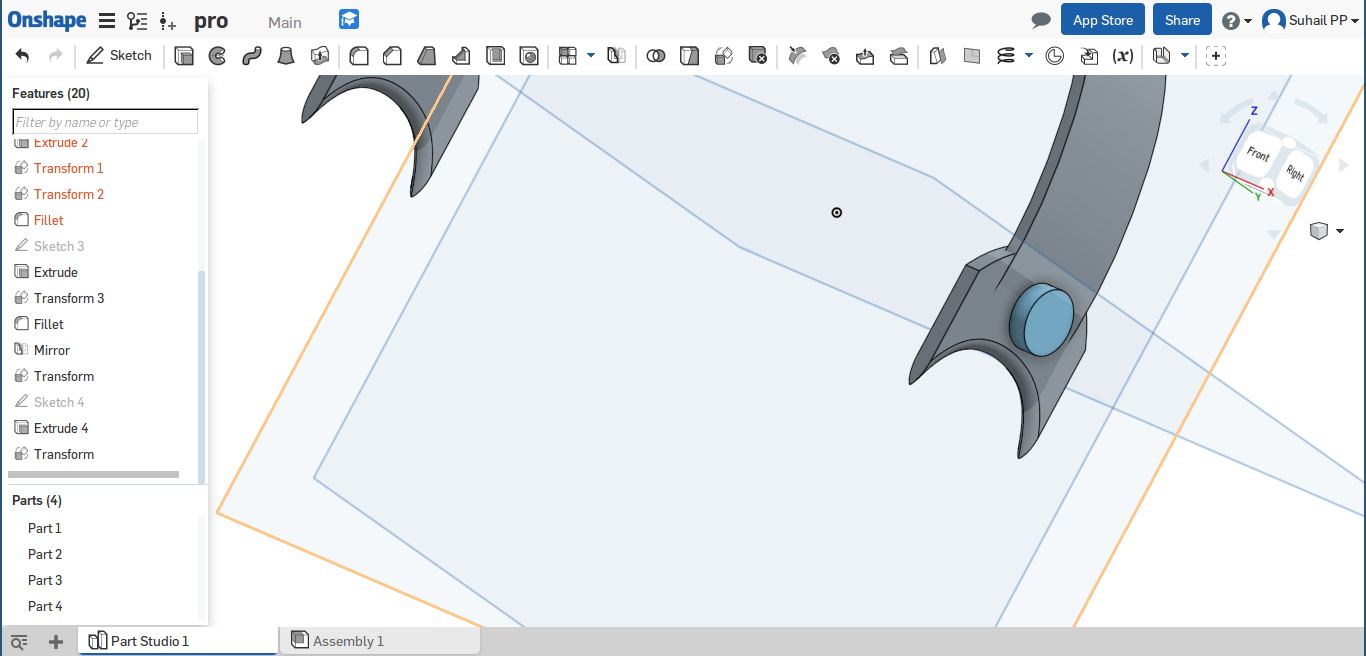
Next part of the design is a movable piece which touch forehead where the conductor is placed. I drew a simple circle using circular tool from toolbar and extruded it.
This part is designed in a new sketch which is 90 degree with previous two sketches. Spline tool and extrution tool were used for this.
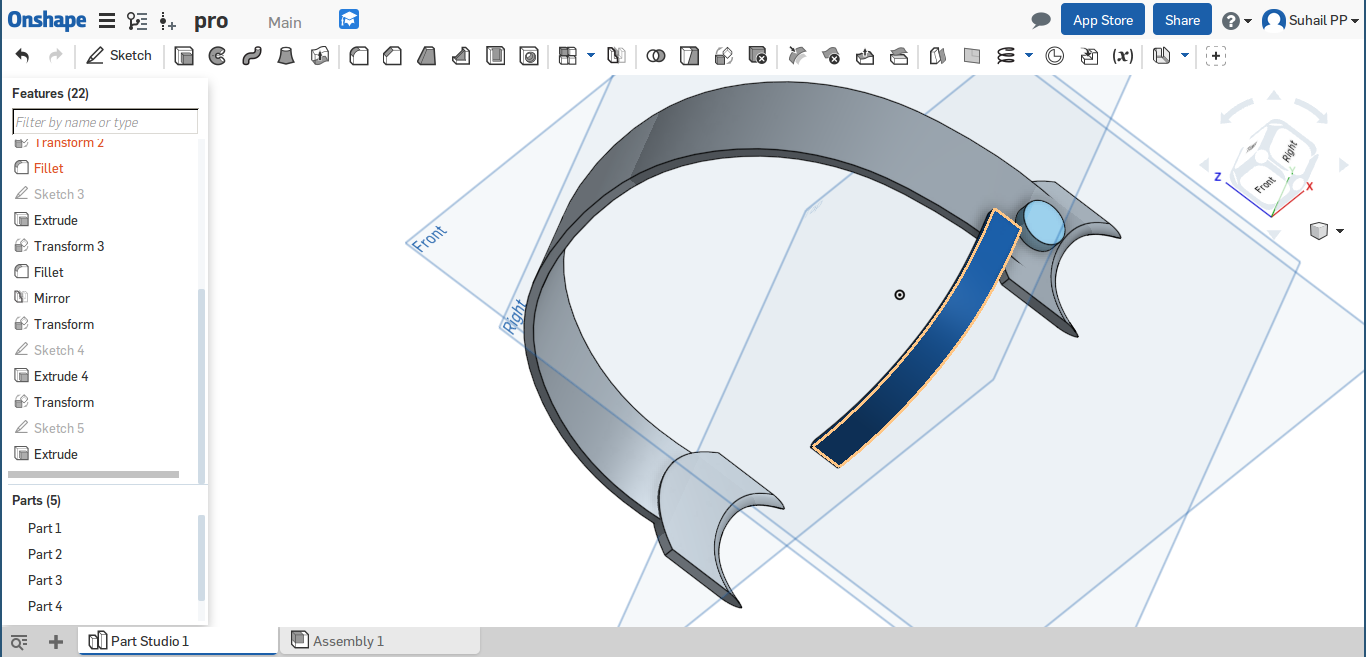
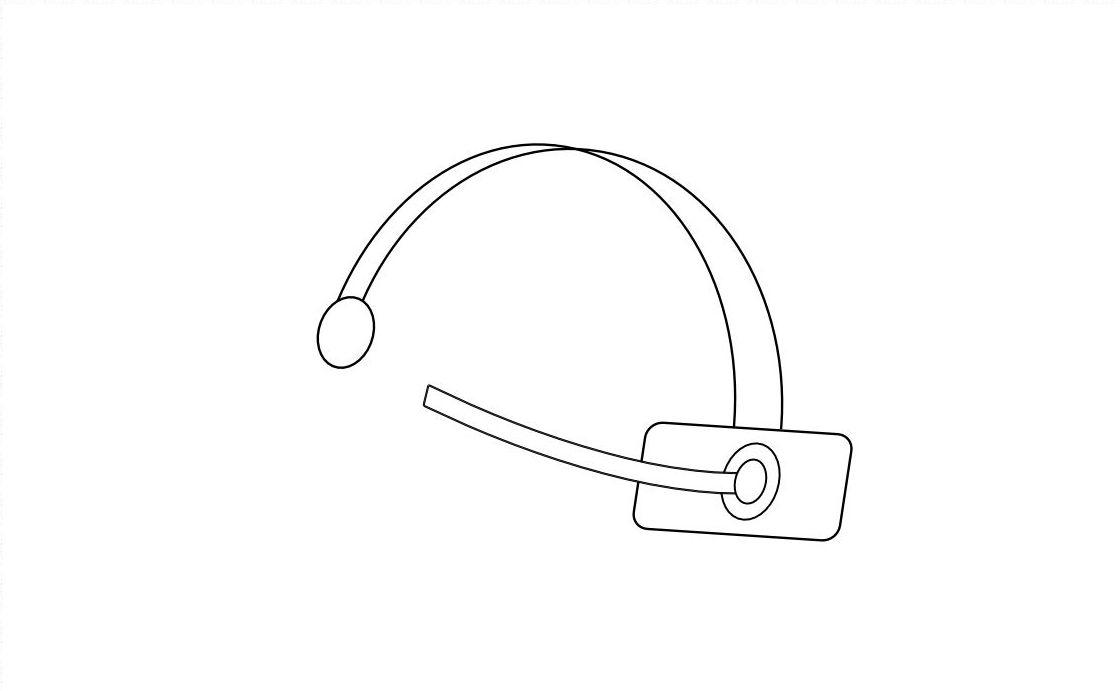
This is how the final product looks like.

Here is sketchfab view