Week #15: Composites
Our tasks for the fifteenth week were:
- read the material safety data sheet (MSDS) and technical data sheet (TDS) for the resins that you're using
- design and fabricate a 3D mold (~ft2) and produce a fiber composite part in it
For this week assignment, I chose to fabricate a small tray, meant to serve beverages to guests.
I
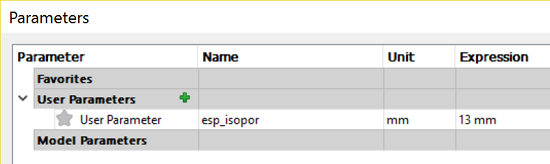
started by designing the mold on Fusion 360. At the moment of the 3D
design, I did not have access to the actual styrofoam boards that
would be used to fabricate the mold. So, I created a parameter to
represent the board thickness, one that could later be altered when I
measured the real thickness:
And I'm glad I did that, because I couldn't find the styrofoam and had to mill the mold from MDF.
After
creating the parameter, I pondered for a while and concluded that a
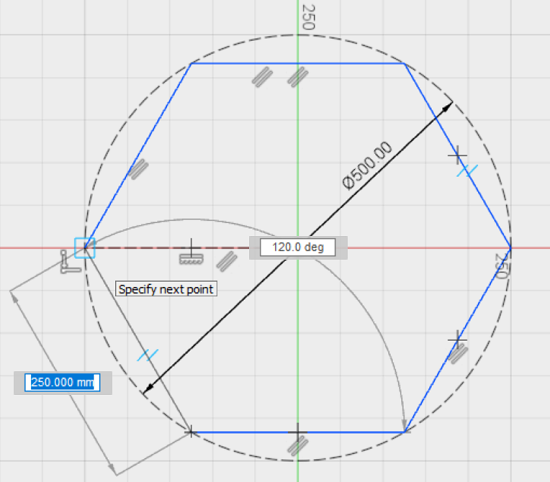
rectangular tray would be to boring. So, I chose to design a hexagonal
one!
I started by drawing a 500 mm diameter circle. After
that, I marked 6 chords, each with length equal to 250 mm, as you can
see below:
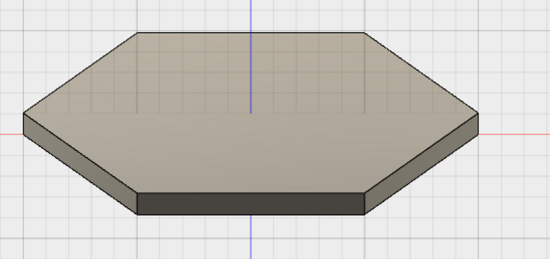
Then,
I extruded this base for a distance that was equal to a multiple of the
board thickness. This is what I got for 3 boards with 6 mm
thickness:
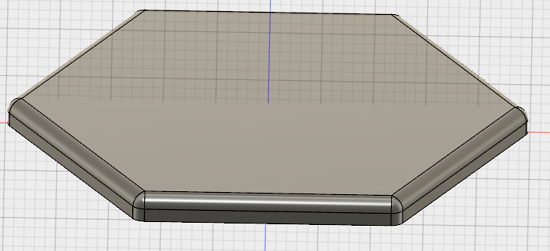
Then, some filleting on these rough edges:
After that, I generated the .STL file. If you want to download both the Fusion 360 (.F3D) and the .STL files, you can find them here (password abc123).
I
was going to mill this piece on the ShopBot, but on that particular day
I wouldn't be able to use it for more than half an hour, because
there's a safety rule that this machine must not be operated by a
single person, and the other person present could only assist me for
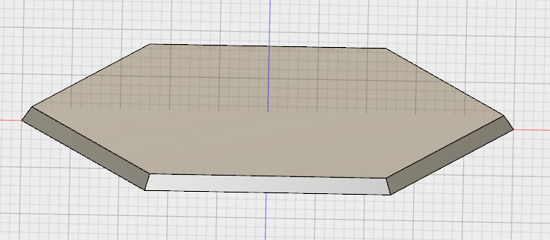
half an hour. So, in order to speed up the process, I designed a
simpler piece, one that could be milled with just a few passes. It's
still an hexagonal tray, but instead of filleted edges, I made it to be
a pyramidal frustum: two hexagons on paralallel planes, one of them
smaller than the other. The angle between the sides and the bases is
60°, the same as the milling tip opening angle. This is what I got:
After that, I generated the .STL file. If you want to download both the Fusion 360 (.F3D) and the .STL files, you can find them here (password abc123).
Then,
I proceeded to the milling, which was done on the ShopBot. I used it
before on Week 7 assignment
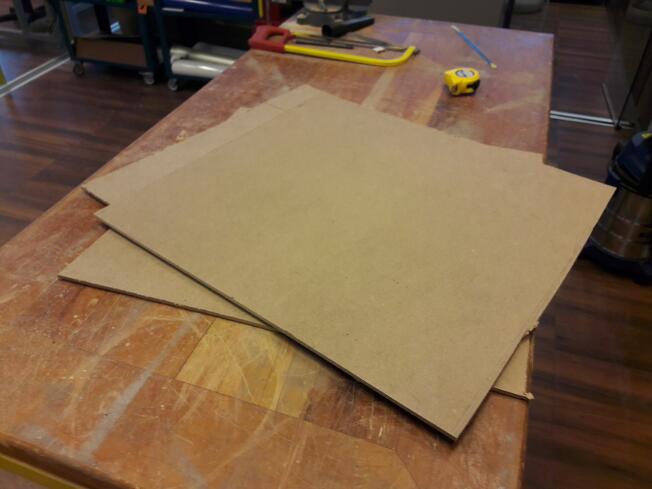
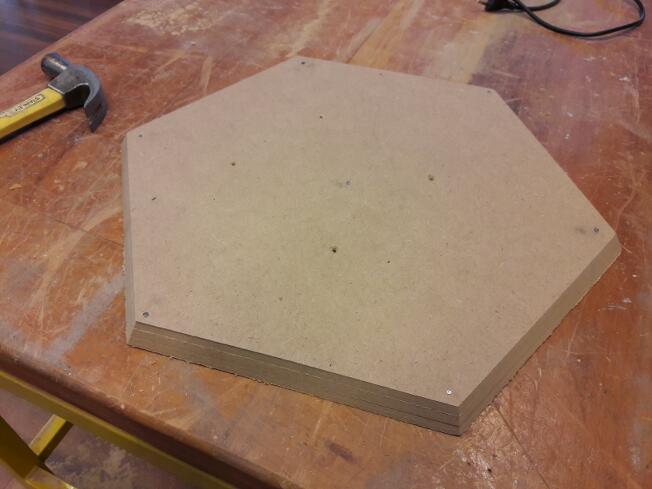
(CCM), so I'm not going to detail the process this time. To get the
desired tray height, I had to cut and screw together three 6 mm MDF
boards:
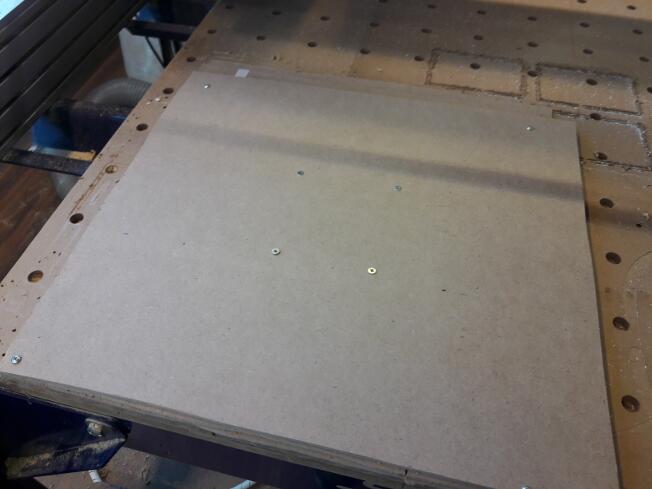
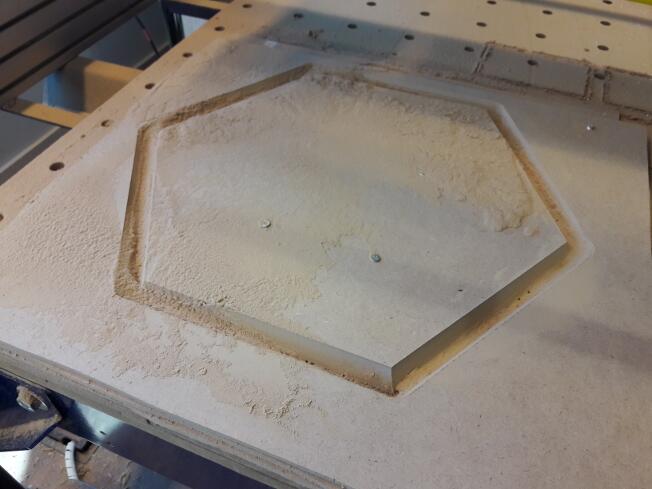
This is is the milling process:
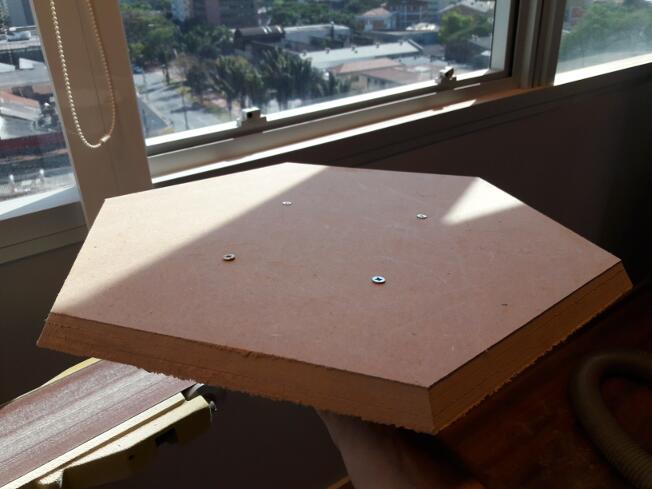
In
order to avoid little bumps on the final tray, I replaced the four
screws (which you can see above) by 7 nails: one in each vertex, one in
the center.
Now, let's make a tray! The resin I used was a polyurethane derived from castor oil:
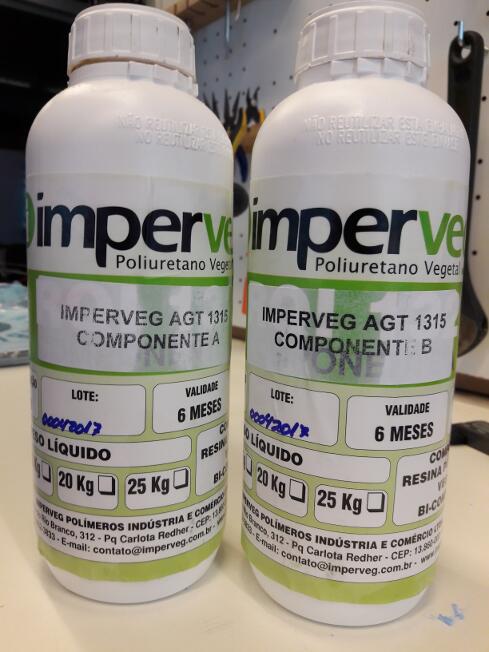
You can find it's original (in portuguese) Technical Data Sheet here.
If you want an english version TDS (even though I cannot guarantee that
it faithfully represents the resin I actually used), you can find it here.
The
original TDS says that the components A and B must be mixed on a 1 :
1,5 (or 2 : 3) proportion. After mixing them, the pot life (the time
the user has to actually handle the resin before it gets too viscous to
be manipulated) is about 15 minutes.
After partial drying (dry
to the touch), which takes from 60 to 90 minutes, the resin should
attain an amber-like color. The piece must not be demolded for at least
6 hours, and complete cure should take at least 24 hours.
As for
the MSDS, the manufacturer is not obligated to provide it here in
Brazil, since it's not a hazardous material. I found an english version, but again, I cannot guarantee that it truthfully depicts the resin I used.
By
reading the english version I concluded that, in fact, this resin is
not, in general, a dangerous material. Direct contact might cause mild
skin irritation, which should not persist after washing the affected
area with soap and water. Eye contact also does not seem to be a major
issue, and could cause some reddening, which can be treated by rinsing
with water for 15 minutes.