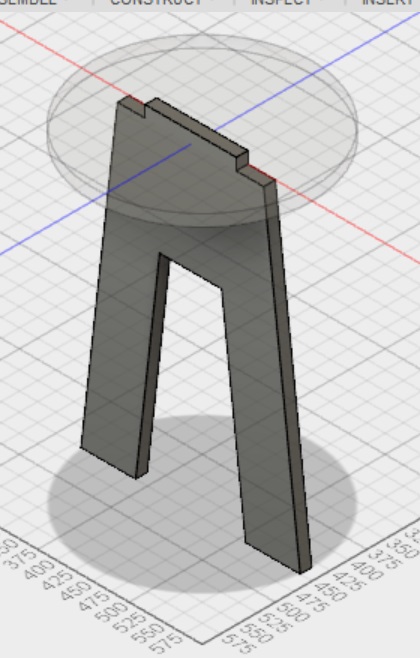
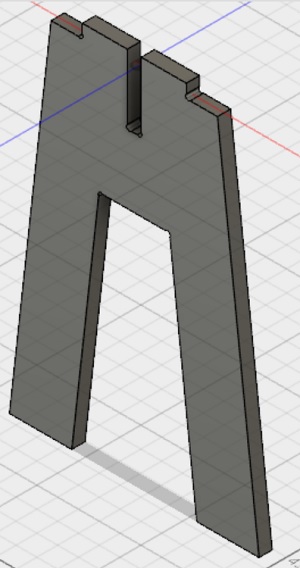
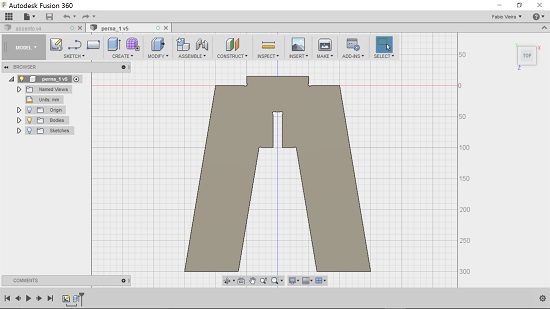
At this moment, the slot to fit the other leg is not yet present. Now, with the slot:
Then, as I proceeded to design the seat, I must have accidently changed a vector position, in such a way that everything went wrong from that moment on. Eventually, I realized there was no need to design the 3D parts for such a simple project and I chose to start again focusing on 2D design.
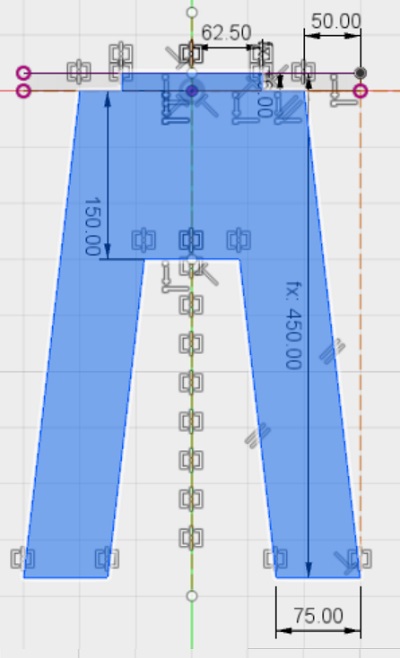
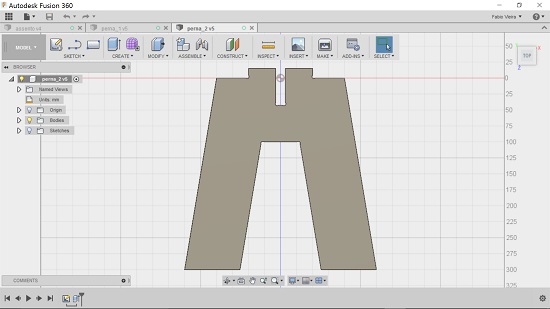
This time, I started with the seat, then I did the legs. Notice the dogbones on the corners, which accounts for the drill bit diameter (6 mm).
After designing these parts, which are .F3D files, I had to convert them to .PDF files, which could in turn be interpreted by the V-Carve software in order to generate the G-code. Both the .F3D files and the .PDF files are available here (password abc123).
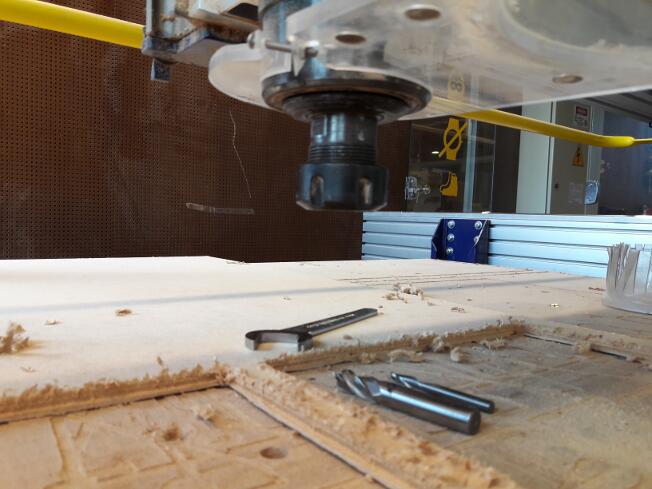
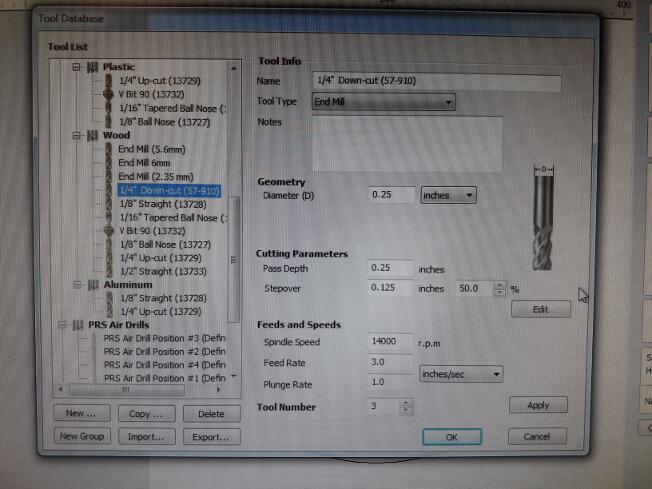
Now, the hardware! The first step was changing the drill bit:
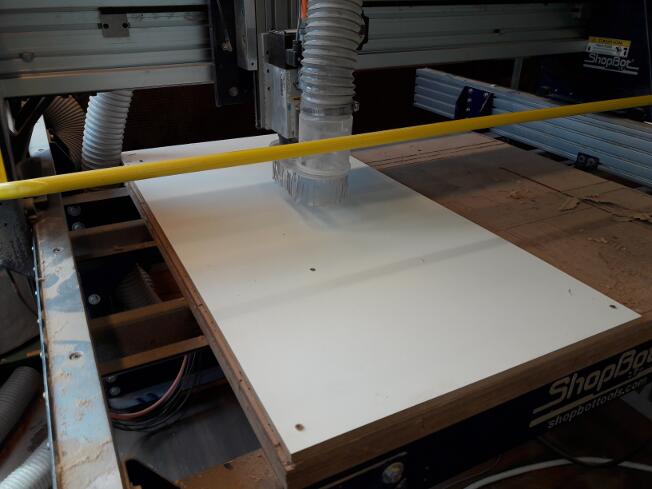
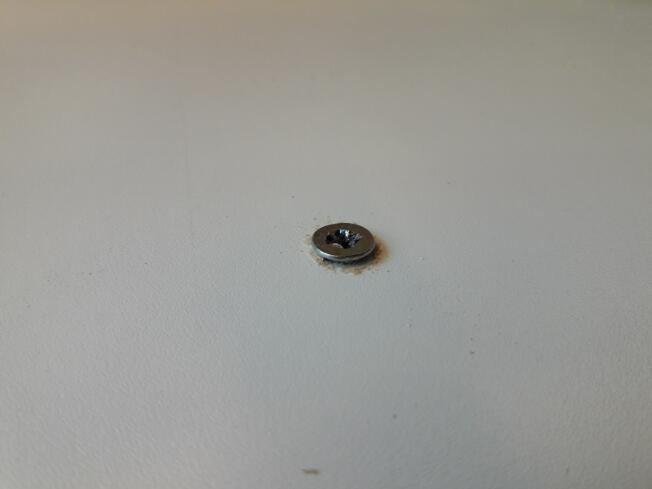
Then, I had to firmly attach the board onto the Shopbot working area. That was done with several screws:
Next, I had to set the origin for the z coordinate:
Almost there! Now, we have to tell the machine which drill bit is being used:
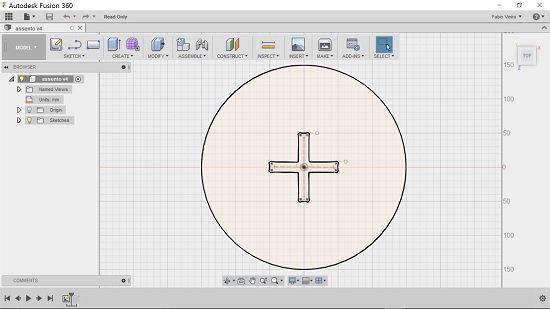
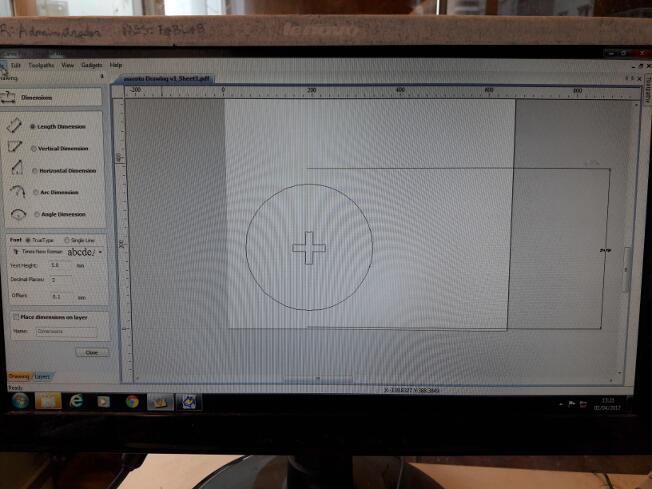
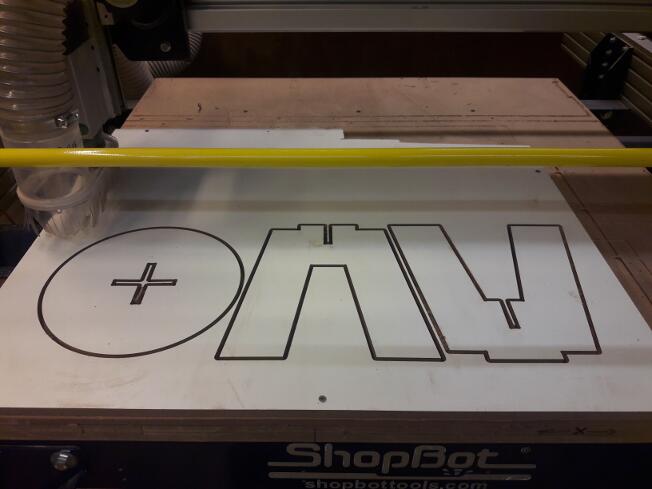
Ok, now for the parts themselves. I opened the seat .PDF file in V-Carve:
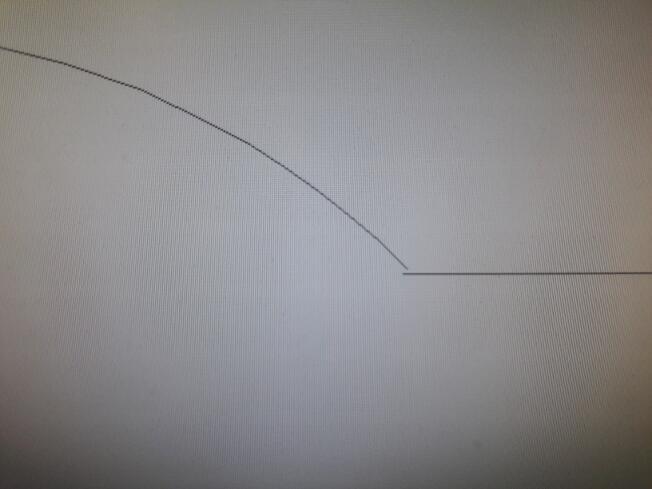
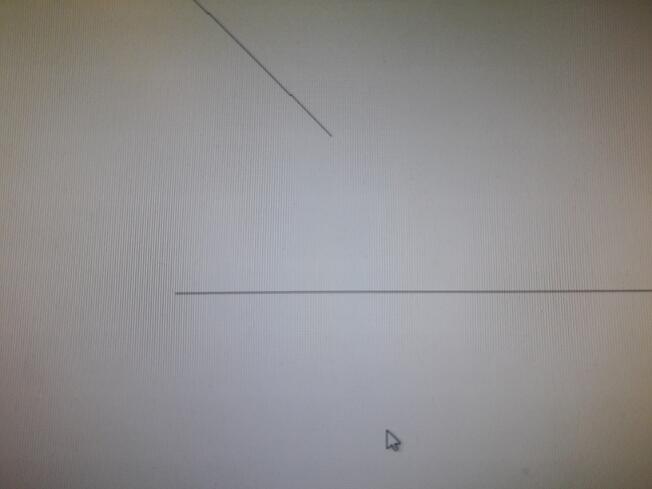
Then, as I proceeded to the cutting part, I received a warning message: there were lots of open vectors! On closer inspection, I could see the message was true:
Fortunatly, V-Carve provides you with a tool to close those vectors. After all of them were closed (they all happened at places where the dogbones would meet other lines), I could proceed to the cutting itself, as you can see on the video below:
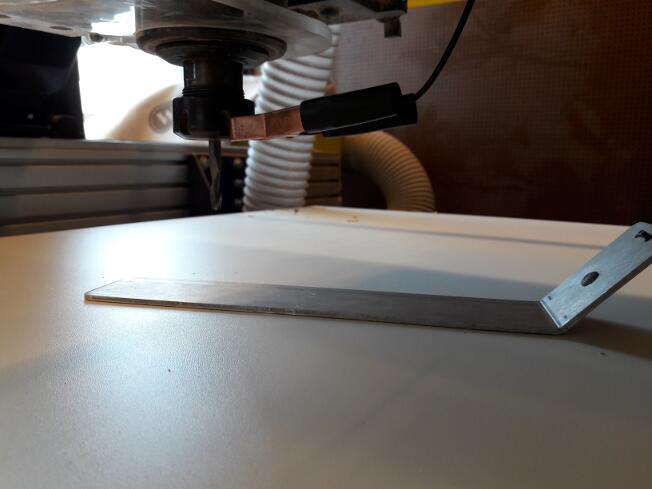
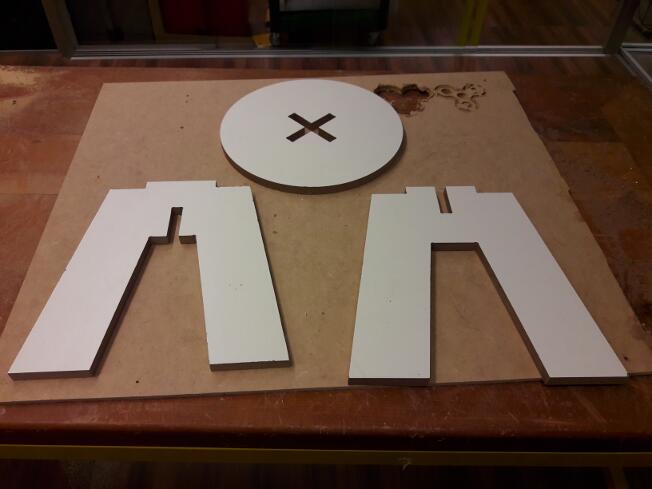
After cutting, this is the result:
Then, after some sanding:
To see if the stool was good enough for its purposes, me and our instructor, Kenzo, tried it:
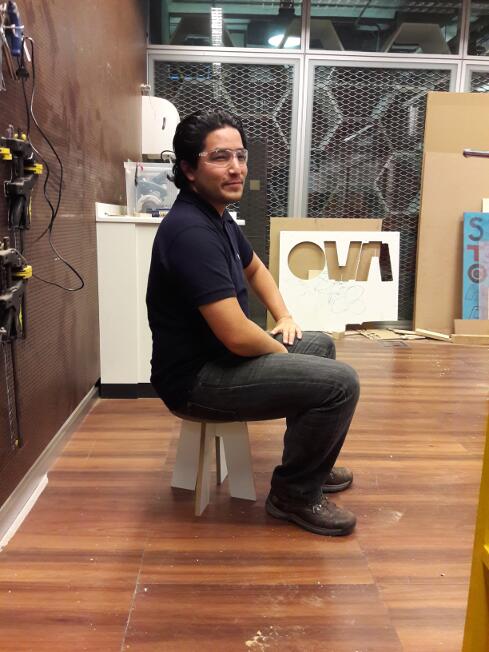
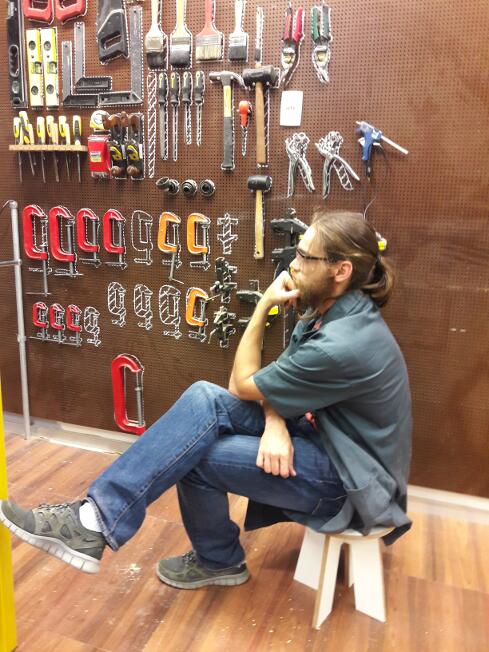
Actually, we were quite surprised: the stool did not wiggle at all, it seemed very firm.
I had lots of fun doing this task and I certainly intend to further explore my woodworking skills!