Assignment 7
computer - controlled machining
Have you:
- Make something big
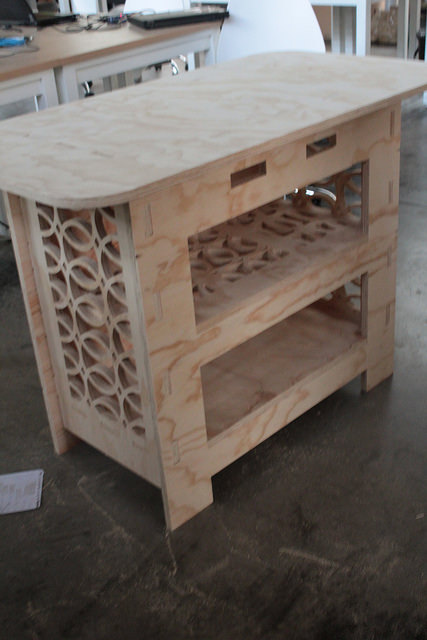
For this homework, we will use the large-scale CNC machine (SHOPBOT). I chose to make a furniture for barbecues, which can be assembled only when there are meetings and serve to place the meat.
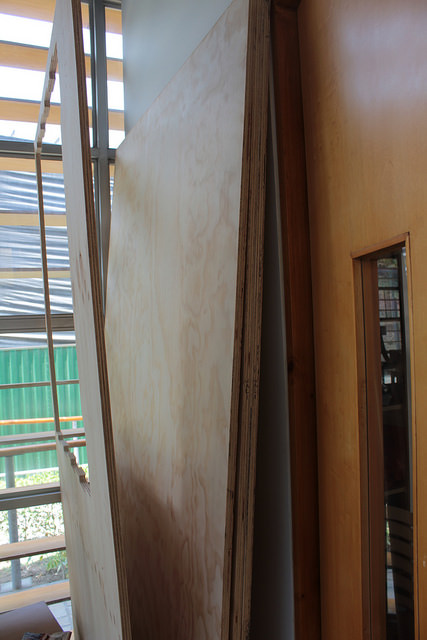
As in the laser cut, the wood must be pre-measured in order to make an exact design.
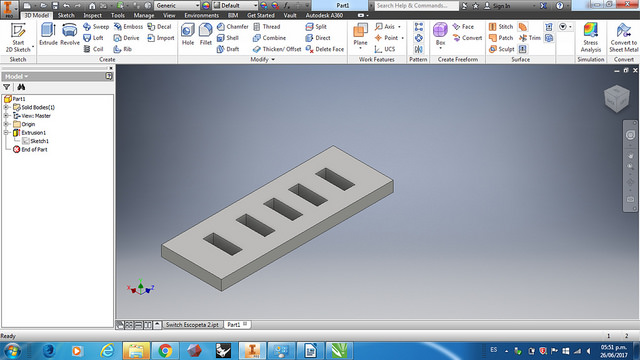
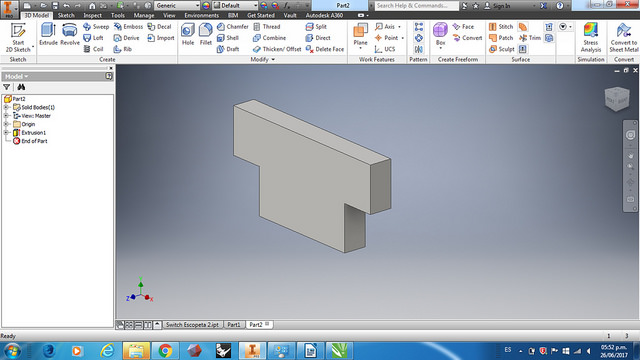
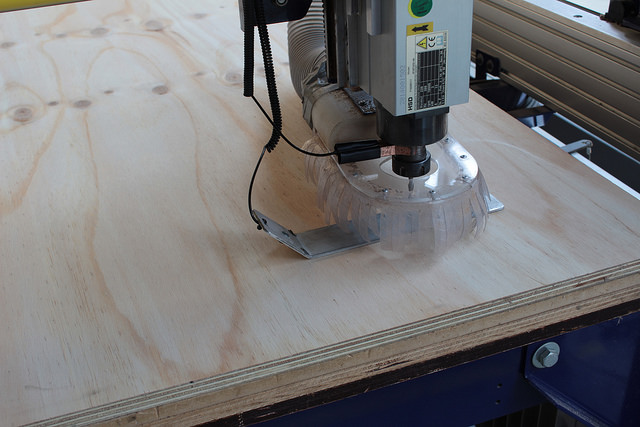
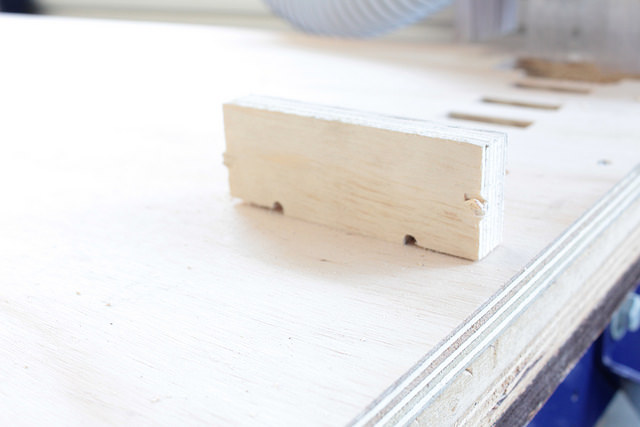
Then, it is advisable to do a small coupling test. If we want our furniture to fit under pressure, we must define what kind of "prefit" we will use and prove that it works.
We will do several tests in one cut to find the perfect fit.

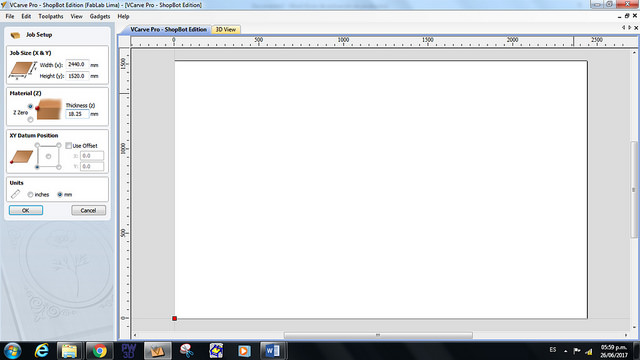
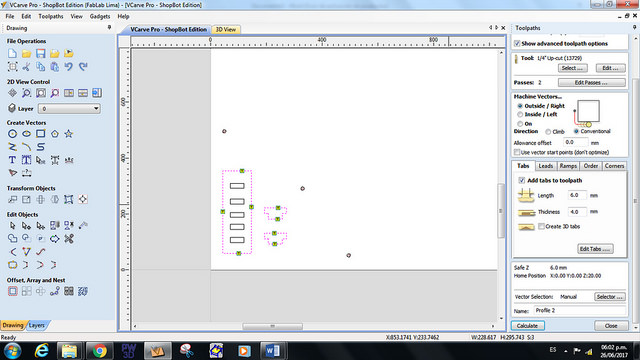
To finish the design, we must export it with the "Export face as" command to the DWG or DXF format and then open the Vcarve software.
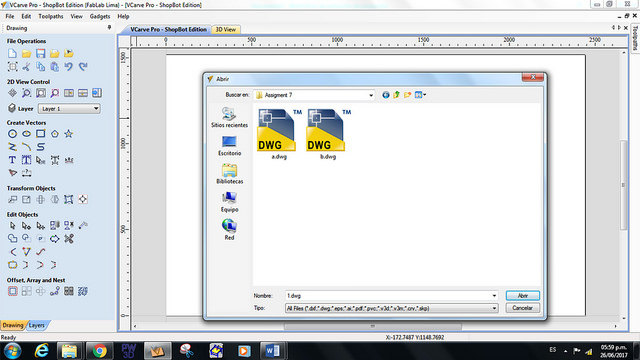
In the first, you must enter the measurements of the wood (length, width and thickness). Then we can import the files to be milled.
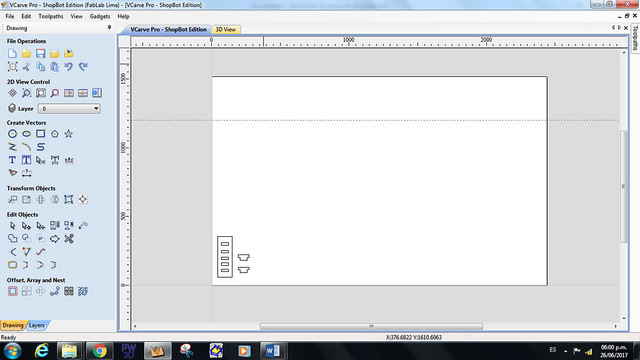
Before setting the tool path you have to choose the cutter to be used, I chose the 1/4 "cutter because a smaller cutter does not have enough depth for a 18 millimeter thick wood.
To calculate the speed of advance (how fast the endmill moves during the cut), check the following source:
Http://www.cnccookbook.com/CCCNCMillFeedsSpeeds.htm
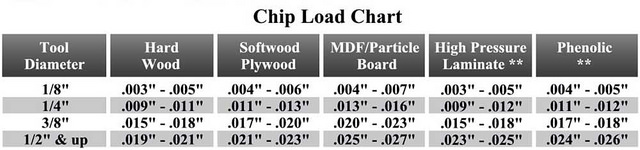
On this page I obtained the parameters of Chip Load that are advised according to the hardness of the material to be cut :
Also, I learned that it meant every value that comes out to configure the milling cutterto be used, these are:
Chip Load = Feed Rate / (RPM x # of cutting edges)
Feed Rate = RPM x # of cutting edges x chip load
Speed (RPM) = Feed Rate / (# of cutting edges x chip load)
If our wood is between Soft and Hard wood, we will consider a Chip Load the 0.10 "and according to our instructor for a thickness of 18 millimeters we must do 3 passes and consider a speed of 12000 RPM, then the # of cutting edges is 3.
Calculated:
Feed Rate = 12000 x 3 x 0.010
Feed Rate = 360 mm / sec
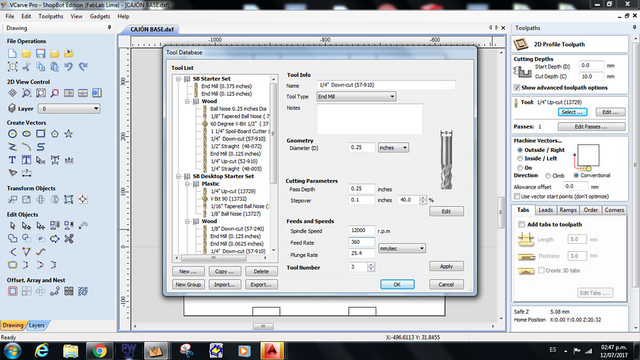
Then, within the milling options, the following considerations must be taken into account:
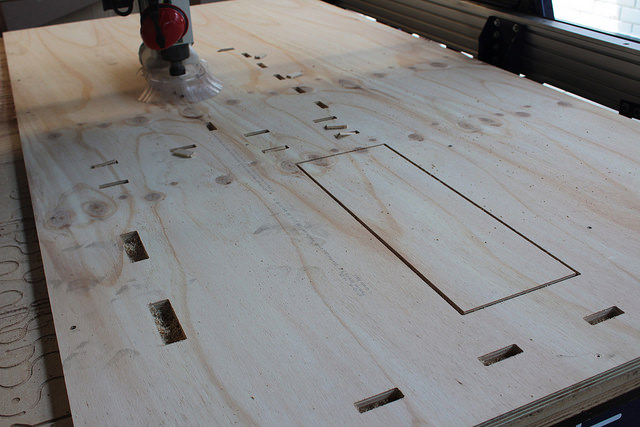
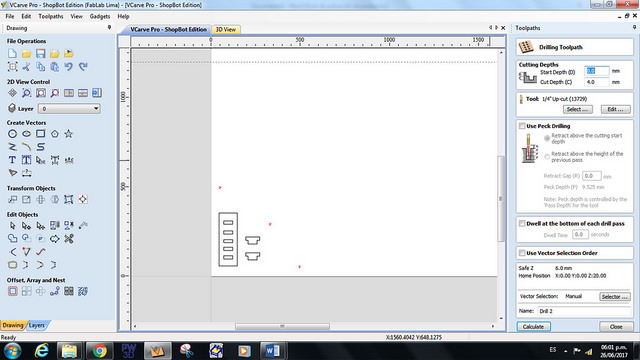
1. Drilling
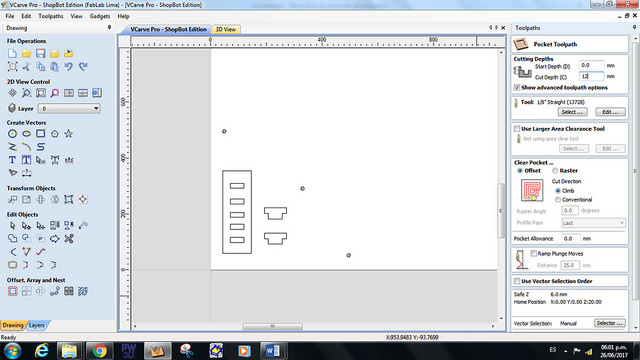
2. Pocket
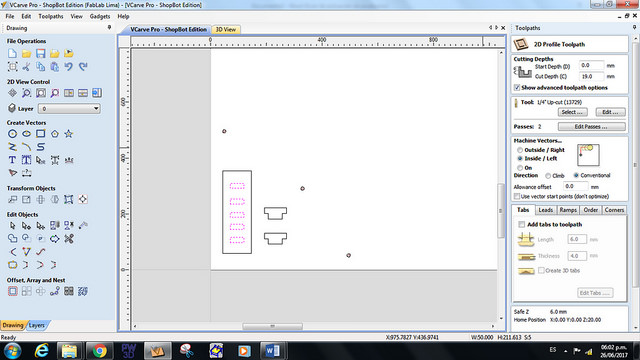
3. Internal Profile
4. External Profile
Always in that order. The drilling is used to mark where the screws that would secure the iron to the milling bed will go. This is very important because it allows you to know exactly where there are screws and where you should not pass the milling cutter.
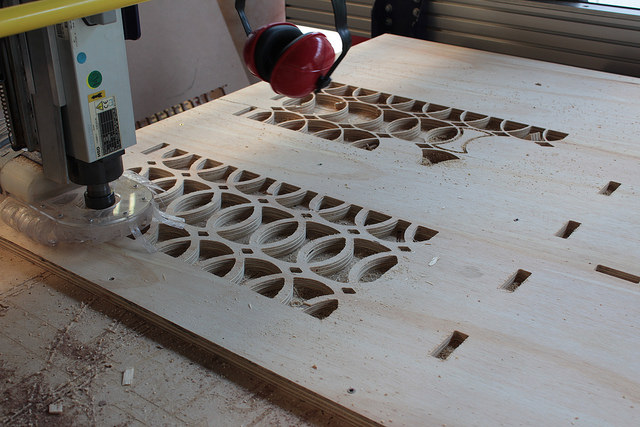
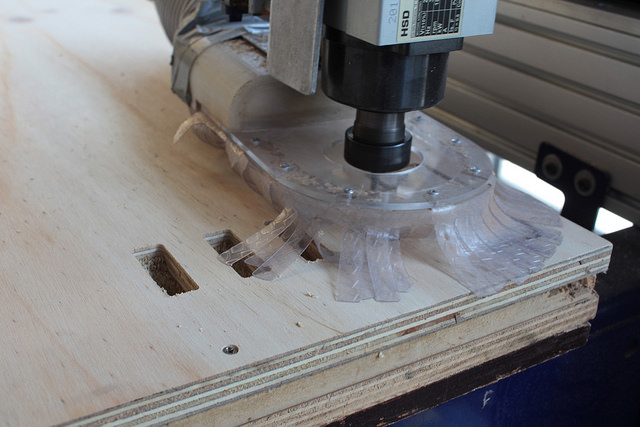
Pocket is a type of milling that is used to reduce an entire surface. It is generally used to make engravings or drawings but can also be used for mechanical purposes.
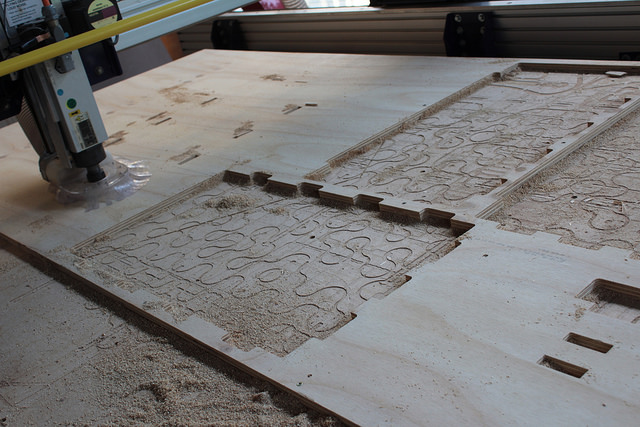
The internal and external cutting is practically the same, except that in the external it is advisable to put "taps" to avoid that with the vibration moves the piece. In addition that it could get to jam a small piece in the milling cutter and when hitting another cut, could burn the milling cutter.
It is important to know that it is not advisable to cut in a single pass if the wood has a thickness of more than 12 millimeters, although it can cut much faster, wear the milling cutter, cut the workpiece well and break the mill if The material is very hard. The advisable is between 2 to 3 passes if the wood is 15 or 18 millimeters.
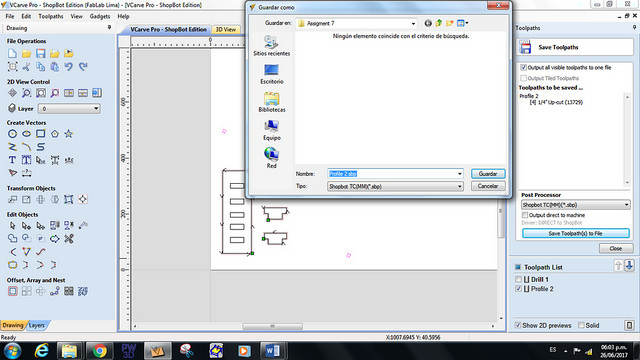
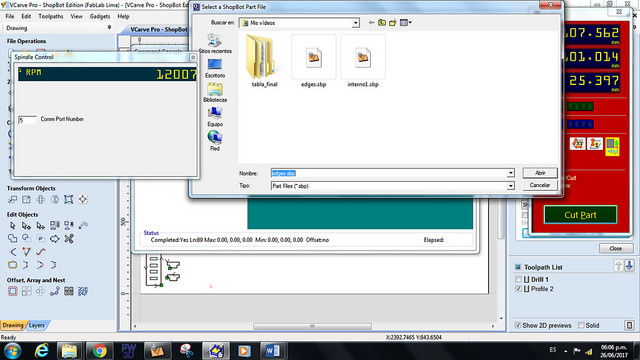
Once the steps have been defined, they should be exported in the Shopbot format (SBP)
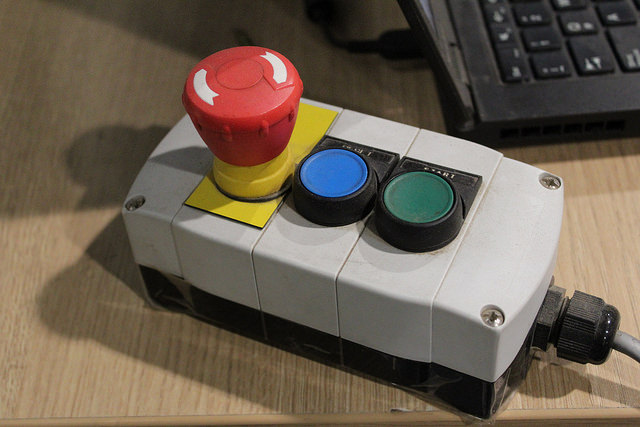
We start by turning the machine by turning the knob to the right and the key by 45 degrees to the right as well.

We always press the "restart" button to access the program. You can also see the Start button that causes the milling cutter rotate and the emergency button for stop the machine.
The software allows us to move the cutter to any part of the plate. Where it stops, the machine will assume that it is the axis of coordinates 0.
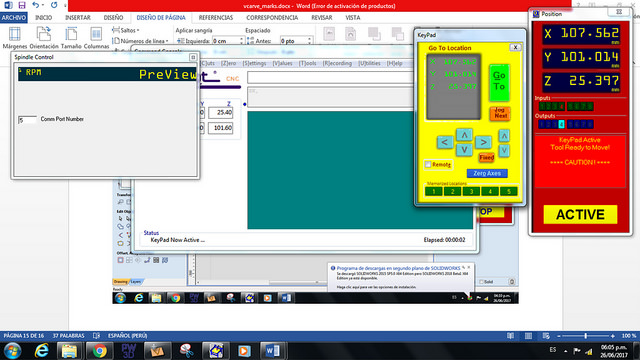
We calibrate the Z axis, as our instructors explain. Then calibrate the X Y axis, only pressing the botton
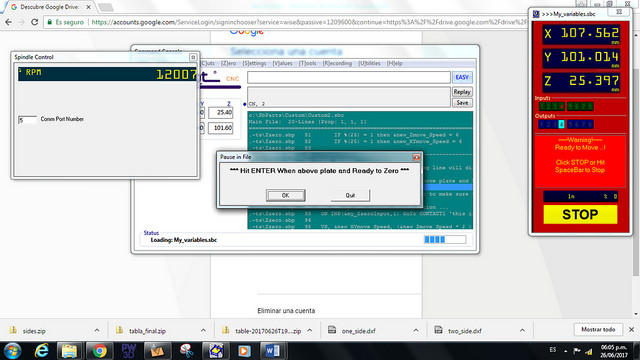
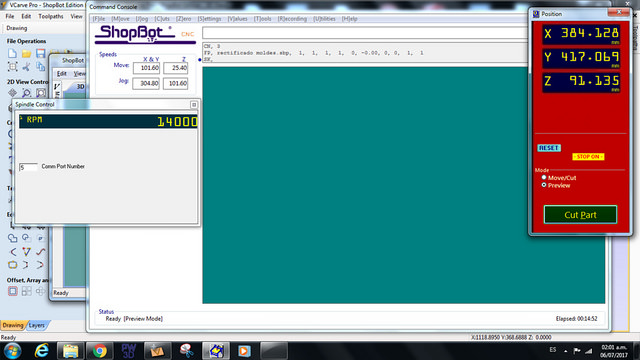
Finally, before cutting, check that the speed of the cutter is correct. For wood not as hard as the MDF and triplay we use a speed of 14 000 RPM, this we can configure it in the command "Splindle"
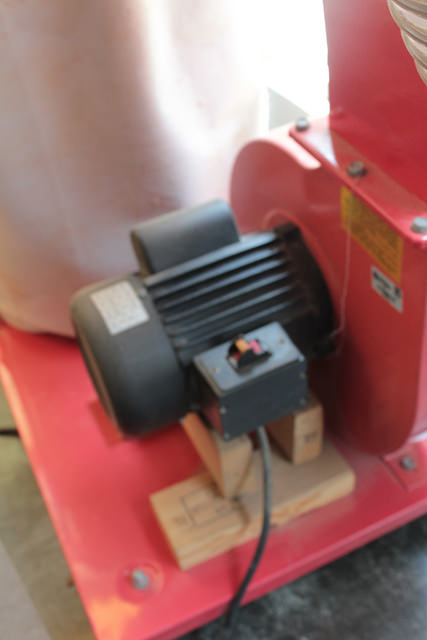
As we will start with the drilling, it is not necessary to turn on the air extractor, we only load the file, we give OK and press the START button to turn the milling cutter
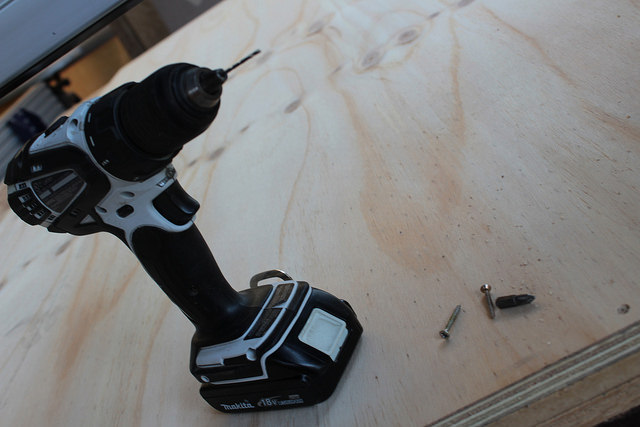
Then, using the screwdriver, place the screws at the marked points. Fixing the wood to the machine is very important because not all the woods are flat and uniform, the triplay is curved for example and if it is not fixed well the milling cutter assumes that it is flat and can scratch the iron, to break the piece and to break the milling cutter.
In addition, when you want to optimize the space in the wood, it is necessary to mark where the screws will go in the whole plate because a bad calculation and you can easily break the milling cutter.
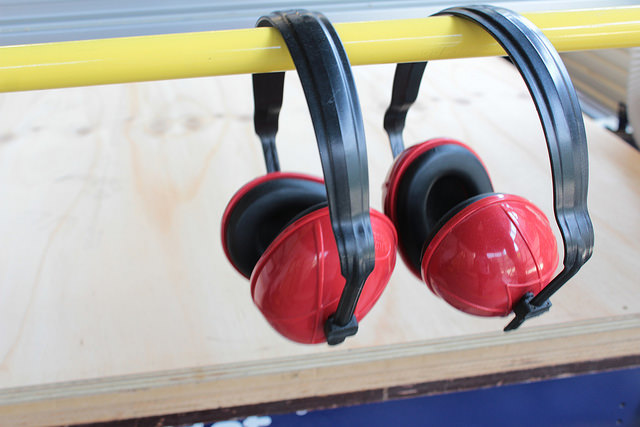
To order the cuts we need to put on ear protectors, turn on the air extractor and start.
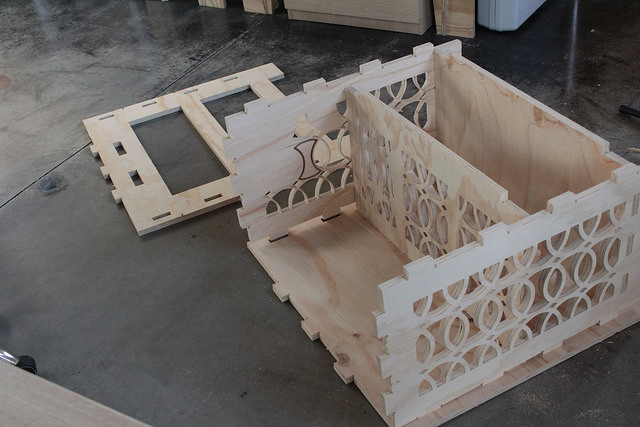
Once the milling is finished, we test the prefits and choose the right one. We add these measurements to the entire design.
Finally, we proceed to cut the pieces and assemble the furniture. Since I performed the tests the parts came easily and I did not have to use the hammer as my colleagues.