Assignment 5
3D scanning and production
Have you:
GROup assignment:
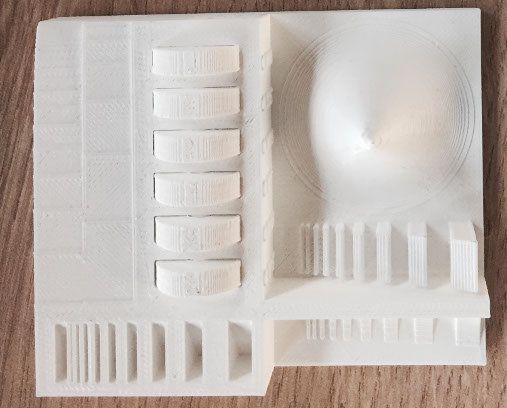
Test the design rules for your printer(s)
Individual assignment:
Design and 3D print an object (small, few cm) that could not be made subtractively
3D scan an object (and optionally print it) (extra credit: make your own scanner)
GROUP ASSIGNMENT
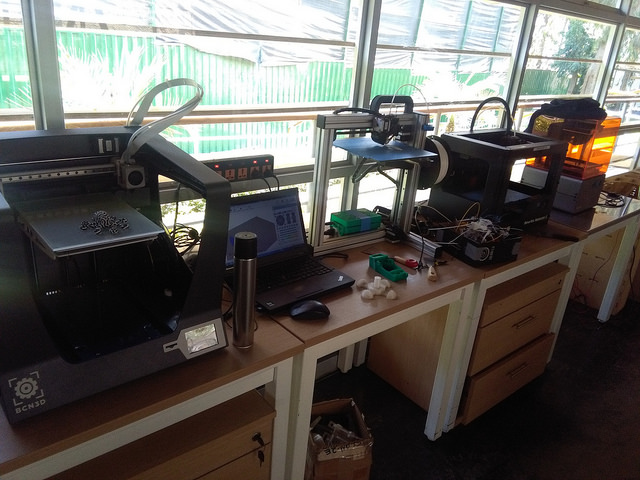
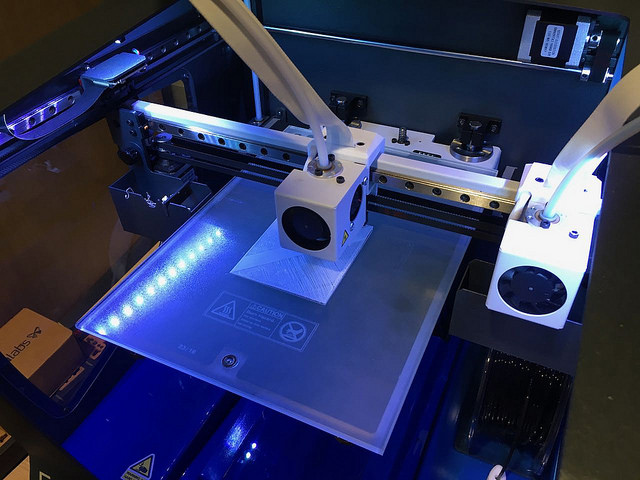
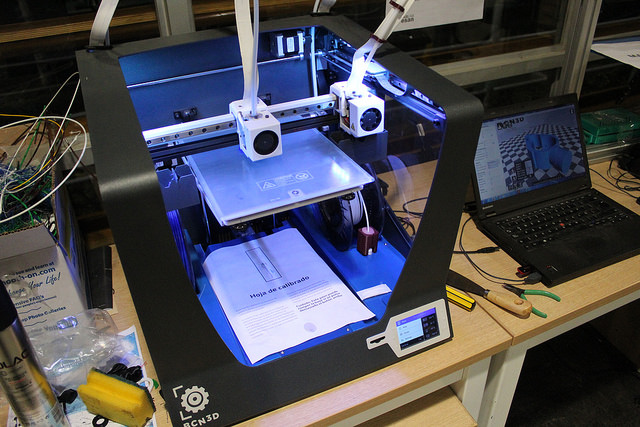
For this group homework, we should test between the printers we have available, in this case BCN 3 SIGMA and Felix 2.0. The Makerbot is currently unsuccessful.
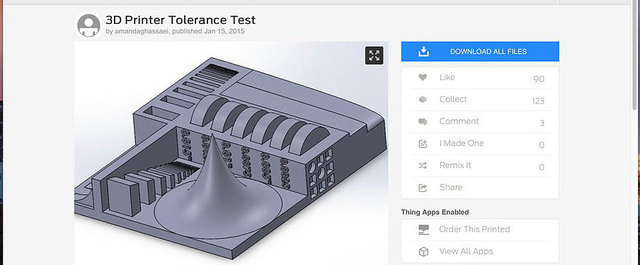
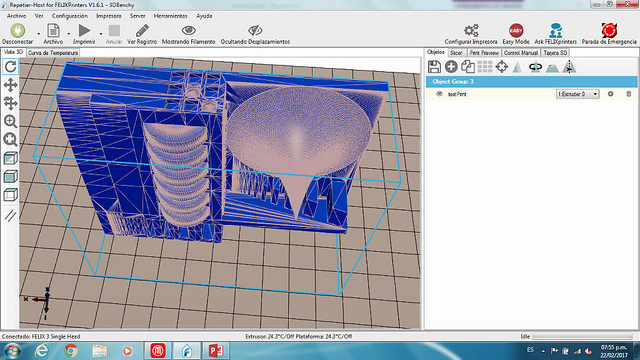
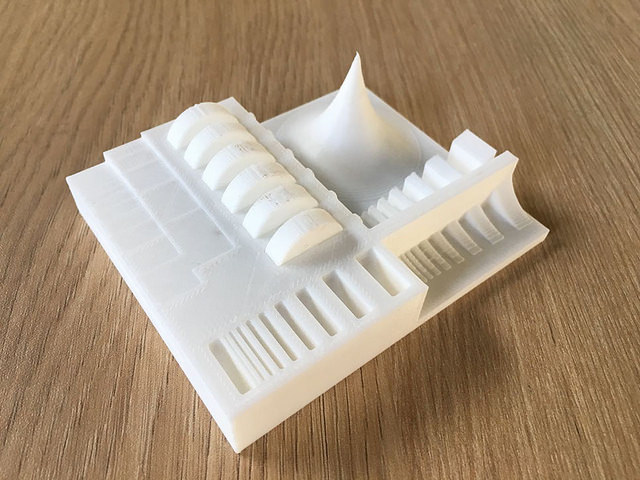
We chose on a free page to the public "Thingiverse" a design for print tests and then use the two printers we have available.
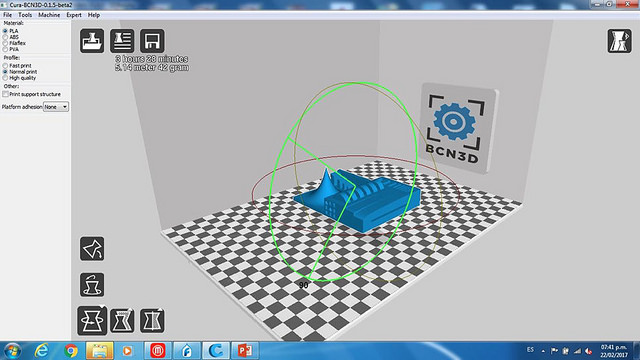
The BCN 3 SIGMA software uses a program called CURA, this just like all 3D printer software requires the file to be loaded in .stl format, which is a format that defines 3D geometries.
First, we load the file to CURE and then by scaling the design by 10 (for some reason when exporting from Inventor it always requires doing that). Then, it is important to look for the best position of print according to the object, that allows to reduce the unnecessary time of print and optimize the print quality.
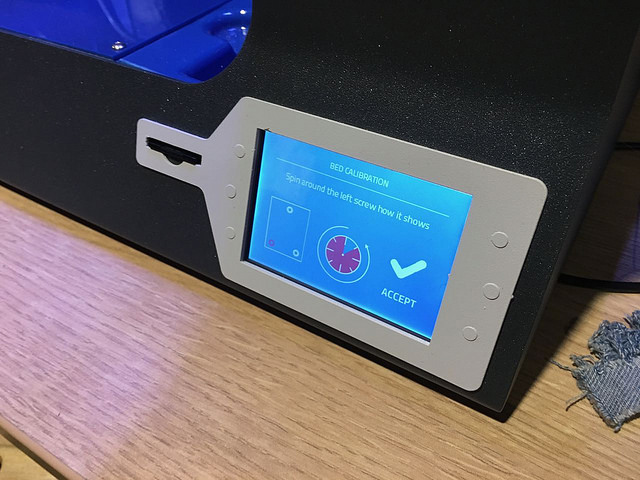
Once the files are loaded, you have to calibrate the printer and insert the 3D filament, otherwise the filament will not stick on the printing bed. The best thing about this printer is the ease of executing every necessary action, it has a very easy to use interface that performs everything automatically and gives you easy instructions for calibration. Once this is done apply the adherent gel on the bed and begin the print
At the end of the second printing we will make a comparison between the two printers.
The other printer, Felix 2.0., Uses a free program called Repetier, just like the software of the BCN allows you to modify the parameters of print according to your requirements.
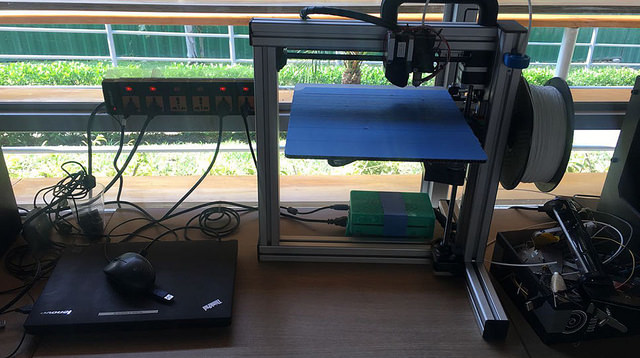
We can observe that if we wanted to print the stopped object, it would need to support it and this would increase the time considerably, since the impression is made by able from bottom to top
Finally, we compare the two prints and we can see that the difference in quality is notorious and in turn time. With the BCN you can print faster and at a better quality, but the cost of the filament and the printer is twice that of Felix.
We can conclude that for initial prototypes the Felix can be used and for final impressions the BCN
INDIVIDUAL ASSIGNMENT
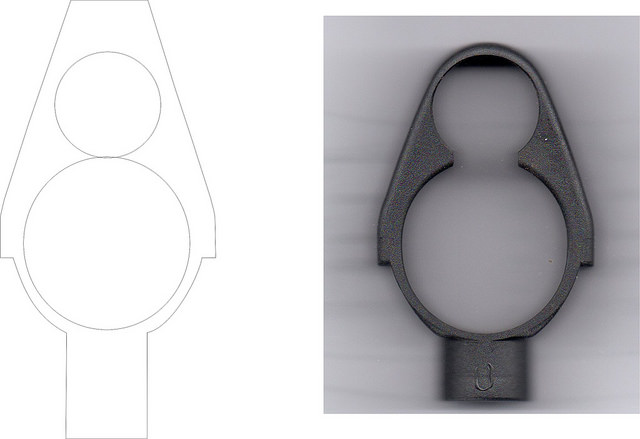
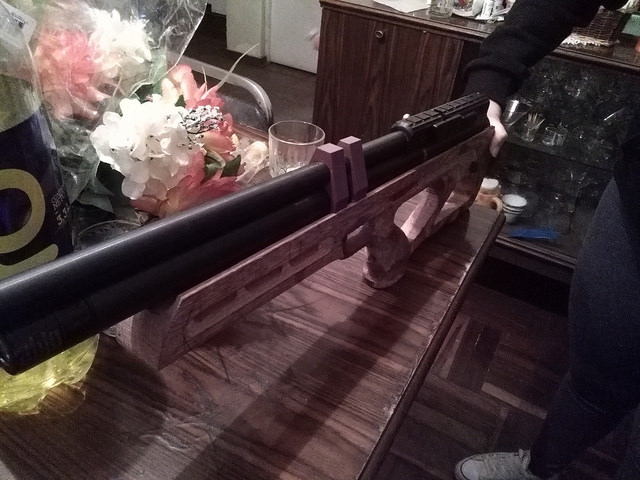
PRINT SOMETHING NON SUBSTRACTLY: For the individual part of the task, I chose to make a piece that is used to modify old to modern caravans.
This piece can currently only be imported from USA and its price is above 60 dollars, however it does not fit all caravans.
Using the 3D design and the help of a friend, Jaime Beltran, specialist in caravans, we decided to modify this piece for other types of caravans. The first thing we did was to make a template of the piece in corel draw to know its measures
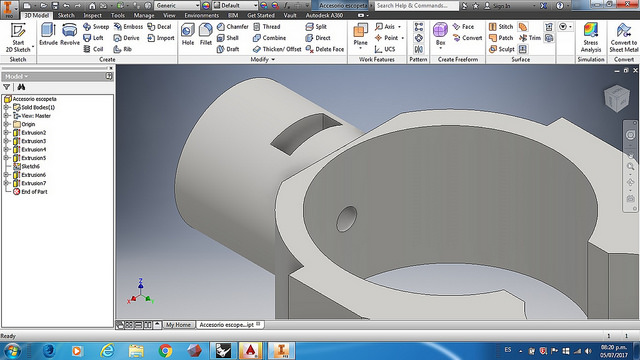
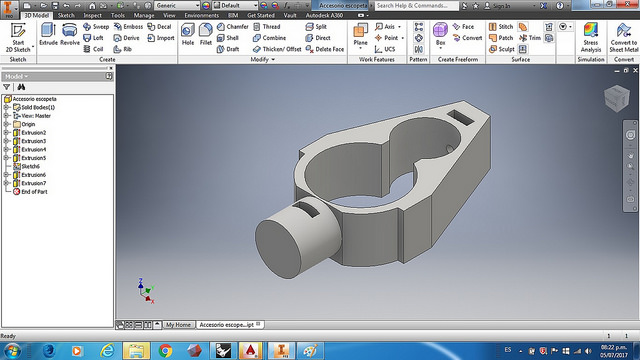
Then, we design the piece in Inventor, adding the exact modifications for the caravine that we have.
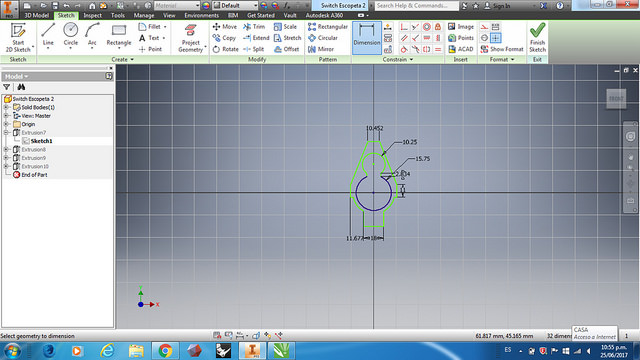
We add in the design some square holes that reach the axis of the piece so that a square nut can be put and when a hole is made in the piece to hold it to the cylinder head this allows it not to go out.
This design could not be made subtractively because a hole has been created inside the part so that 2 bolts can be secured to the "Culata" of the gun with a square nut that enters through the hole and reaches the axis of the piece
With all the learning from the group test we did, we exported the file to STL format and loaded it into the BCN software. We use this printer as the quality is required.

We needed the piece to fit exactly into the caravan's tubes, so they were tightened first.
In addition, since the part must withstand the firing pressure, we increase the infill percentage of the impression from 20 to 60 and then print the piece.
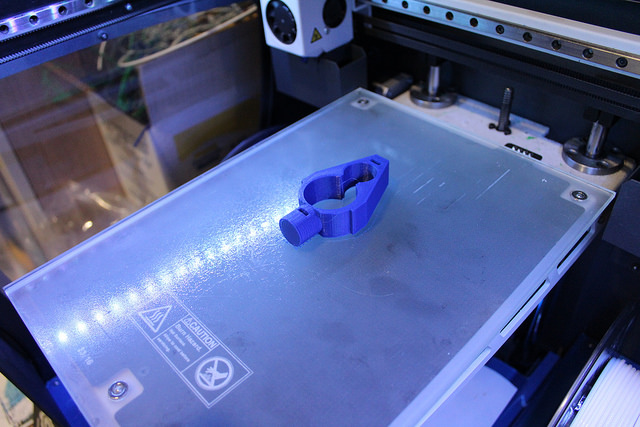
Finally, we have the finished piece
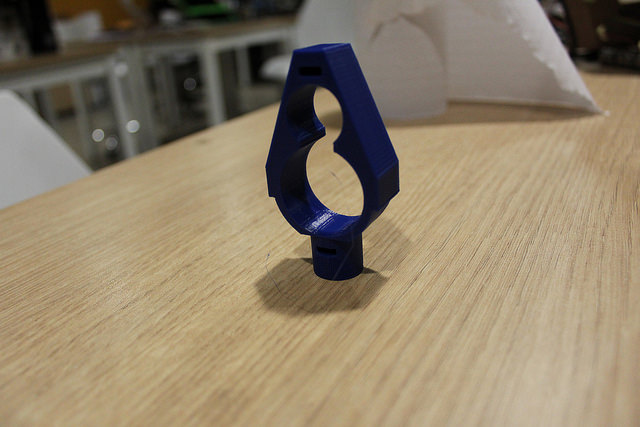
We put a photo of the piece on the caravine so they can see how it goes. The 3D printing allows you to put a conceptual idea into a real prototype.
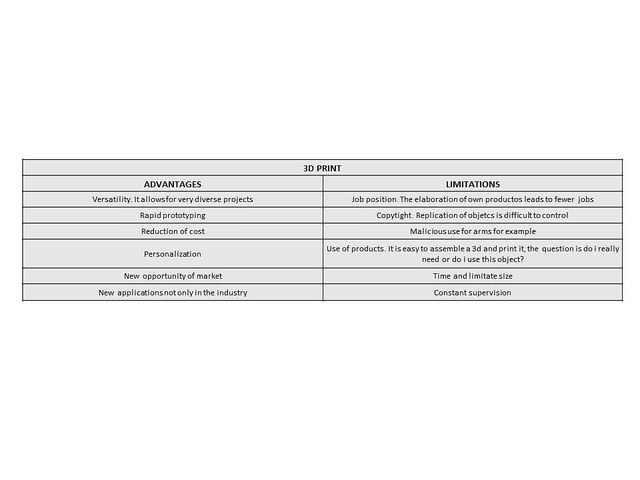
With this, We can do an analysis of the advantages and disadvantages of 3D printing.
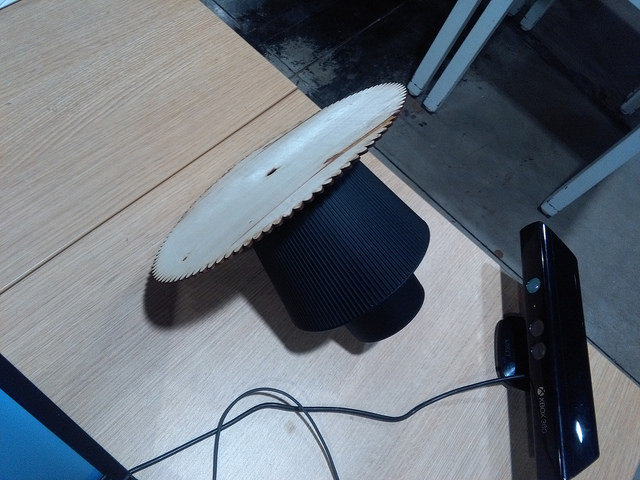
SCAN SOMETHING: I scan a objects using the Kinect Sensor (a part of the play console X box) and a software called Skanet.
For this, first, I need a Kinect and a rotating surface. I improvise using a rotating desktop ornament and striking it with a large enough fiat surface.
First, try with two small objects, but I noticed that the kinect (X box) is designed to scan big things, as a persons. As all my friends were scanning themselves. I decided to scan an engineer`s helmet.
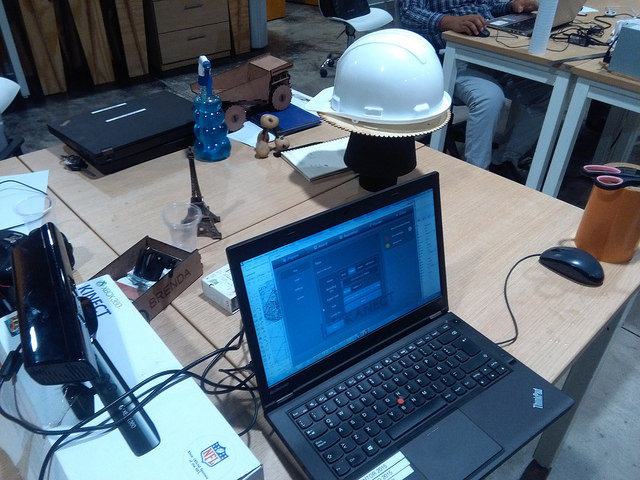
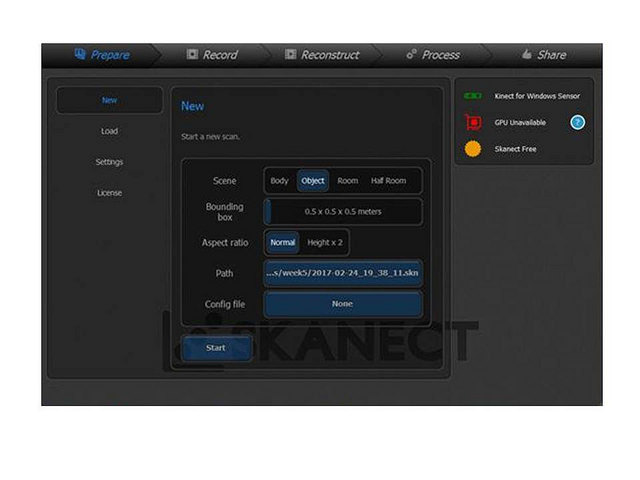
Second, I opened the Skanet and on the tab "Prepare" I gave "New", there I left a box where I put the characteristics of what was to be scanned and the approximate size of the object.
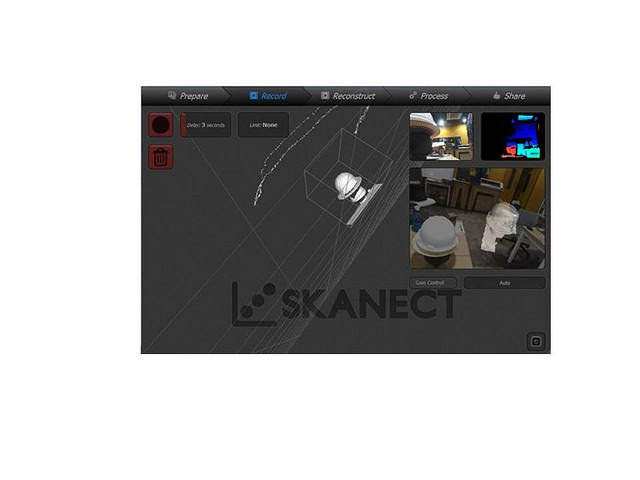
Third, select "Record" and focus the helmet. It is important to find the right distance, I perform as 3 tests to be able to find the distance where you better recognize the helmet.

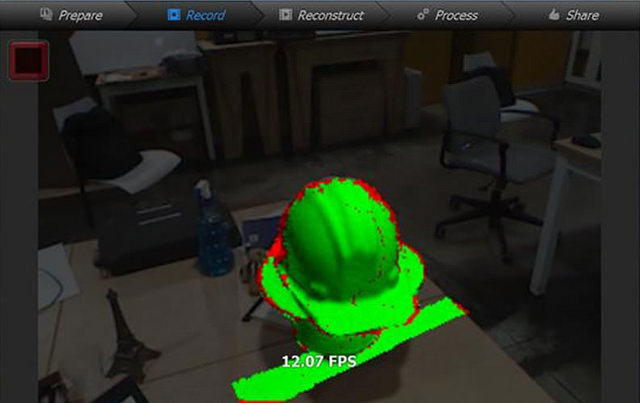
Turn the helmet slowly and if the software ask you to return to a position, you return to follow the scanning.
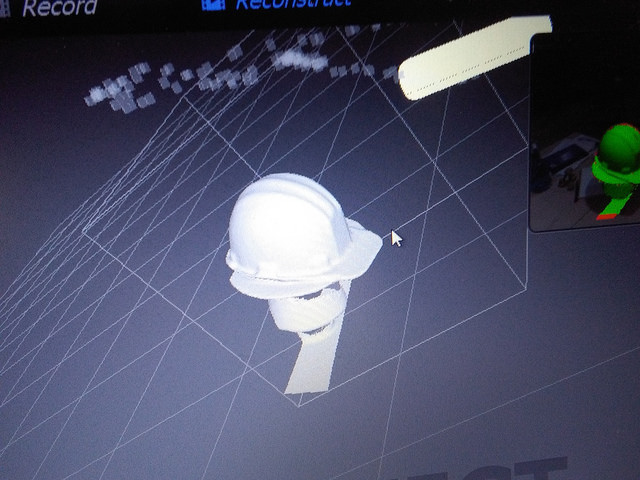
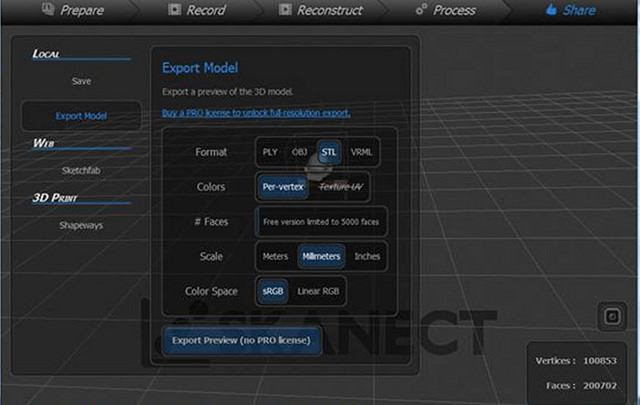
To finish the scan, the software has tools to polish the object, to lower or raise the quality, to iluminate and to export to .stl, for a possible later print.

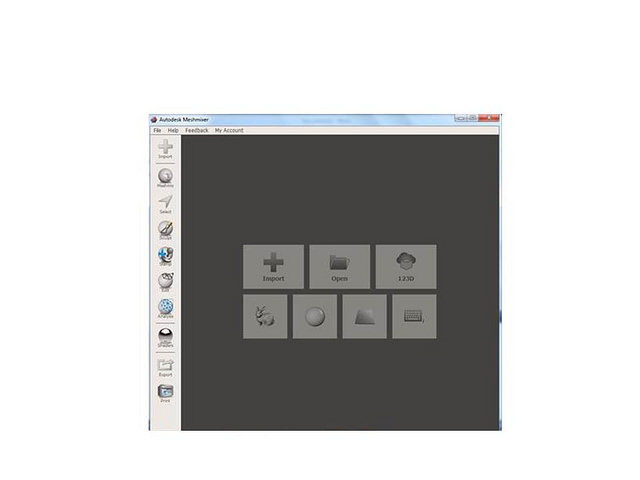
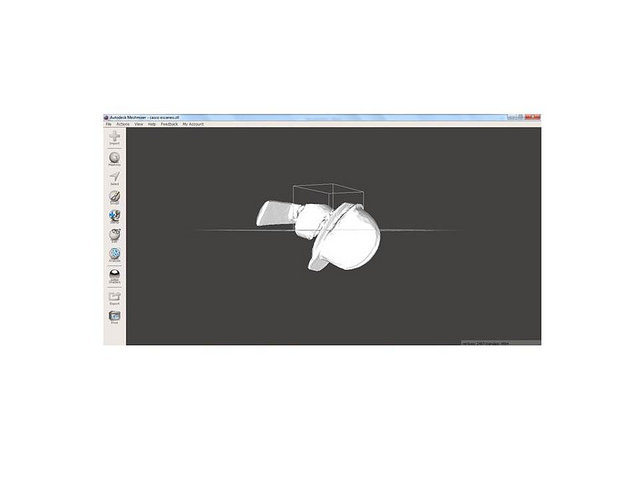
Then, there are different software to edit an STL file and even softwares in this case take advantages of the laptops in the laboratory to use the "Meshmixer"
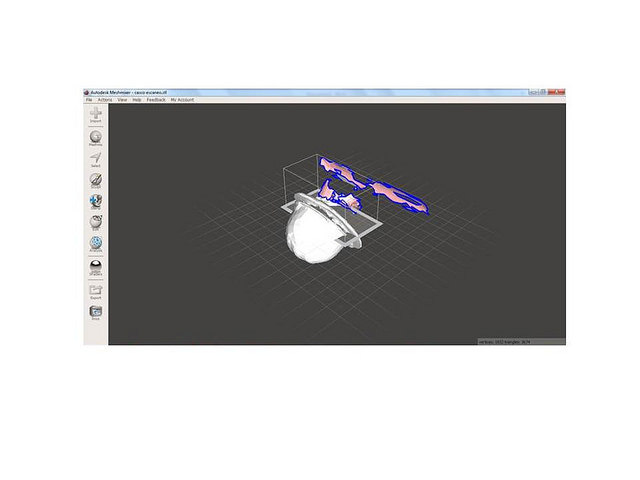
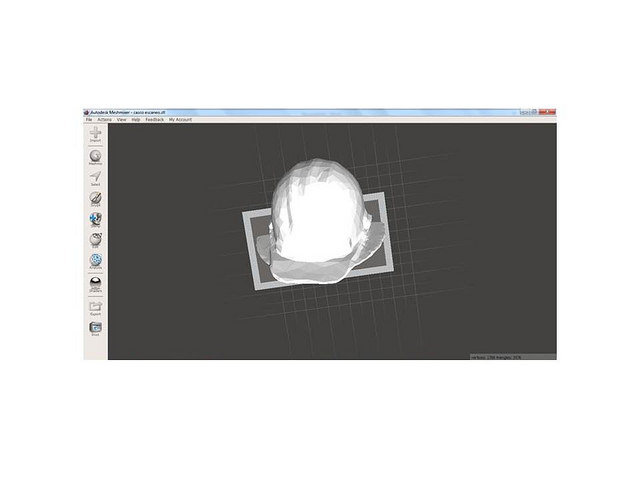
This software is like a paint at 3D level, allows you to erase the errors that occur when the kinect recognizes some pattern more, like the surface or another. And after that, you`ll be able to save .stl
With the help of the program improve the scanning of my helmet and I am ready to print. Later I will go up as the impression came.