Assignment 3
Computer - controlled cutting
Have you:
GROup assignment:
Make lasercutter test part(s), varying cutting settings and slot dimensions
Individual assignment:
Cut something on the vinylcutter design, make, and document a parametric press-fit construction kit, accounting for the lasercutter kerf, which can be assembled in multiple ways
GROUP ASSIGNMENT
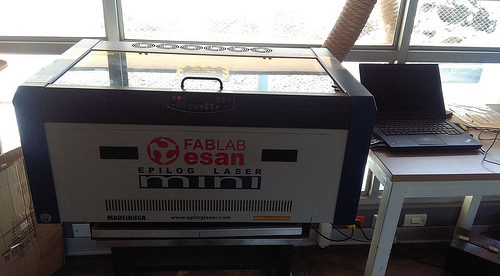
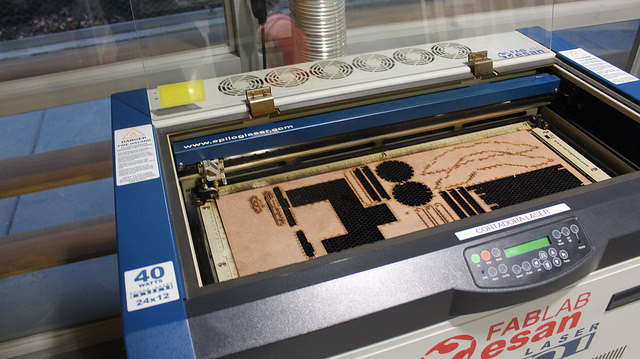
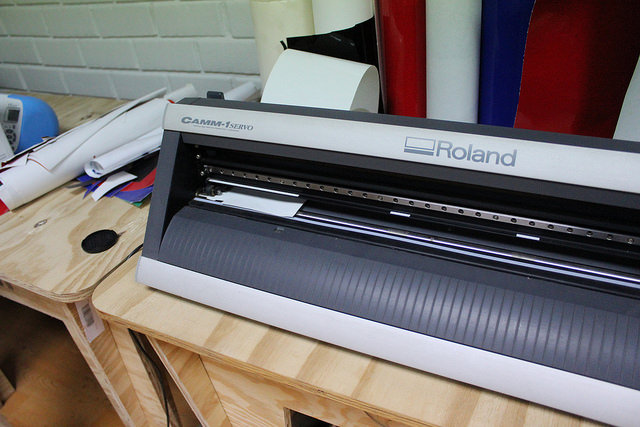
For this group homework, the laser machine we used was the "Epilog Laser Mini". This machine works with files in Corel Draw and can make cuts and engravings in different materials.

But, the hardest thing that can cut this machine is wood of 5 millimeters and the work area is 30 centimeters x 60 centimeters.
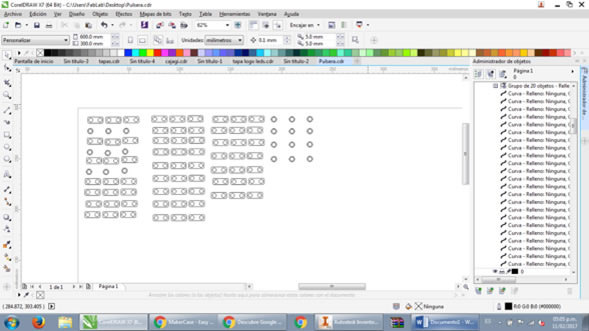
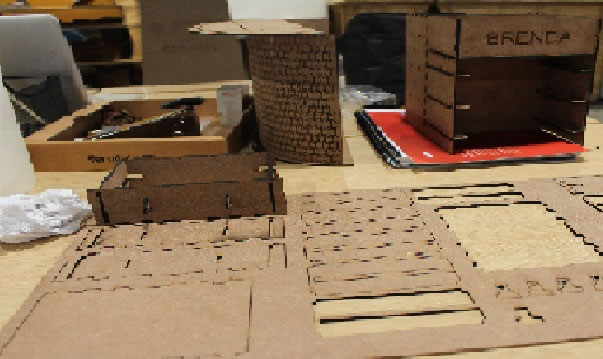
In this case, we decided to make a sample of tolerances to make prefits, for the materials that we have.
We consider different measures, so that the person chooses the type of adjustment he wants for his project.
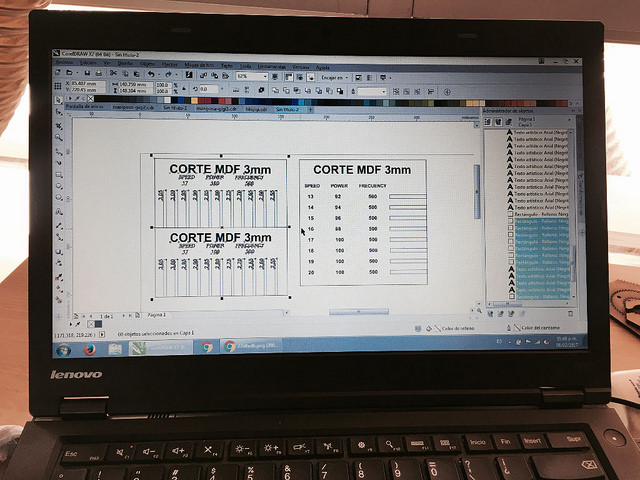
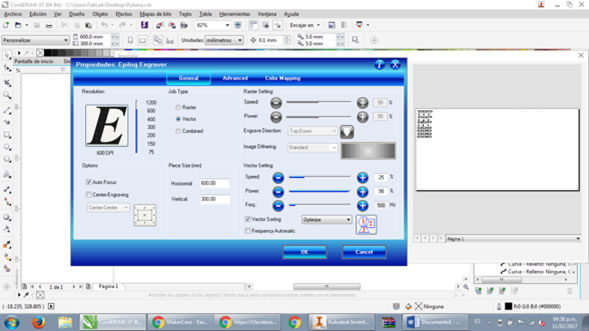
To verify that we cut each material, we test the parameters suggested by the instructors. In some cases we realized that we had to reduce the cutting speed so that the material was cut well.
.jpg)
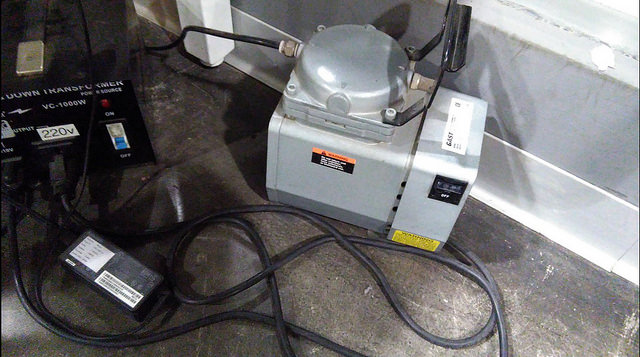
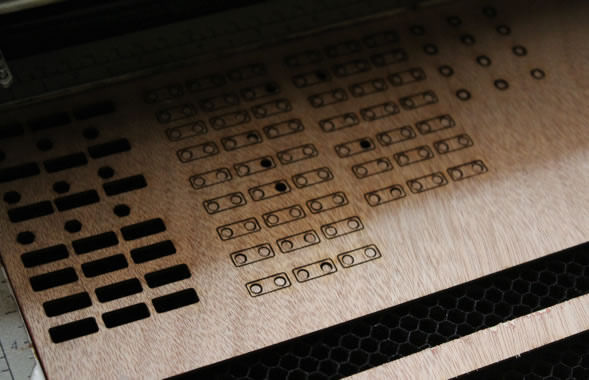
We put the iron of the material in the laser. We turned on the air compressor and gave it "GO" to start the cut.
Finally, we have the sample to make designs that require prefit, for each available material.
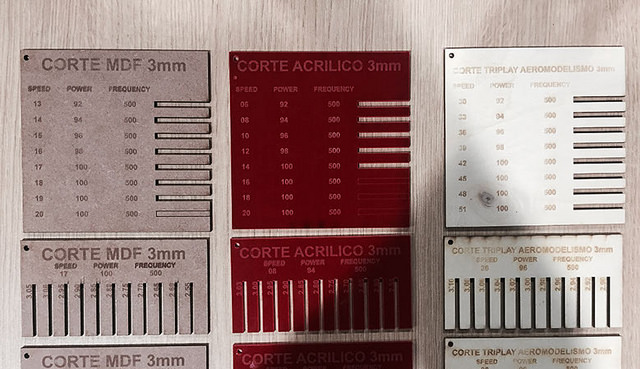
CONCLUSIONS : Depending on the material, the Kerf can vary, for example in the case of MDF it was found that the suitable Kerf is 0.05 millimeters for a prefit that can be put on and take off; In the case of the Triplay is a little less and in the case of Acrilico has to be much more since the material is not uniform and pressure is broken.
Depending on the type of union that is needed you must choose the appropriate Kerf.
individual assignment
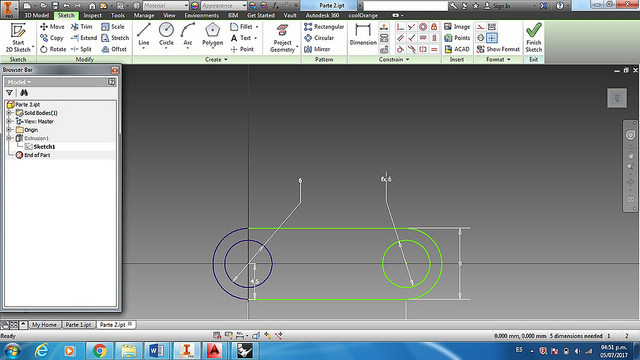
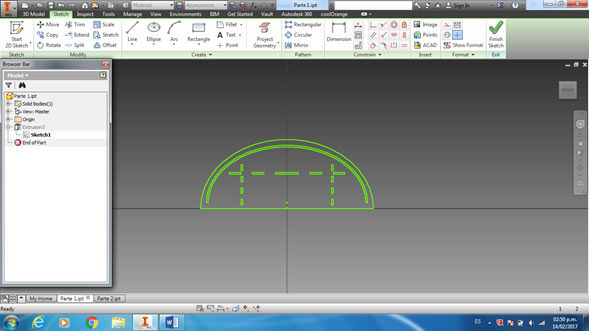
LASER CUT 1 : For this assigment, I first did a laser cut test. For this, design two parts in "Autodesk Inventor". Taking into account that these would fit on a shaft of wood of 4 mm in diameter, design the holes of each piece with different tolerance, one to move freely and another to adjust.
How is kerf used in the design of a piece?
To fit two pieces, one must have considered the Kerf ("female") and the other should have the normal measurement.
In this case the Kerf is 0.15 millimeters, so:
If the rod is 6 millimeters in diameter, in the piece "Female" must be 5.85
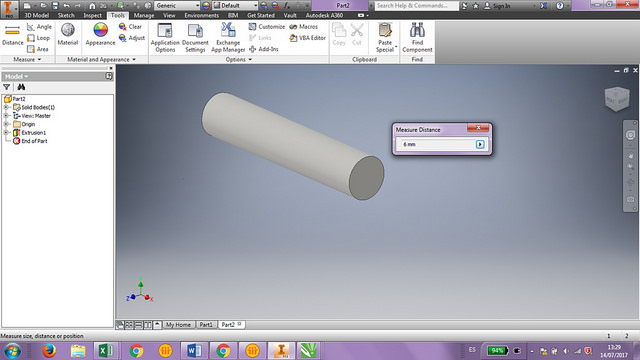
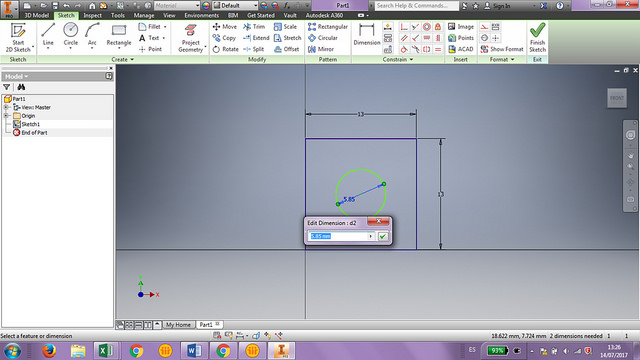
My design is parametric because the dimensioning is related, the dimensions are in function, this means that by increasing the size of one the other increase at the same time, and if the Kerf is not appropriate to change one all are changed.
According to week 2, to return in 3D the plane we use the command "Extrude" and write the desired size.
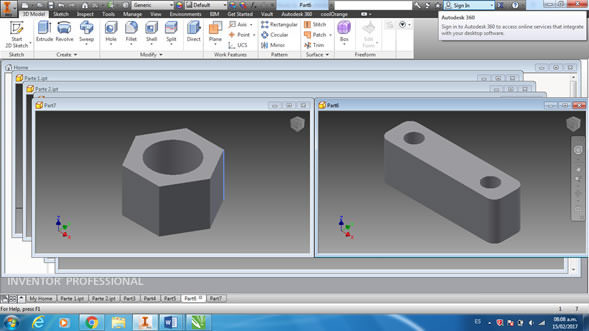
For laser cutting this is not important, however, I recommend giving it any Extrude and then select the desired face and with right click select "Export Face As". This command will allow you to export the face correctly in .DWG or .DXF format (compatible with Corel Draw)
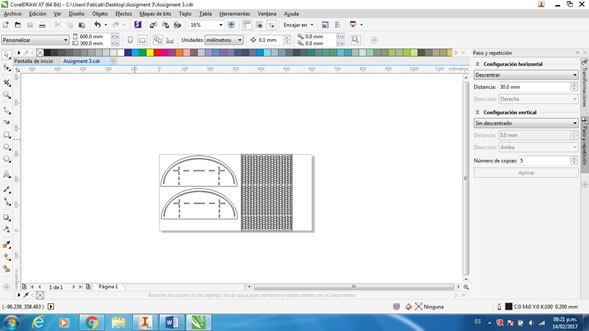
Create a sheet of dimensions 30 x 60 centimeters and in it import the two types of piece, I made several copies according to the design I wanted to make.
Then, click on Print, then on "Preferences", and select: "Auto Focus", "Vector" since what you want is to cut and in the parameters since I will use 3 mm thick wood "16 speed, 98 power and 500 frequency "and accept.
Press "Go", once finished cutting the pieces and assemble them in the way you want.
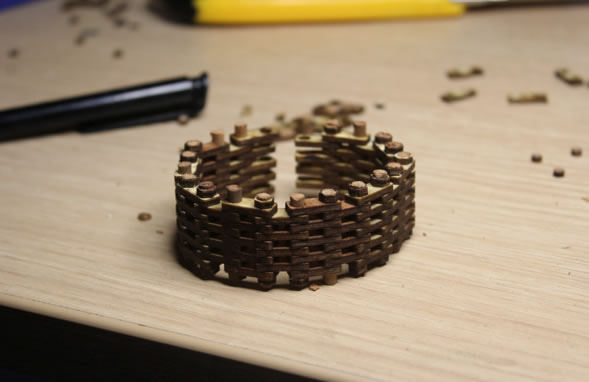
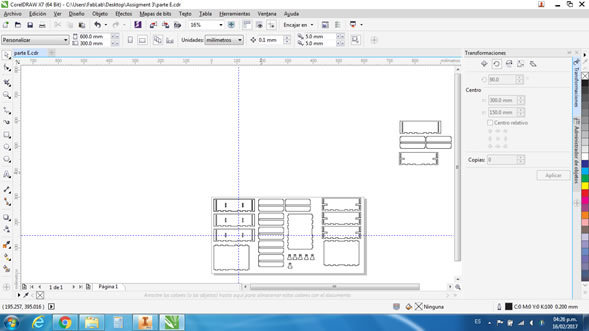
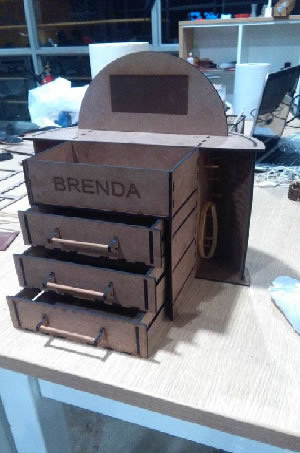
LASER CUT 2 : To test the tolerances of fit, I designed a jeweler, which aimed to test the different shapes that could be made in the laser cutter. First, design the parts in "Inventor".
Once the design is finished, I exported the face of the pieces in .dwg format and I imported it in Corel Draw, placing it in the wooden board of 30 x 60 centimeters.
In this case, I decided to use the "Kerf Bending", for this several figures are drawn within the piece a short distance between them and are programmed as cut. This will make it possible to bend the piece.
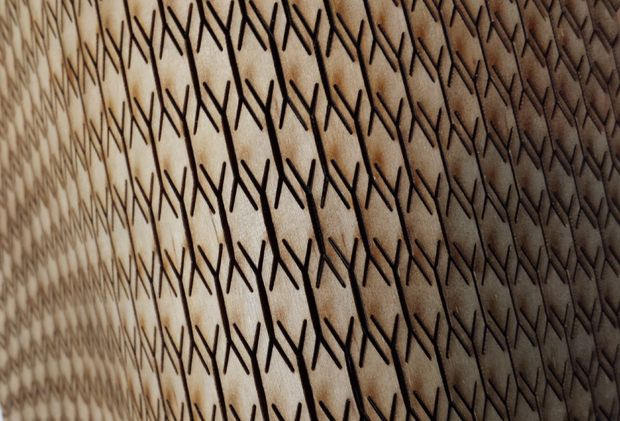
When writing the cutting parameters, I slowed it to 13 to ensure the perfect cut, because in tests I had problems.
Finally, assemble the prototype and fit everything very well, the laser cut is very accurate.
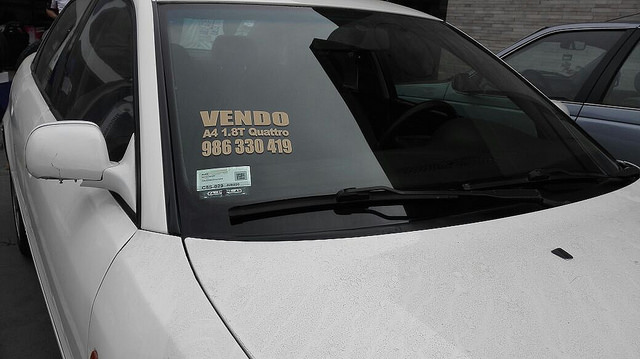
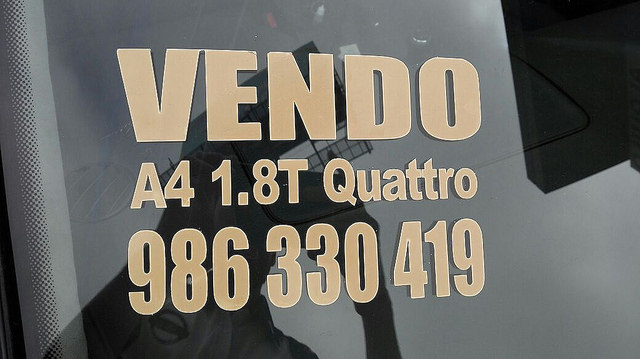
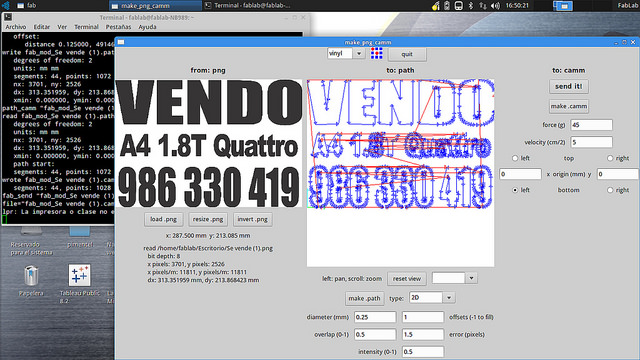
VINYl CUT : For this part, I thought about making a commercial of sale for my car, reason why using corel designs the advertisement. It should be noted that the machine that cuts vinyl only recognizes the colors black and white as cut.

Then, you have to enter Linux into the terminal emulator, put "sudo fab", in password to place "fablab" and an interface will come where you can place the type of file and the machine to use
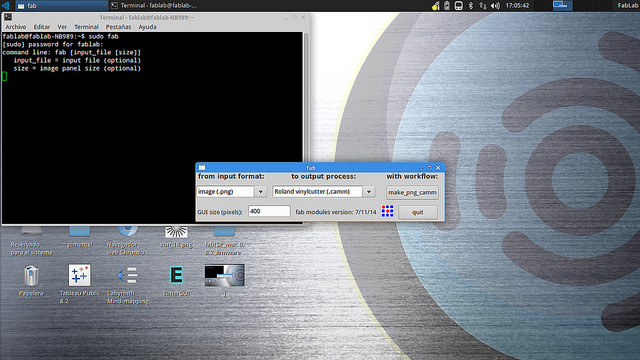
Load the file in PNG and press "Make Path". This will allow you to know the path of the blade when cutting
Depending on the amount of material you have, you can choose between a piece or a roll. In this case I chose the white roll and secure it in the cutter
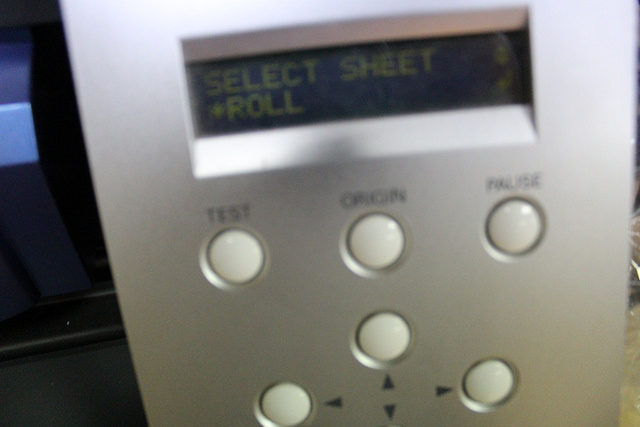
Once the vinyl roll is placed and the machine is calibrated, you place "Send It" to start the machining.
Finally, I proceeded to put the vinyl in my car and put photos to see how it was