3D Scanning and Printing
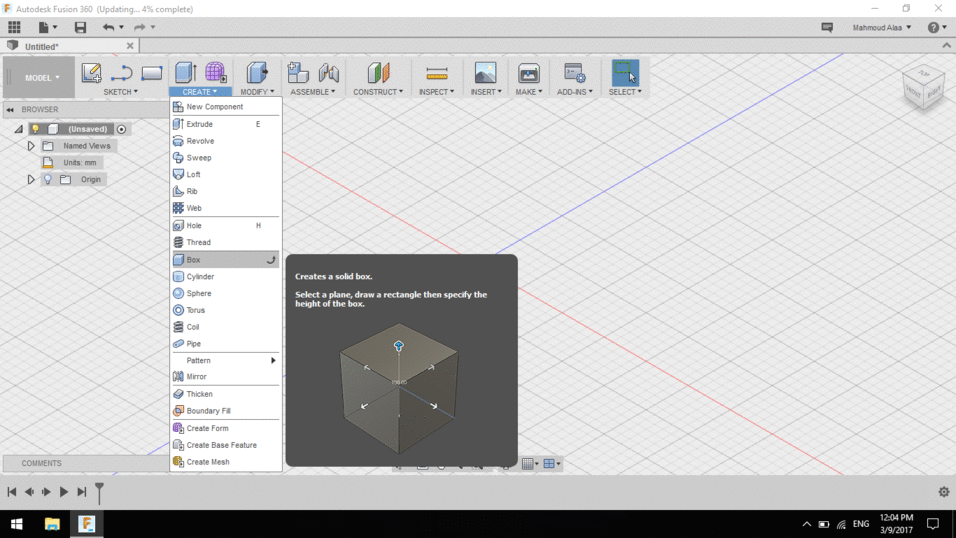
Designing in Fusion360
So this week we were told to design and print an object that could not be made subtractively. so i was inspired by the makerbot replicator 2 ad. they 3d printed a geometrical shape consists of alot of intersected polygons
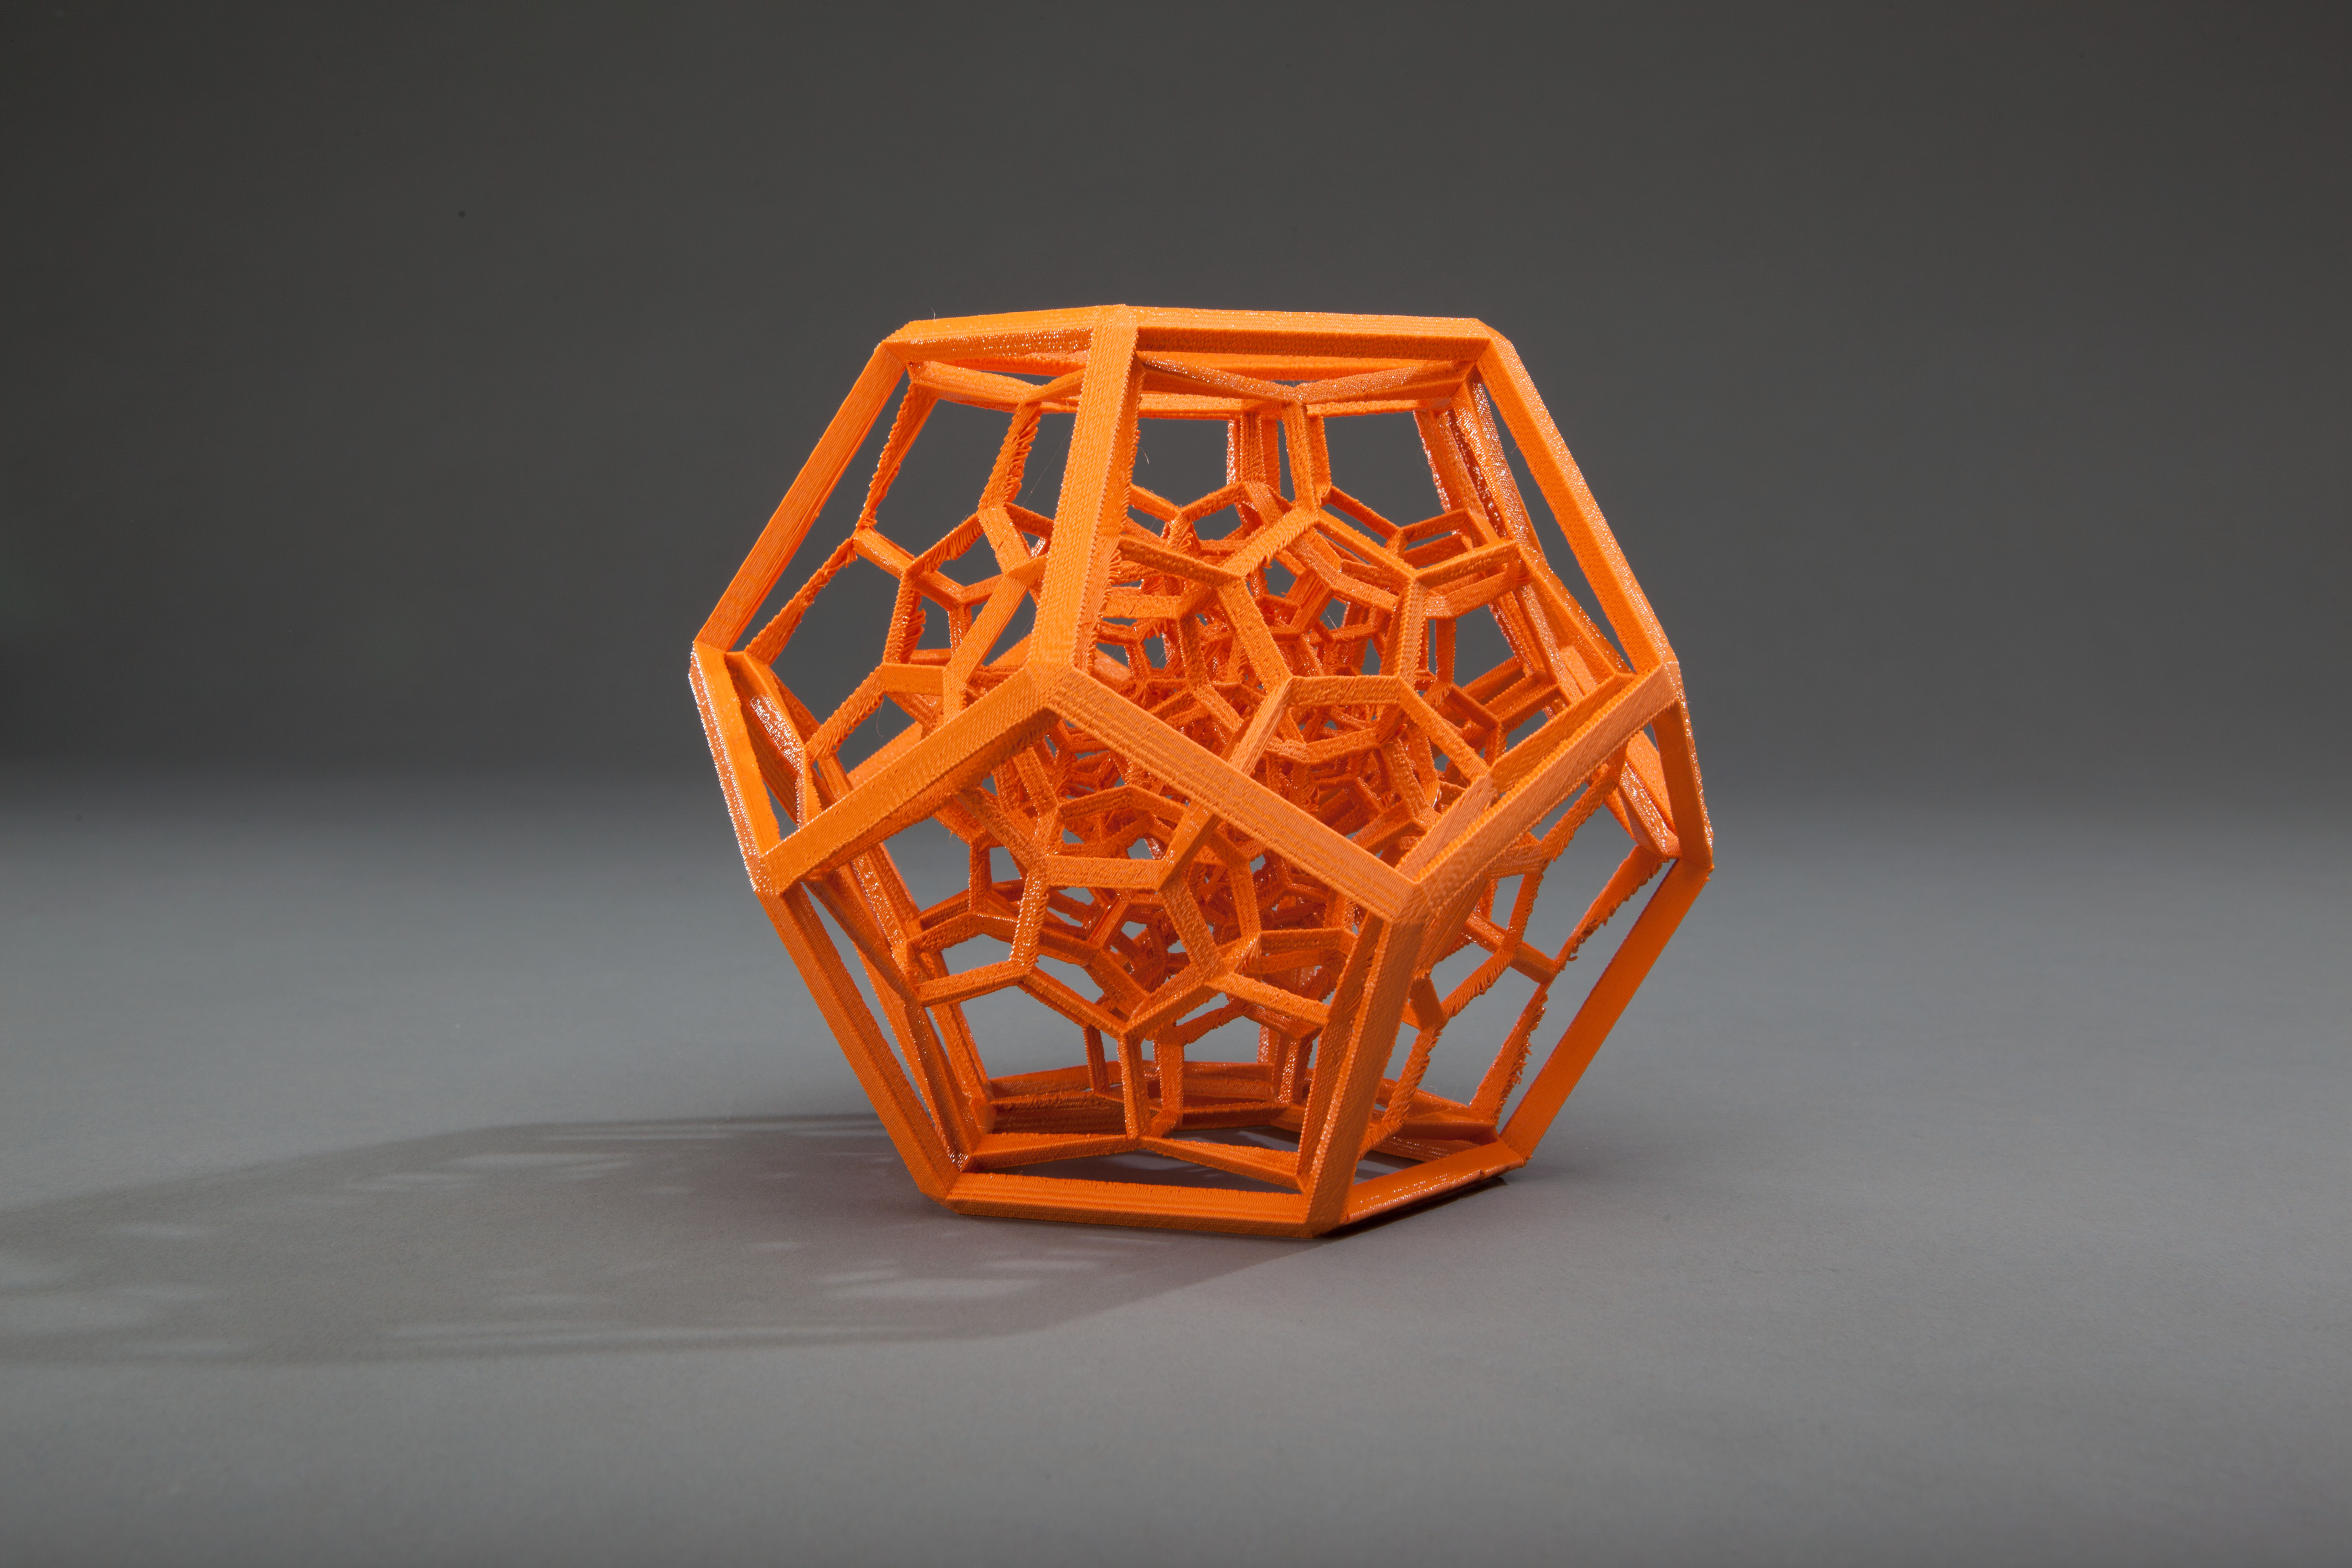
So i was thinking why not 3d print a cube with a ball inside?! So i started designing on fusion360.
So i made a 50x50x50mm cube and made 3 cut cubes inside it with the size of 50x40x40mm to make 5x5mm columns and draw a 40mm ball inside and centered and Then i scalled it with 1.1 ratio.
After finnishing the design i thought it was very simple design, why dont we add more?! so i copied and pasted the same design multiple times then i used a tool called combine to intersect all this shapes together and create a big cube with 8 sections, each section have a ball inside stuck inside.
3D printing
3D printing is a additive manufacturing technique. it has a lot of advantages, disadvantages and limitations.
- Advantages
- Rapid Prototyping.
- Low Production Cost.
- Can make alot oof things other manufacturing techniques like milling cant do it.
- Disdvantages
- Raw Material Limitations.
- Size Limitations.
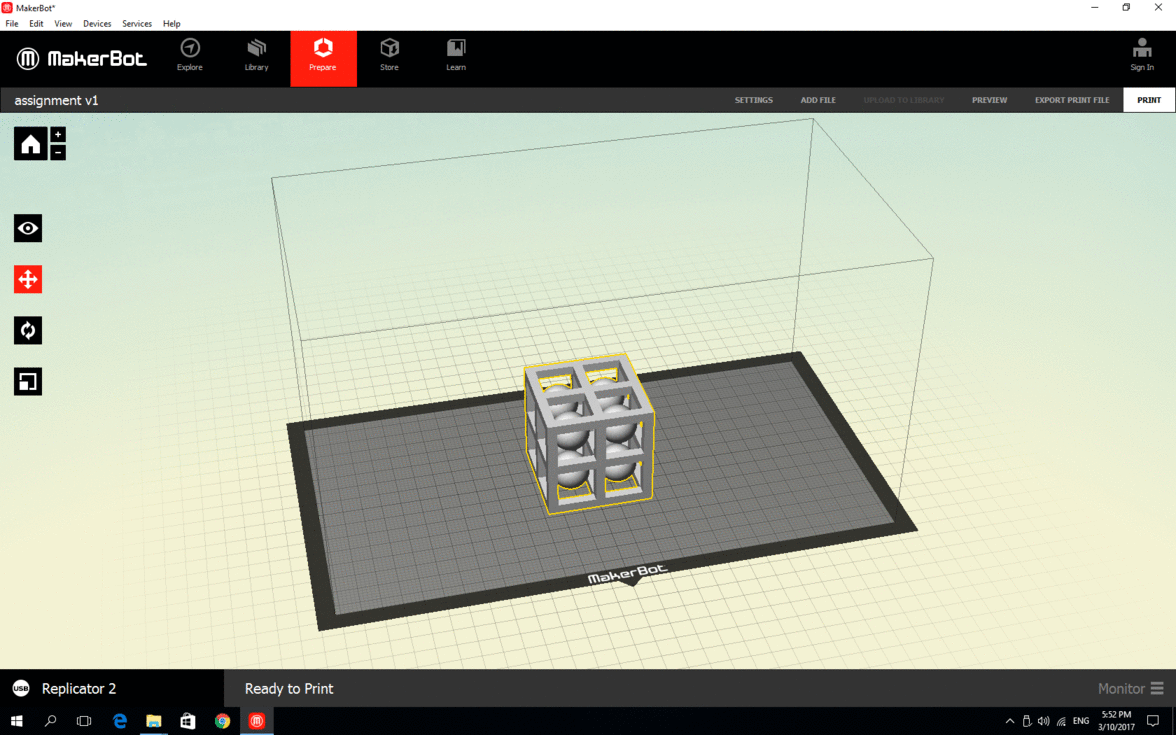
Then i loaded the file to the printer's sdcard and started the printing process. i used black pla at 220C temperature, 0.2mm layer height and i used rafts and supports and the printing time was about 3 hours.
.jpg)
.jpg)
.jpg)
.jpg)
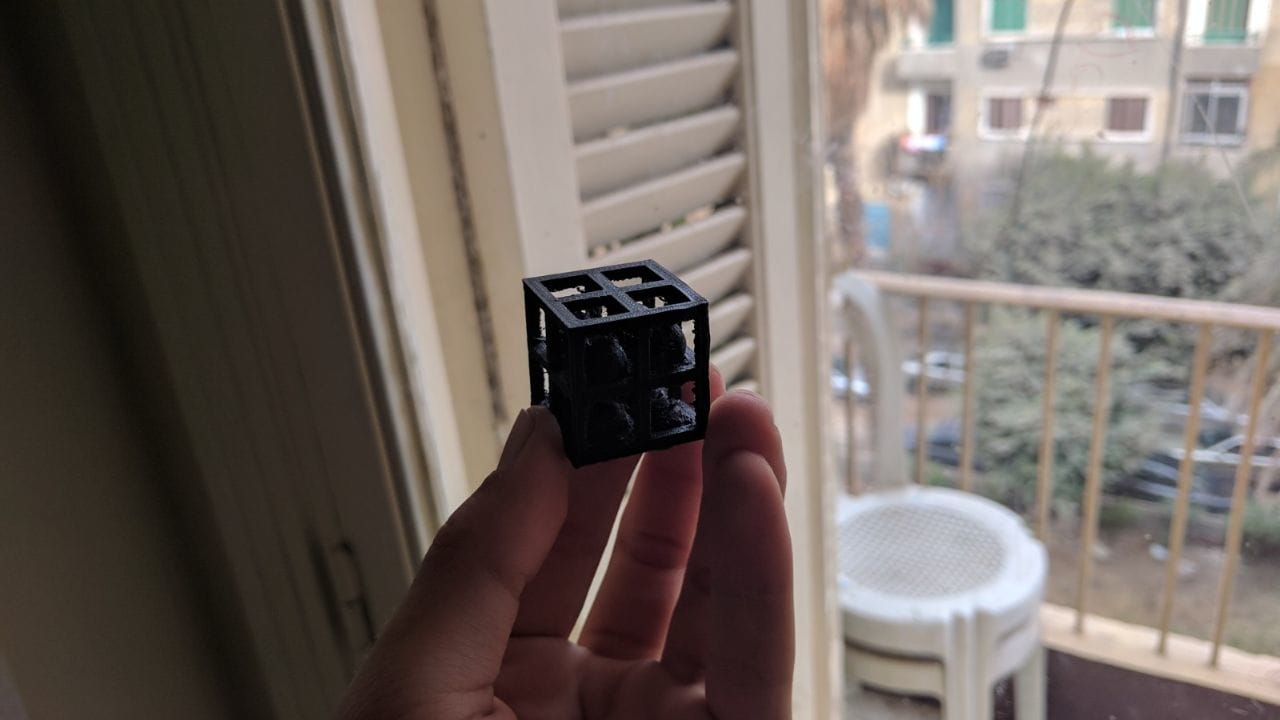
After i printed the part i had to remove all the support material and try to smooth it and give it a clean look it. But the support was very sticky and tricky to remove. I couldn't remove all of it but atleast i managed to remove the most of it using PCB Cleaning kit.
.jpg)
.jpg)
.jpg)
.jpg)
And here is the final result. I really enjoyed using the 3d printer and watching it building your model layer by layer. I also Learned how they work and move. 3dprinters are really interesting machines and i think i am going to build one for myself soon.
Download The Cube Design file
Download The Cube Makerbot printer file
3D Scaning Objects
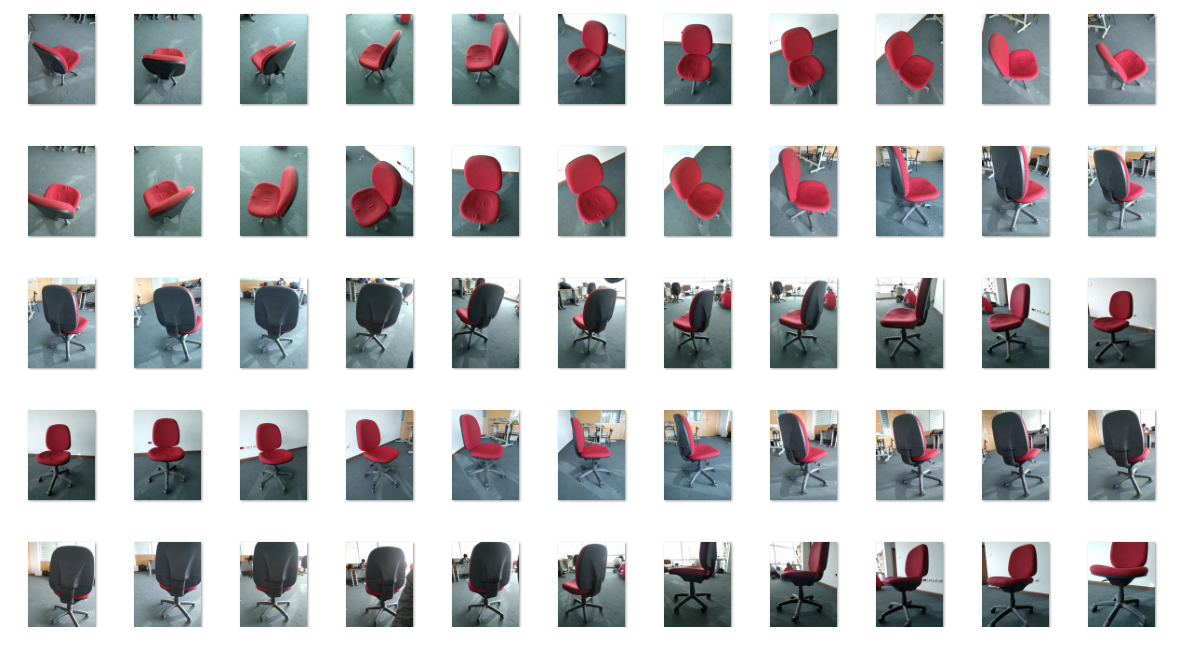
The second part of this week's assignment is to 3d scan an object and try to refine it. At first i wanted to make my own 3d scanner with linear laser pointer and webcamera and a software to imageprocess the object and produce 3d file but i couldn't build it because i had alot of assignments to submit in my college, So i started googling about easier ways to 3d scan objects and i found multiple results. Most of them rely on image processing alot of pictures from different viewing angels together with good lightning to output 3d view of the object that you are scanning. I started taking photos of a Chair from different viewing angles with my smartphone more than 80+ photo covering all kind of angles of the chair with good lightning.
At first i tried 123D Catch application but it didn't work out, i couldn't upload the images that i took. Next i used an application called SCANN3D but it didn't work either it produced courrpted images. At last i found Autodesk Recap360. So i started a new project on autodesk recap360 and named it "chair" then uploaded the photos and to the cloud to prcocess it. Then it finnished processing and genereted 3d file but it needed to be trimmed so i picked the select tool and started selecting then deleting the extras.
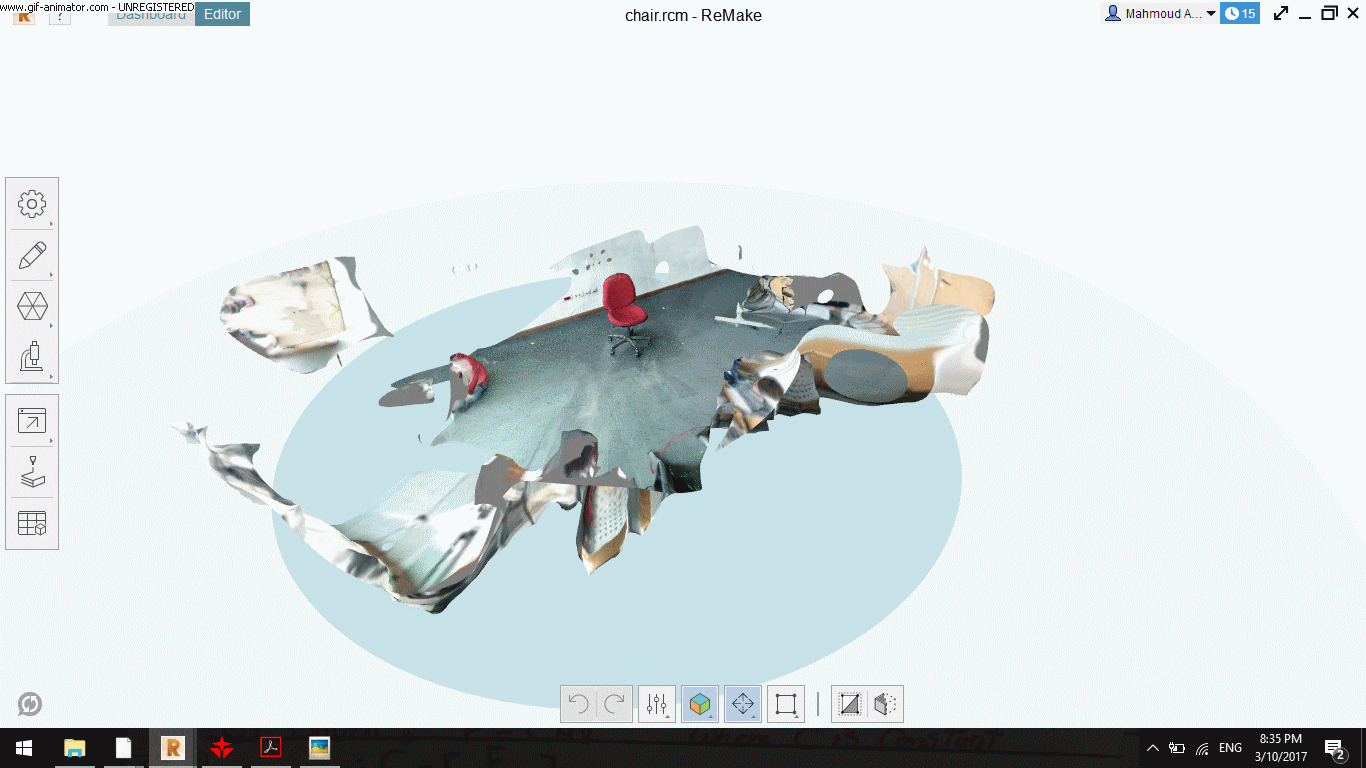
Then i selected the diagnosis tool to check if there were errors in my scan and there was empty holes in the bottom of the chair so i clicked fill all holes and it automatically fixed them.
.png)
.png)
After finnishng the model i needed to export the file so i followed this:
- Press Export.
- Choose to export as model by selecting Export Model.
- Choose the file type. in my case i used STL.
.png)
.png)
.png)