3D Printing is an additive manufacturing process that creates a physical object from a digital design. There are different 3D printing technologies and materials you can print with, but all are based on the same principle: a digital model is turned into a solid three-dimensional physical object by adding material layer by layer.
For this week's assignment, we covered 3D scanning and printing. I admit I was pretty fascinated with this week's topic. I've never printed anything in 3D, so I was very optimistic that I was in for a treat.
Tester
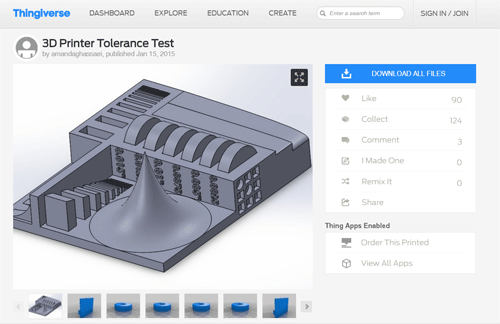
After downloading the 3D Printer Tolerance Test from the Fab Academy archive, I uploaded it in Cura. From there, I saved it to a SD card and now I was ready for the Ultimaker 2+.

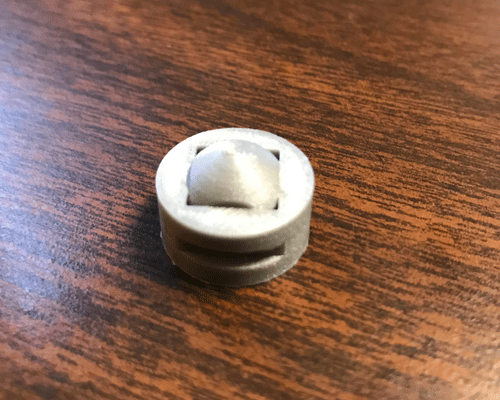
The 3D test print was successful. After measuring it, the results were comparably close. So overall, the Ultimaker produced a great print.
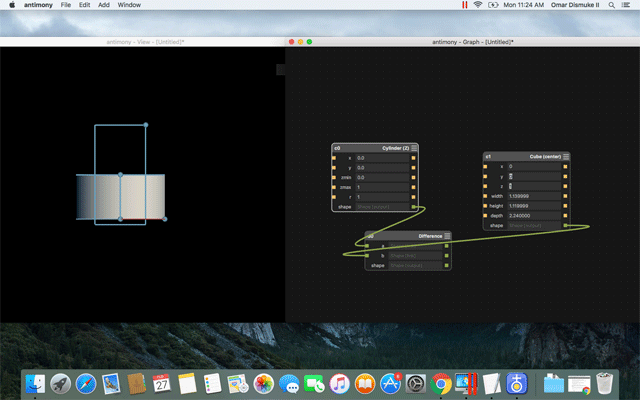
3D Design and 3D Print
Remember when I mentioned that I have an architecture degree? I actually thought that my CAD days were over. Fab Academy thought differently. This portion of the assignment required software capable of 2D and 3D design.
I decided to use Antimony to design my 3d object. This was my first time using the software, so I spent some time just toying around with it. The program isn't that bad. It was very user friendly. I especially liked how you manually connected different objects and actions to each other. Sorta like spider-man's web. I digress.
When exporting my design, I remembered that the file must be in .stl format.

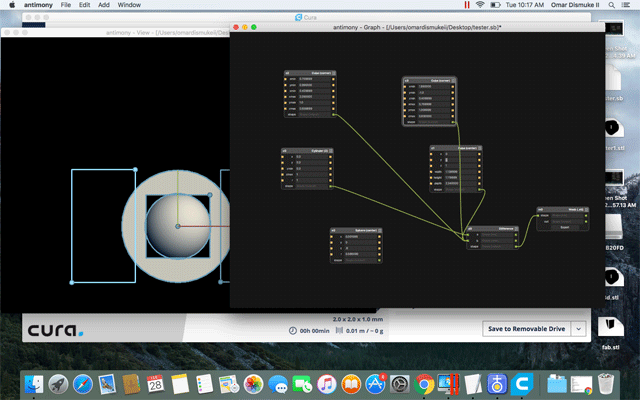
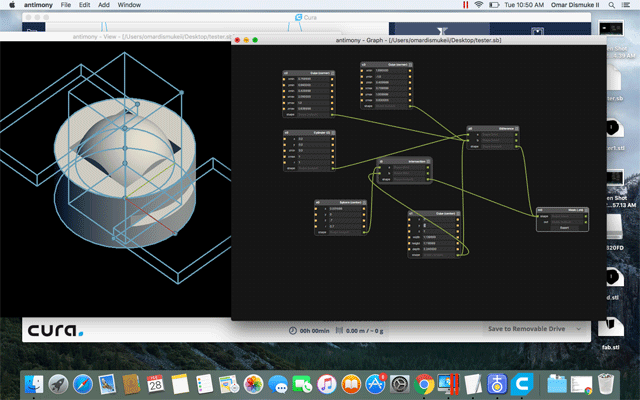
After I saved my file, it was now time to upload in into Cura.

Once loaded into Cura I increased the size because it was initially very tiny in Antimony. I adjusted the settings for print and then saved the file on an sd card. Once saved to the sd card, I simply loaded into the Ultimaker and initiated the job. 35 minutes later my masterpiece was finished.
3D Scanning
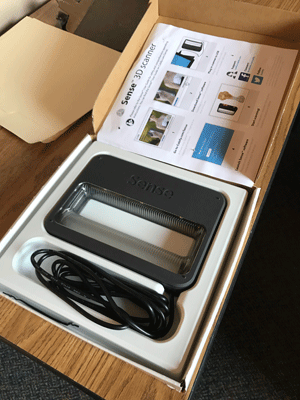
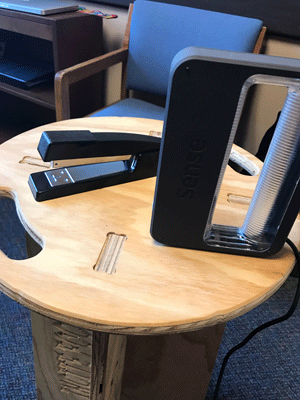
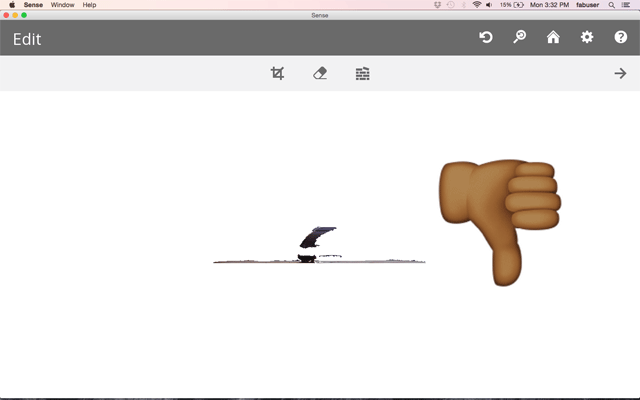
This part of the assignment was the most difficult. It was difficult to get track and capture an efficient image using the handheld Sense scanner. Every time I began to move to capture differnt angles, it kept losing the tracking. I was most unsucessful in capturing a proper image for scan. I will try the other scanners at a later time to compare.For now, my results were horrendous.
Things to remember:
- It is necessary to periodically calibrate the build plate
- Clean off the build plate prior to printing
- Sense 3D scanner is very delicate and may not give the best reults. Trial and error is recommended.
- Be patient