This week we covered computer aided cutting. We were introduced to the many machines that are used to cut and engrave materials. Our assignment was to design a construction press-fit kit
Click here to download reference file
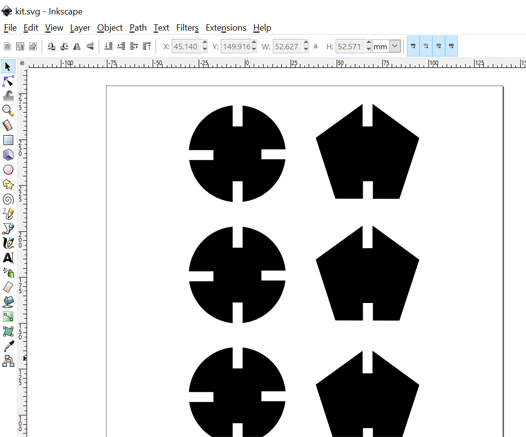
I chose Inkscape to design the pieces of the kit. After watching the reference video in the Fab Academy's student archive, I figured I give it a shot. I was particularly fascinated with the "clone" tool function. This function allowed me to create accurate joints on my press kit pieces.
Laser Cutting
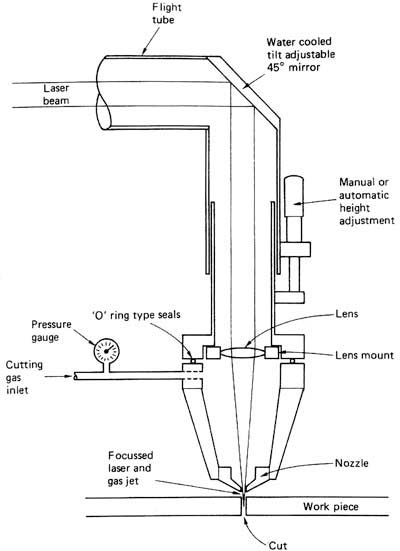
Laser cutting is a technology that uses a laser to cut materials, and is typically used for industrial manufacturing applications. Laser cutting works by directing the output of a high-power laser most commonly through optics. The assignment required us to use corrugated cardboard to create the kit.
Using the micrometer, I was able to measure the thickness of the cardboard in order to get the precise width for my joints.
Once we designed our kit using any of the recommended CAD packages, It was time to send to the laser printer. Before sending to print however, the files needed to be save as an svg file (a scalable vector graphic) that is imported using Corel Draw.
Once imported in Corel, it's now time to set your print. Our Fab Lab instructor gave us a walk through and explained some of the software's functions.
Things to remember:
- Speed determines how fast the laser will cut the design
- Power determines how much energy the laser will omit
- Frequency is the number of times it fires, or pulses
- Sometimes you will have to use "trial & error" to get the best printing results
Now that the settings are applied, it was time to send to the laser printer.
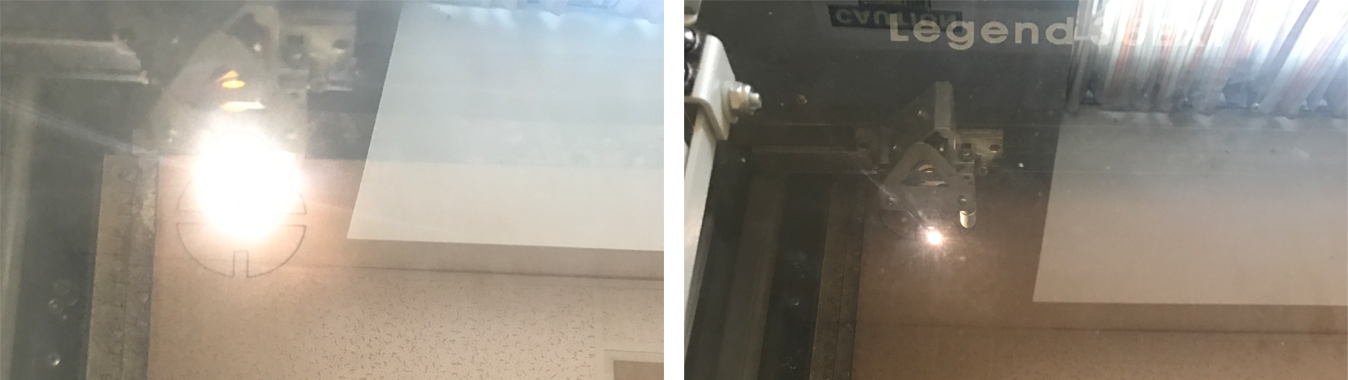
Problems I ran to:
- My measuring of the cardboard was inaccurate, therefore my pieces didn't effectively join
- Our instructor informed us that the laser cutter needed an updated part.
- This part potentially effected the overall print production quality.
- We will this revist again