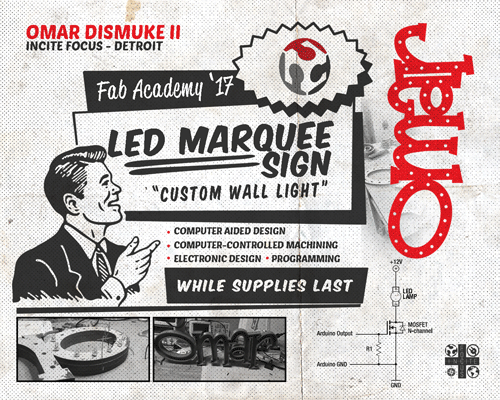
Initial Planning:
Originally I envisioned wall sign that would feature a variety of flashing modes. I also wanted the sign to have a light sensor, that would control when the sign would power on. However, that was before I realized what was actually need to execute it.
Process:
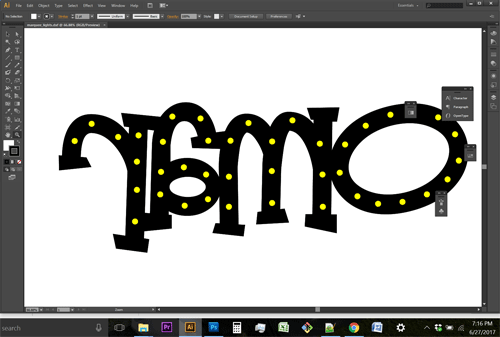
First, using Illustrator I designed the marquee sign. Then exported it as a .dxf file for the Shopbot.
Traditional marquee letter light signs feature extruding light bulbs in the front. I chose to install the leds behind the sign. By placing the light holes in the back, I could have the lights shine through the plywood to create a slightly different illumination effect. I decided to go with 3/8" thick plywood to construct the sign.
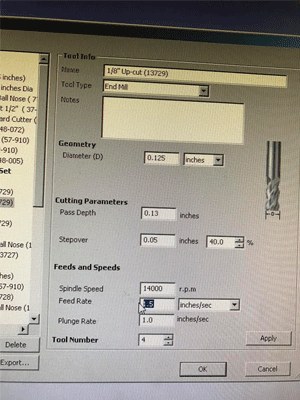
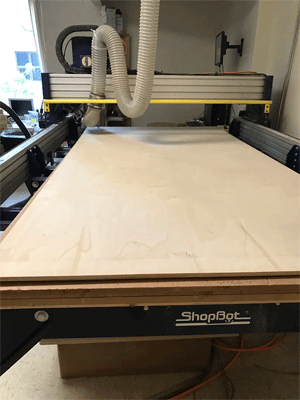
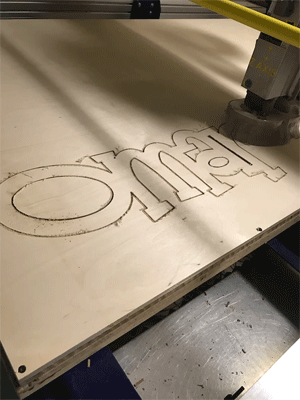
After the pieces was cut, it was time to sand and clean up.
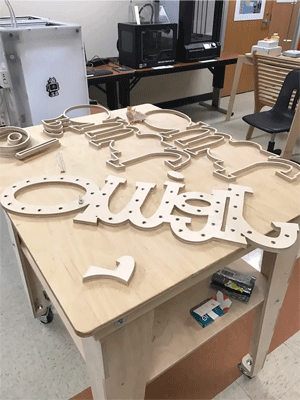
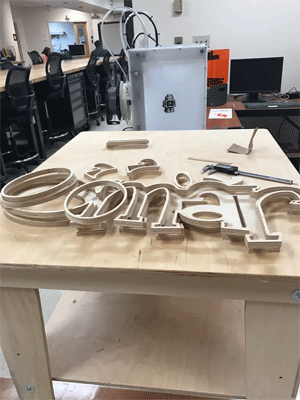
To assemble, I used wood glue and clamps to hold it during the adhesive process. After, drying and hardening, I cleaned up any remaining excess glue residue. Once done with the gluing process, I spray painted my sign with a red primer spray paint. I recommend 2 coats and to allow at least 24 hours to dry.
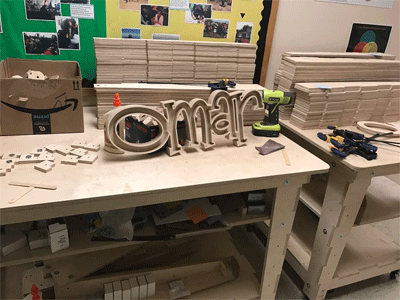
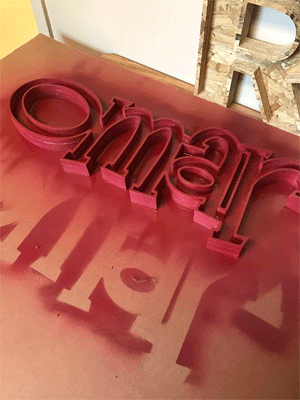
My sign will feature 49 clear led lights
Electronics:
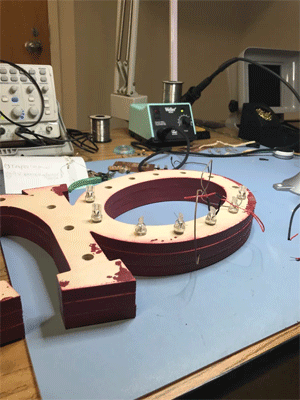
Now it's time to install and solder the wiring to the led lights. I must admit, this process is very time consuming.
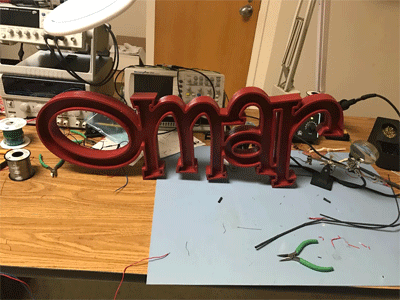
Problems I ran to:
- All LEDs weren't installed due to improper time management.
- I did not get to design and manufacture the microcontroller for the programming.