_Week12_MOLDING AND CASTING
_Introduction
Molding and casting week was a good assignment to see how something (again) from a 3Dmodel become physical, we go through a variety of tools that we already know like 3d modeling, milling and now work with new materials for doing even the mold and the cast of the form that we want.
_Background
Casting is a manufacturing process in which a molten material is introduced into a solid mold and allowed to solidify. The solid material takes the shape of the mold. Molding as a process might also use a mold to shape the soft material, but doesn't necessarily require one.
Vendors
_Week Assignments
_Workflow /Step by Step
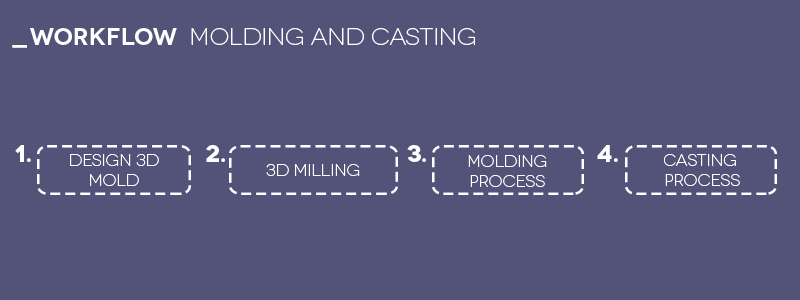
_Design 3D mold
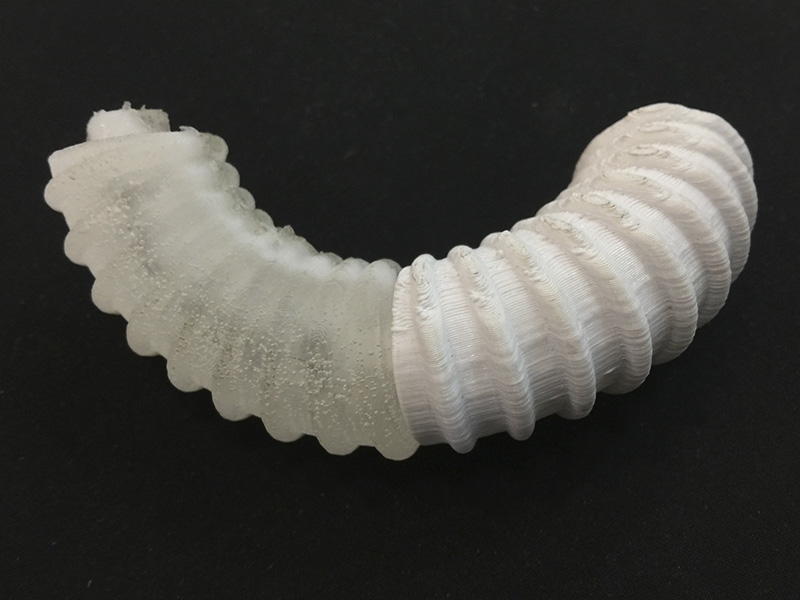
For designing the 3D mold I worked with the 3Dmodel that I've done in Computer aided-design that is an approach of my final project so it was a good idea to start to work on it. This piece is kind of complex for doing it in milling because of the sinuous forms but anyway I tried; the idea of the mold is to build the wall of the piece because this one is gonna be empty (for having inside the electronics) trying first with 0.03mm of thickness.
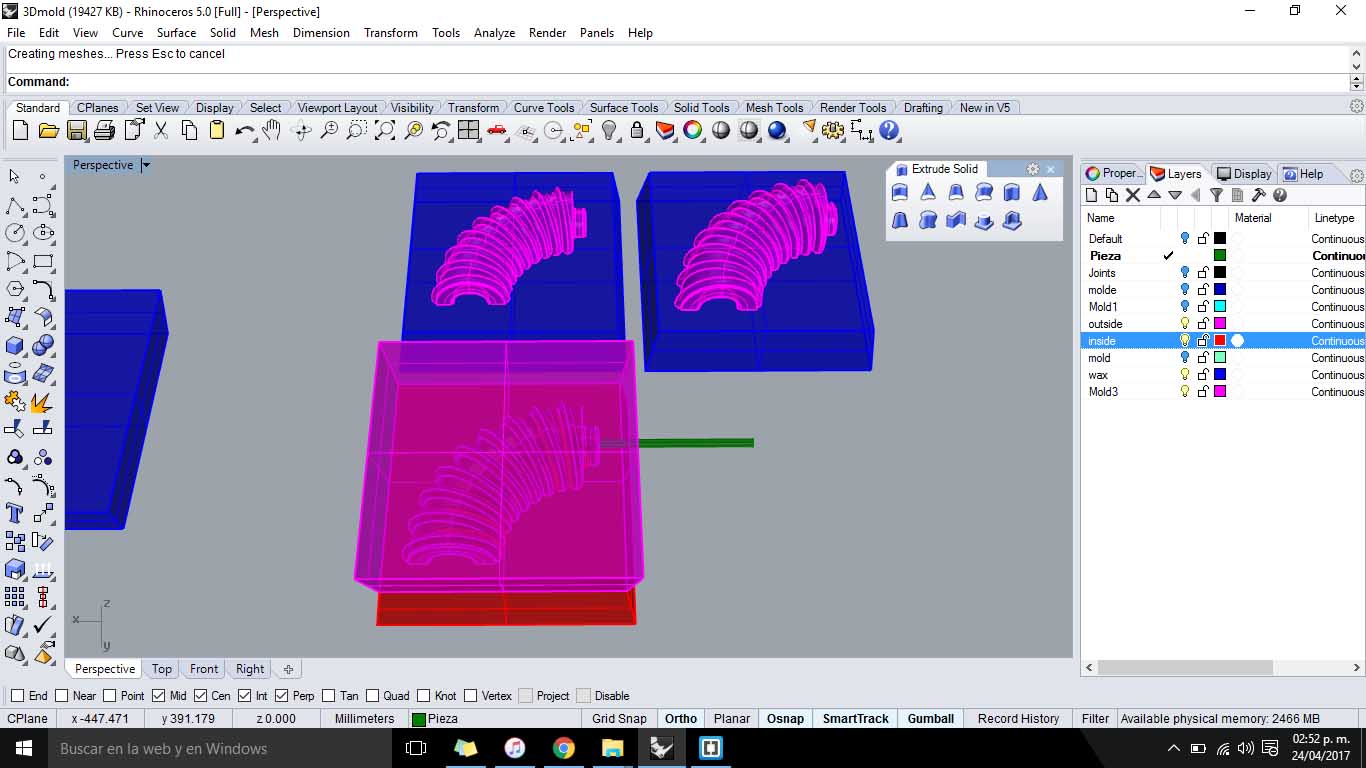
Thus, I made an offset of the piece having and empty space between the two forms that this will be the wall of the pieces.
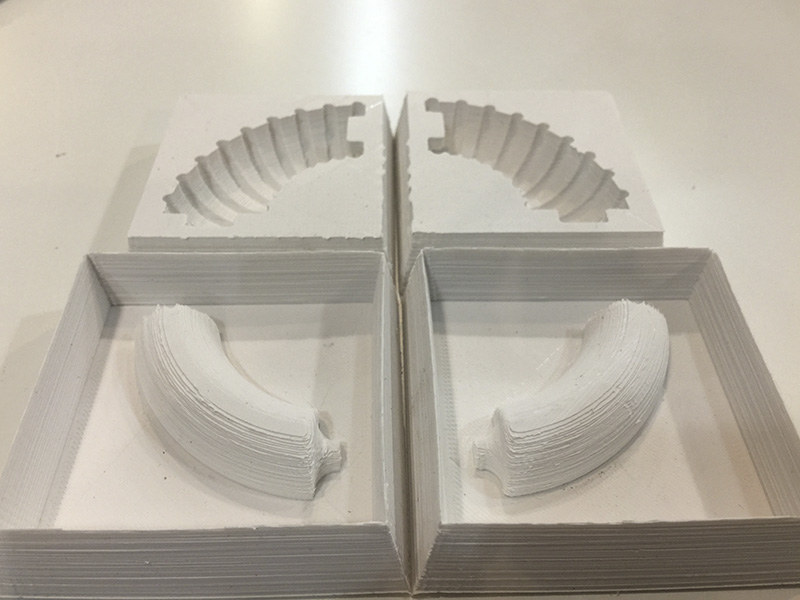
So after build the two molds, I verified that the two molds fit well for casting one part of the pieces.
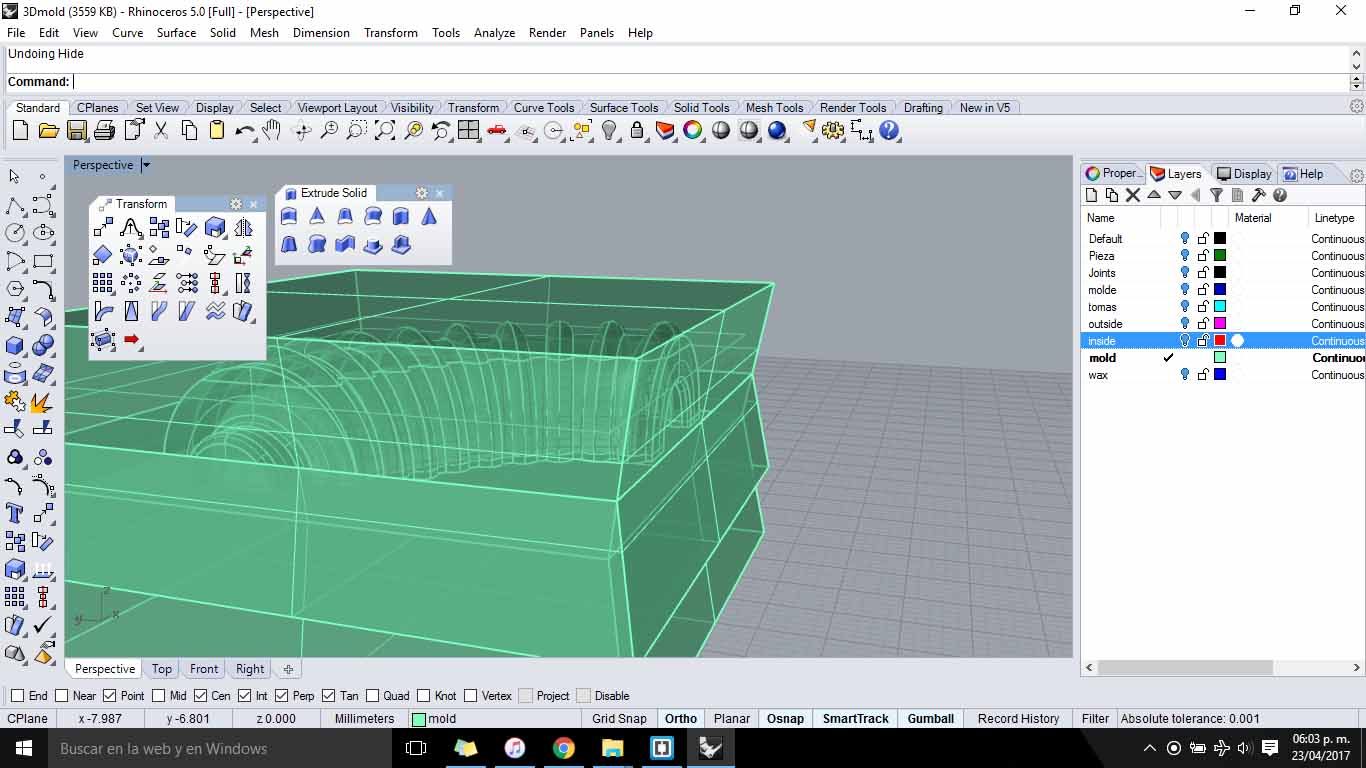
At the end, I will need 4 molds for casting the two parts of the one piece. 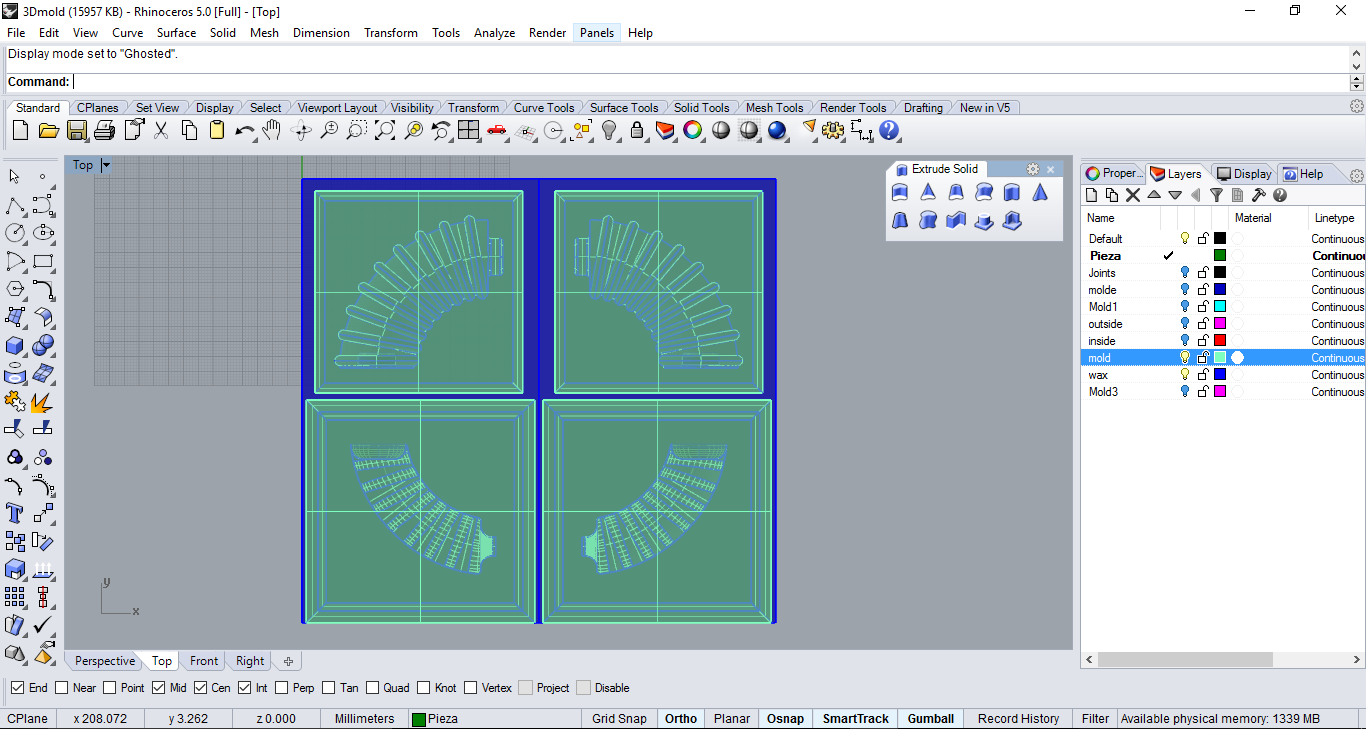
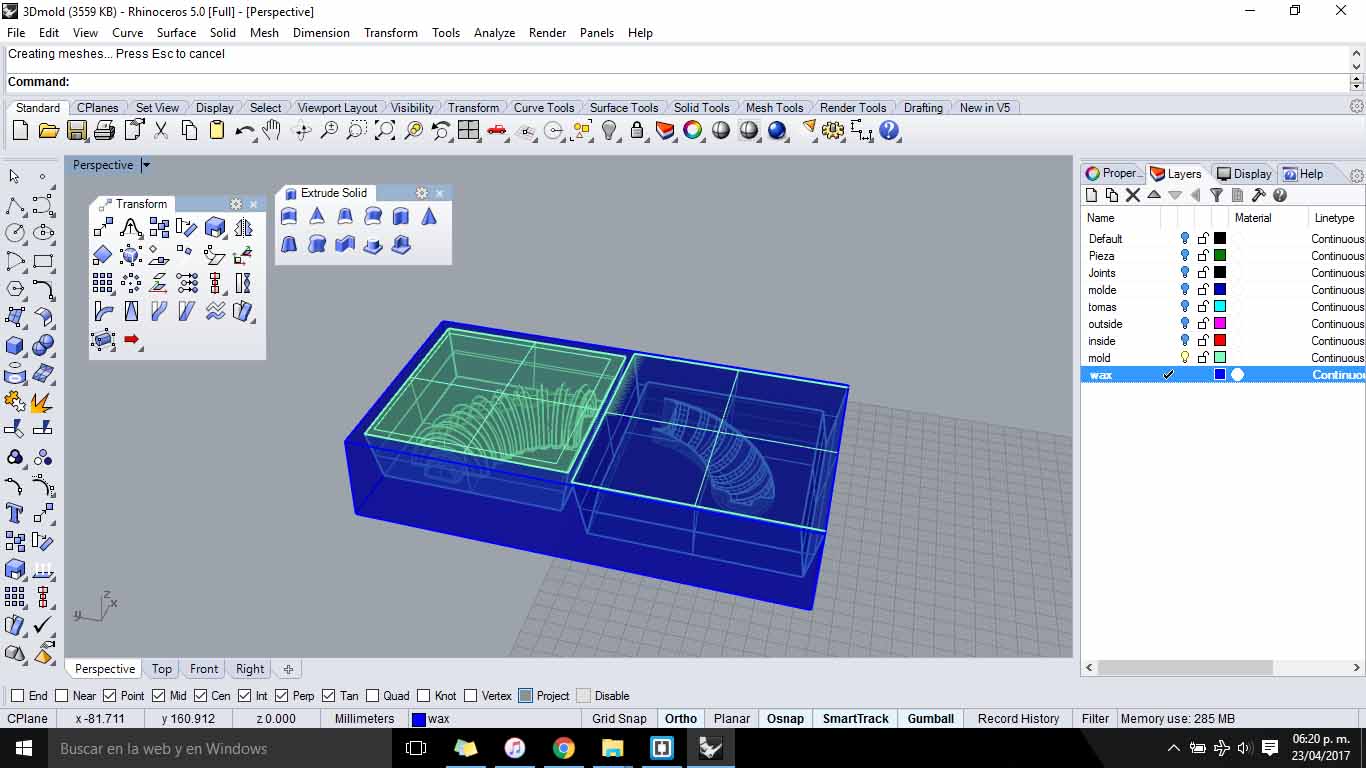
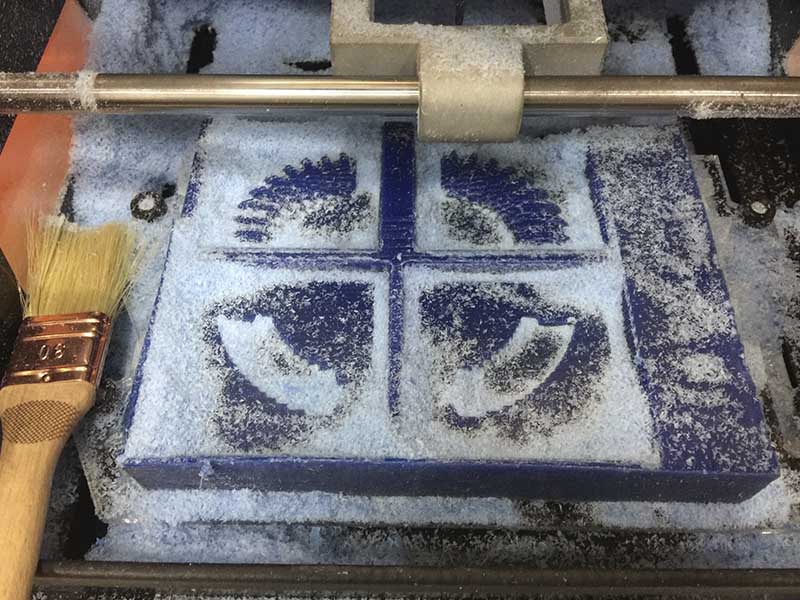
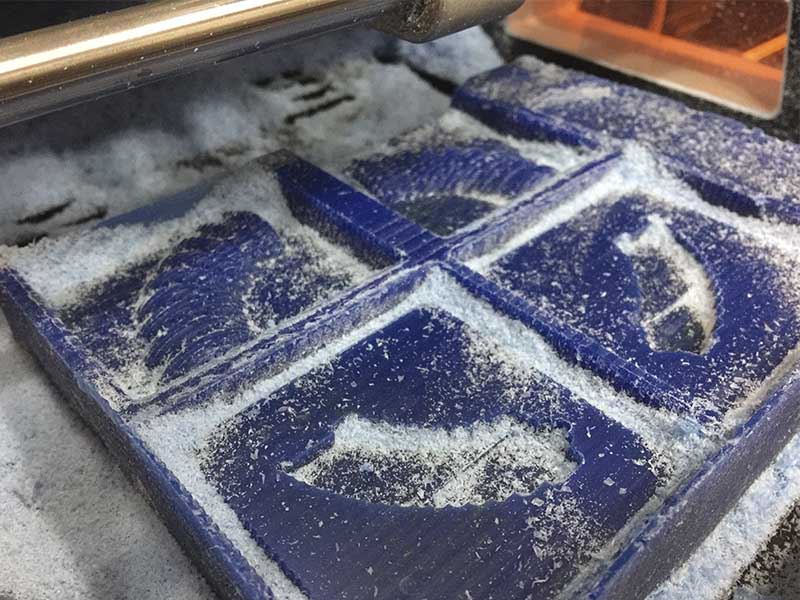
_3D Milling
So in order of having the 3Dmold, we recycle wax from already milled blocks and works from previous years, this wax has a melting point of 100 ° so with due protection by releasing toxic gases in the process, we melt and create the wax blocks from some molds of wood.The wax have to me moving all the time while is getting melted to disappear all the large pieces and to have a homogeneous mixture.
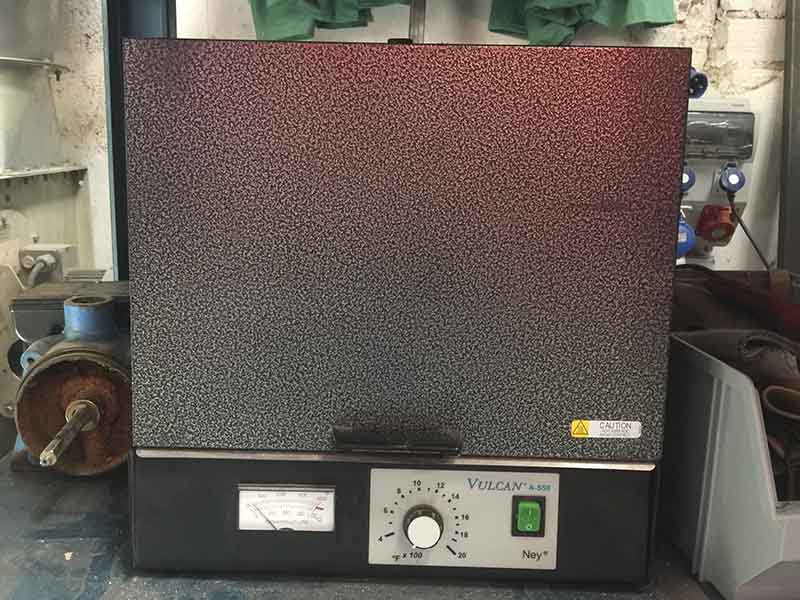
Afterwards, put them in an oven that is maintained at 100 ° and is lowering the temperature to solidify the wax.
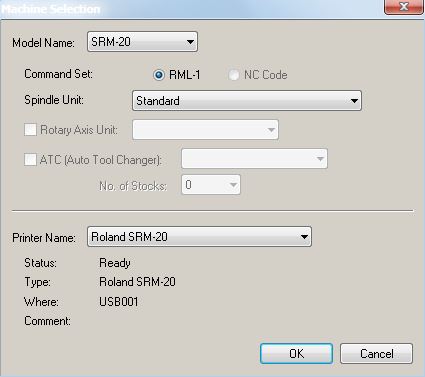
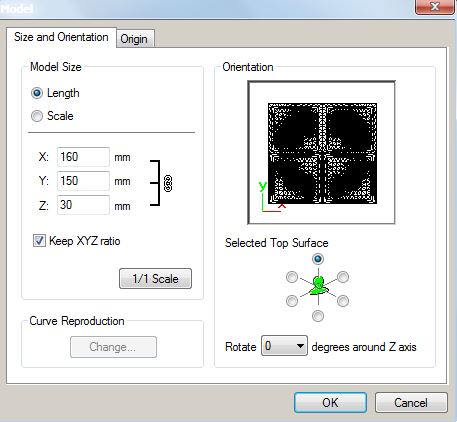
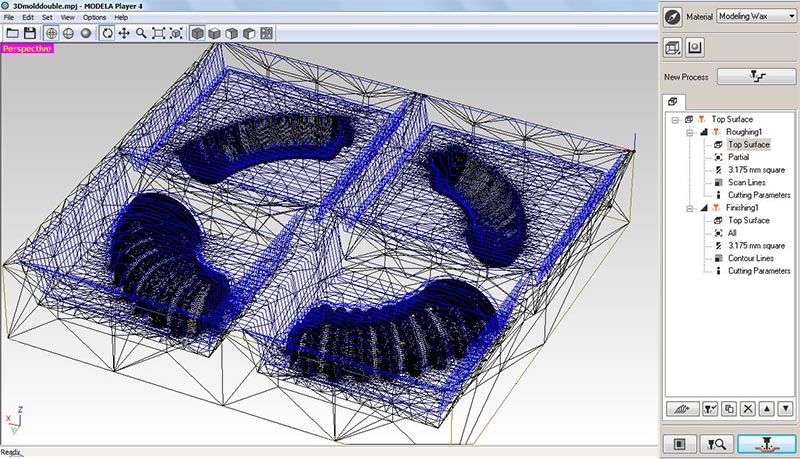
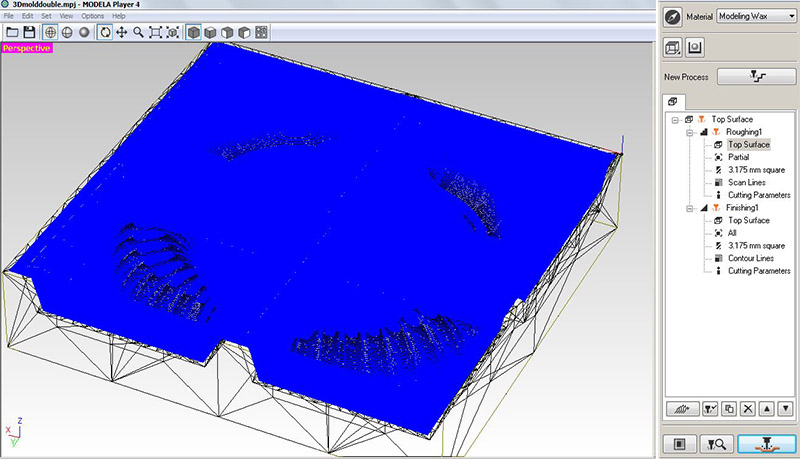
Once having the wax block, I continued the milling process using the Monofab SRM20 but this time creating the .prn file, which is based in two processes the roughing and the finishing, in the software of the machine as follows:
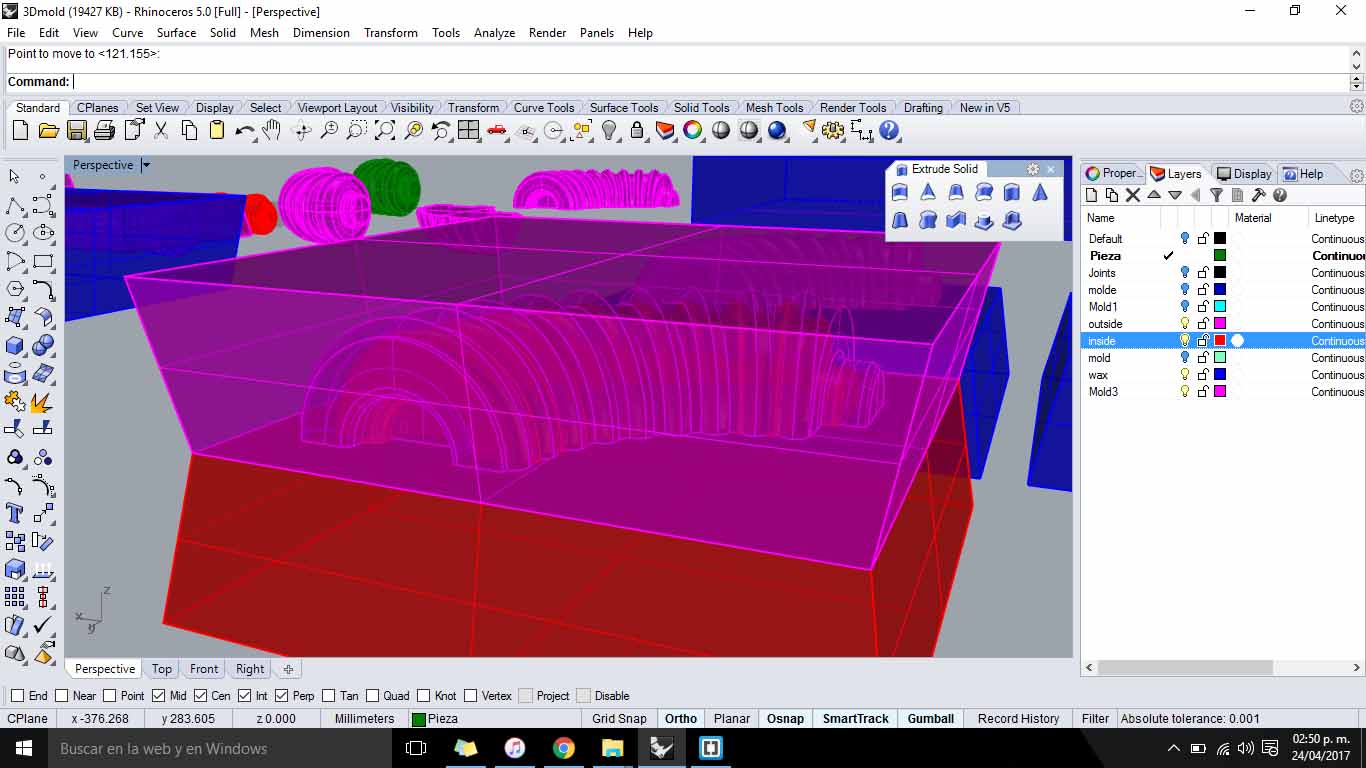
_Molding process.
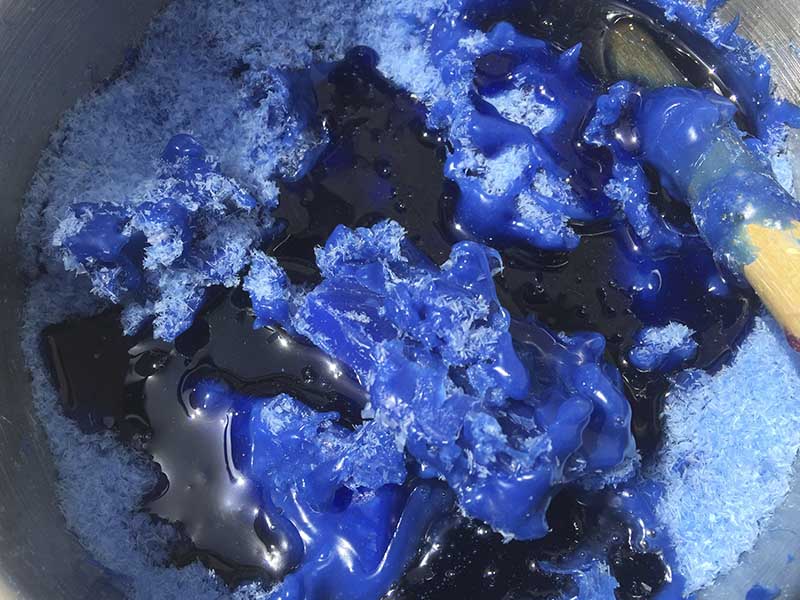
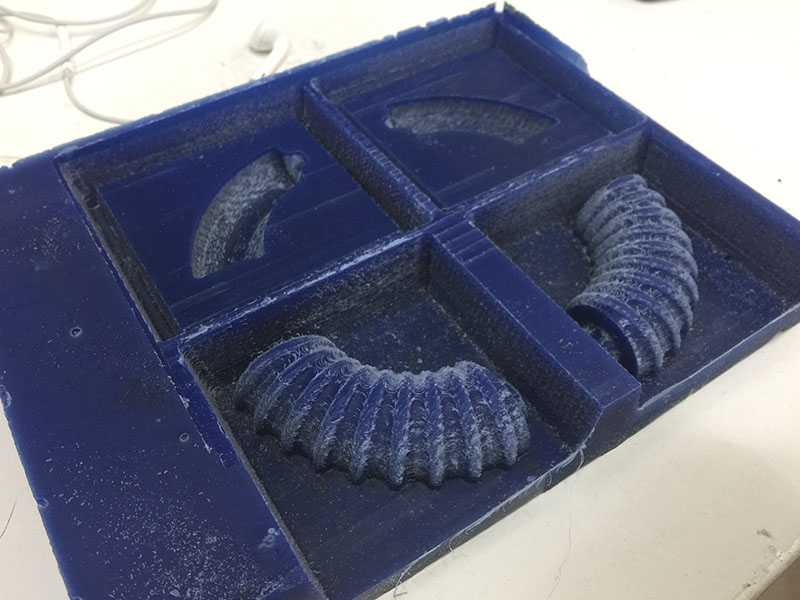
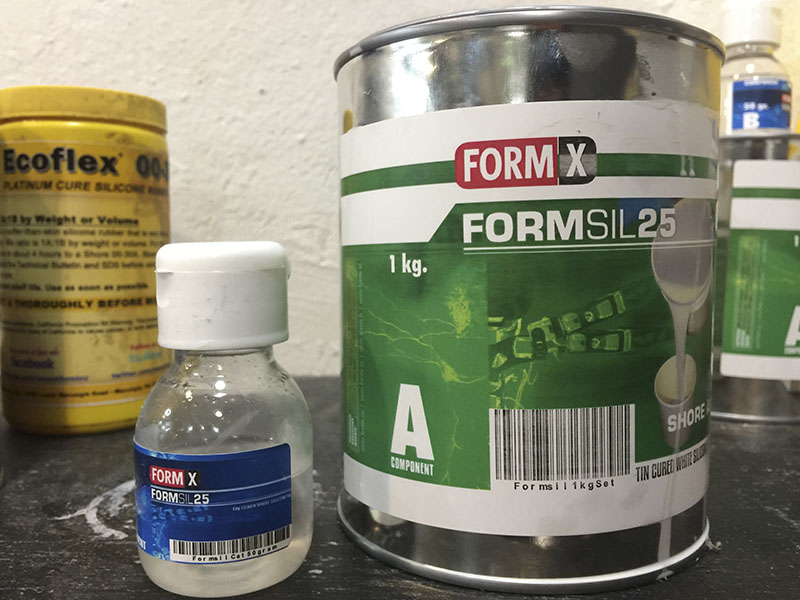
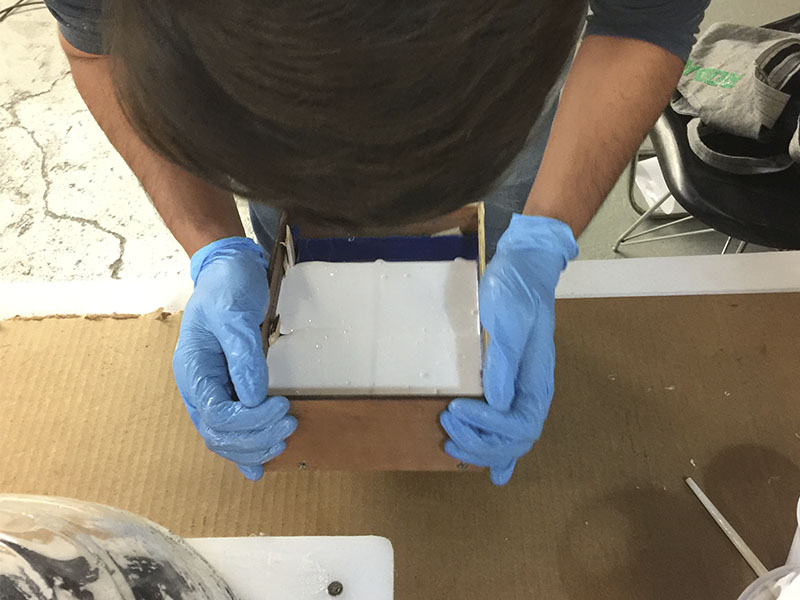
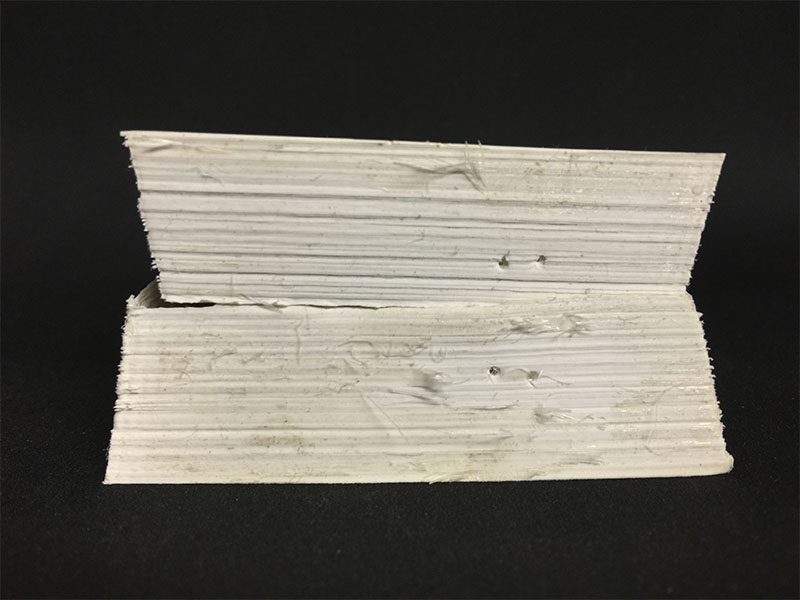
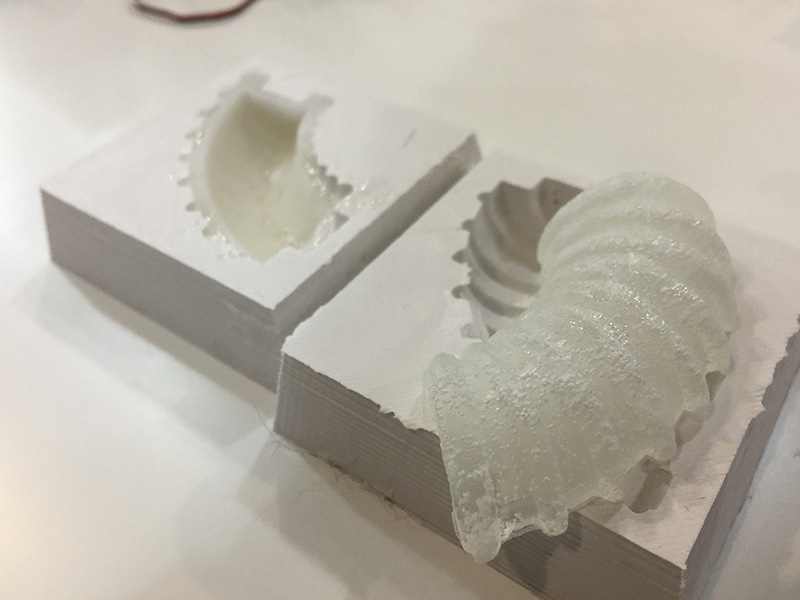
For create the mold from silicon, I made a box of wood (because i lost two walls) and put inside the wax mold for later empty the silicon inside. The silicon that i used was the FormSil 25 and follow these next steps for create the silicon mold from the wax mold:
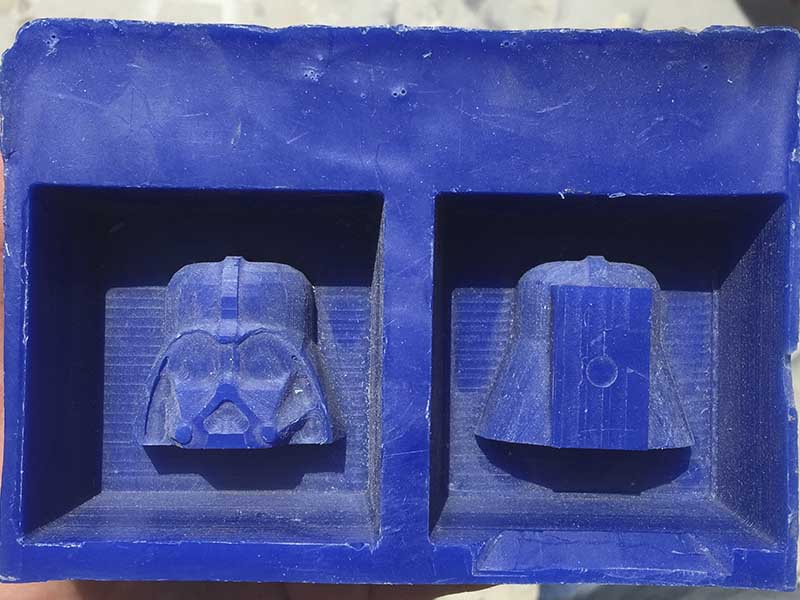
_Casting process.
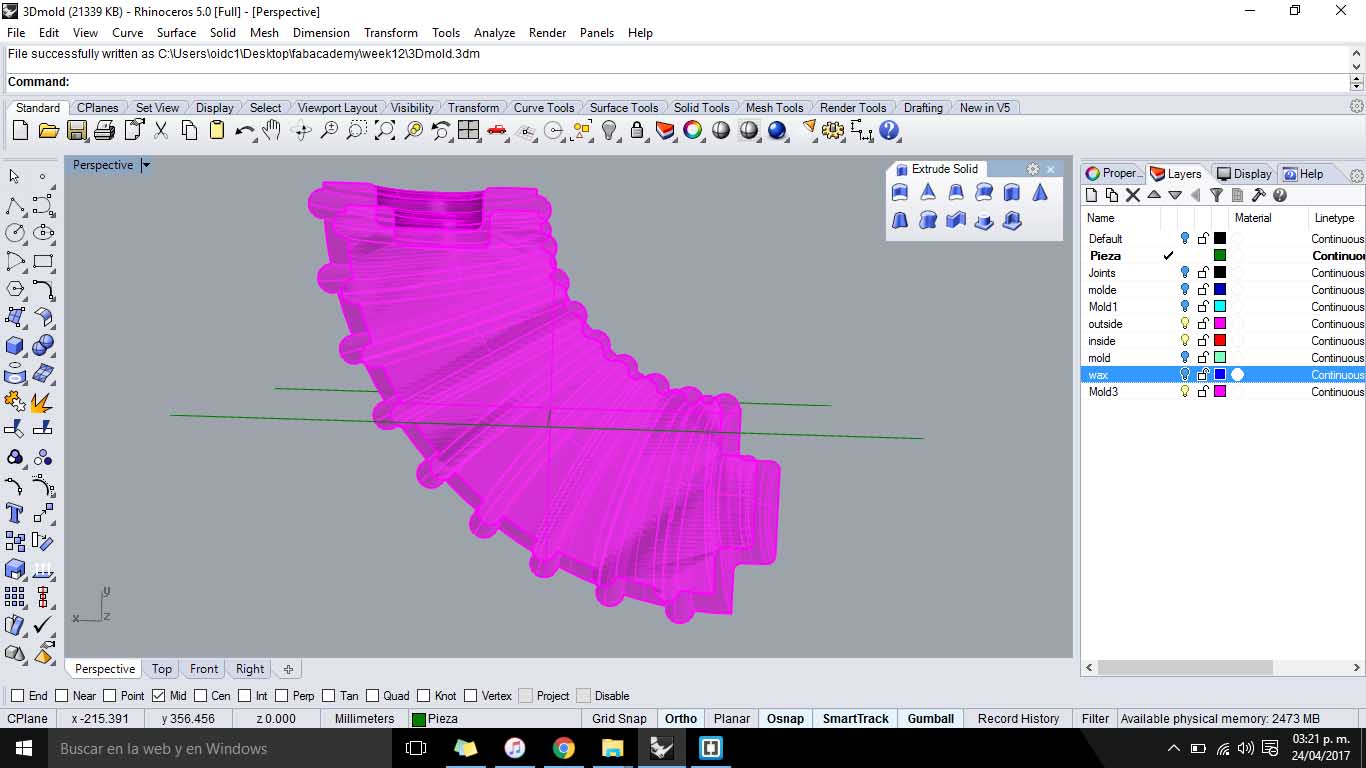
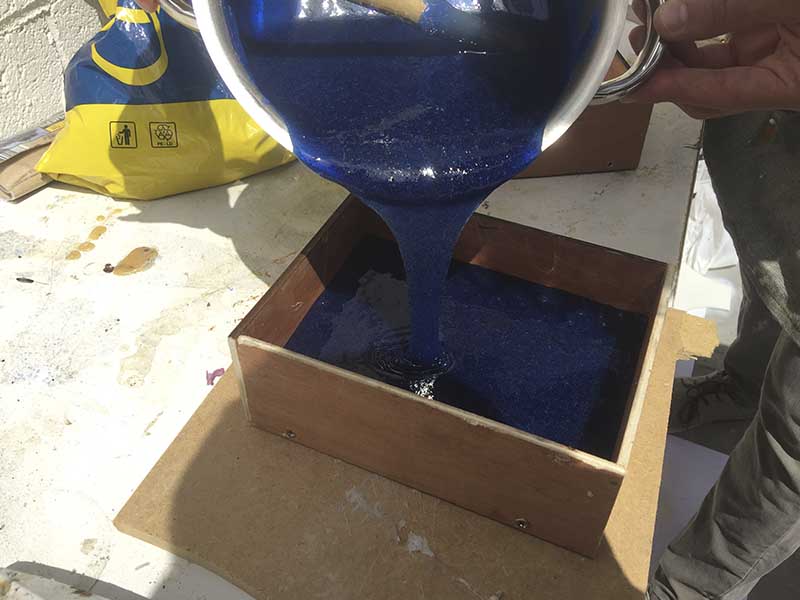
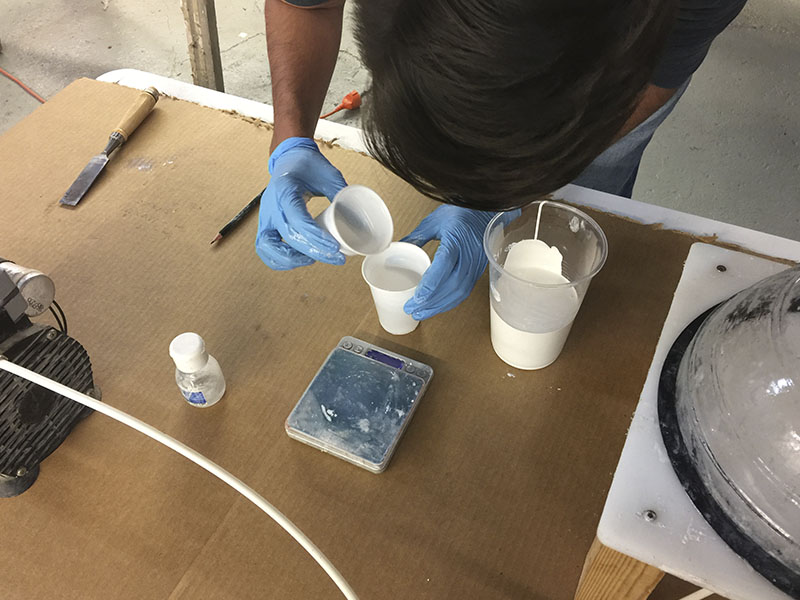
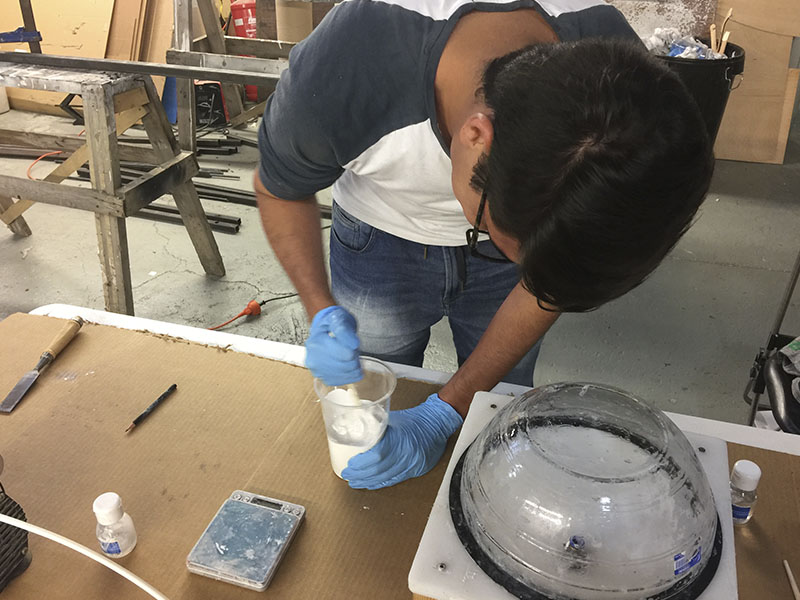
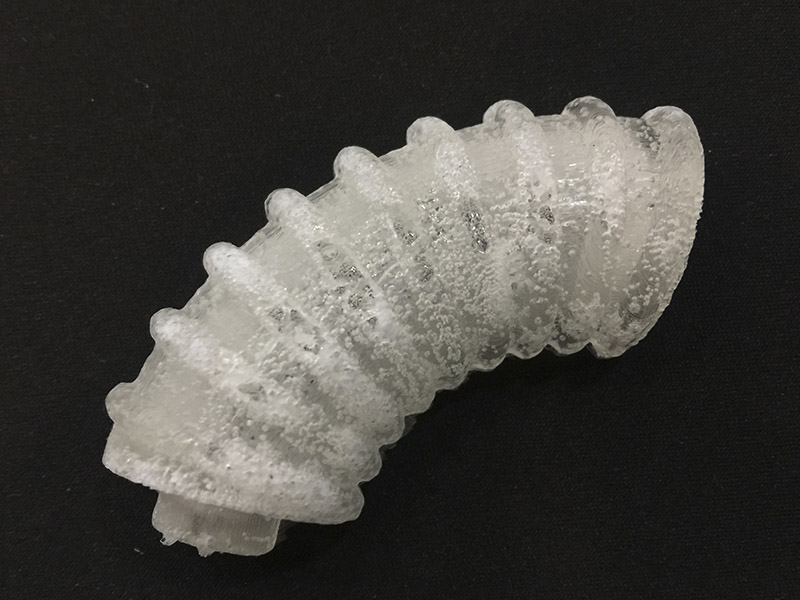
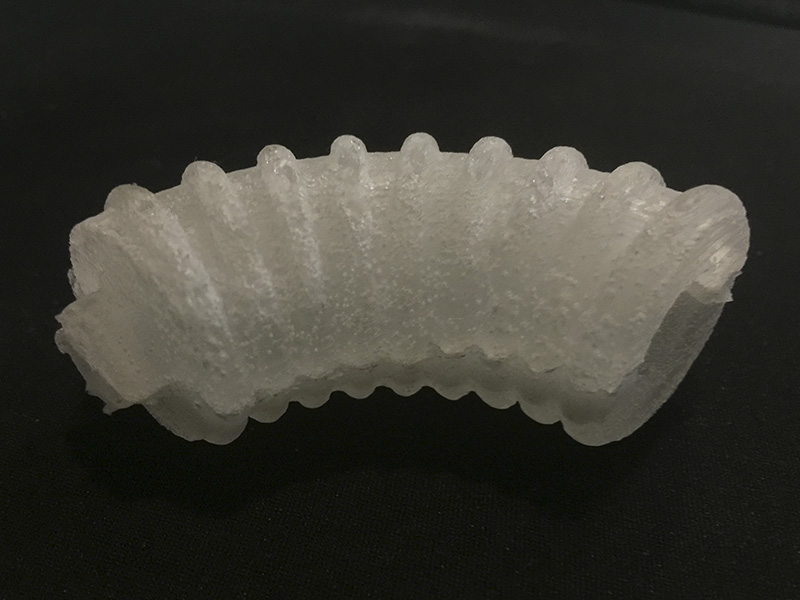
For casting the parts I wanted to use the clear resins (for later put inside a board with a LED towards my final project) so I worked with Smooth-On 326 that is a fast-cast plastic resin that also comes in two components but the proportion is 50-50 in this case. 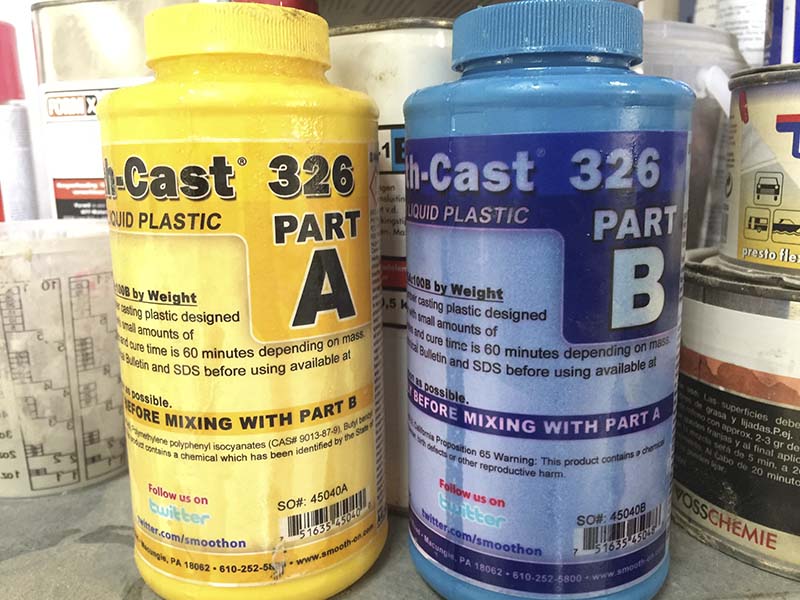
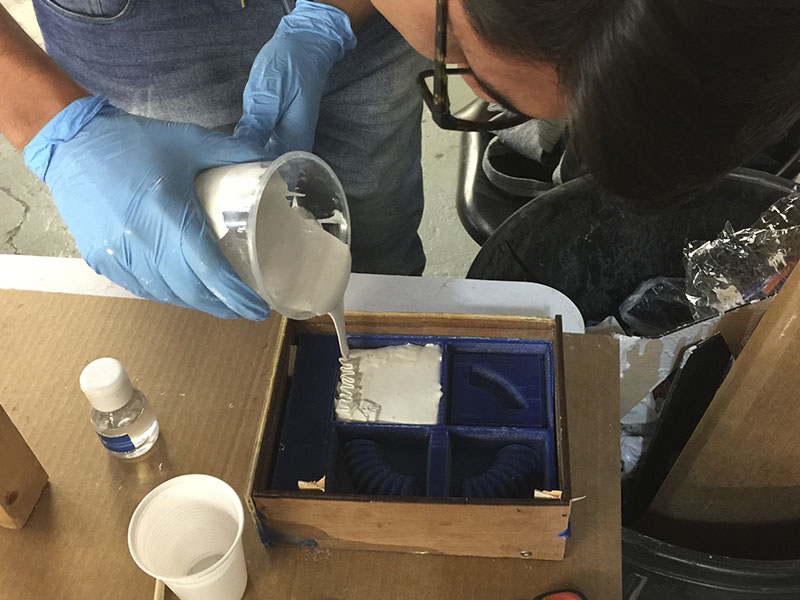
To create the cast I filled the molds with a syringe until it was full inside through two holes made into the silicon mold, in the first try (because I was guessing the amount of material inside) it was not enough material to cast all the part.
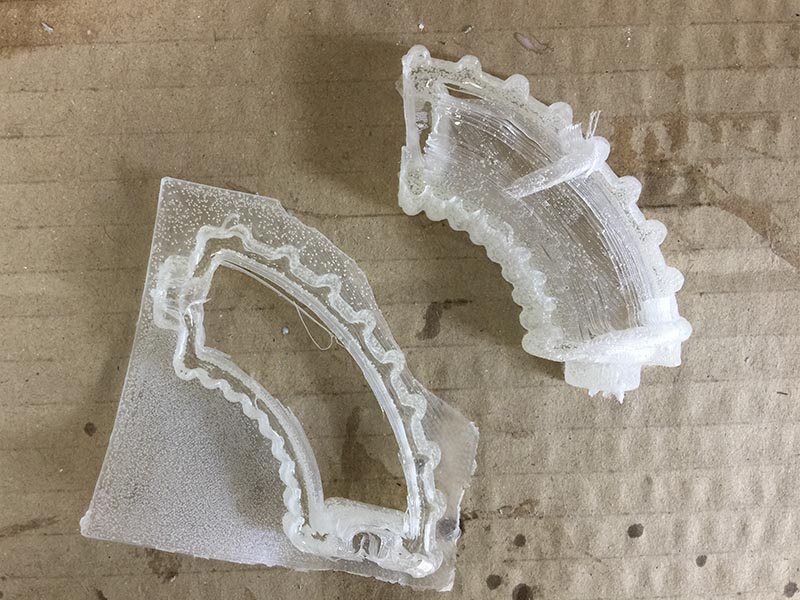
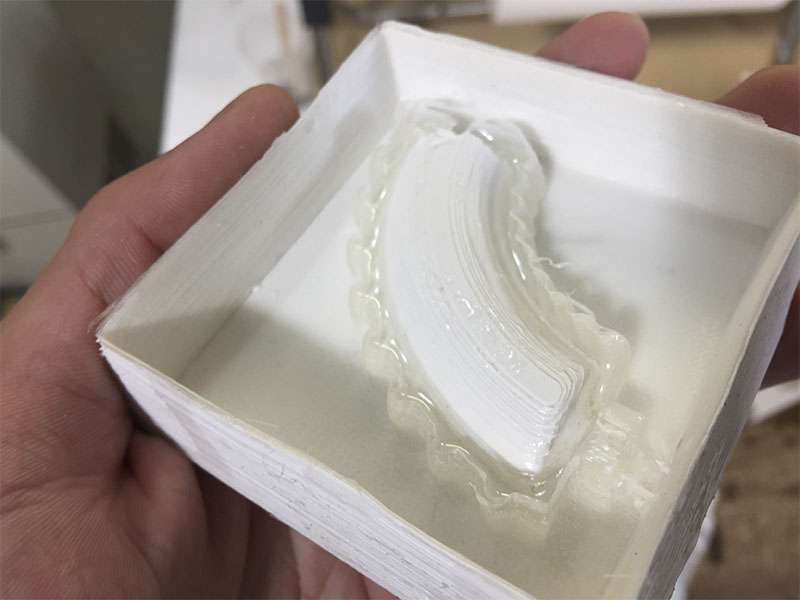
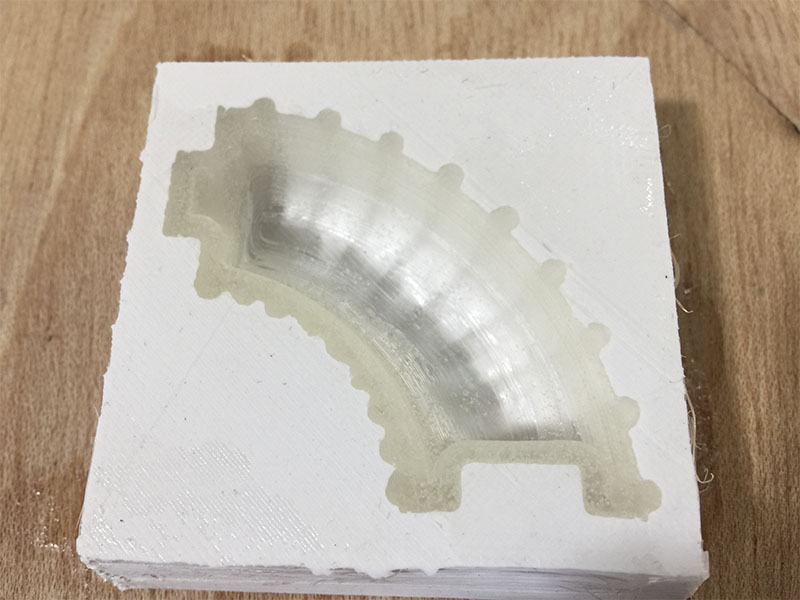
One hole to fill the mold with resin and the other one to get out the air inside.
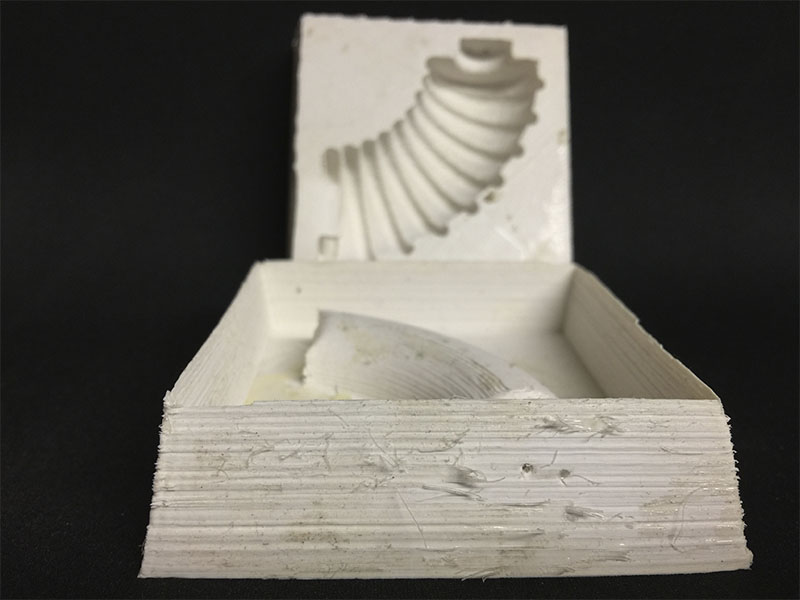
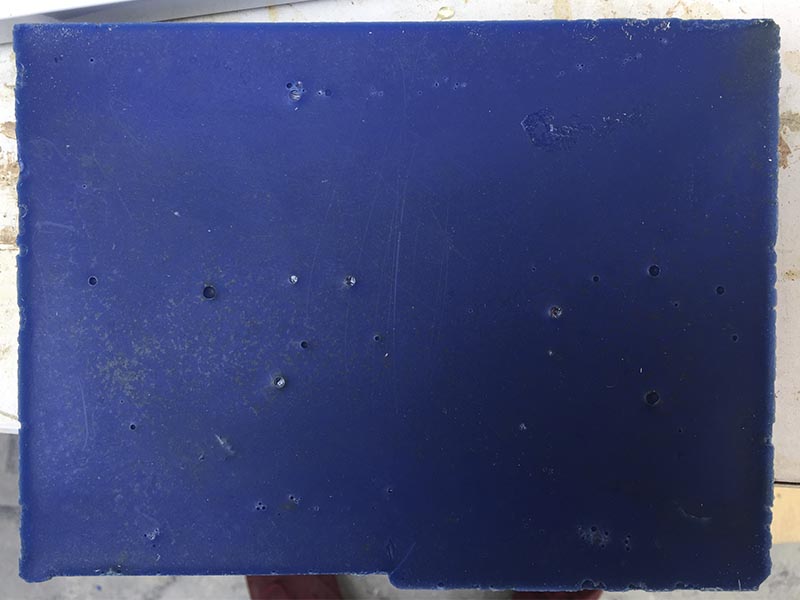
Therefore, I remove the first cast and clean the mold for cast again but this time i filled with water and close the "sandwich" mold for measure the amount of material that I need. Then I prepared the mix and fill again the mold. This time I got better results and the two pieces were ready!.
_Final review.
Things to correct after this exercise:
_FILES
All the files for this assignment are available to download here