This week neil told us about the various composites and the molds which can be used to create the objects using the various fabric, and other components.
After the proper lecture, we got a demo from the Senti Fuantemilla and Clara on the usage of fabric and BioPlastic.
First of all it was the lecture of clara who gave a little demo on the Bioplastic and its creation, and it was quite interesting and helpful as it cleared many of my misconceptions
She showed us the different combinations of water and the chemical to create different hardness of the bioplastics
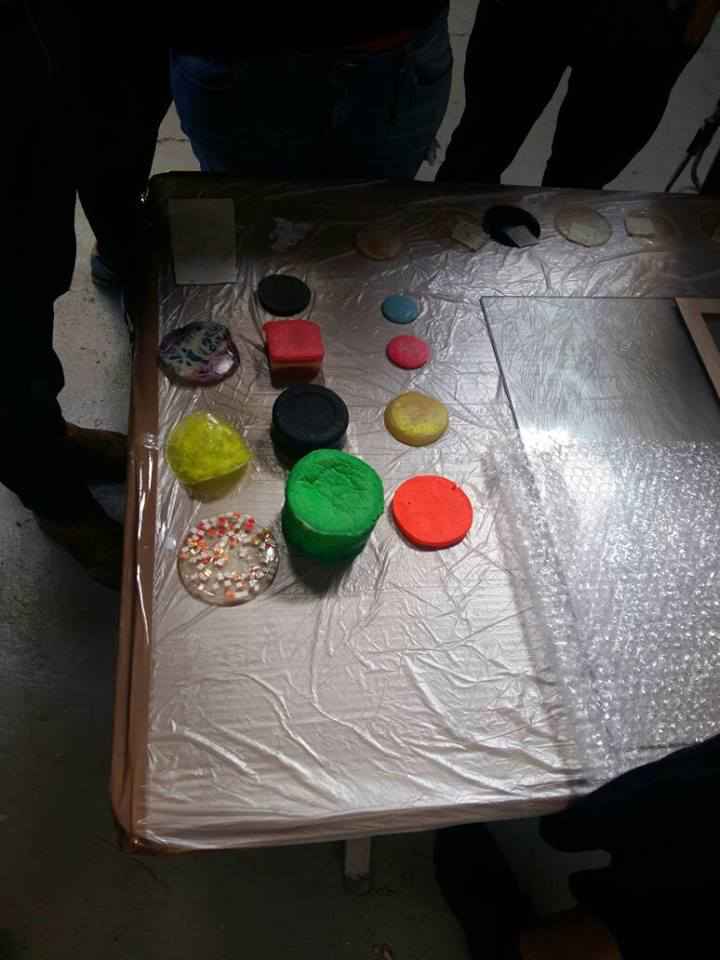
Different Bioplastics
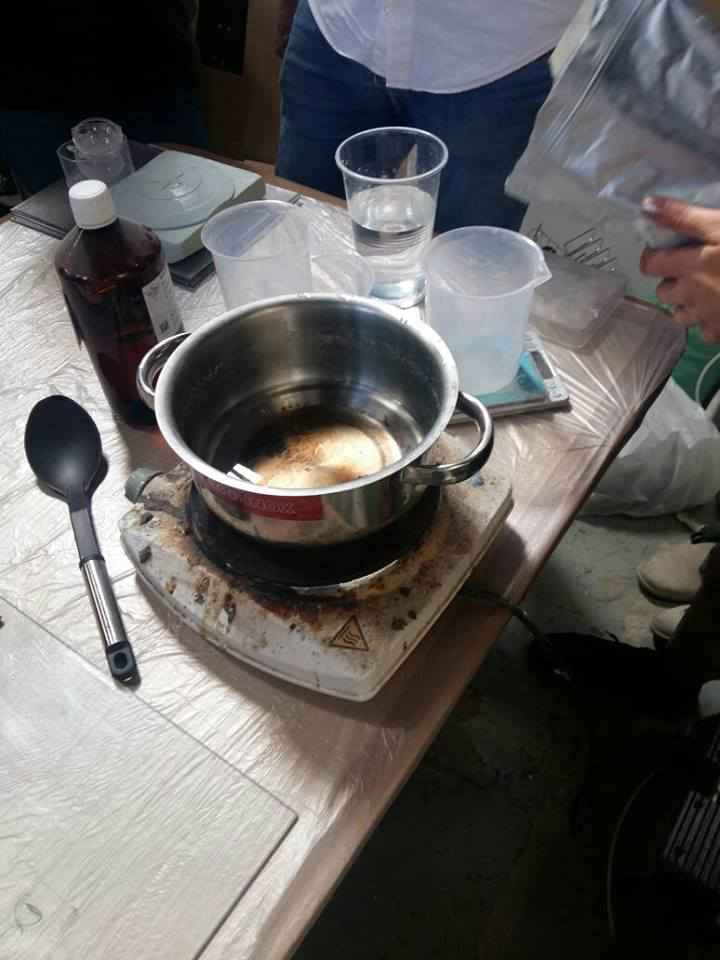
Adding chemical
After clara, it was Santi's demo, who taught and showed us the precautions and usage of the fabric and layers. It was really helpful, specially I learnt how dangerous the this material can be without proper precautions.
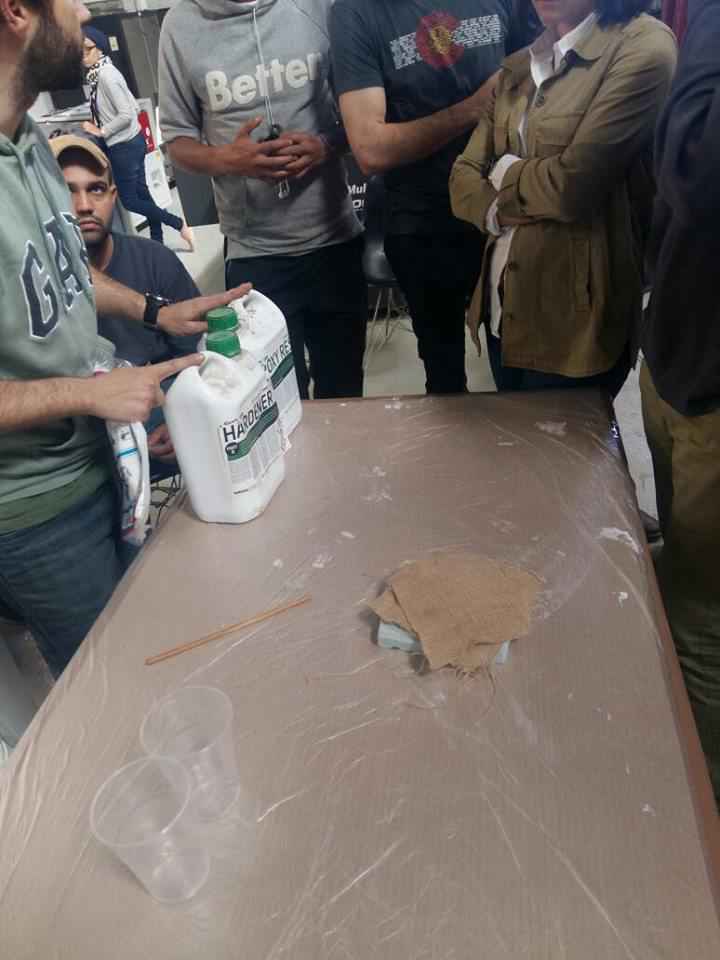
Santi teaching about the materials
and santi also showed us the proper order of the layers, what layers should we use and how we use. It was really helpful

Santi teaching about the layer order
First of all I carefully gone through the Material safety data sheet (MSDS) and technical data sheet (TDS) and I found this useful information on bottels of epoxy part A and hardner part B. while reading I came to know about the reactions of materials to be used and how to make saftey environment while playing with these and as for as technical data sheet is concerned our instructors guided us about the ration of epoxy and hardner to be mixed is 2:1 respectively and the time to dilute them is 10 to 15 minutes

Chemicals, and their ratios along with instructions
I always wanted to create a UFO, well I never thought I will be making a model of it during the composites. Well I went for this idea.
I downloaded a pic of the ufo and draw its outline to make a headstart for the model.

Drawing Outline
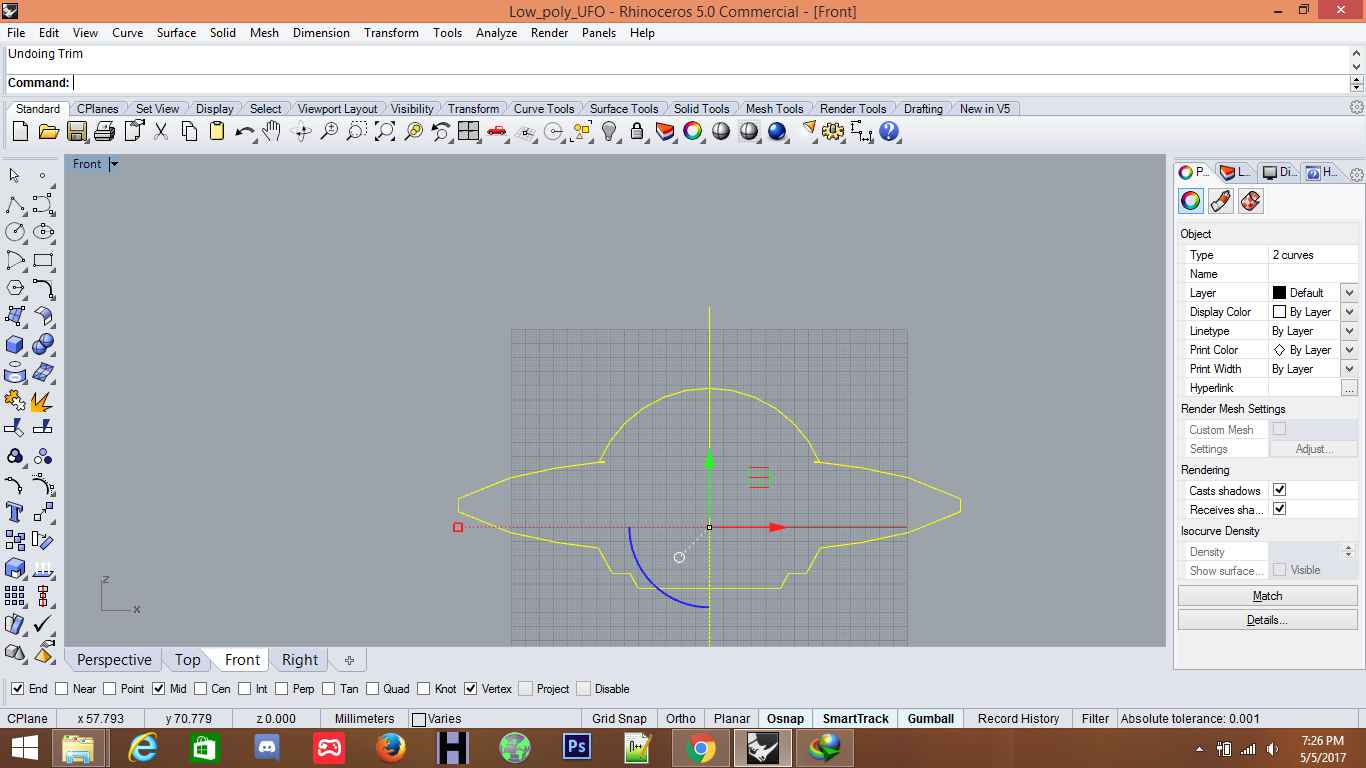
Outline
After I draw the outline, I cut it in half
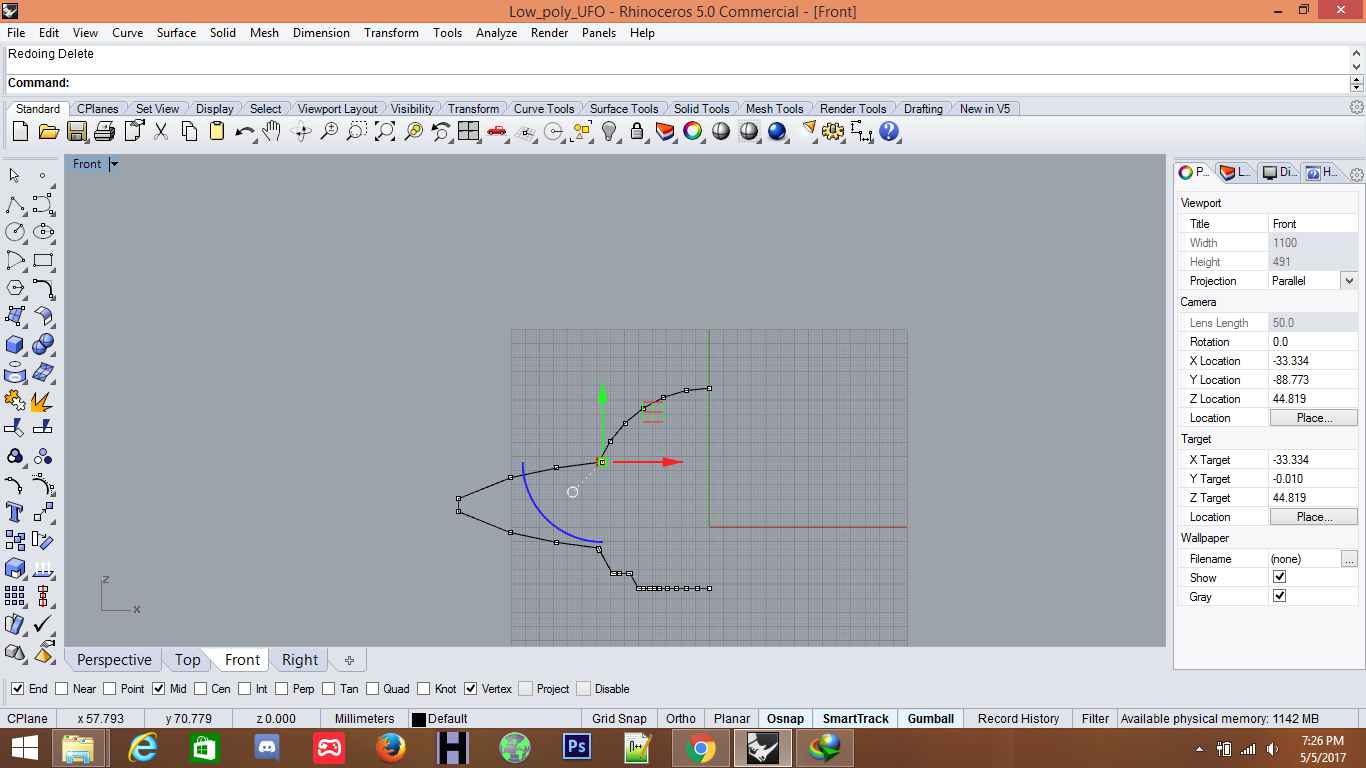
Outline
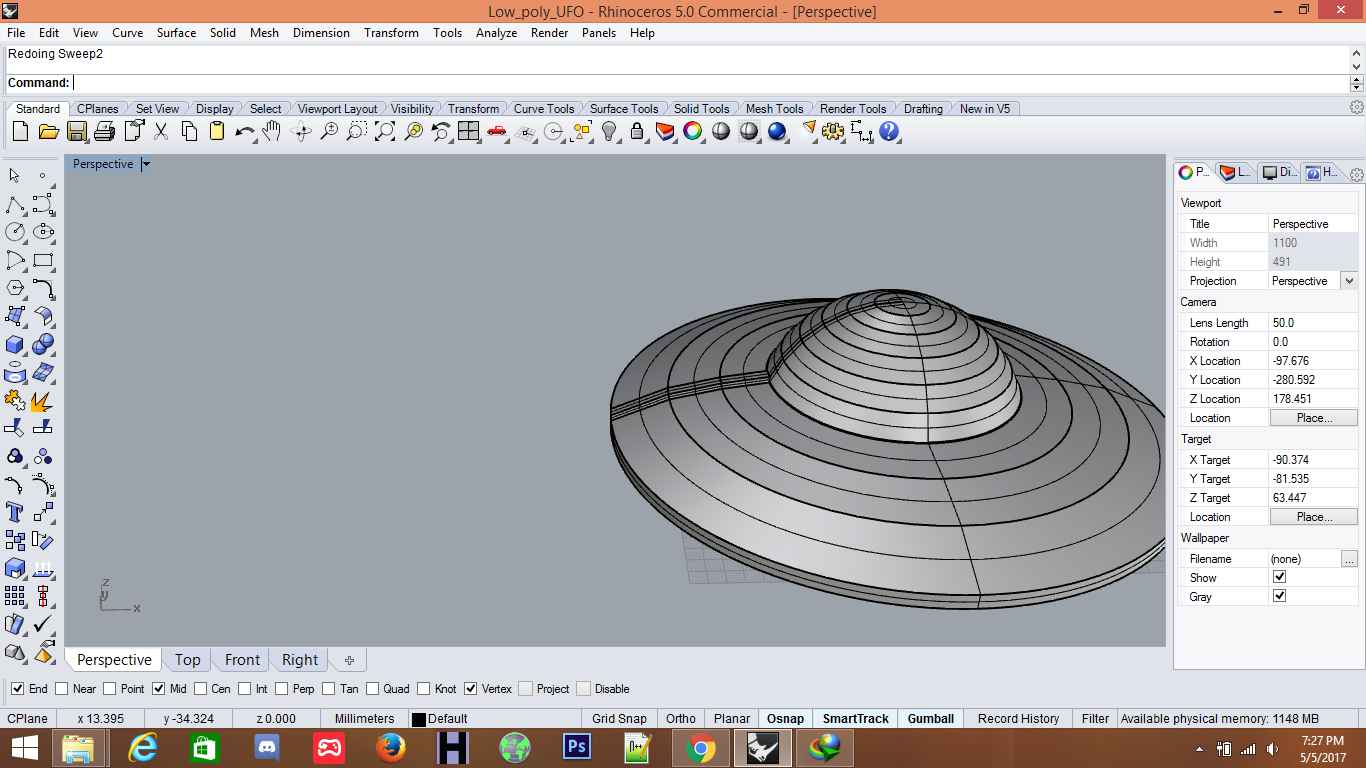
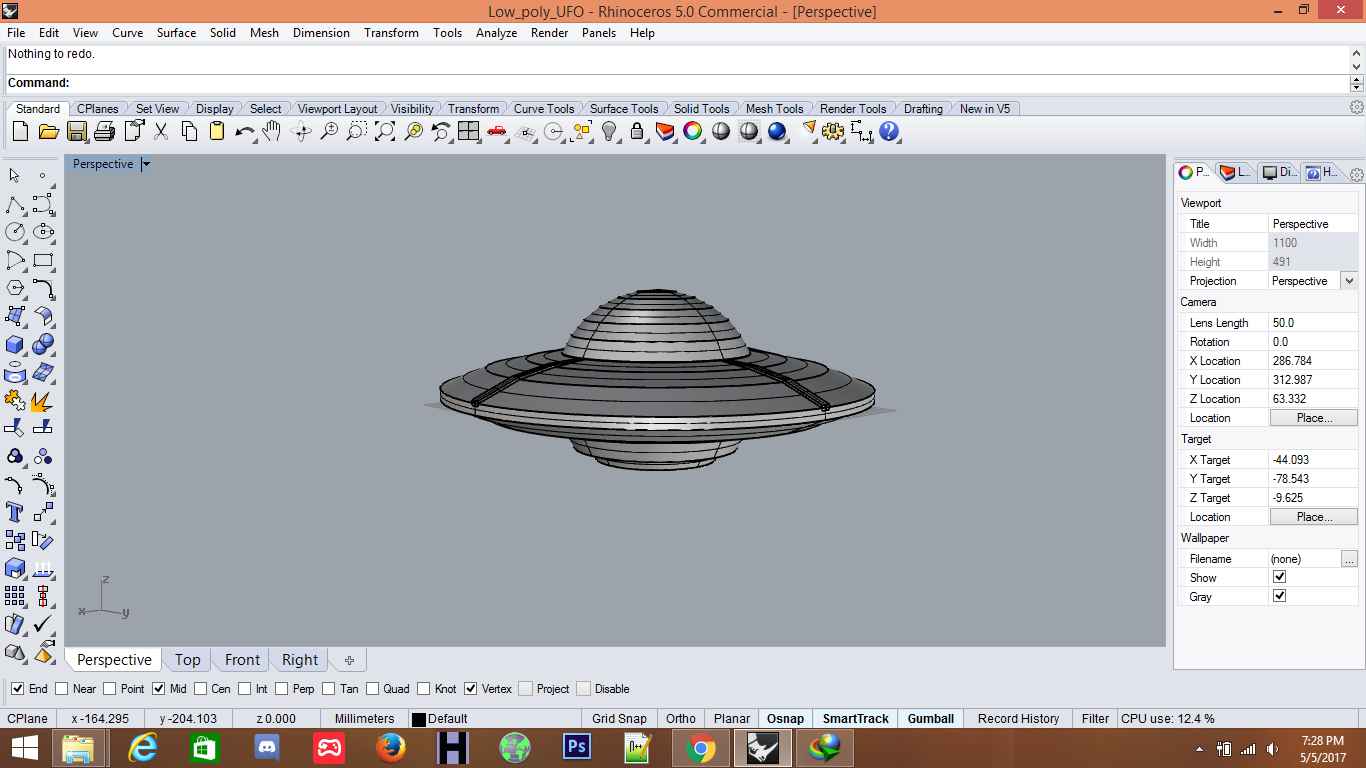
And then applied the revolve in rotation, and the basic structure of the model was ready
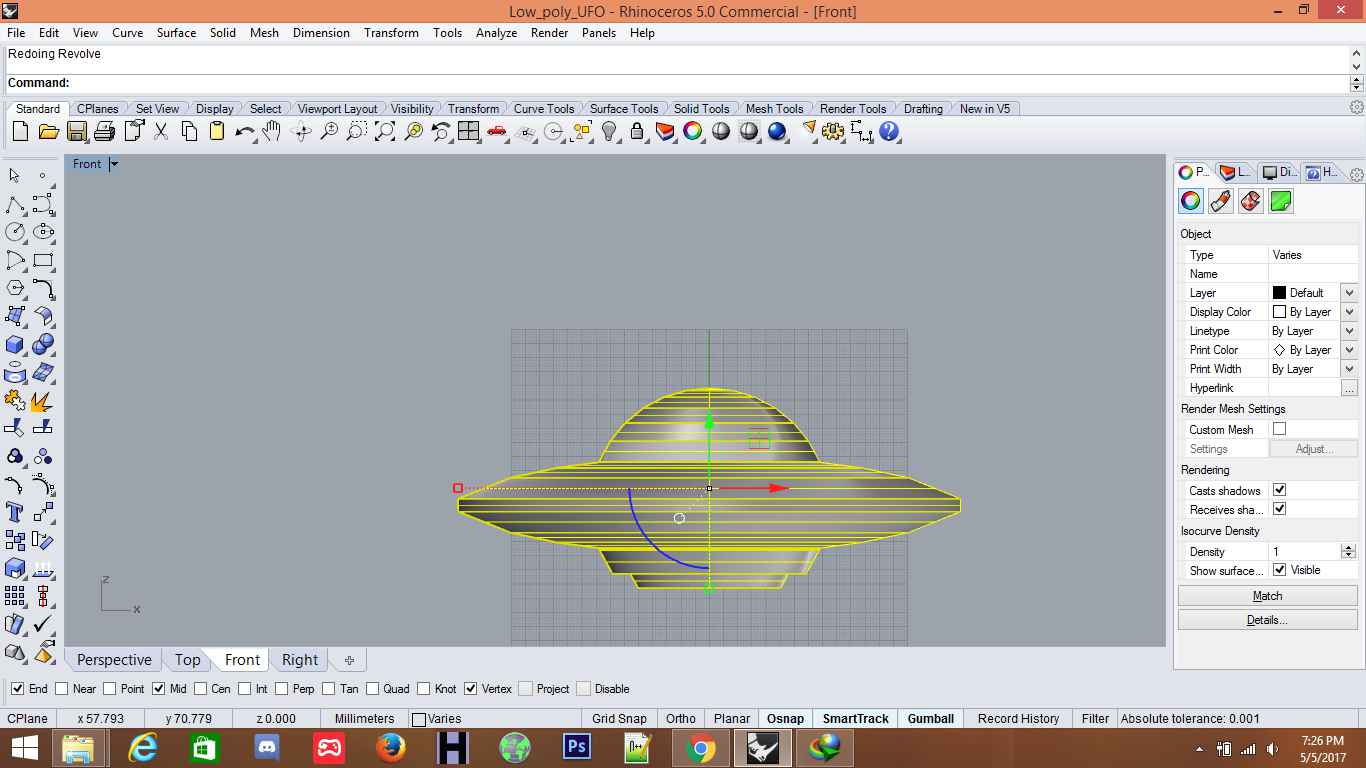
Basic structure of UFO
I wanted to add a few decorations on top, so I added a pillar on four directions.
drawing a pillar
Using the array command in Rhino I created one pillar and made a pattern using it and it created 4 pillars on the sides of the UFO
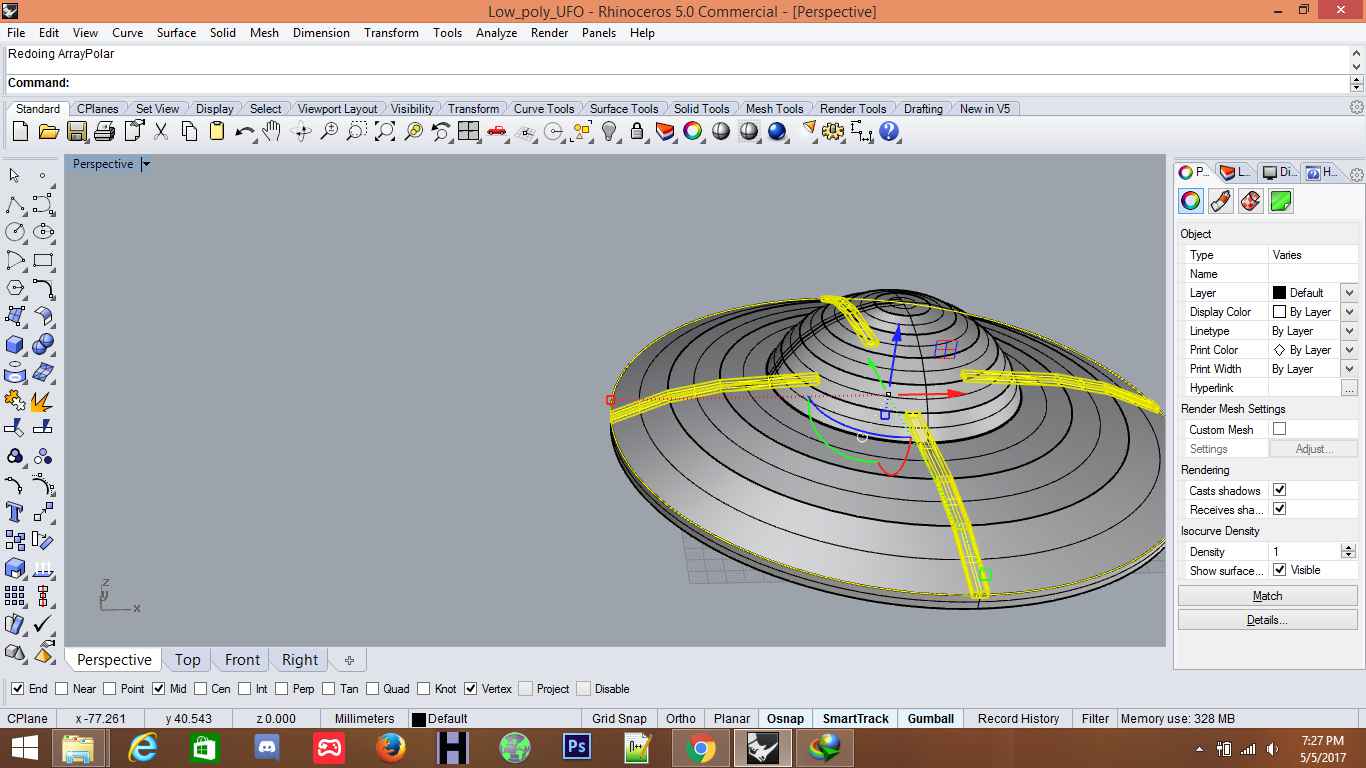
Using Array command to repeat patterns
Final Result of the model
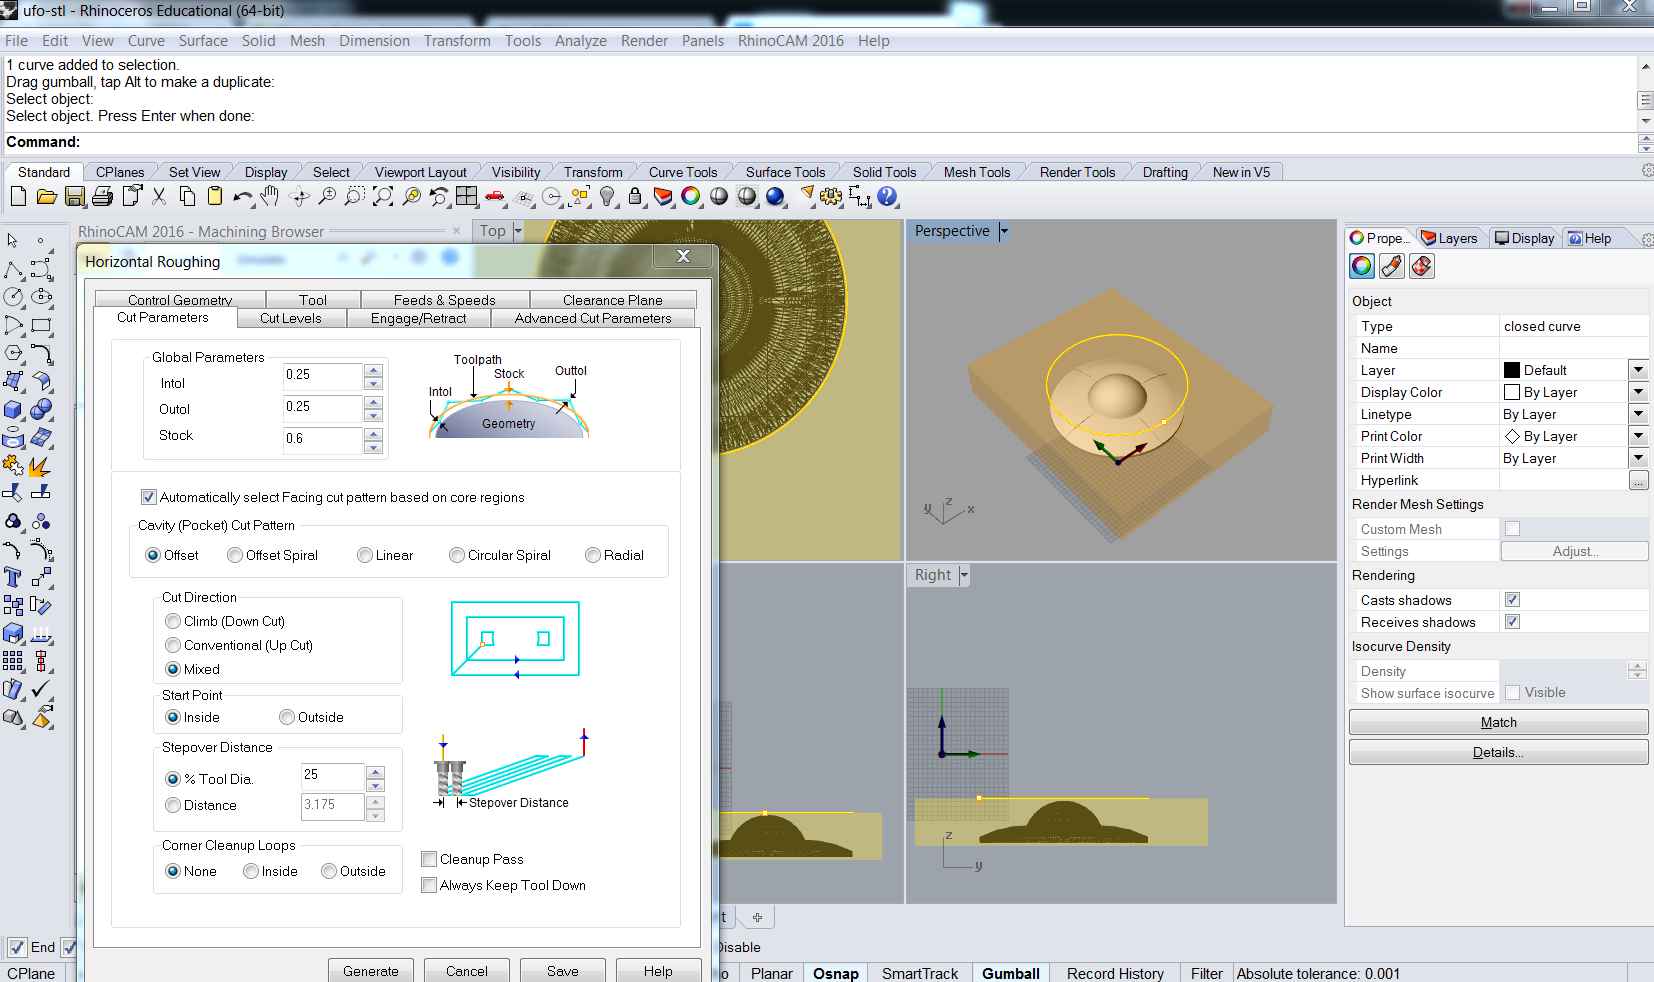
The most important part of this assignment was to do the proper settings for the Rhino Cam, as I already had expereinced the rhino cam in CNC milling assignment, it wasn't rather a difficult task.
I also got one video of the person incharge of the working in there to give a tutorial on how this rhinocam works.
For this I only needed 2 schemes, because there is any special cuts we just need Profiling and finishing schemes.
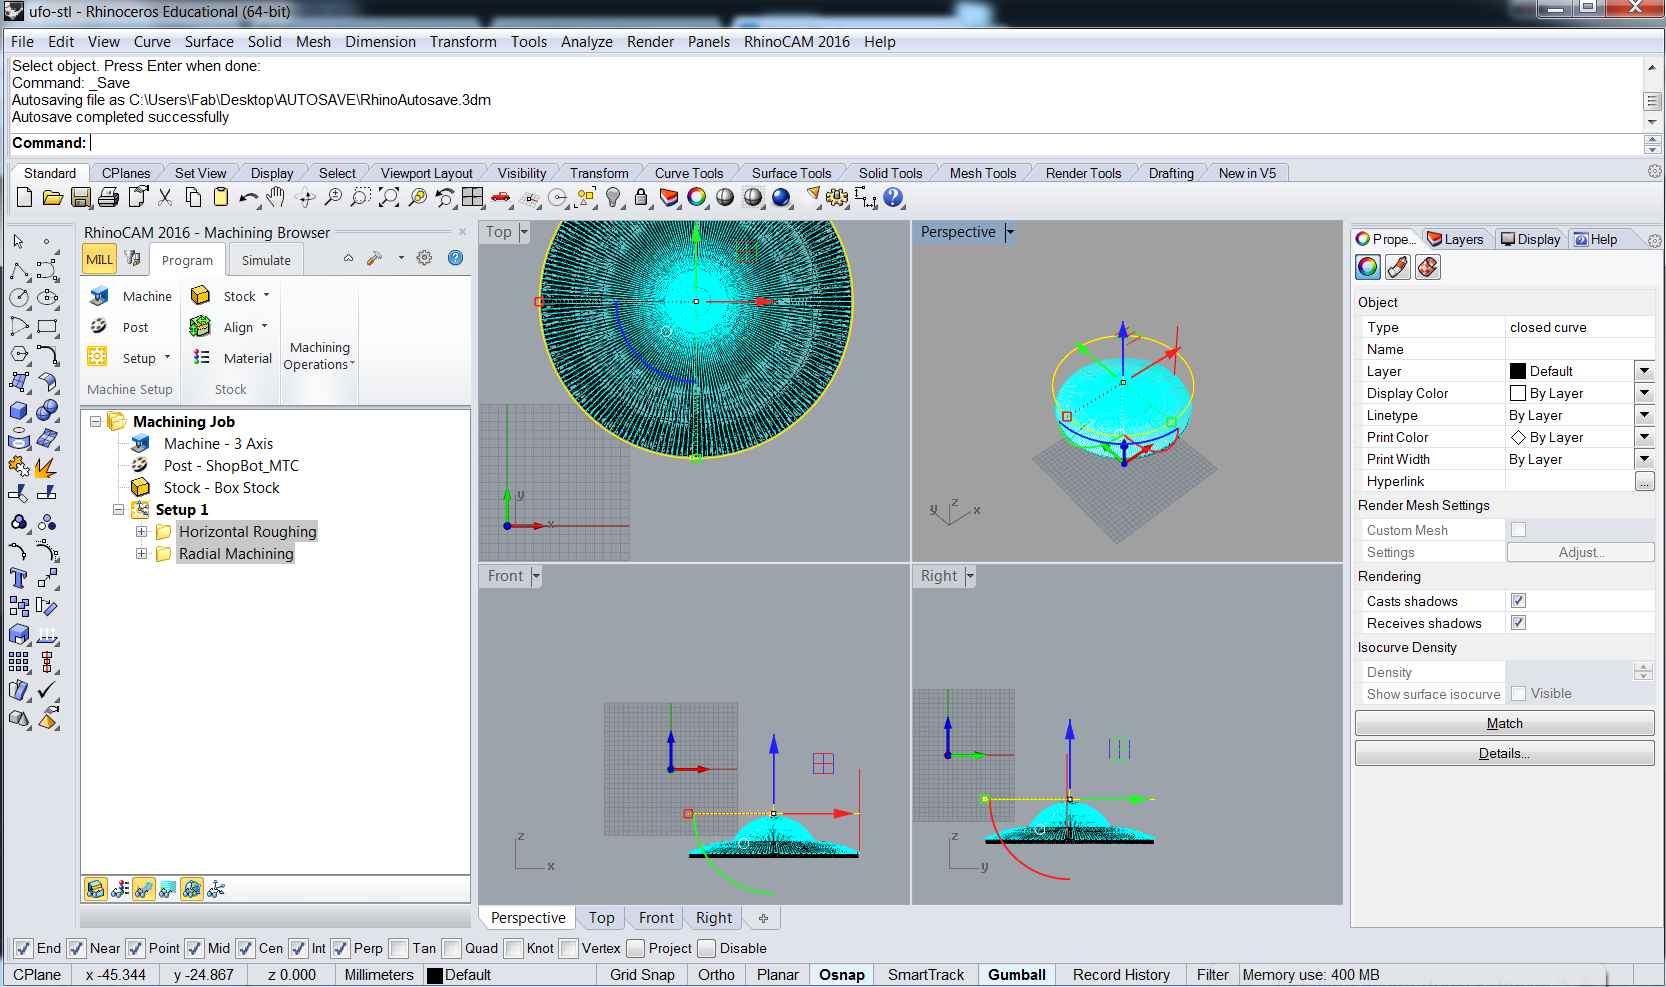
RhinoCam Finishing
RhinoCam Profiling
RhinoCam Complete Tutorial By Ricardo.
I already have discussed the detail RhinoCam procedure here
After the RhinoCam it was the time to do the milling. I used the 12mm Tool as I set in the RhinoCam scheme, so I had to follow it.
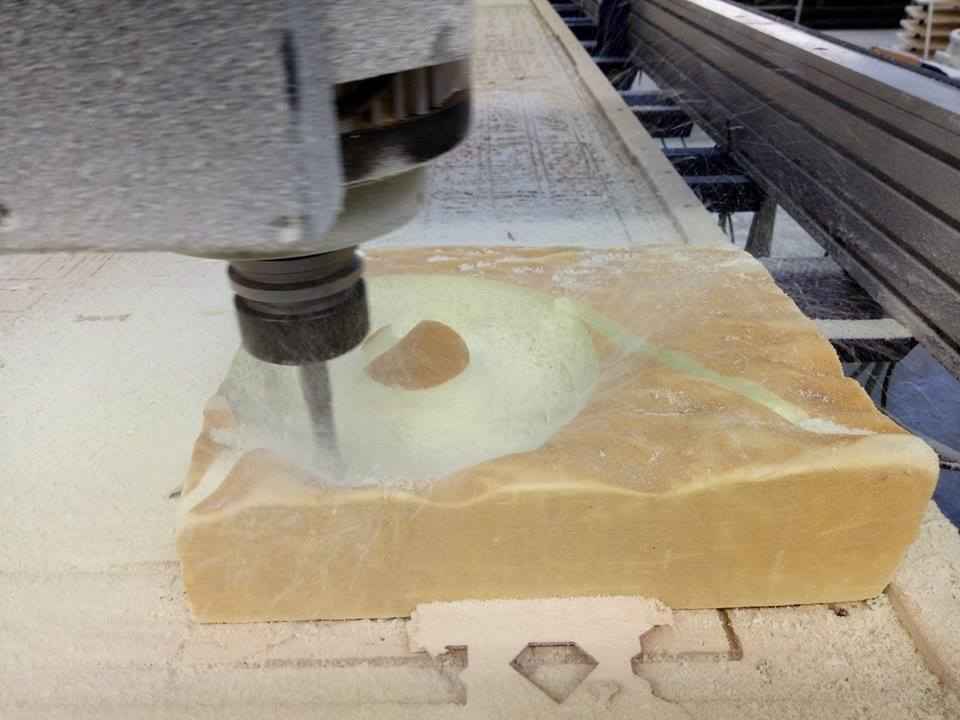
During Milling
During Milling
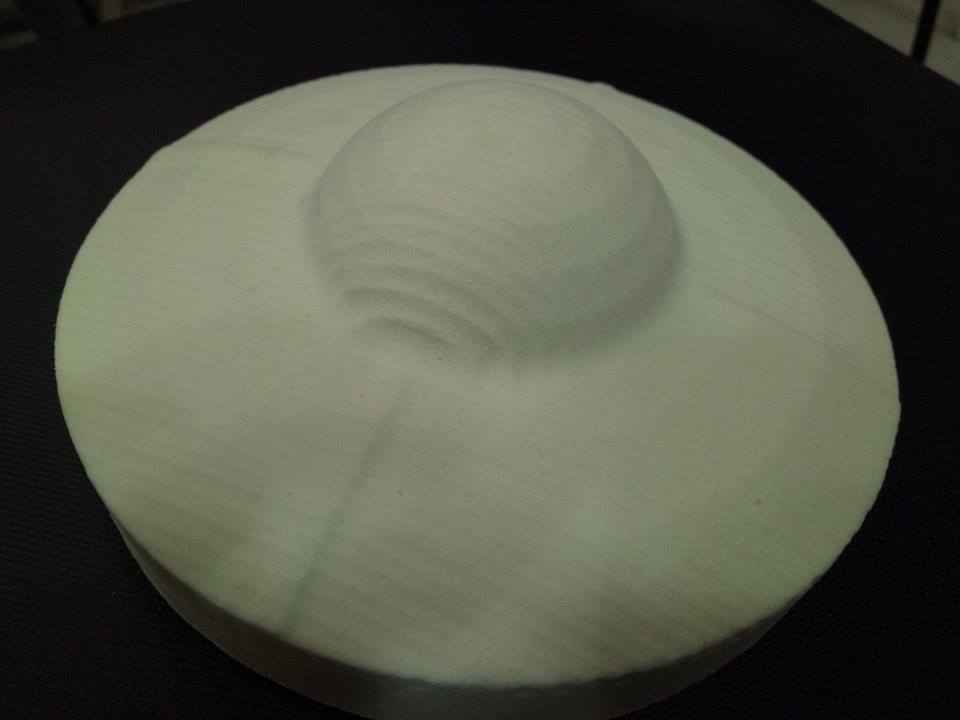
Mold ready after Milling
Well once the mold was ready, I contacted with Xavi and Santi on the material to use as well as the number of layers, I wanted to use the bioplastic as the for the part of glass in UFO and rest with other dark color so that I can differentiate both. But after concerning myself with Santi, I got a suggestion that it was not possible to do so, bioplastic can't be used in conjunction with fabric. So I went for double color fabric
Well thanks for the santi and xavi I got this layered reference from Gabriel Pasetti.
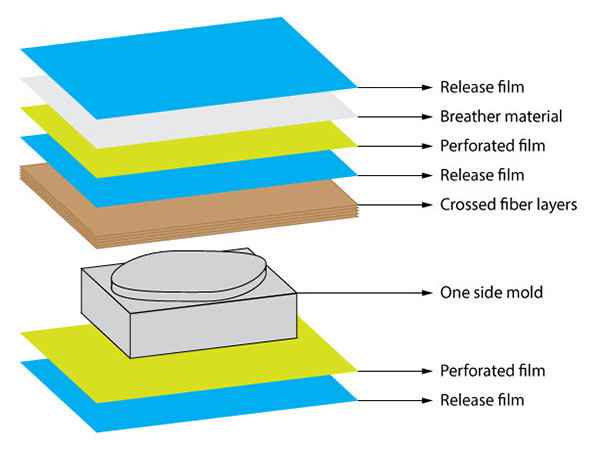
Layers to use
After the conversation with santi, I was clear, I wanted to use 4 layers. Two white and two dark layers, dark layers with a hold to cover glass part and the white layer will cover the hole and rest and it will show like the glass
First of all, it was prepartion of the chemical so as per the instruction I used 2:1 of Epoxy and Hardner.
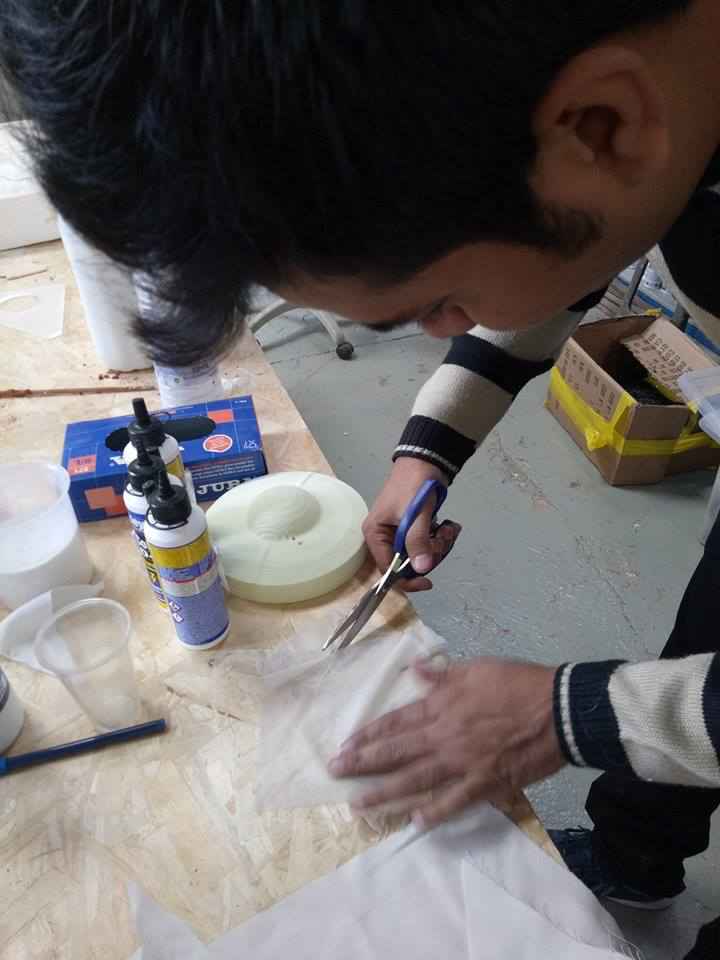
Cutting the layers to use
All layers joined without epoxy
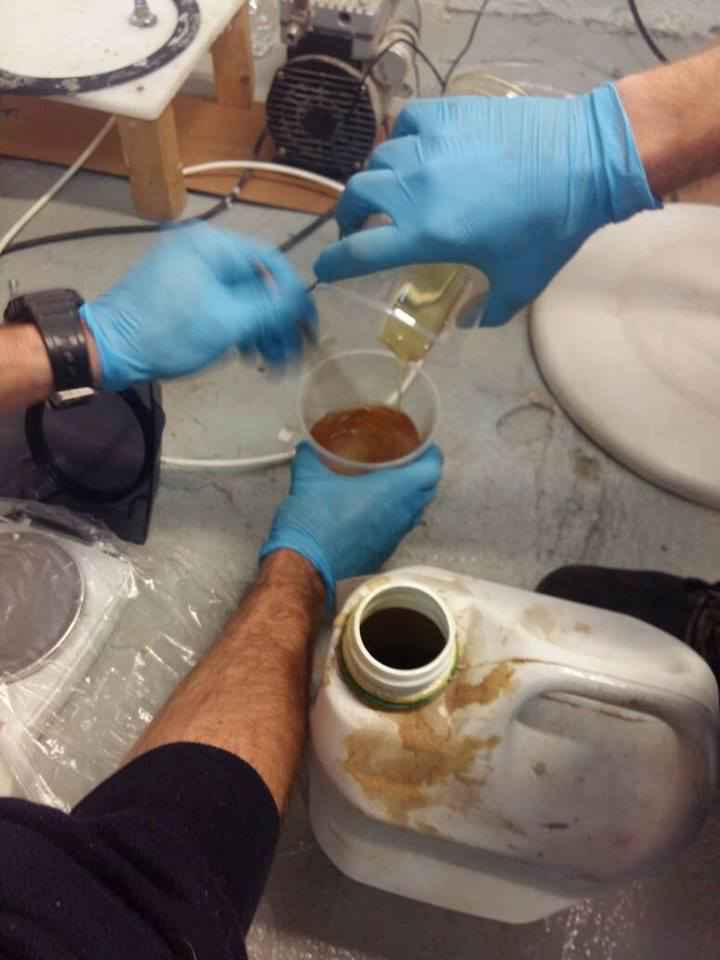
Hardner for the composite
Adding Hardner to Epoxy
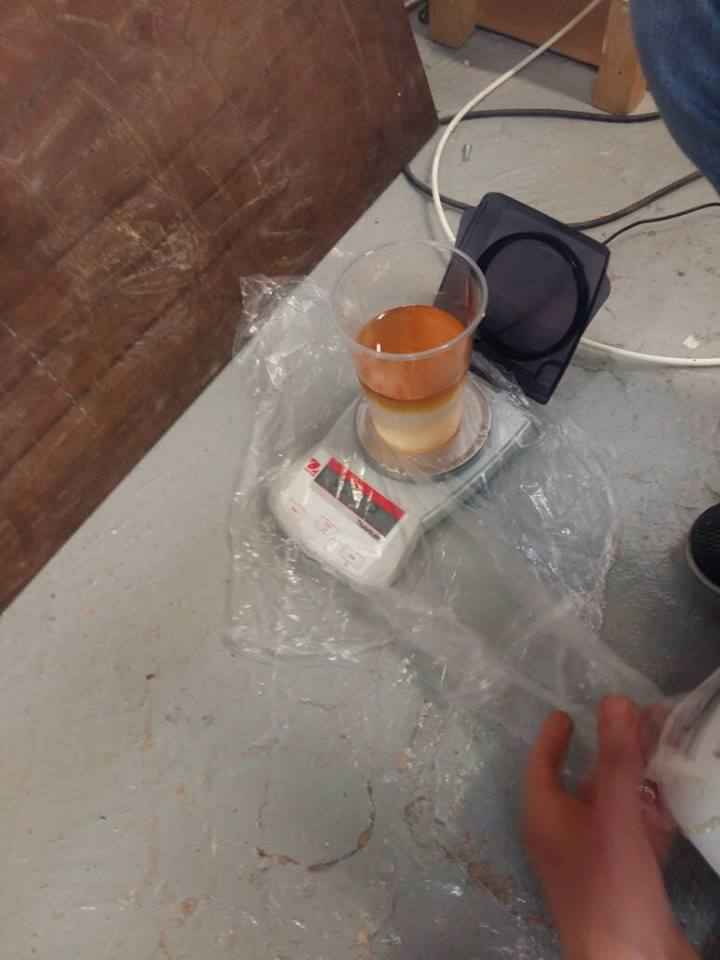
After adding Epoxy and Hardner in 2:1 ratio, now was the prepartion time. It takes 15 min to prepare the chemical. During 15 mins I just stirred the chemical till it was a little hot.
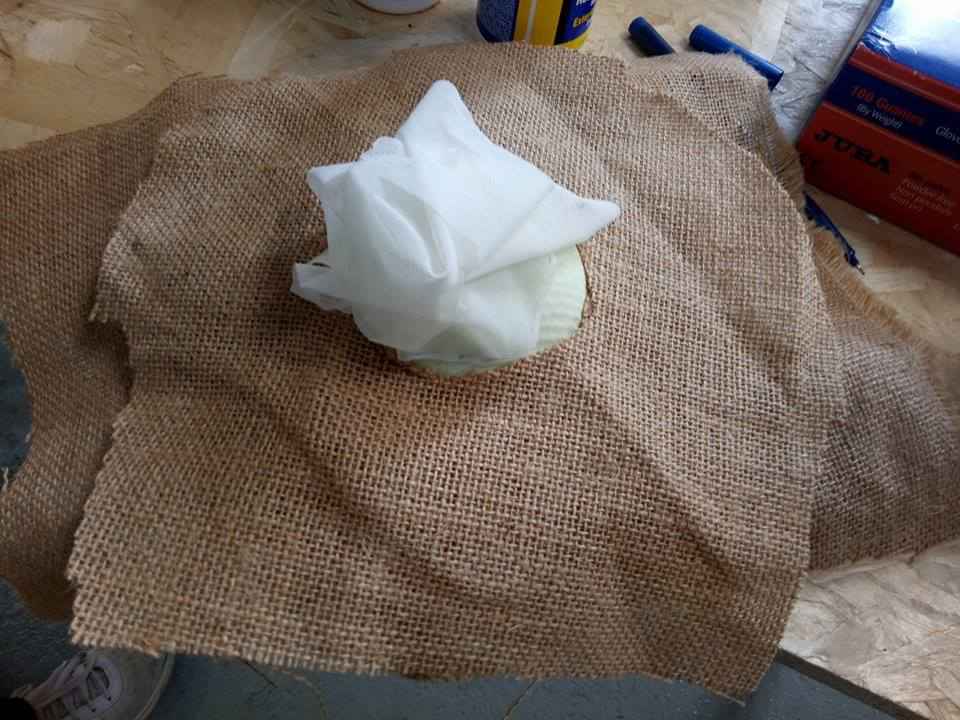
First of all I covered my mold in plastic layer, then I started adding the proxy layers on top of it, so that I can remove the mold after the epoxy layer hardens.
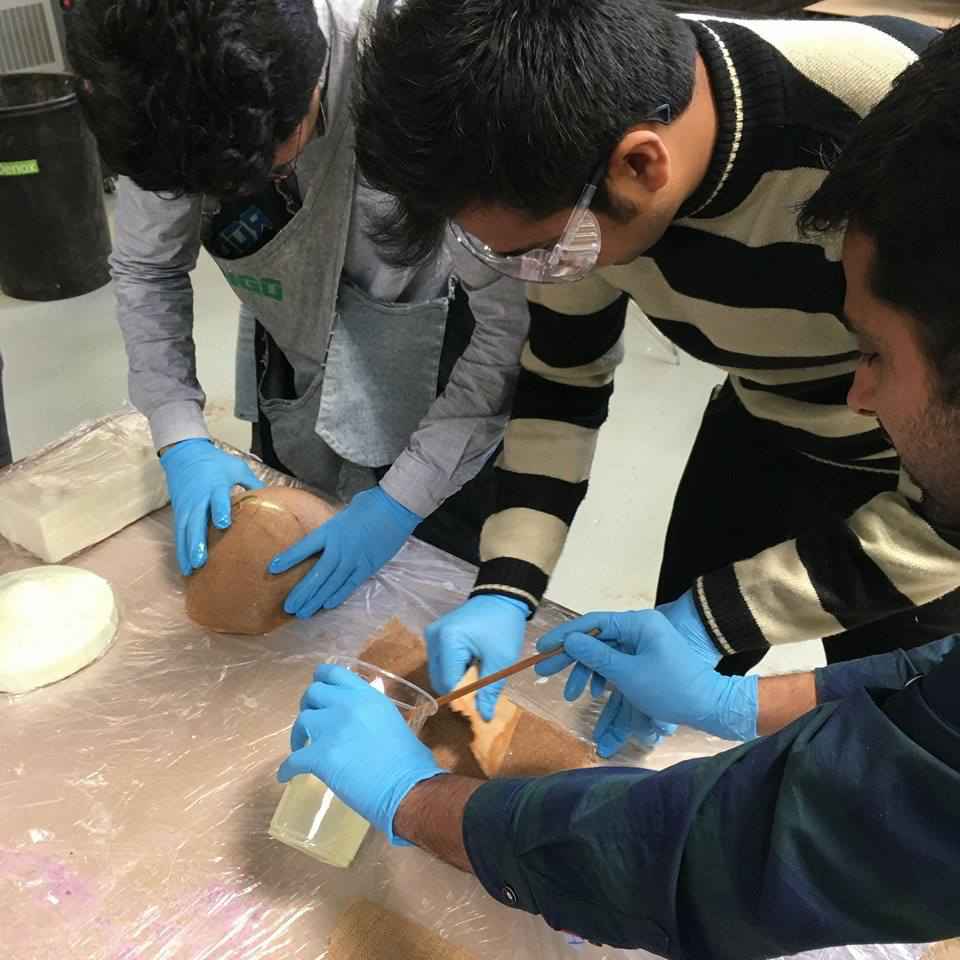
Adding chemical on the layers
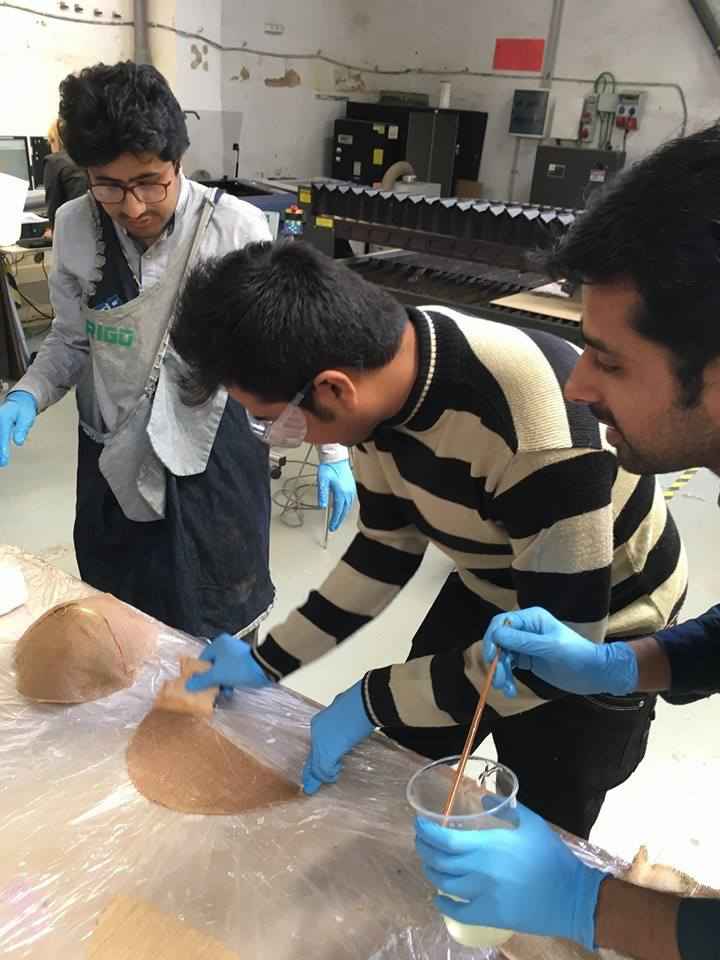
Adding chemical on the layers
Final result after adding all the compulsory and additional layers, now the model is ready to be put in Vacuum machine for the required time, till it is ready and hard. It takes around 12-24 hours depend on the number of layers and the shape of model
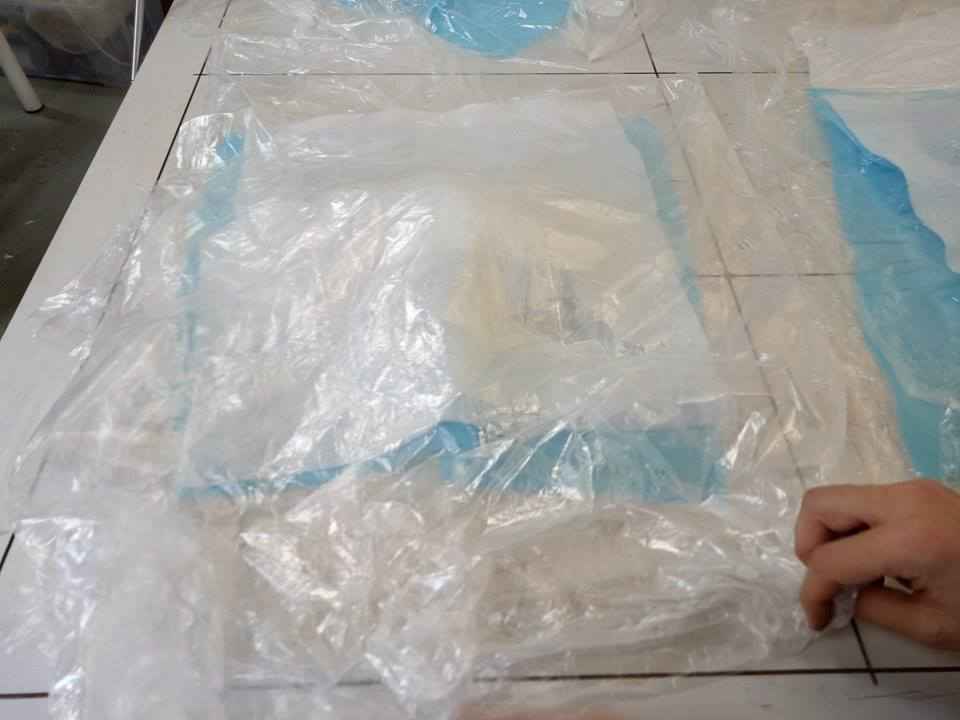
Putting mold on the Vacuum Machine
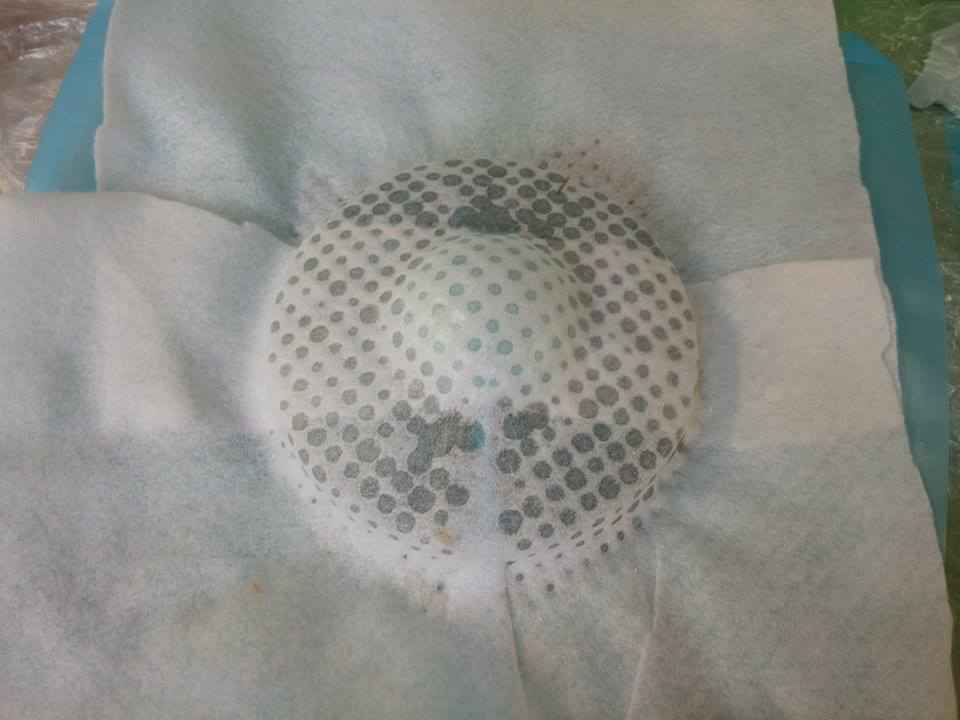
Santi told us, when during the Vacuum machine, if the model shows the dots it means your model is perfect. So I just happened to create a good model as it showed the dots
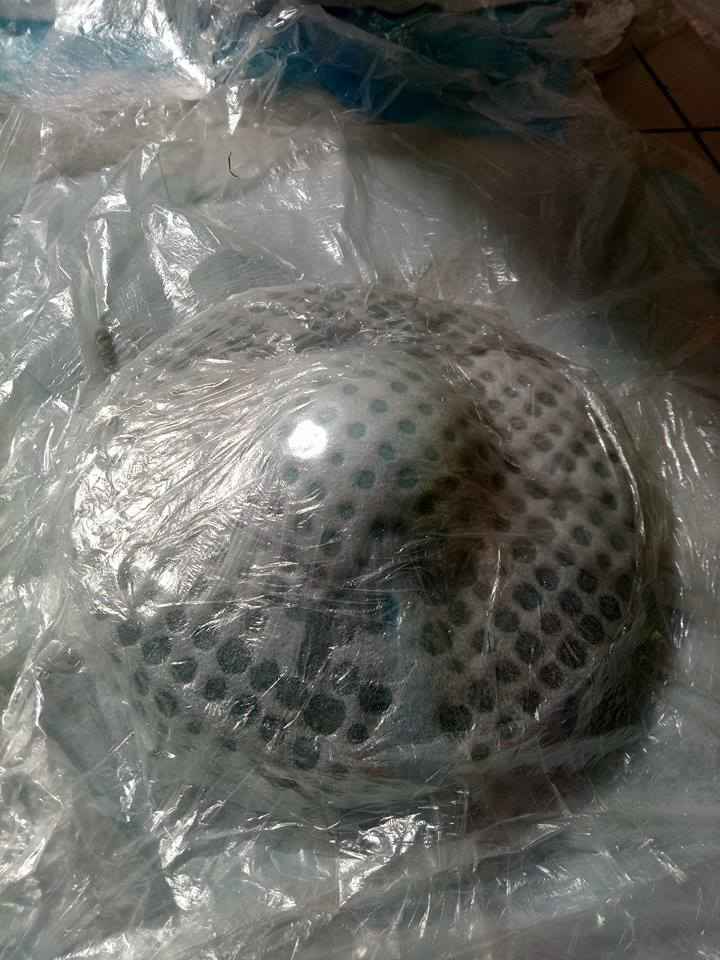
During the vacuum machine
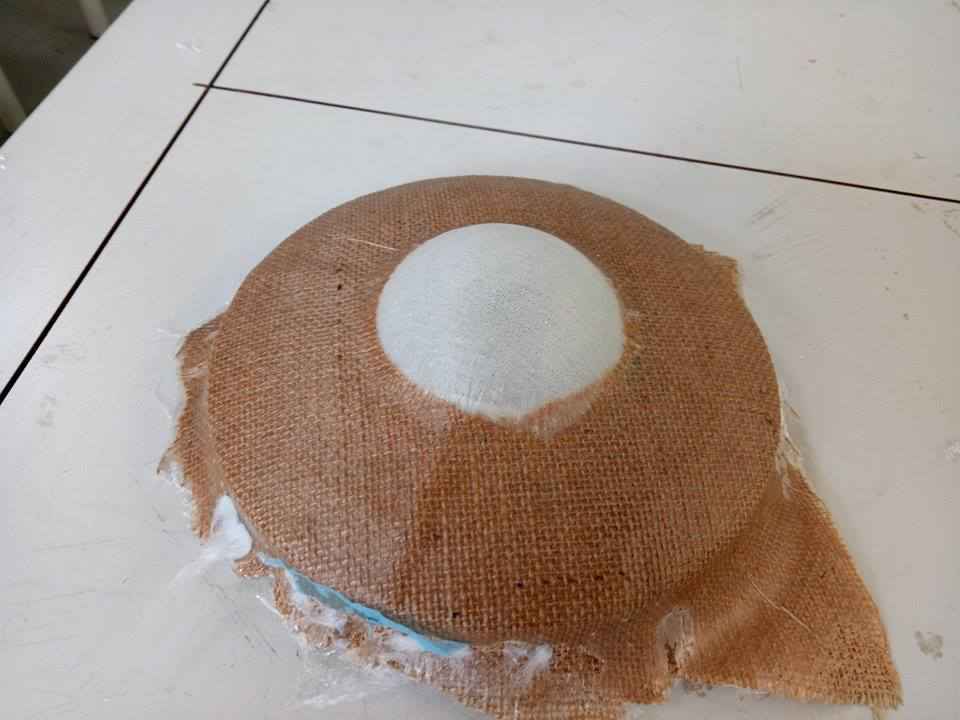
After 20 hours of Vacuum and Pressing, I took the model out. It was quite hard and ready.
Mold is ready to remove the protection and plastic layers.
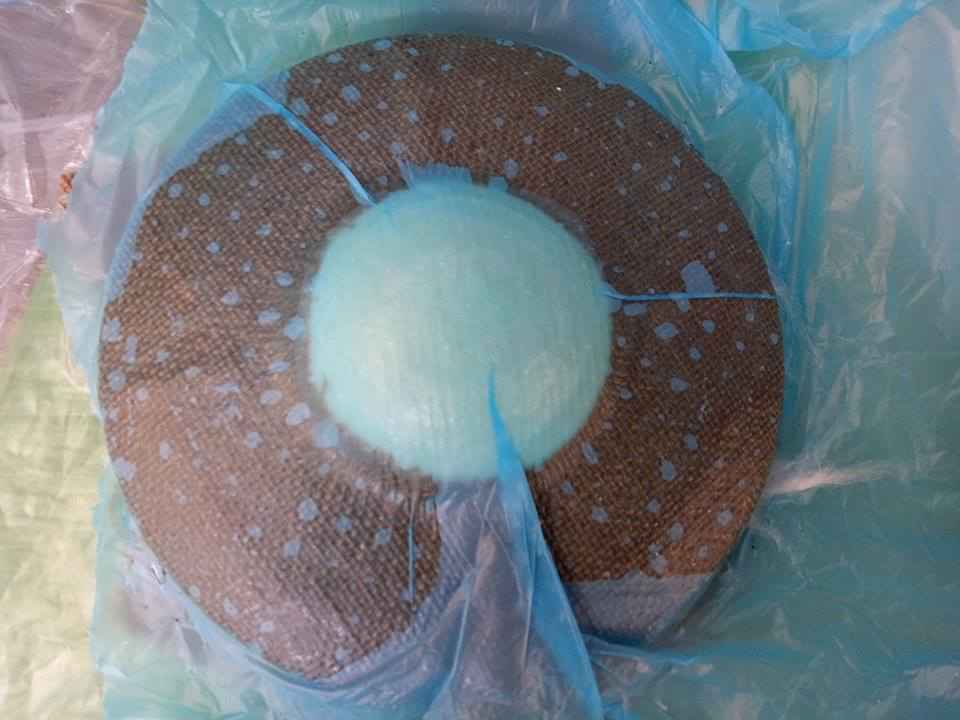
Removing the sponge layer.
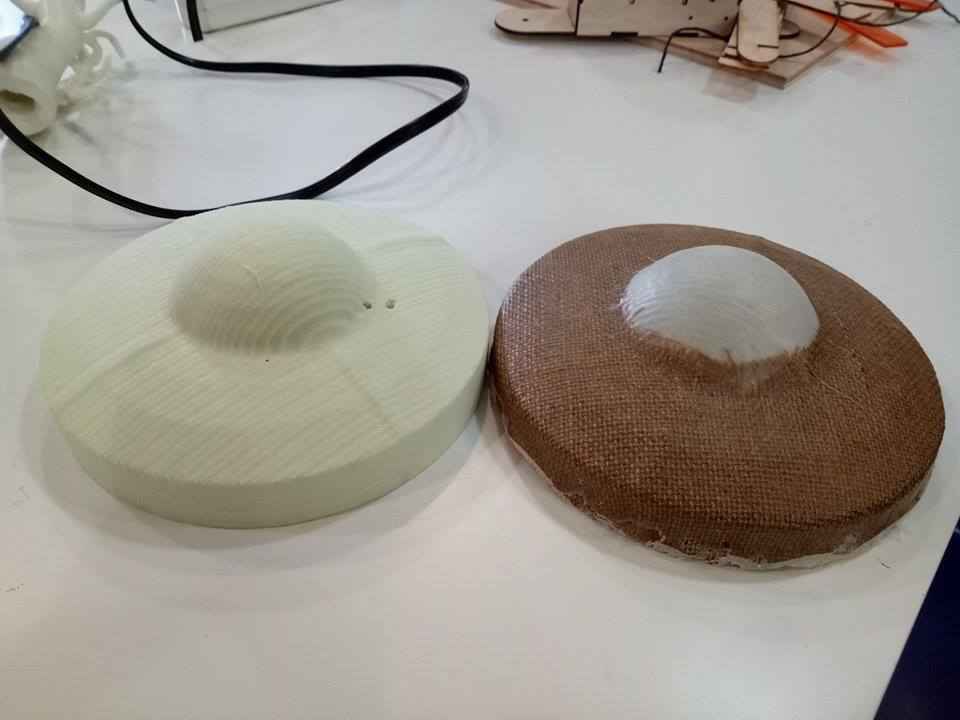
Mold is ready, but it still needs a bit of finishing.
Checking if it makes the sound
I used the sand paper to remove the excess parts of the mold.
Final Shot.
I learnt many things during this week, like the use of different ways of Vaccuuming, and then the materials which can be used with epoxy and also we learnt the method of creating and using bioplastic.
Well there are many things to improve during this week
Files available to download