Assignment


This week the hard job appeared in the Lab, beautiful week to be creating Something Big, I did some attempts, and before getting to the final project I built a scale model, but I didn't like it. Here is the funny job of this week.
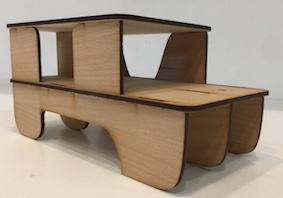
I was thinking to make a little table with my 3D printer and did a scale model. When it was ready it felt heavy and I didn`t know, but the design was strong and I couldn't feel attraction for those shapes, for example:
-Here are the design steps.
I did a manual sketch in my notebook, it is always better for me to do that. The immortal paper & pencil, I did some approximate views.
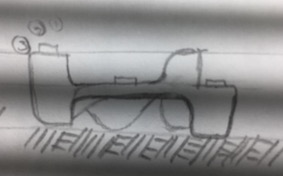
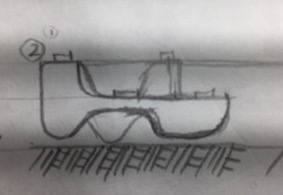
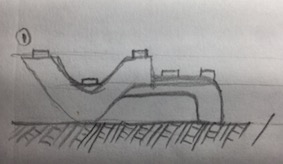
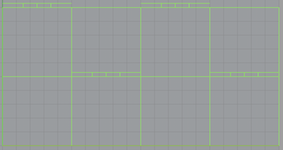
I always try to create a pattern with the dimensions that I`ll need, this time I just needed the shapes to understand the geometry and what I wanted. I did a proportional pattern.
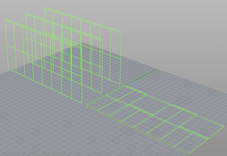
Then I drew every piece like I was thinking and extrude each of them.
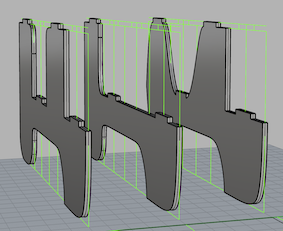
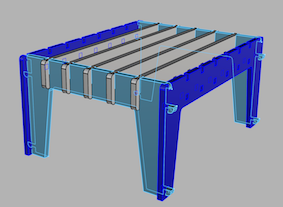
This is the 3D model file and result.
After that I went to cut in the laser machine the model. I chose a different material to experiment with the machine set up. I chose Plywood, and the parameters to cut are like this:
- Thickness: 4mm
- Speed: 7,6
- Power: 100%
- PPI: 500
I had some problems in the joints because I didn`t have any offset there, so I had to constrain it and one piece broke.
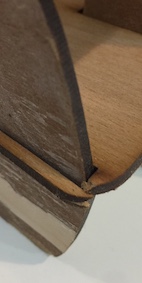
I do not know if this counts as an attempt because I didn´t finish it. The design order was the same like the first try.

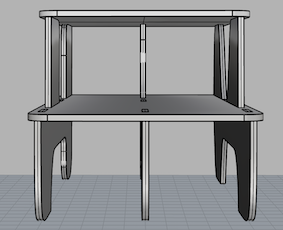
This is the long side.
Then I did the other two sides, but I didn`t like it so I forgot that idea.
After two attempts I began to think in something more easy. The Waffle table has an easy pattern, but the challenge here was to think about the lock joints.
The procces to design was the same as the previous ones. I began with the dimensions patterns and after that the assembly joints.
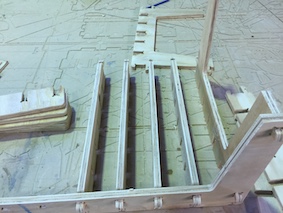
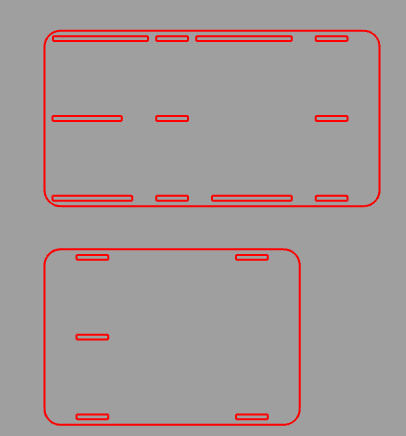
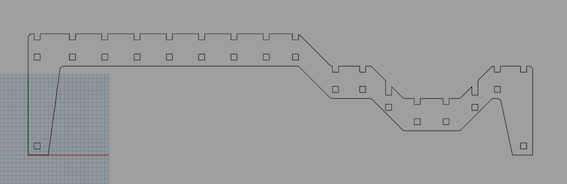
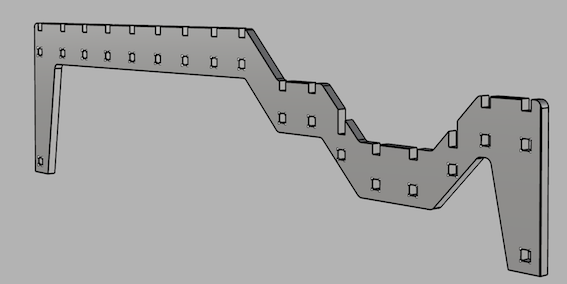
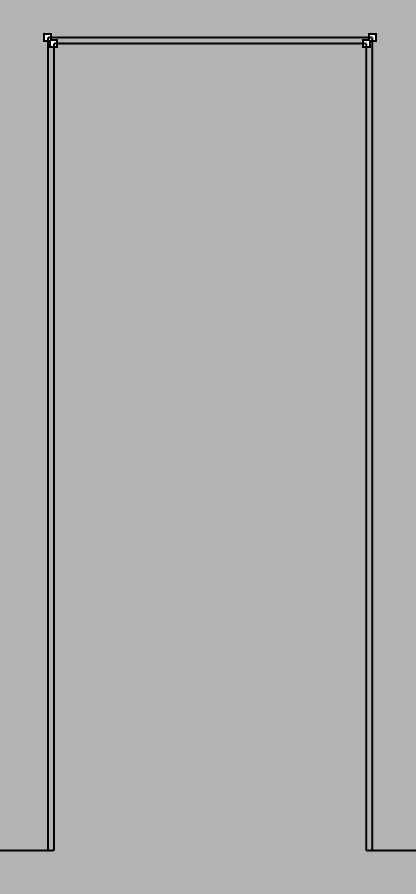
These are the sides:
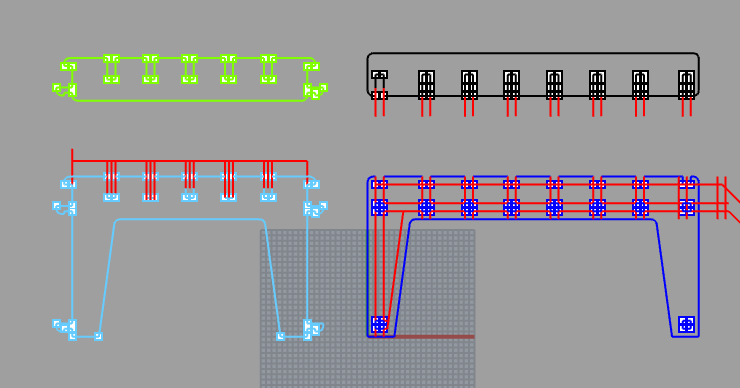
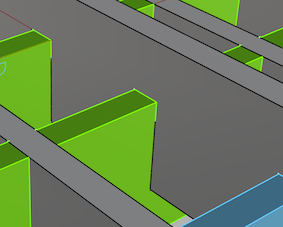
The red lines are the guides, like everything is from a template. I just project the lines to locate the joints in the perfect place.
This time I didn´t make the same mistake like the first time. I did the offsets in every
insert (0.03mm) to avoid problems in the assembly.
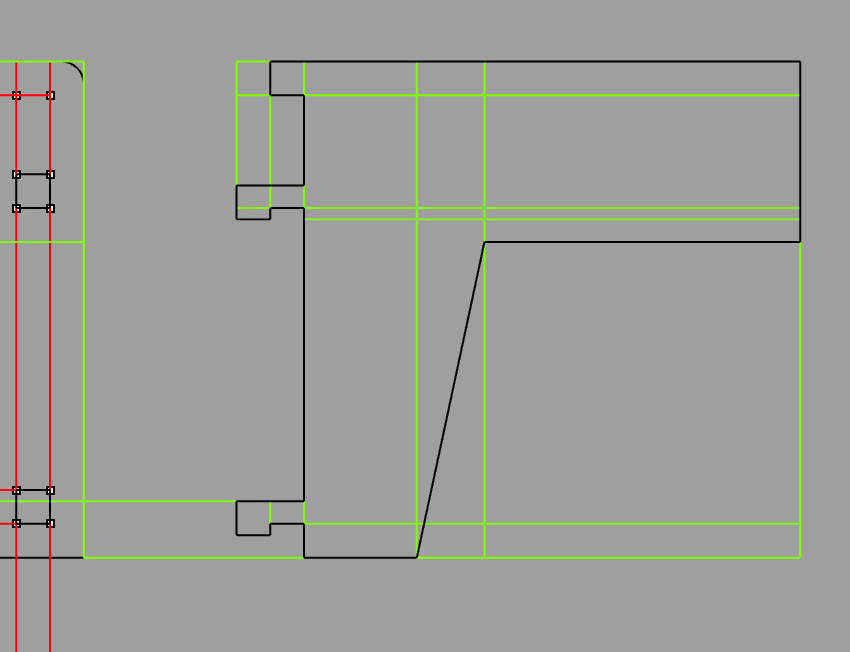
The points in the corners have a reason to be there. The diameter of the mill can`t do perfect right angles, so all interior insertes have a point, to make sure that the machines perforate these before cutting. It looks like this:
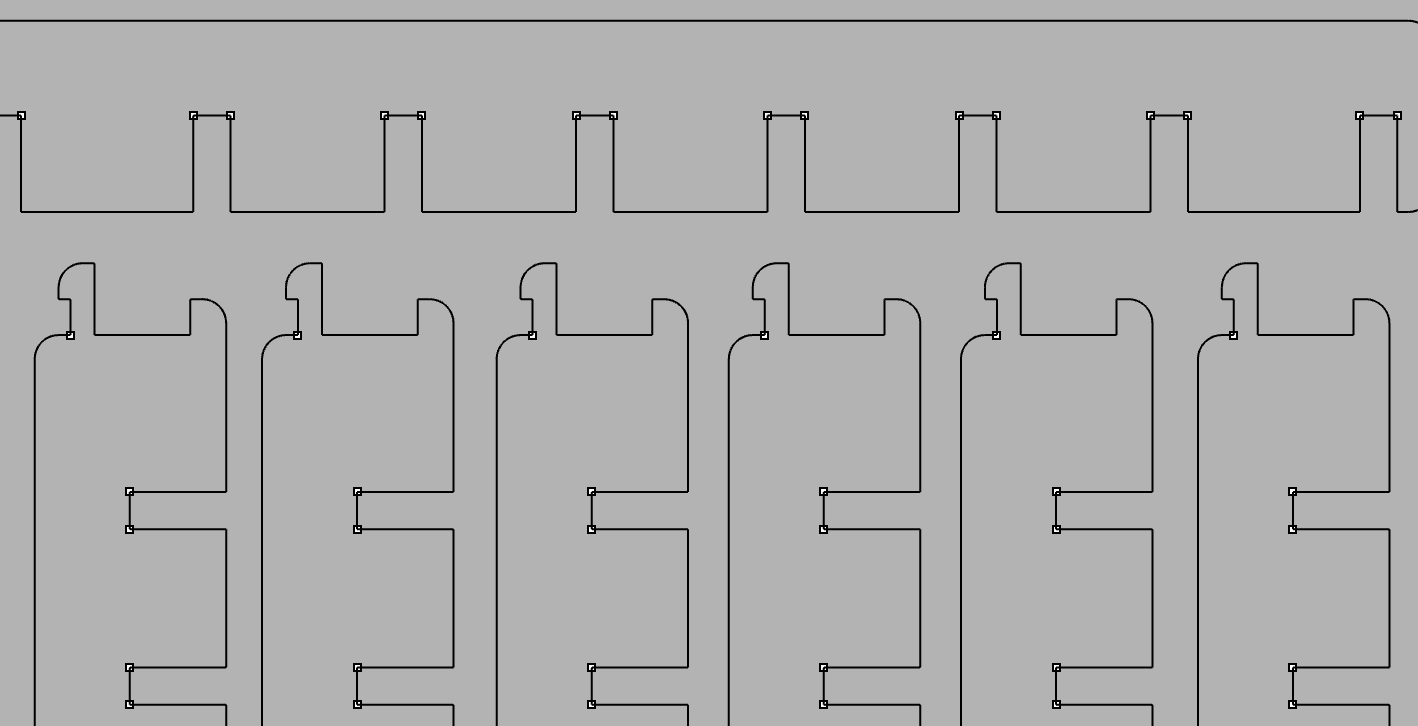
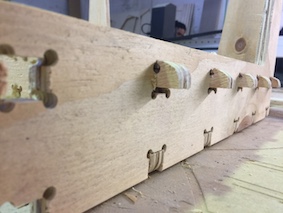
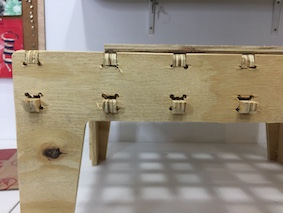
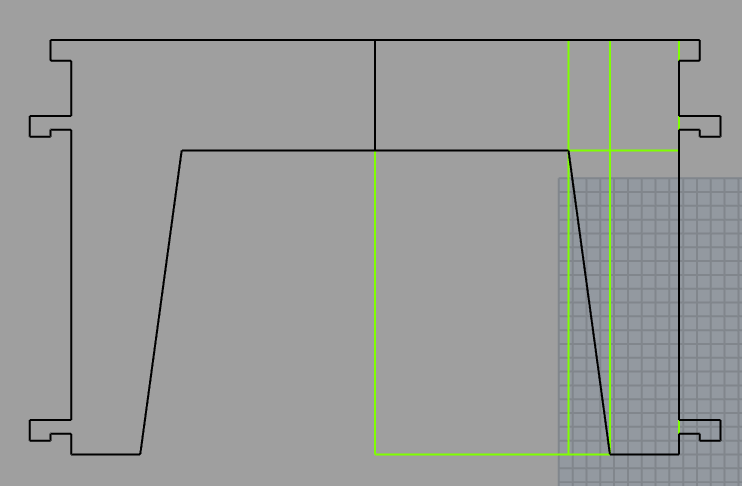
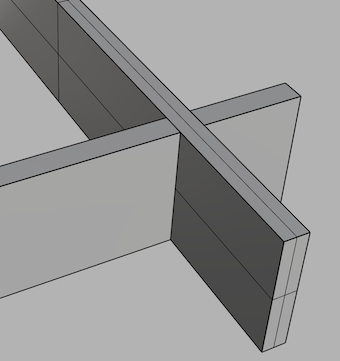
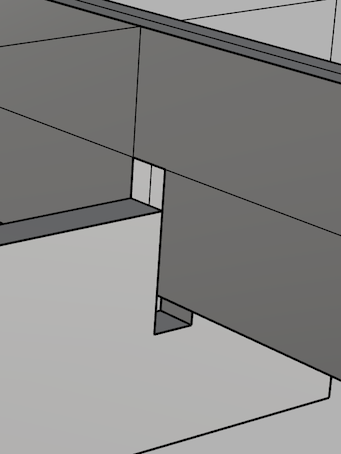
I thought the lock joints with an offset that when the piece went in to the other it would fall down and insure all pieces.
And the joints in the middel of the table.
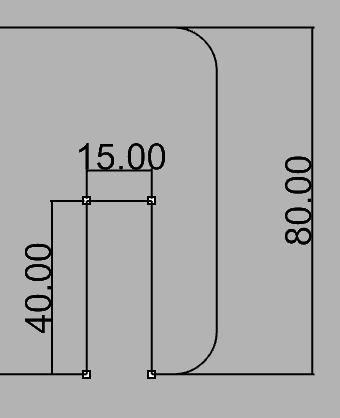
The profiles of each wood has a measure of 80mm, and the thickness of the wood is of 15mm, for this I need a depth of 40mm on both sides to lock the structure.
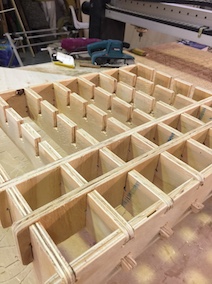
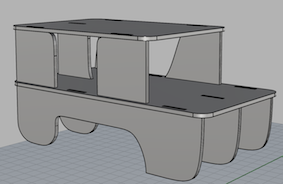
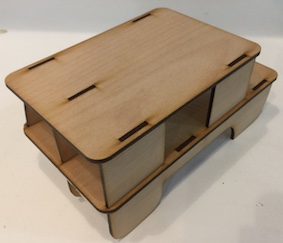
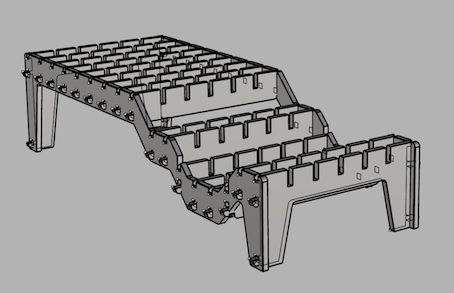
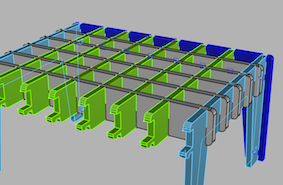
Finally it looks somethig like this
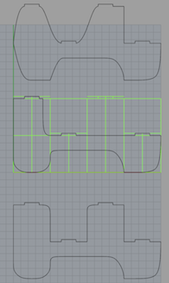
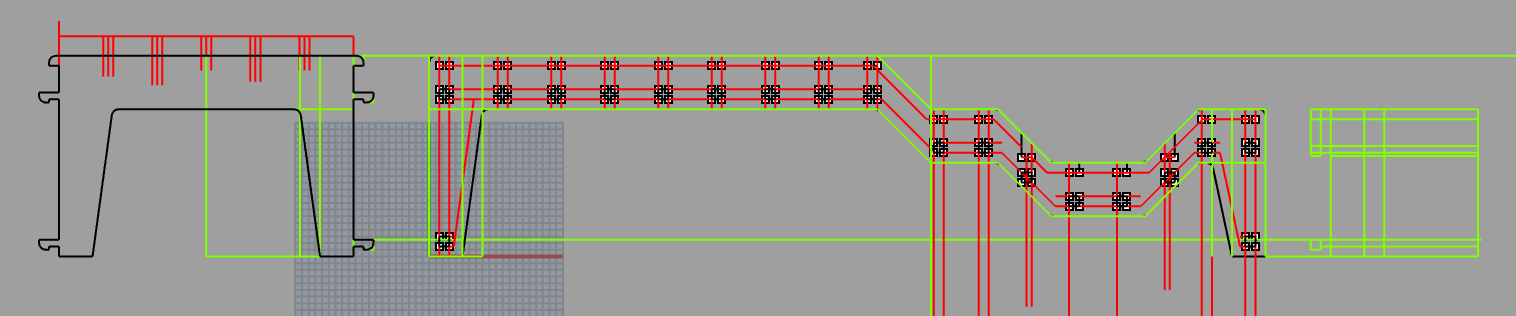
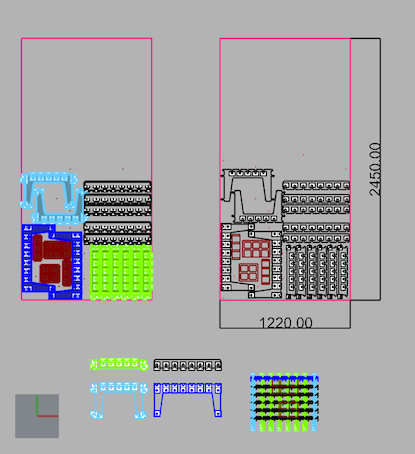
After of all these proccesses in Rhinoceros, I had to prepare the file to create the G-code and I had to convert it all in a 2D drawing and organize it in the format of the wood (2540mm*1220mm).
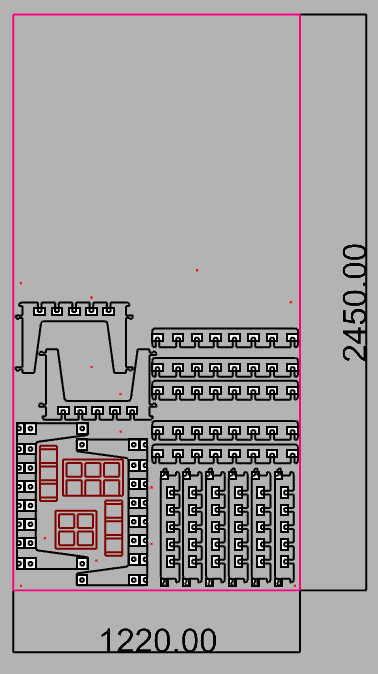
The red lines are the format of the wood and that's how it looks over the piece of wood. The red circles are the location of the screws I will explain more about this later.
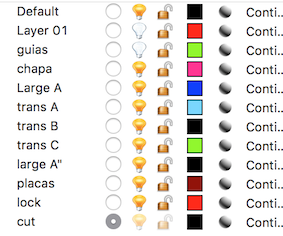
The final step is to export everything to create the G-code which is needed to make an order in the layers of the file.
The file of the model is here. Waffle Table
The software that we use to create the G-code is RhinoCam . With this you can program the CNC in each cut that you need and have diferent options and it is very intuitive.
First you have to do order in the axis of the machine that has been programed.
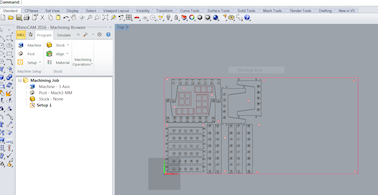
Then everything is about programming the cuts
according to the needs.
Select the CNC to cut and program.
The Mill is flat.
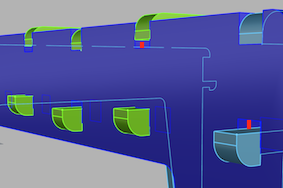
Next I needed to put a "Stock-Stock From Selection" over the trace. This is to extrude the format of wood in the same dimensions of the piece of wood (15mm- the yellow extrucion)

There right click and extrude that.
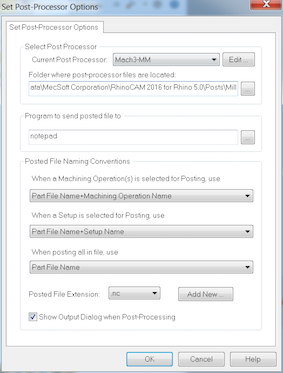
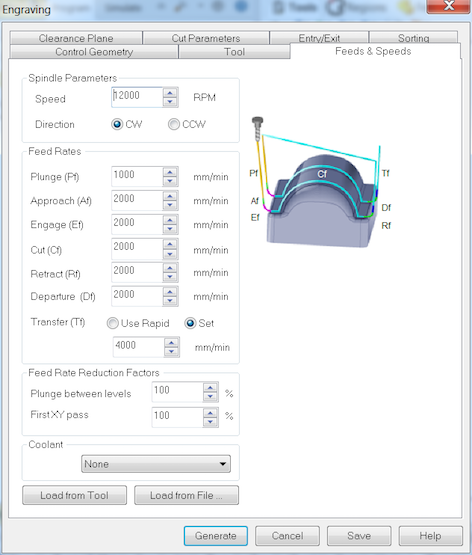
-THE SCREWS: They are particularly important because with them the wood it is fixed to the table (SOMETHING WHICH IS IMPORTANT IS THAT THE TOOL NEEDS TO HAVE A 6MM DIAMETER). We only need to do the locks 10mm and the wood measure is 15mm. To prevent that the mill will break we have to do 2 movements of 5mm in each one.
Chose the tool.
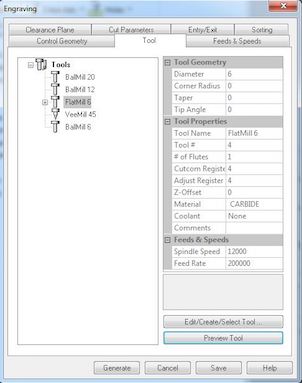
This is the first movement that you want the machine to make.
In this movement you have to set up: "Stock MAx Z + Dist" high, because the wood is irregular and it still is not locked to the CNC table. This time I used 15mm
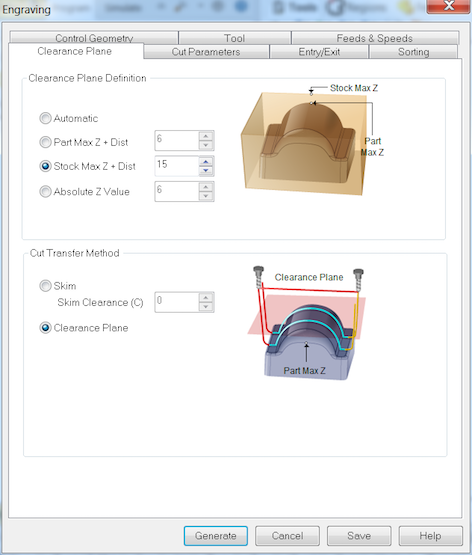
After this step you can use 0mm.
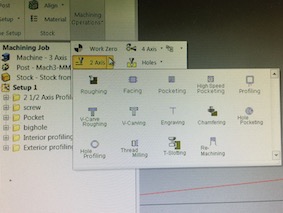
MACHINING OPERATION.
Then comes:
Engraving; interior and exterior.
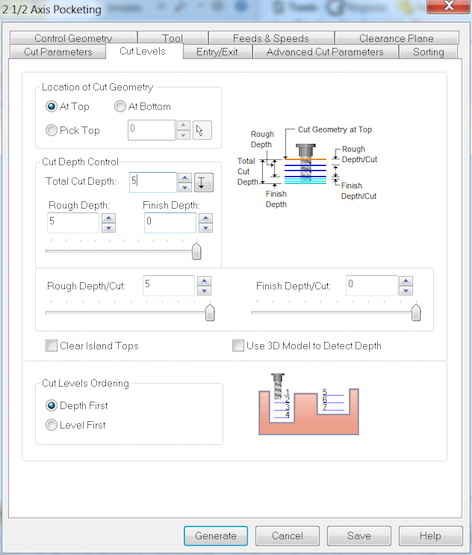
pocketing.
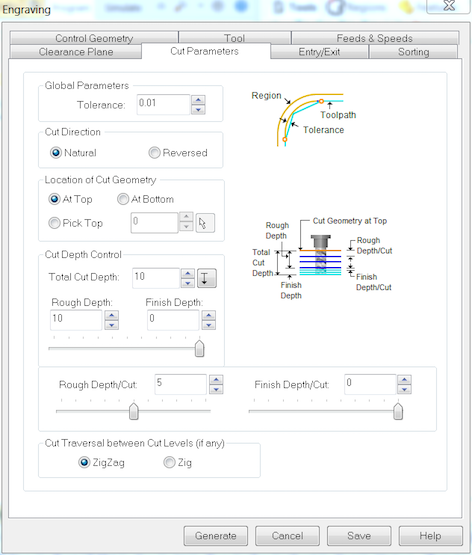
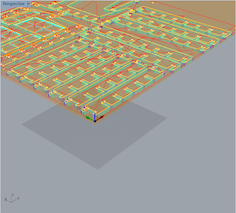
Here you have to change the movements, 5mm each one so a total of 3 times to cut everything.
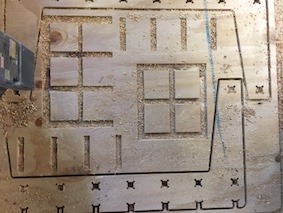
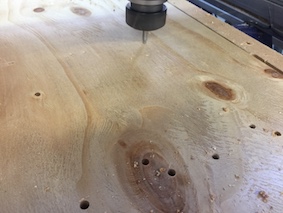
This is how the machine reads the G-code.
Tutorial of ShopBot.
Here are the Cam files Cam.