Realization
After analyzis different sashakits existing in media folder - we selected satshakit_cnc as one that can be realized by us. Selection was done by following parameters - cutting method, distance between the traces and delivered functionalities.
Selection is the Satshakit CNC. 1/64" milling bit pass without problem and will cut PCB. It does not have multinode functinality, but it deliver what we require. Here is the traces and holes


Cutting and soldering
We cut it on roland. And I started soldering. It is the first time when I will solder component with so many pins. But it happens very easy. Using the flux (just a small amount on each trace before I placed AVR) and the standa soldering iron (no hot air gun used). Here is the result.


Then soldering all other components. As well for the head pins I decided to solder them up side down. This will permit them to resist pulling (because of soldered end) and pushing force (because of restance of plastic protection). And if I will use it
a lot - it will be a good choice. As well the bottom side will permit to me in the future just write name of pins or even make a vinyl cut with names of pins and attach it on the bottom side.

Also I did not soldered the push button. Will do it later (for the moment I just do not have correct one, but this is not a problem, I can manage it w/o button). The top sie after cleaning was covered by nail polish.

Programming
Let start programming. Regarding the documentation I connected my board by using the programmer (I have on usbasp). Then using the Arduino IDE I selected Arduino UNO as the board (because Satshakit is compatible with it), selected right programmer. And I did "Burn Bootloader" via the arduino IDE.

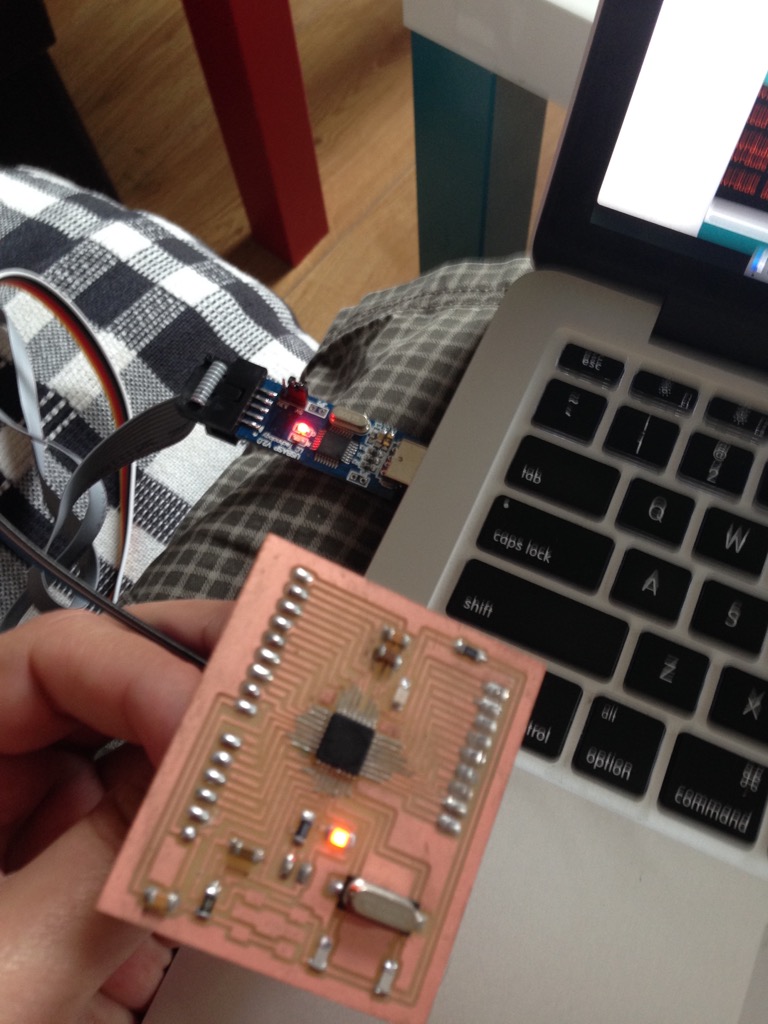
So first we connect FTDI as described in doc:
