Assignments
model (draw, render, animate, simulate, ...) a possible final project, and post it on your class page
As practical work for this week assignments I decided to model in 2D and 3D two things in one of my backup projects "Science toys": Fog Chamber and inspired by Wednesday presentation - Galactic compass. The reason of working on backup projects instead of main is that I have not yet clear view of what it should look like and how to resolve many problems related to size, flexibility, non-intrusivity, waterproof and so on. So I let my main project in stand-by during today assignment and concentrated on backup projects.
During my work on assignment I did draws and scans for 3 backup projects. Then I created 3D models for 3 projects and 2D models ready for laser cut (I hope so :) ) for 2 projects (it was quiet similar so not a big change between). Below you will found more details about results.
Mock up and 2D raster images manipulation
I started for all my projects making the mock-up on paper in 3 different view - top, front and right. And scan it. This scan I tried to use in my modeling software (initially I used it as a background and I tried to tune the 3D model objects to be closest possible to my mock-up). Then I used GIMP to crop canvas and rotate images (and sometime to split them on several).Then I passed imagemagick on it to resize images to web format.
Soil moisture sensor view top

Soil moisture sensor view right
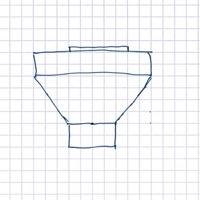
Soil moisture sensor view front

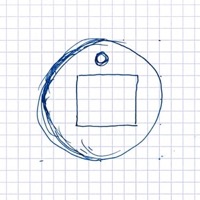
Oxymetric glove ring (sensor) 3 point of view

Oxymetric glove controller 3 point of view
3D modeling
As I told early: design of my oxymetric glove is absolutely not stable yet, so I decided to work in 3D modeling on 2 of my backup projects - Science Toys and Soil Moisture Sensor.
For the Science Toys project I was fascinated by the idea of the "Galactic compass" that I have heard during the Neil's session of the Week #2. I did not reviewed video and did not search for the source project, but I decided to realize by myself (as well initially I found this very fun and not very difficult to realize... probably I missed something.. :-) ). So I did my version of "Galactic Compass" that basically the equatorial mount (it should not have a high weight... and looks like alt-azimuth will be more difficult to realize because looks like we will need to heave gear based rotation and long wires.. ). I used for modeling the Blender tool, it's nice but I did not have 100% of success with it on animation part (looks like that I have created too thin model and it fall down instead of rotating properly).

First steps with only the controller box and fixation columns.

Final first version of design for Galactic Compass
The second part of my Science Toys project is the Fog Chamber. So I decided also to make it 3D modeled. It more simple model (I basically started by this) but with light inside.
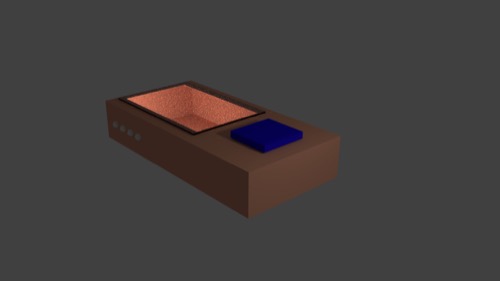
Fog chamber in rendered view.
Also I did 3D model for the head part of the Soil Moisture Sensor project. This is a top part that will receive the sensor, network communication, controller and battery part and will be installed in the champs. At the bottom there is a place to install the sensor to capture the humidity level under the surface.

Rendered version of Soil Moisture Sensor head.
2D vector modeling
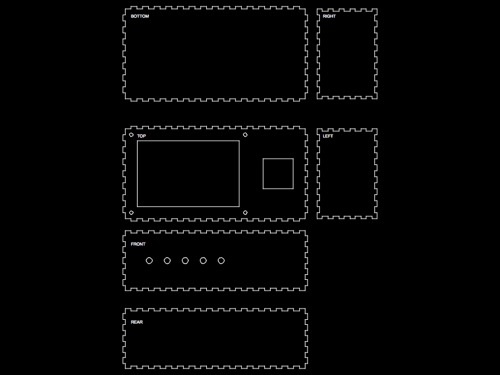
Two of three modeled projects during this week have a box at the bottom. This box is required to store and protect controller. I imagine that this box in both cases can be done using the plywood and can be produced on laser cut machine. I looked around the tools I used to understand what we can do using the CAD applications and found one that could be really useful in this approach. So I draw two models for boxes. Each time it created using 6 part that can be connected each to another. And some of parts have a technical holes that will be used to fix the plexiglass or the fixation columns or will be used for placing the LEDs.

Galactic compass controller box.
Fog chamber box