Composites
In Opendot were available several veneer sheets and a roll of cross-weave cotton fabric, so I decided to fabricate a skateboard, because I've never had one!

In Opendot were available several veneer sheets and a roll of cross-weave cotton fabric, so I decided to fabricate a skateboard, because I've never had one!
Step 1. Define the shape
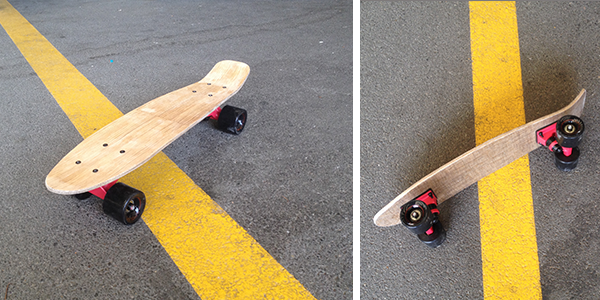
Because the dimensions and the number of the veneer sheets available, i couldn't manufacture a very large skateboard. Fortunately in opendot there was a vintage skateboard, this model was perfect for the purpose.
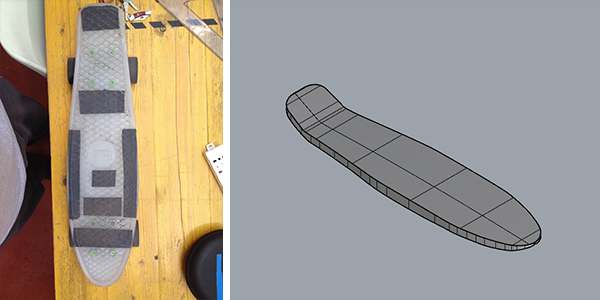
I took all the measures and with two pictures (top and side), I was able to reconstruct a 3D model.
[Download it now!]
Thanks to this I found the actual size of the developed surface on a plane.
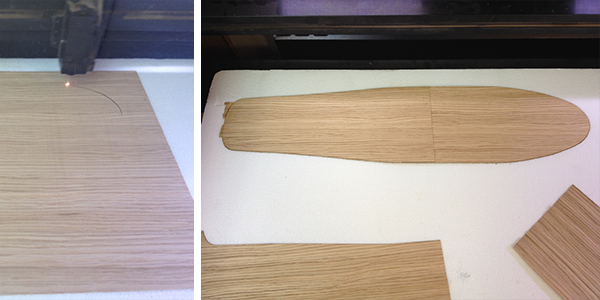
Step 2. Cutting the layers
I used our laser machine to cut sheets of veneer and the fabric.
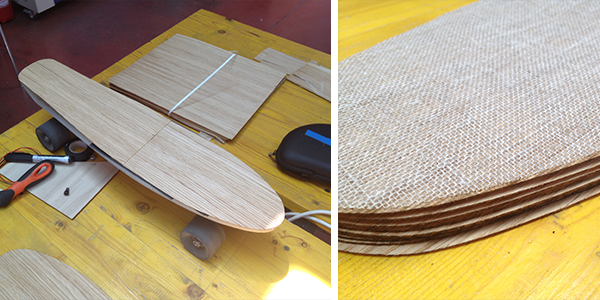
I decided to use the fabric because the wood fibers resist only in the longitudinal direction of the board while the fabric in both directions. The main effort is longitudinally the table, so the relationship between wood and fabric is 3 to 1
16 sheets of wood and 5 fabric.
It is very important to provide at least one tissue layer near to the outer surfaces where it has a greater torque and the other 3 in the inner layers alternating with wood layers.
Here is the sequence from top to bottom. (W = wood F = fabric)
W-F-W-W-W-F-W-W-W-W-F-W-W-W-W-F-W-W-W-W-F
I put a layer of wood on the top surface for an aesthetic purpose and the fabric immediately below.
Step 3. Make the mold
With CNC milling machine I realized the outline mold to bend the layers and give it the final shape of the skate.
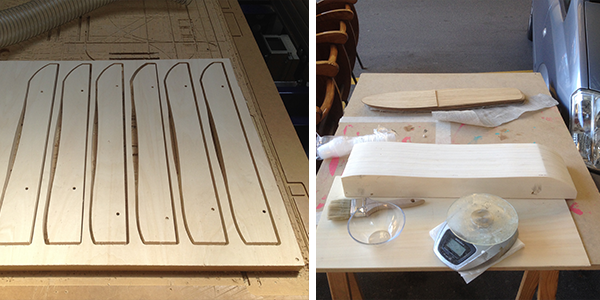
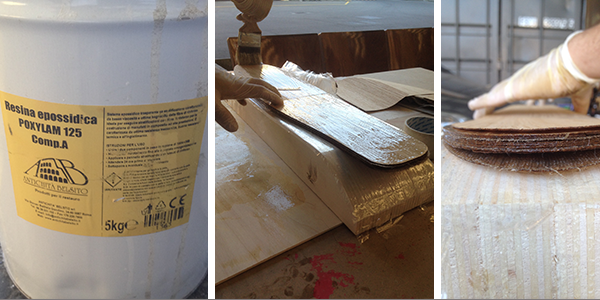
Step 4 Apply epoxy resins
I used epoxy to merge all the layers. Each type of resin has its relationship between the resin and the catalyst, it is really important to be precise with the quantities in order to obtain a good curing.
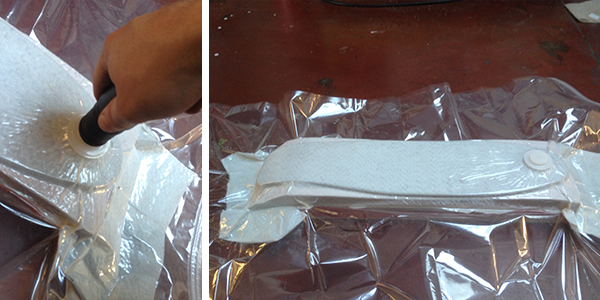
Step 5 vacuum
Before starting to resin, I covered the mold with a film in order to facilitate the detachment once the resin will be cured.
Once the all layers are resinated one over the other, I covered everything with a perforated film in order to let out the resin excess, and an absorbent tissue.
I put it all in a vacuum bag: in this way the pressure of the bag held levels crushed to the mold.
Step 6 Finishing
After 12 hours the resin was dry to the touch, and after 72 hours completely cured.
I removed the resin clumps with the sandpaper.
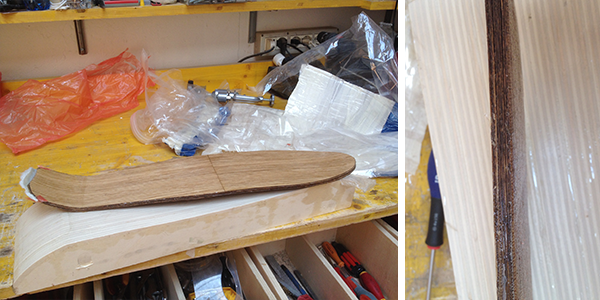
Problems encountered:
- Not all levels have attached uniformly on the whole surface
check the result ---->