Milling: http://archive.fabacademy.org/archives/2016/doc/electronics_production_FabISP.html
The directions were fairly clear and milling the board was easily done in a half day. Some of the fab modules settings are not immediately intuitive and some random clicking around was done until the preview showed approximately what we want the machine to perform.
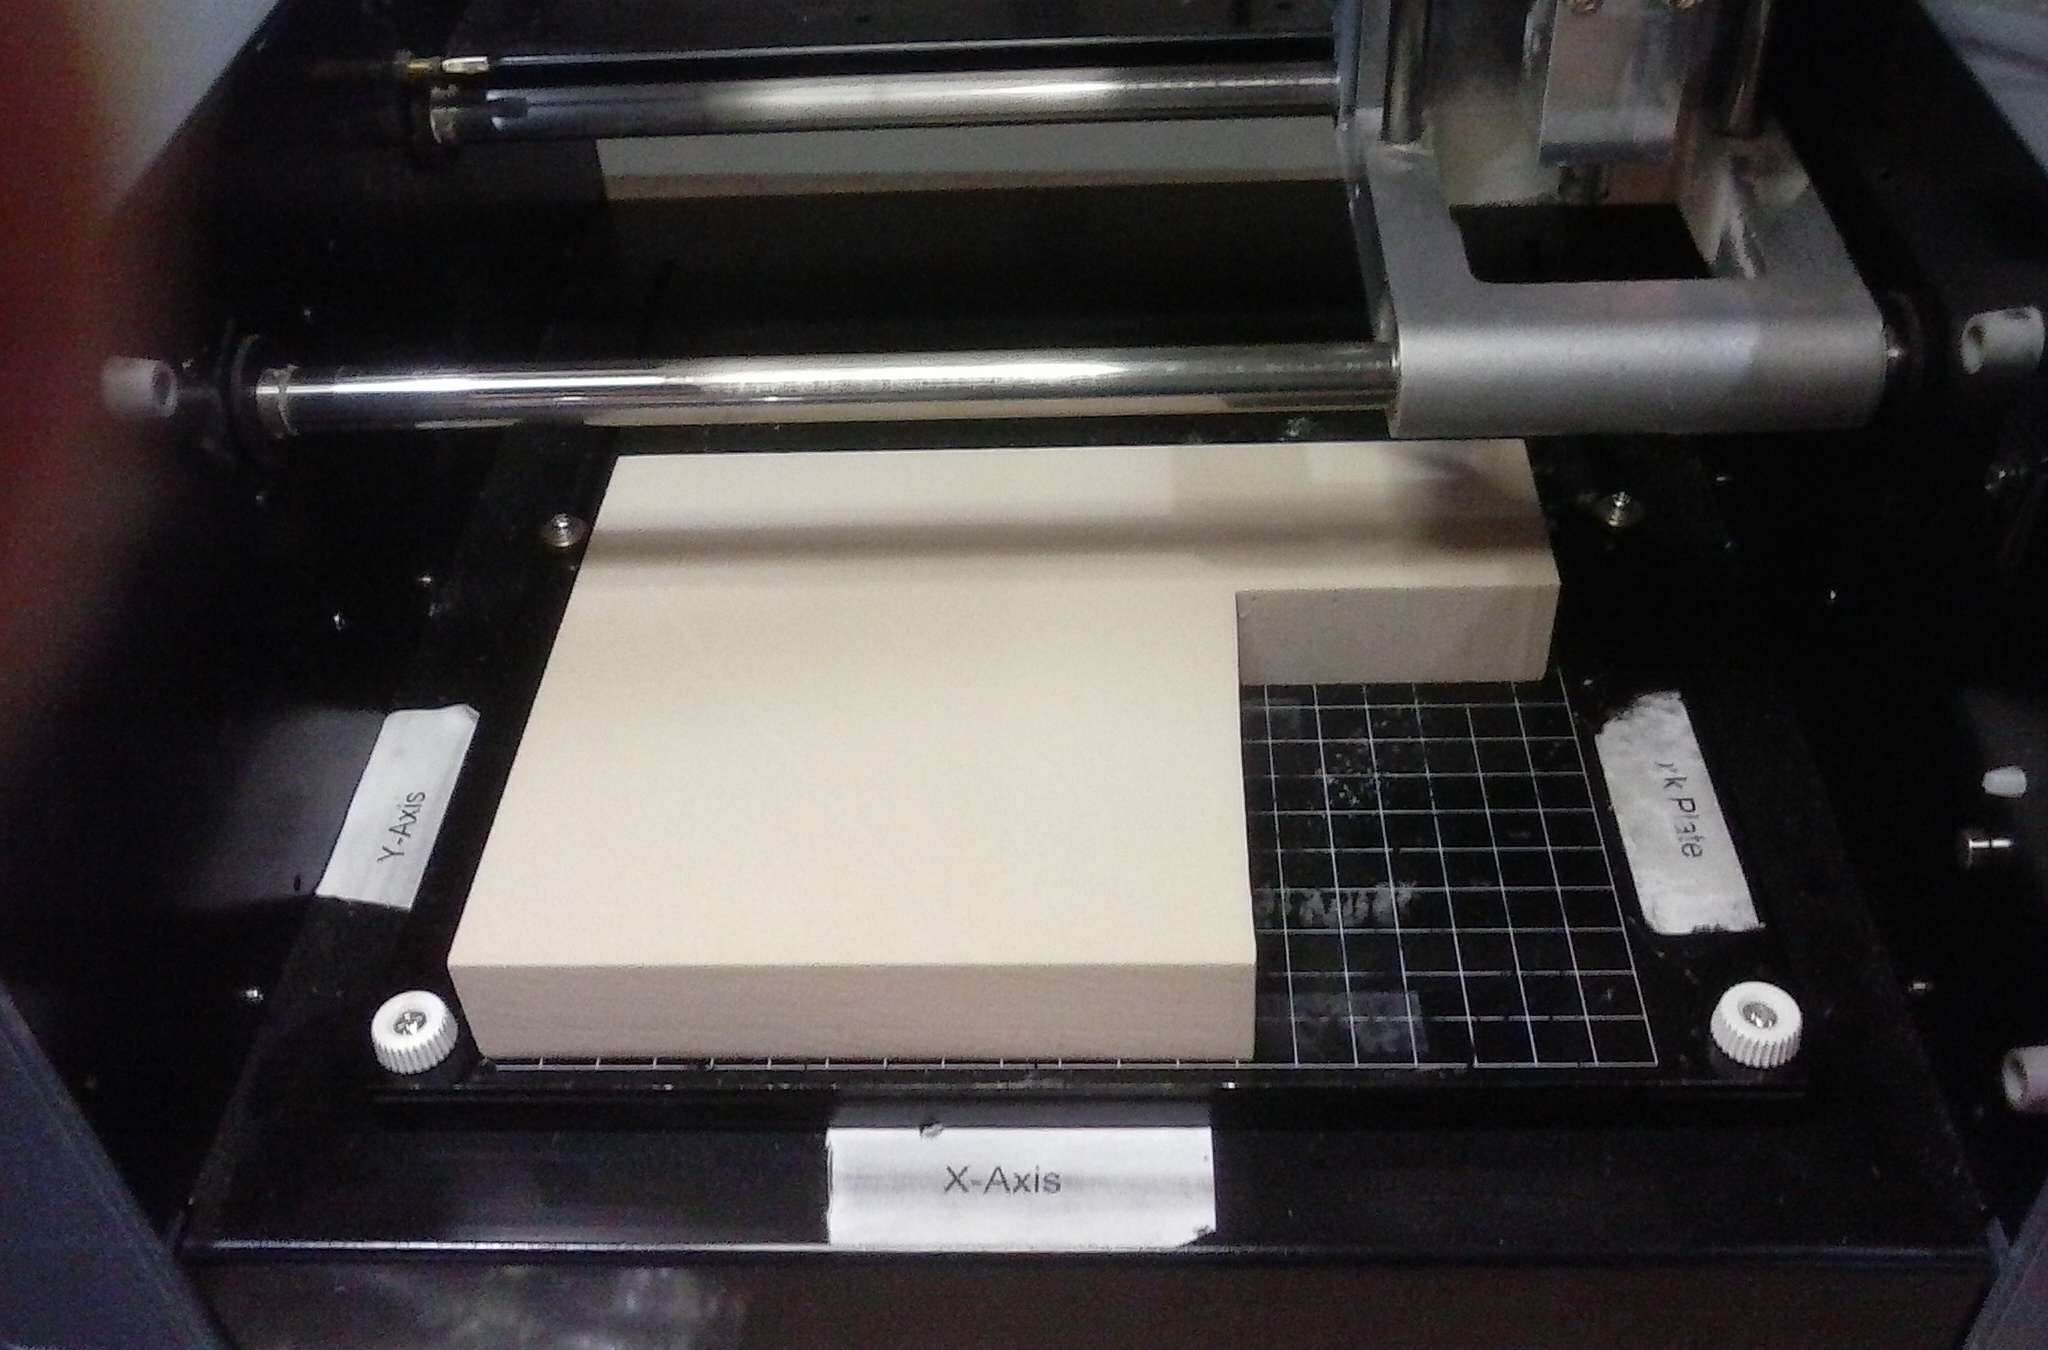
To obtain a near perfectly level surface for milling I first had to
mill a flat spot into foam to mount my board to.
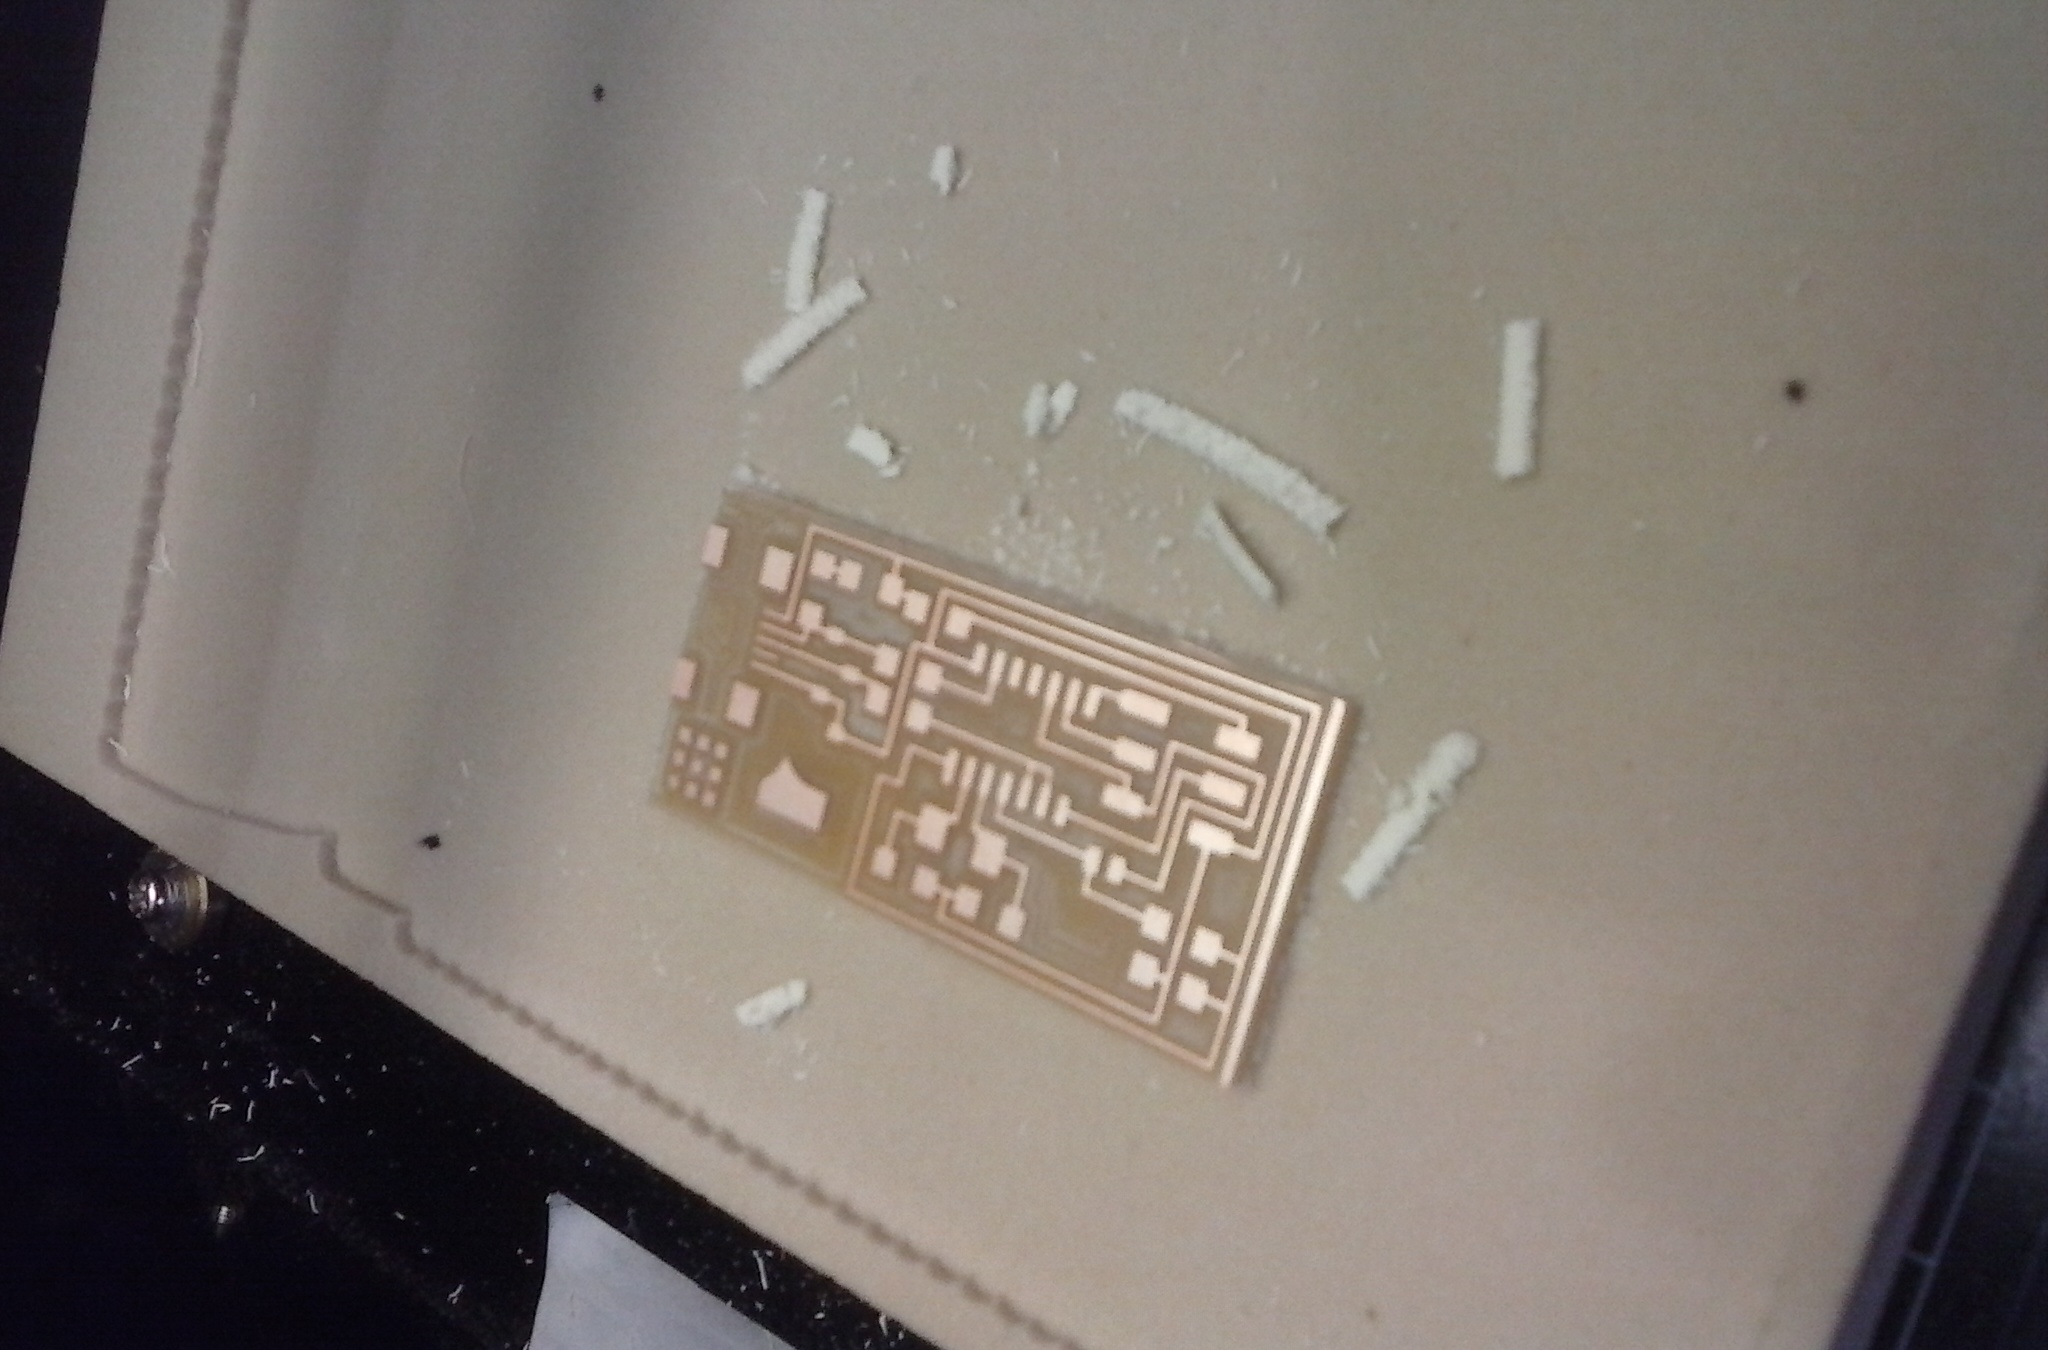
Then the traces and cut out were completed. I did have one false start. I was too excited to look at my traces up close and pulled the board off before cutting it out with the mill. This prompted a restart but, practice makes perfect. Right?
I did end up making 15 offsets in the milling phase to get off as much excess copper as I could. I just thought it made the board look a little neater.
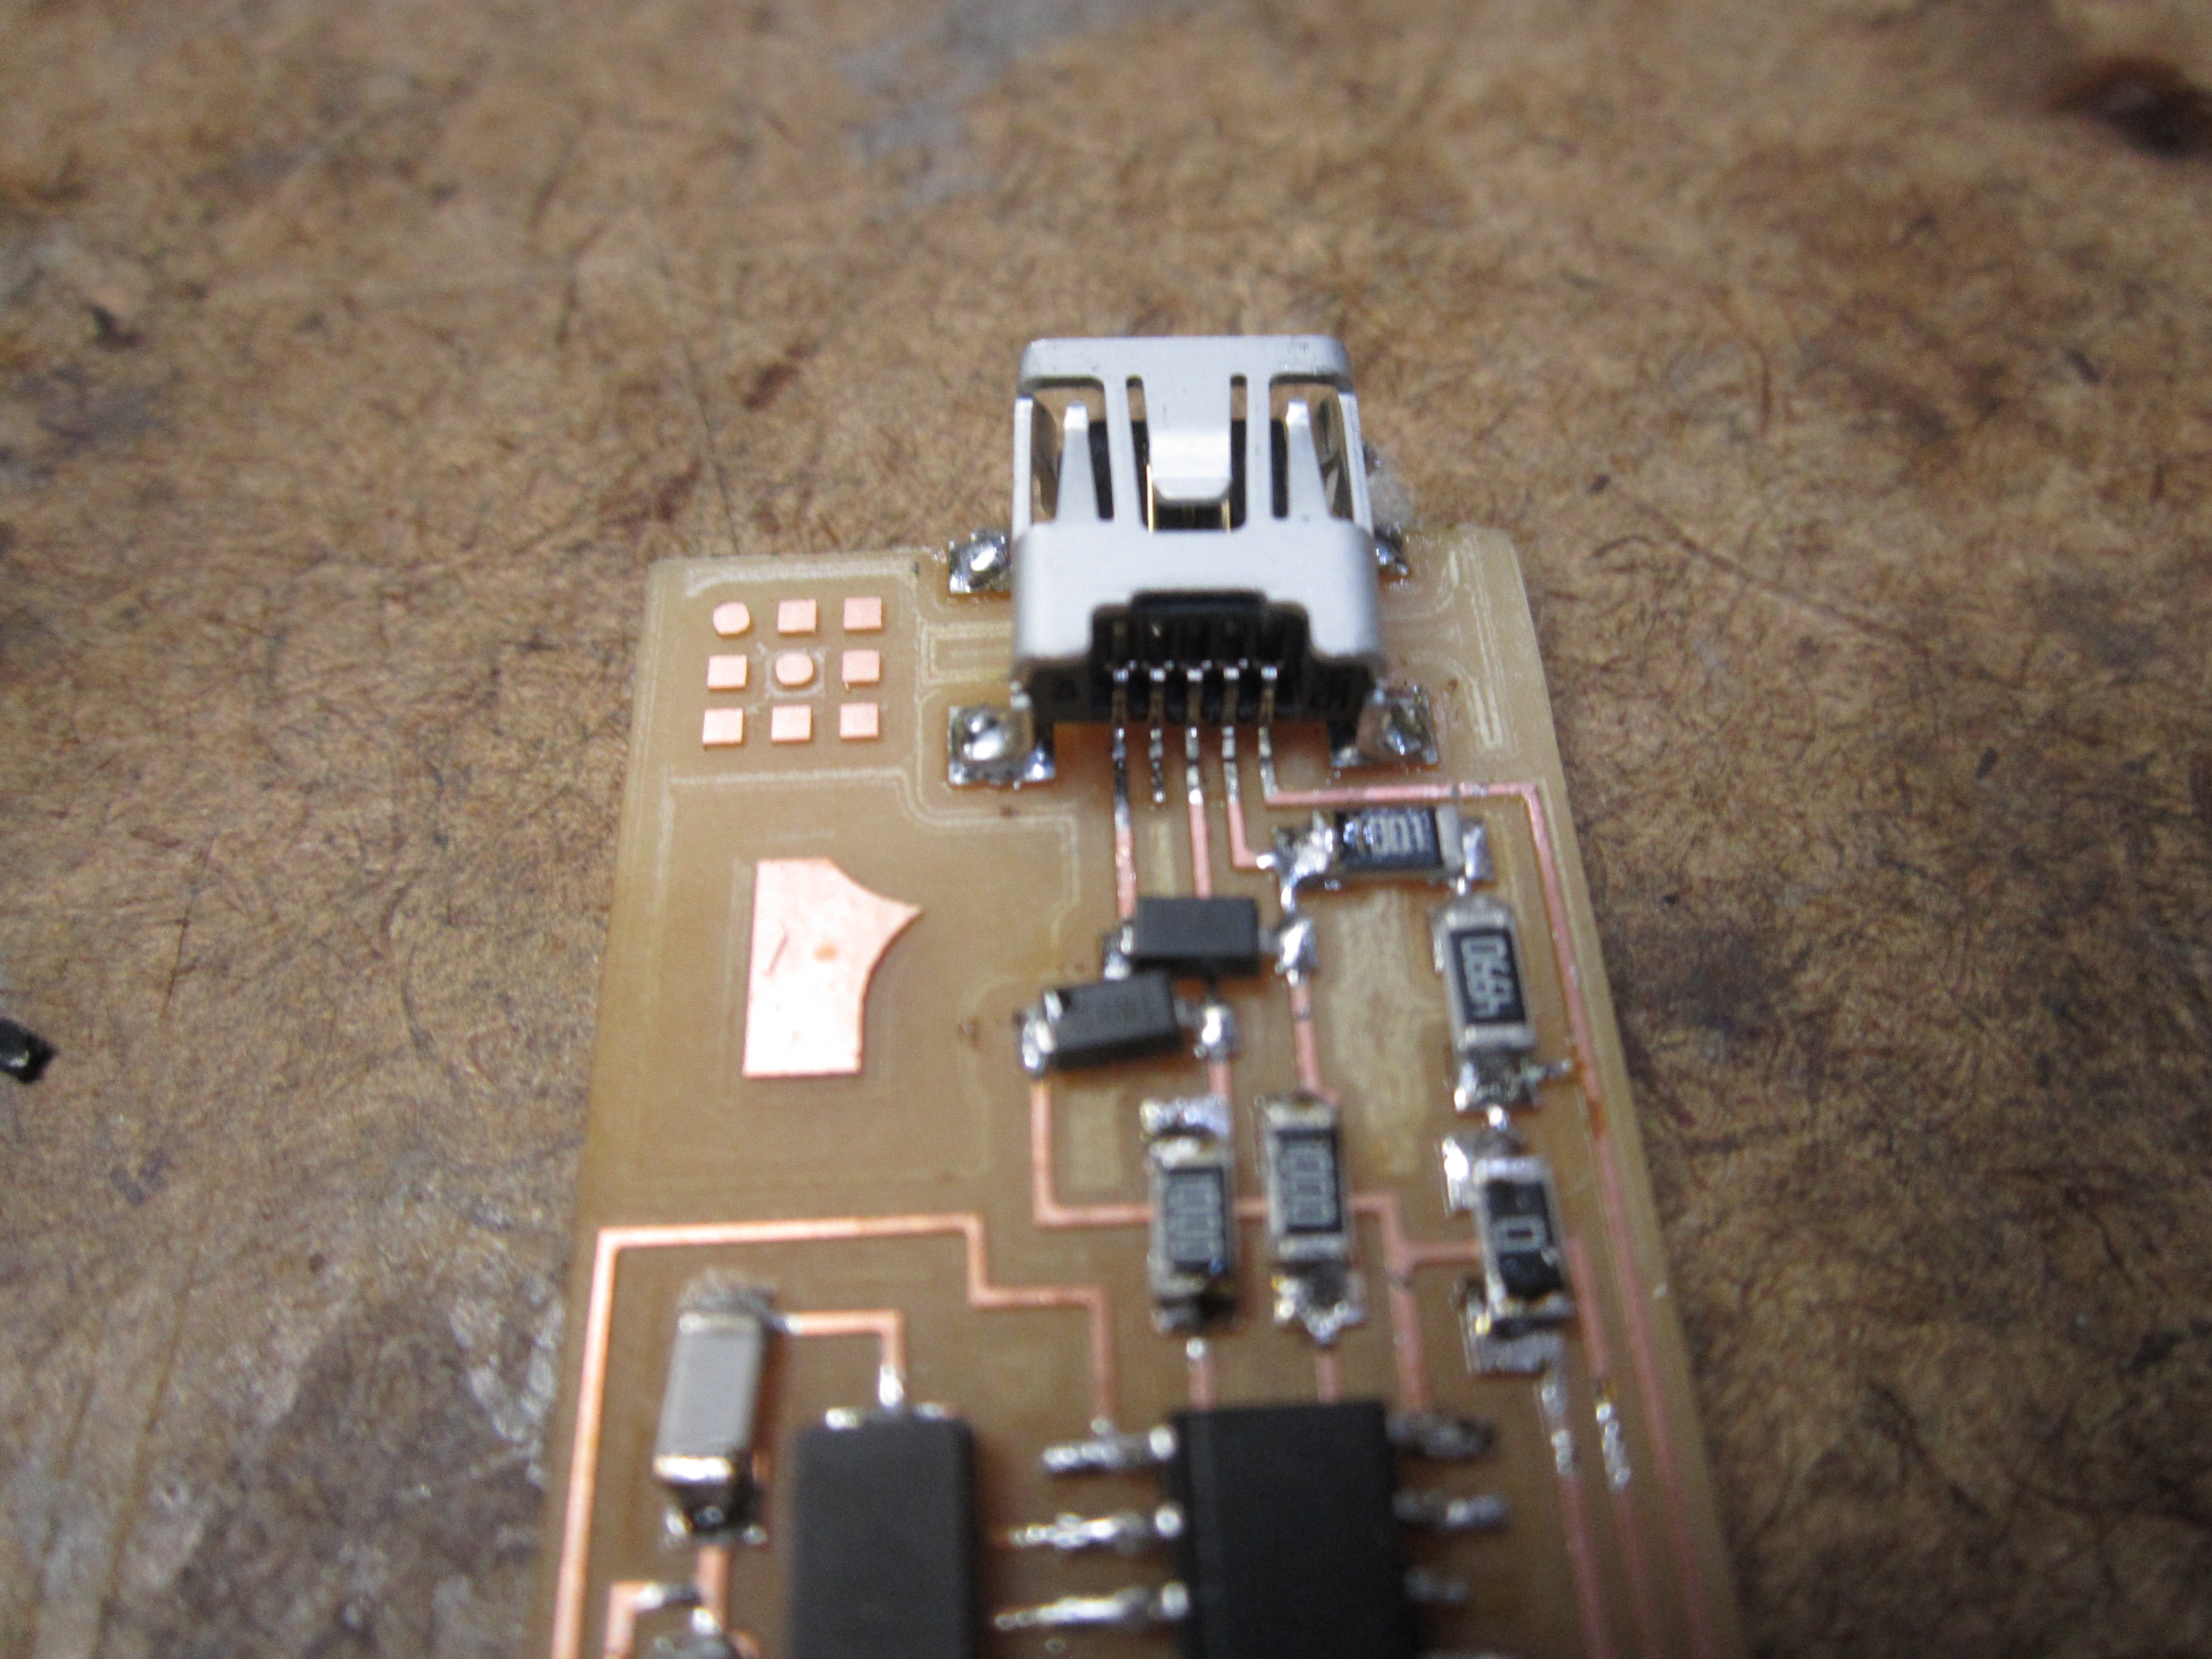
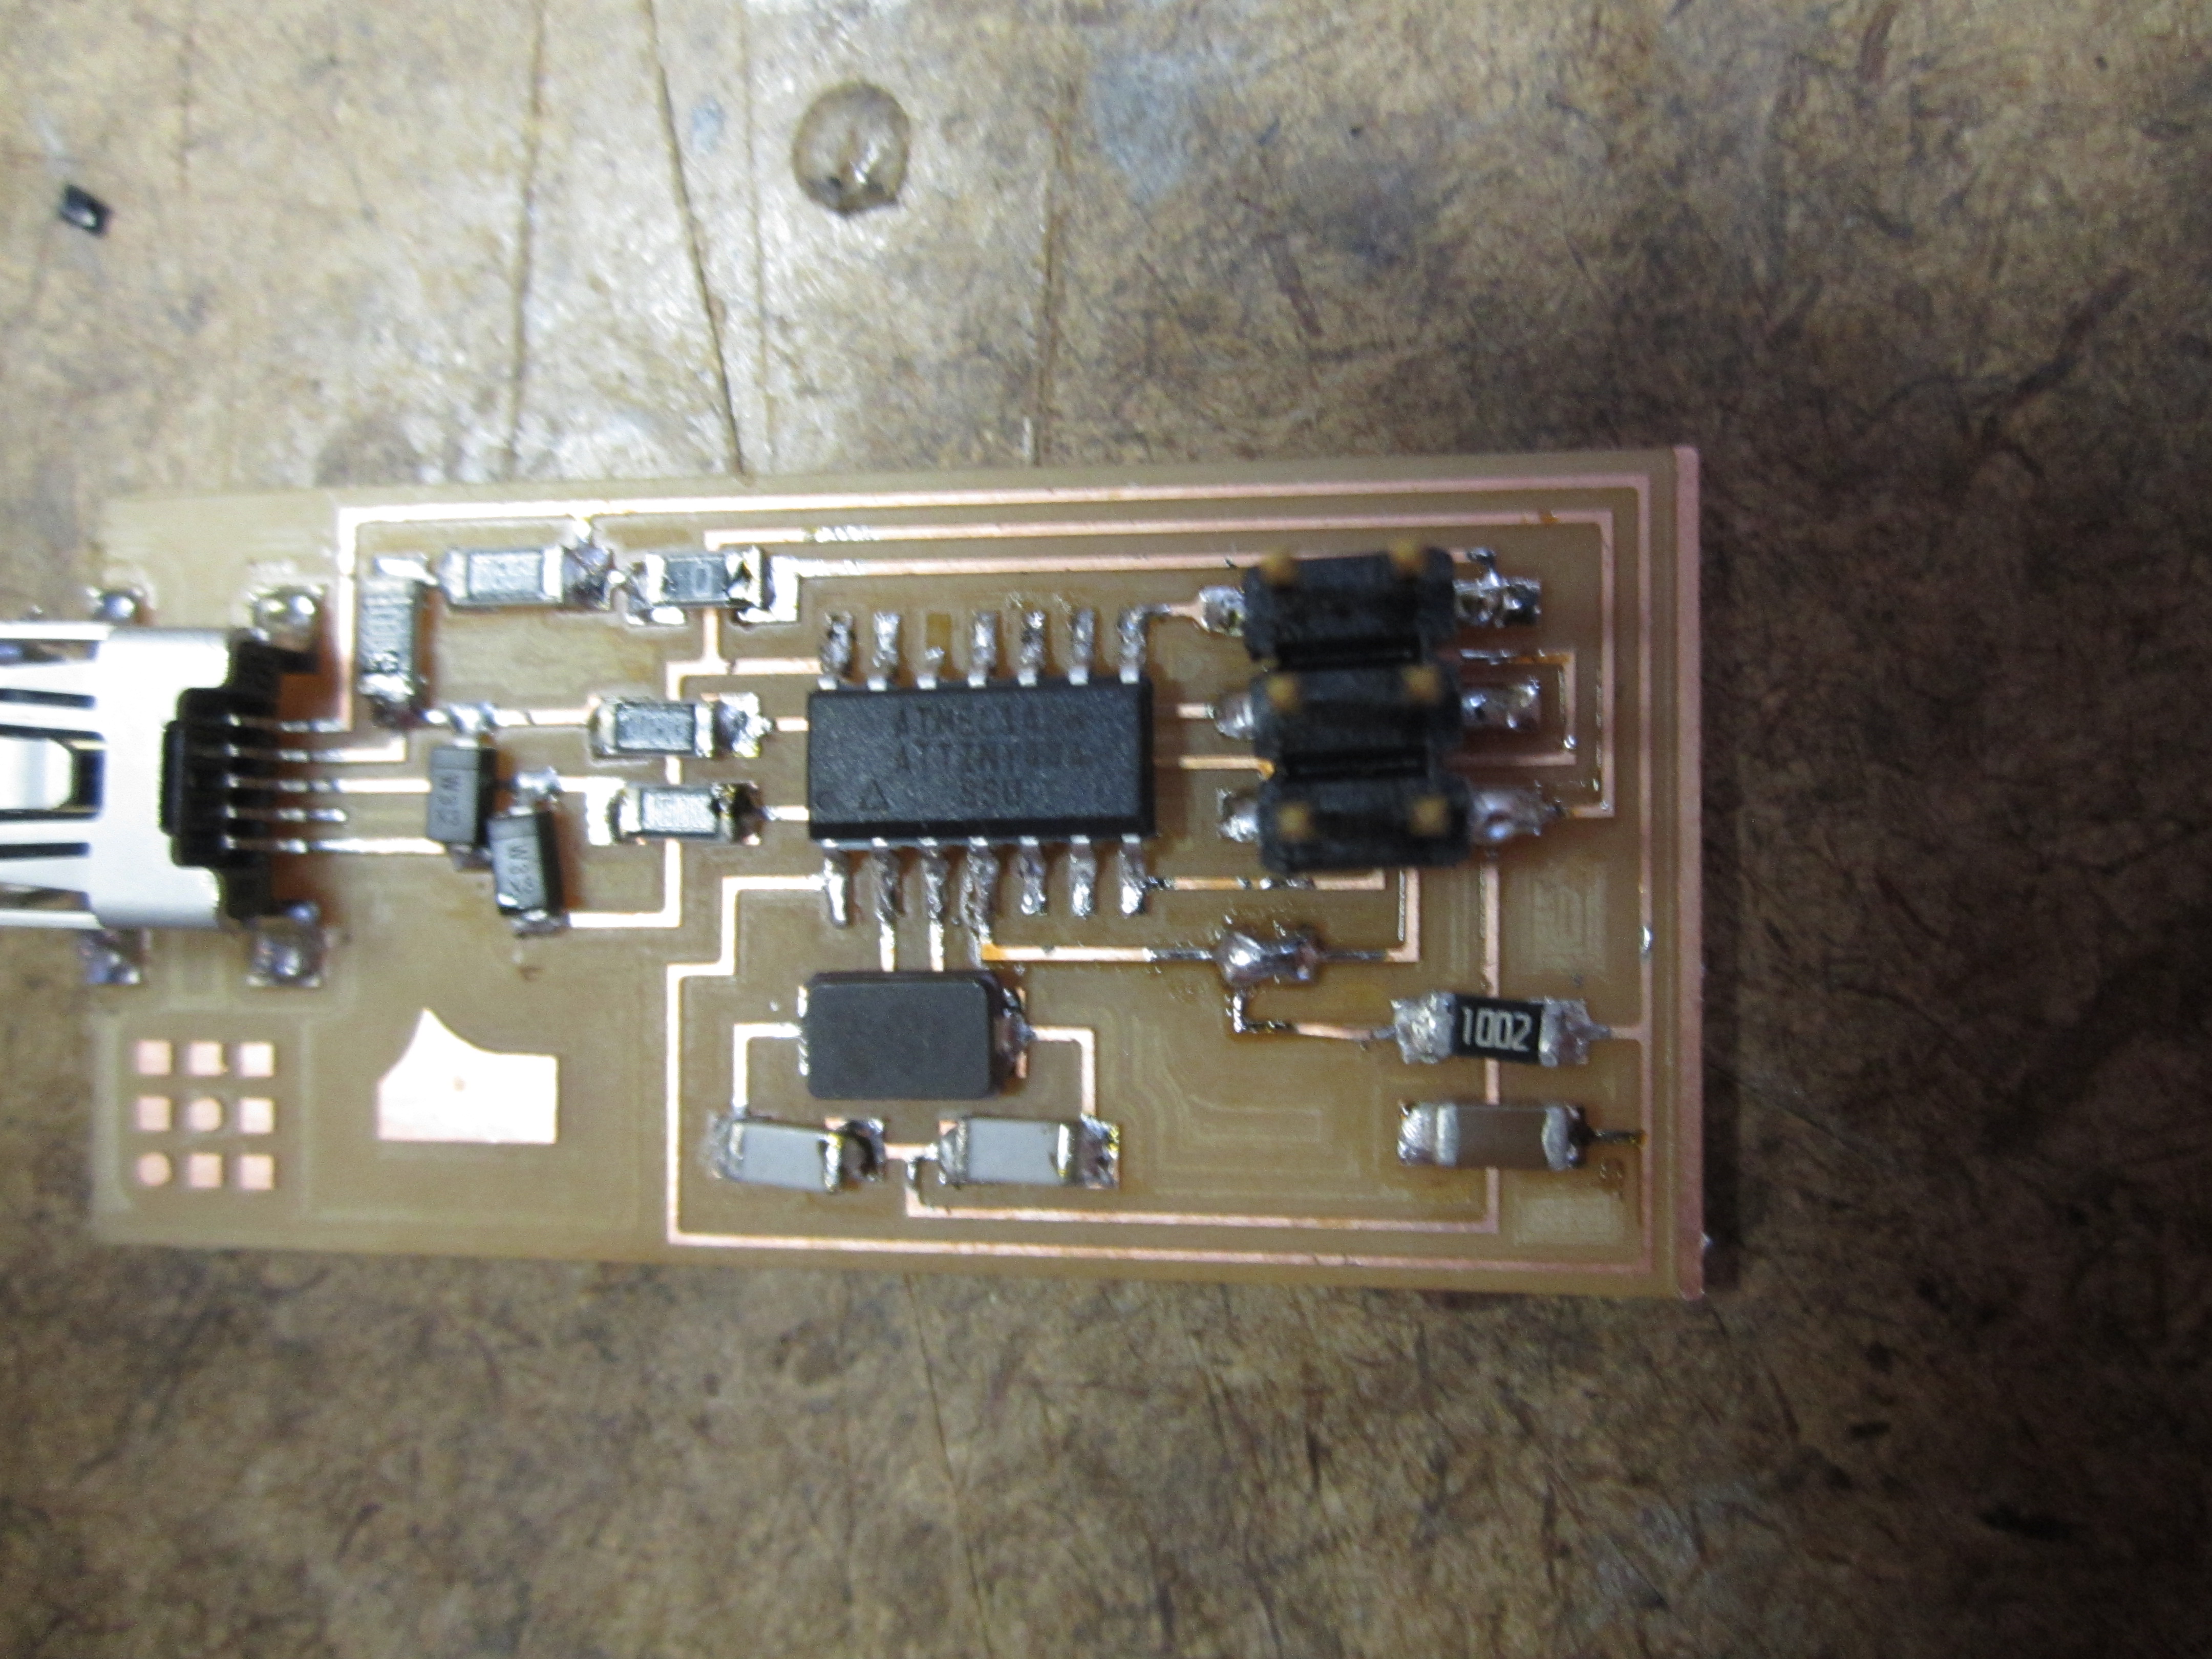
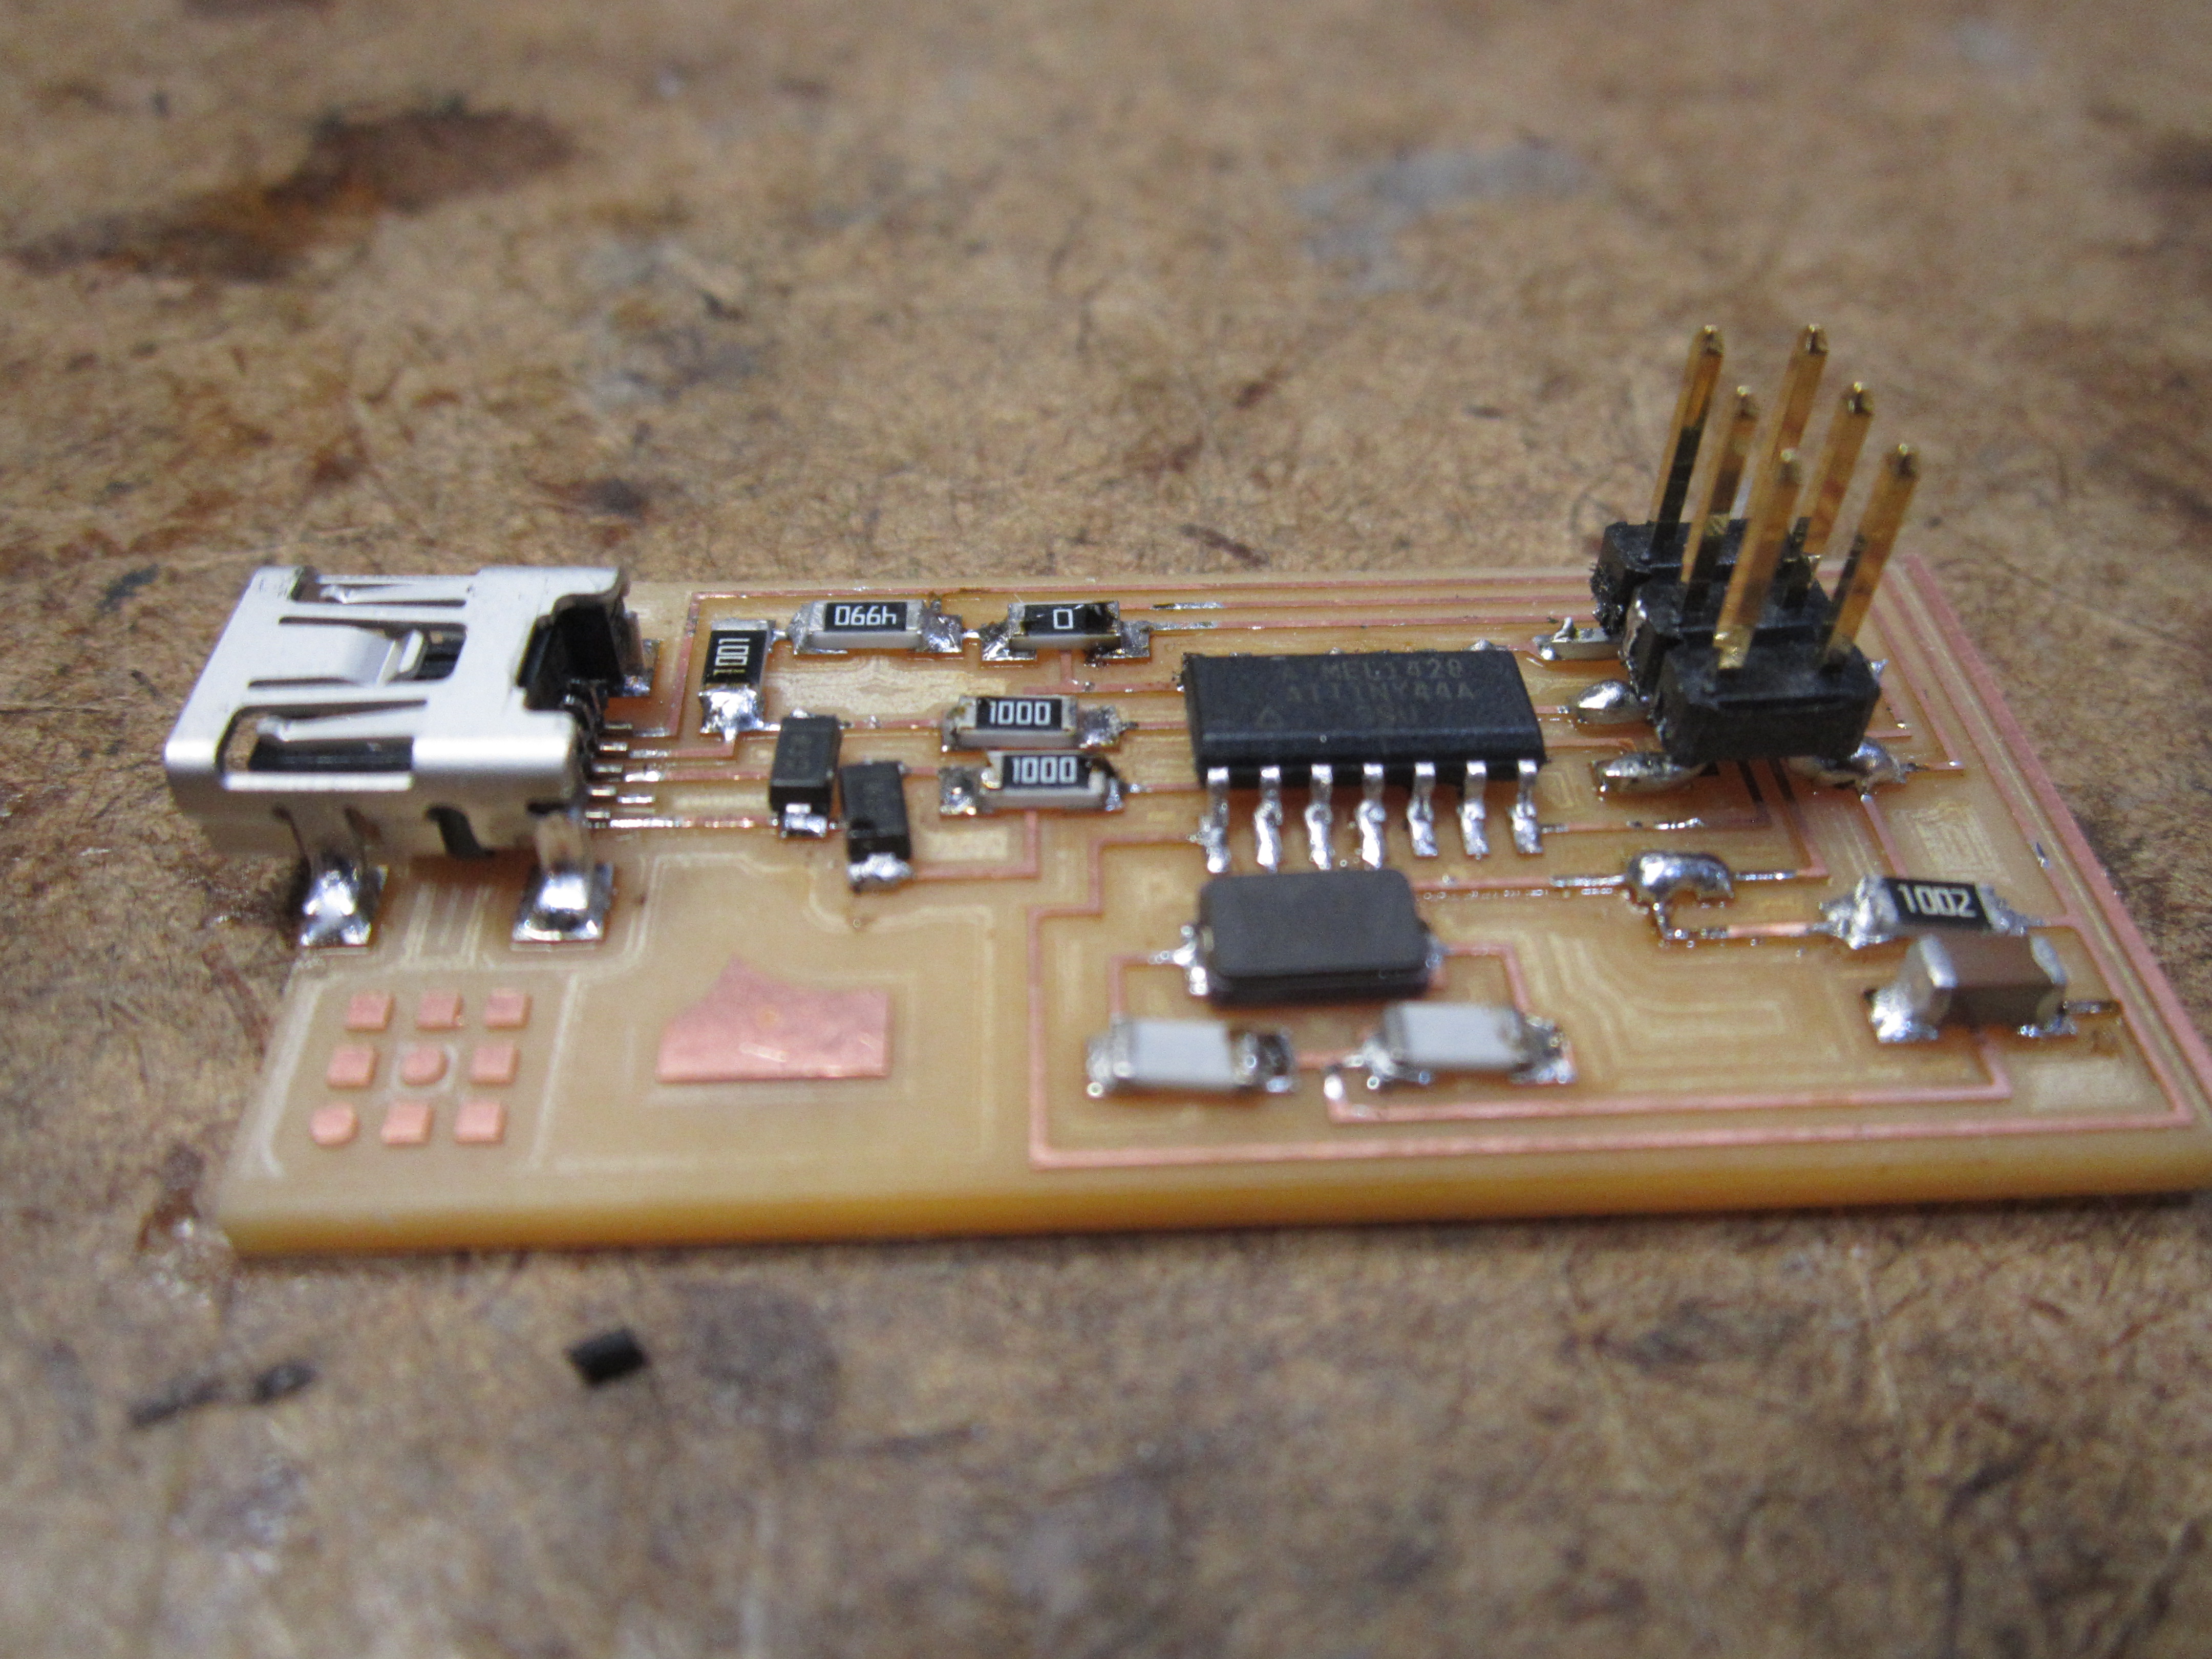
Soldering and assembly: I knew last year that when people had problems with their boards it was often too much solder. It's easy to get too much solder onto a board so tiny. My way of solving this problem was to tin the whole board by placing a small bit of solder onto every trace.
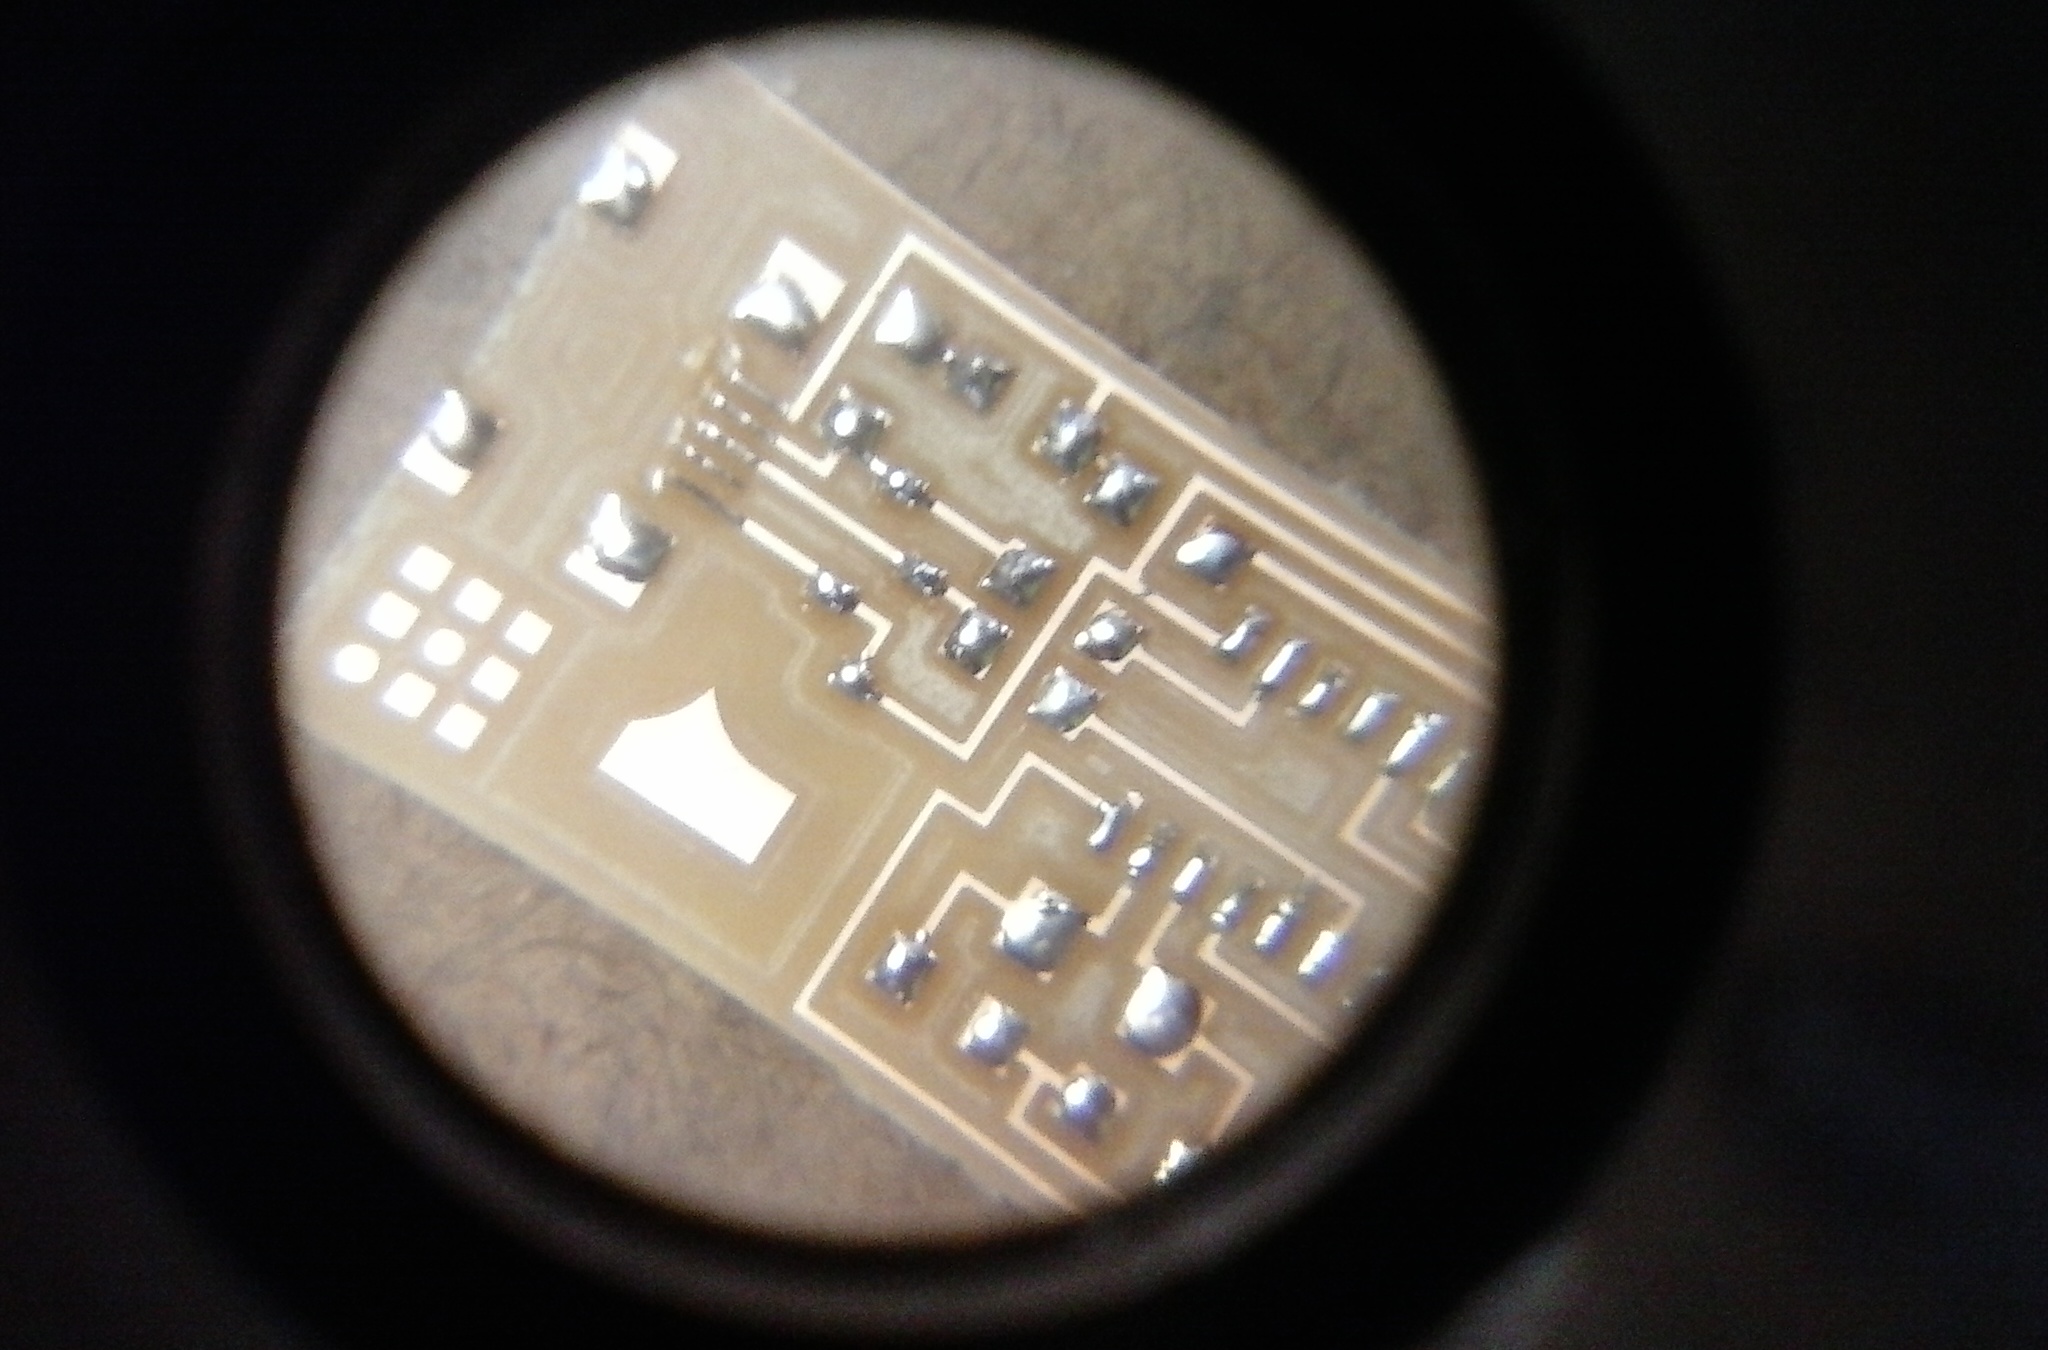
Then i just had to place the parts in place, hold them with a tweezer, and reflow the solder. This worked well for all but the biggest pads (the 4 pads holding the Mini port on and the 6 huge leads on the 6 pin header) where I needed to add more solder later. I had some issues with connectivity between the mini port and the computer so I also added a bit more solder to the 5 leads coming out of that. This was incredibly tedious after parts were all in the board and I did have to use solder wicking braid to undo some inevitable bridging.