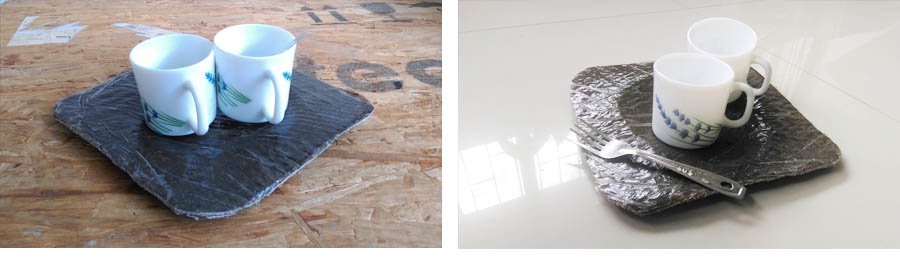
design and fabricate a 3D mold , and produce a fiber composite part in it
As a similar method doing in Molding and casting week this week, we were presented with composite materials. The difference lays in the physical properties of the mixture of both a fiber and a matrix that result in a highly resistant material. The matrix materials used are good in compression and adding the fibers makes it also resistant in tension
I decided to make a vessel which I designed using the 3d software Rhino to design this .
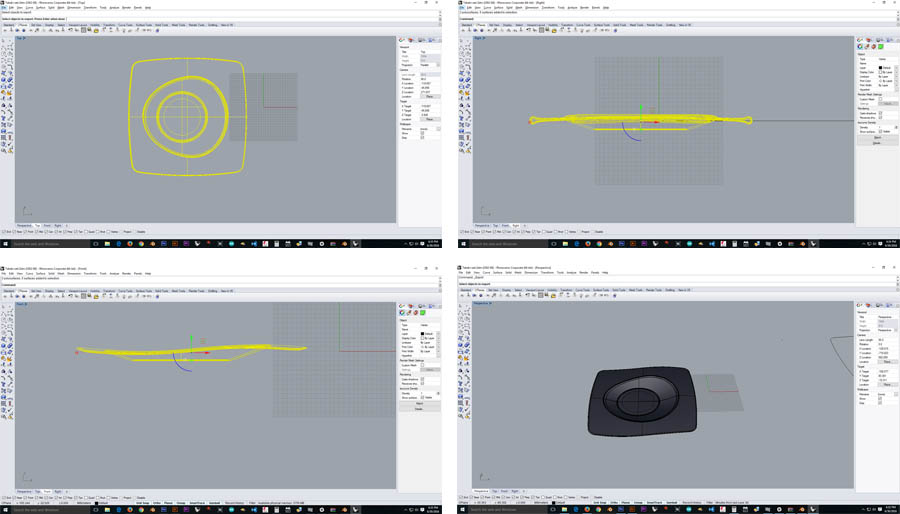
After finishing the design export in to .stl format
Download Rhino file from here
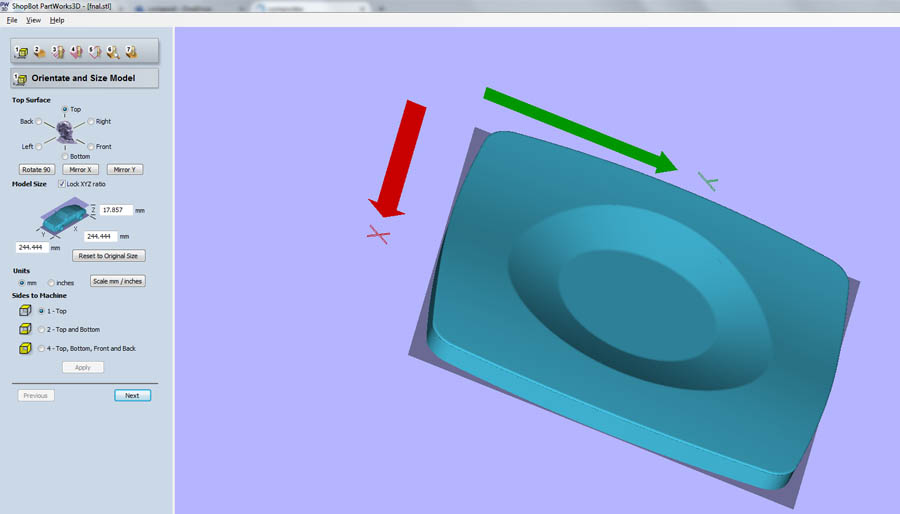
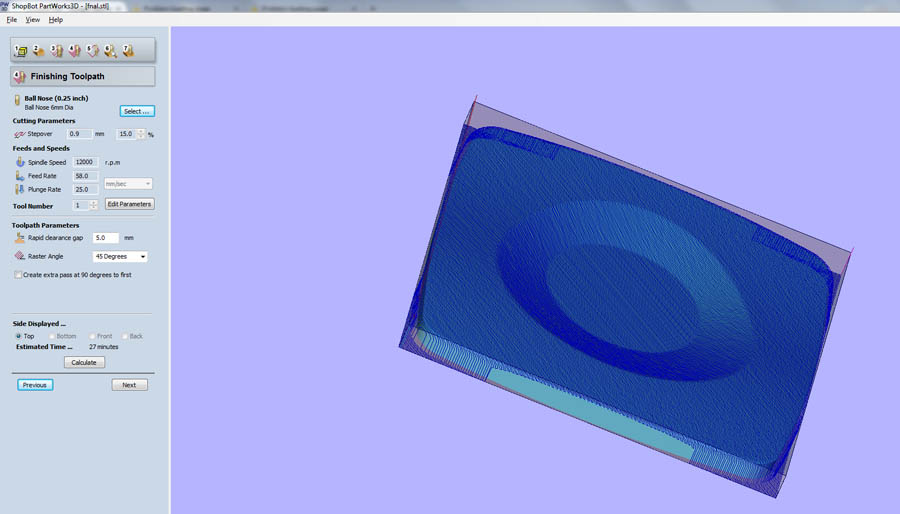
Generating Tool Path
software: Partworks
Then open .stl file in using Partworks software for generating tool path . Then sent it to the Shopbot milling machine to mill the foam
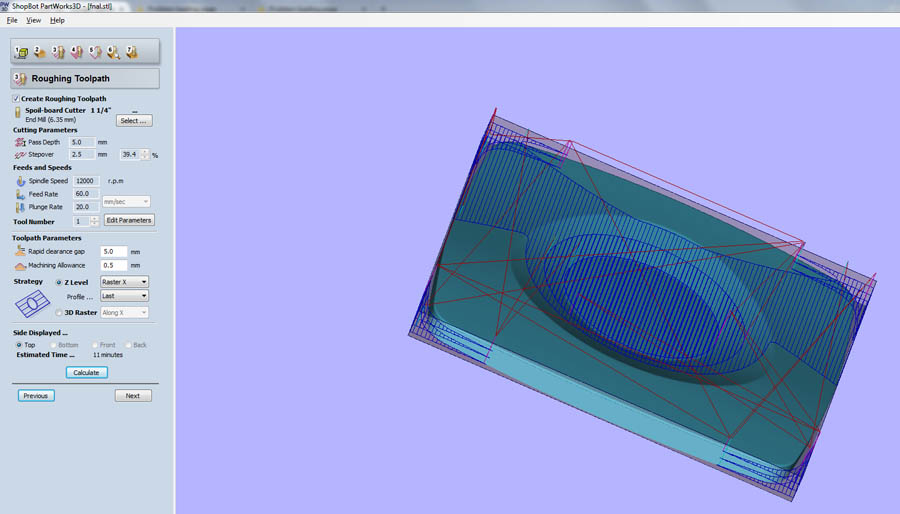
Setting for Roughing, 1/4 straight, twin flute, up cut tool
Setting for finishing, using 1/4th ball nose, upcutting, super fast milling
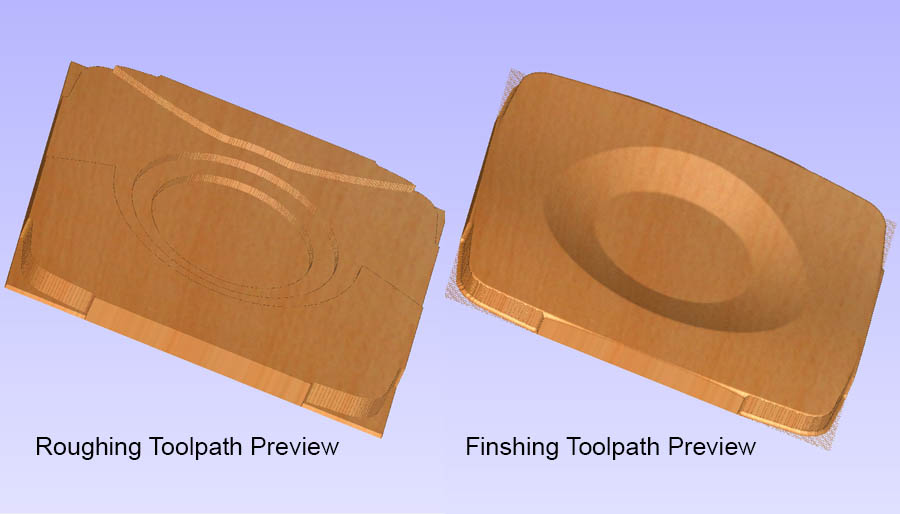
Software preview of Roughing Toolpath and Finshing Toolpath
Milling the mold
Macine: Shopbot
After generating the generating tool path using Partworks, I sent it to the Shopbot milling machine to mill the foam.
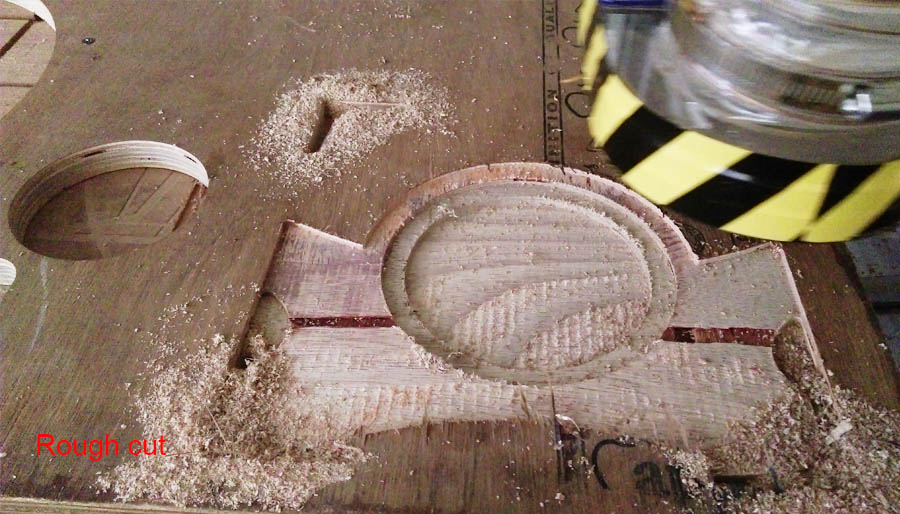
I choose 1/4 straight, twin flute, up cut bit for Rough Cut. It is taken 11 Minutes to complete Rough Cut
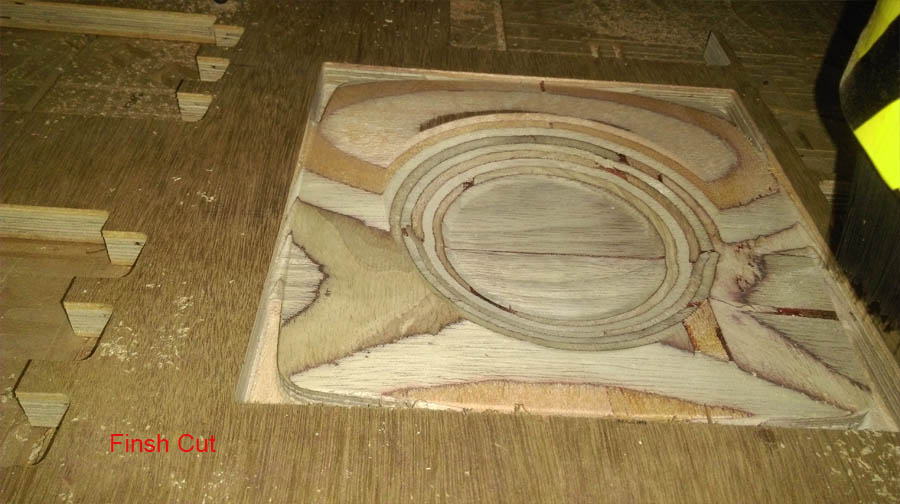
After completing Rough Cut, I change bit to 1/4th ball nose, up cut, and its take 27 Minutes complete the Fine Cut.
Output from Shopbot

Problem
During the mill, in some place shopbot moves to more depth than my design. my designs total height is 18 mm, I am using 20mm plywood to make my mould
I can't understand why this happened, my colleague yadu say may be this problem due to my design file. My design is made on a surface,
so he suggests me to change this design into solid,
after changing the design into solid mill again got perfect out
Preparing the composite
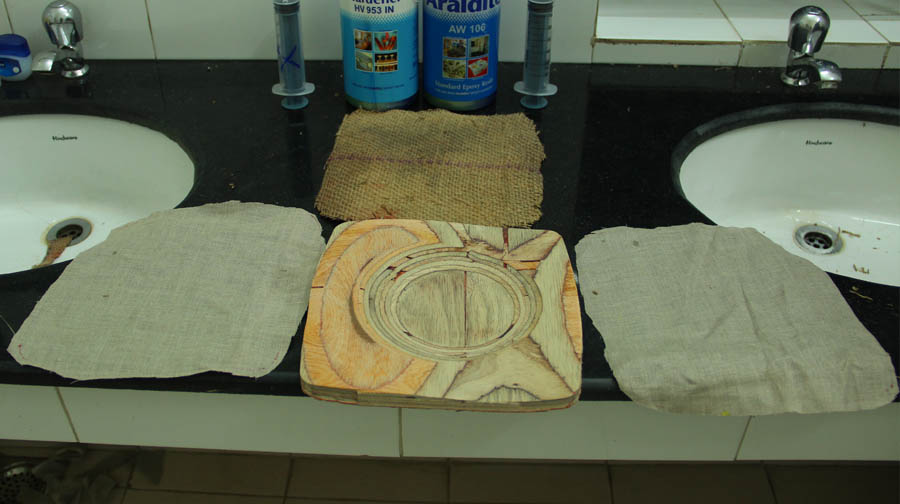
Now my Mould is ready next I want to add composite to this mould.I choose Nylon and Jute as fibers in my composite, and I decided to use two layers of Nylon and a layer of Jute in between them.
Fiber materials cut in a suitable size - two pies of Nylon and a pies of Jute
Choice of Resin
For the resin, I choose 2 Part epoxy ARALDITE Multipurpose epoxy resin. This is a two part epoxy, got a work long time, takes about 24 hours to set at room temperature (sets faster and stronger as the temperature goes high). It's nontoxic (means if touches your skin it's okay unless you have an allergic reaction to it, also means can be handled with no gloves?). Before setting it can be washed off with just water, it doesn't make the irritating smell.
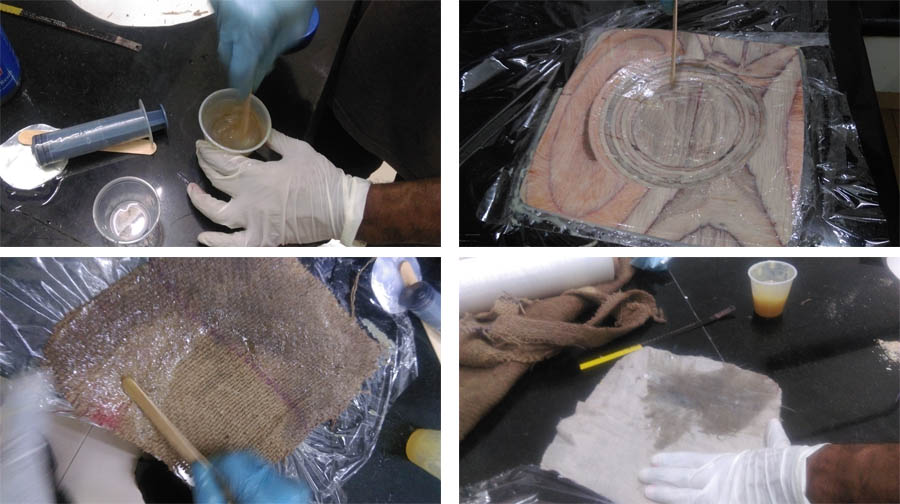
Then I Mix the resin and Hardener Using two large syringes to measure equal volumes into a mixing cup , and put on the fiber, Resin and Hardener in 1:1 volume ratio.
.
I desided to use packaging tape as release agent on my mold . First, I try Food film as release agent but it was not smooth to use, so I decided to use packaging tape
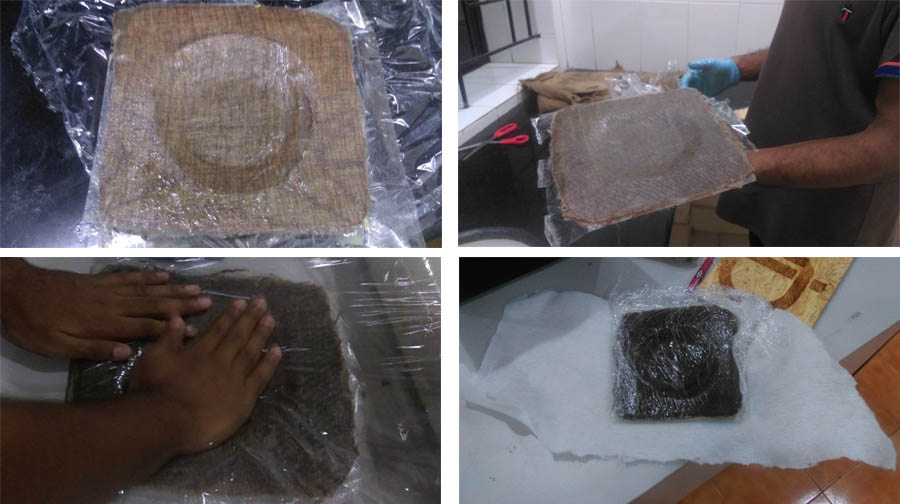
First, I made a coat of Epoxy over the release agent and then lay the cloth on top of it, then made layers of Epoxy on both sides of jute using paint stirrer
Then place two layers of Nylon and a layer of Jute in between them into my mould.
.
Then mould covered with Food Film
.
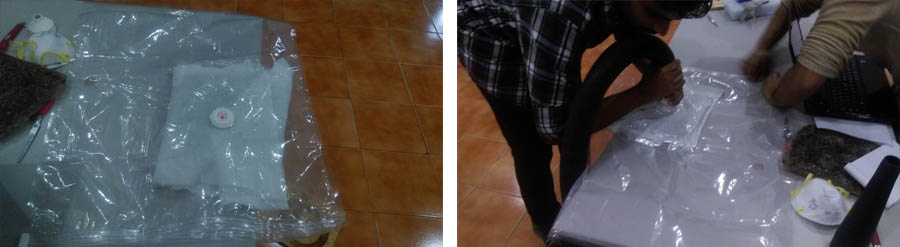
Vaccum Bagging:
Then I put my mold into vacuum bag; and I use vacuum cleaner compress the layers together and to squeeze out any trapped air on the vacuum bag
.Then Sealing the bag
.
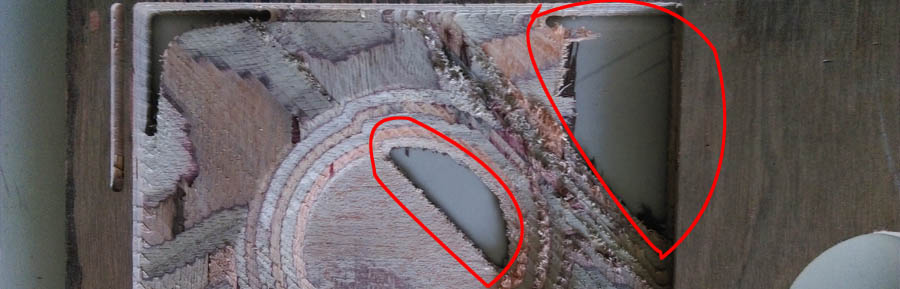
After 24 hours i separate the fiber layers form mold
.
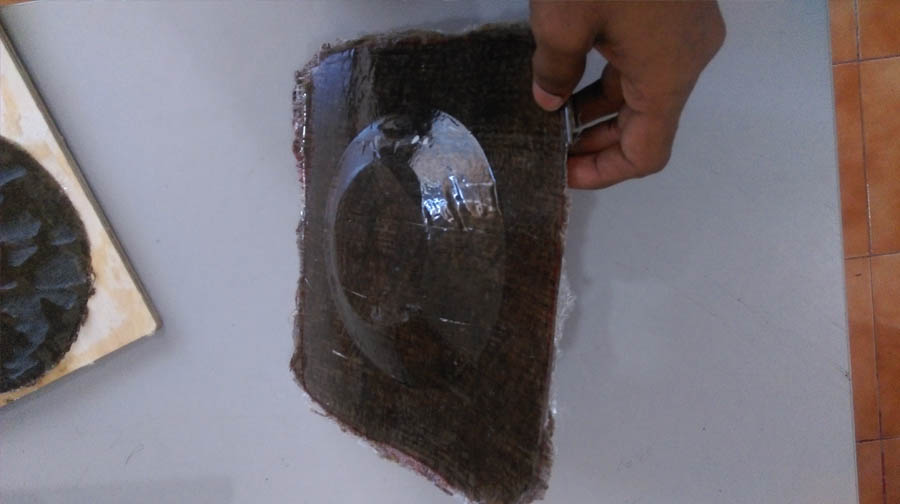
Then cut the excess fiber.
Result
.