Week Seven: Computer-Controlled Machining
Love at first sight
CNC Milling Machine
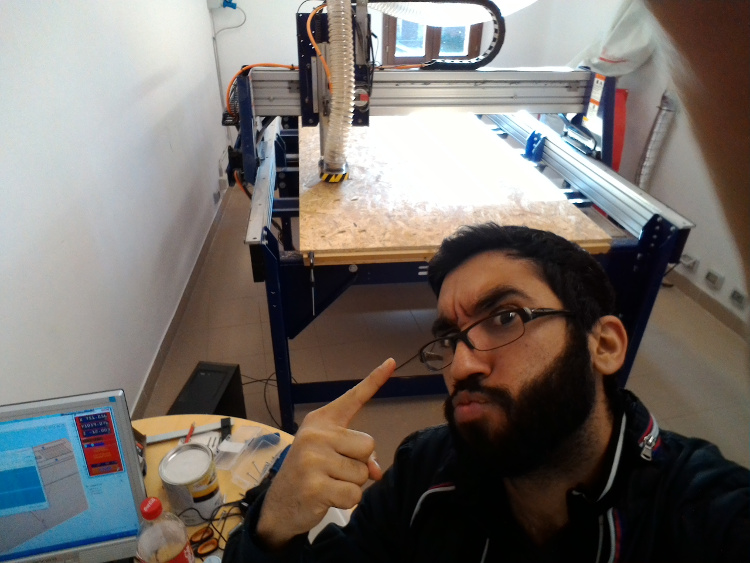
Oh boy, this week was really amazing, I had such a blast working not only with the "Full Size" ShopBot PRSalpha but also with one of the most challenging Softwares for me to learn to use.
The assignment for this week was to make something BIG, "bigger than a chair" like Fiore loves to say, words which I took literally. And so it was set, I wanted to go big or go home, but what I was supposed to design and build? I had no experience nor the skills I once thought are needed to be able to finish this kind of job.
Where to start?
-First I needed to know exactly what to design, I started my search on the reference websites Opendesk and AtFAB to get some inspiration. I realized a chair was to maintream and also it would not be funny if I make a chair bigger than a normal chair, also, due to the time frame it could not be possible to do something really fancy.After thinking for a while I came with the amazing idea(at the time) of building a desk for myself. the reasons for building a desk where simple: 1) I hated the one I have in my room and 2) I wanted to be modular, foldable to save space when not using it and easy to carry or get rid of it.
Neither Opendesk or AtFAB had something like what I had in mind so I started deepend my search throughout the internet and found astonising design just like I had imagined.
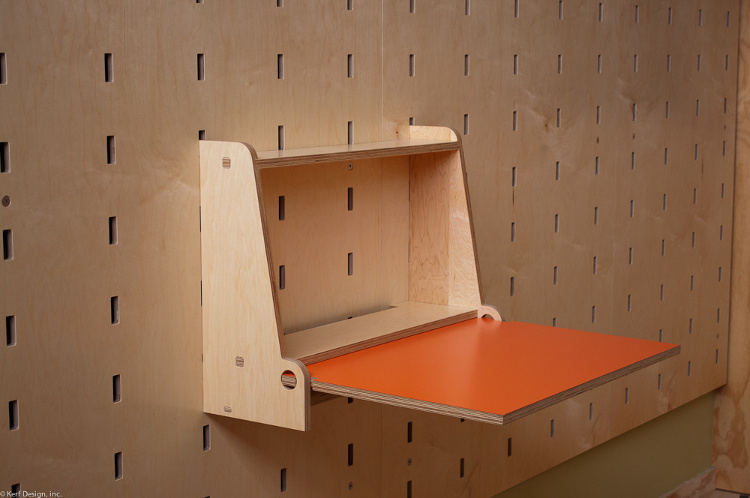
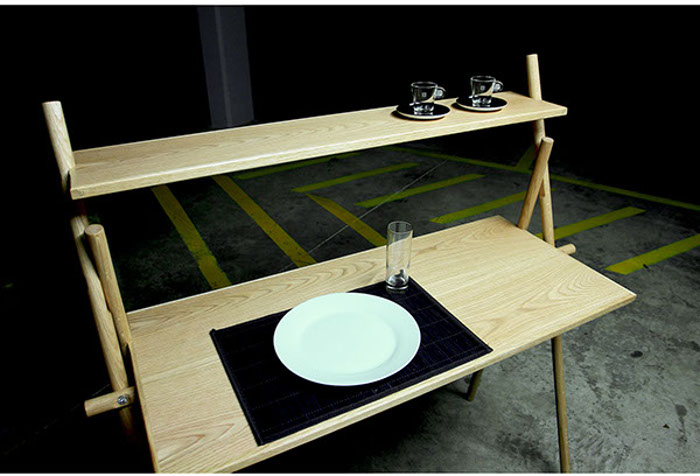
Good design, not space saving though.
again amazing design and no tools needed but I can't drill holes in a rented room.
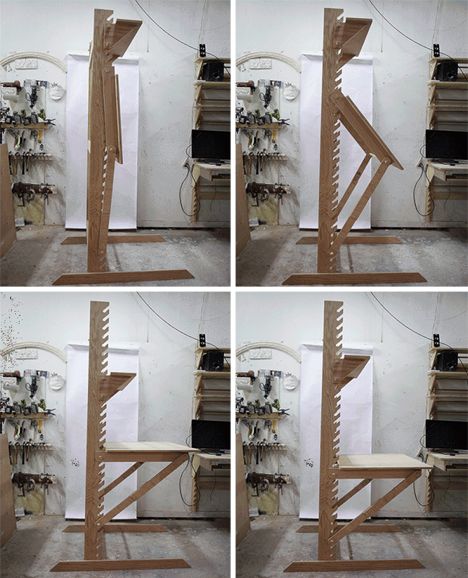
This model didn't need to be nail to the wall but it was actually the wall sized plate that required to be nailed to the wall
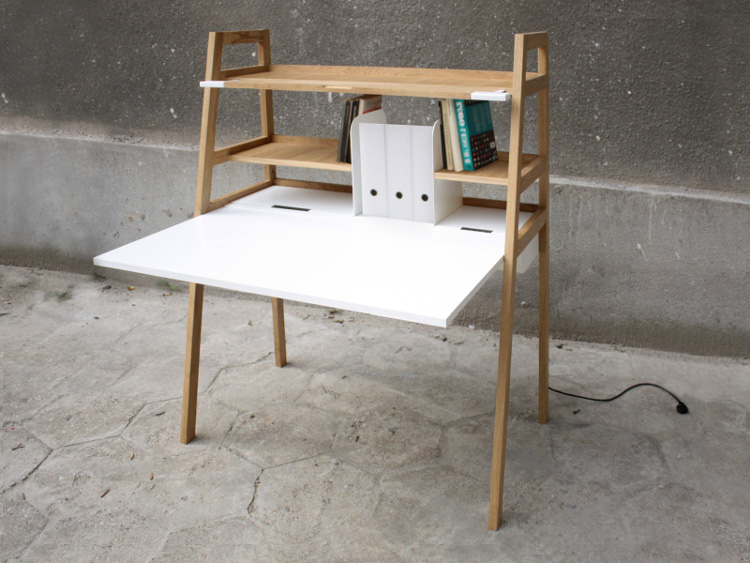
Getting closer, first finalist.
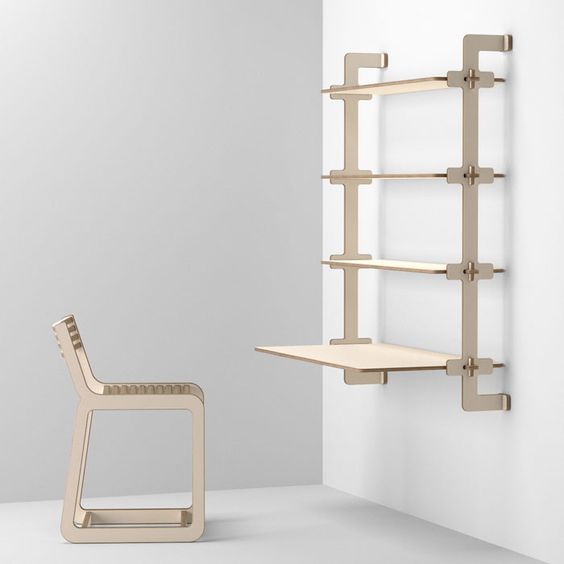
Aaaaaaaannnddddd... we have a WINNER!!!.
Choosing the 3d modelling software
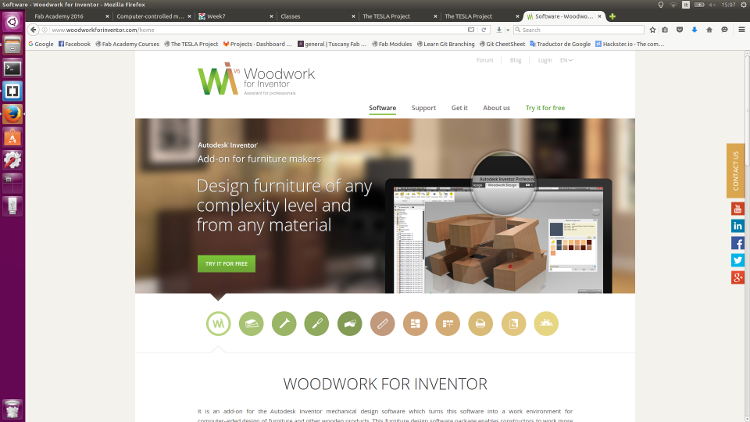
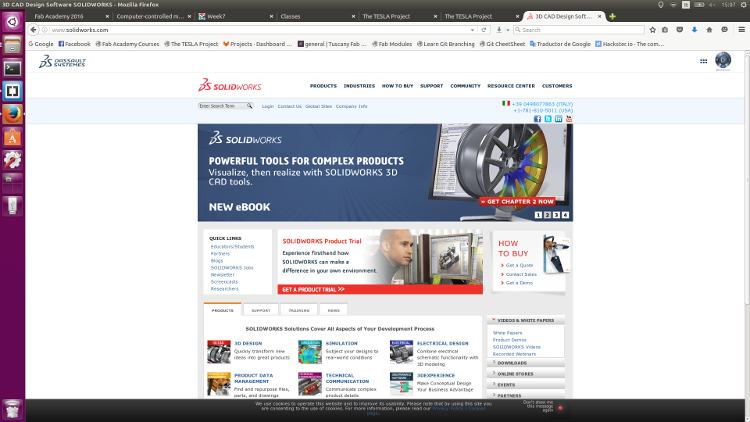
The big issue?????... I wanted to use a software that is user friendly, not to hard to handle, good GUI and compatible with other programs out there. Since I can remember, I always wanted to learn to design in 3D but as soon as I see the interface and the many options and buttons and get stuck trying to do a simple task, I would just press Alt+F4 and be done with it, this week was no different.
I was able to extrude some.
This is as far as I got.
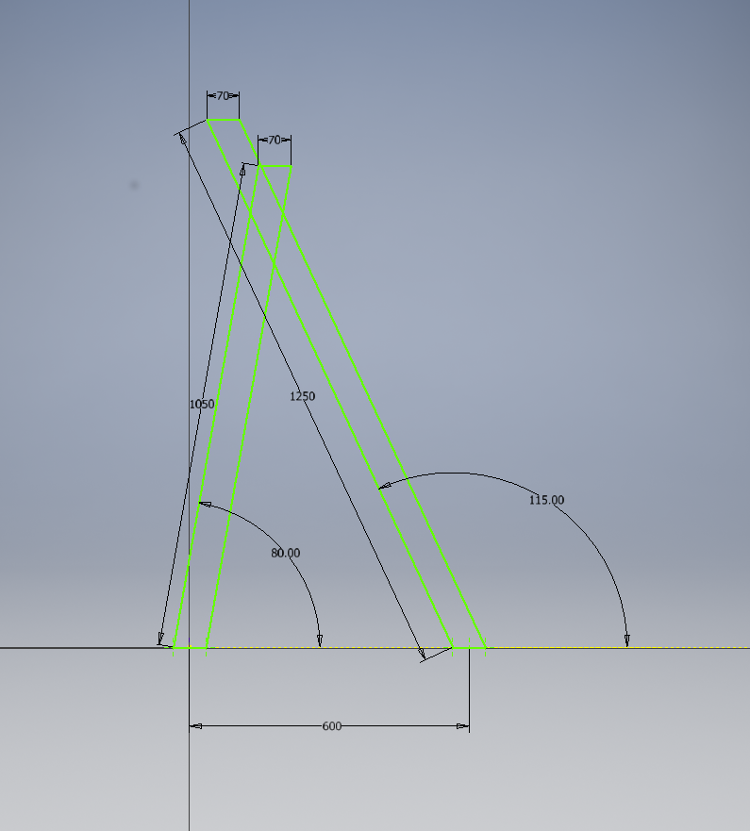
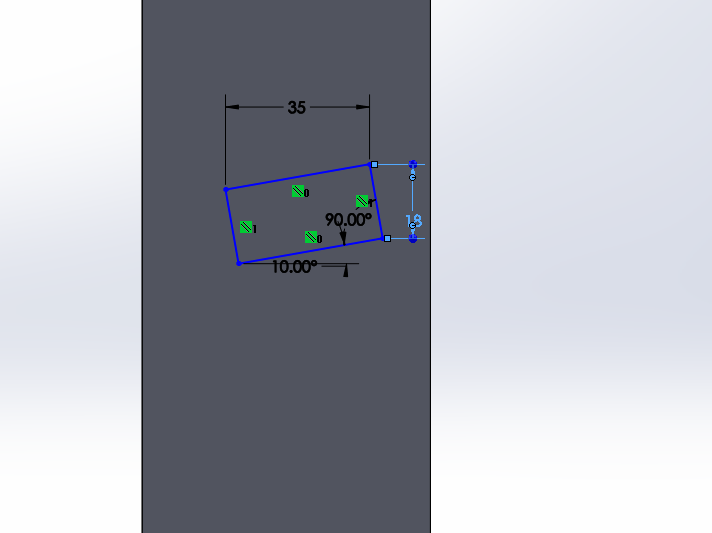
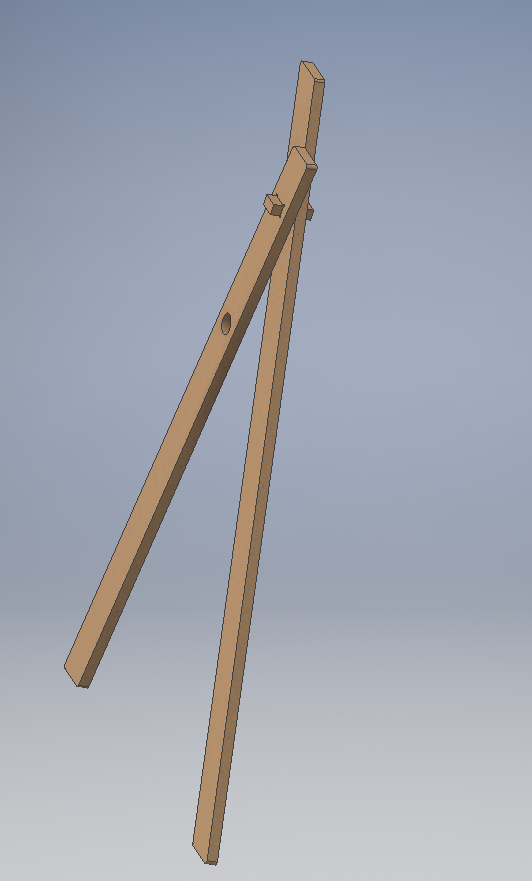
Drawing the initial lines for the back and front leg.
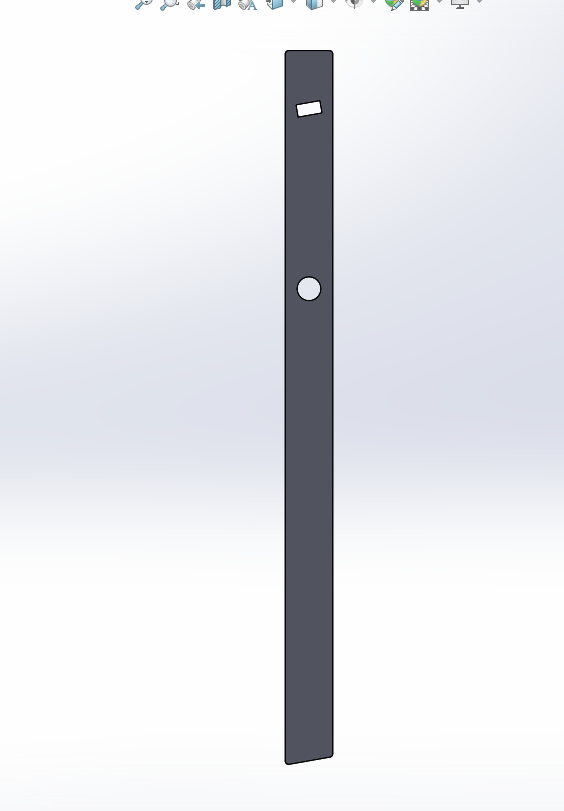
Extruding 18mm to sync with the plywood sheet and cutting holes.
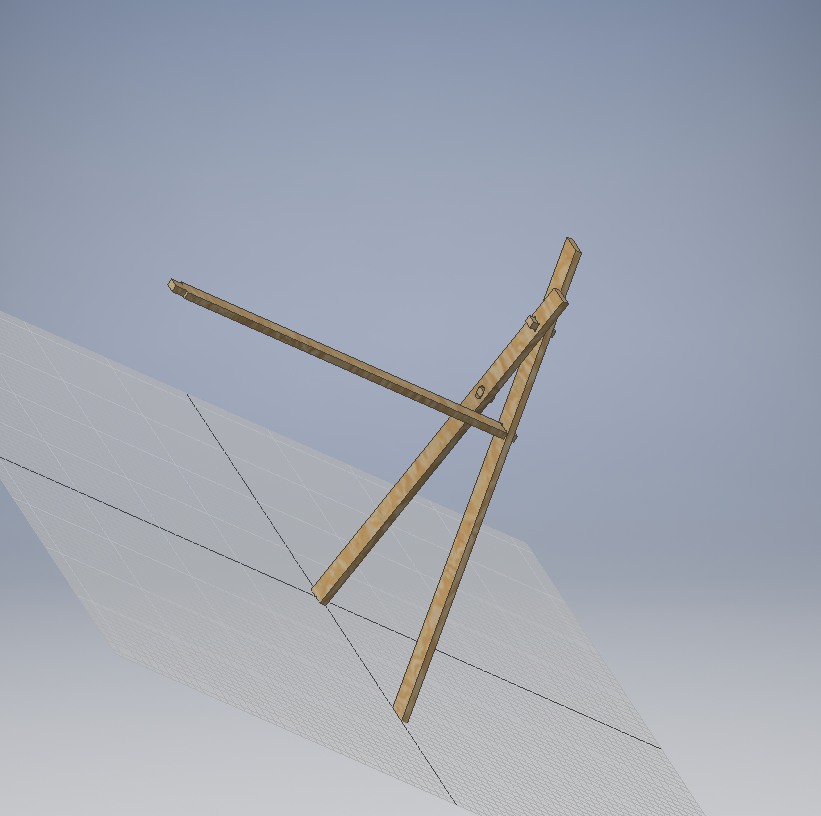
Changing the material to something similar to wood and designing the support. .
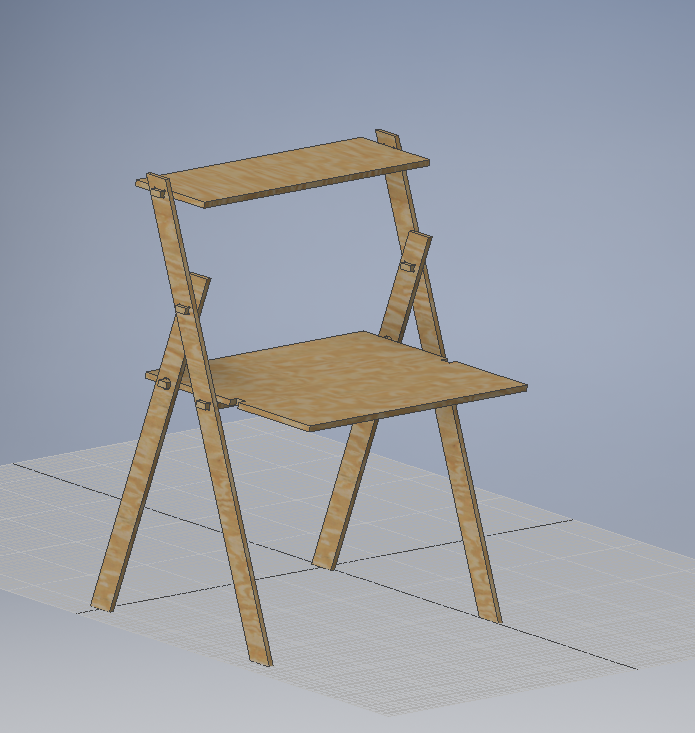
My desk already looking decent.
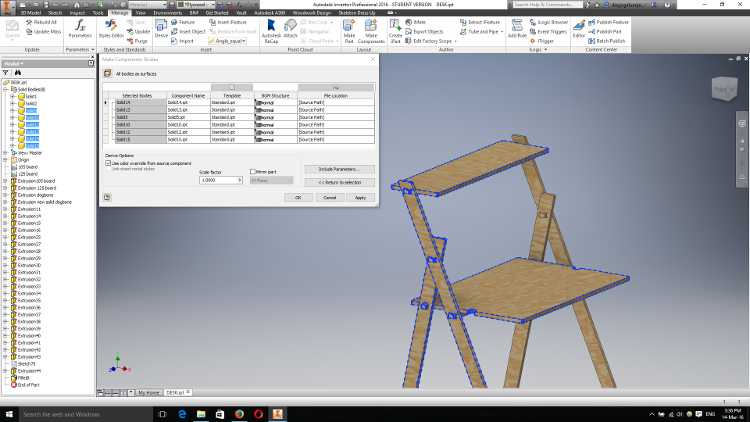
Choosing the solid to form the assembly.
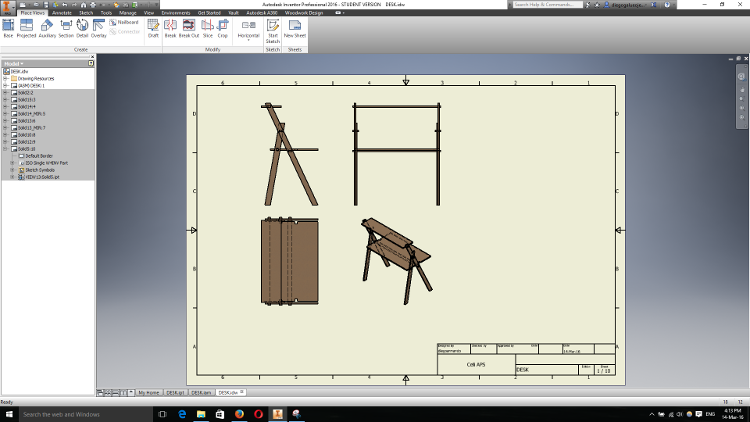
Finishing the design with 2D drawings.
Illustrator and Laser Cut Test
Finishing the model in Inventor, I exported individualy the solids of the desk in .DWG to Adobe Illustrator to set them in the right way to save space and use only what is needed, check for measurement and, change color and size of the line to send it to the laser cutter and to export it to VCarve Pro in an .DXF file.Before going to build the real desk, I was advised to run a model test in the laser cutter to see if my design would hold in 1:1 scale. So I did and also added a cool feature to the desk.
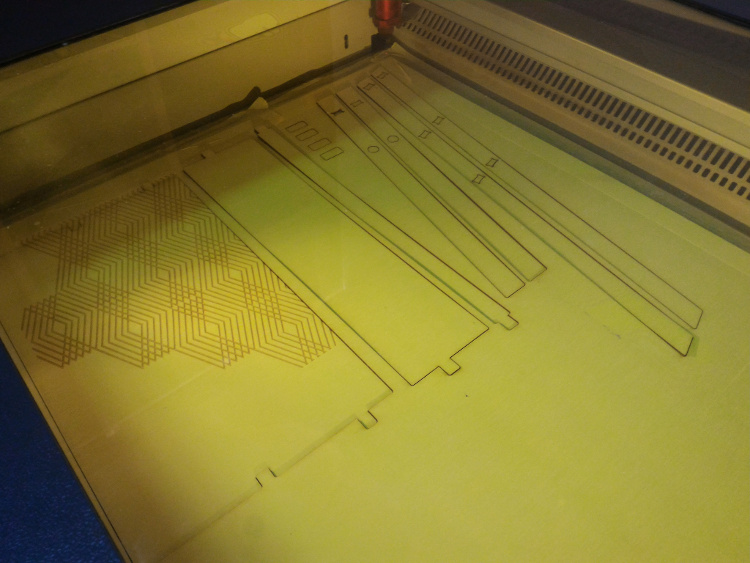
I have a soft spot for geometric patterns.
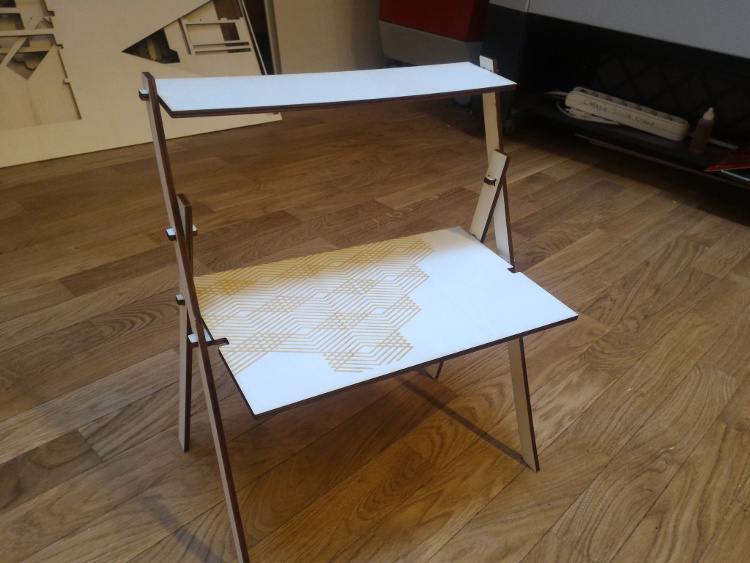
It looked better than expected but still not the real deal.
VCarve Pro Software
Finally, the last part of the assignment arrived to complete the task, I started by using a new software called VCarve Pro to import my 2D design from Illustrator to do routing operations such as Profiling, Pocketing, Auto-Inlays and Drilling. Not only I learned how to handle this software in the right manner, Fiore additionally taught me everything needed to know about safety use of the machine.
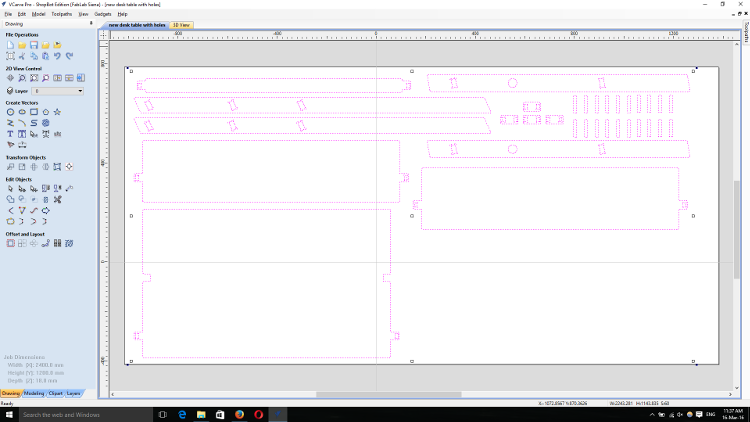
First, fixing the size of the playwood and placing the pieces inside the area.
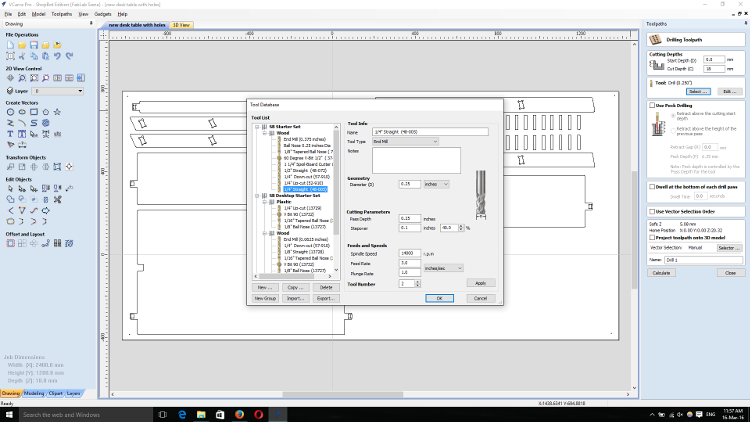
Second, setting the end mill to the right diameter.
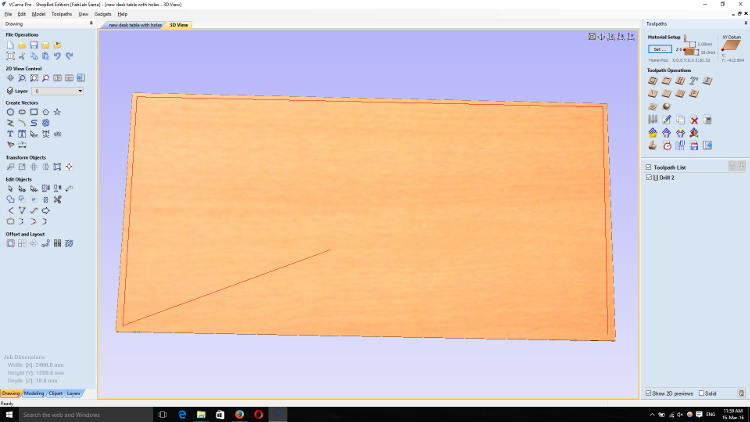
Third, drilling four holes on the edges of the plywood to screw it to the sacrificial layer.
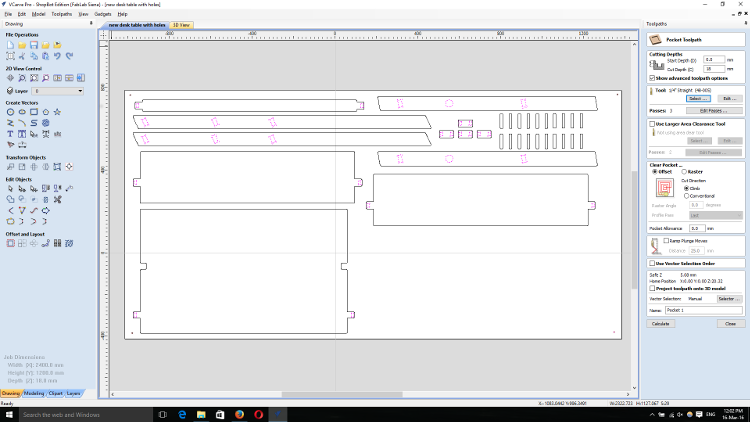
Fourth, marking the pockets of the drawing for drilling.
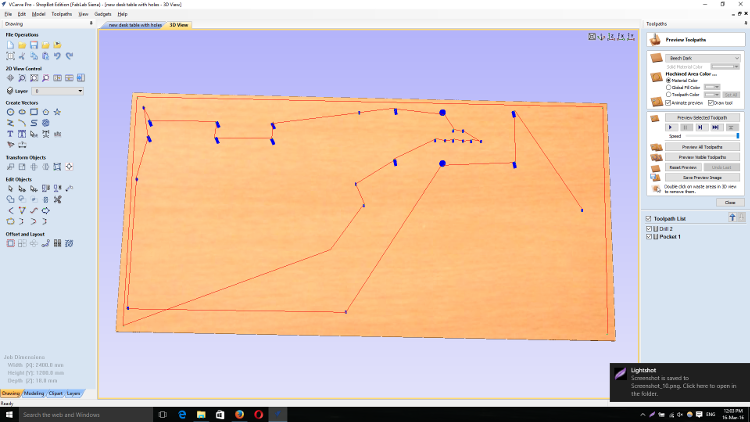
Fifth, checking the path to see if its correct.
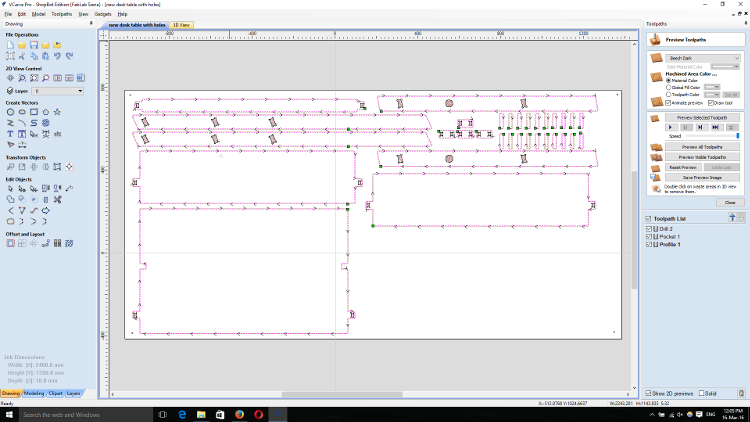
Finally, profiling the lines drawing before starting the CNC machine.
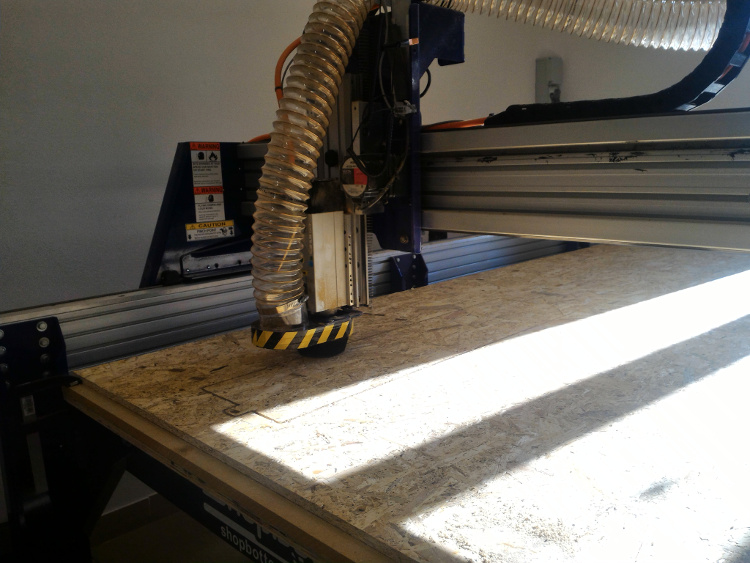
Making the Shopbot work and seeing the final result
This is the part where you push "START" and sit down trying to relax, hoping you didn't make a mistake with the measurement or setting the machine with the right values. Lirerally, something happened, the thickness of the plywood was off by 2 millimeters and the poor sacrificial layer suffered the consecuences but only for 30% of the time, I saw the problem and decided to stop the machine to enter the new value change what it needs to be cut and resume it all.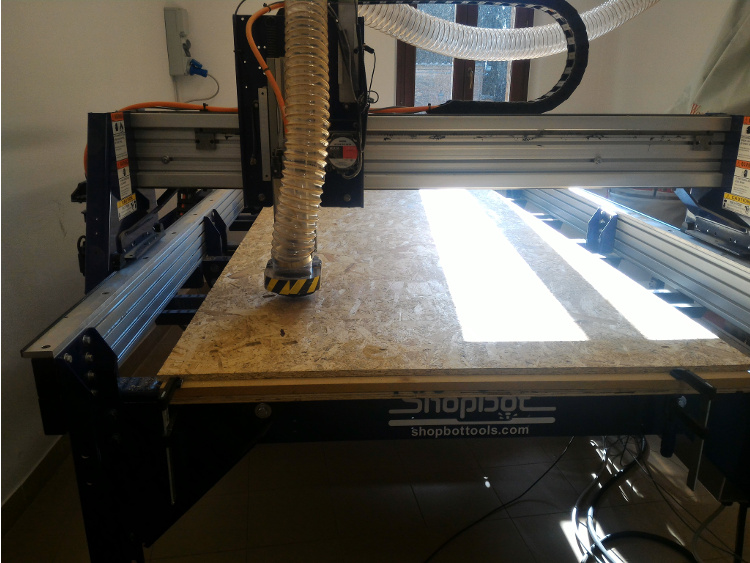
Drilling the pockets.
Cutting the pieces.
And Finally......here it is, My modular/foldable ultra chick poor man's desk
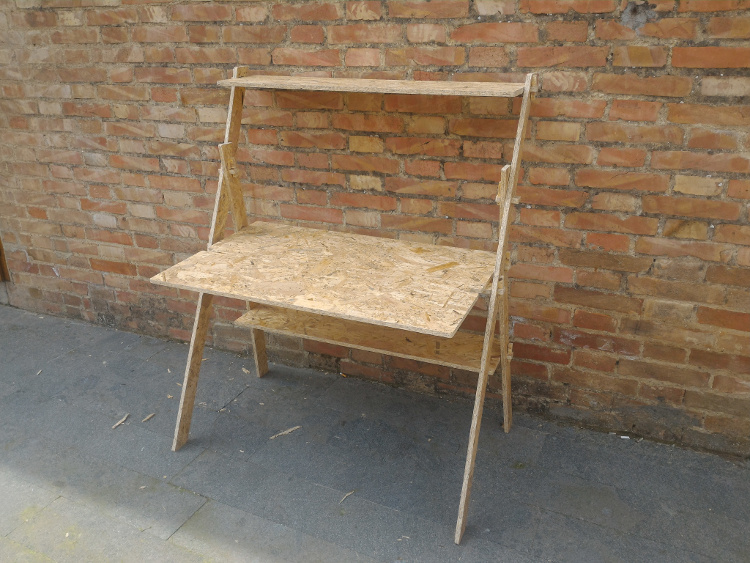
WOW
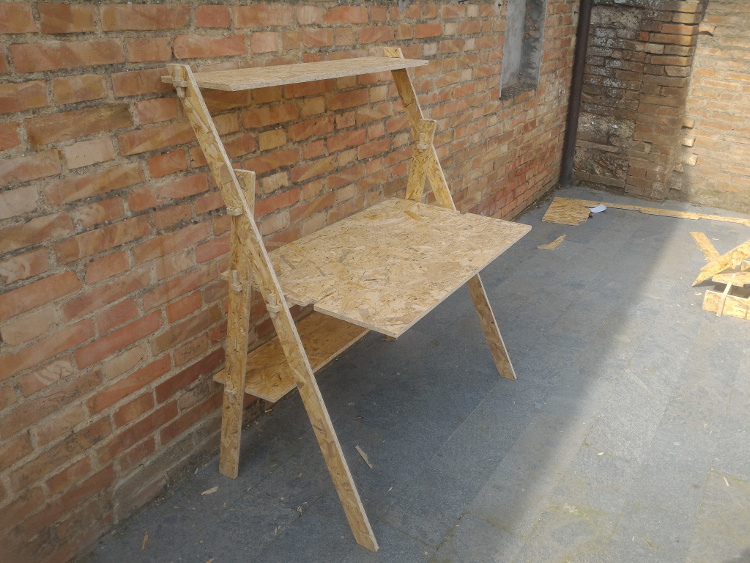
SUCH SKILL
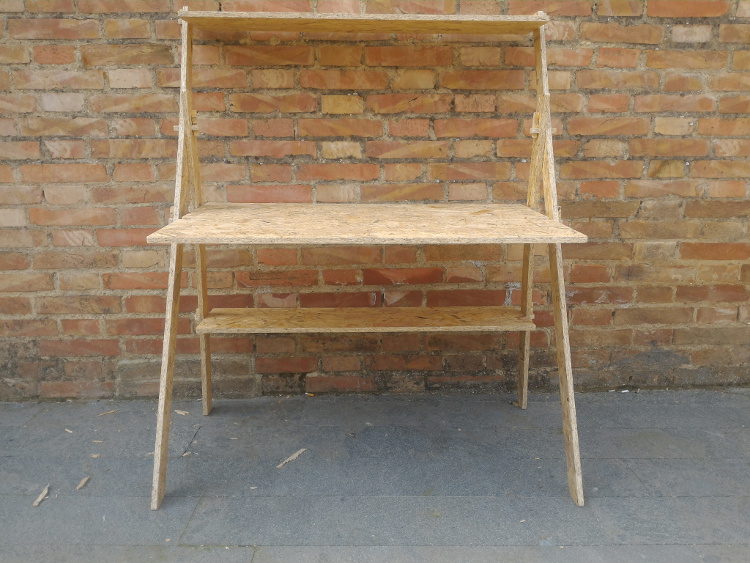
MUCH WOOD
Files