an intuitive handrip coffee brewer
So here we are, the last stage. For my Fab Academy graduation project, I wanted to build a dumb hand drip coffee brewer (yes I am the anti-fan of the term " smart device " )
As a coffee geek, I really enjoy hand drip brewing because you can adjust so many different things to make your brewing unique. Besides from the bean itself, there are two major parameter that many coffee geek would like to know about their brown liquid - temperature of the water & bean-water composition (in weight).
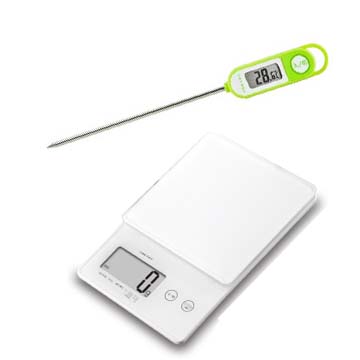
Now most of the hand brewing hobbyists make use of a thermometer and a kitchen scale to do the job. The combination is OK, yet there are at least two things I think can be much improved. First, most guys use contact thermometers, it takes few seconds to read the temperature and the contact itself actually takes heat away from the water. Second, for most of the kitchen scales, they are not designed for coffee brewing, which means you cannot set any script-ish parameter with the scales. There are some very fancy coffee brewing scale in the market, but to me, it is an overkill for it only takes the grams when it actually can do something more powerful with the hardware.
So here is my project:
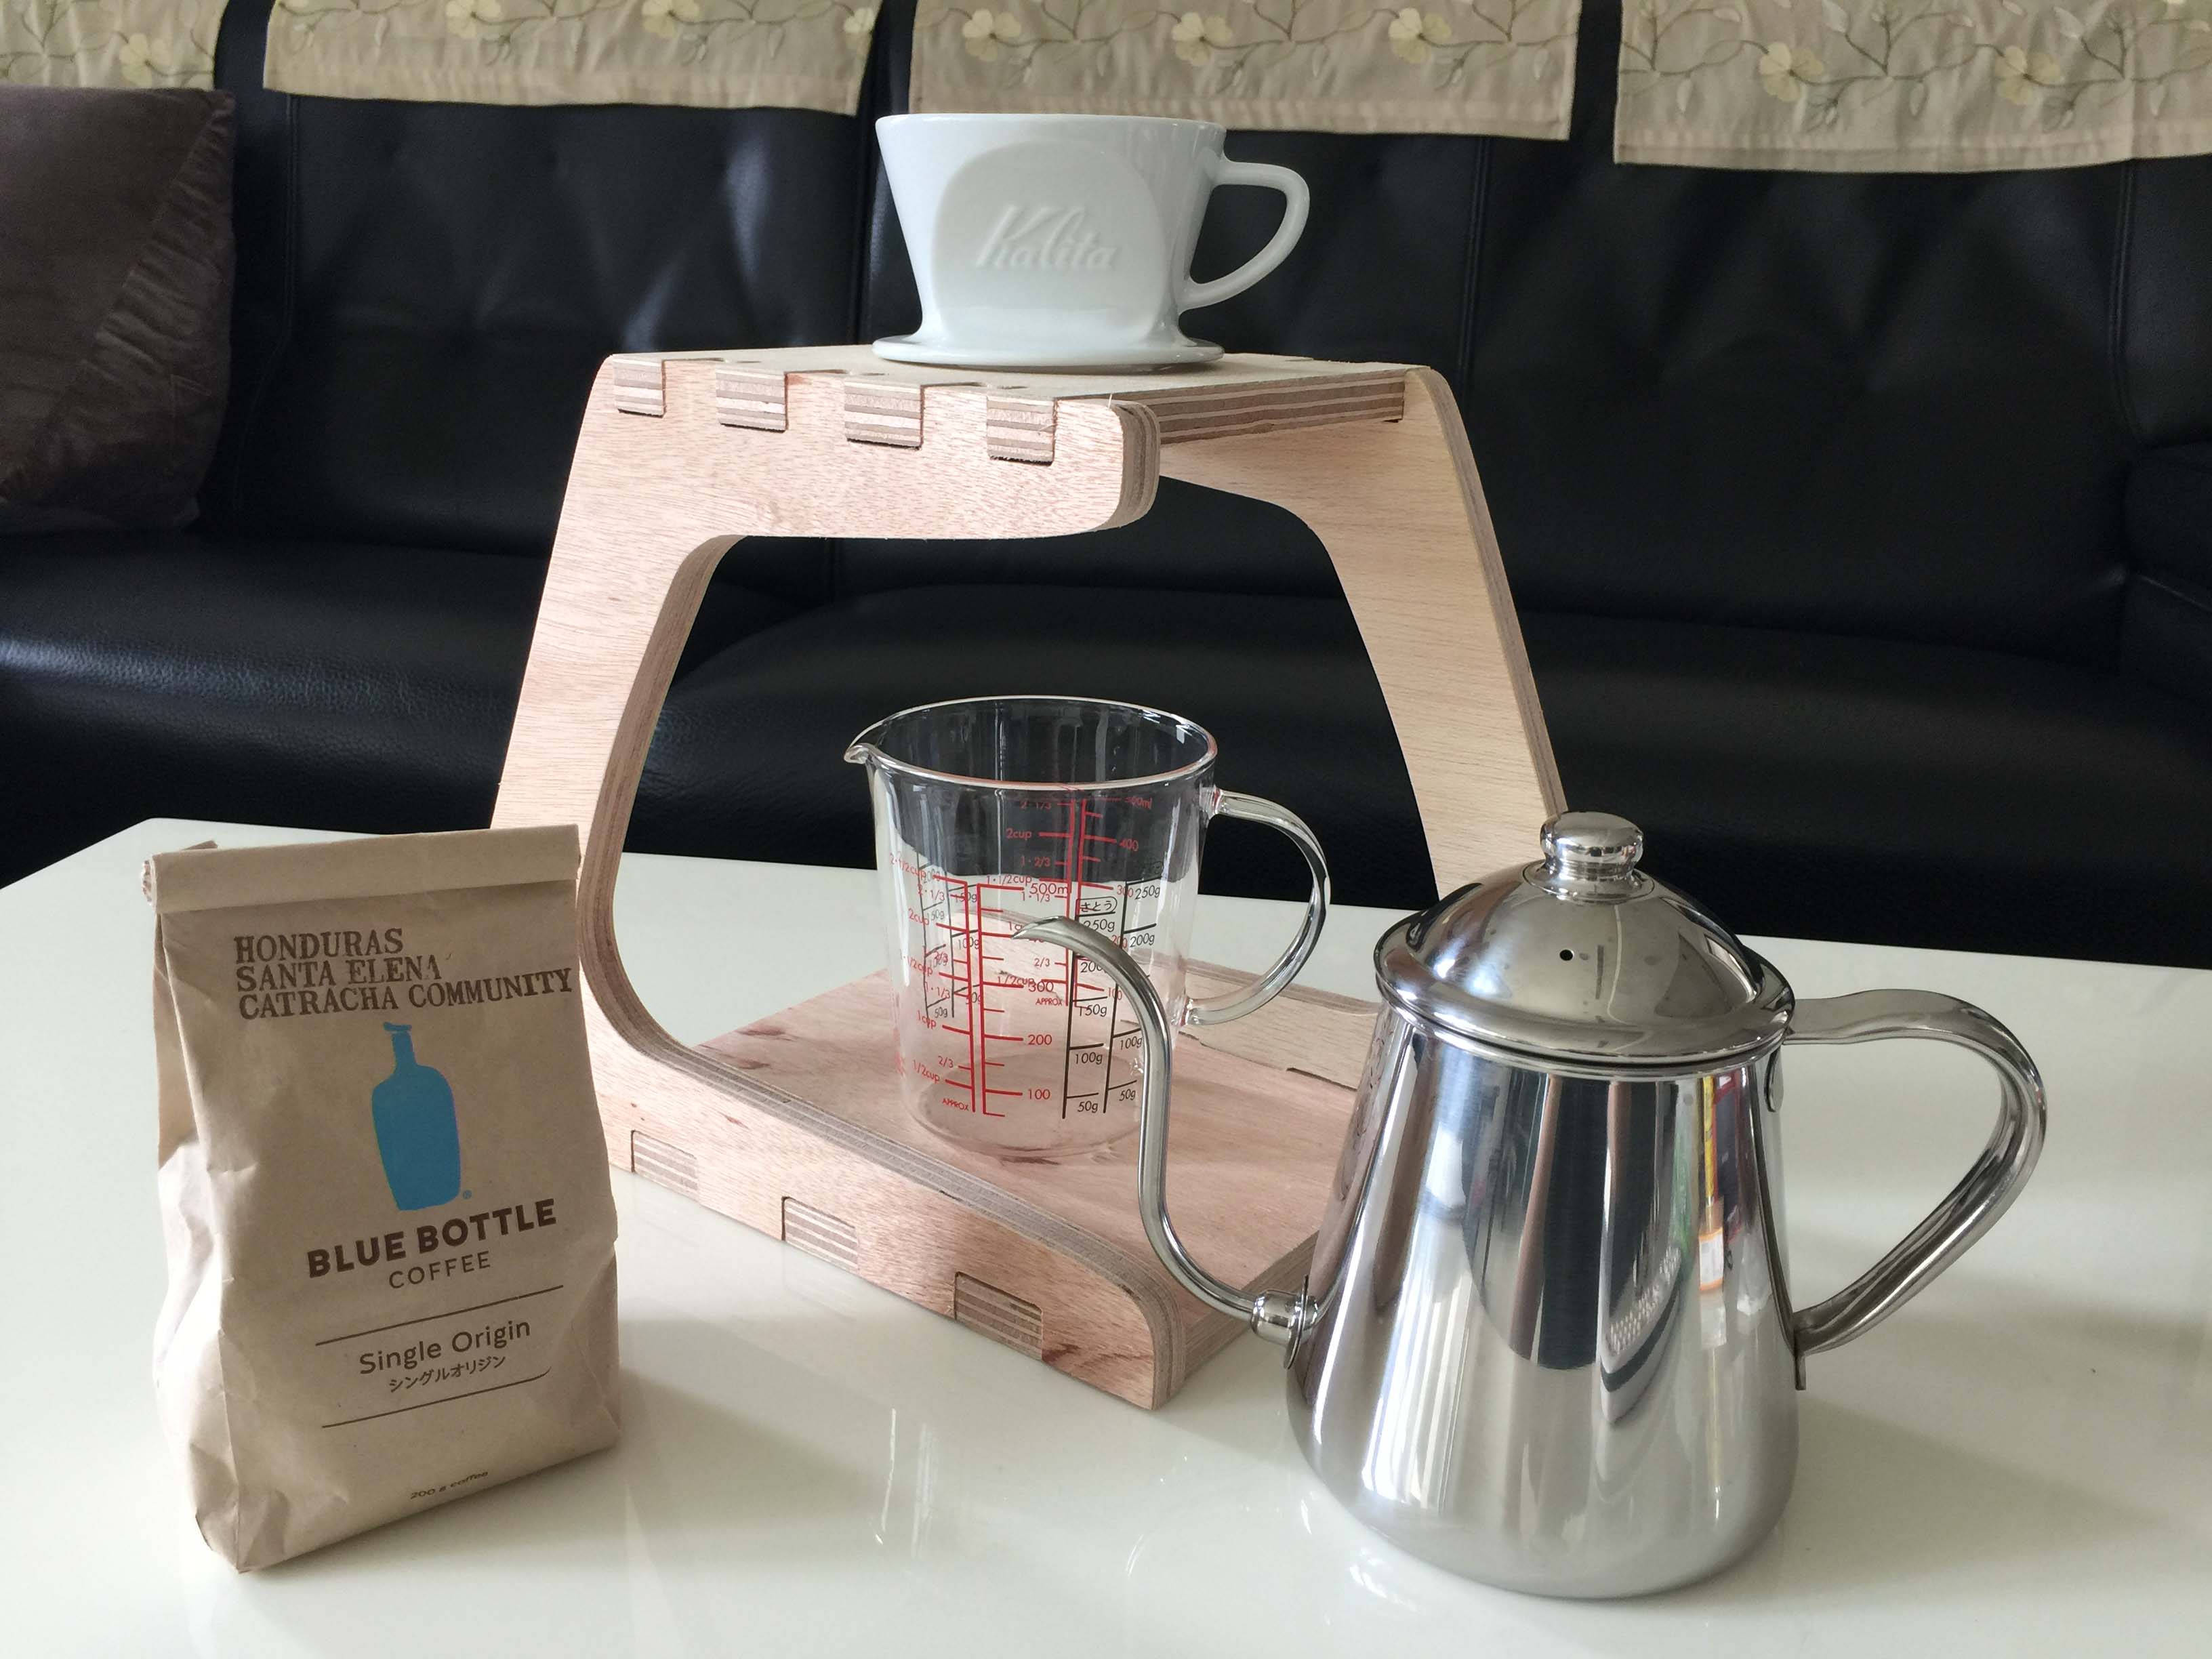
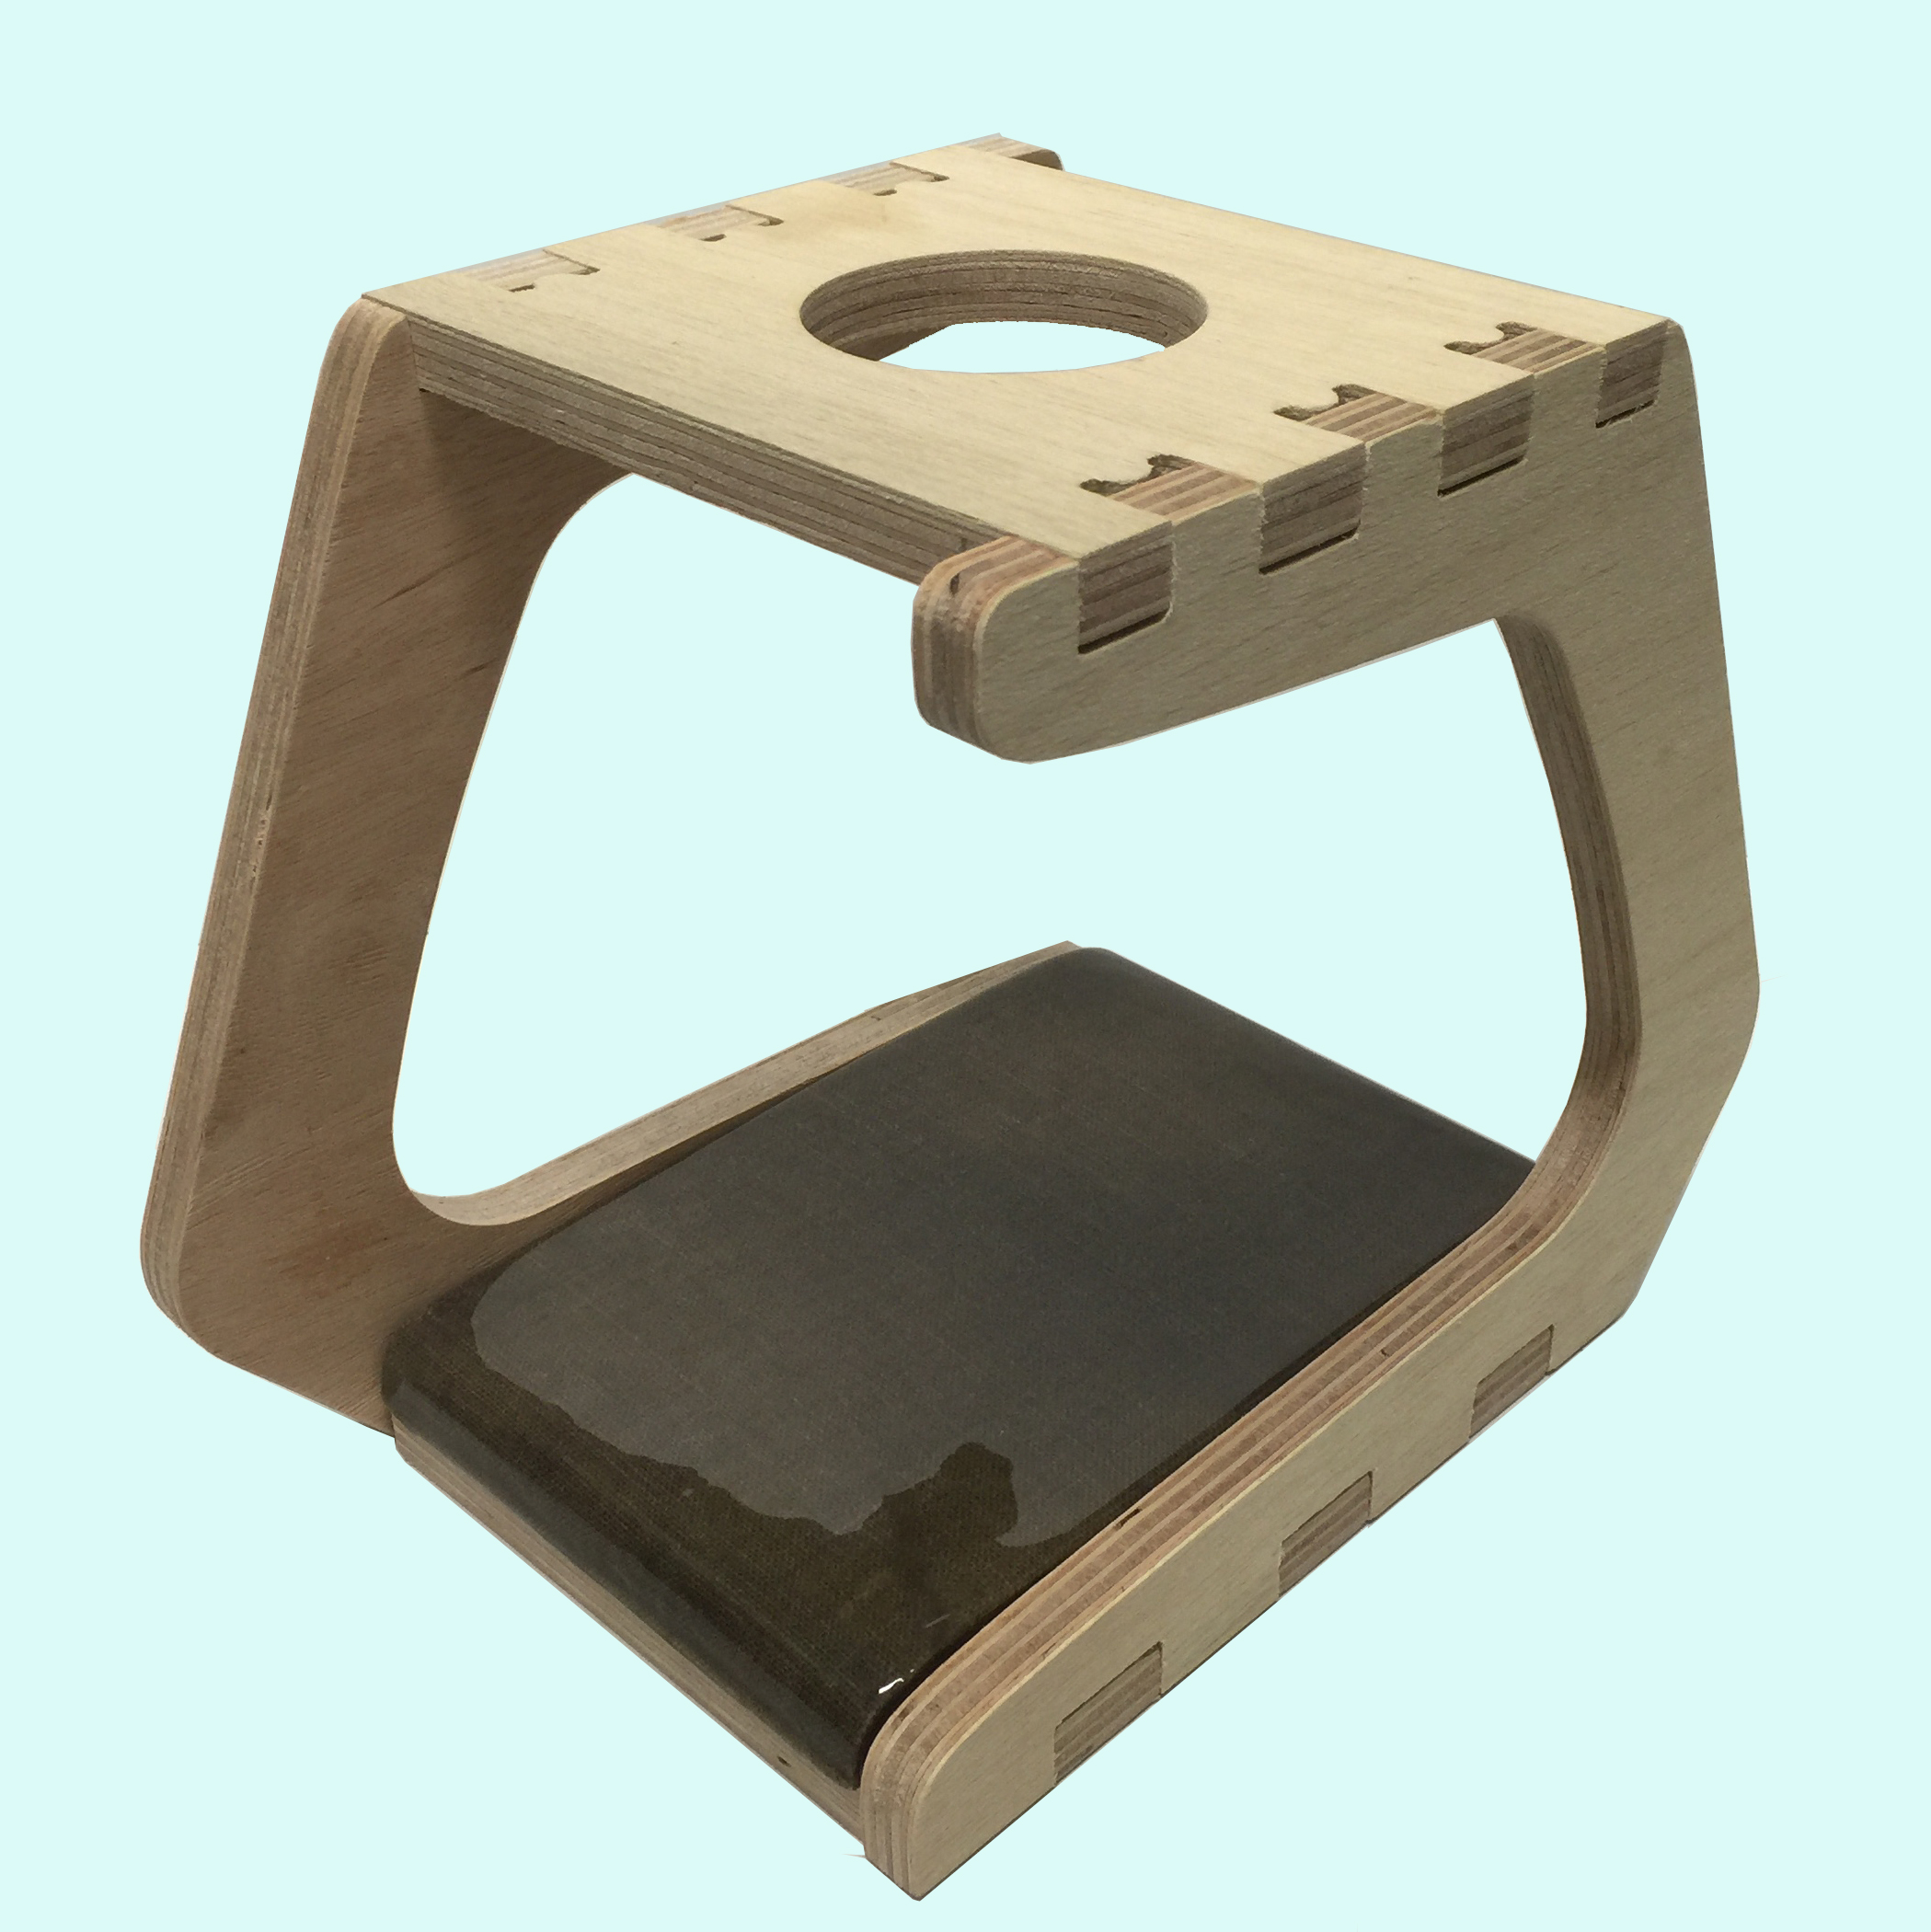
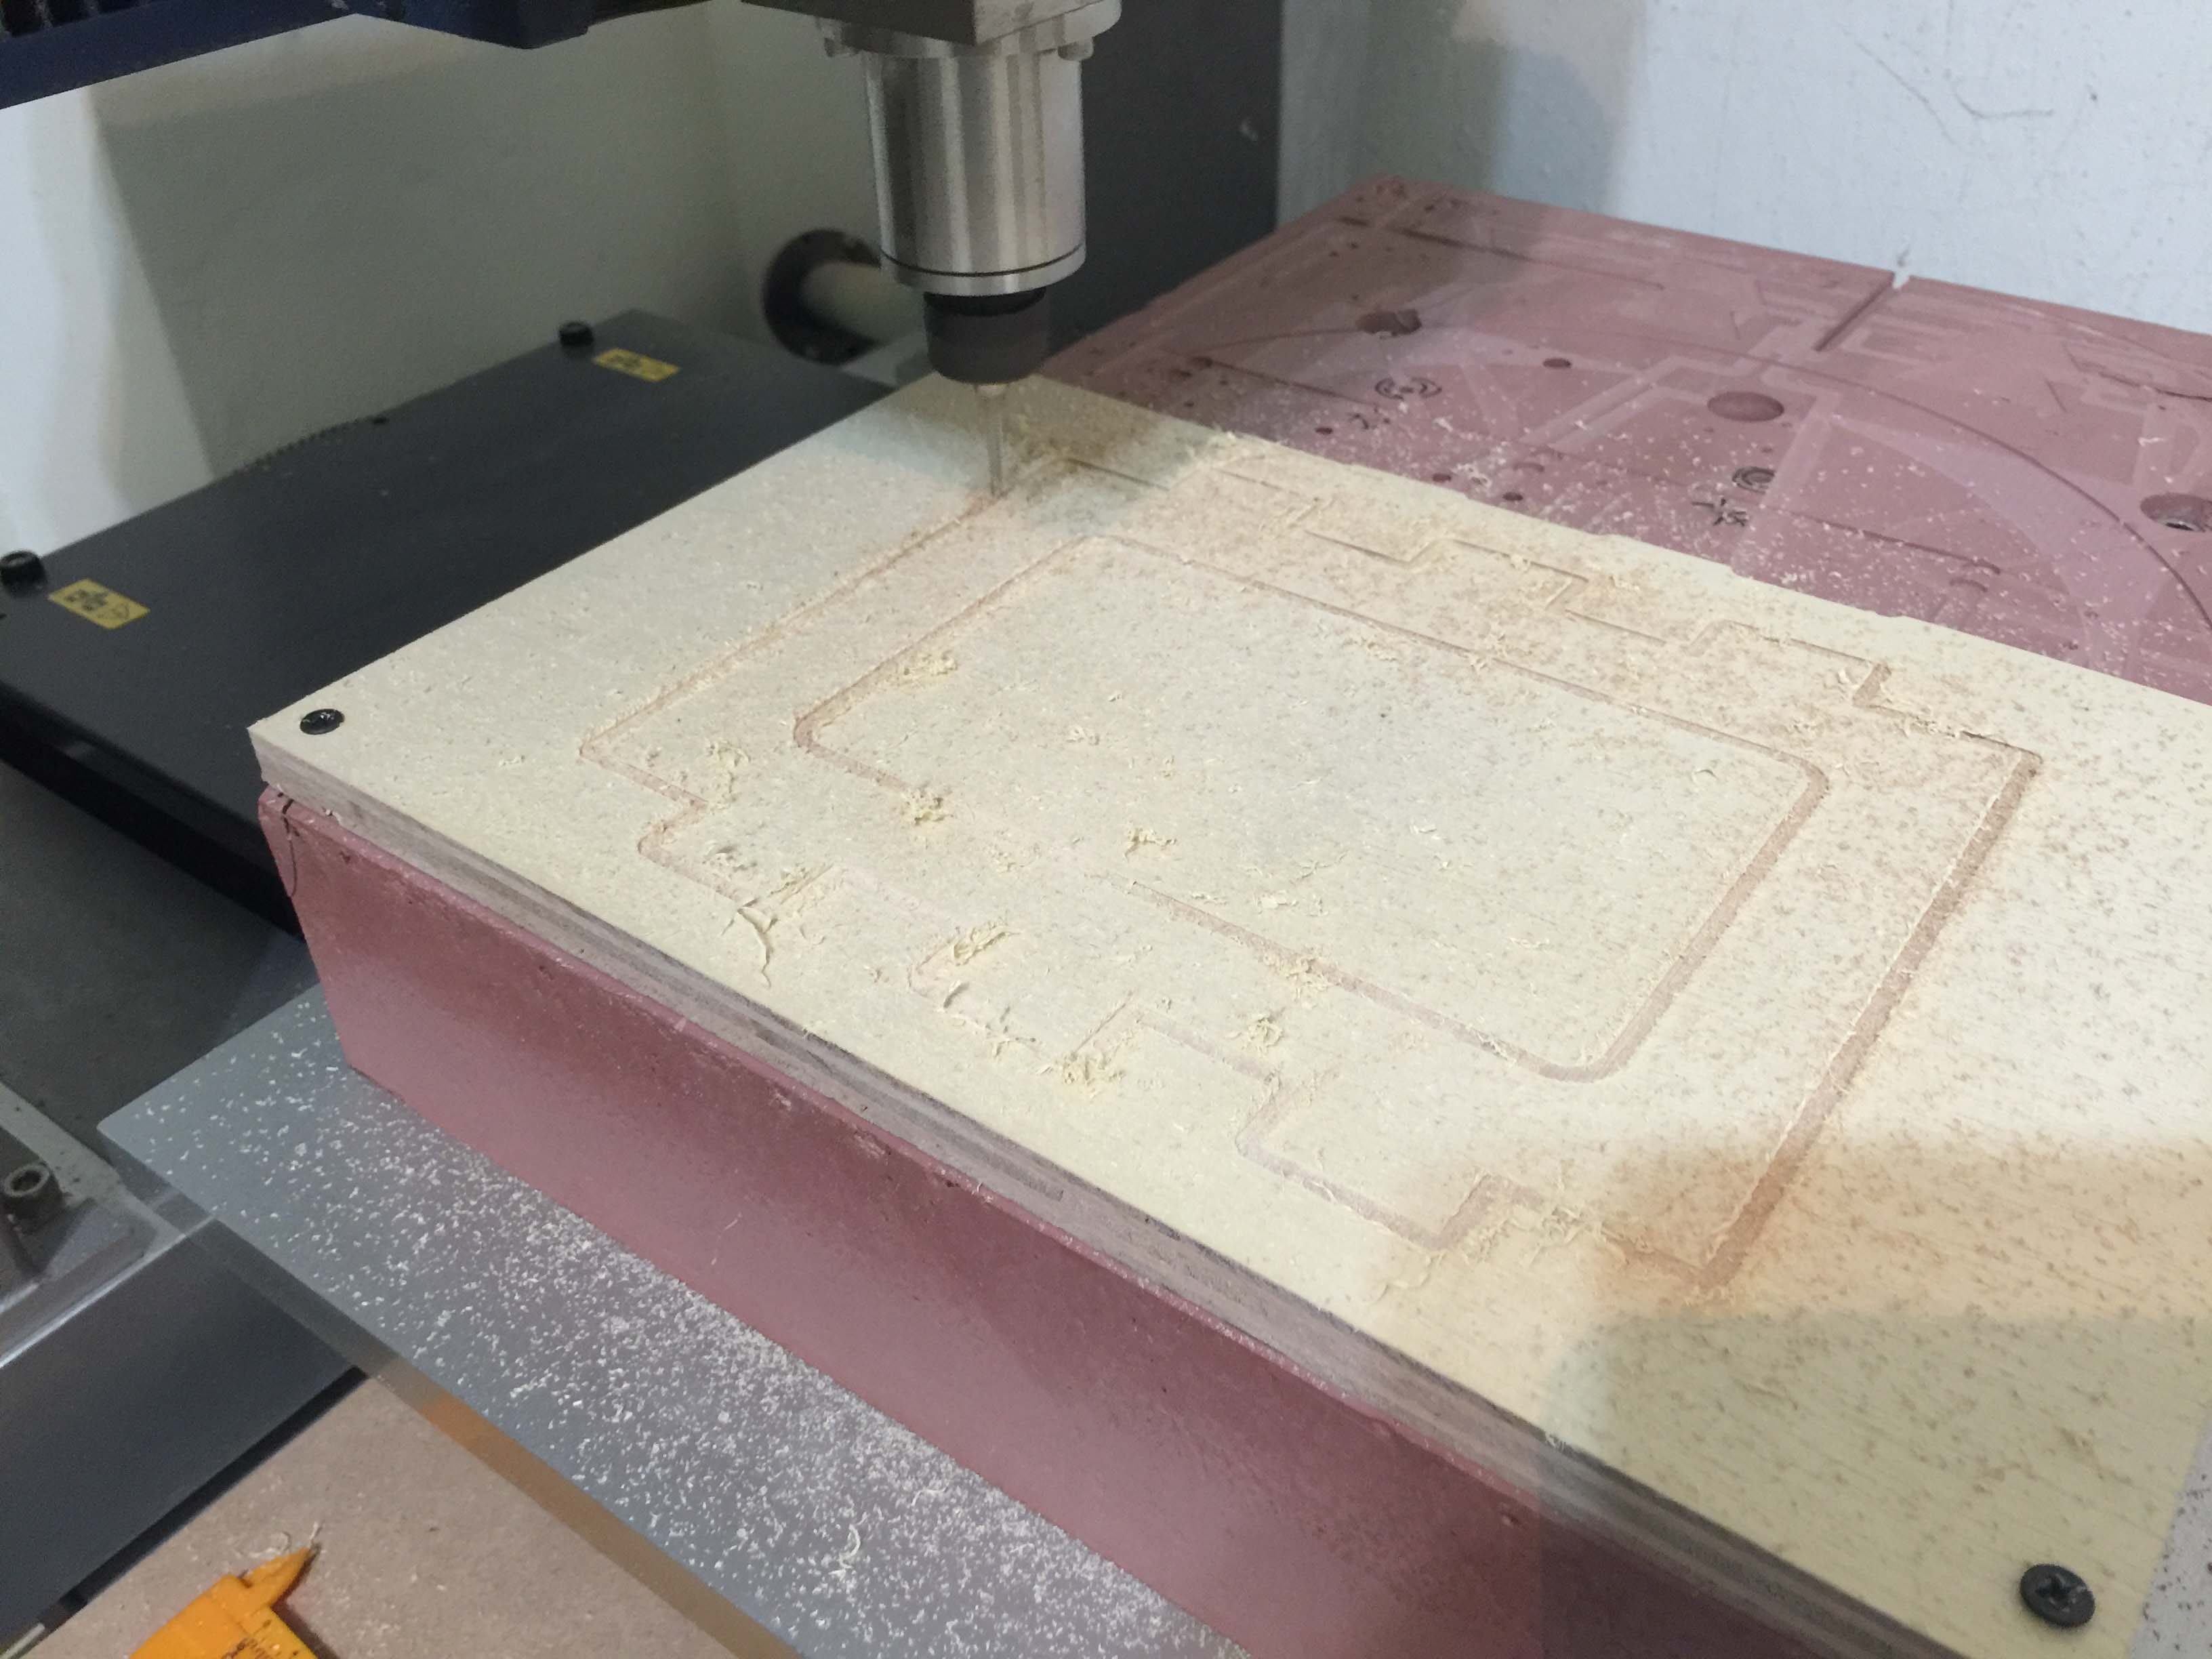
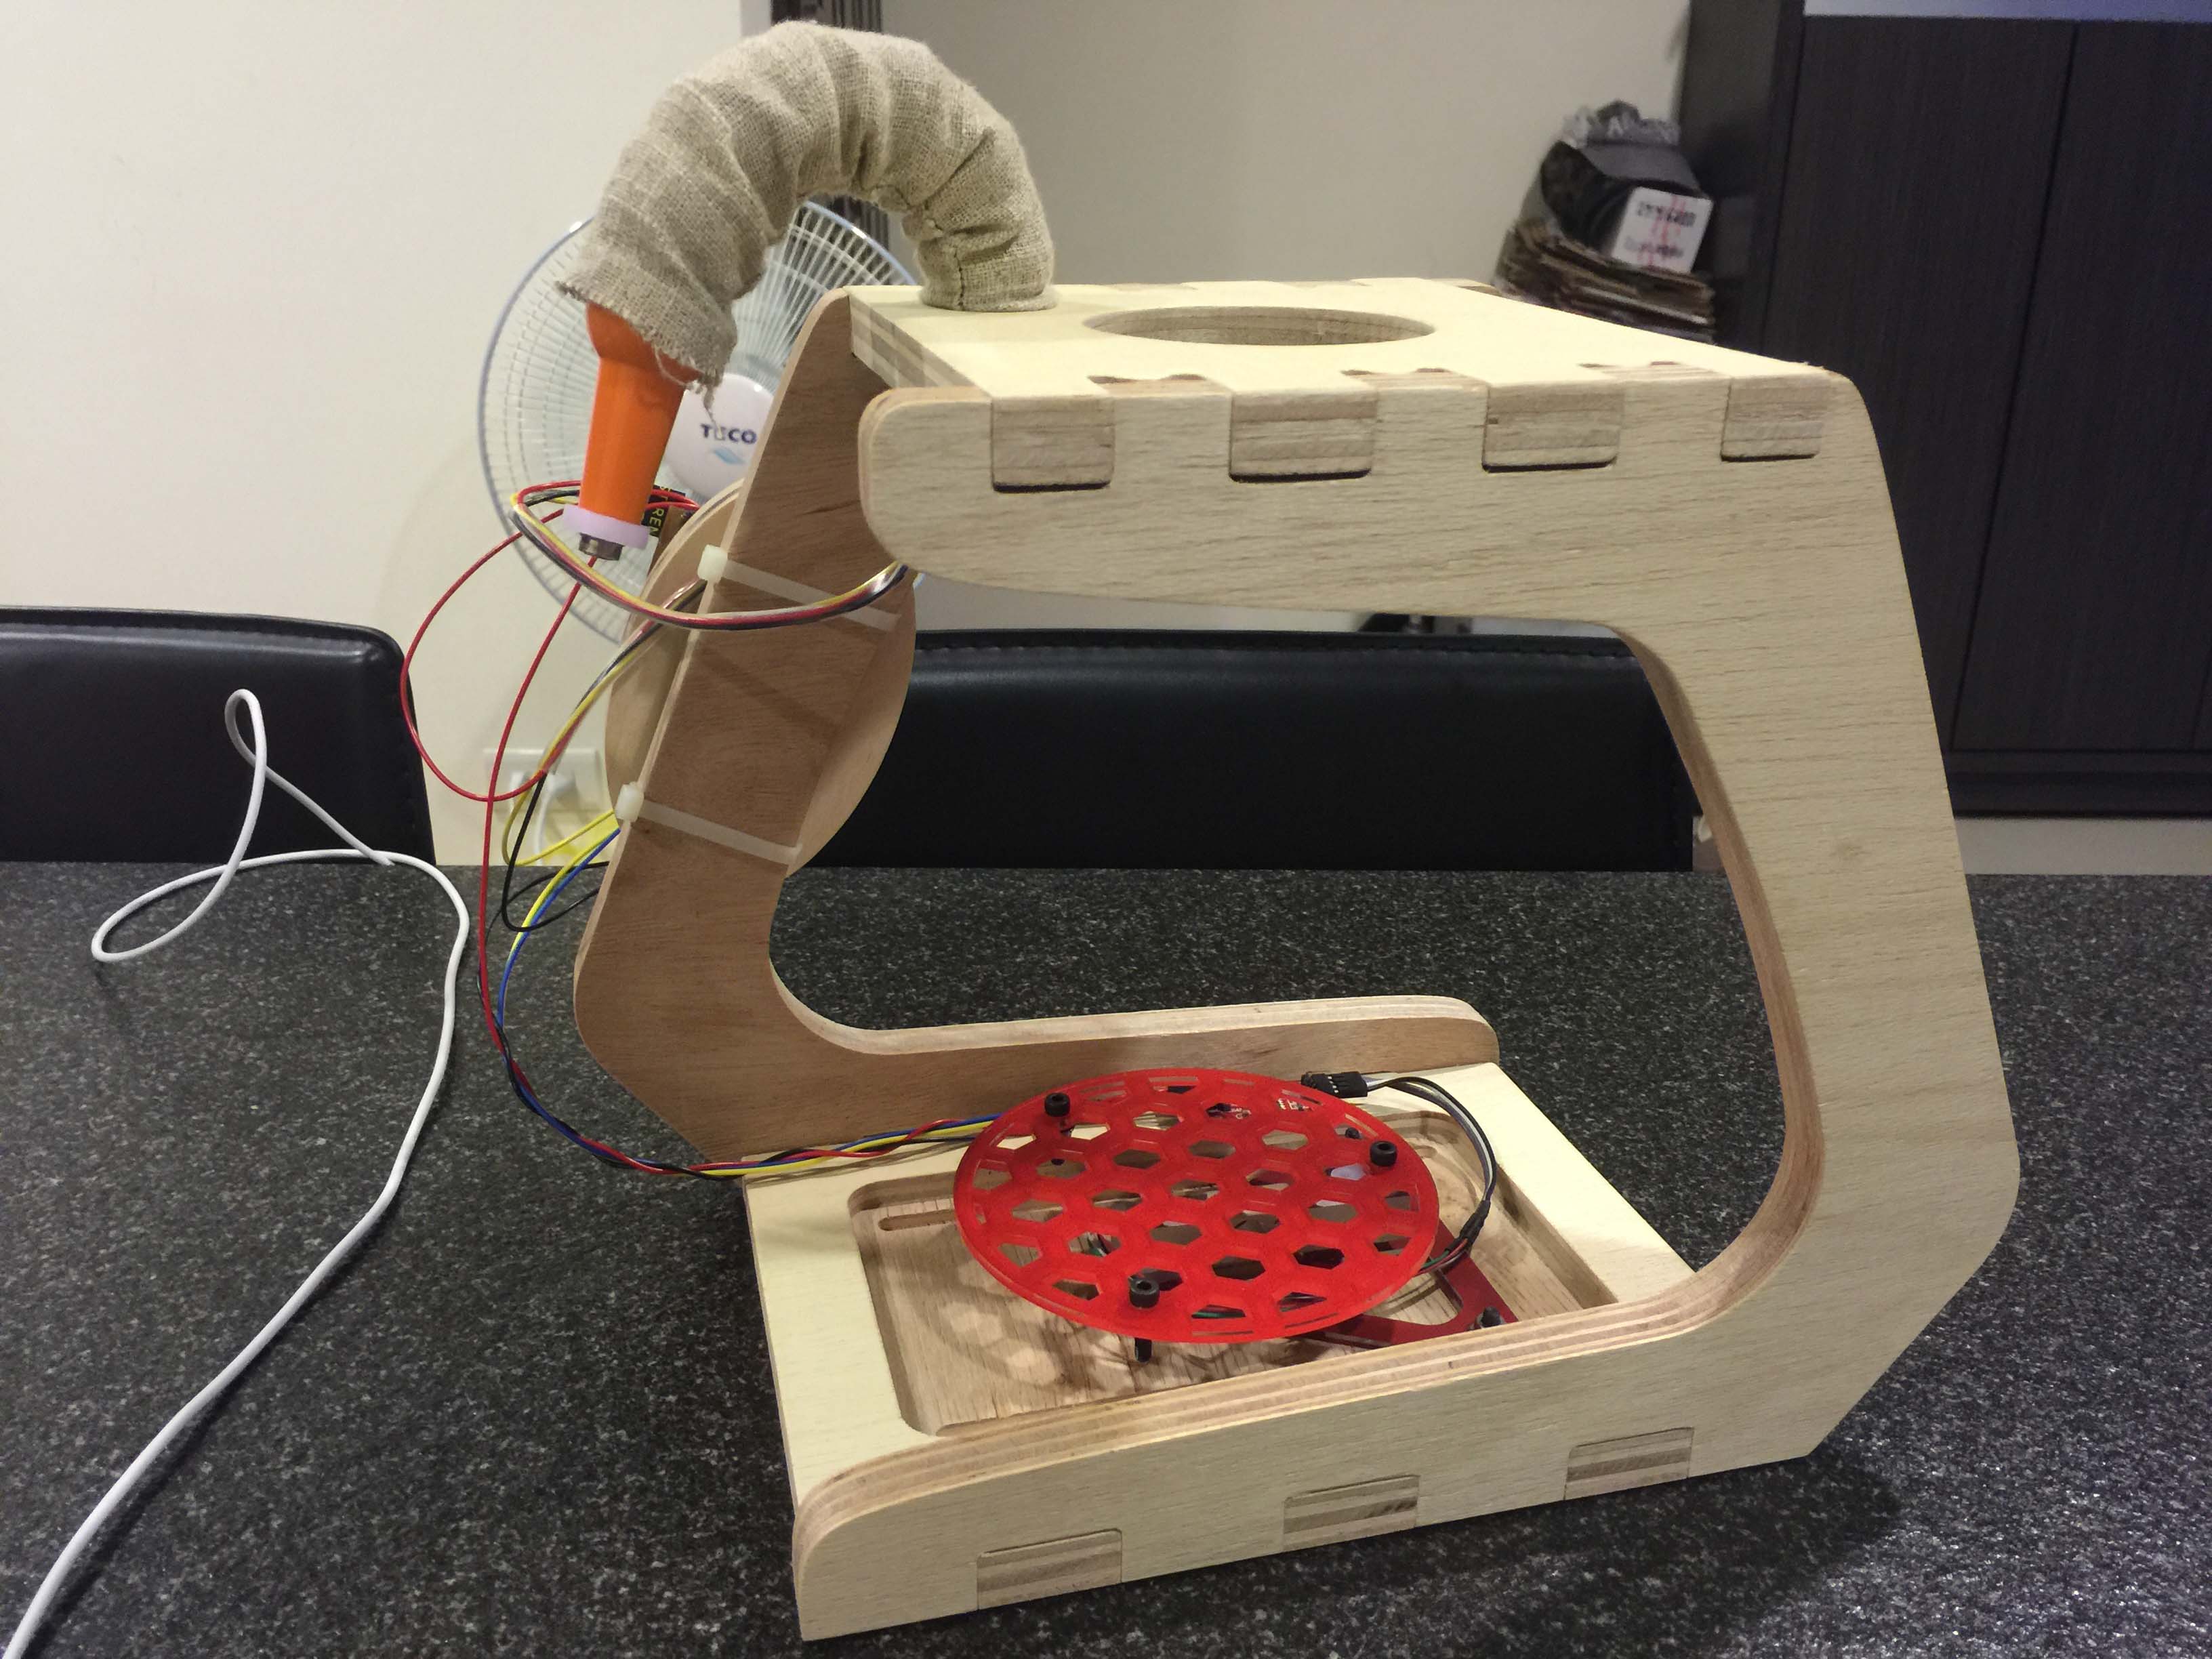
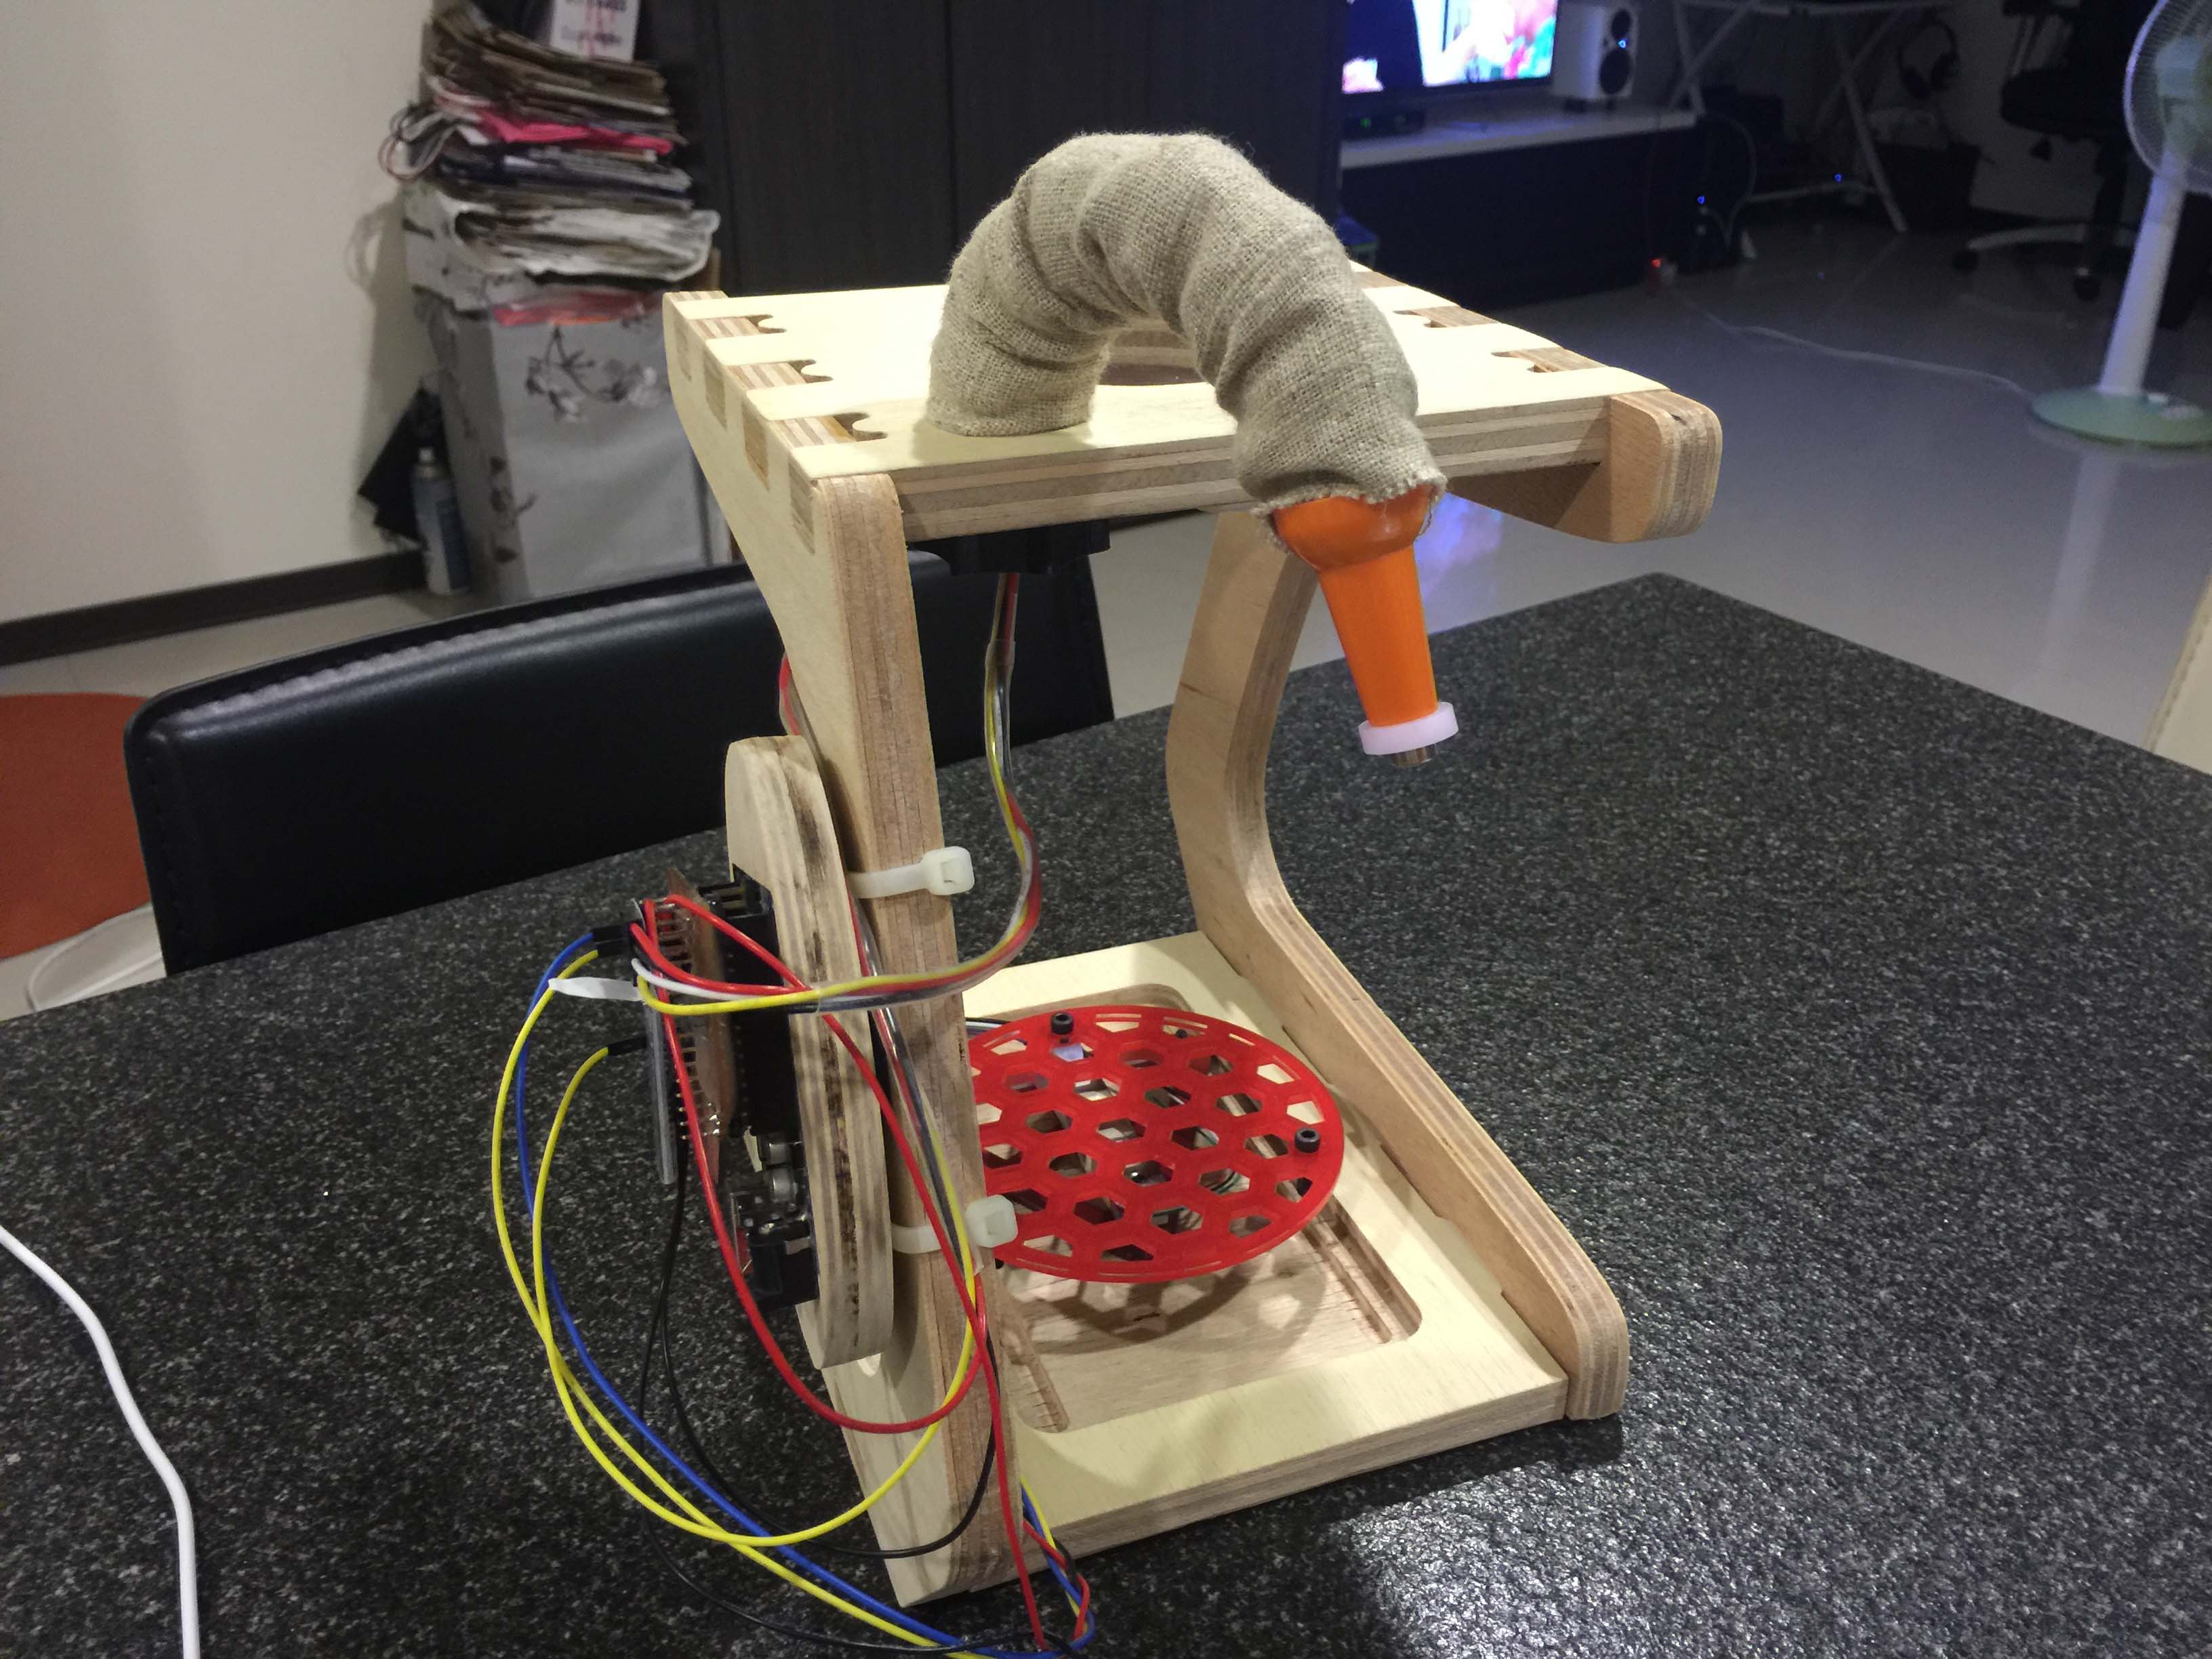
I want to combine an high precision, fast respose IR thermometer and a weight scale onto a dripper stand, a dripper stand is where you can mount a coffee dripper, and do hand drip brewing from the top. underneath the stand is the place for coffee pot, mug, measuring cup or any container to catch the coffee. And this is what I did in the CNC week.
For the display interface, I want to get rid of LCD. Instead, I want to use RGB LEDs to show the status of the temperature and amount of coffee.
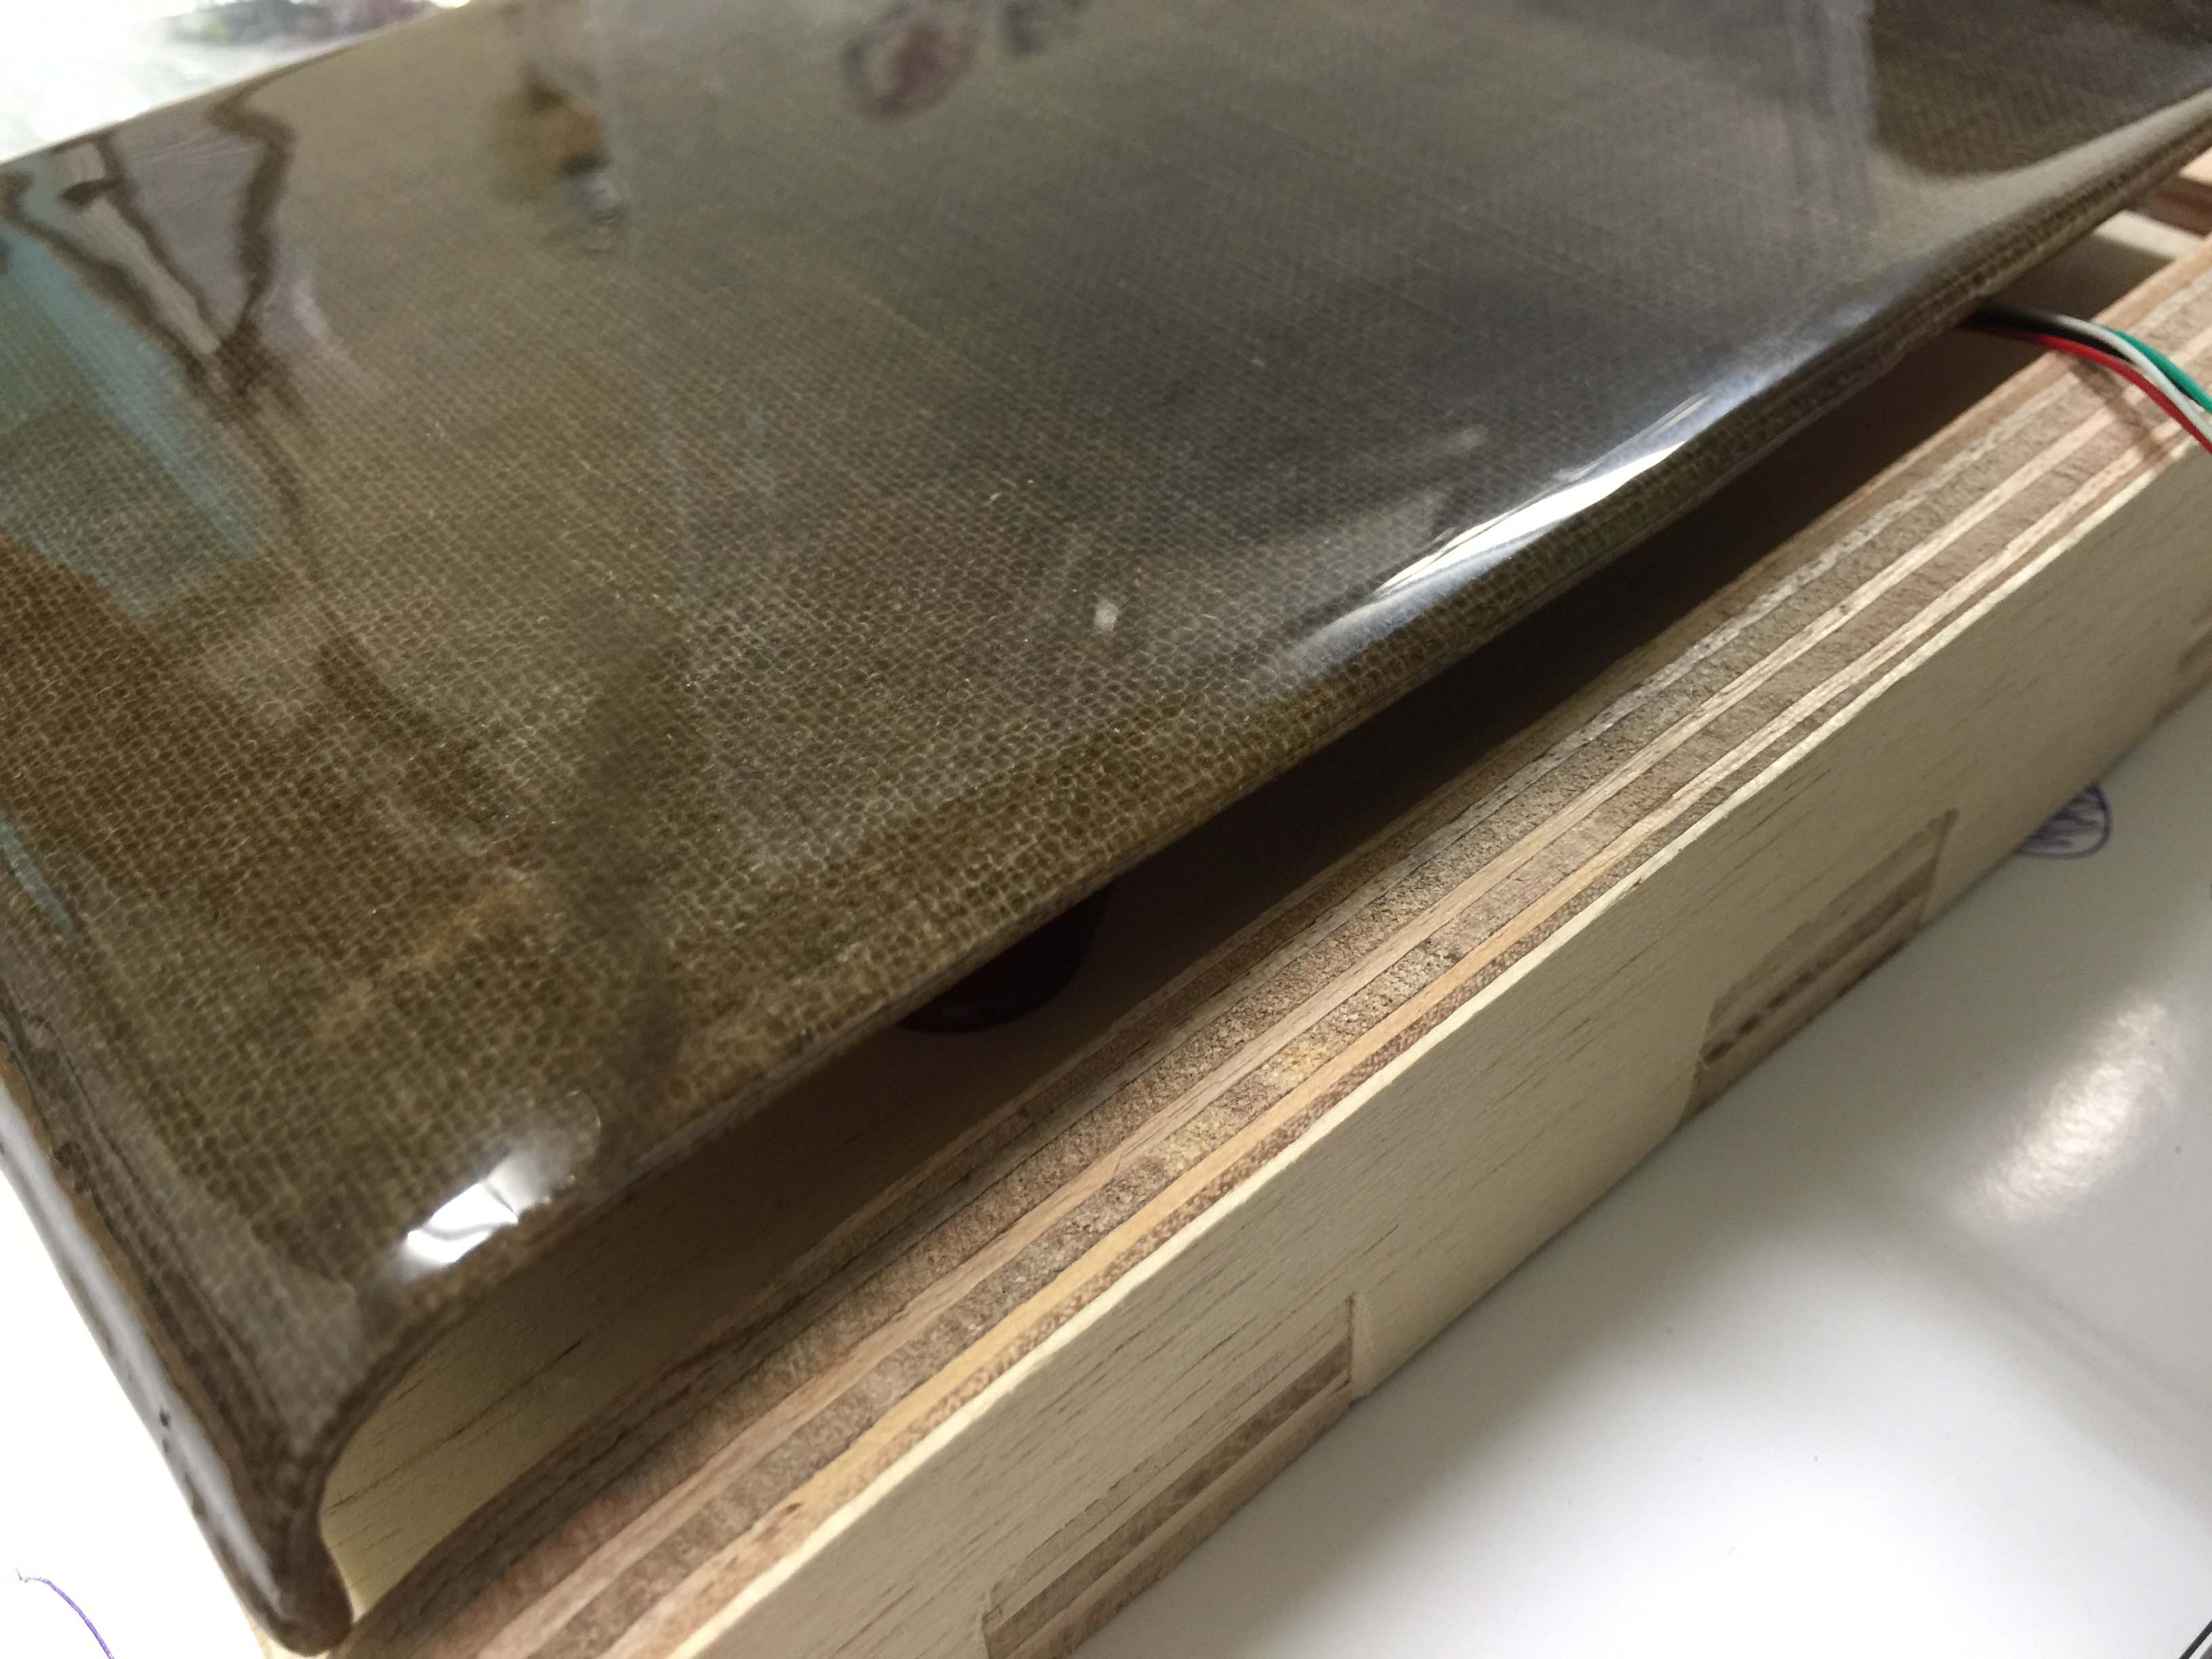
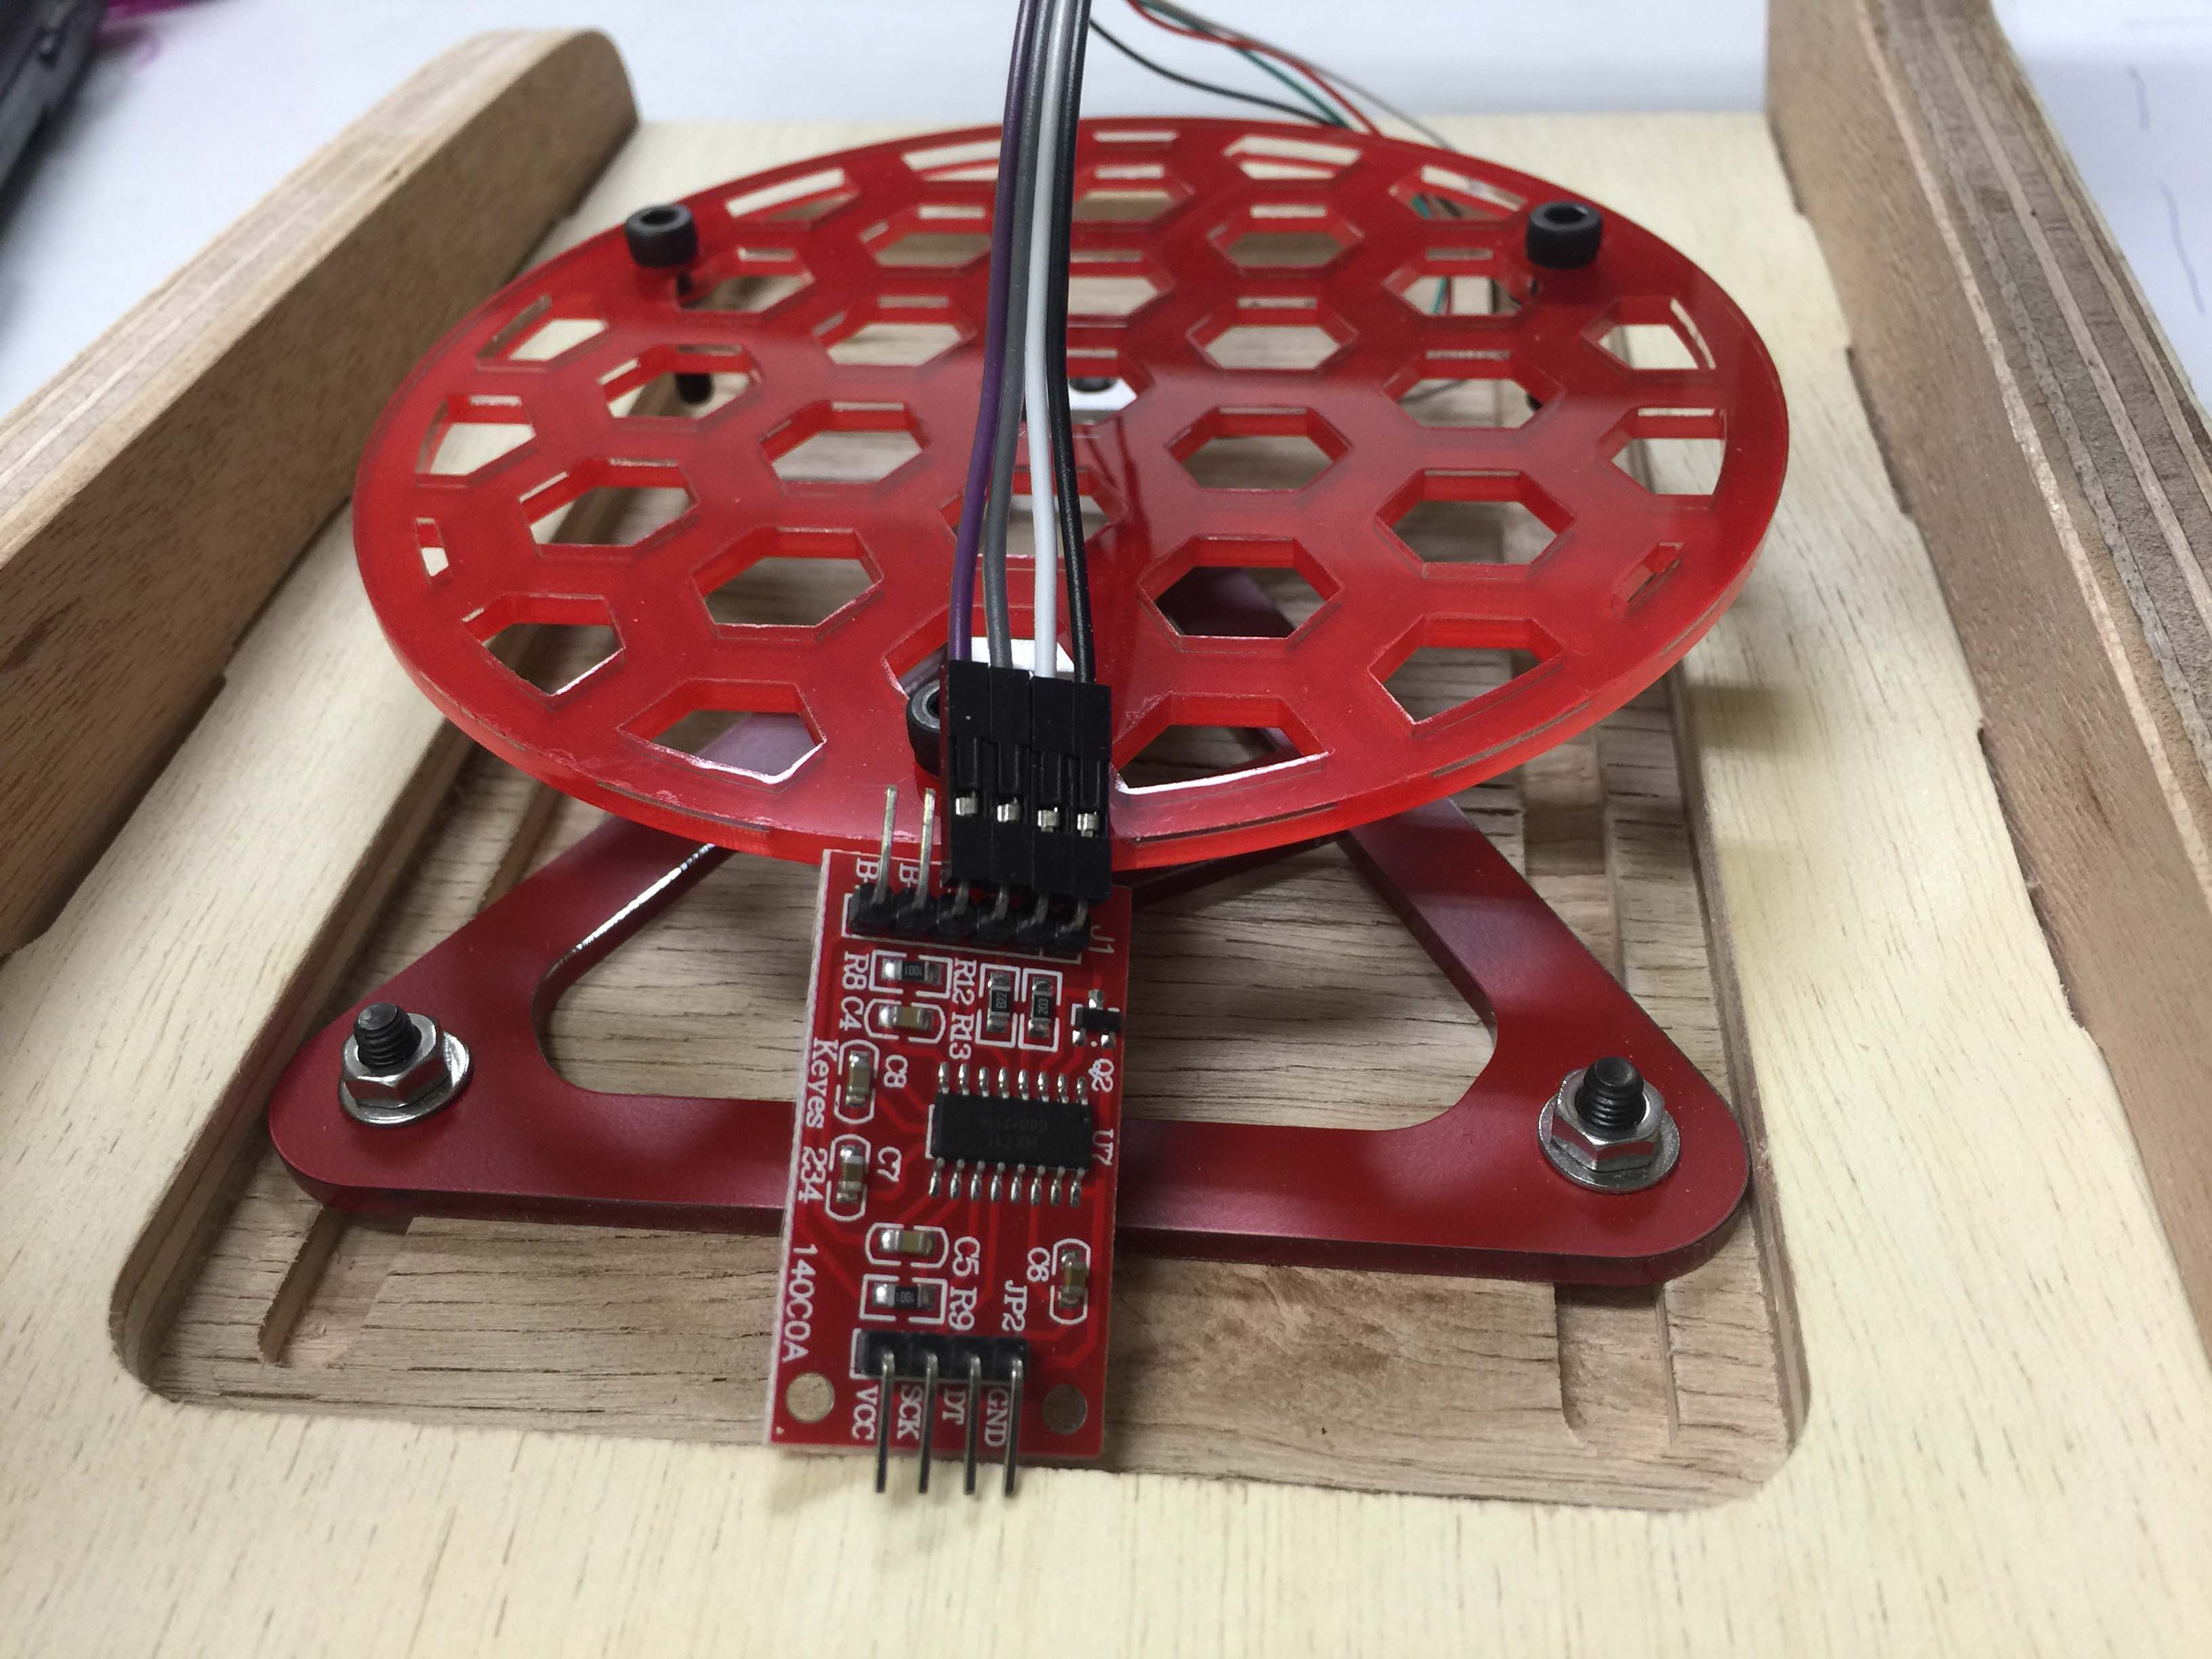
I planned to add a weight scale in the bottom, and use the composite plate I made in week 14 as the surface for the scale.
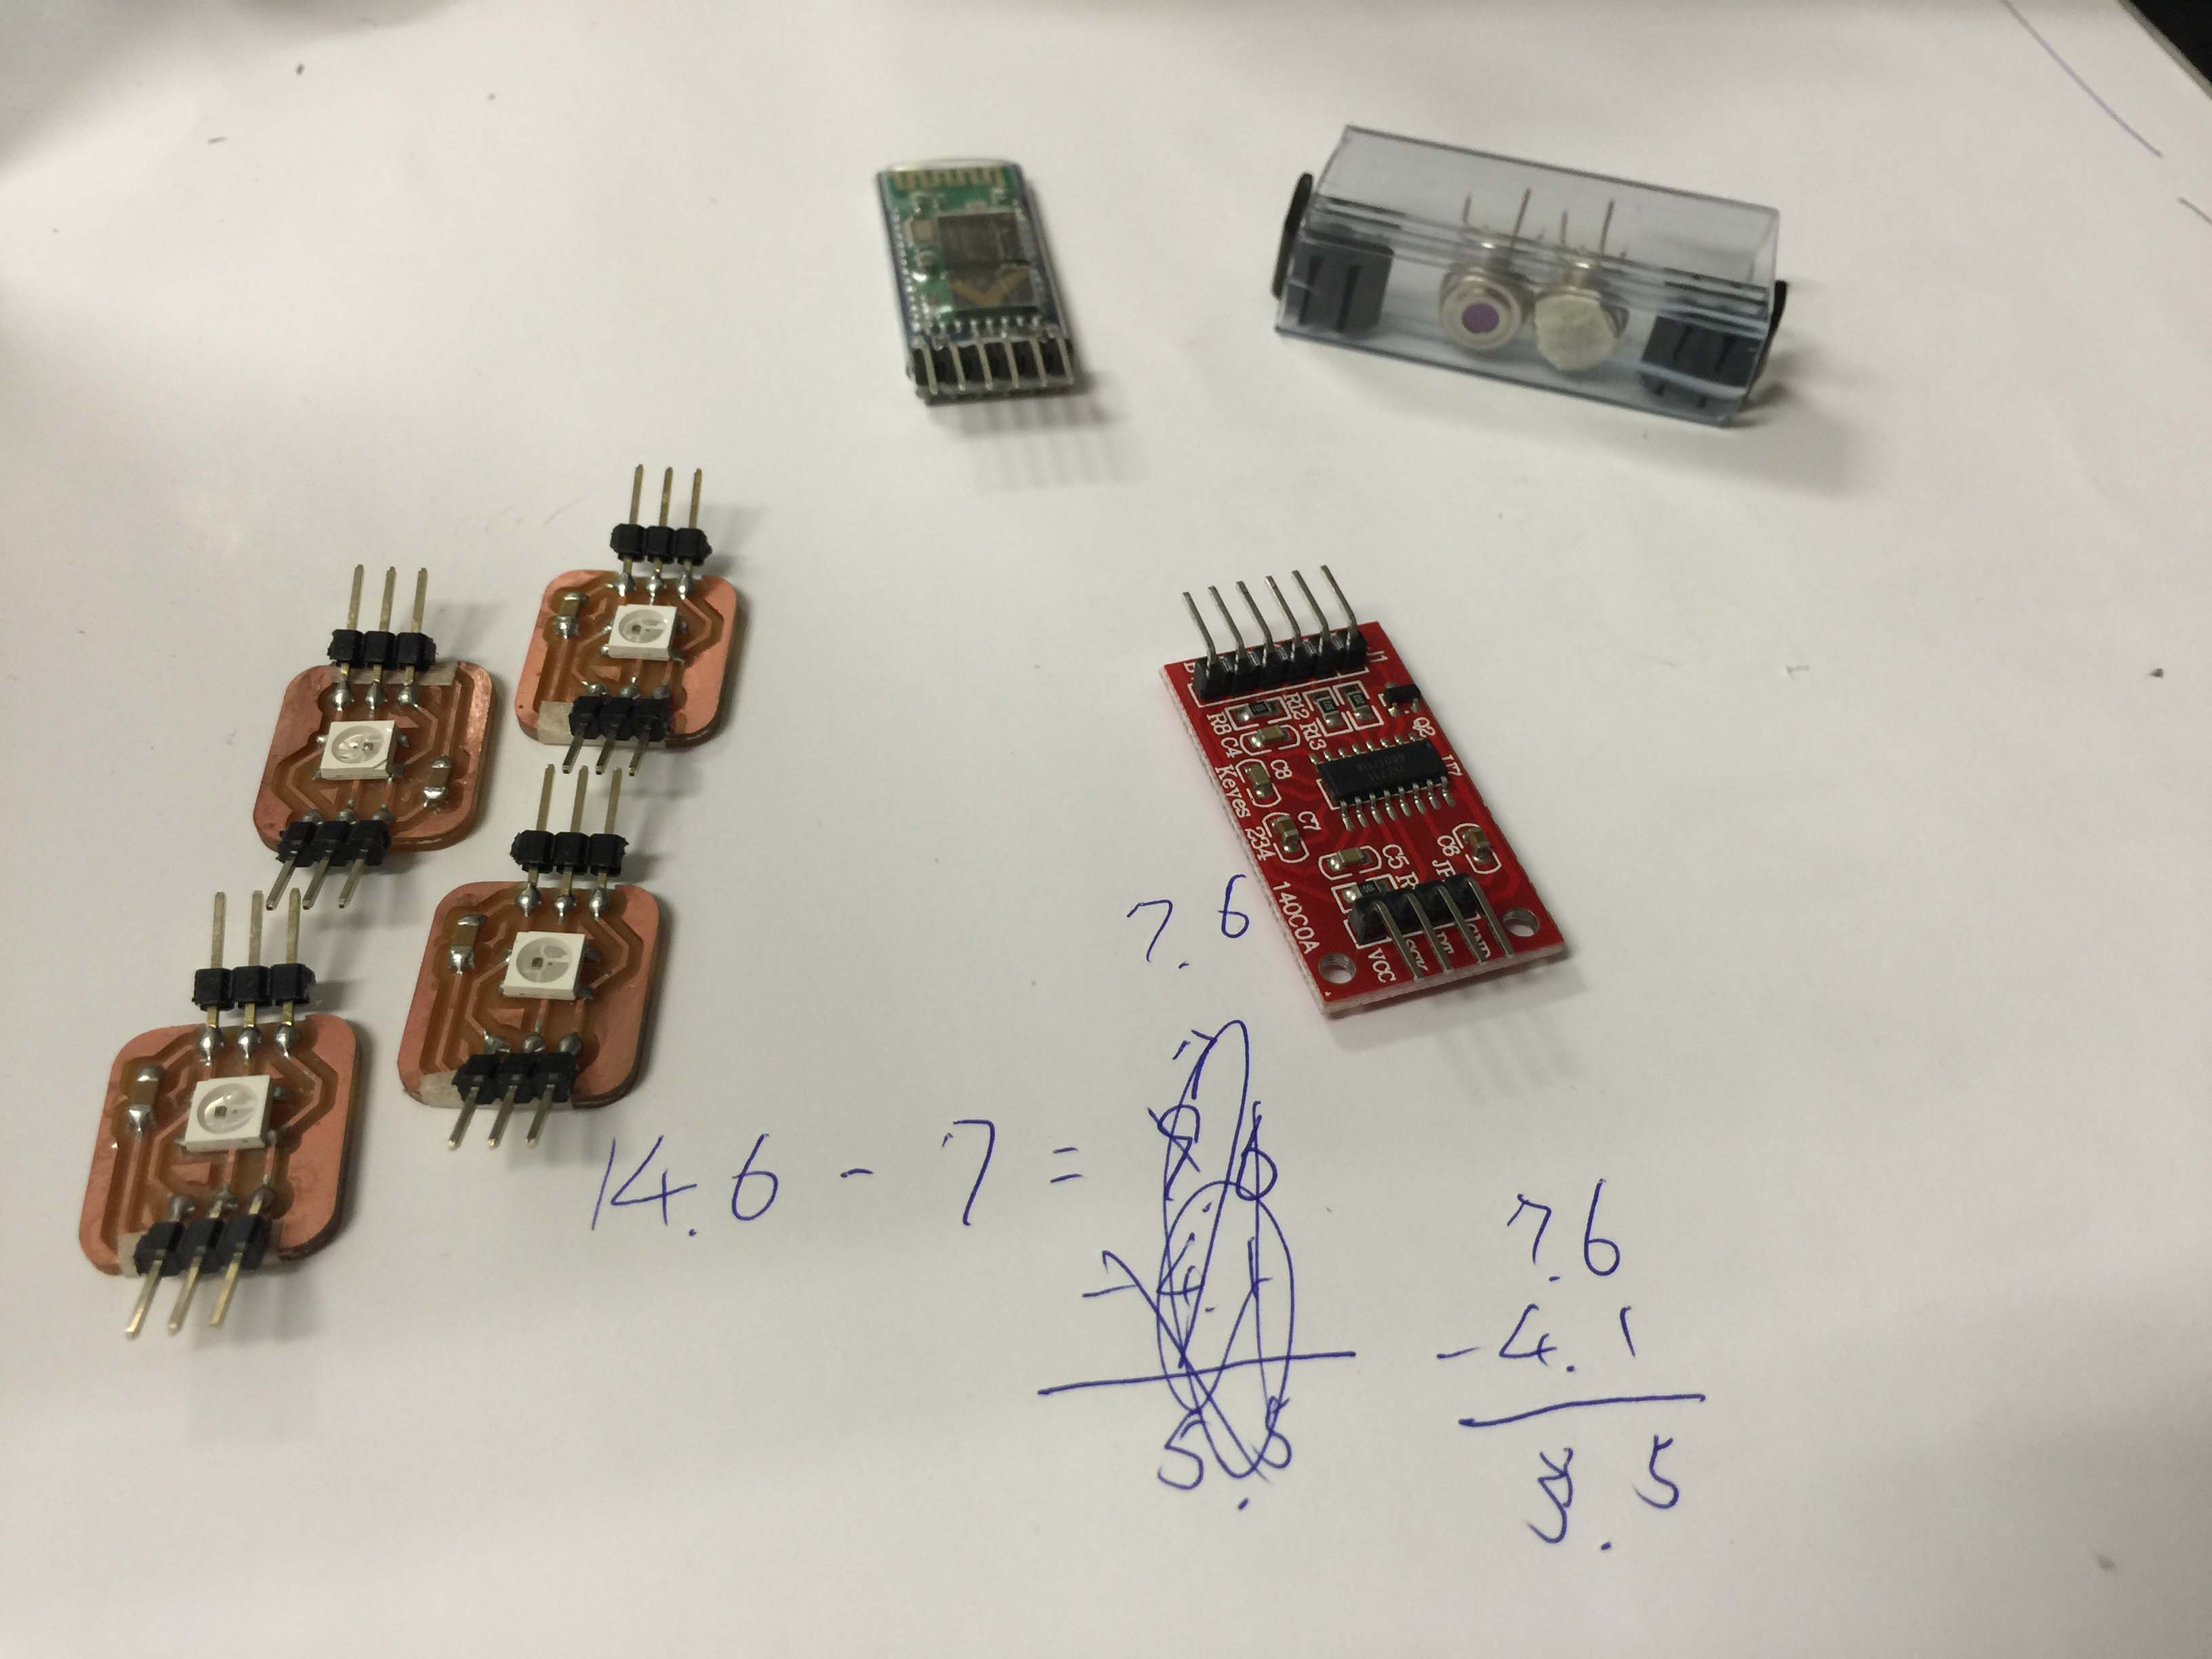
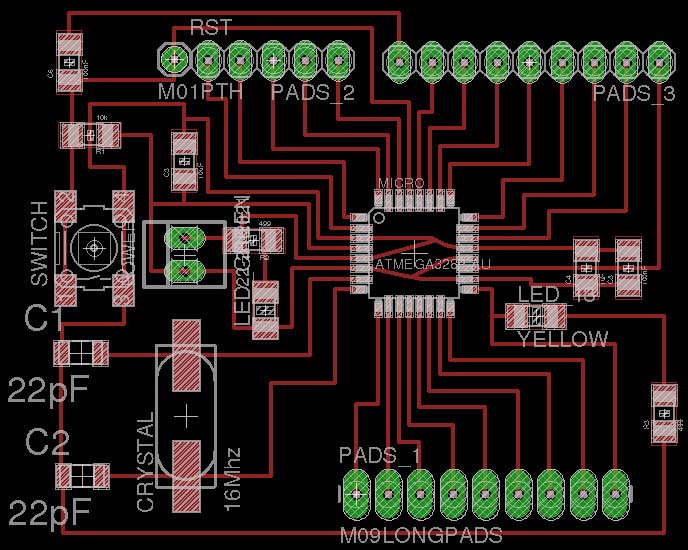
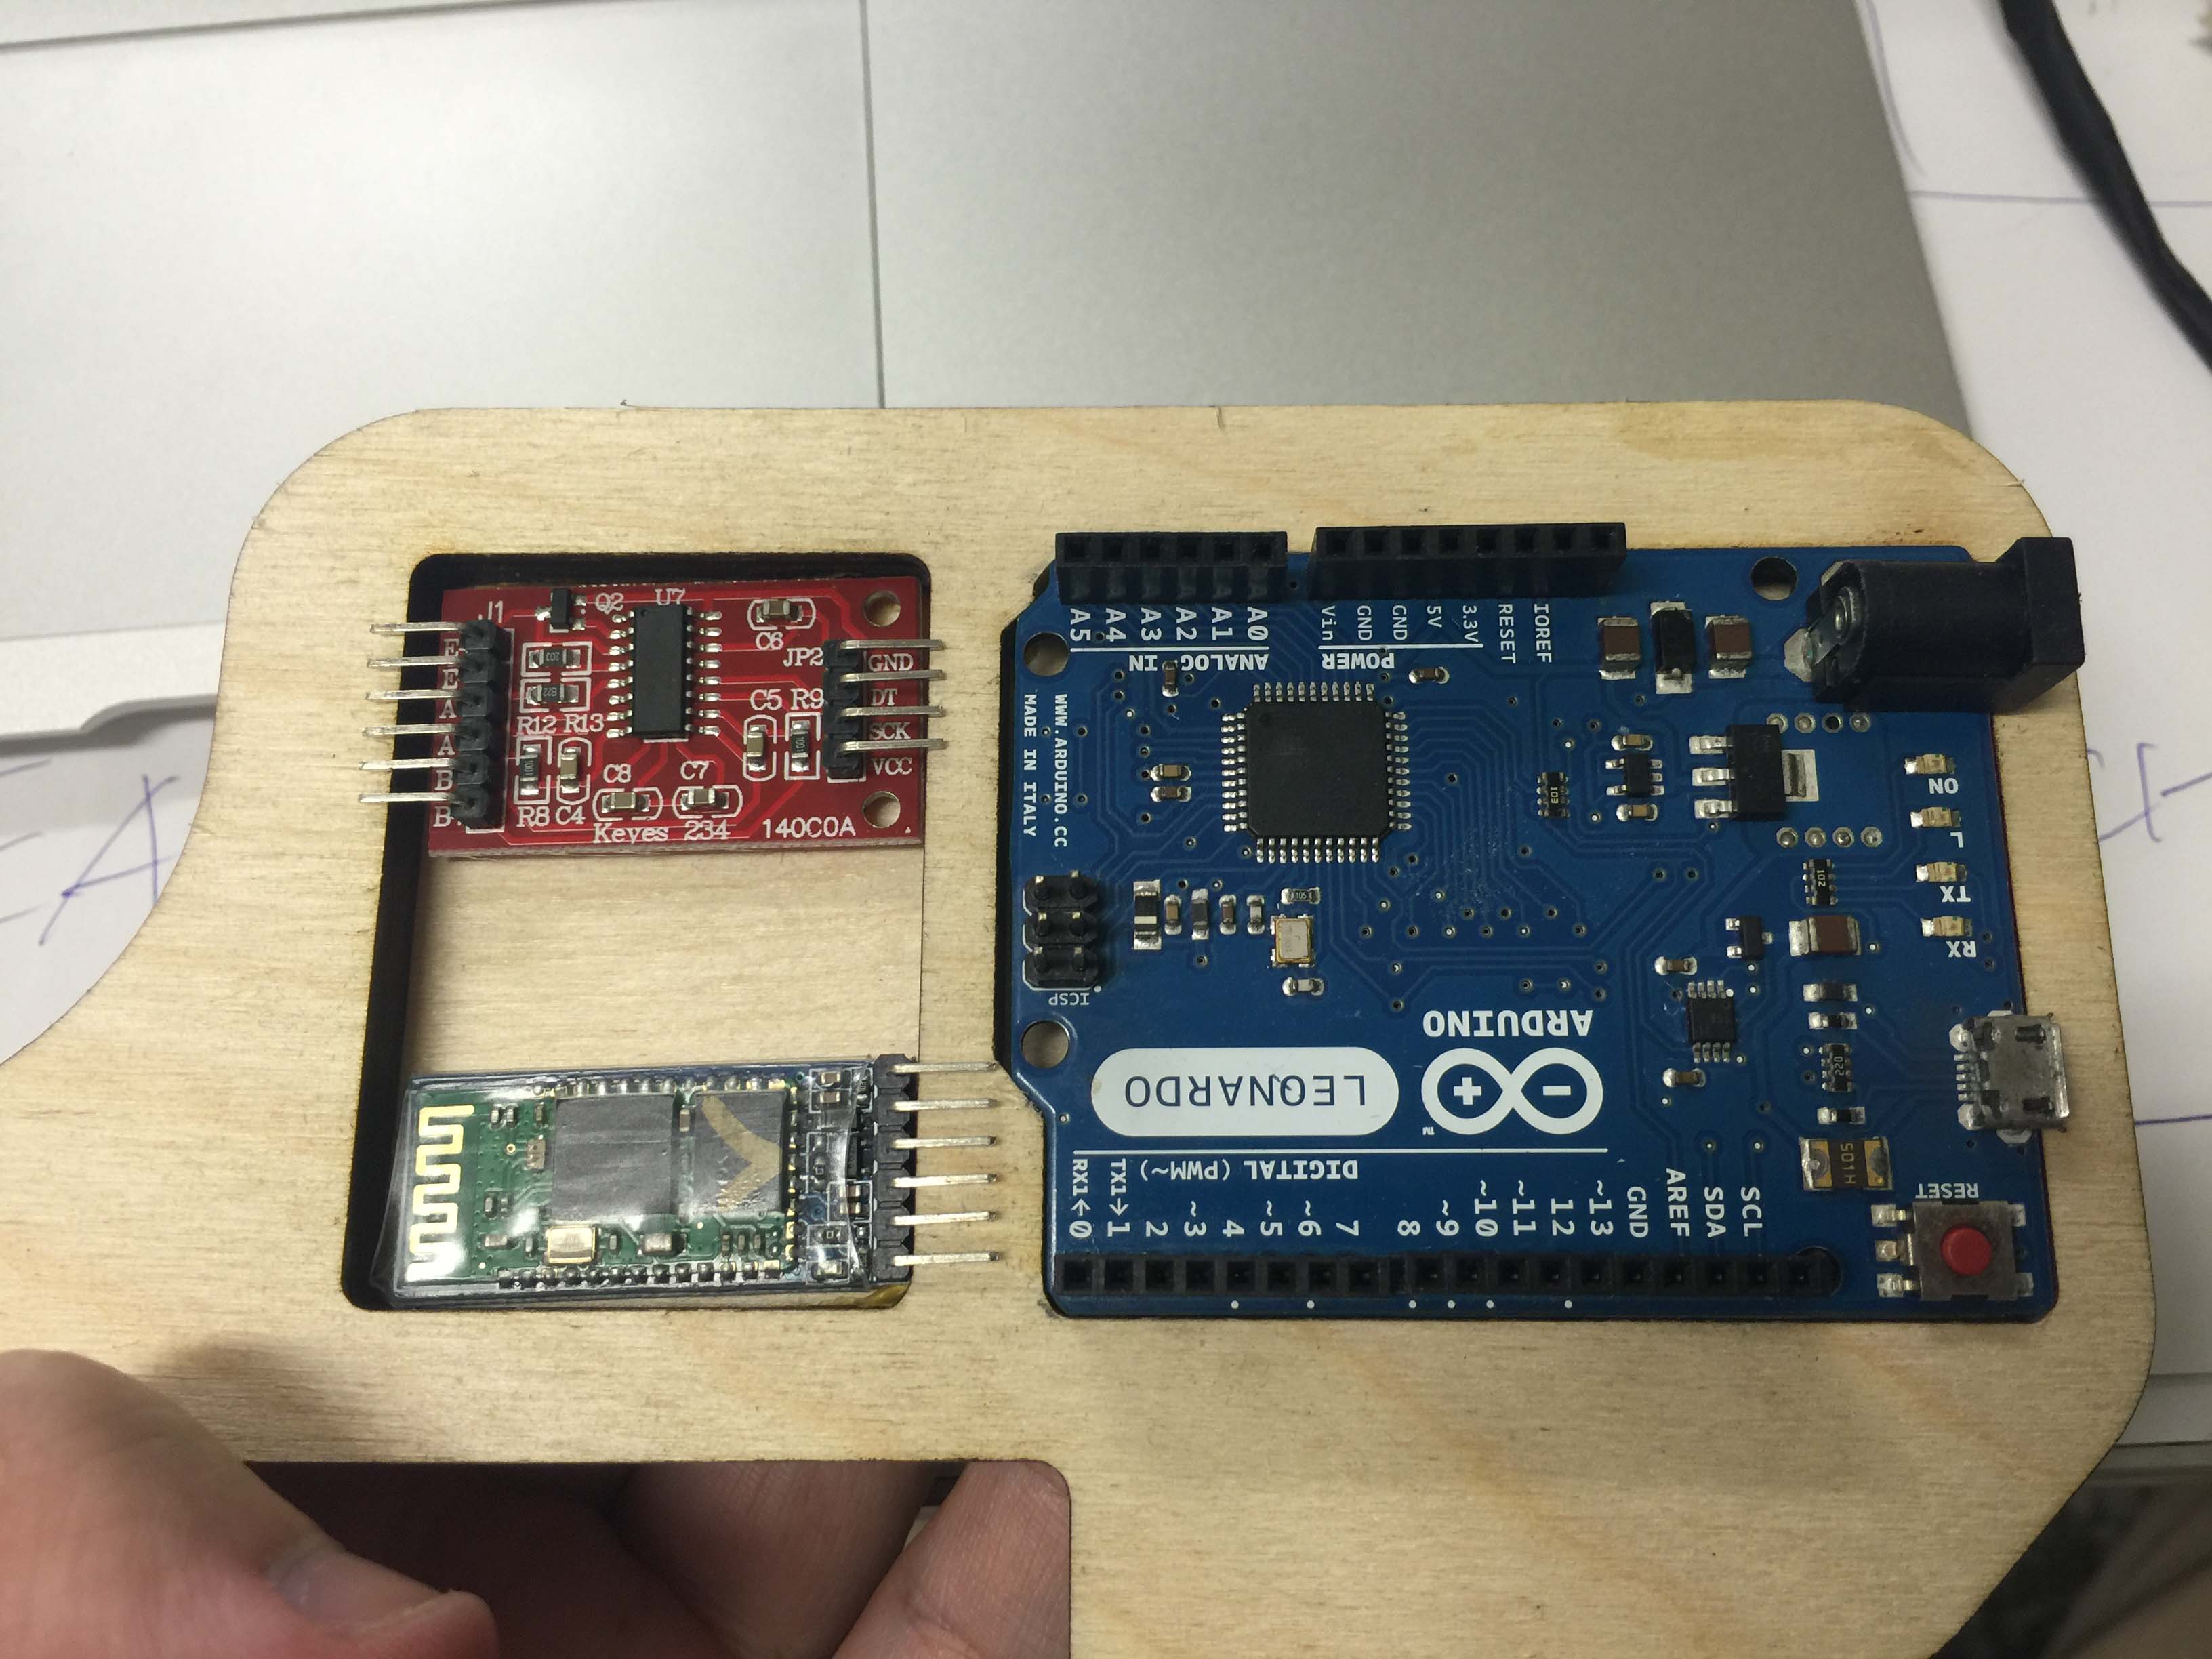
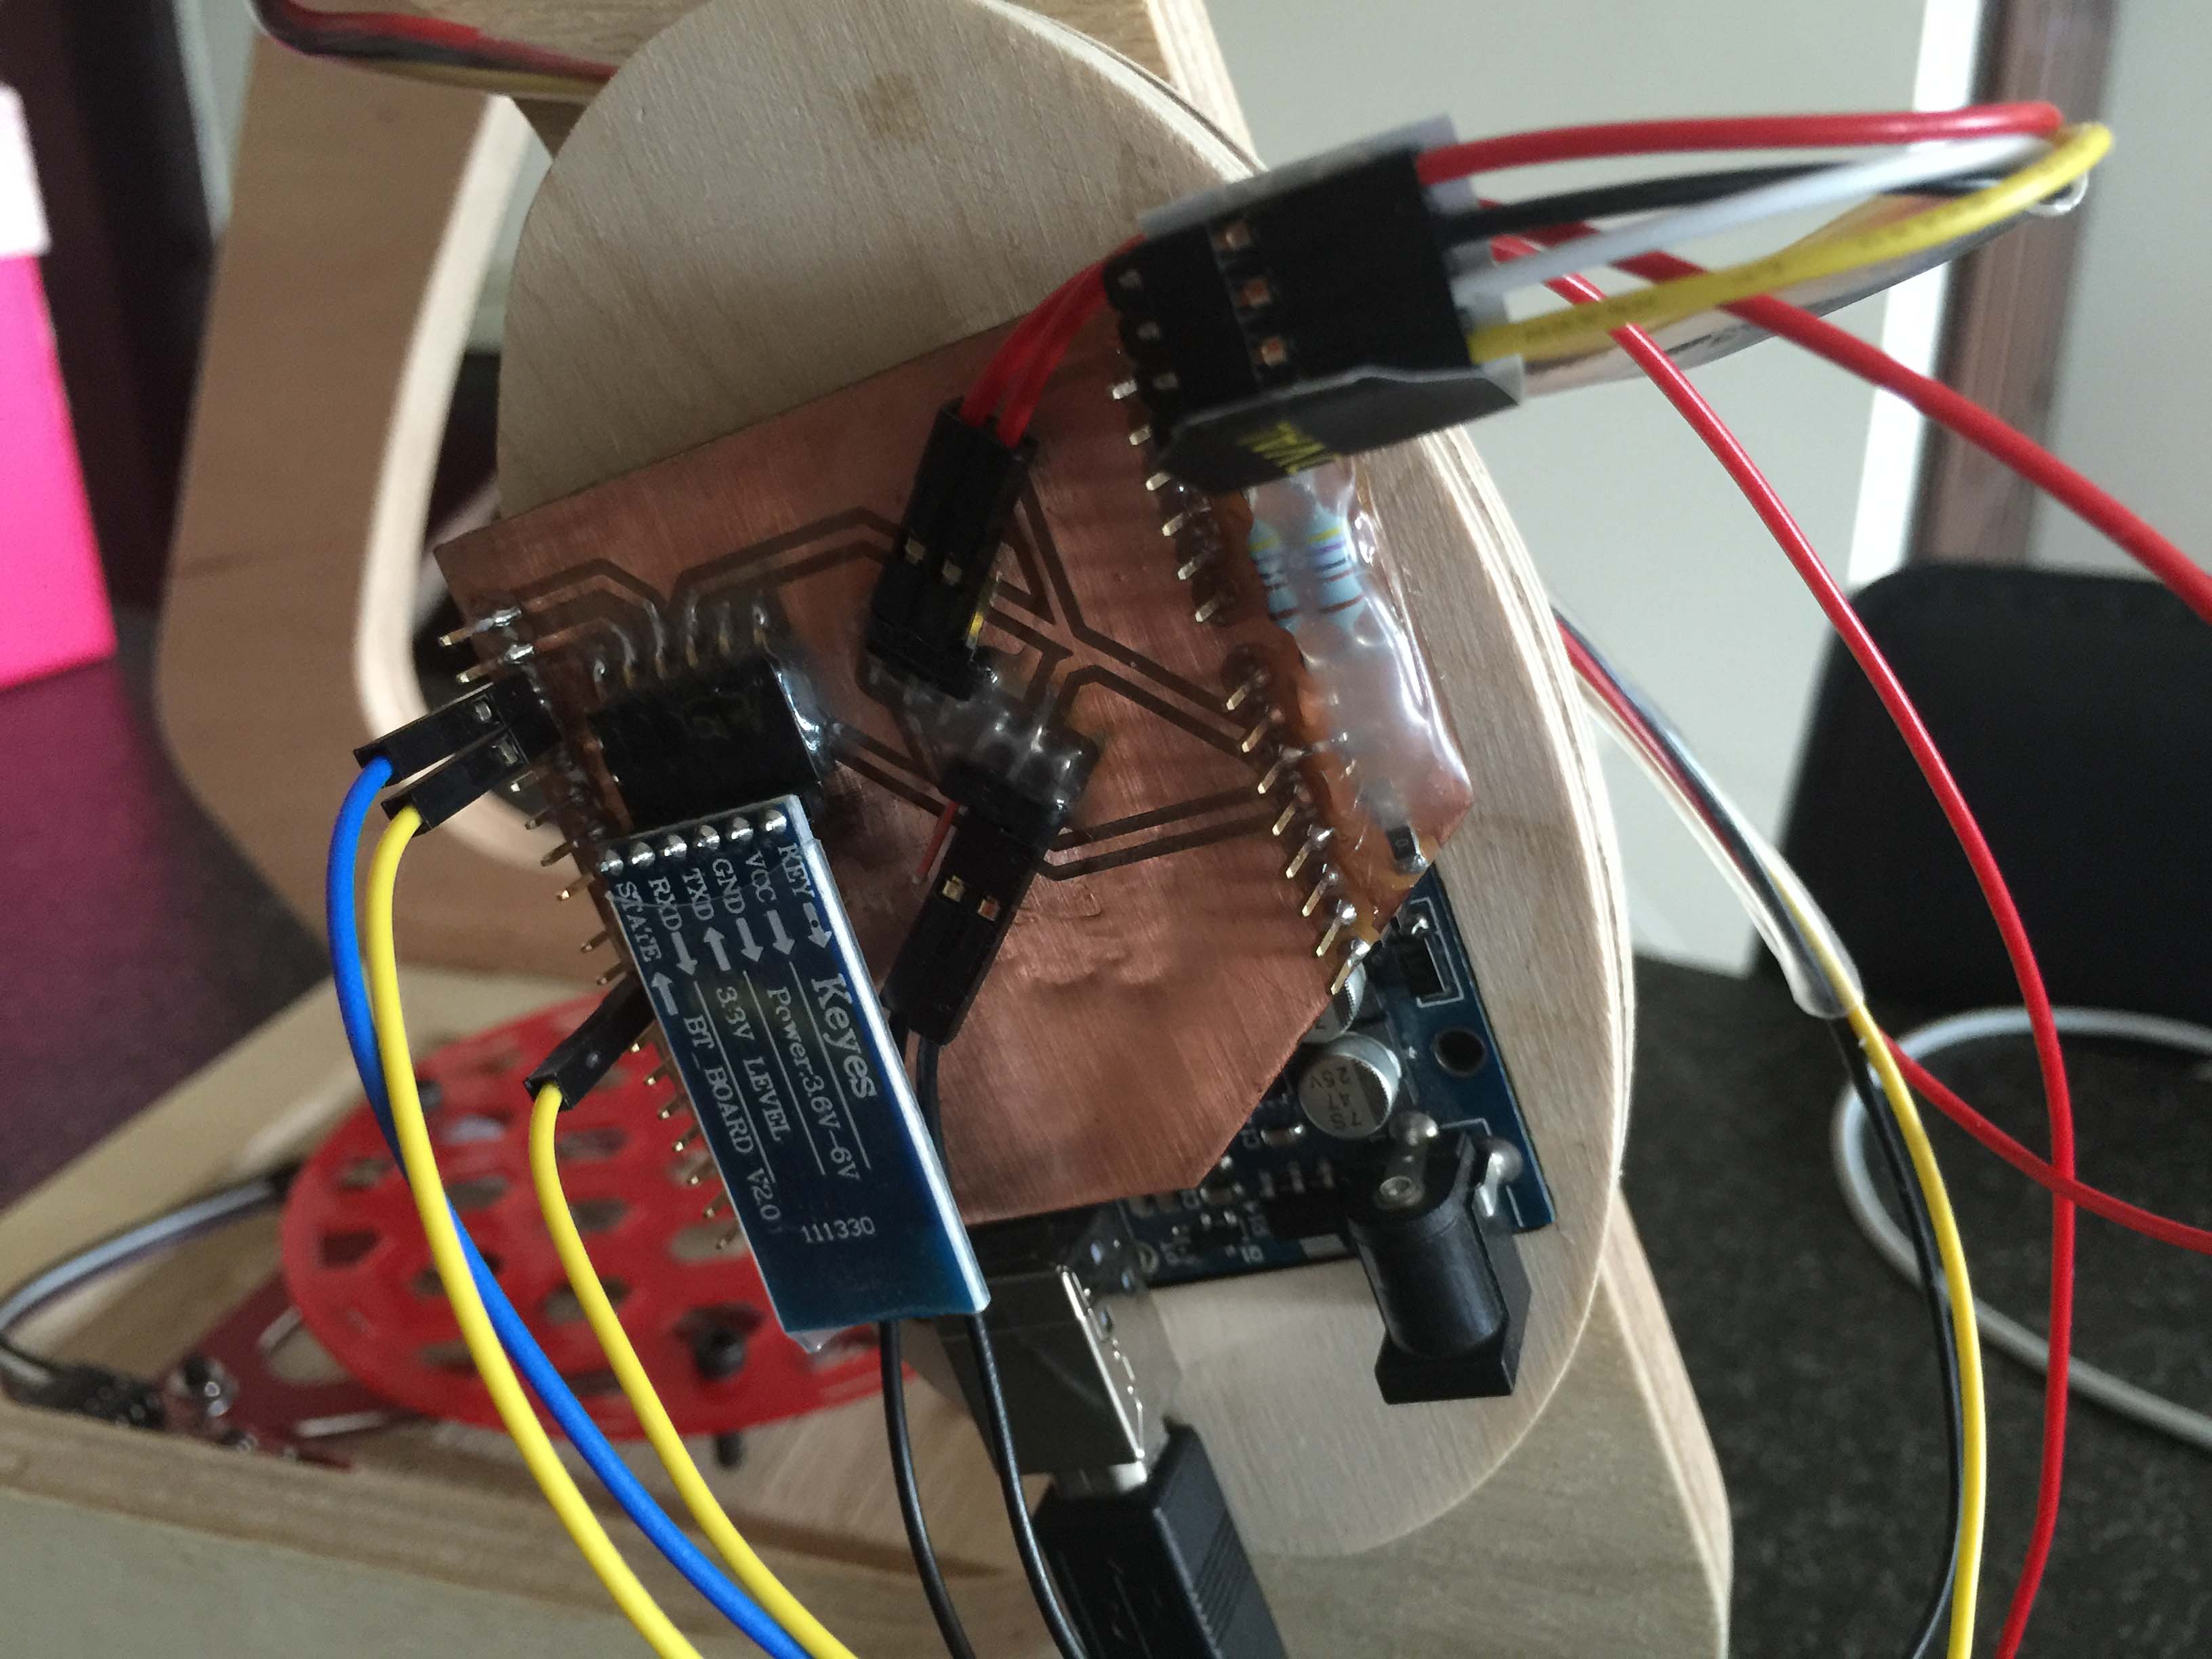
I plan to use modified Satshakit as my controller of this project, along with Melexis MLX90614 IR thermometer, HX711 AD converter plus a random load cell I found in our lab, WS2812B RGB LED for display and HC05 bluetooth module for communication.
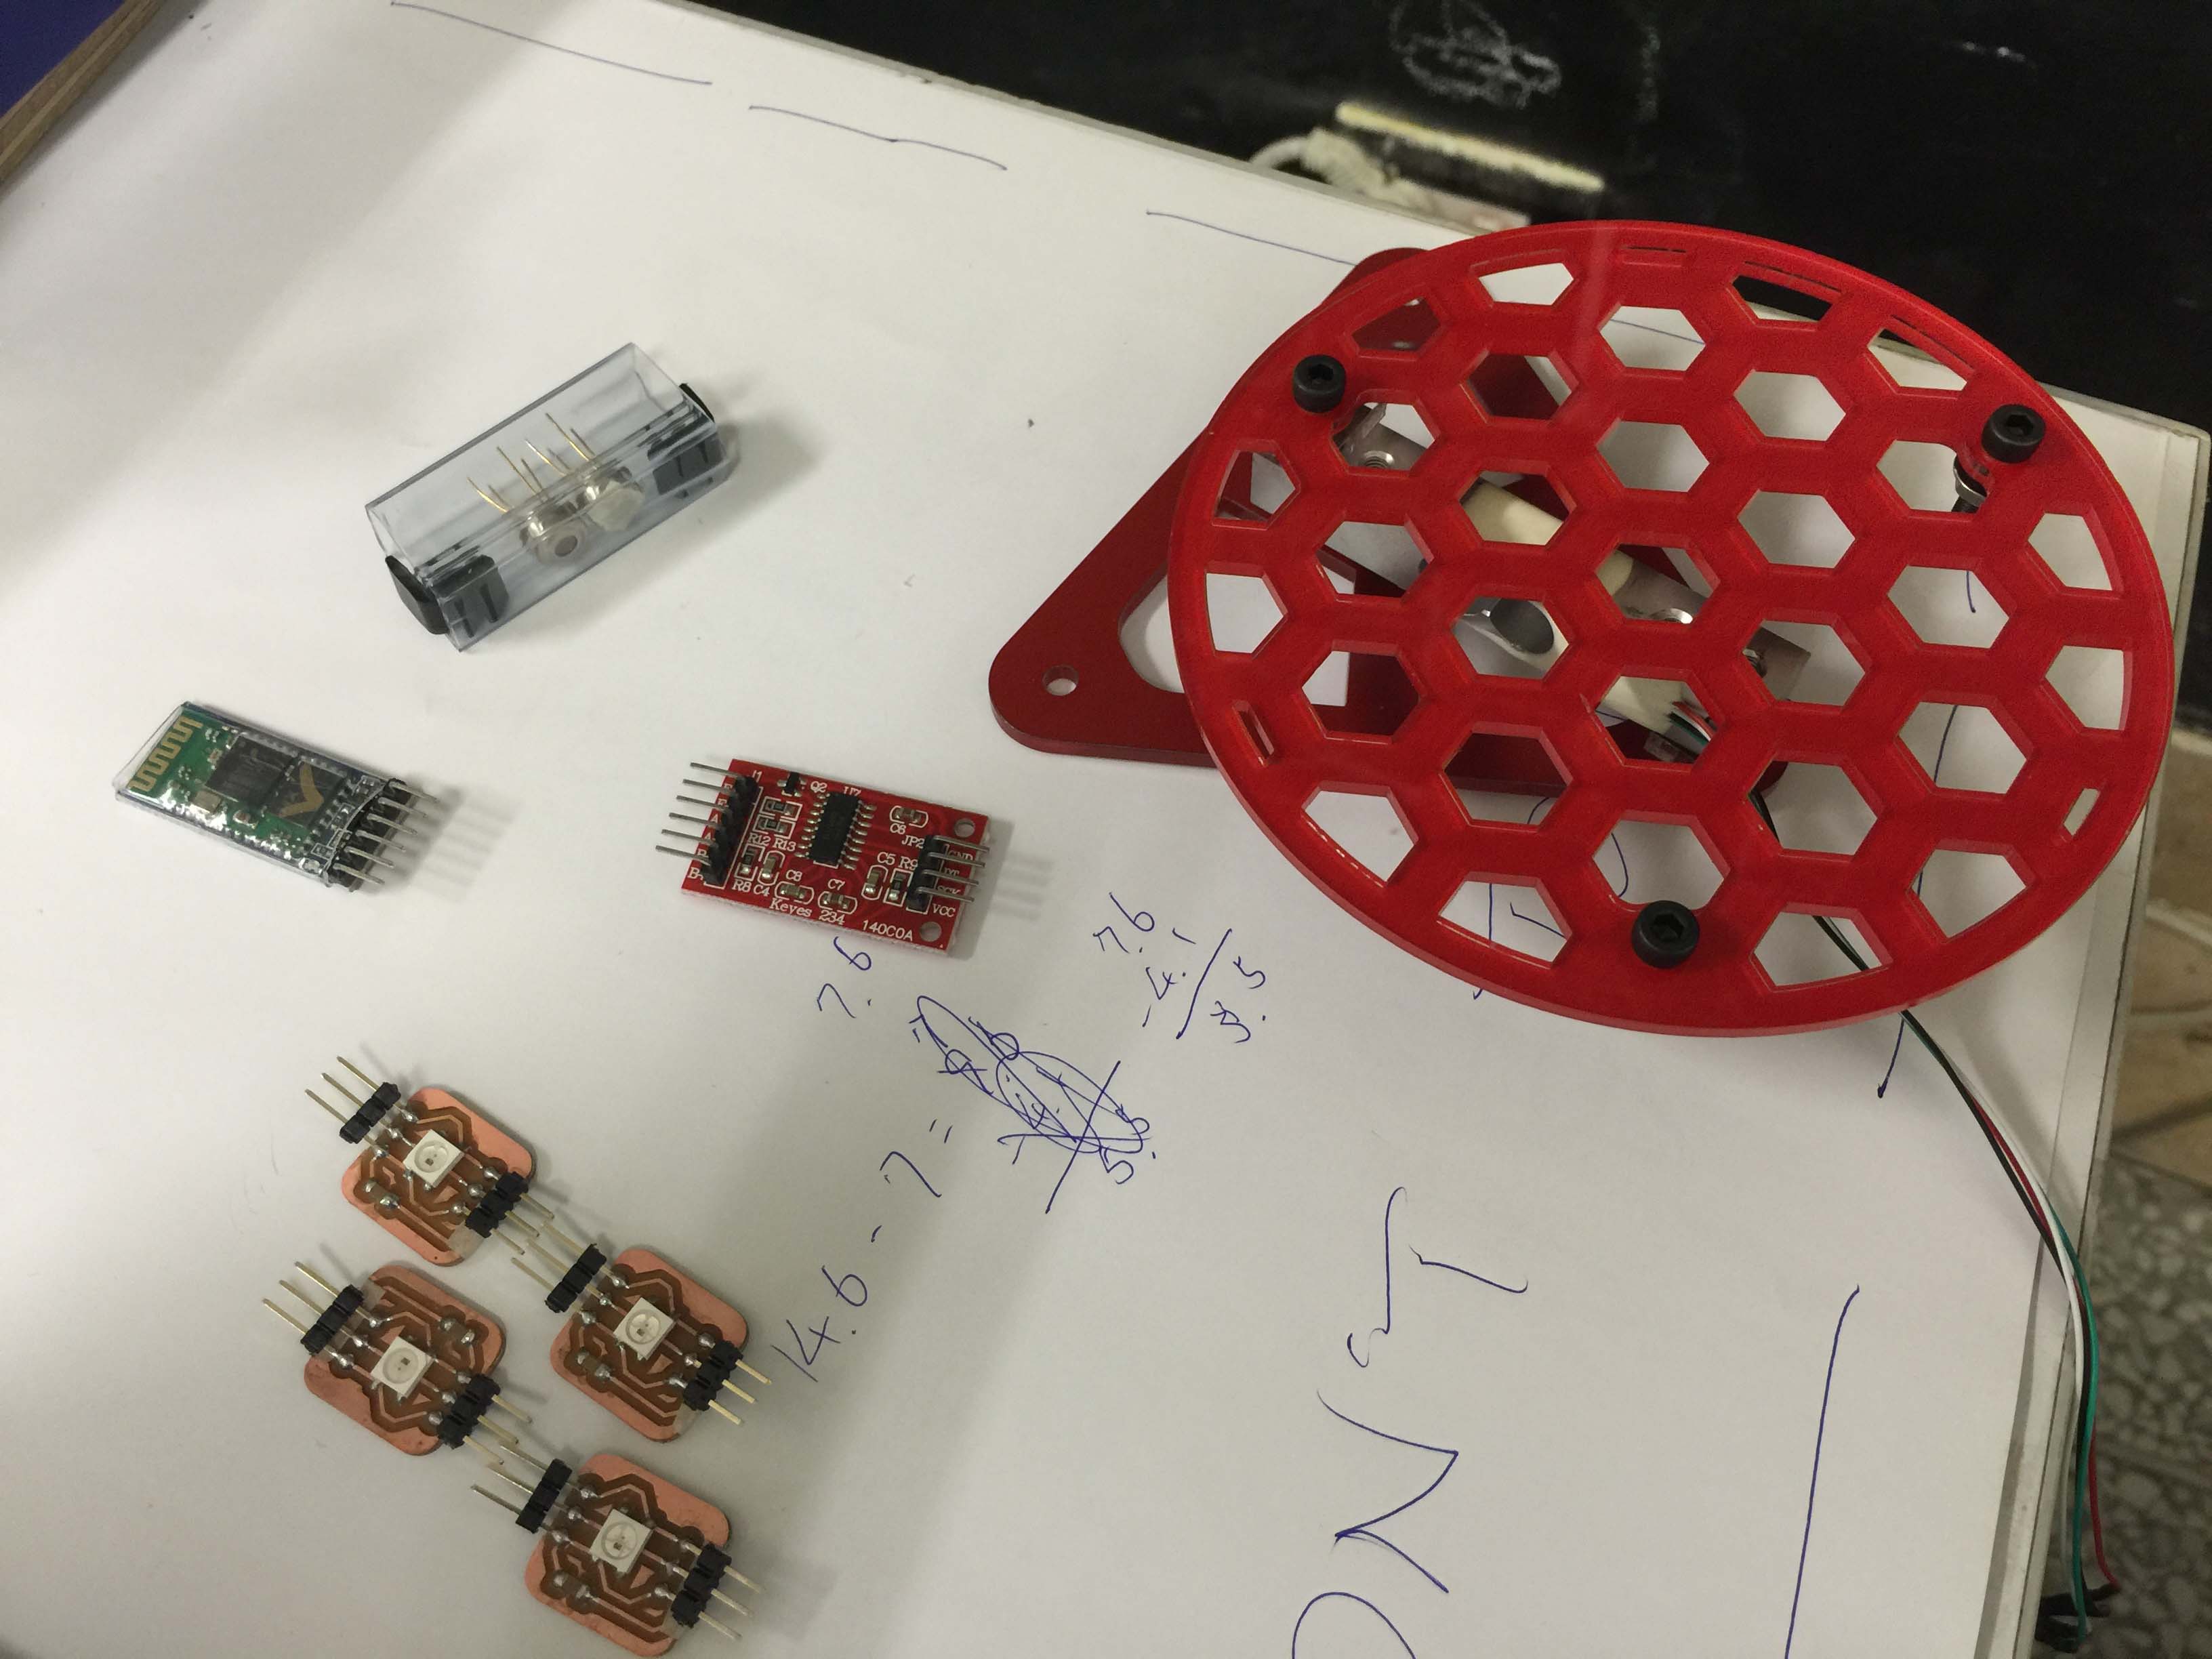
Also, I will try to use MIT App Inventor 2 to build an app as interface for this project.
The real project planning and building started from late May.
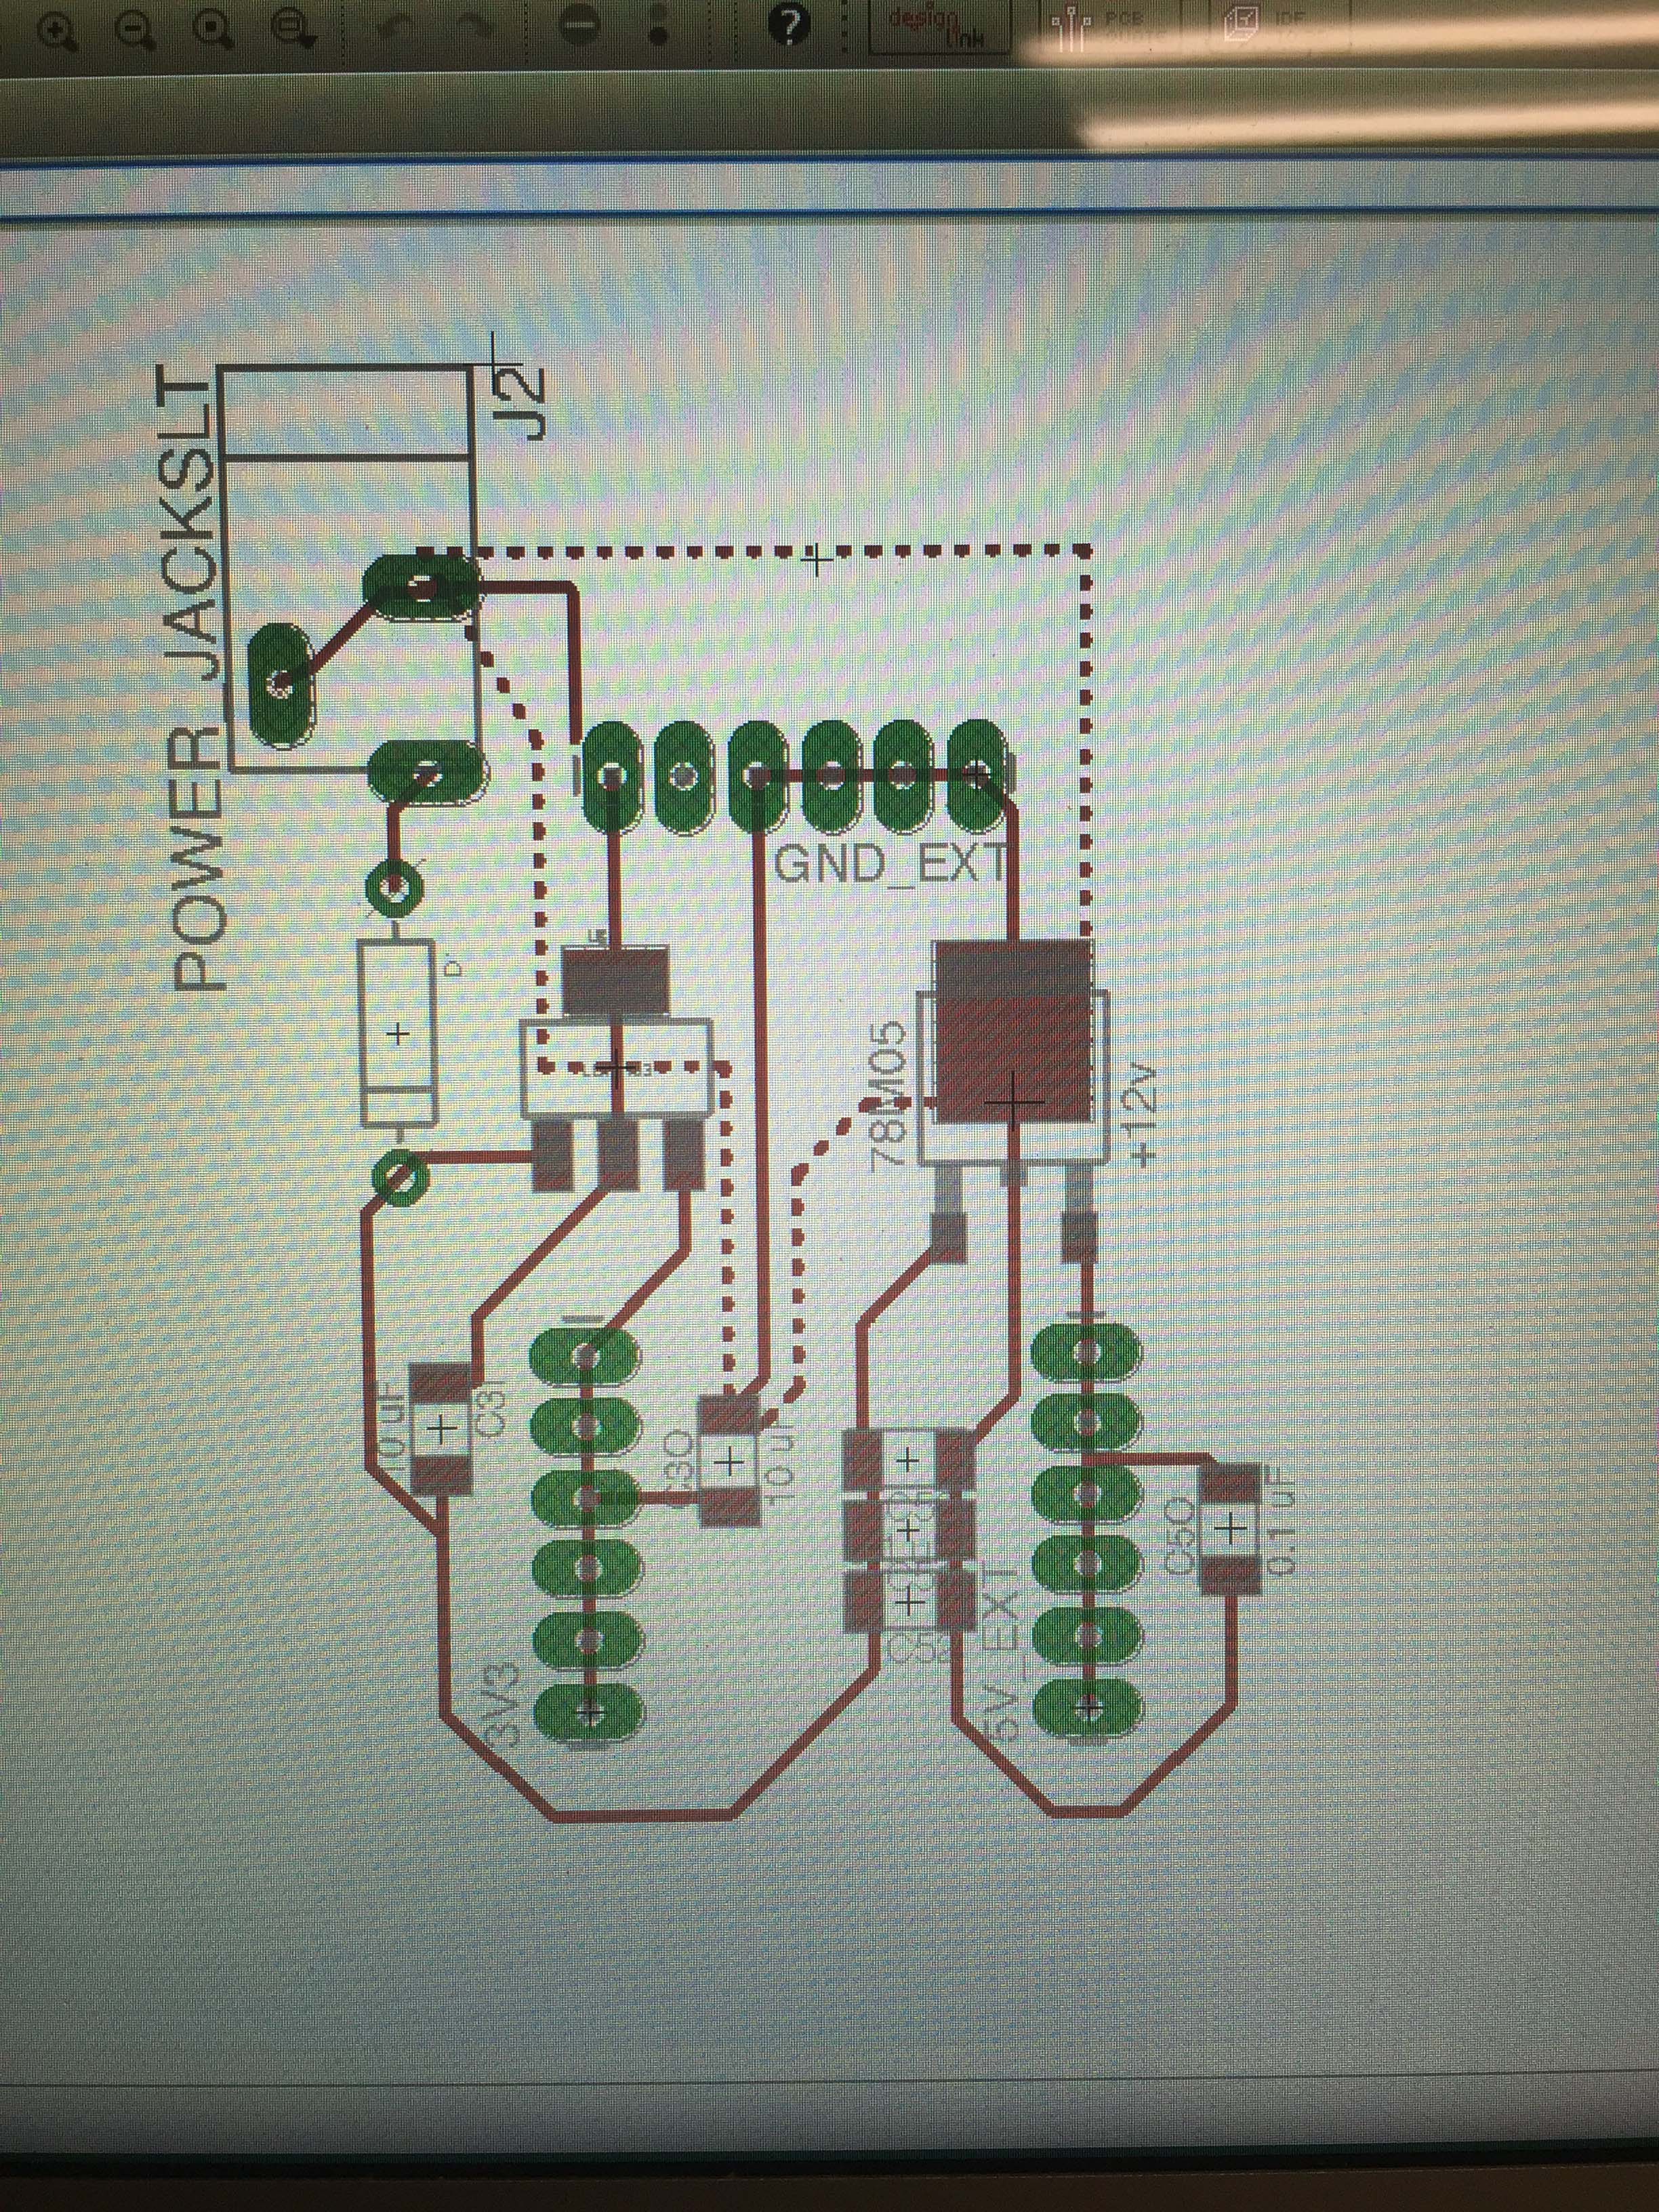
Since the IR thermometer, Melexis MLX90614 I bought from DigiKey is 3.3V version, that I needed to support both 3.3V / 5V to the system at the same time.
For the first thing, I designed a power supply board with extra copper as heat sink for the entire system. I use 78M05 for 5V regulation, and 1117-3 for 3.3V.
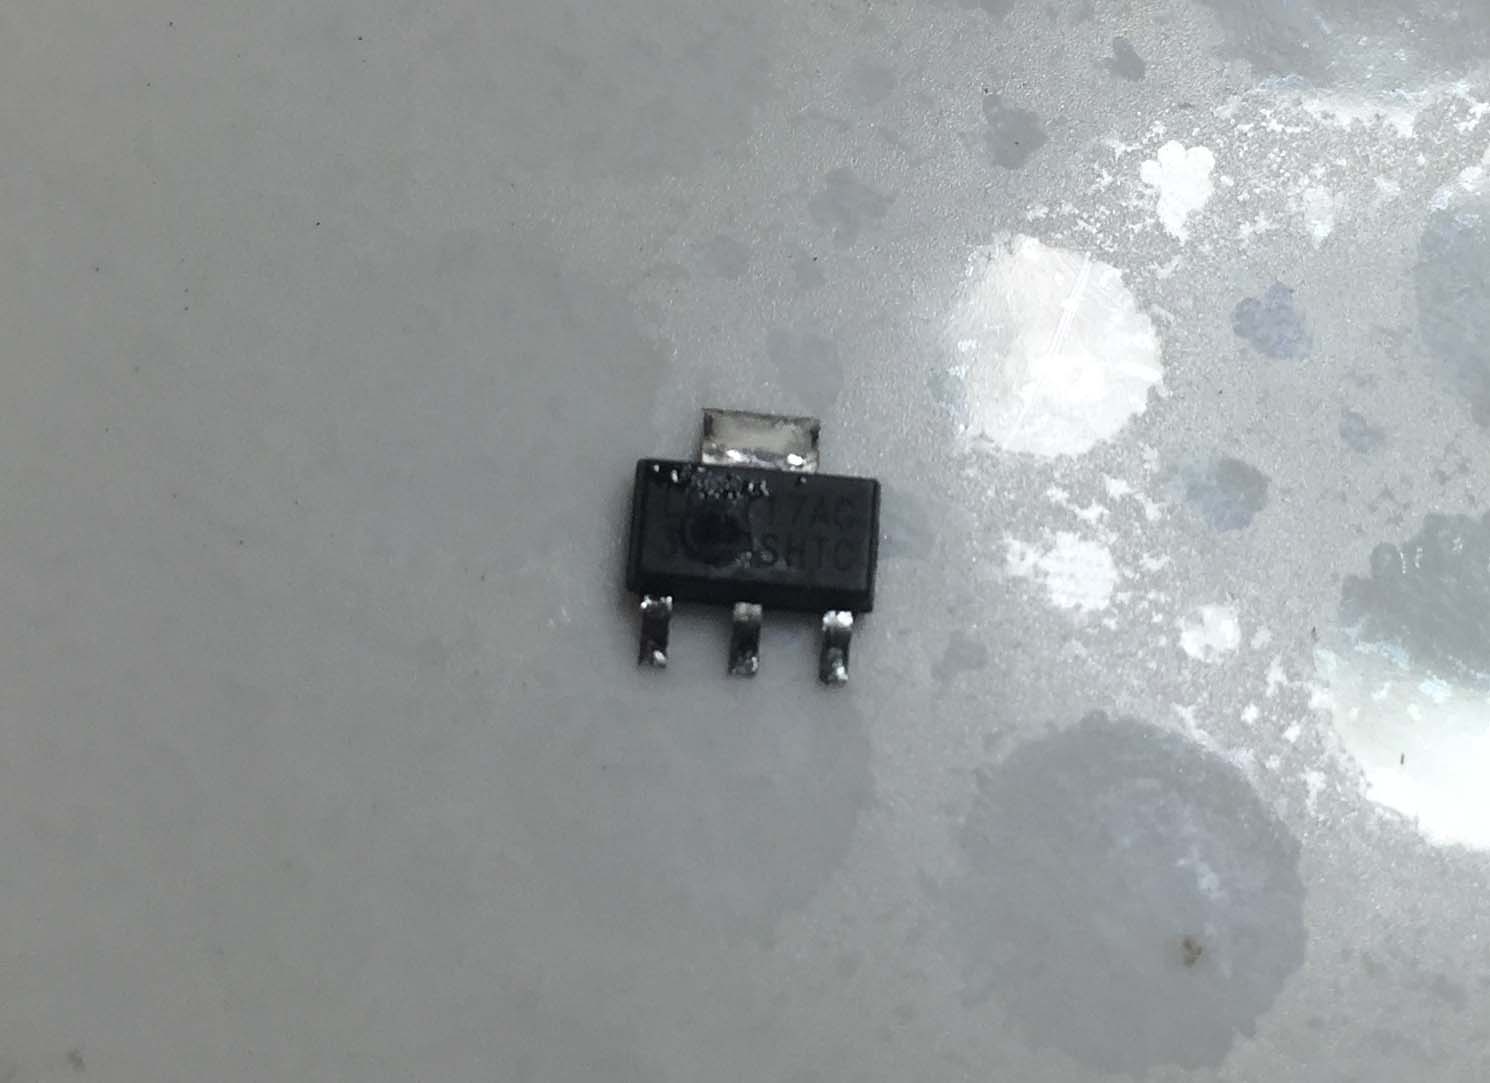
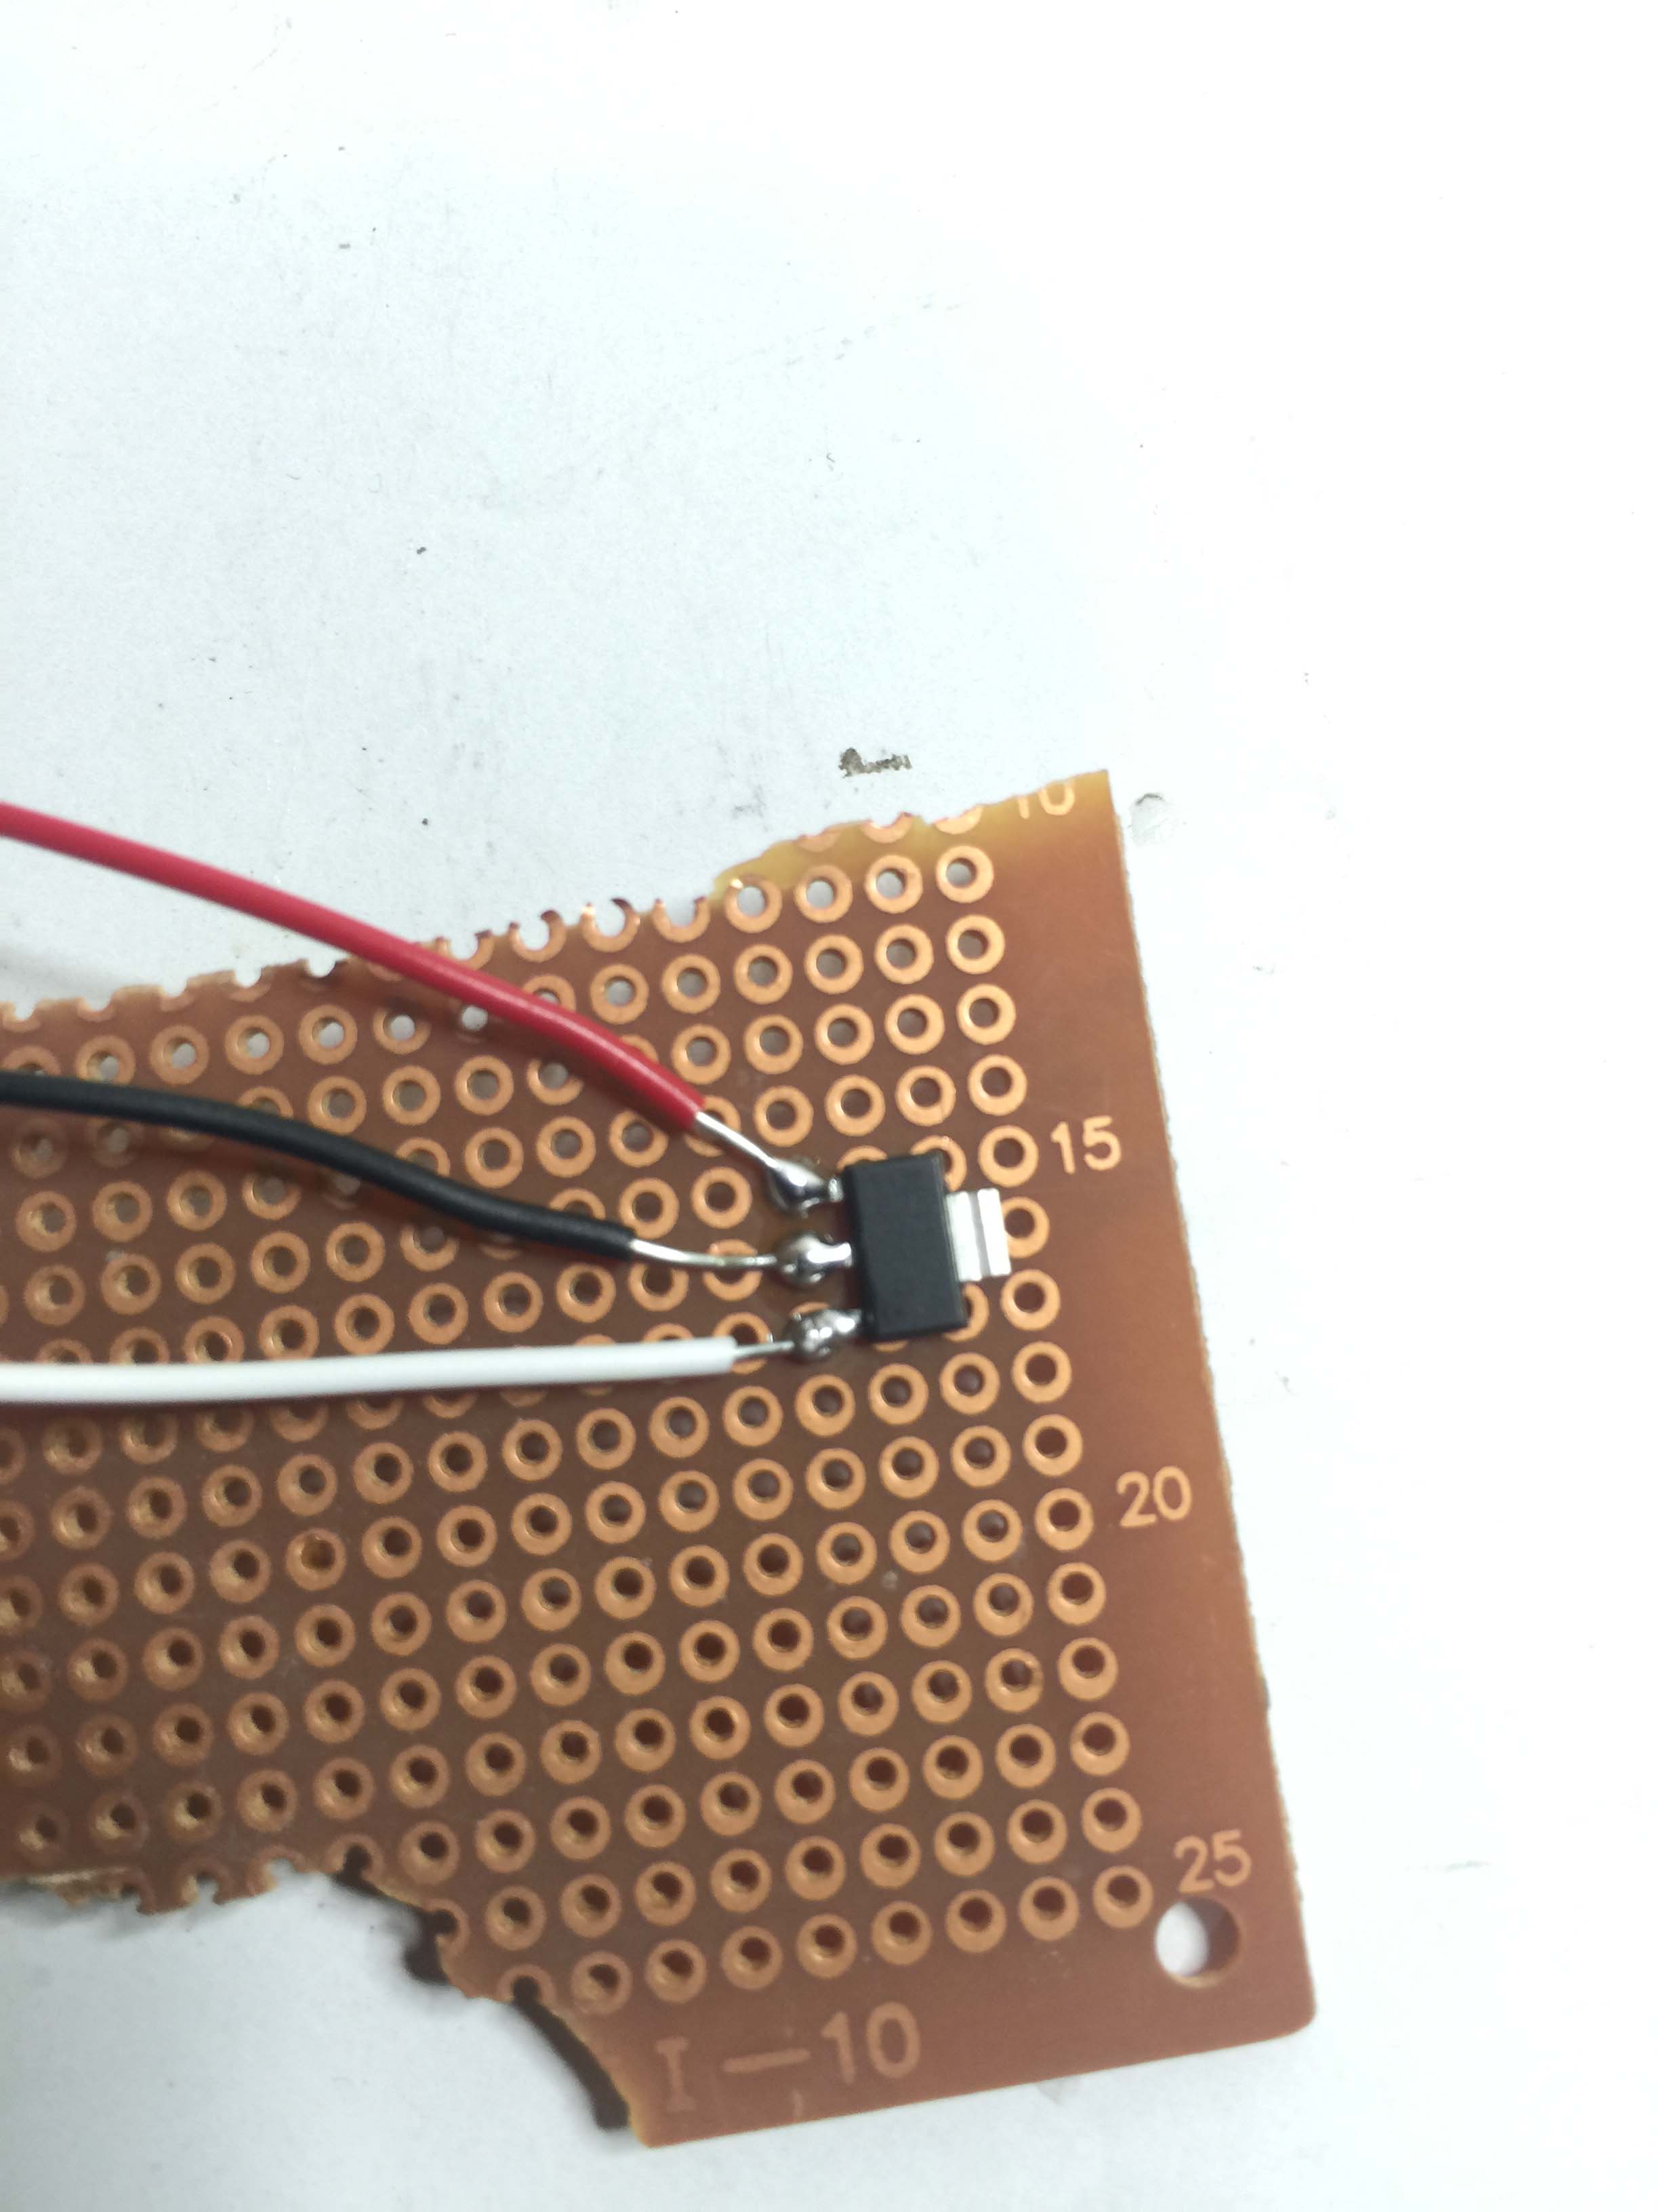
At first I burnt few 1117-3 and made some beautiful smoke and sparks. Then I realized the pin definition I got from the local supplier was actually wrong. It took me two days to settle the issue.
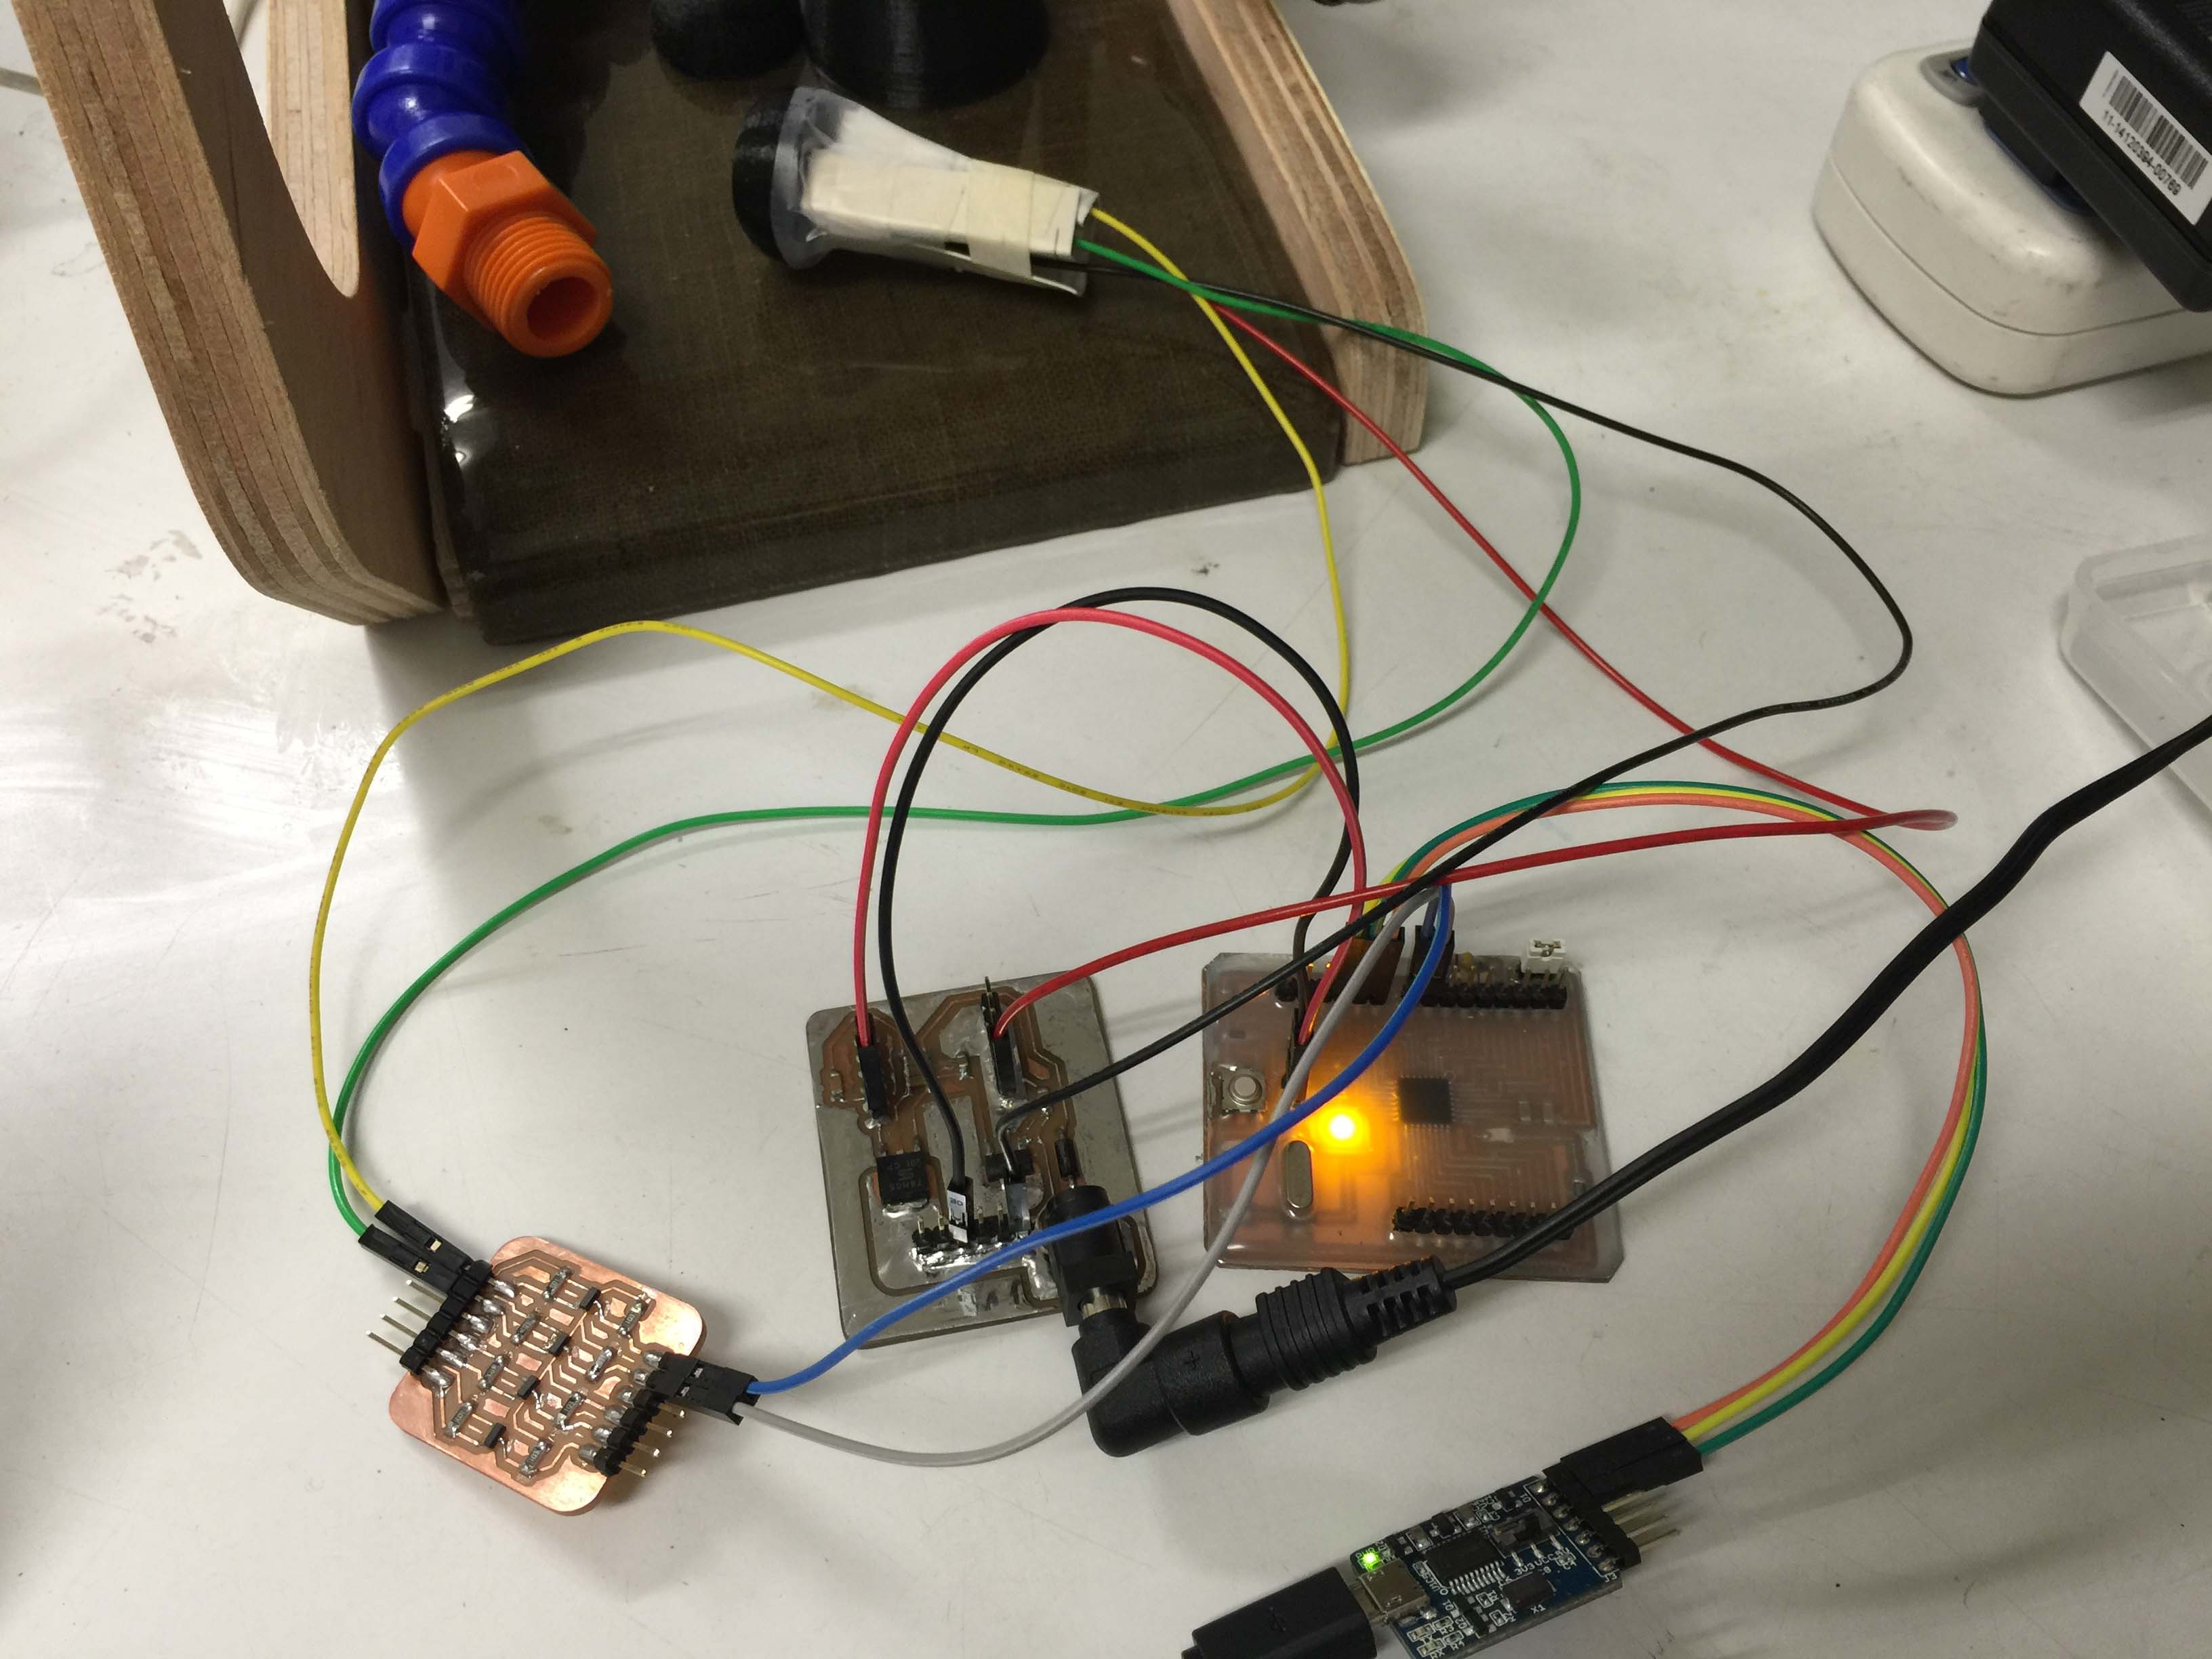
debugging...
I used 12V/2A DC adaptor to support all the juices... 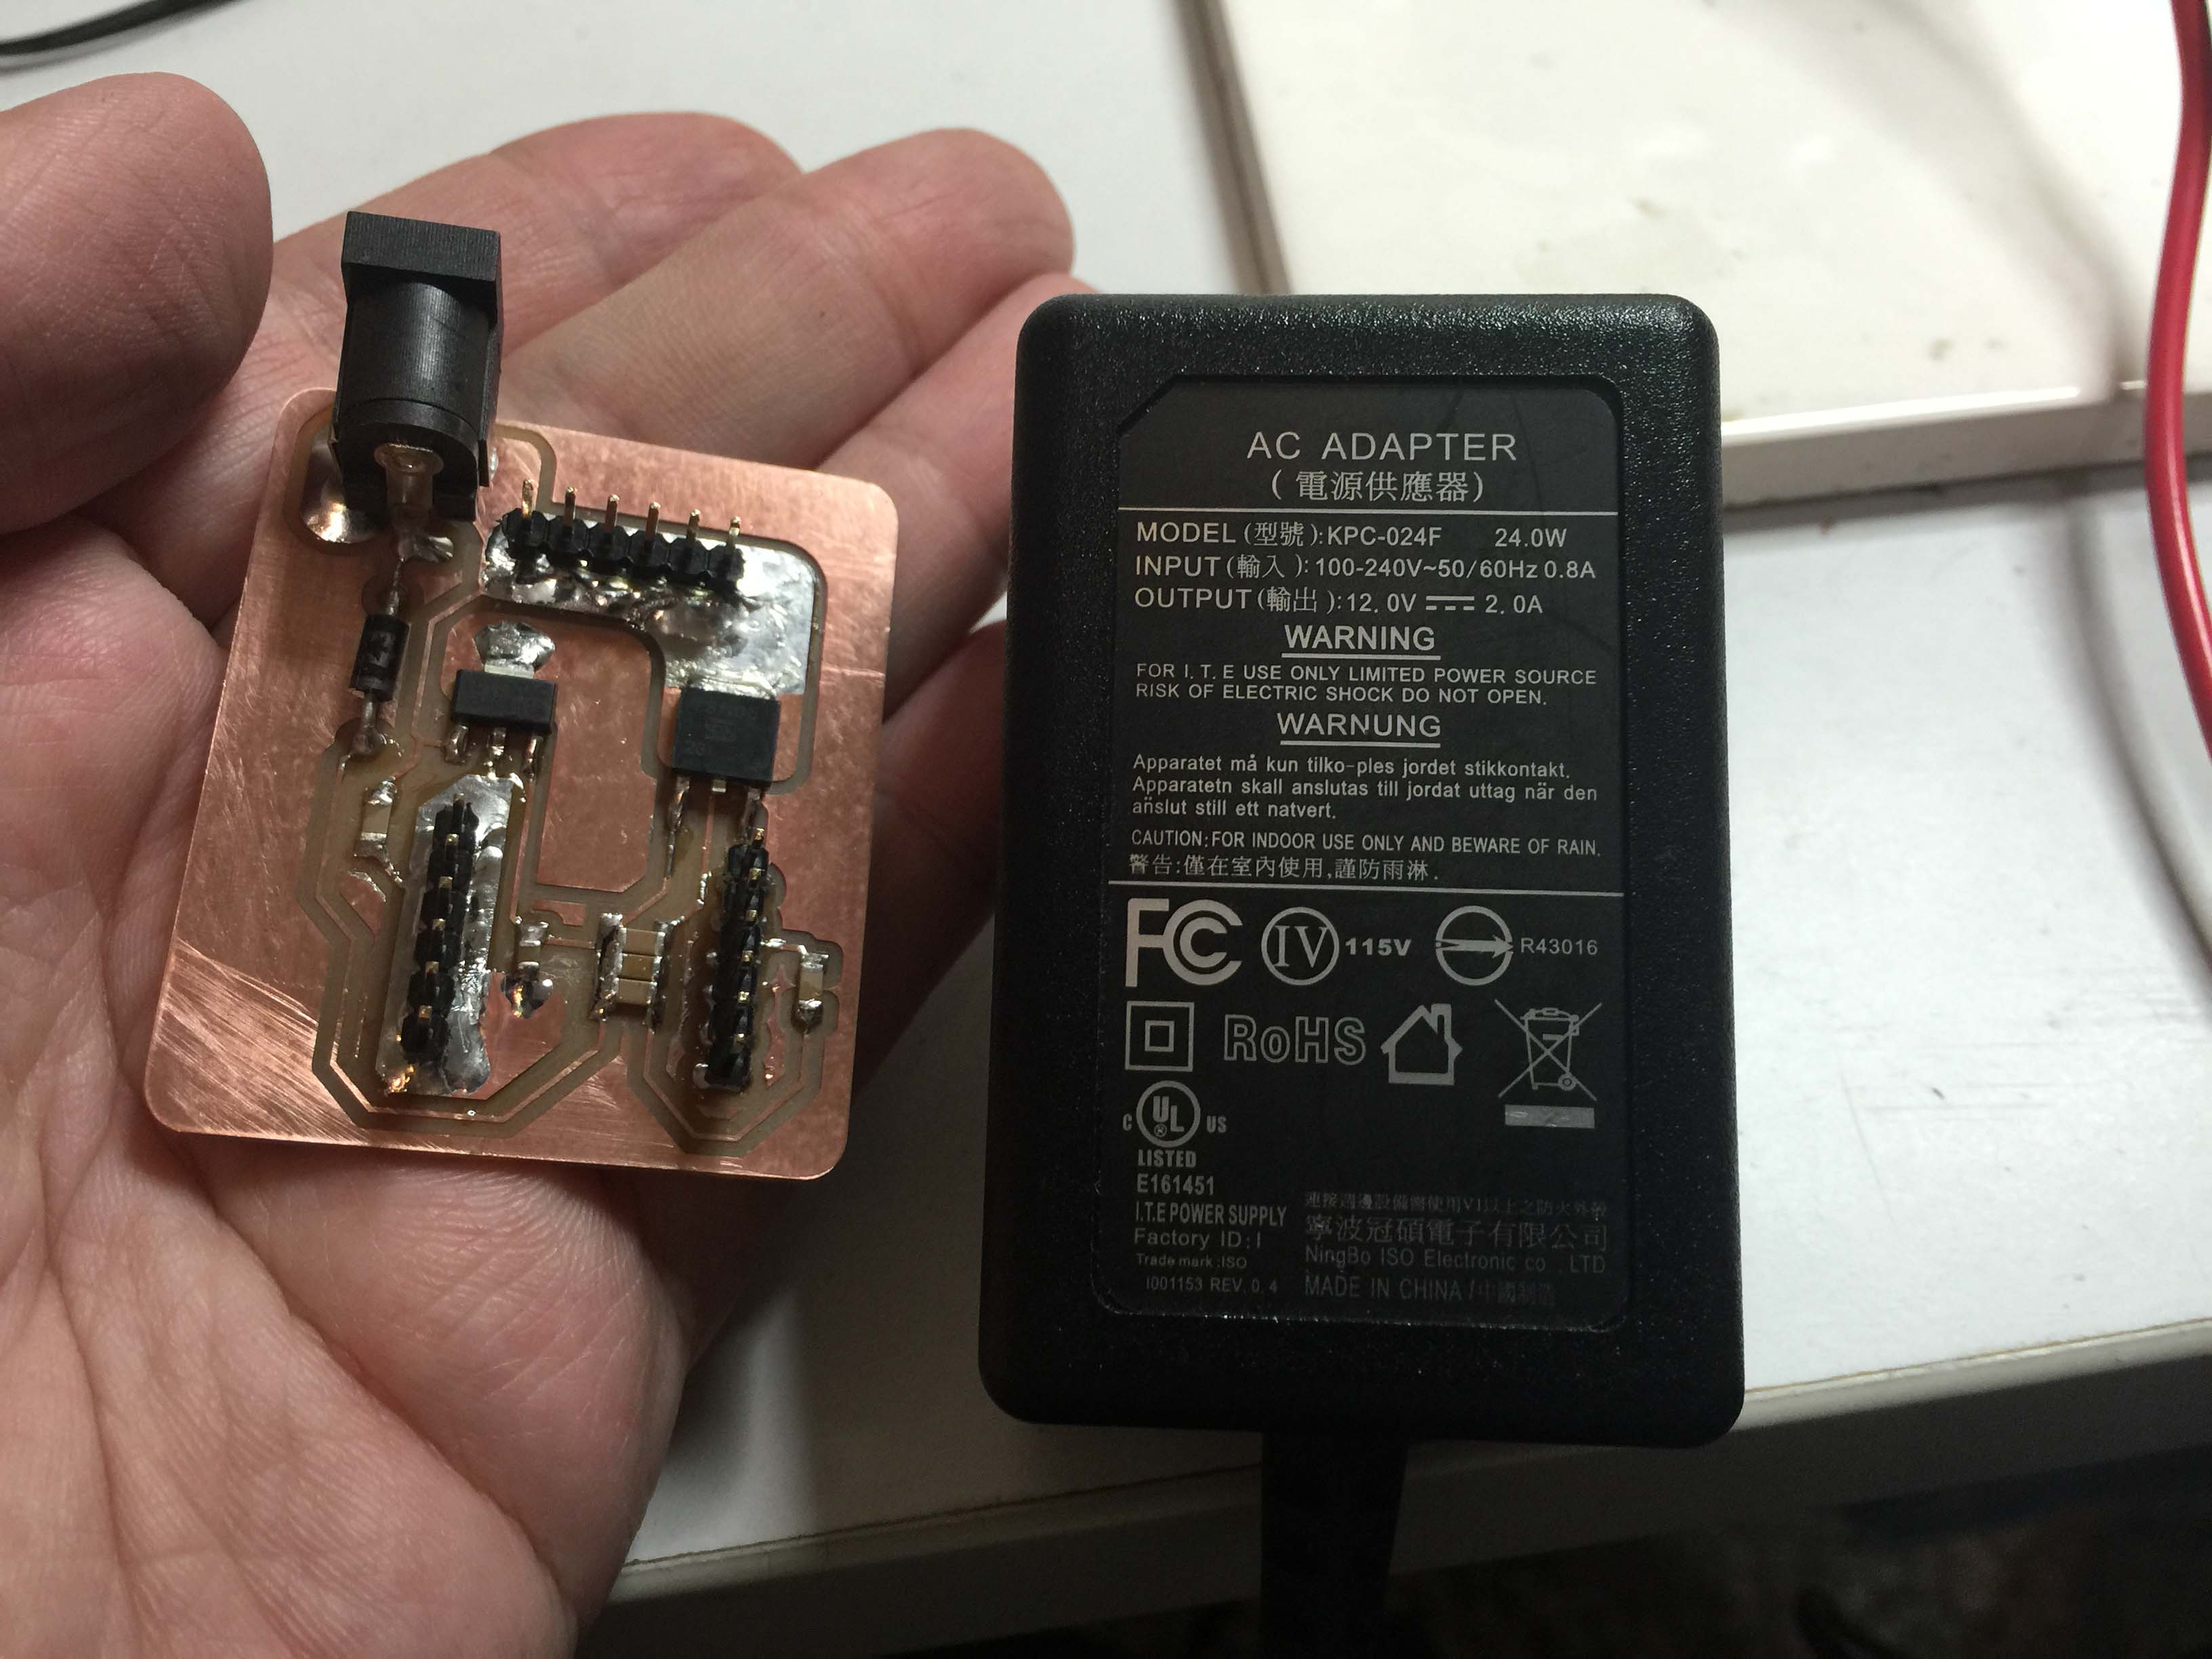
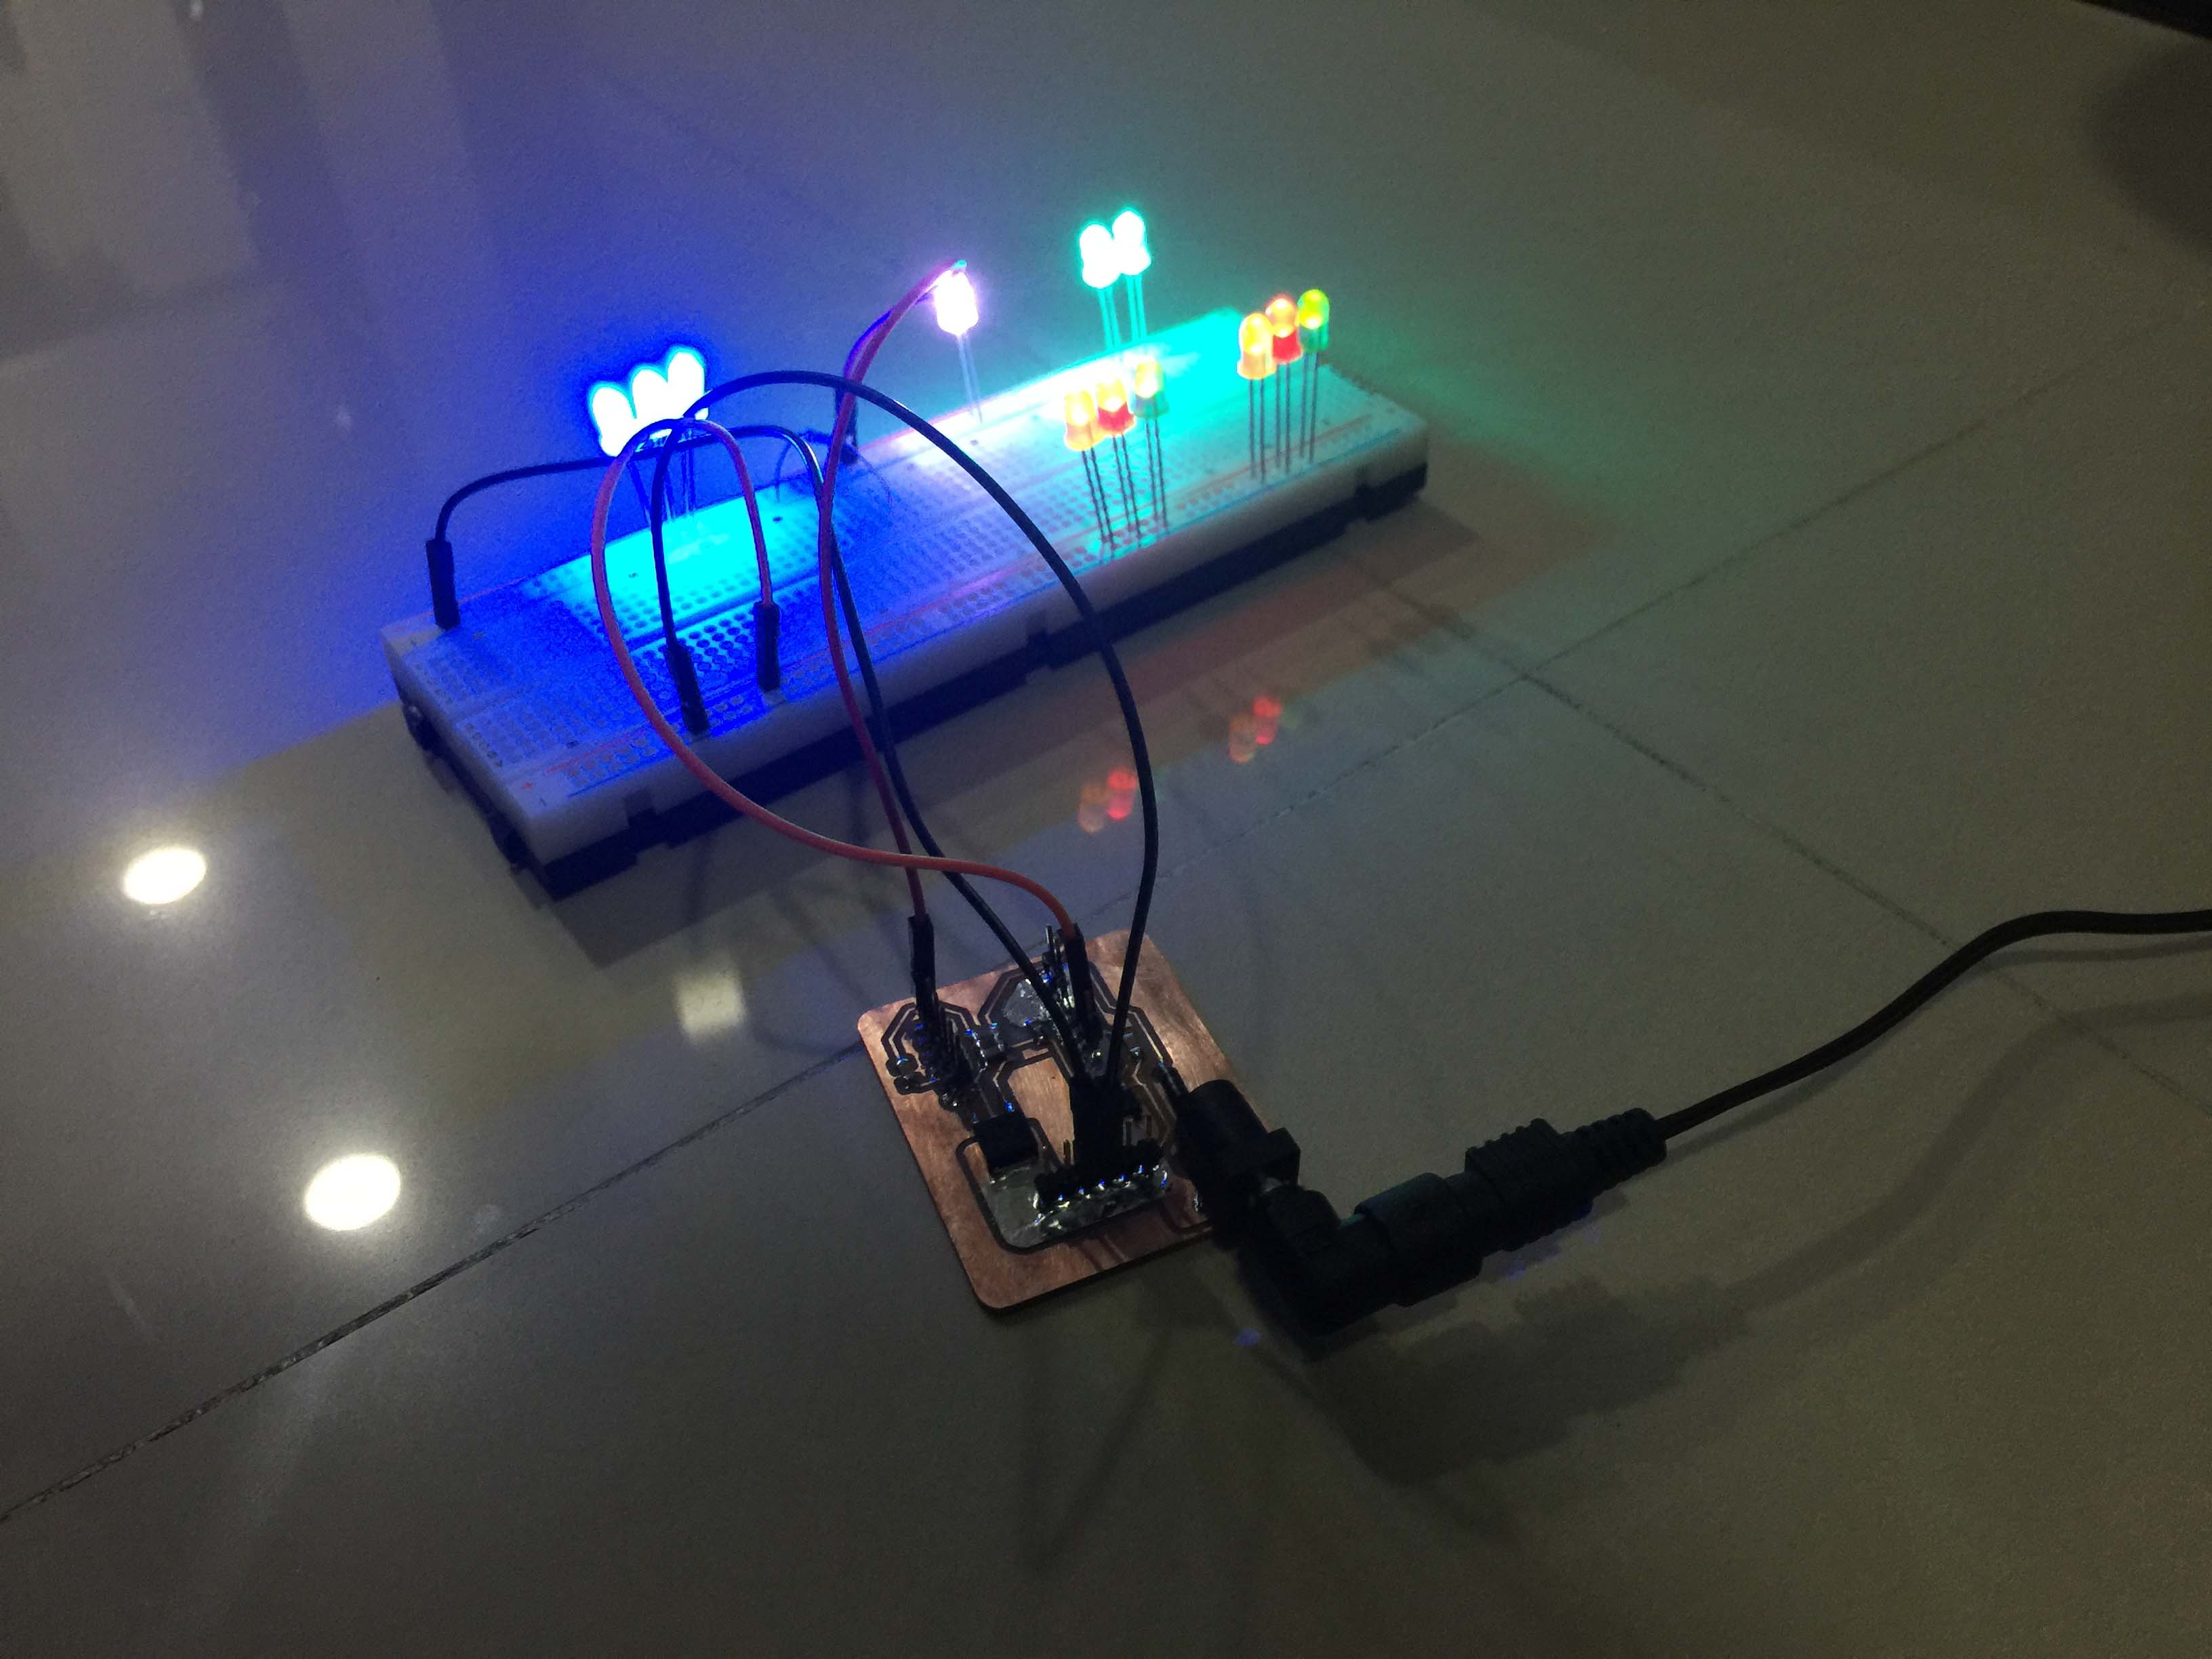
...and it worked like wonder! I am super satisfied with extra copper. It gave me sense of safety to my circuits.
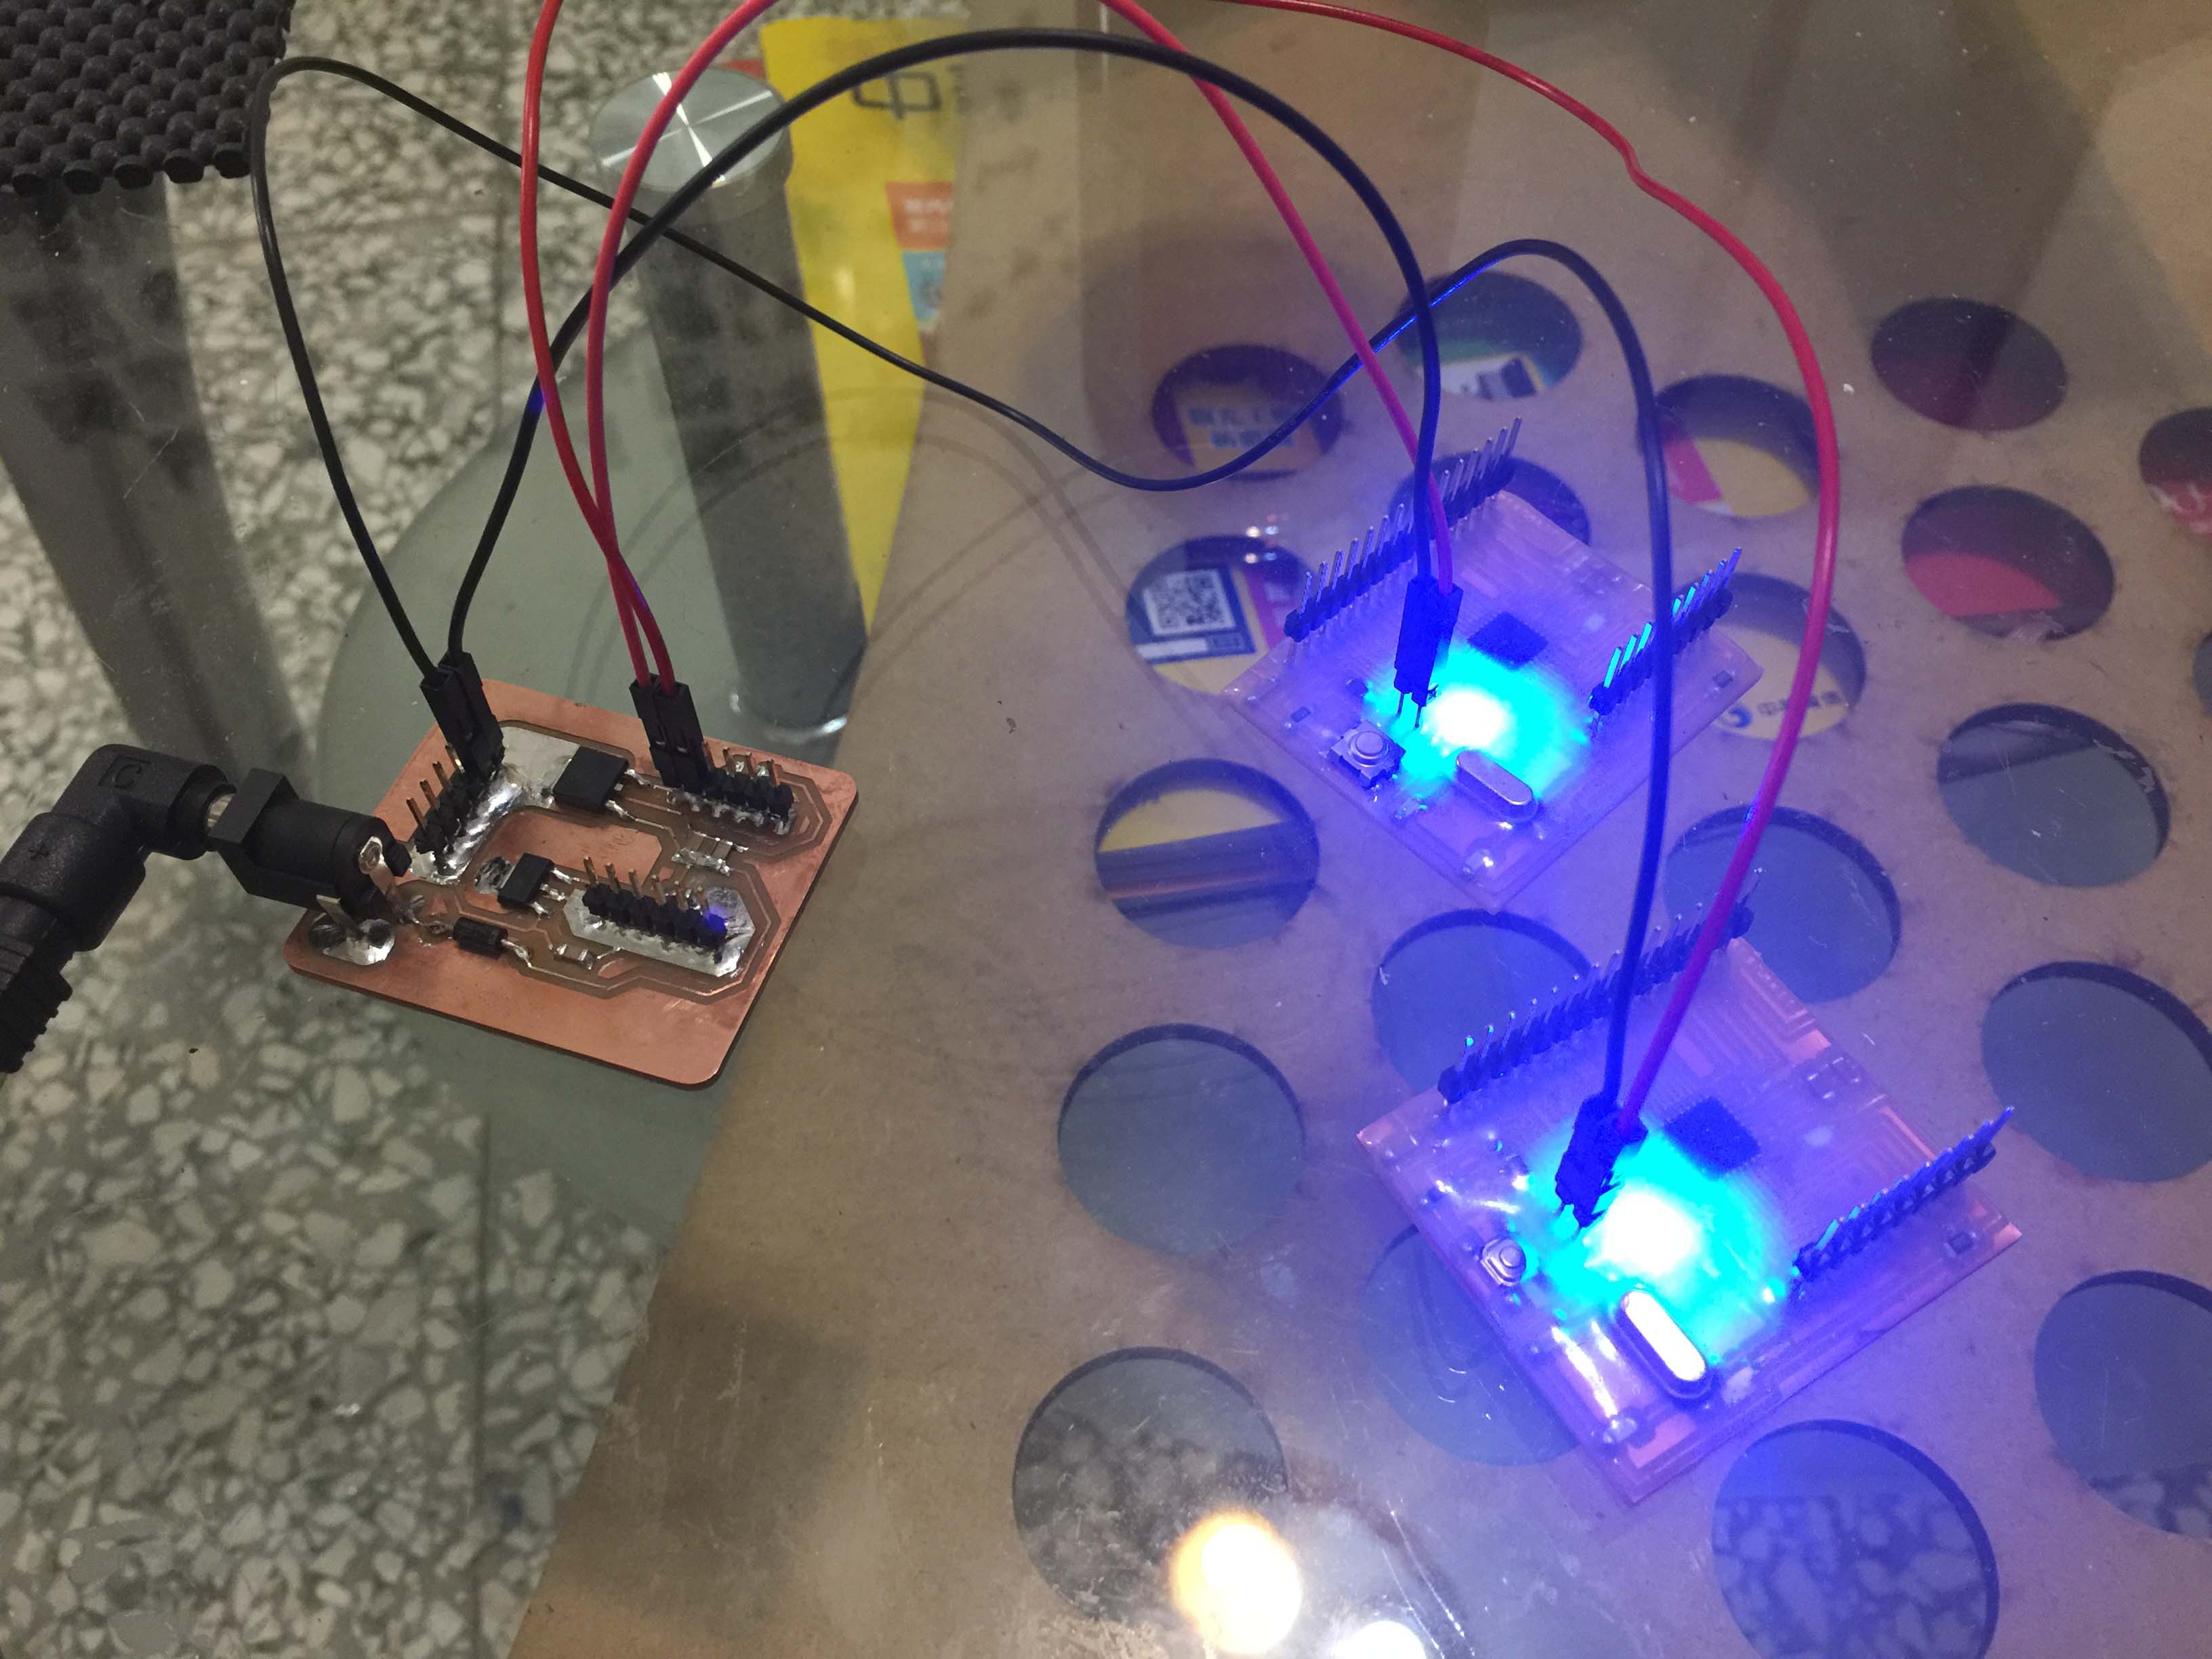
Because I need to use I2C to communicate with MLX90614, I decided to modify Satshakit a little bit, that is add 2 4.7k pull-up resistors and jumper as switch to this feature.
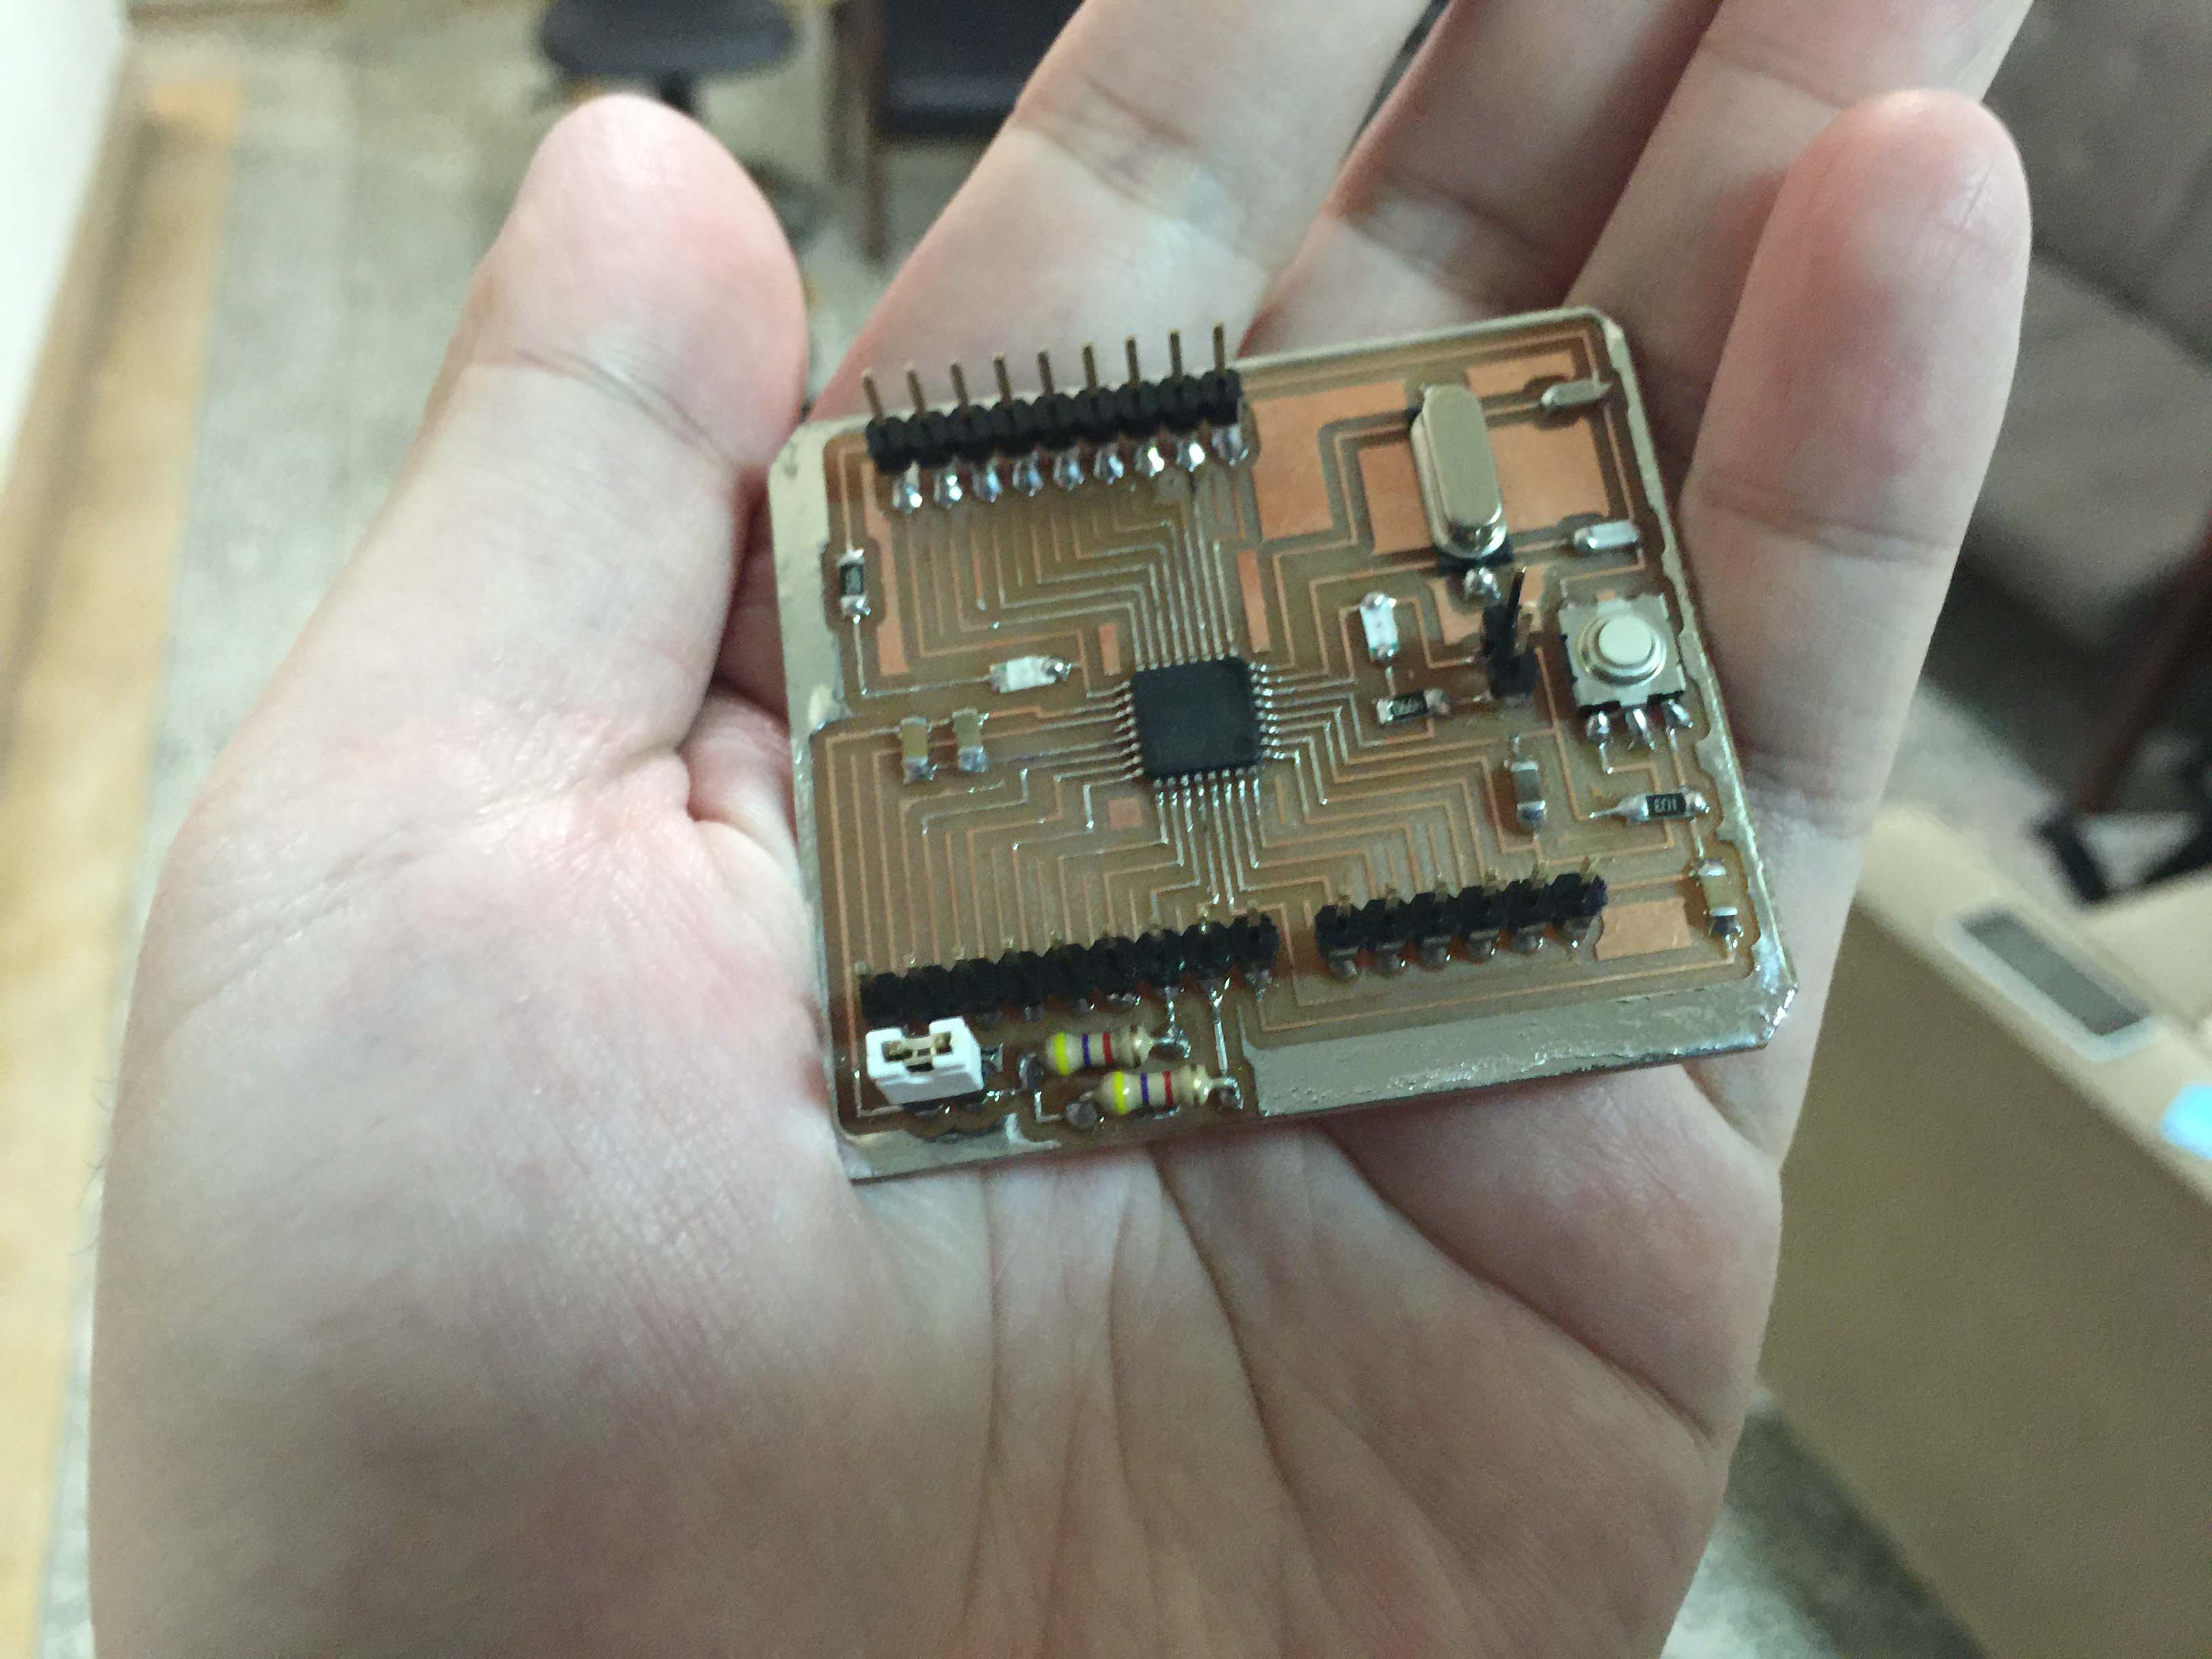
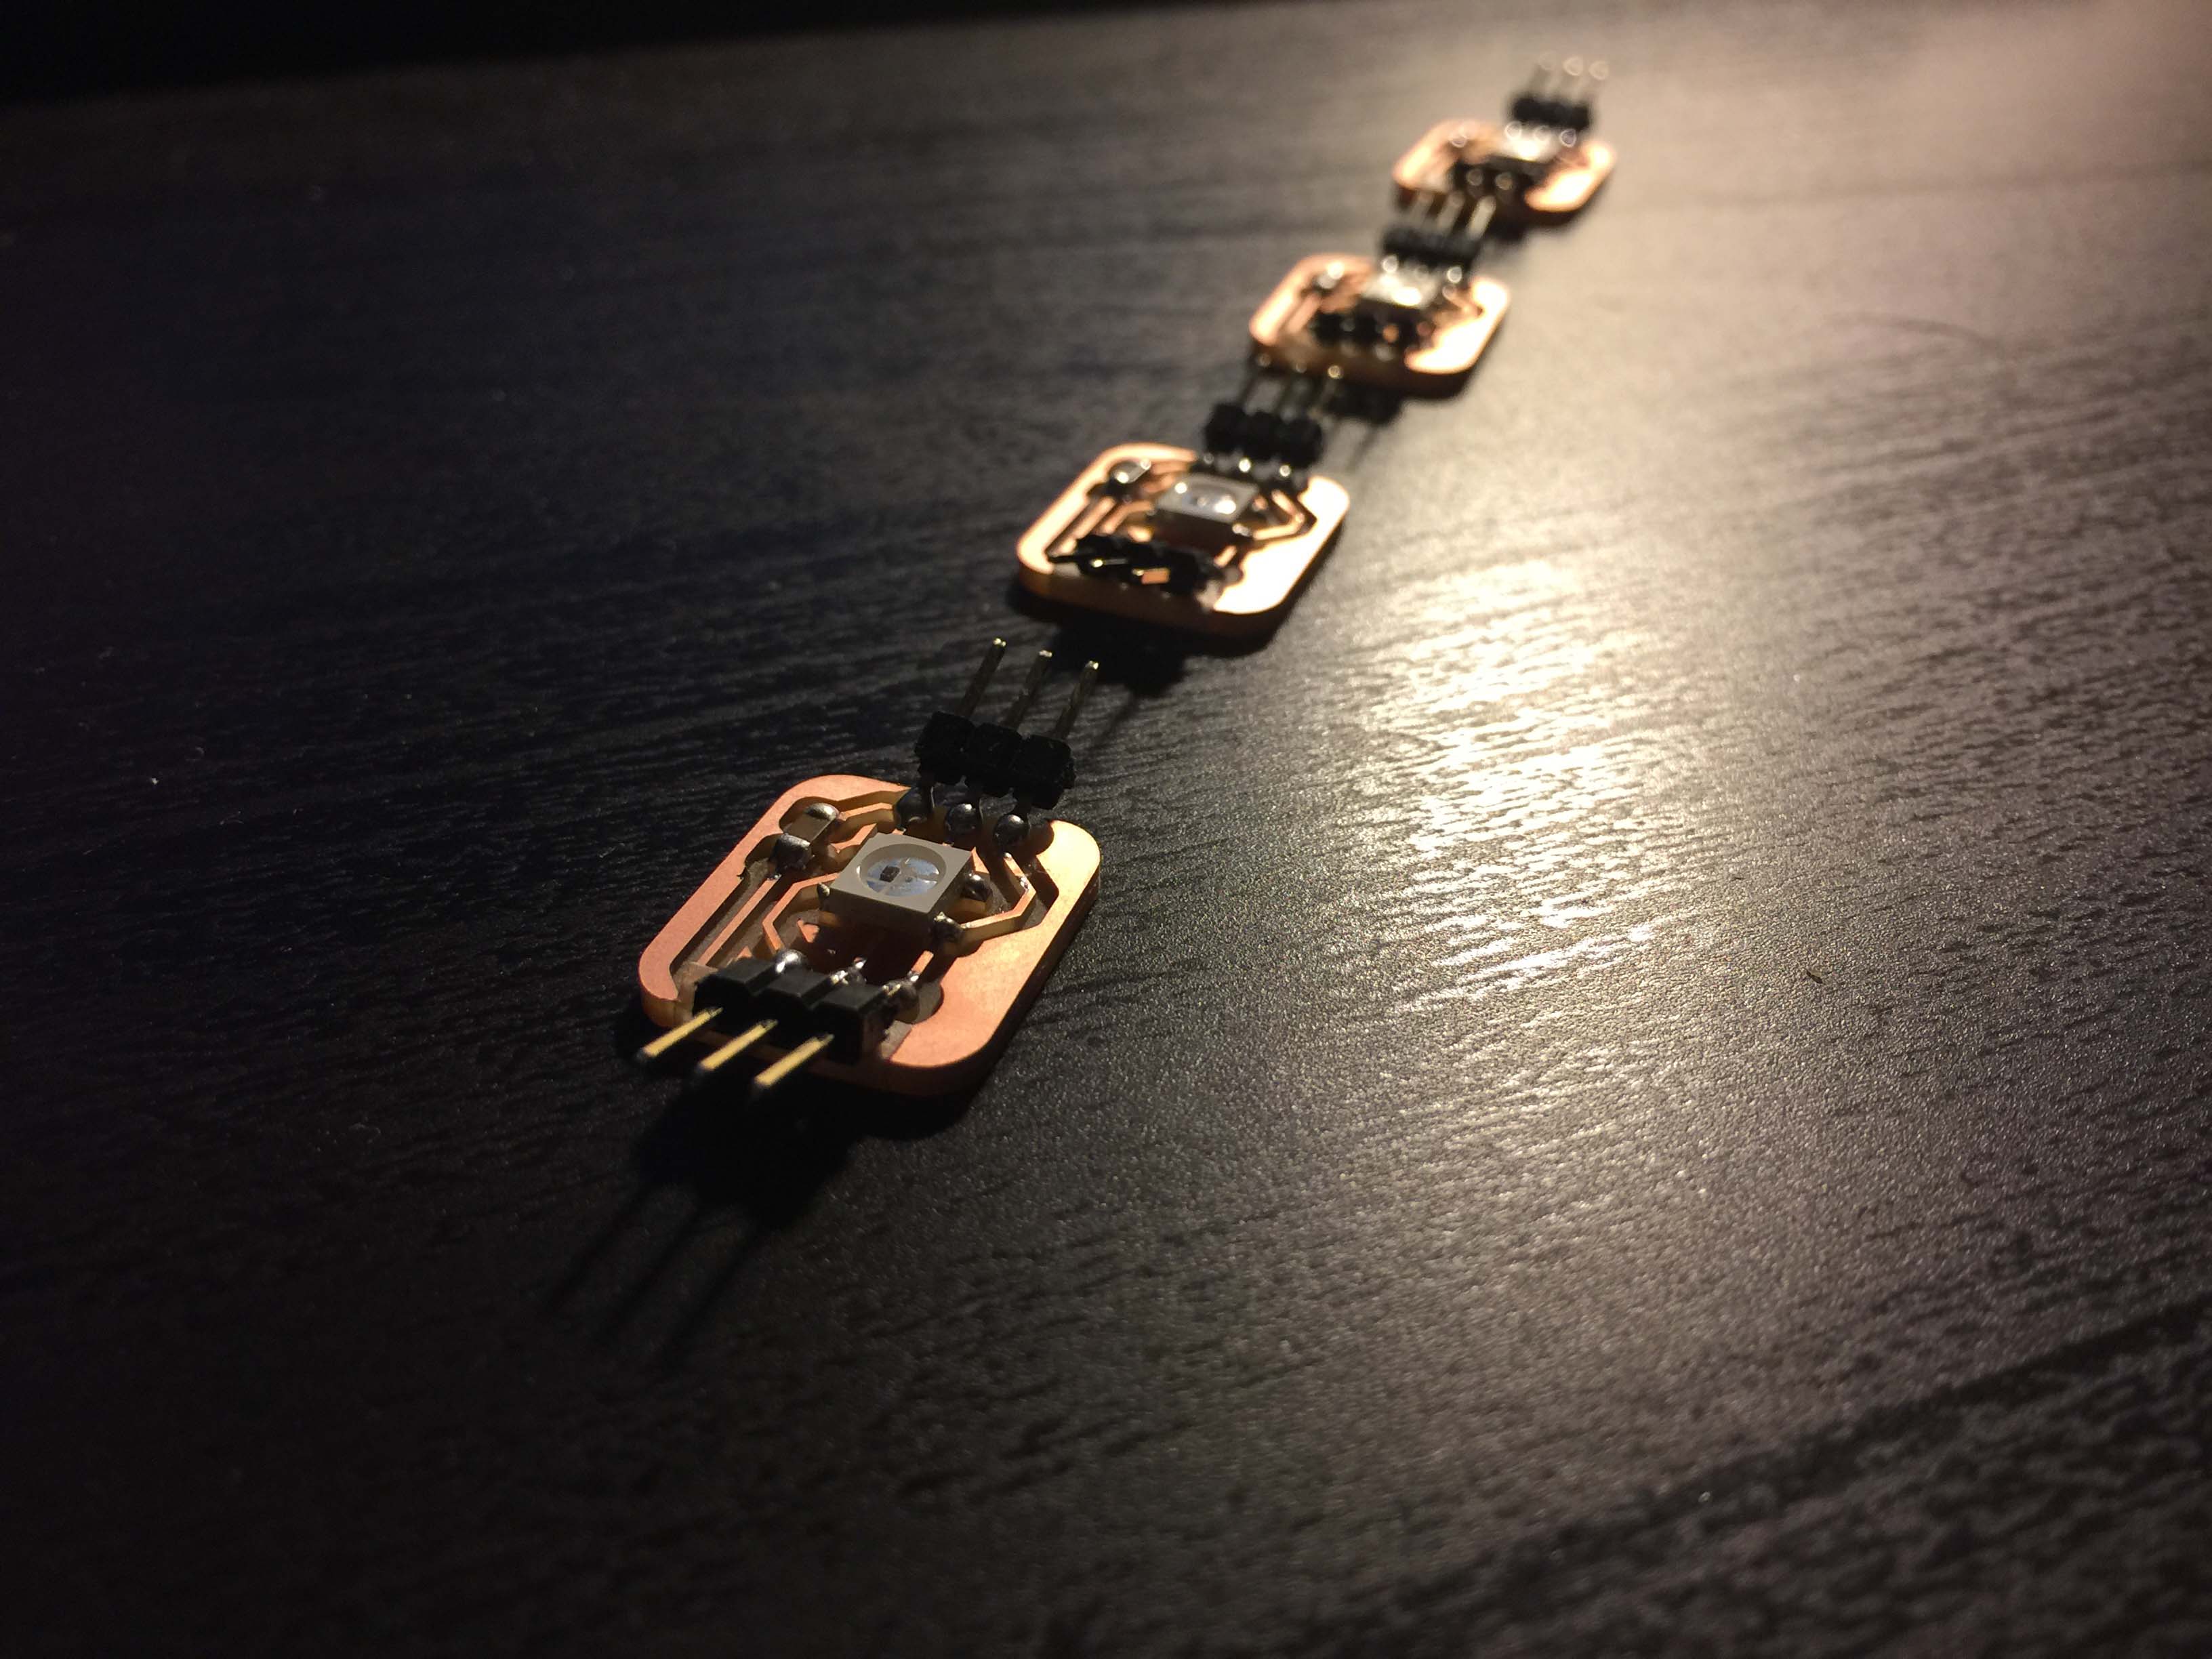
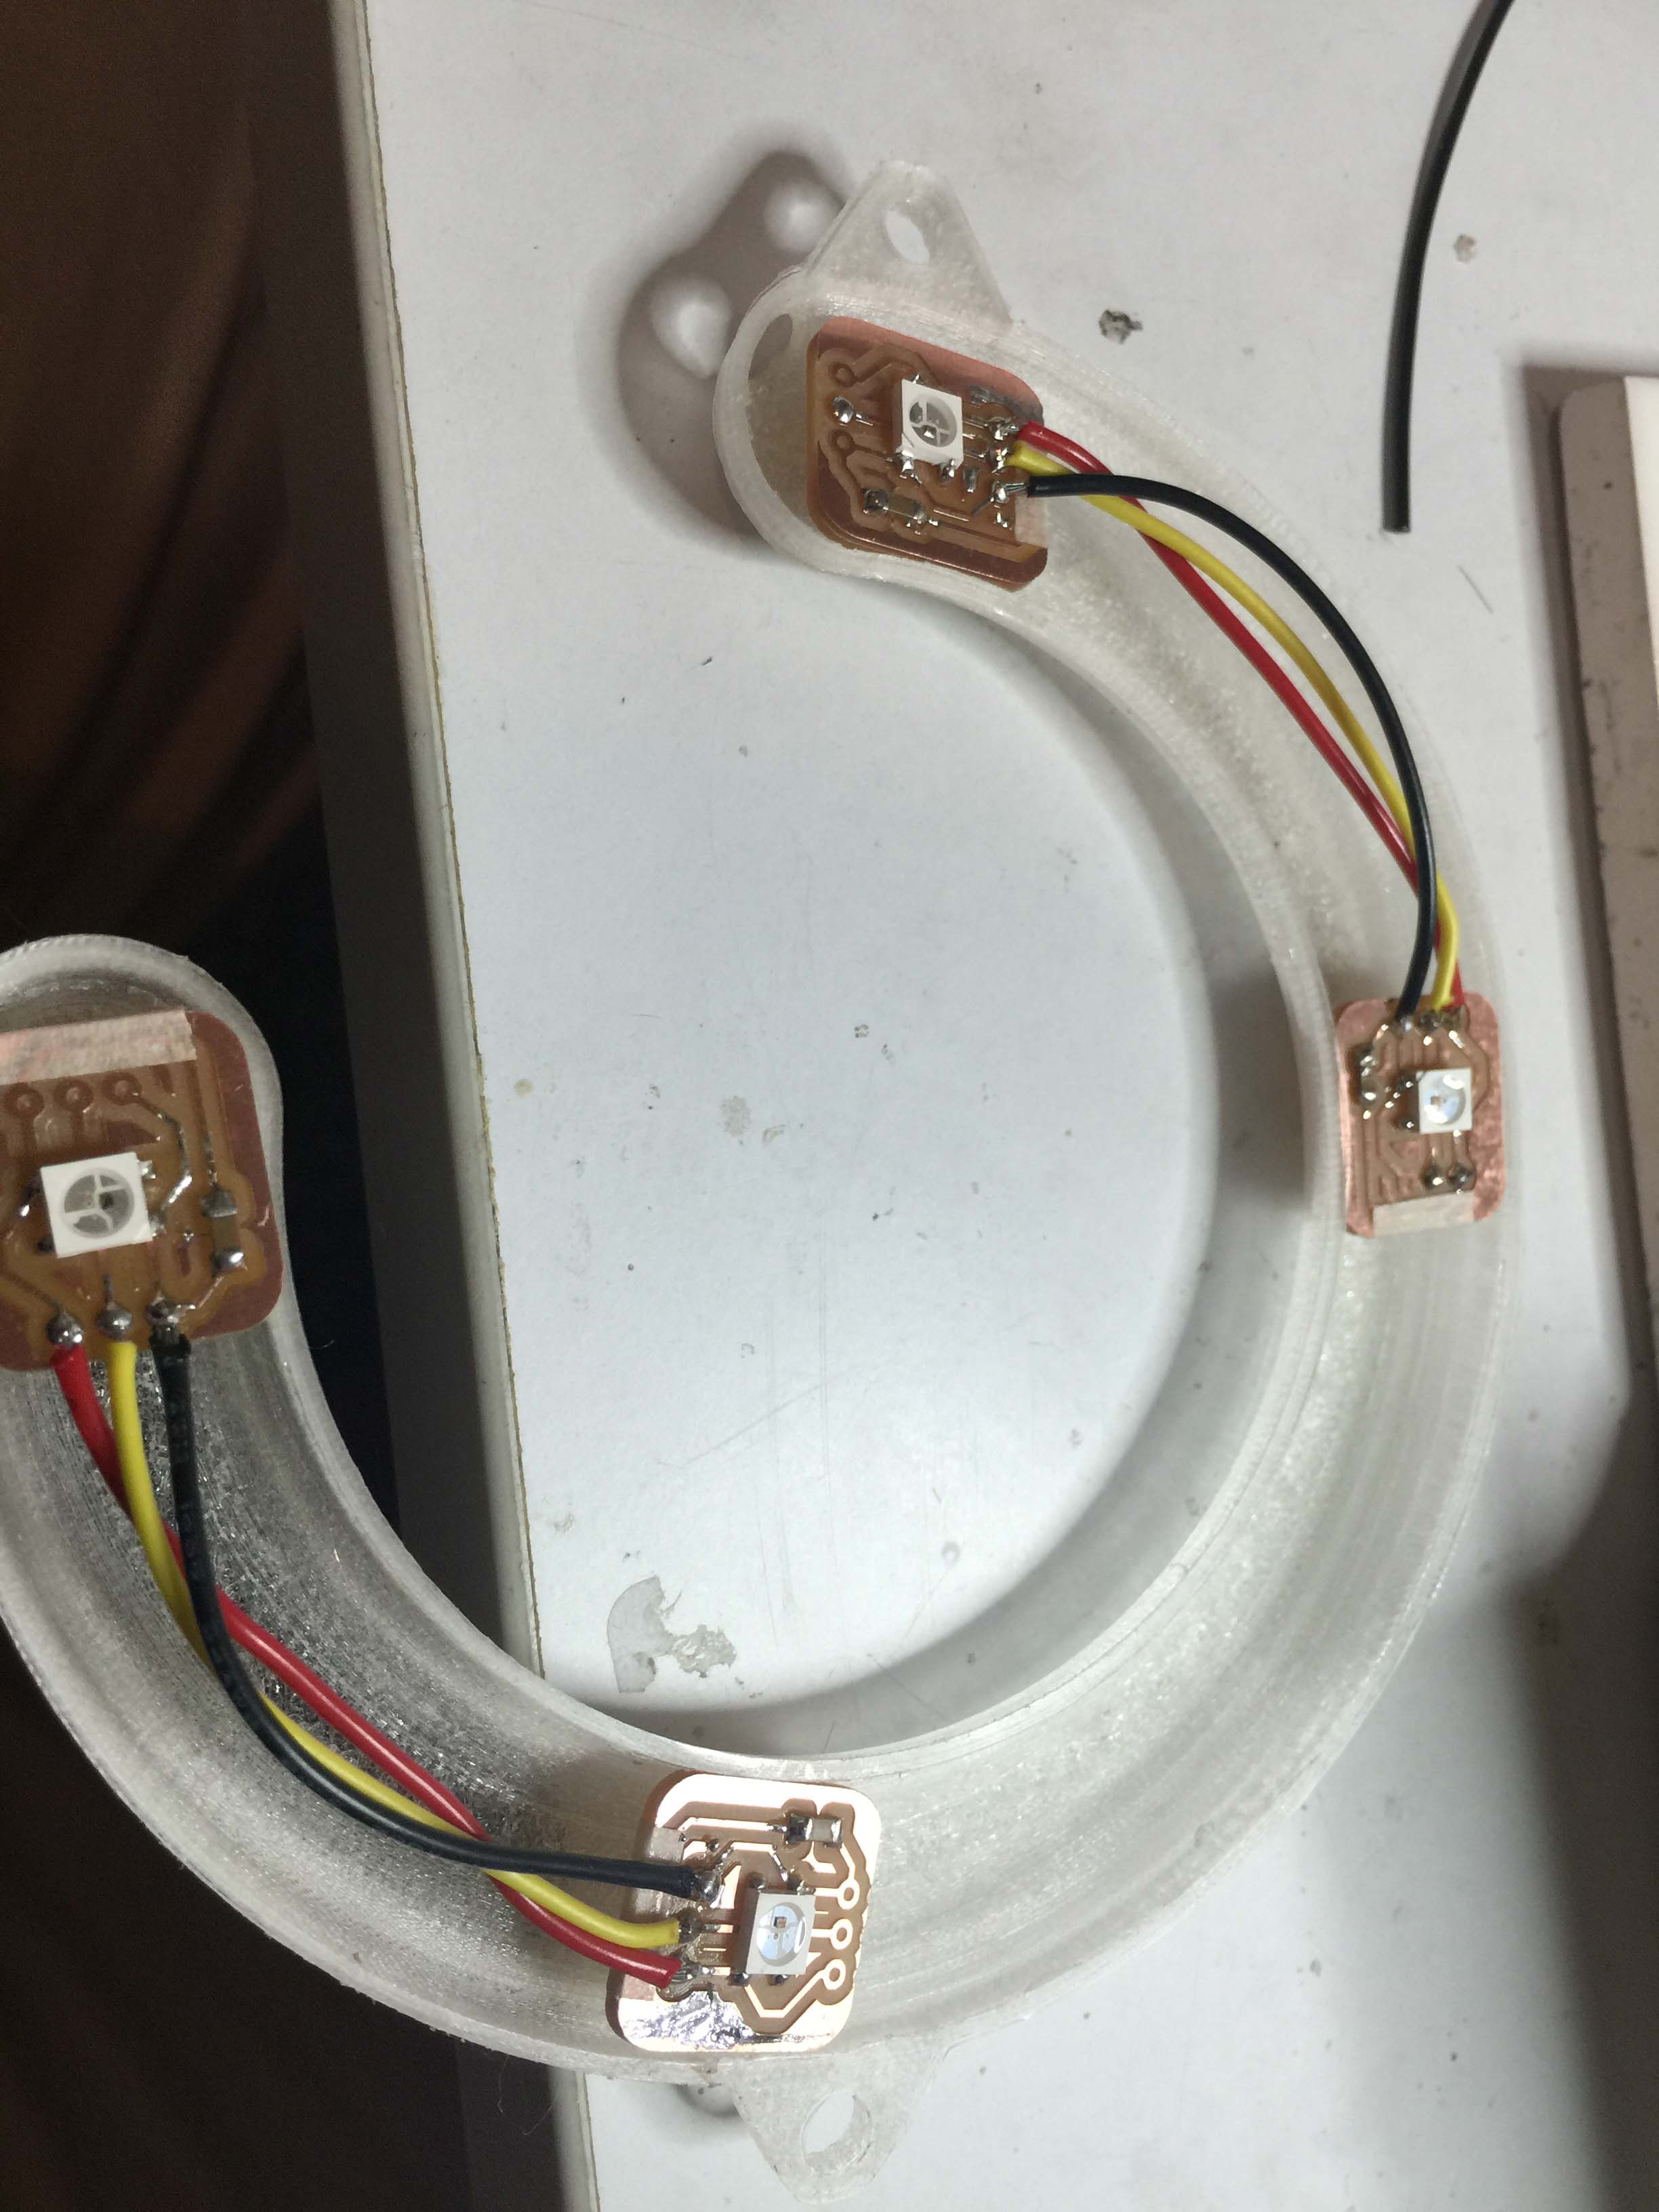
Then was the WS2812B LEDs.
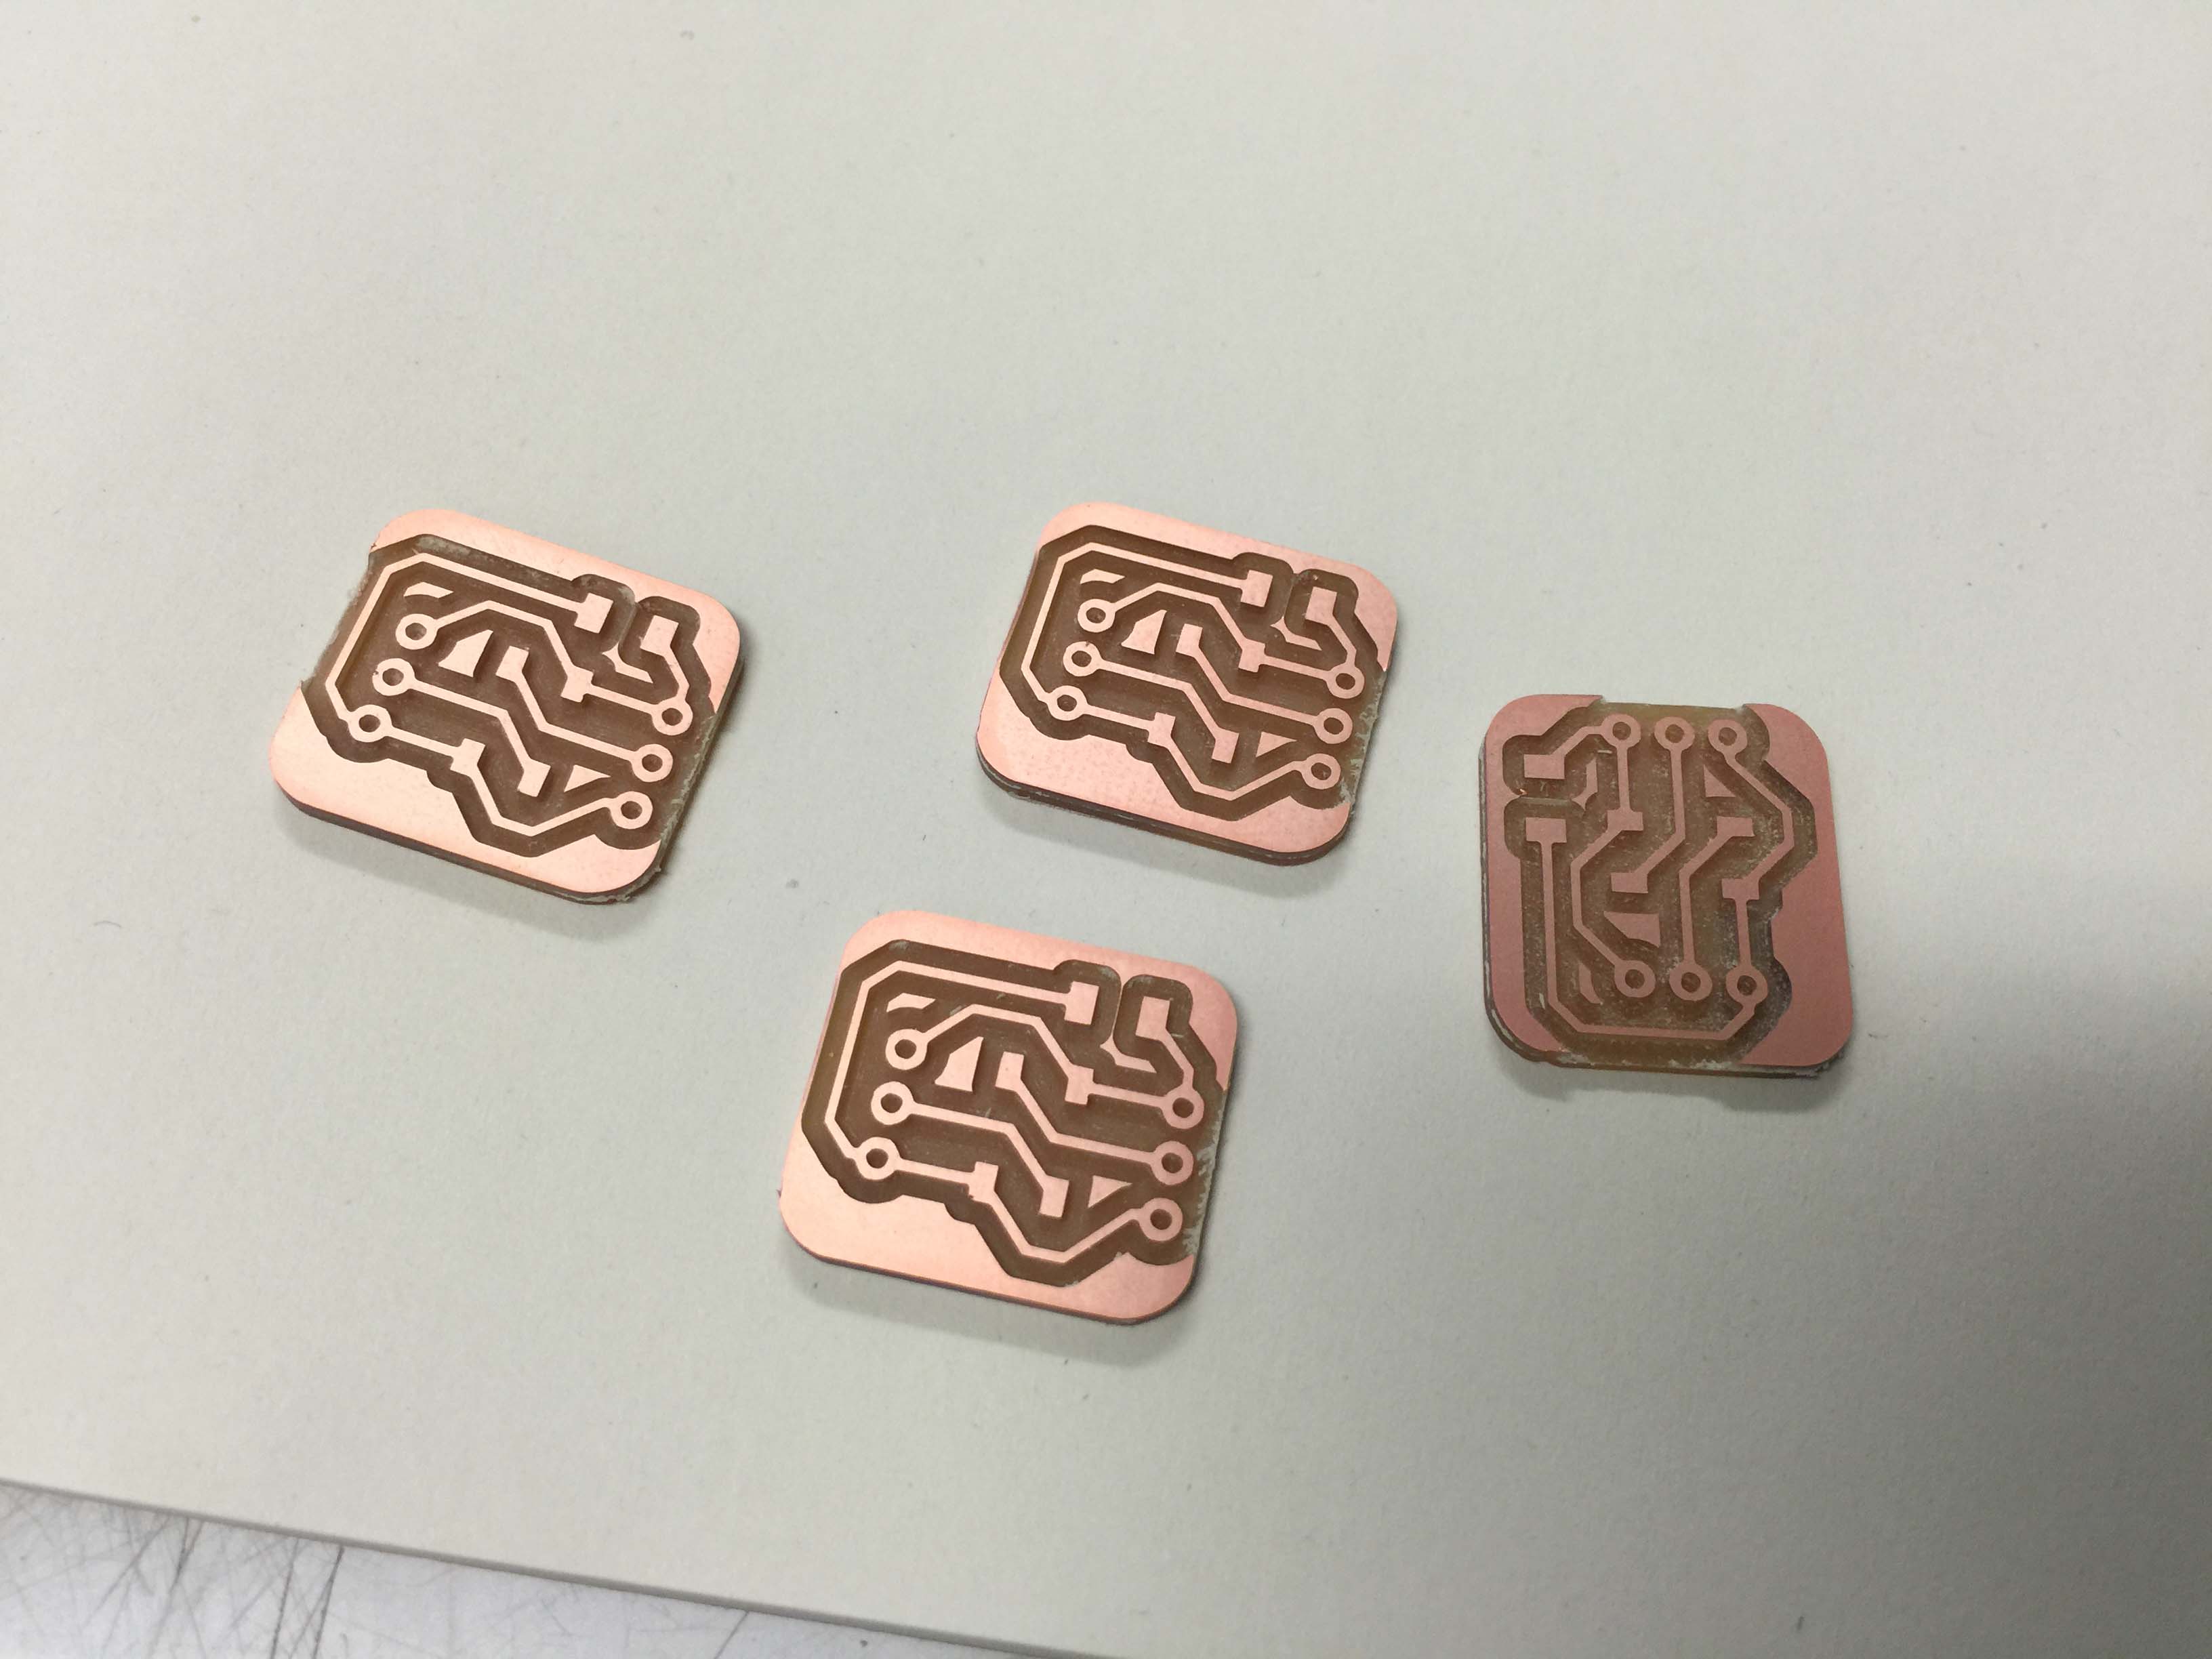
I dubbed the boards "Summer of '89".
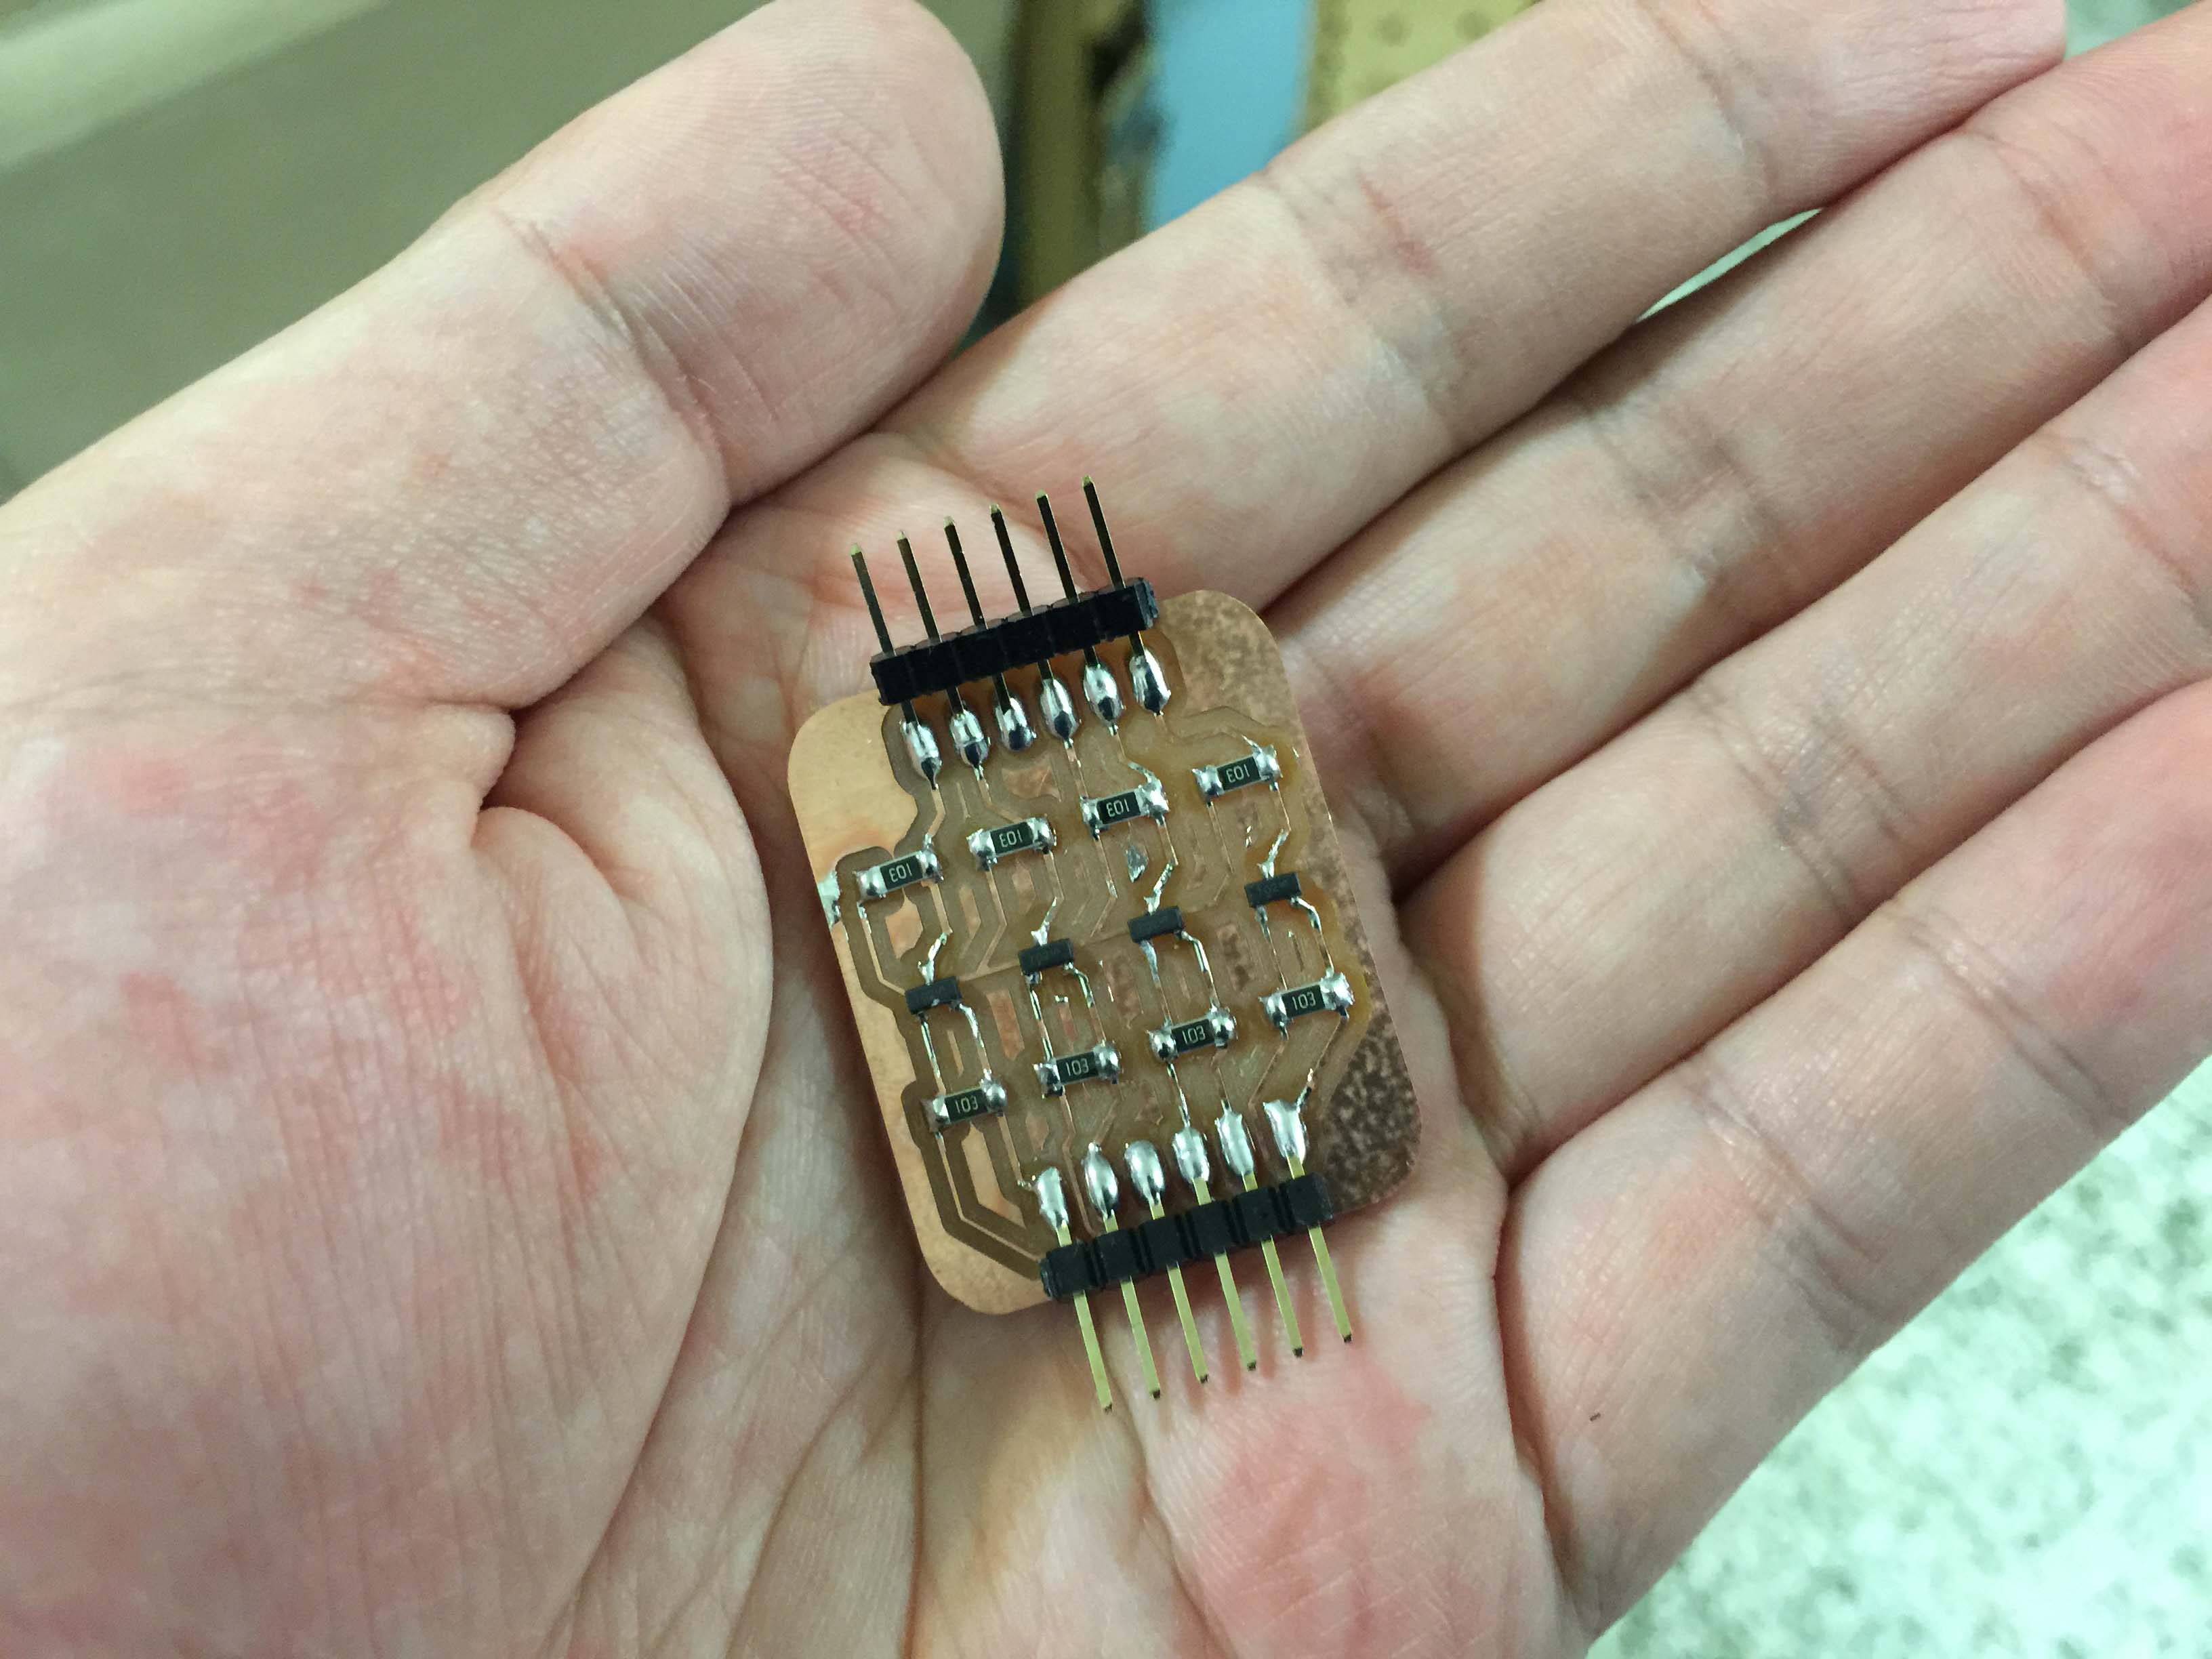
Also with "Fab Cookie", the signal level shifter I designed for input device.
Everything was settled, but on my second smoke test, I killed the MLX90614 sensor. I think that could be caused by faulty ground plan of the circuits, so the 3.3V sensor was silenced by reverse current from 5V supply. Because the sensor is kind of expensive ($15 each), and I cannot find any local supplier with stocks. Did not want to risk my second and last MLX90614, I decided to go for plan b.
Plan b is rather simple, I designed a shield for Arduino Uno.
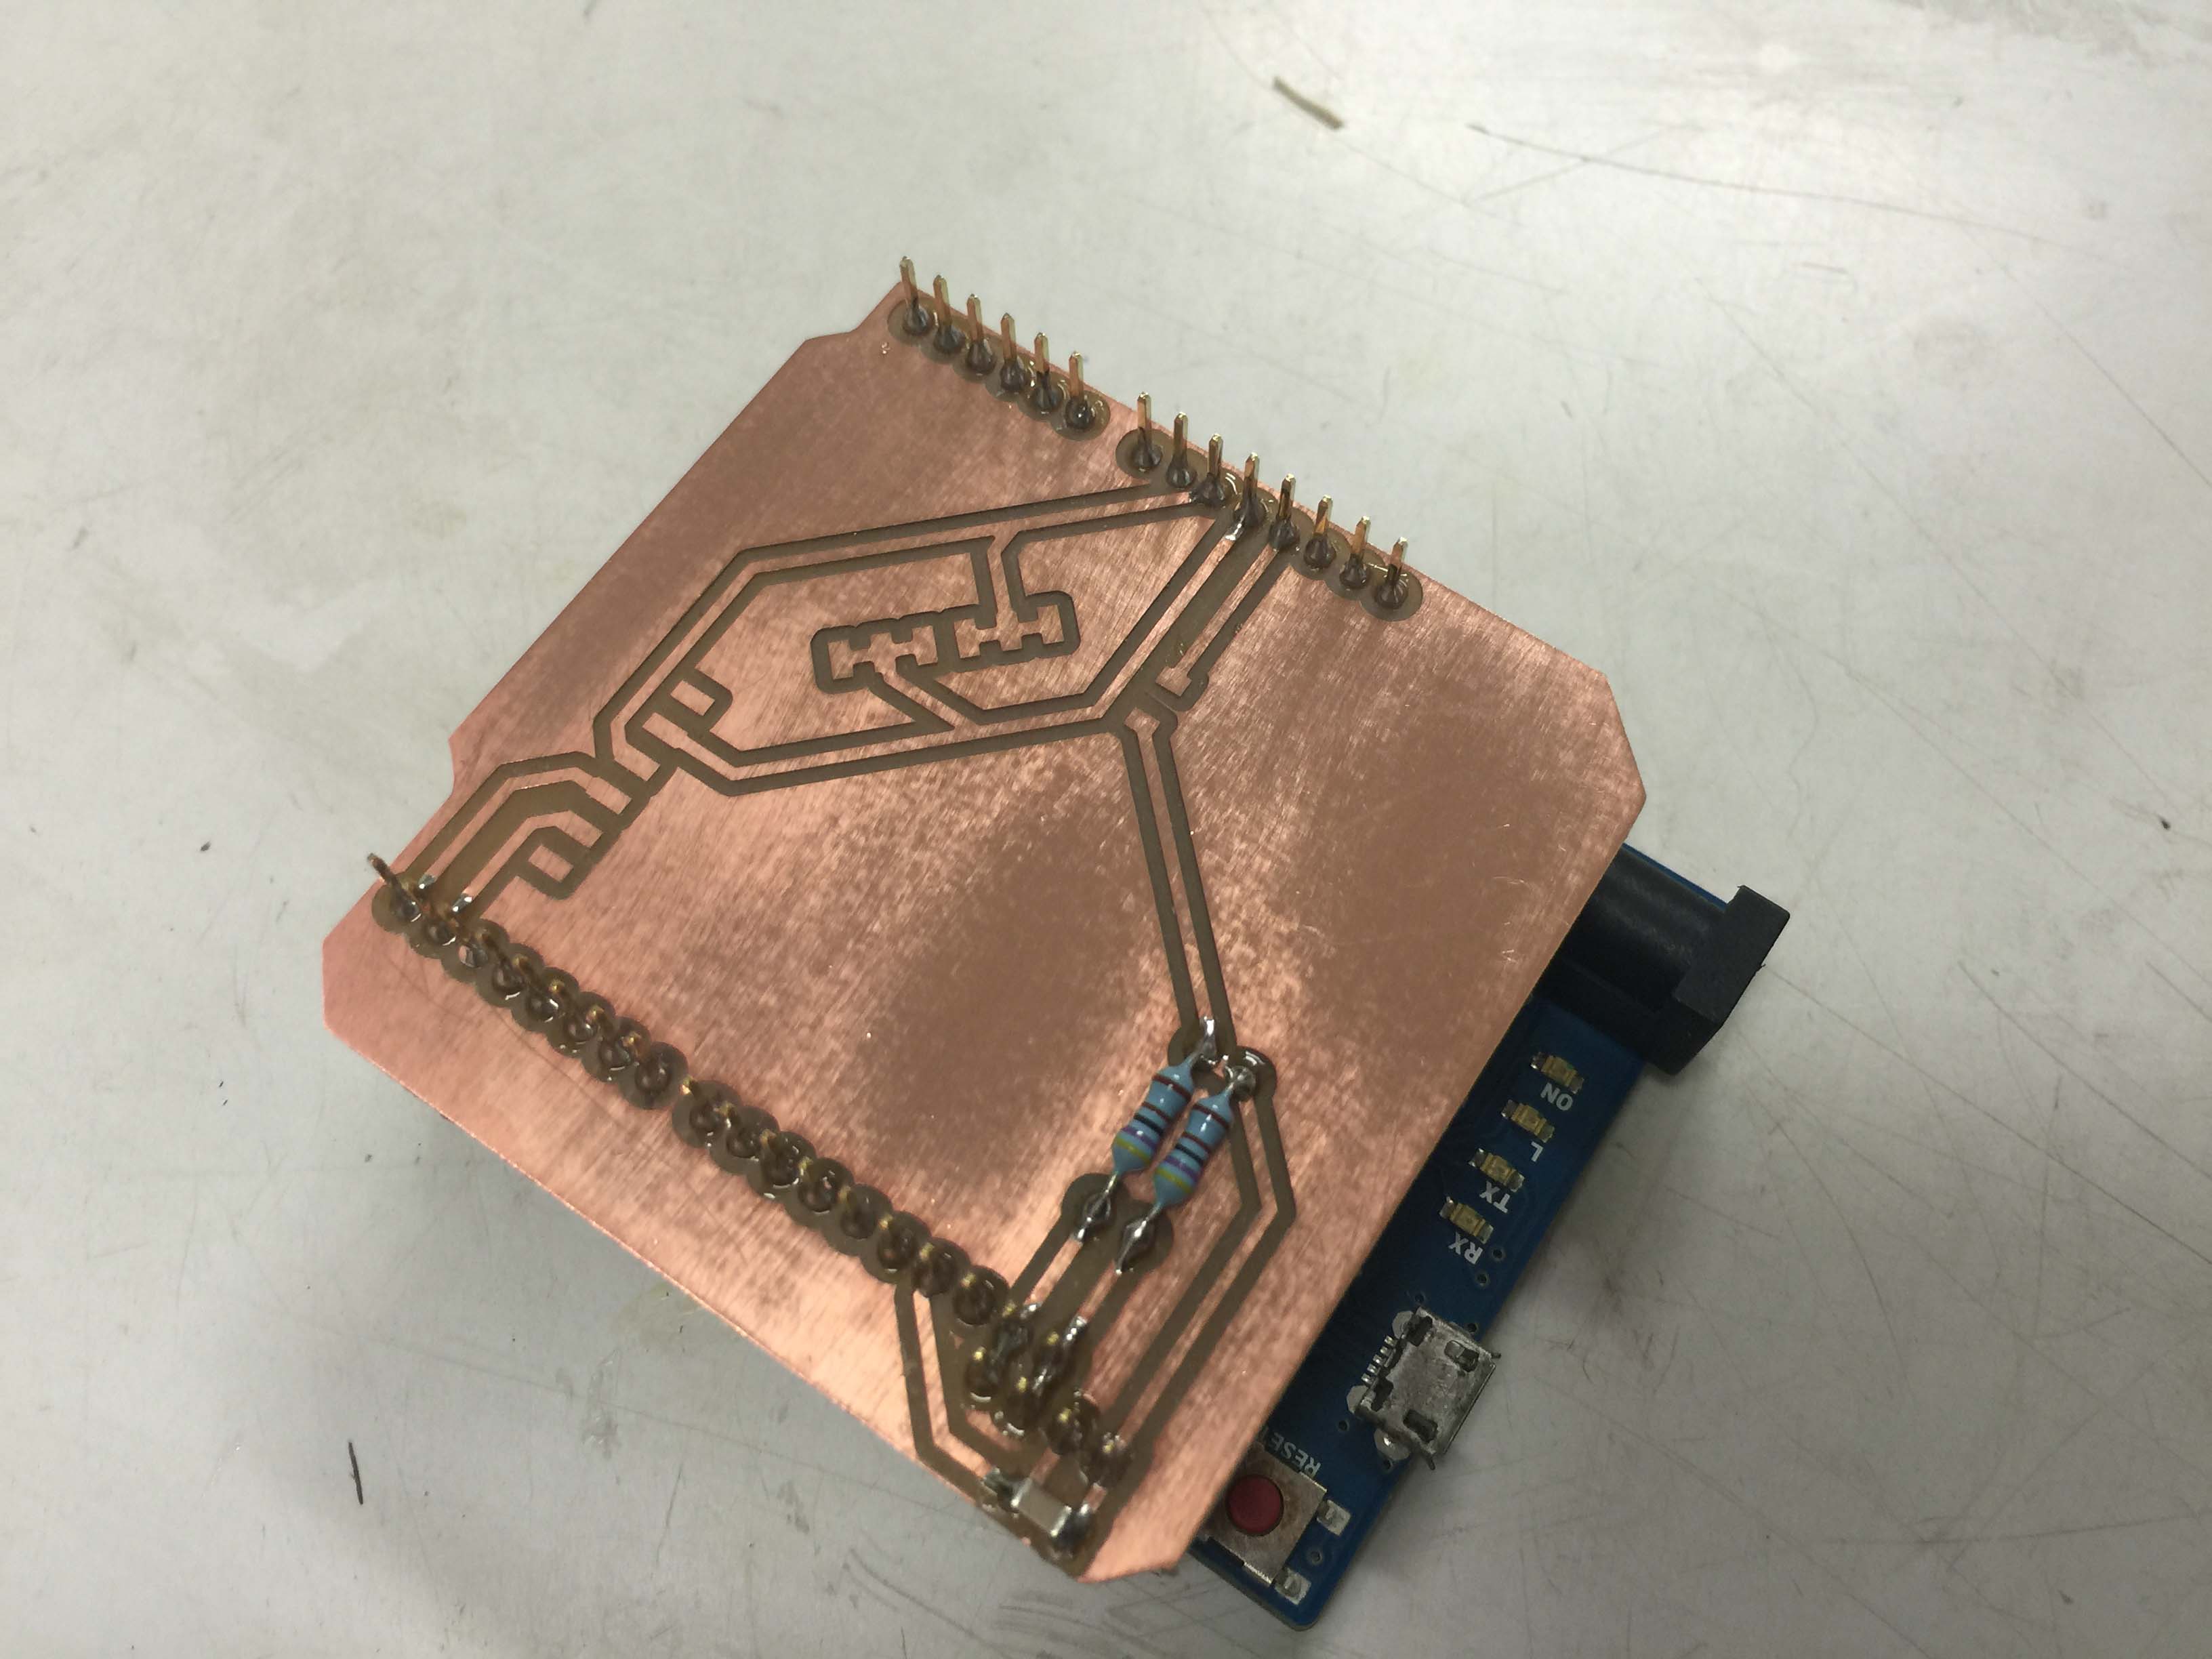
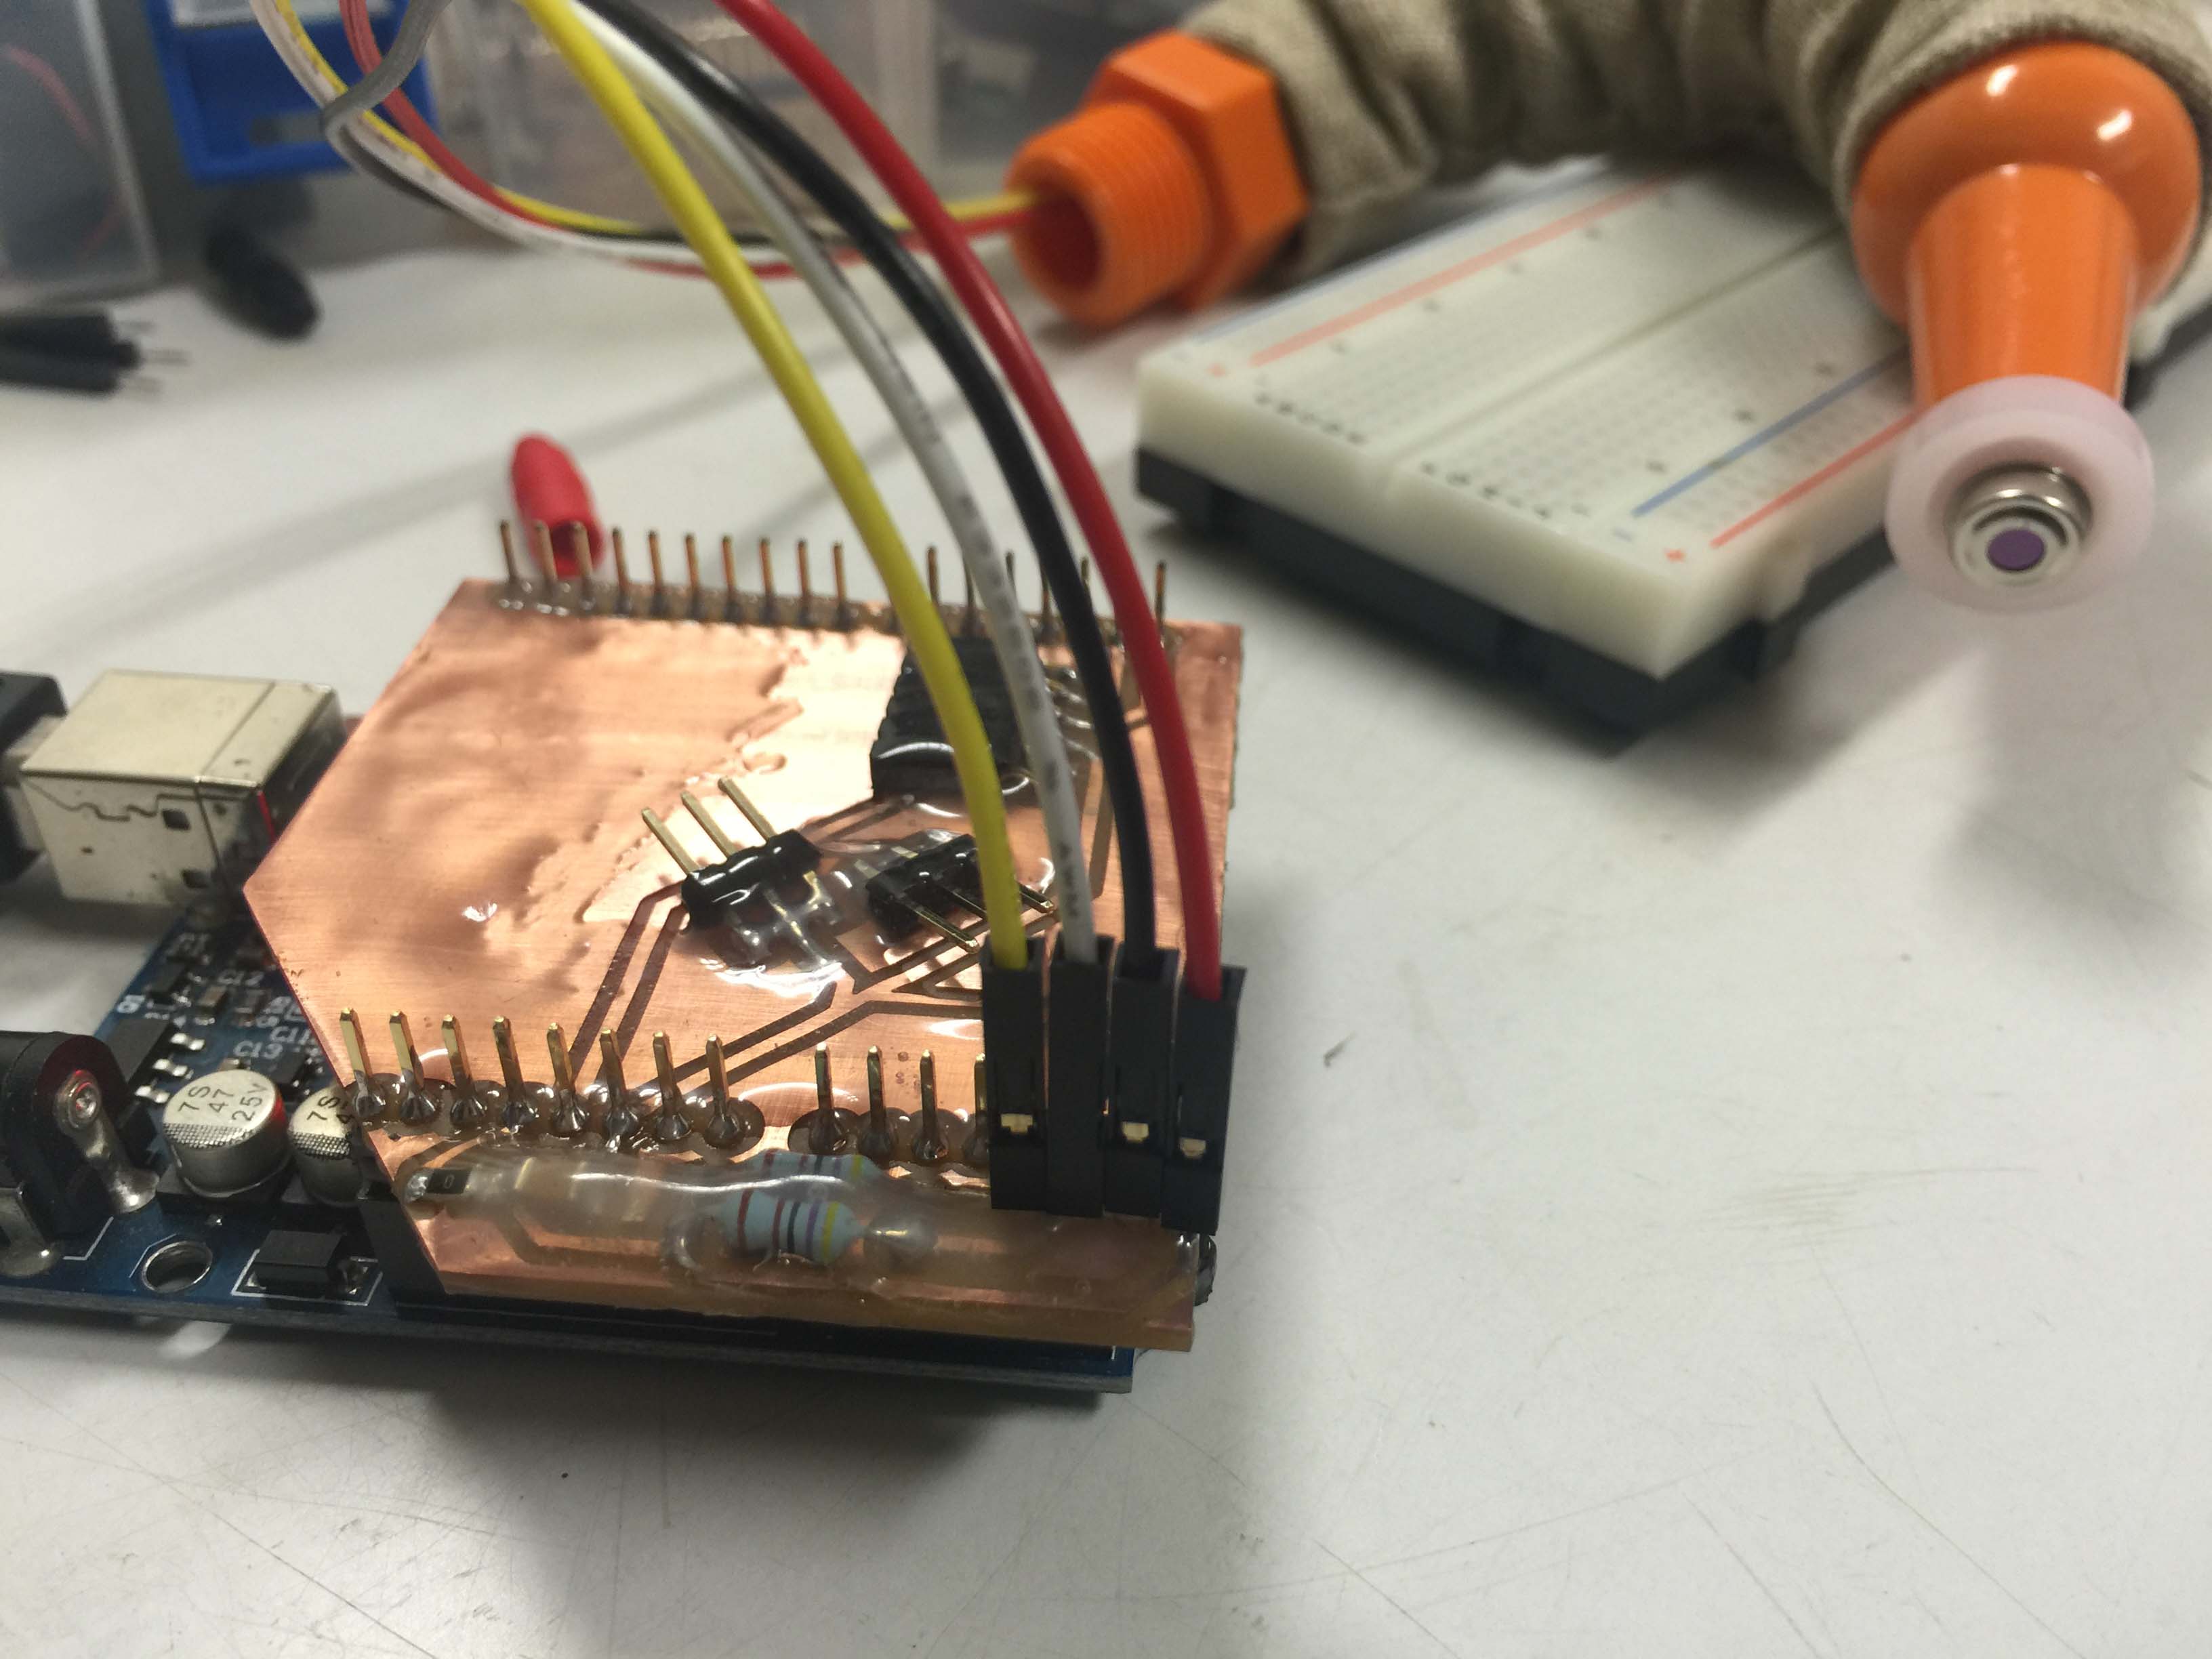
For supply and time constraint this is the fail-safe route I take for now. But I will try to design another board with proper ground plan and power supply.
All the 2D/3D designs was done in Fusion 360
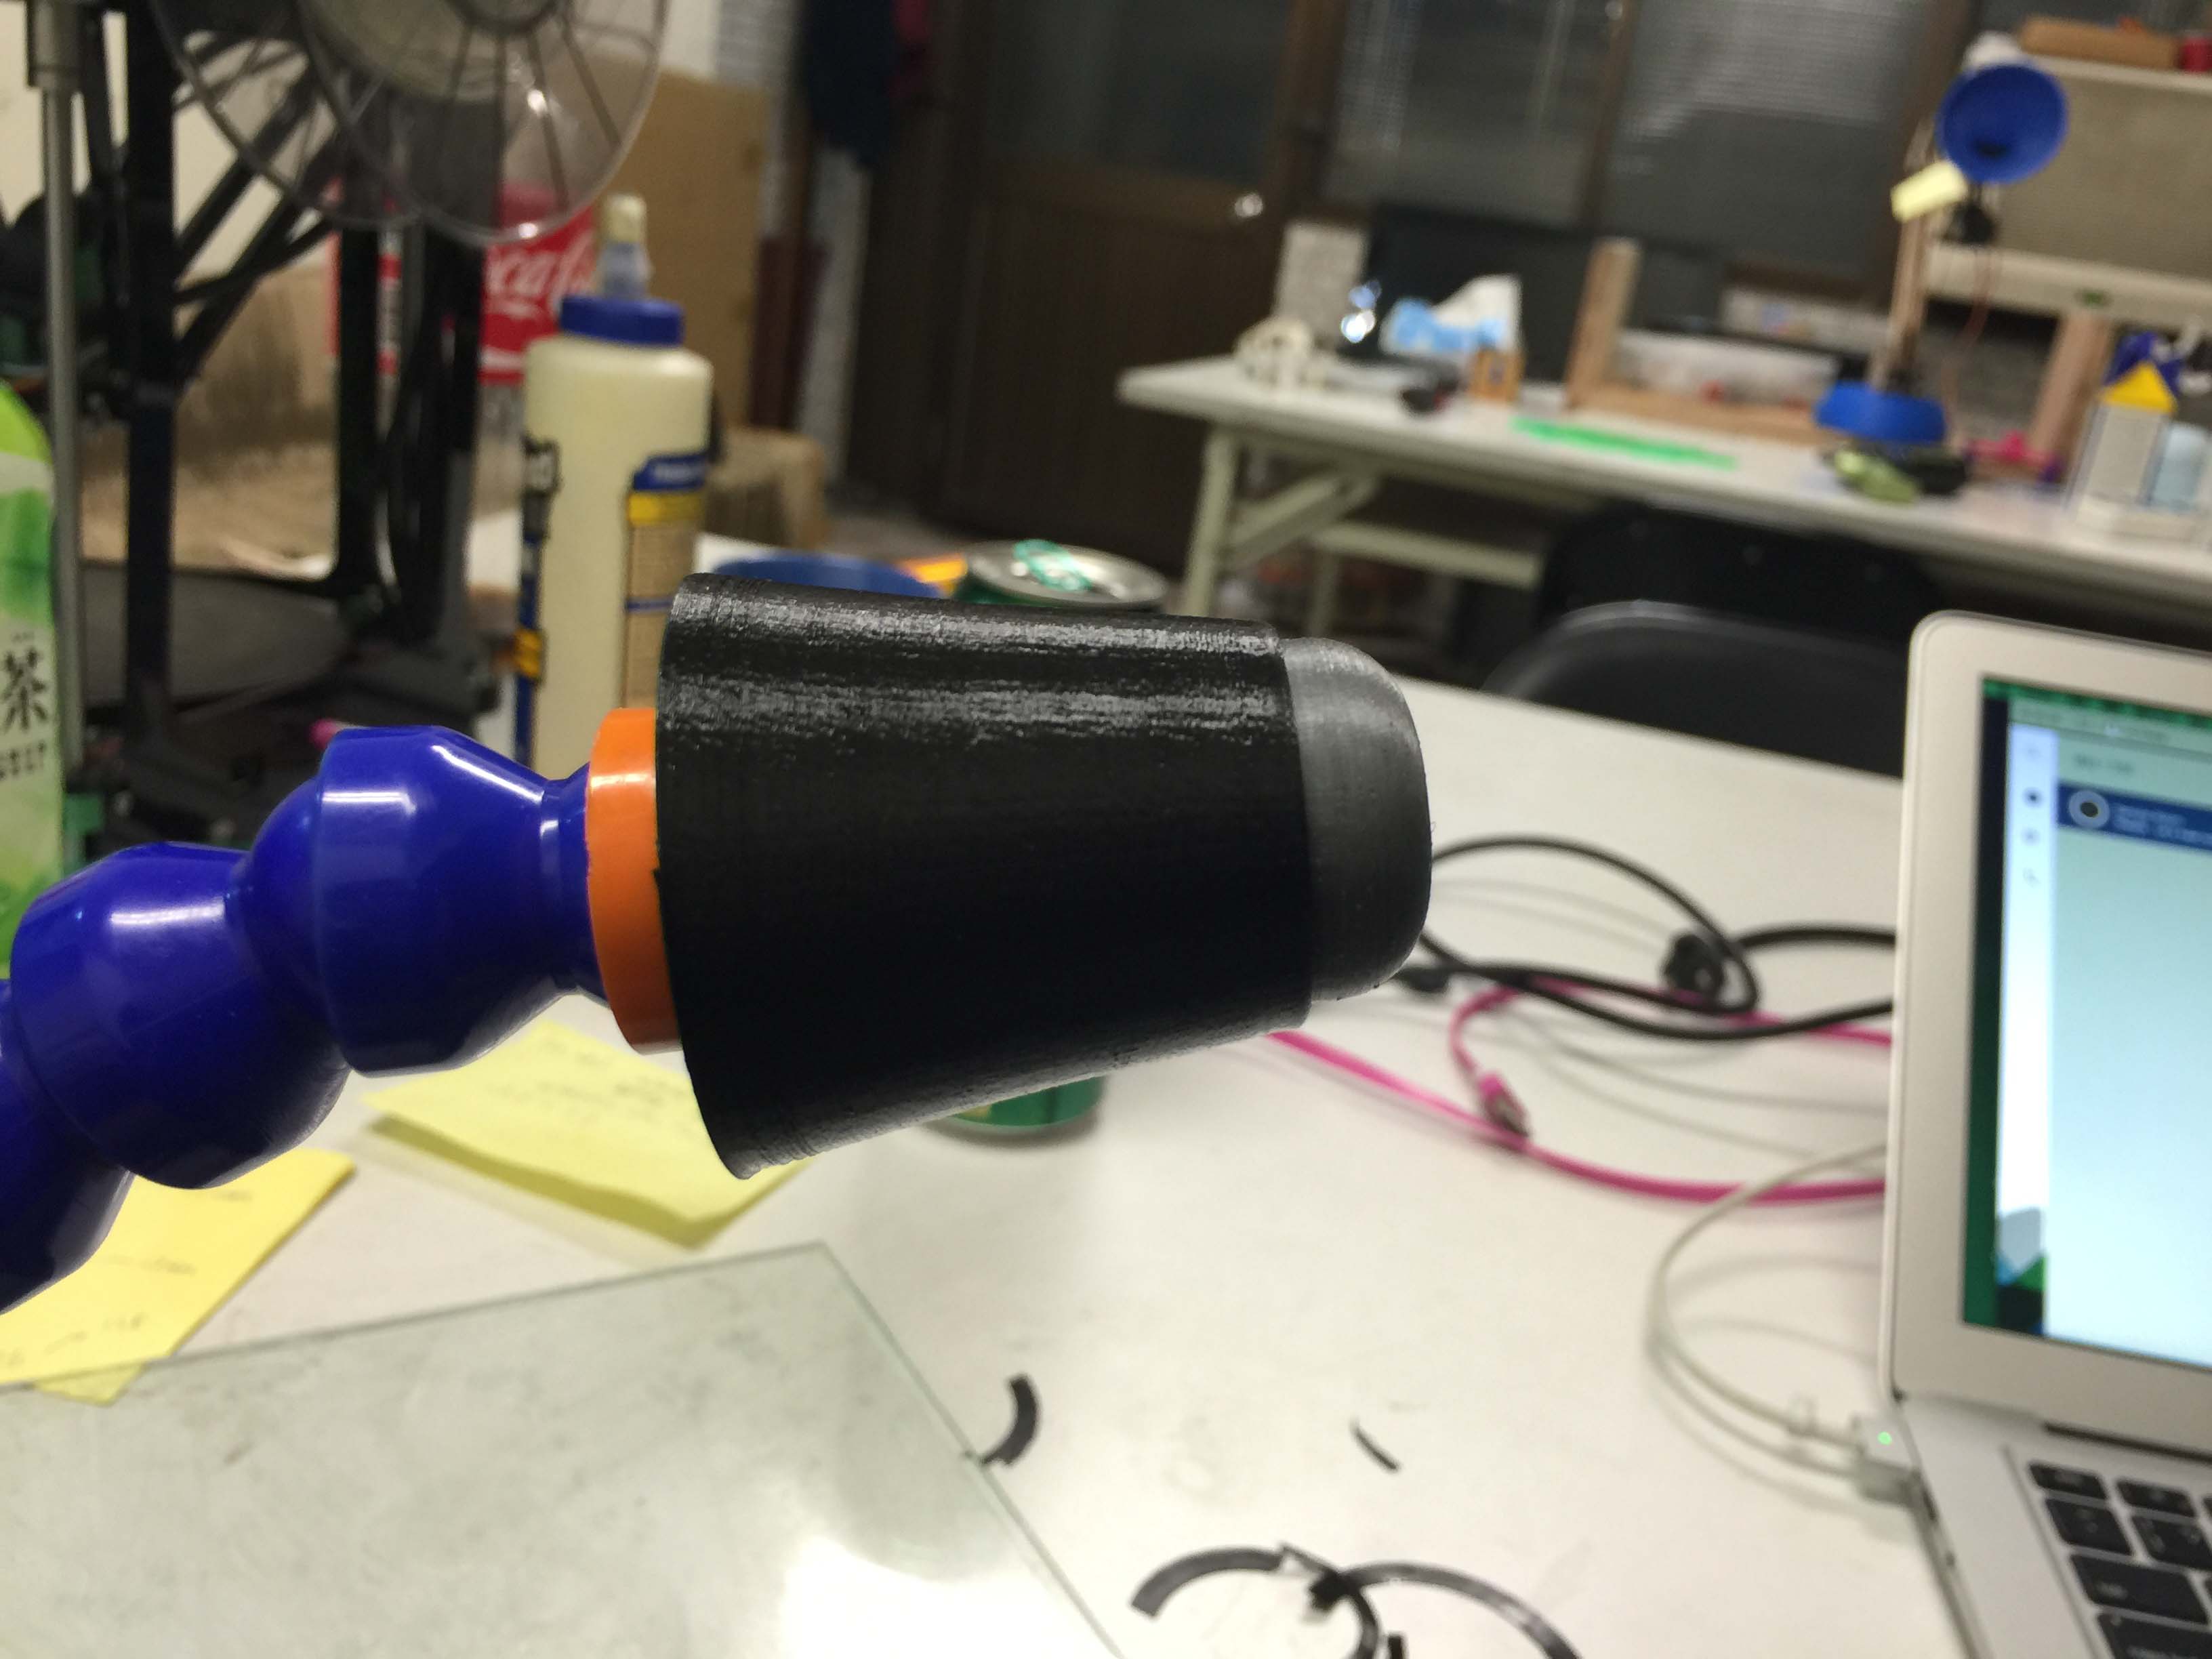
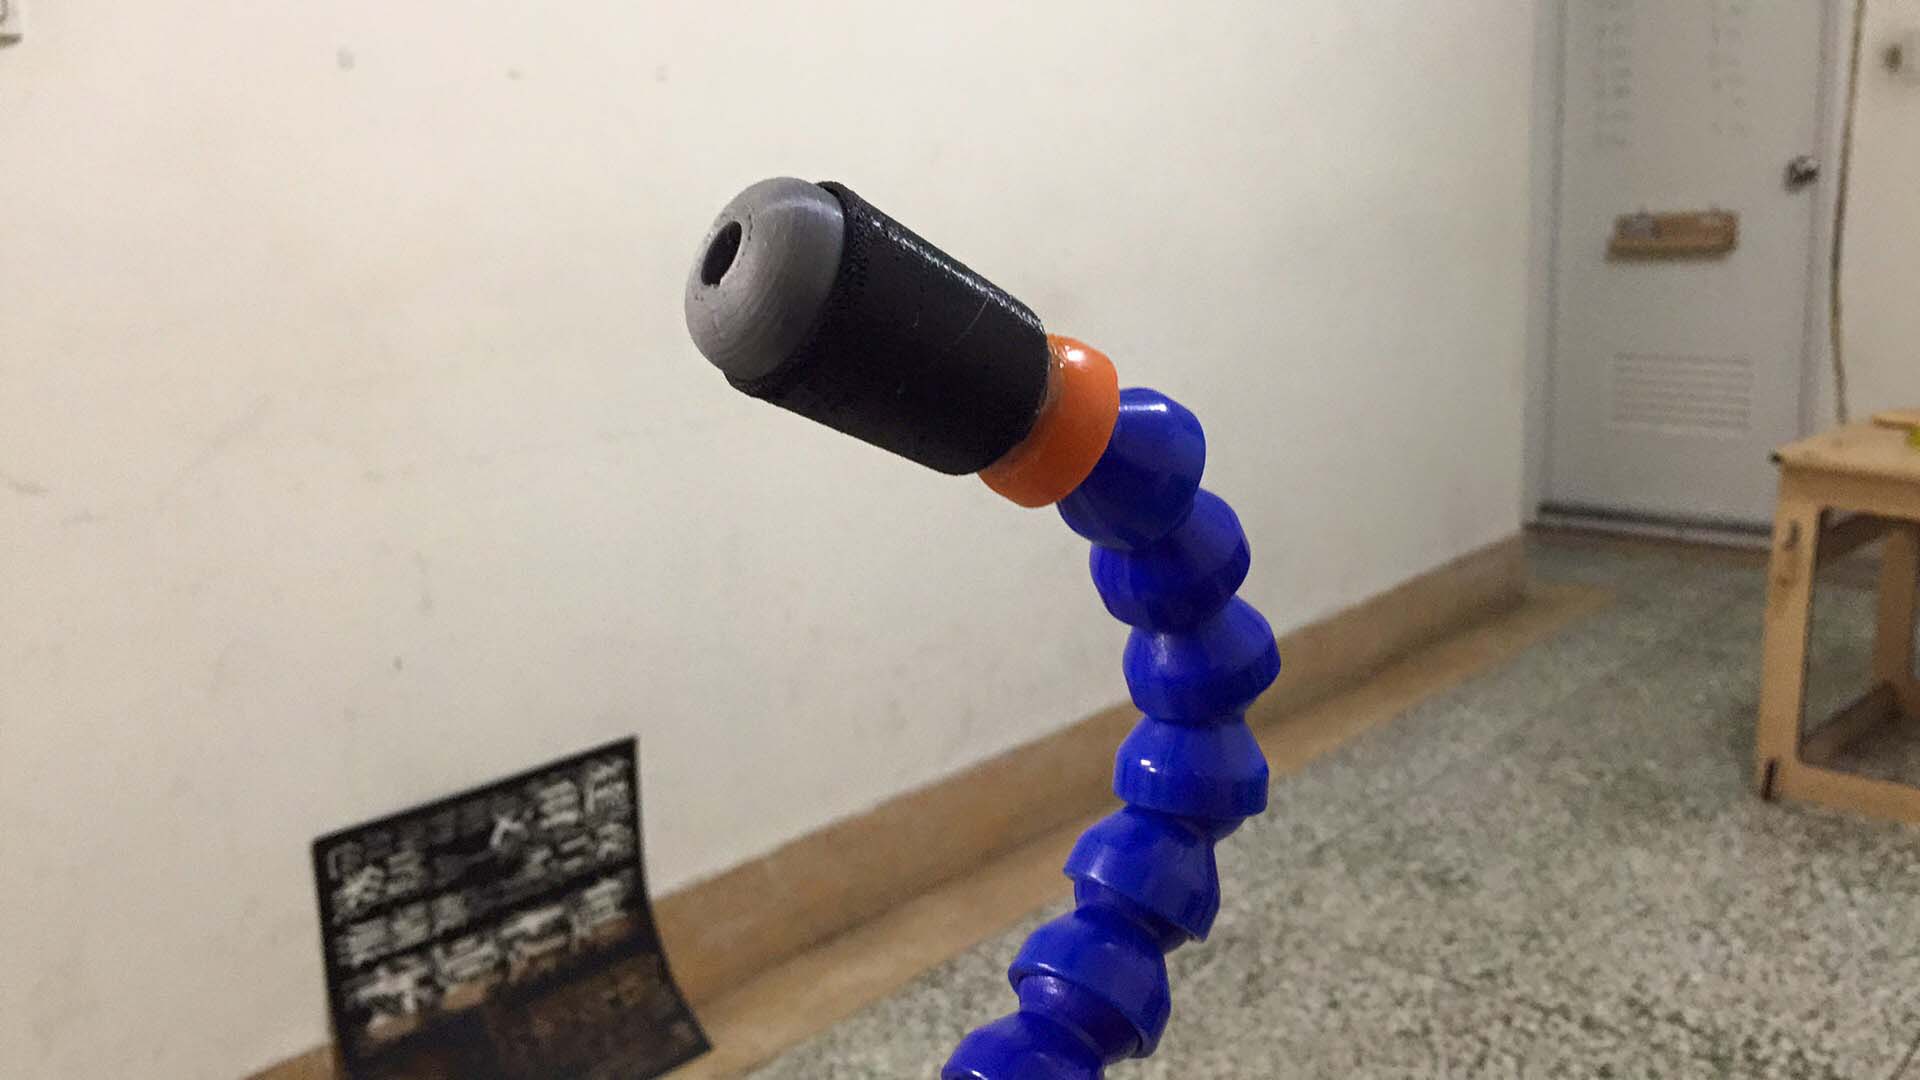
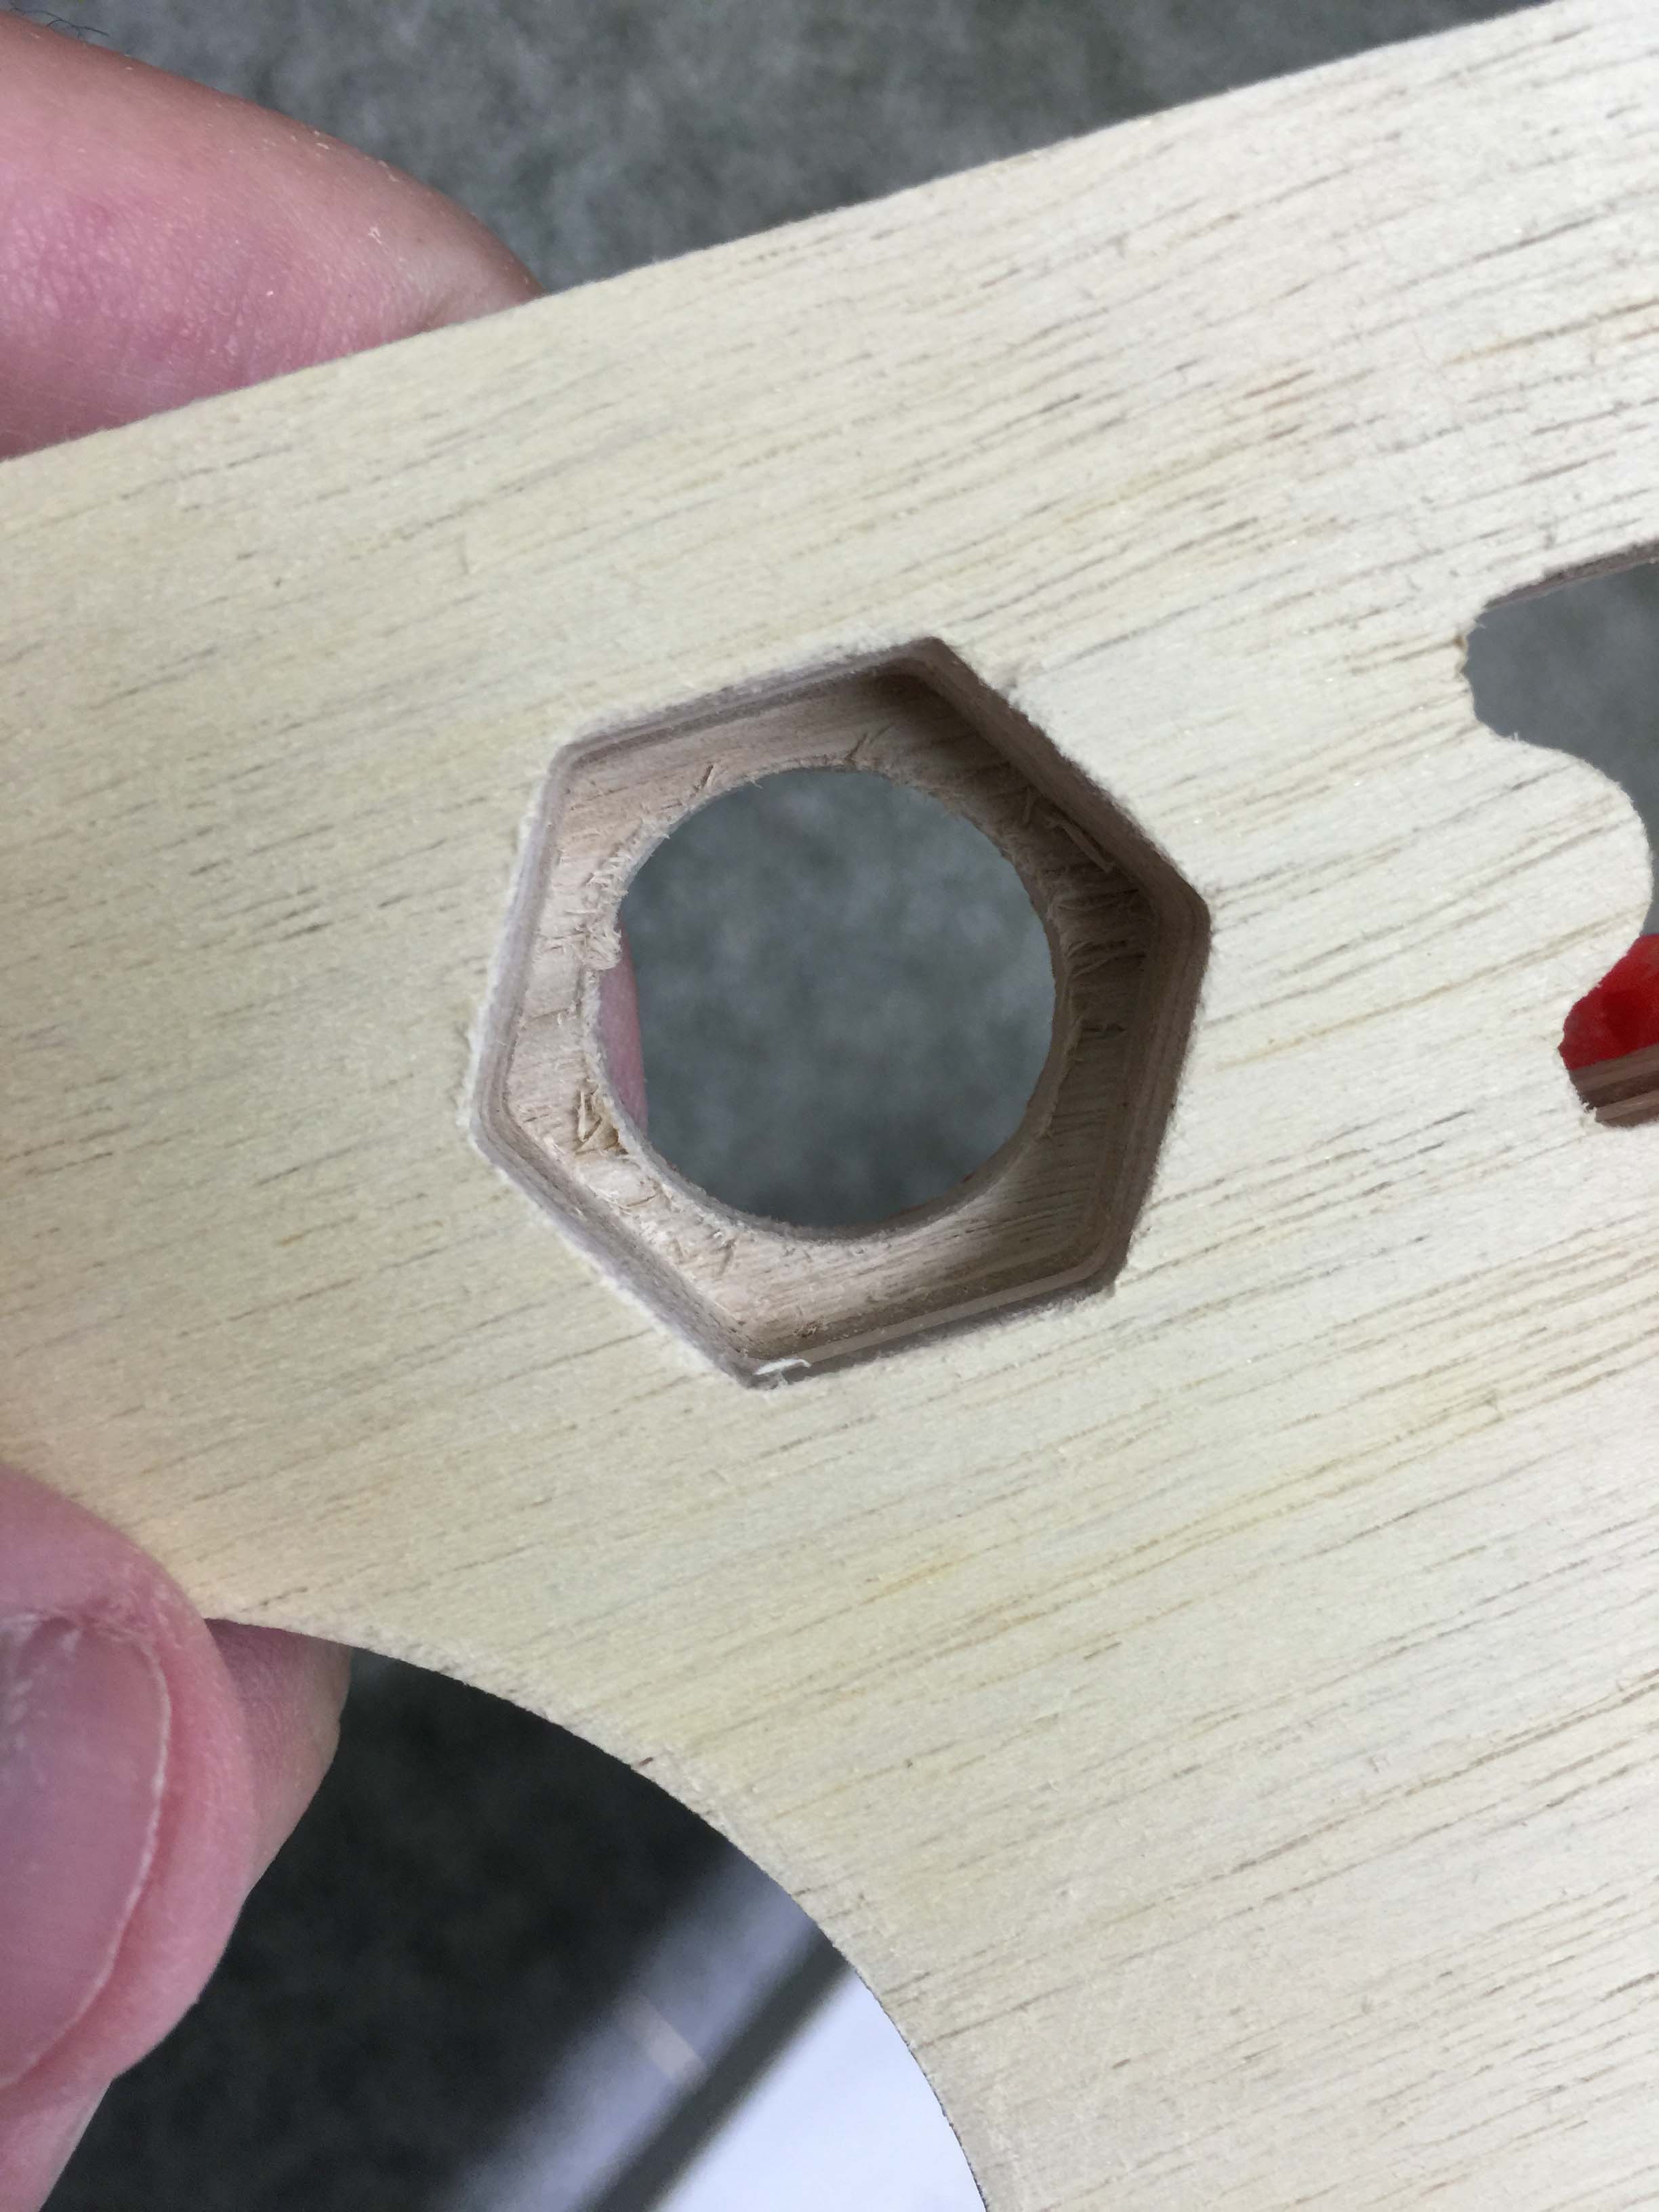
I use a CNC coolant pipe to hide the wires for MLX90614 (hi Bruce!)
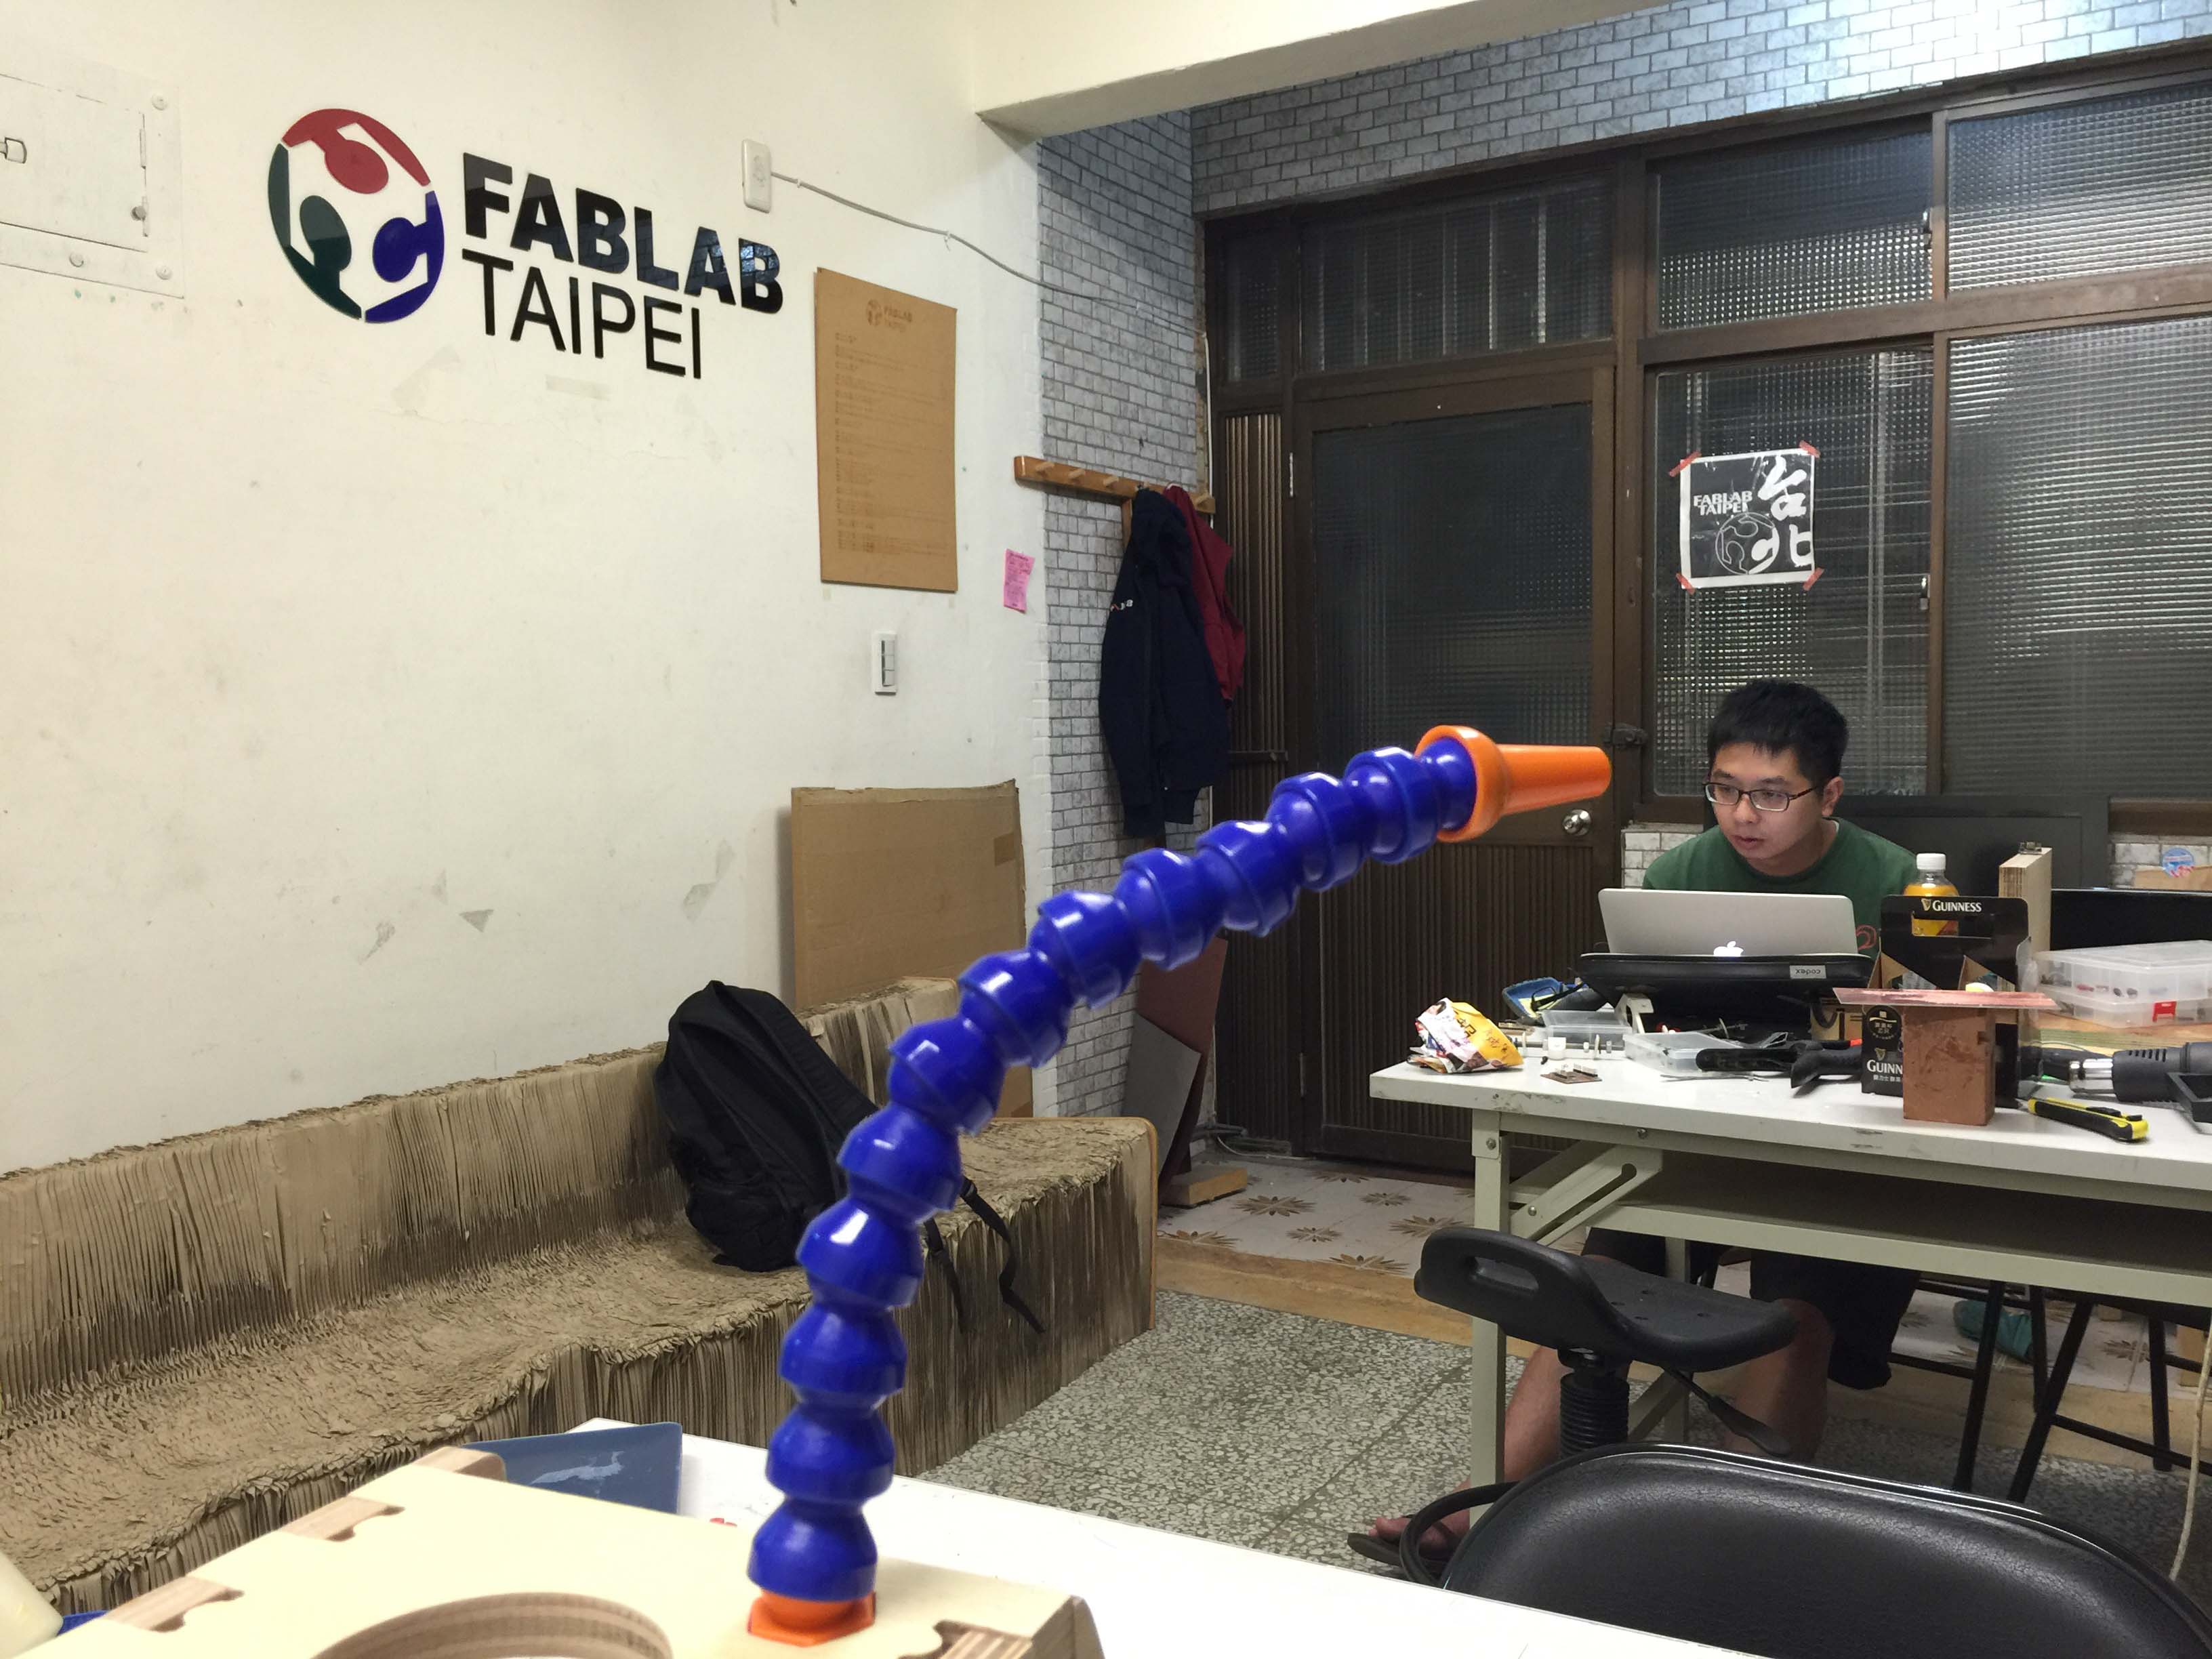
The pipe is actually too long for I2C signal to travel, so I removed few segments to make the pipe shorter.
At first I tried 3D printed parts and made several iterations.
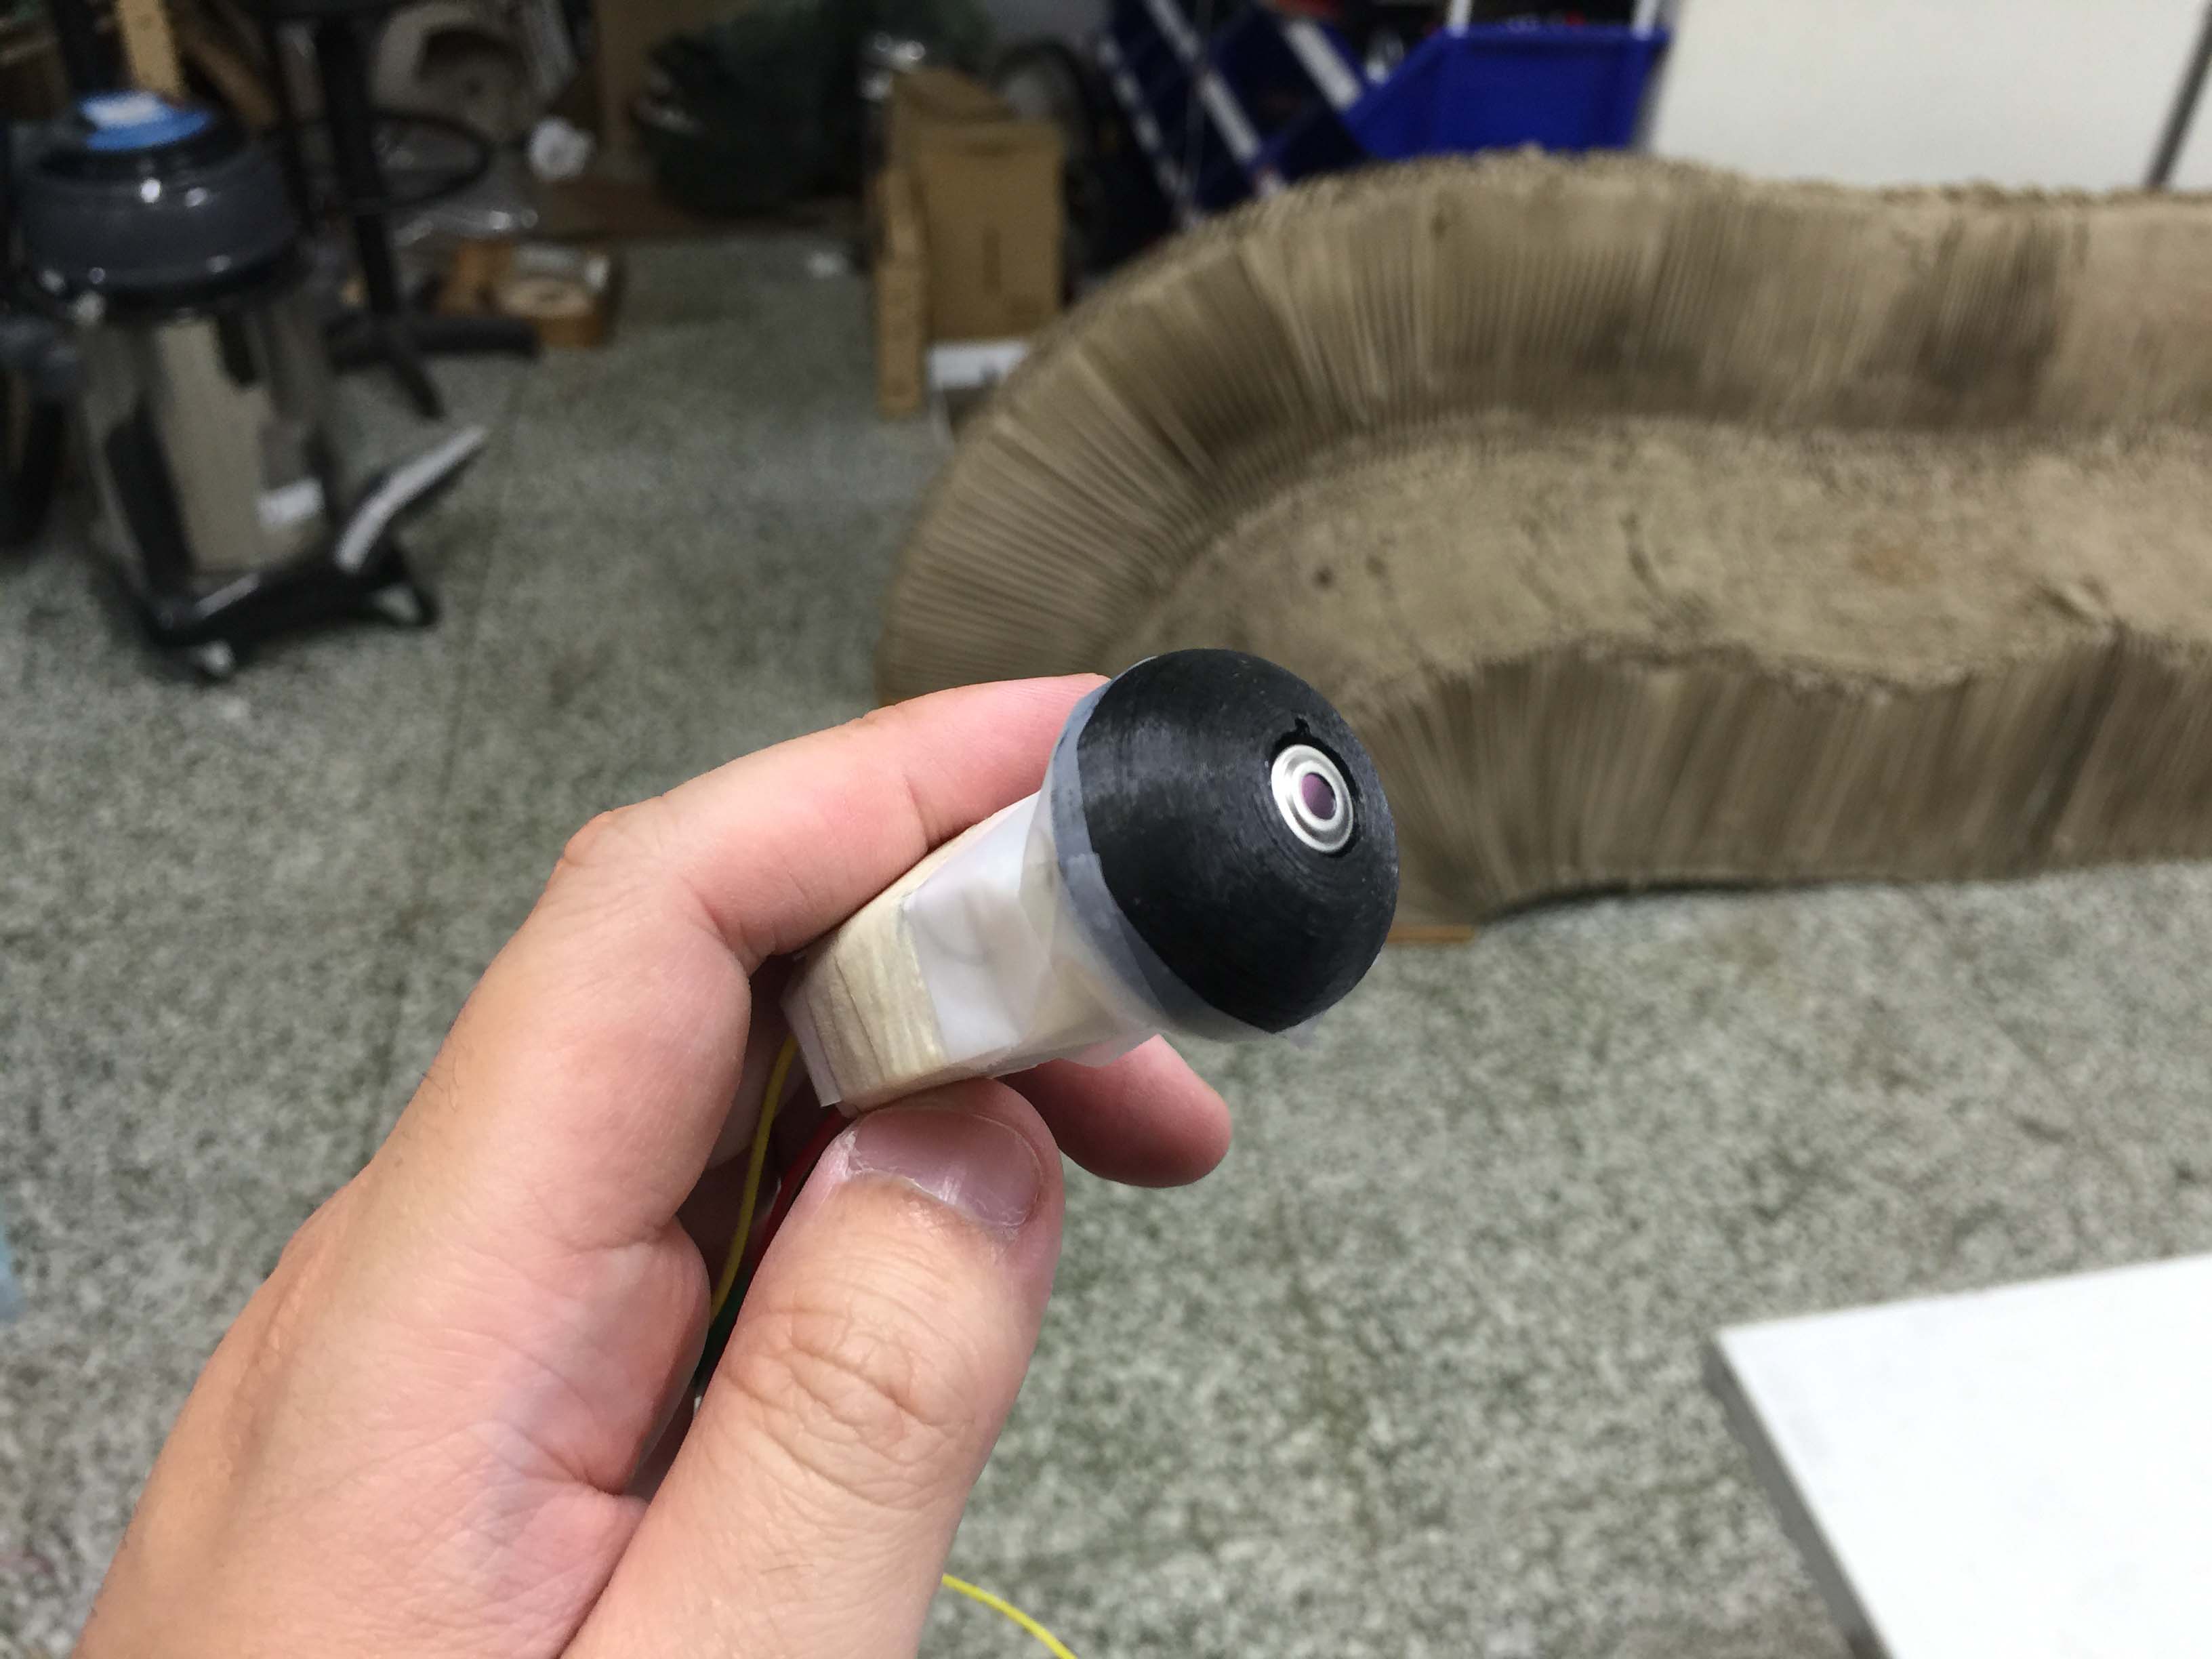
Then I found out actually laser cutting and engraving did the job even better and fucking faster.
For the extra electronics housing, I modified the design from my CNC week, and re-milled them.
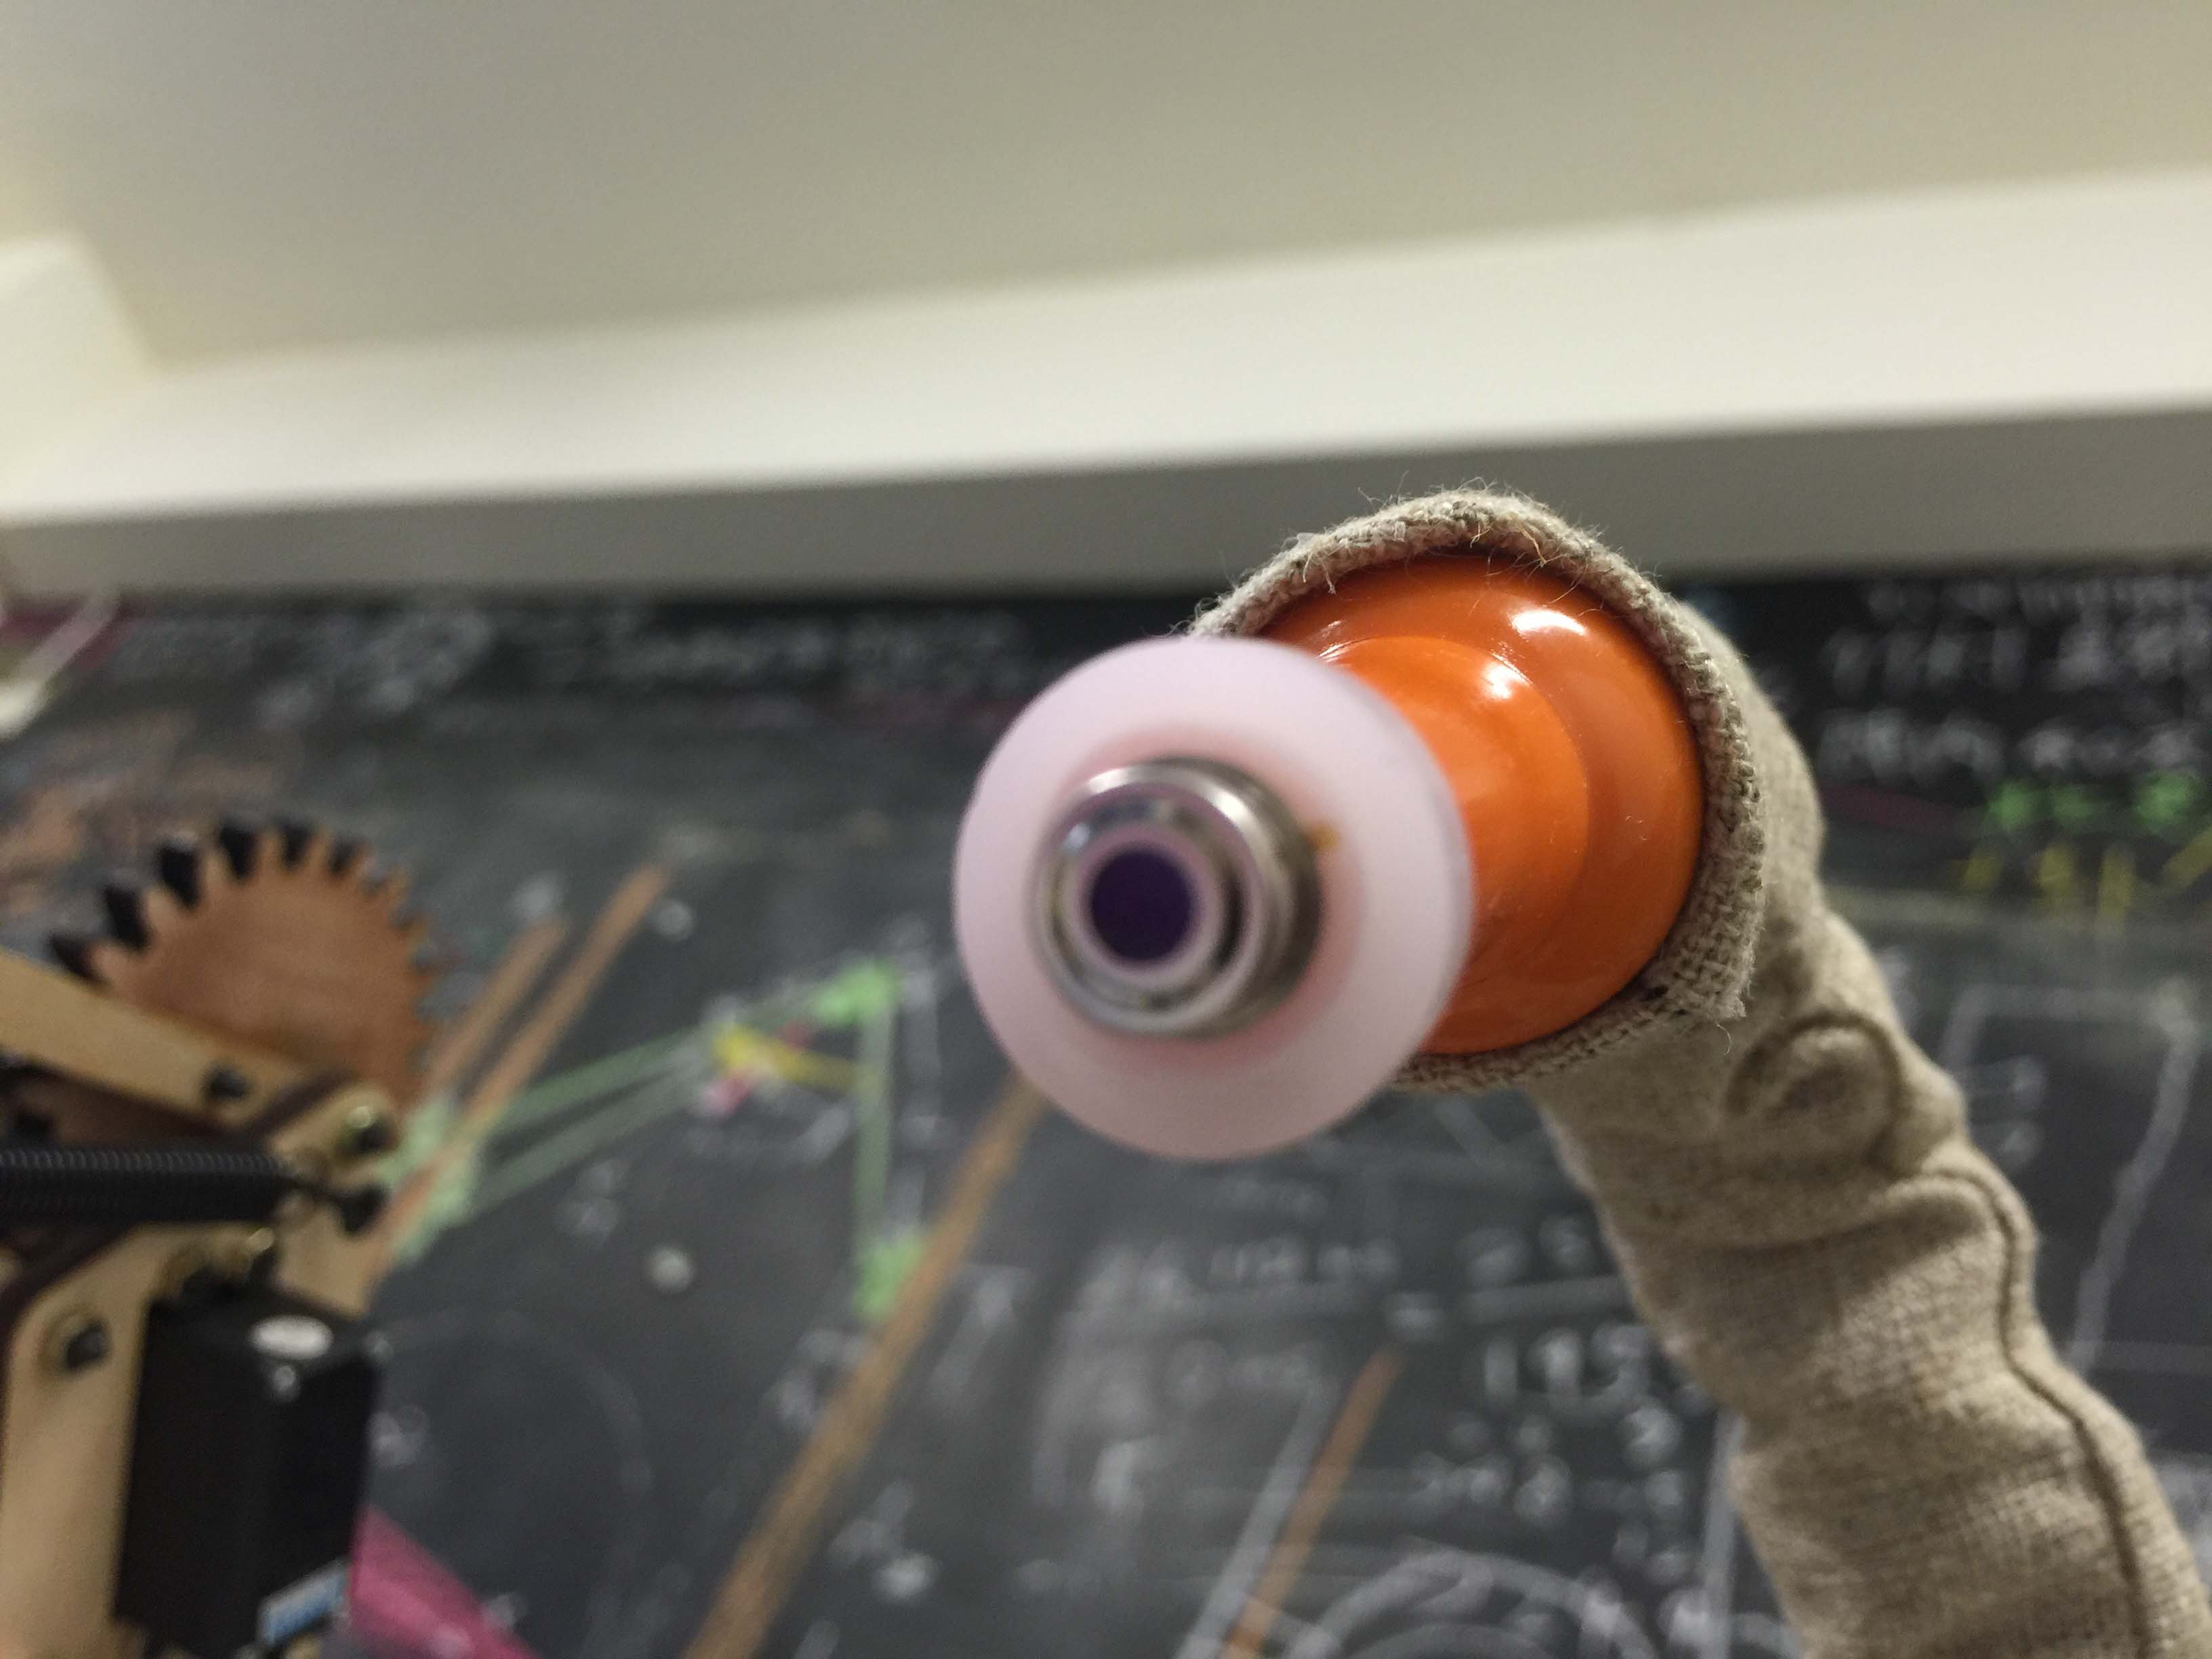
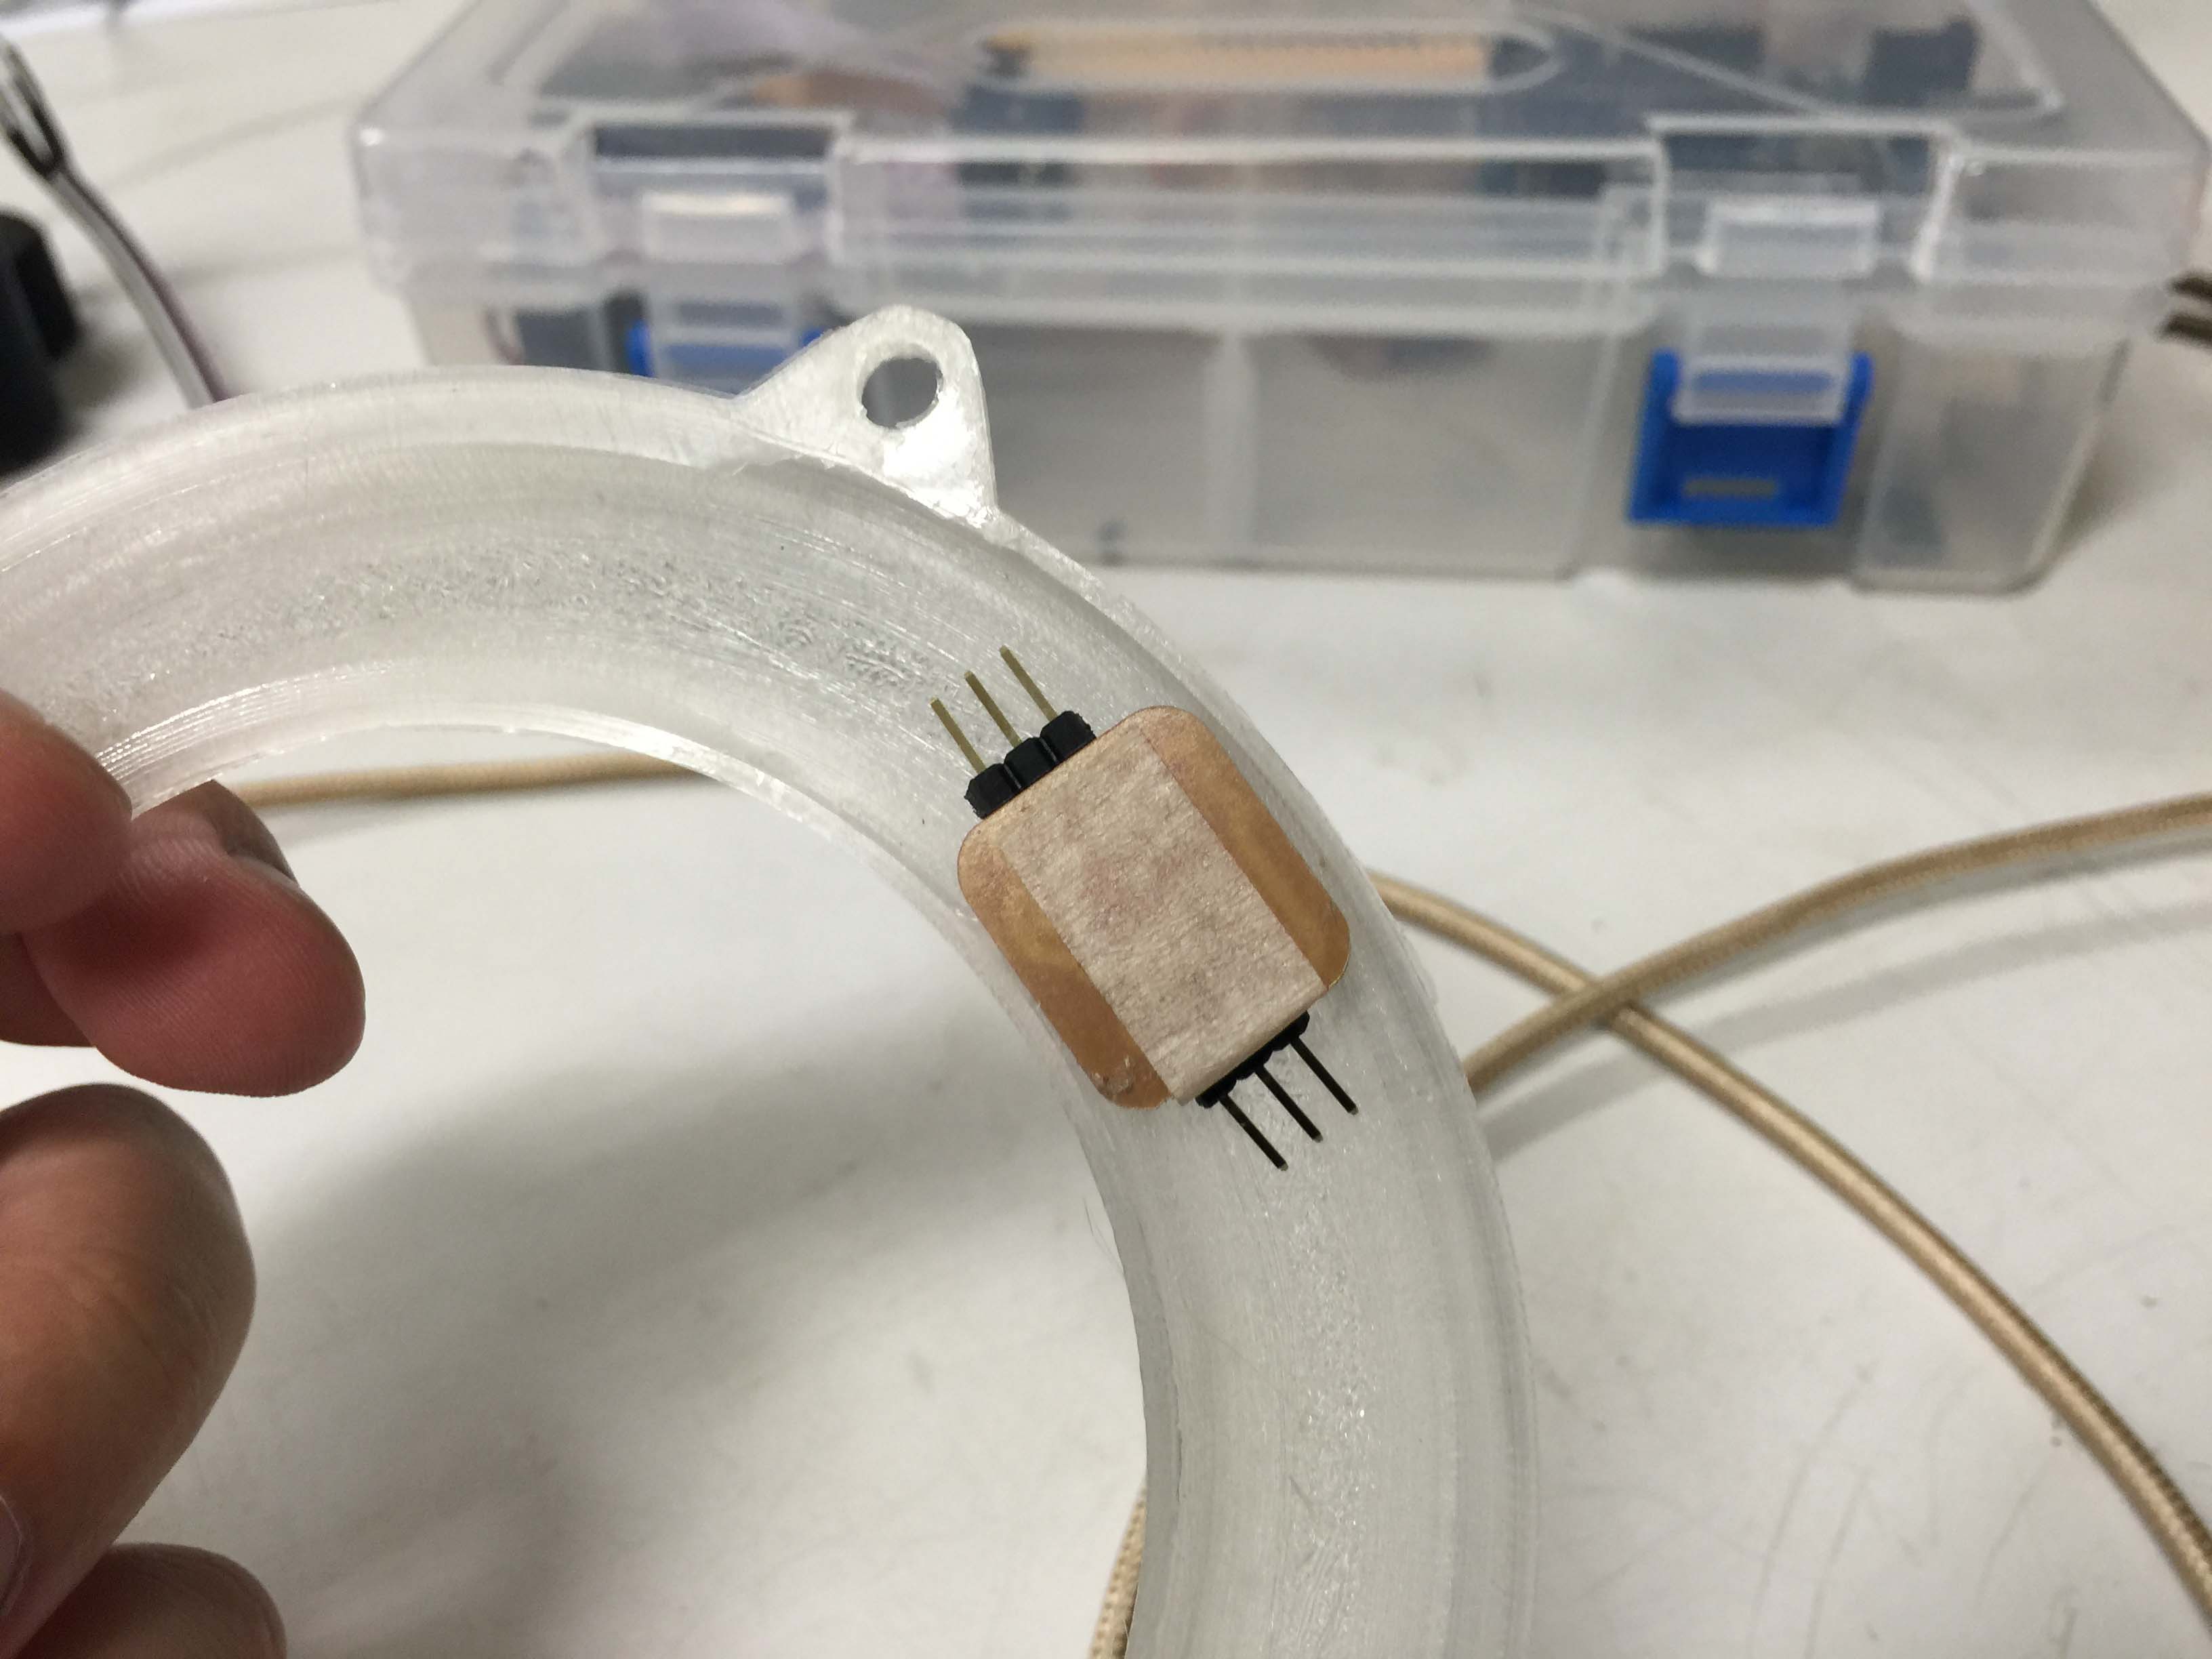
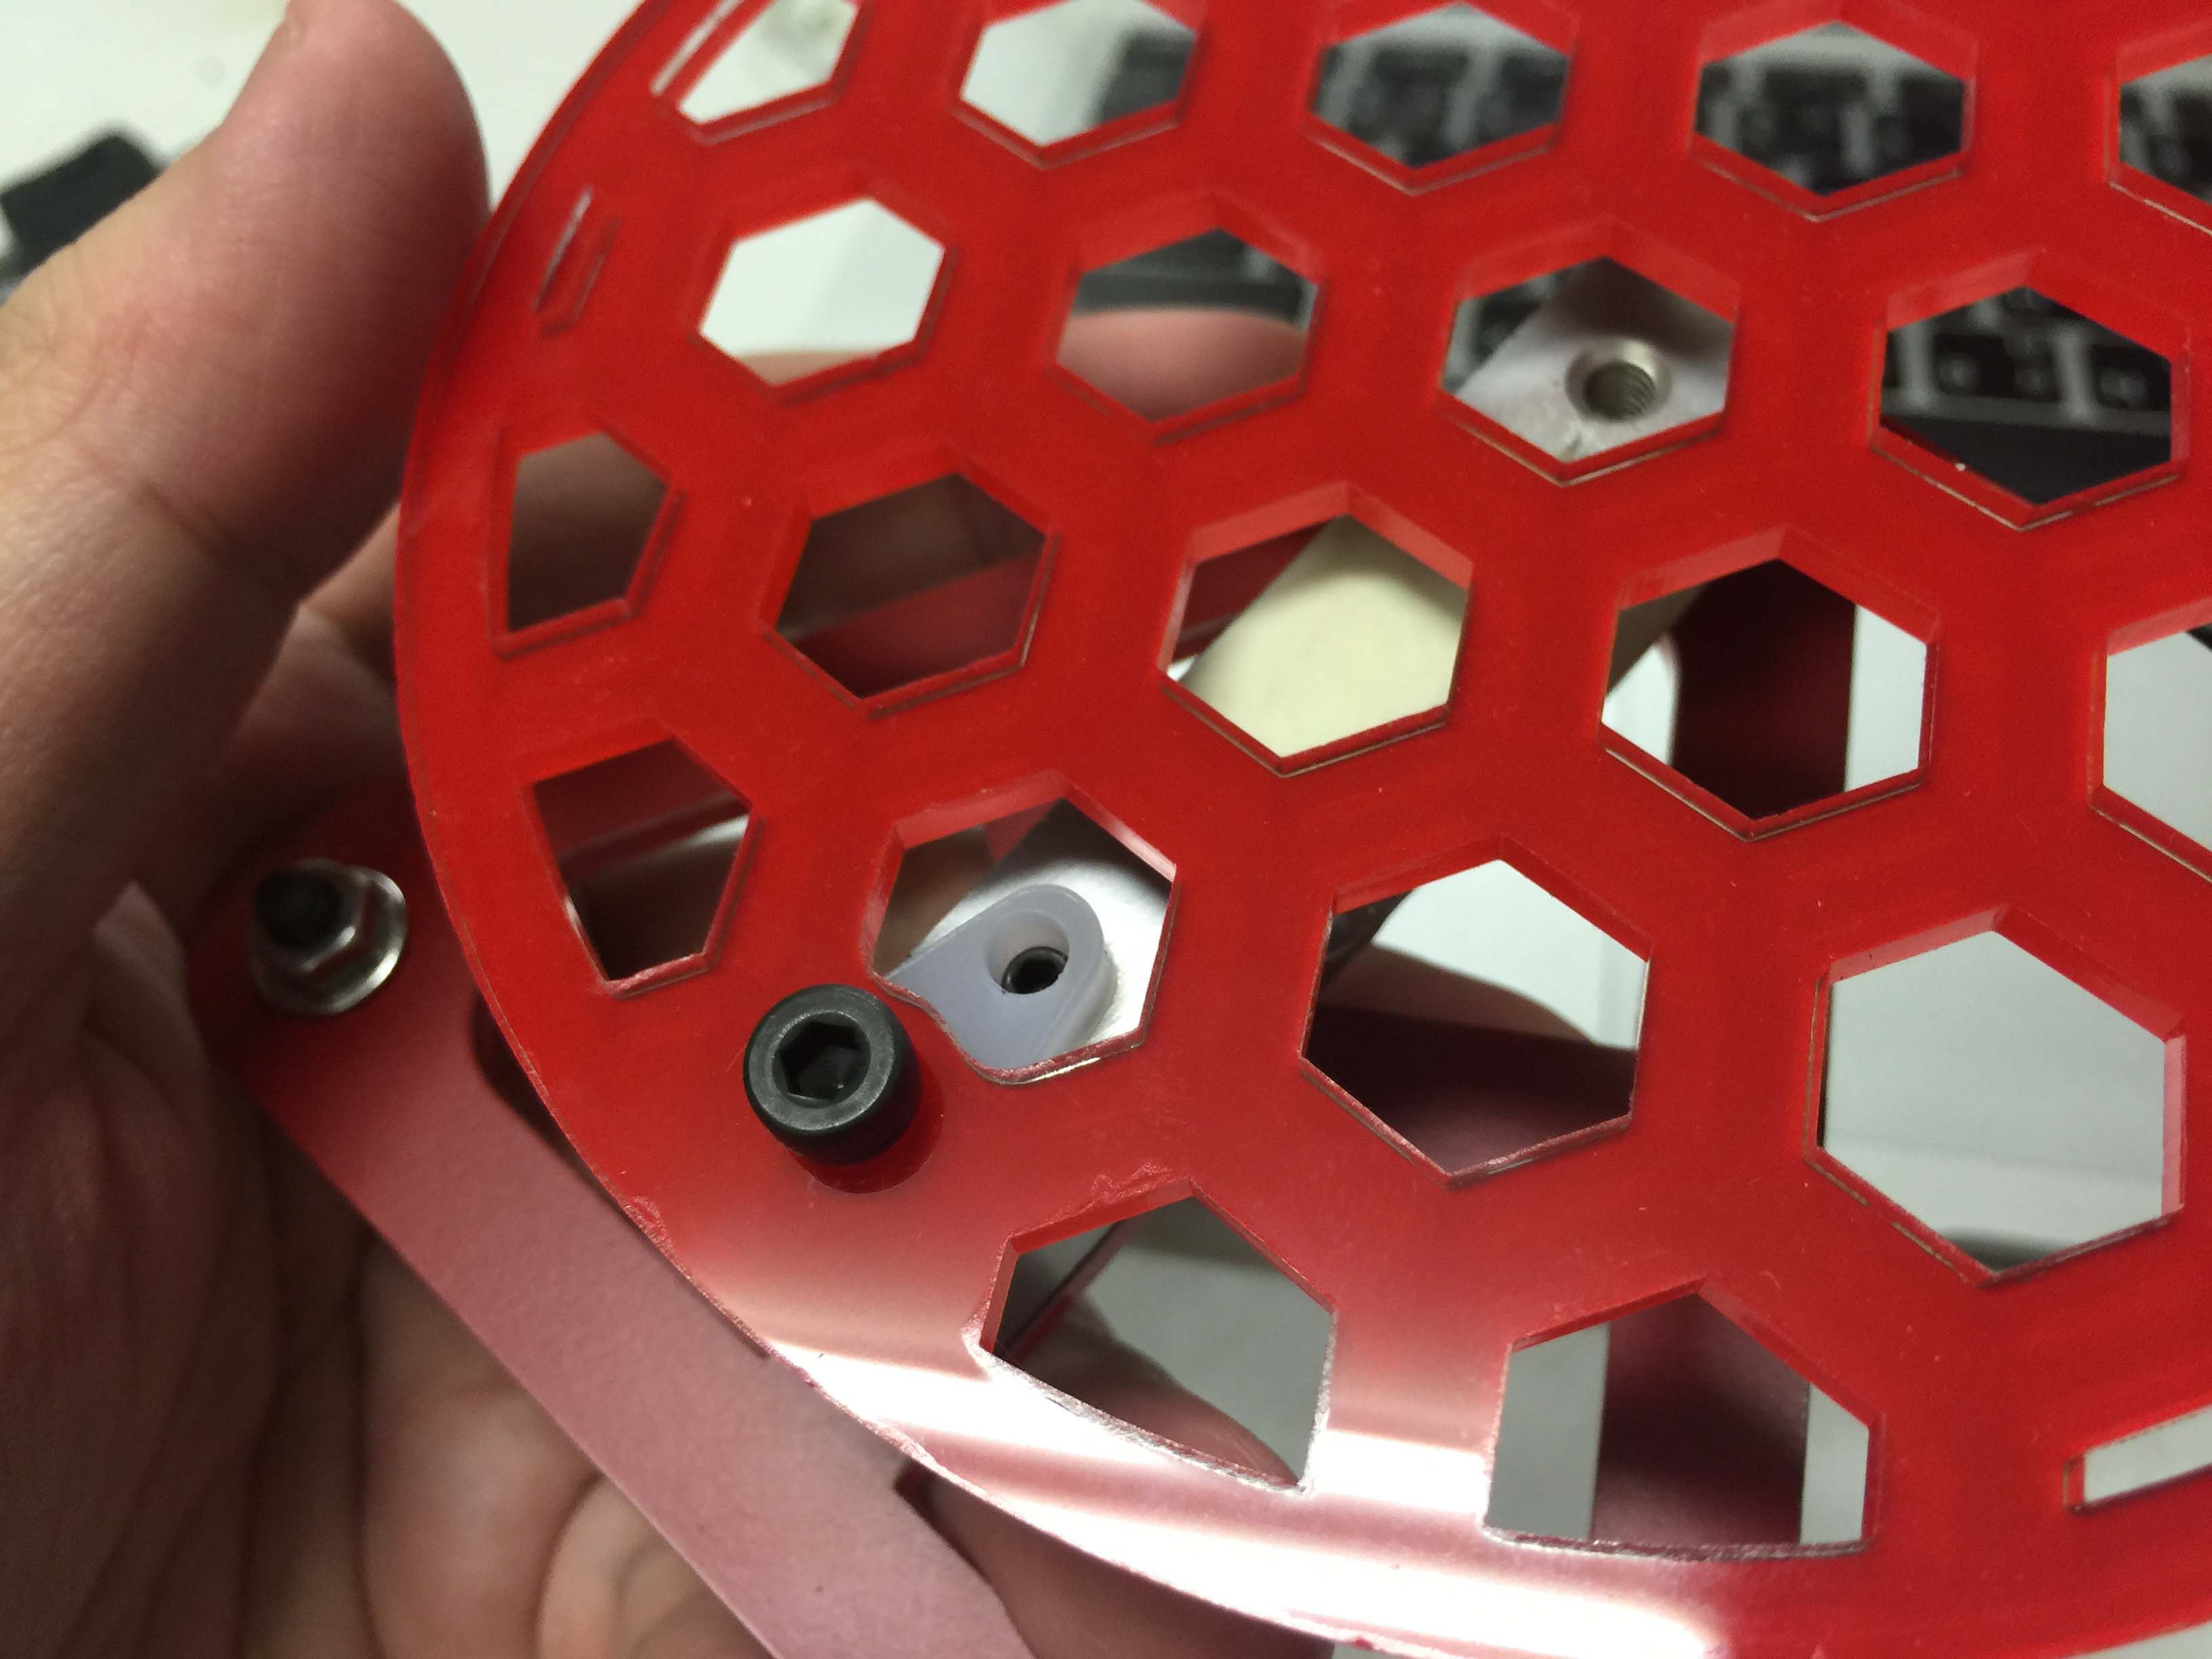
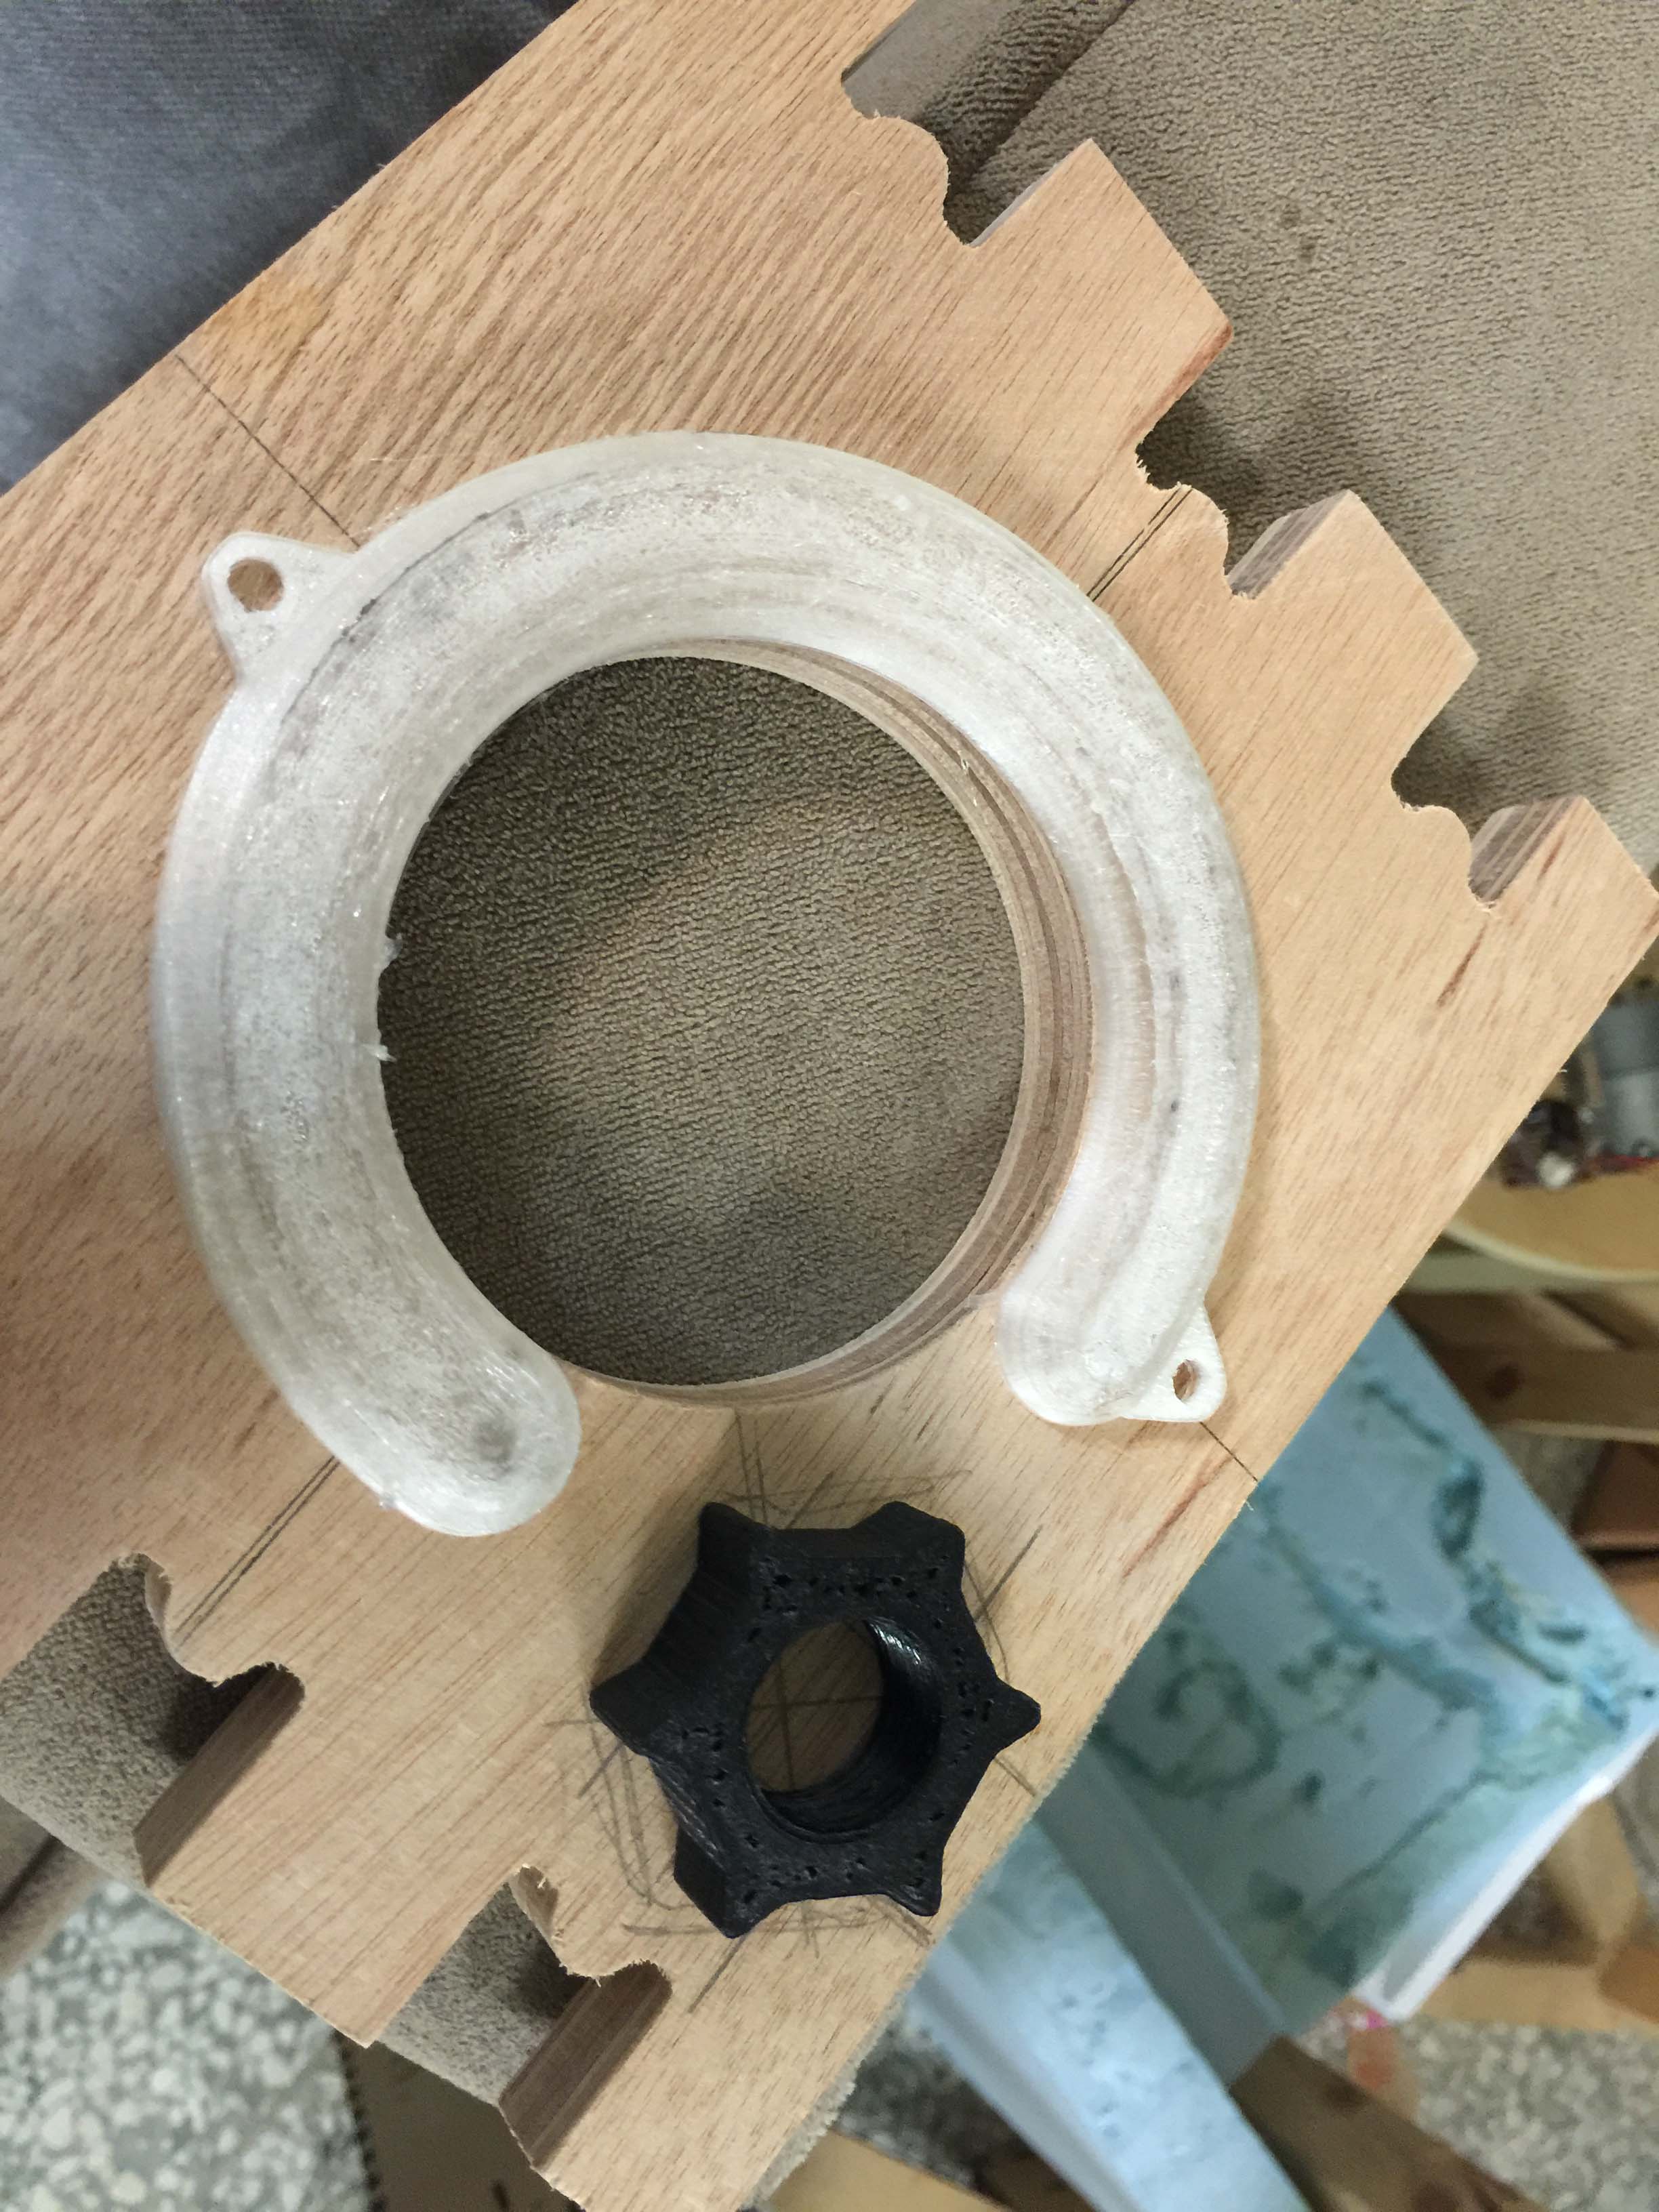 the white ring-shaped part is a shade for RGB LEDS, black one is a hand-screw nut for the coolant pipe.
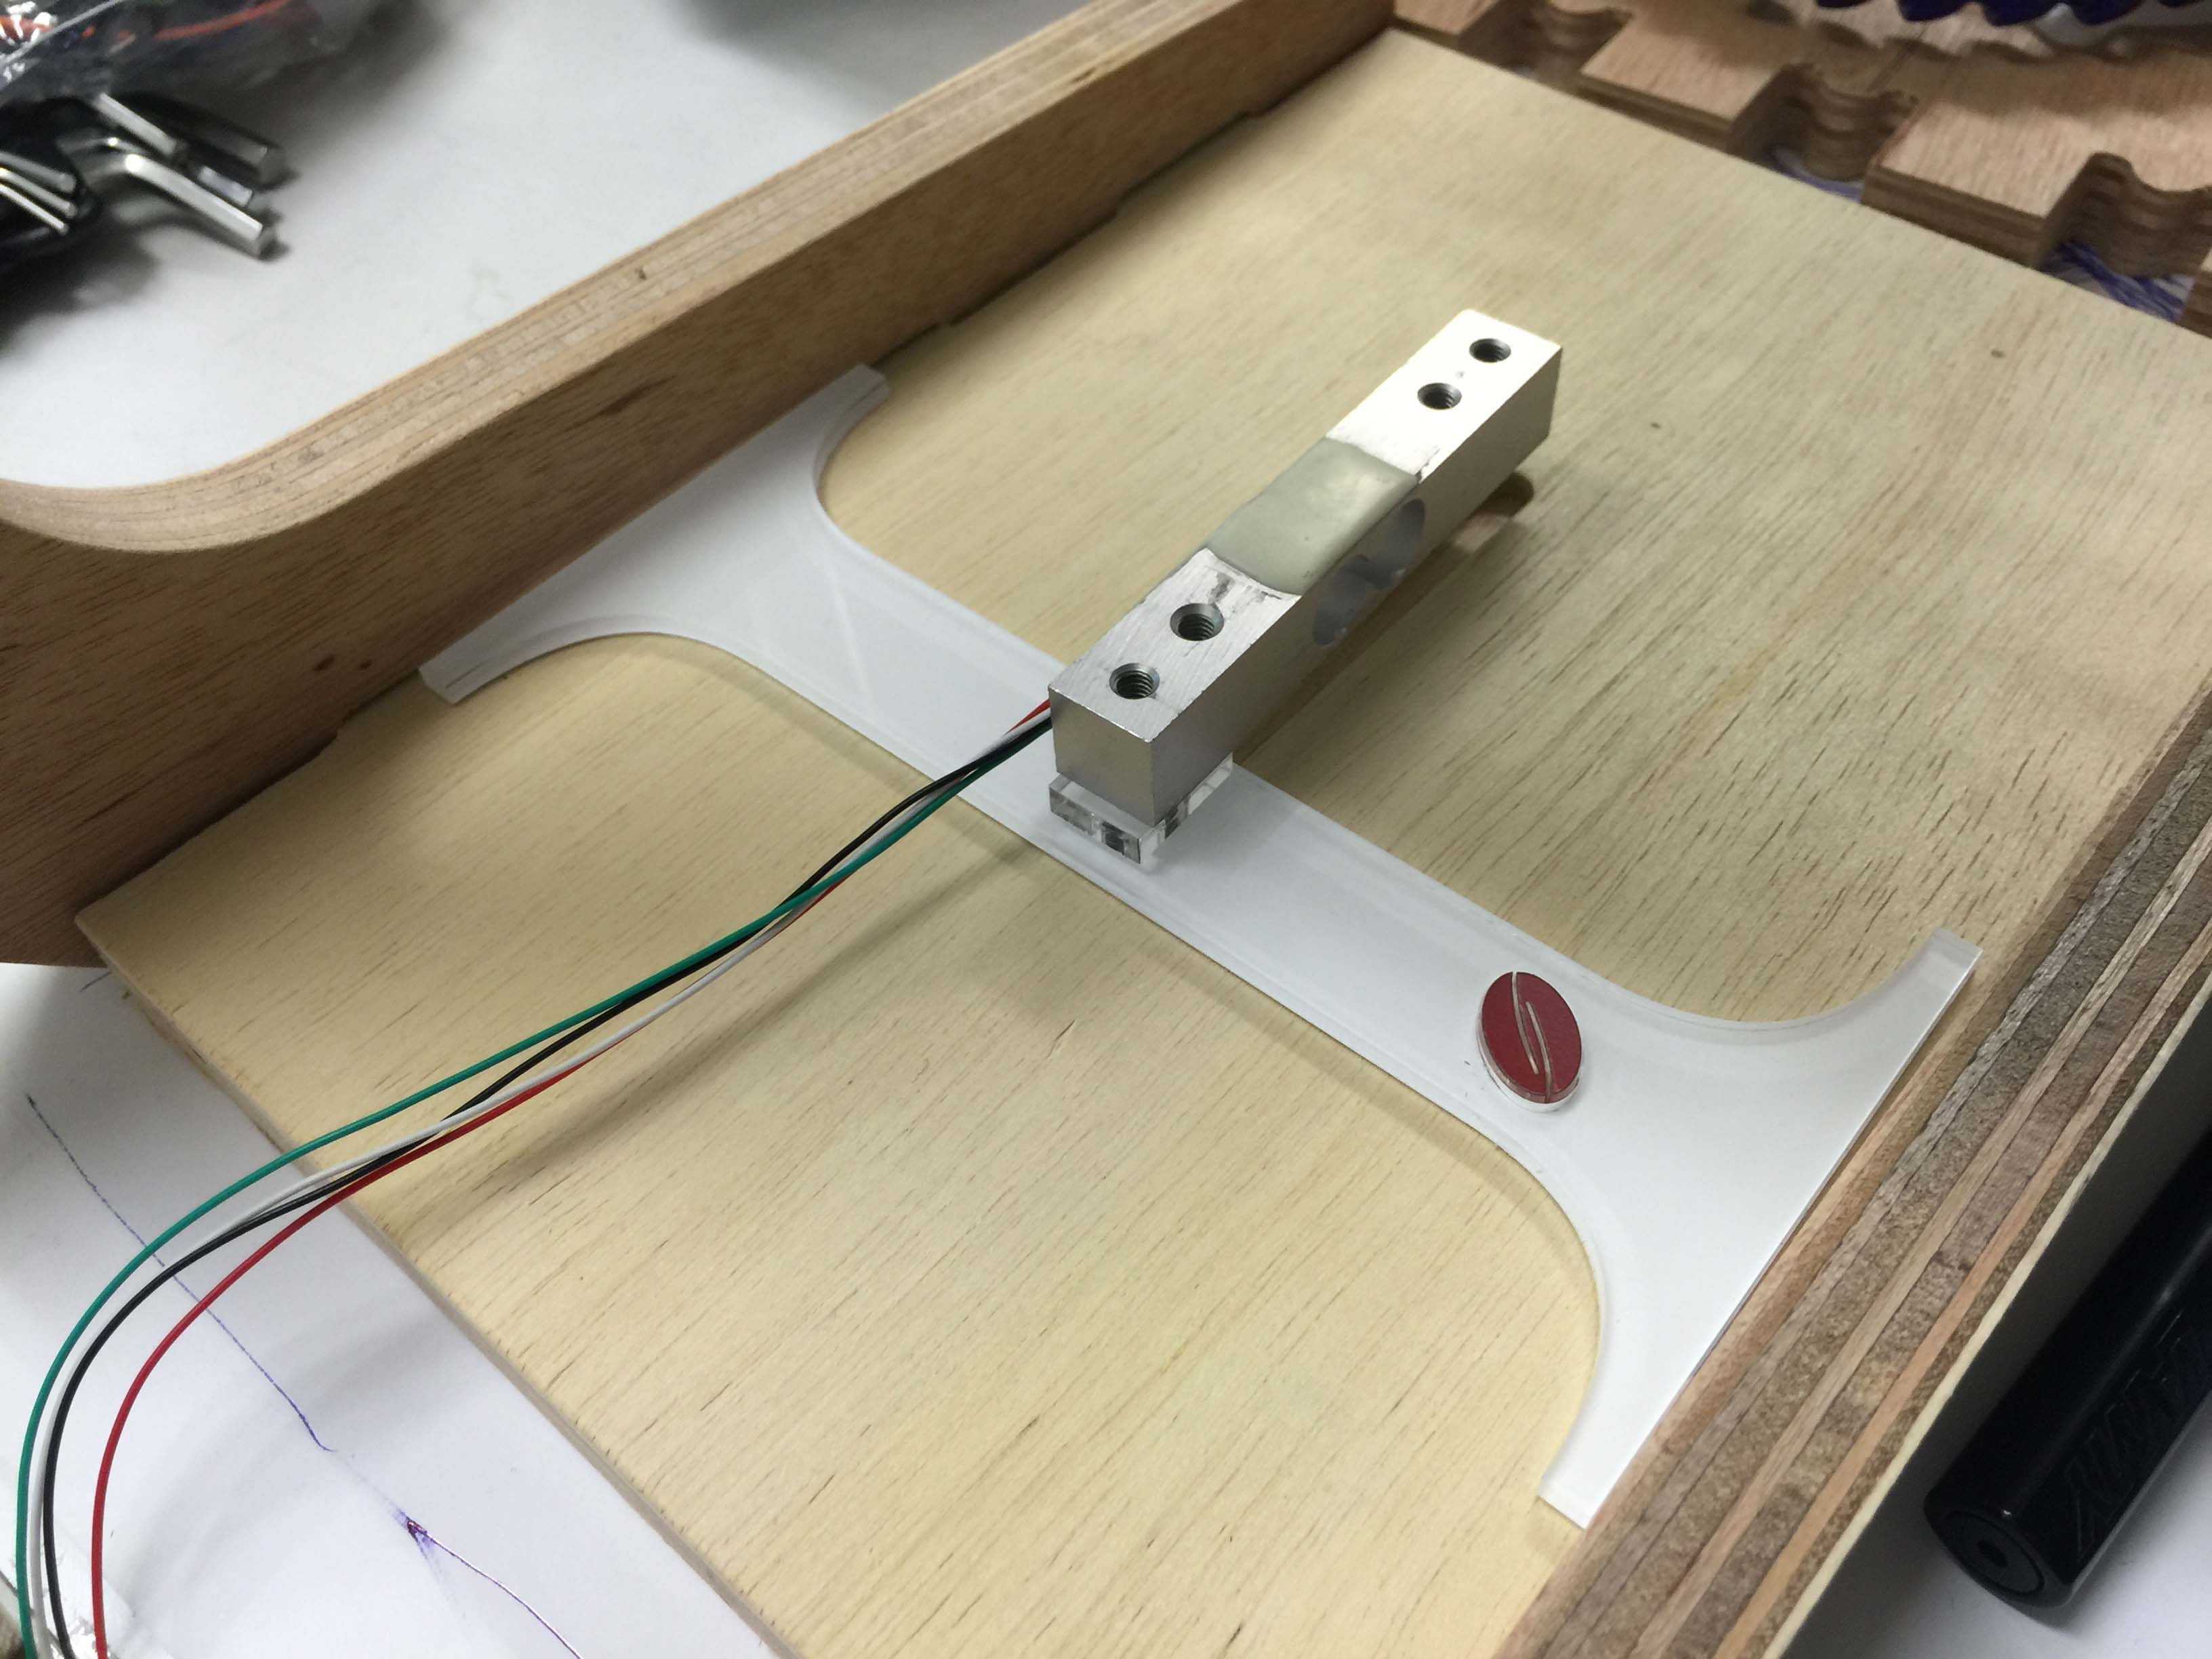
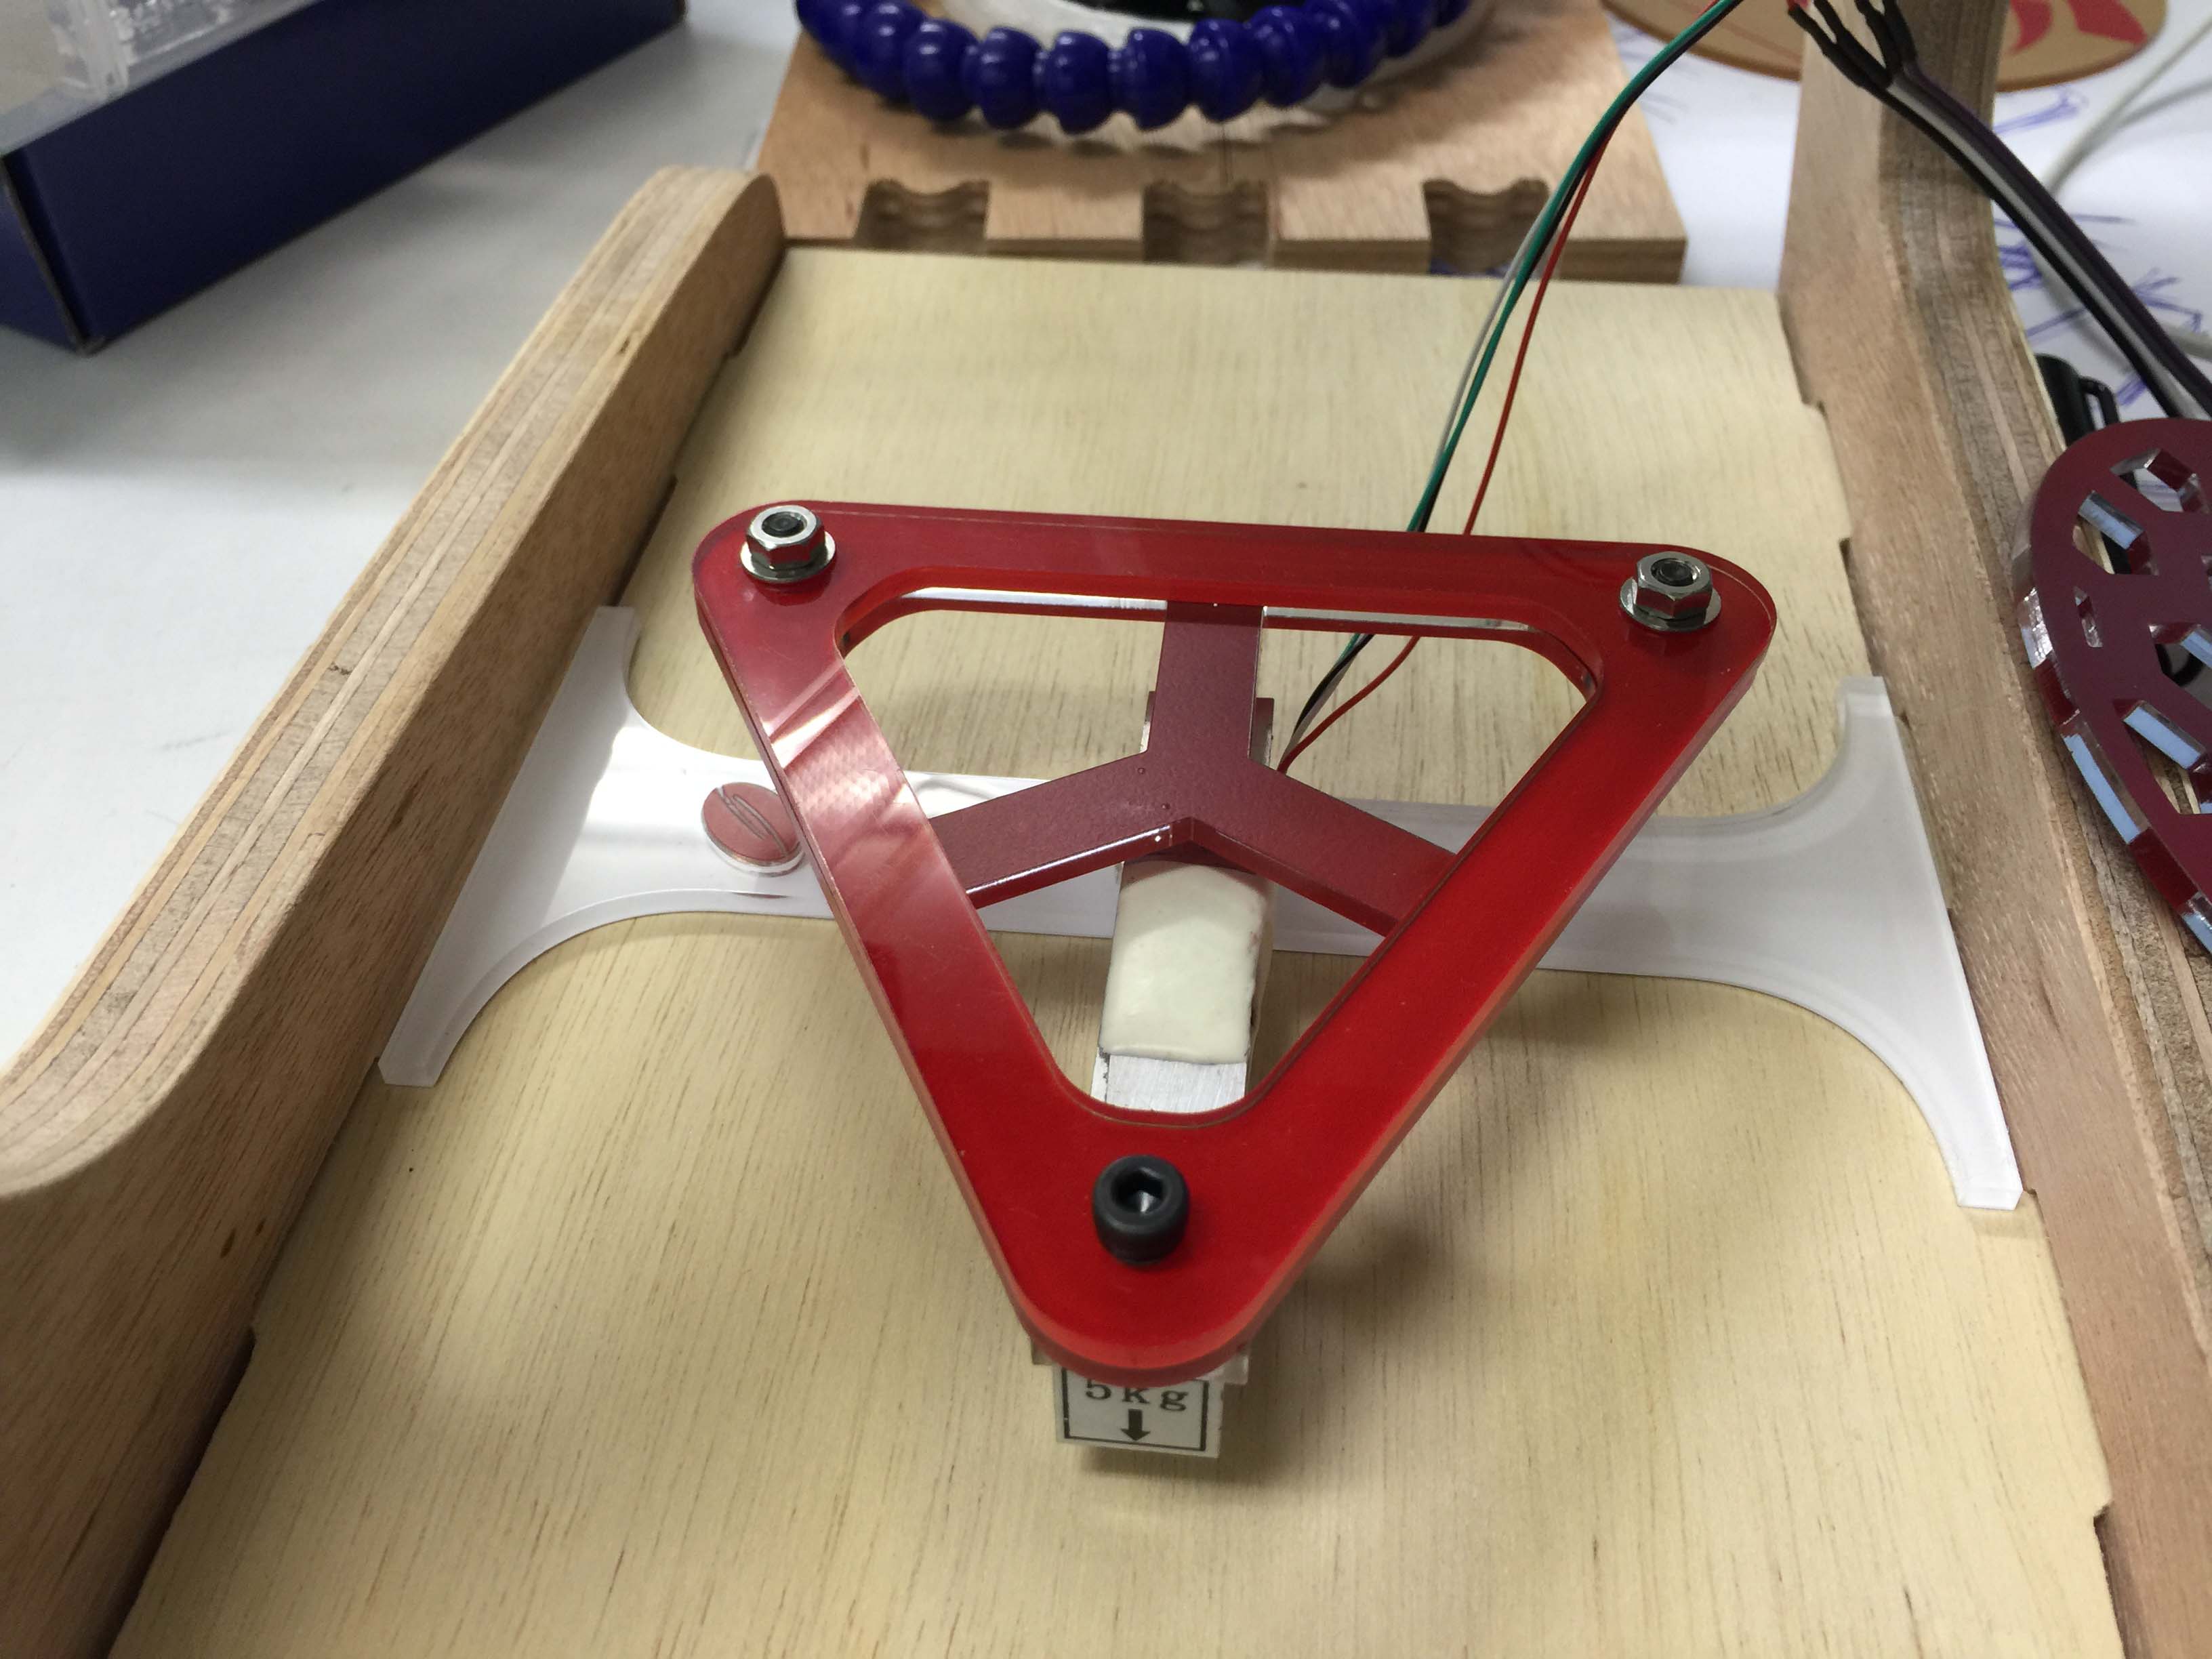
The first two versions with 3 mm arcrylic was far from perfect, it wobbled and left a massive gap between the composite plate and the dripper stand sides.
 I cannot stand with the gap so I designed few other iterations and increased the stability of the load cell platform at the same time.
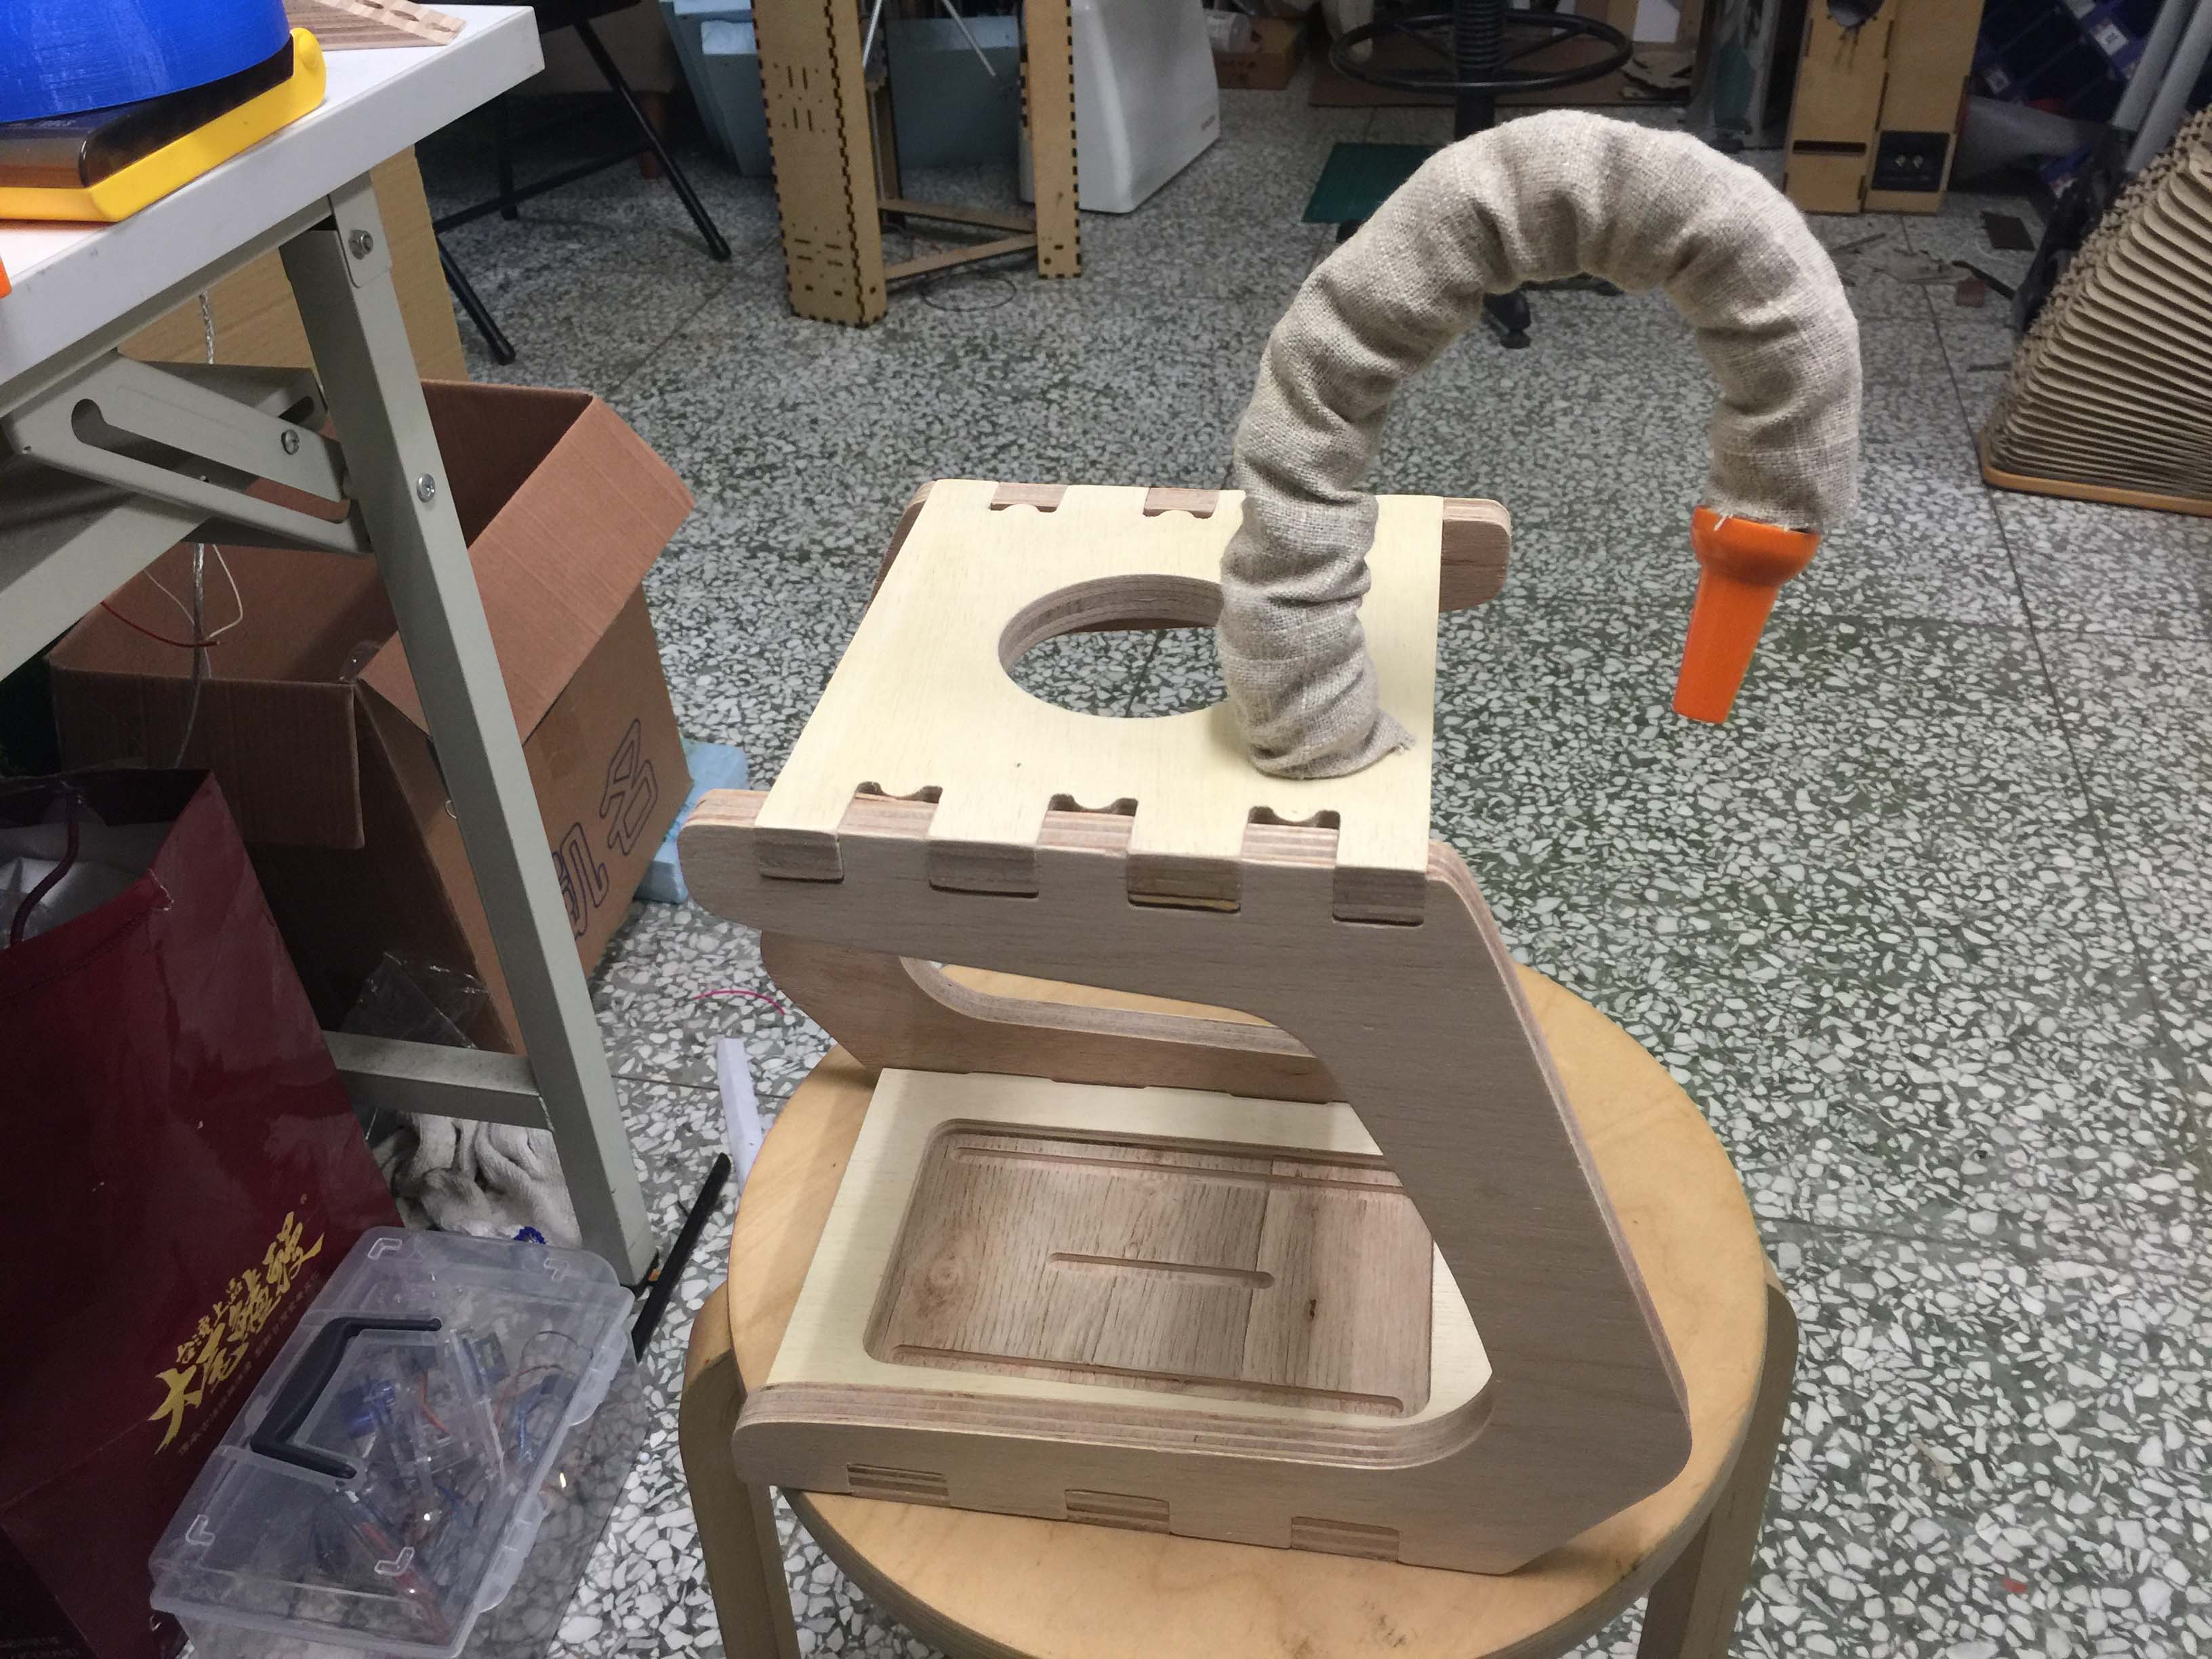 This is why I named my project swan :p
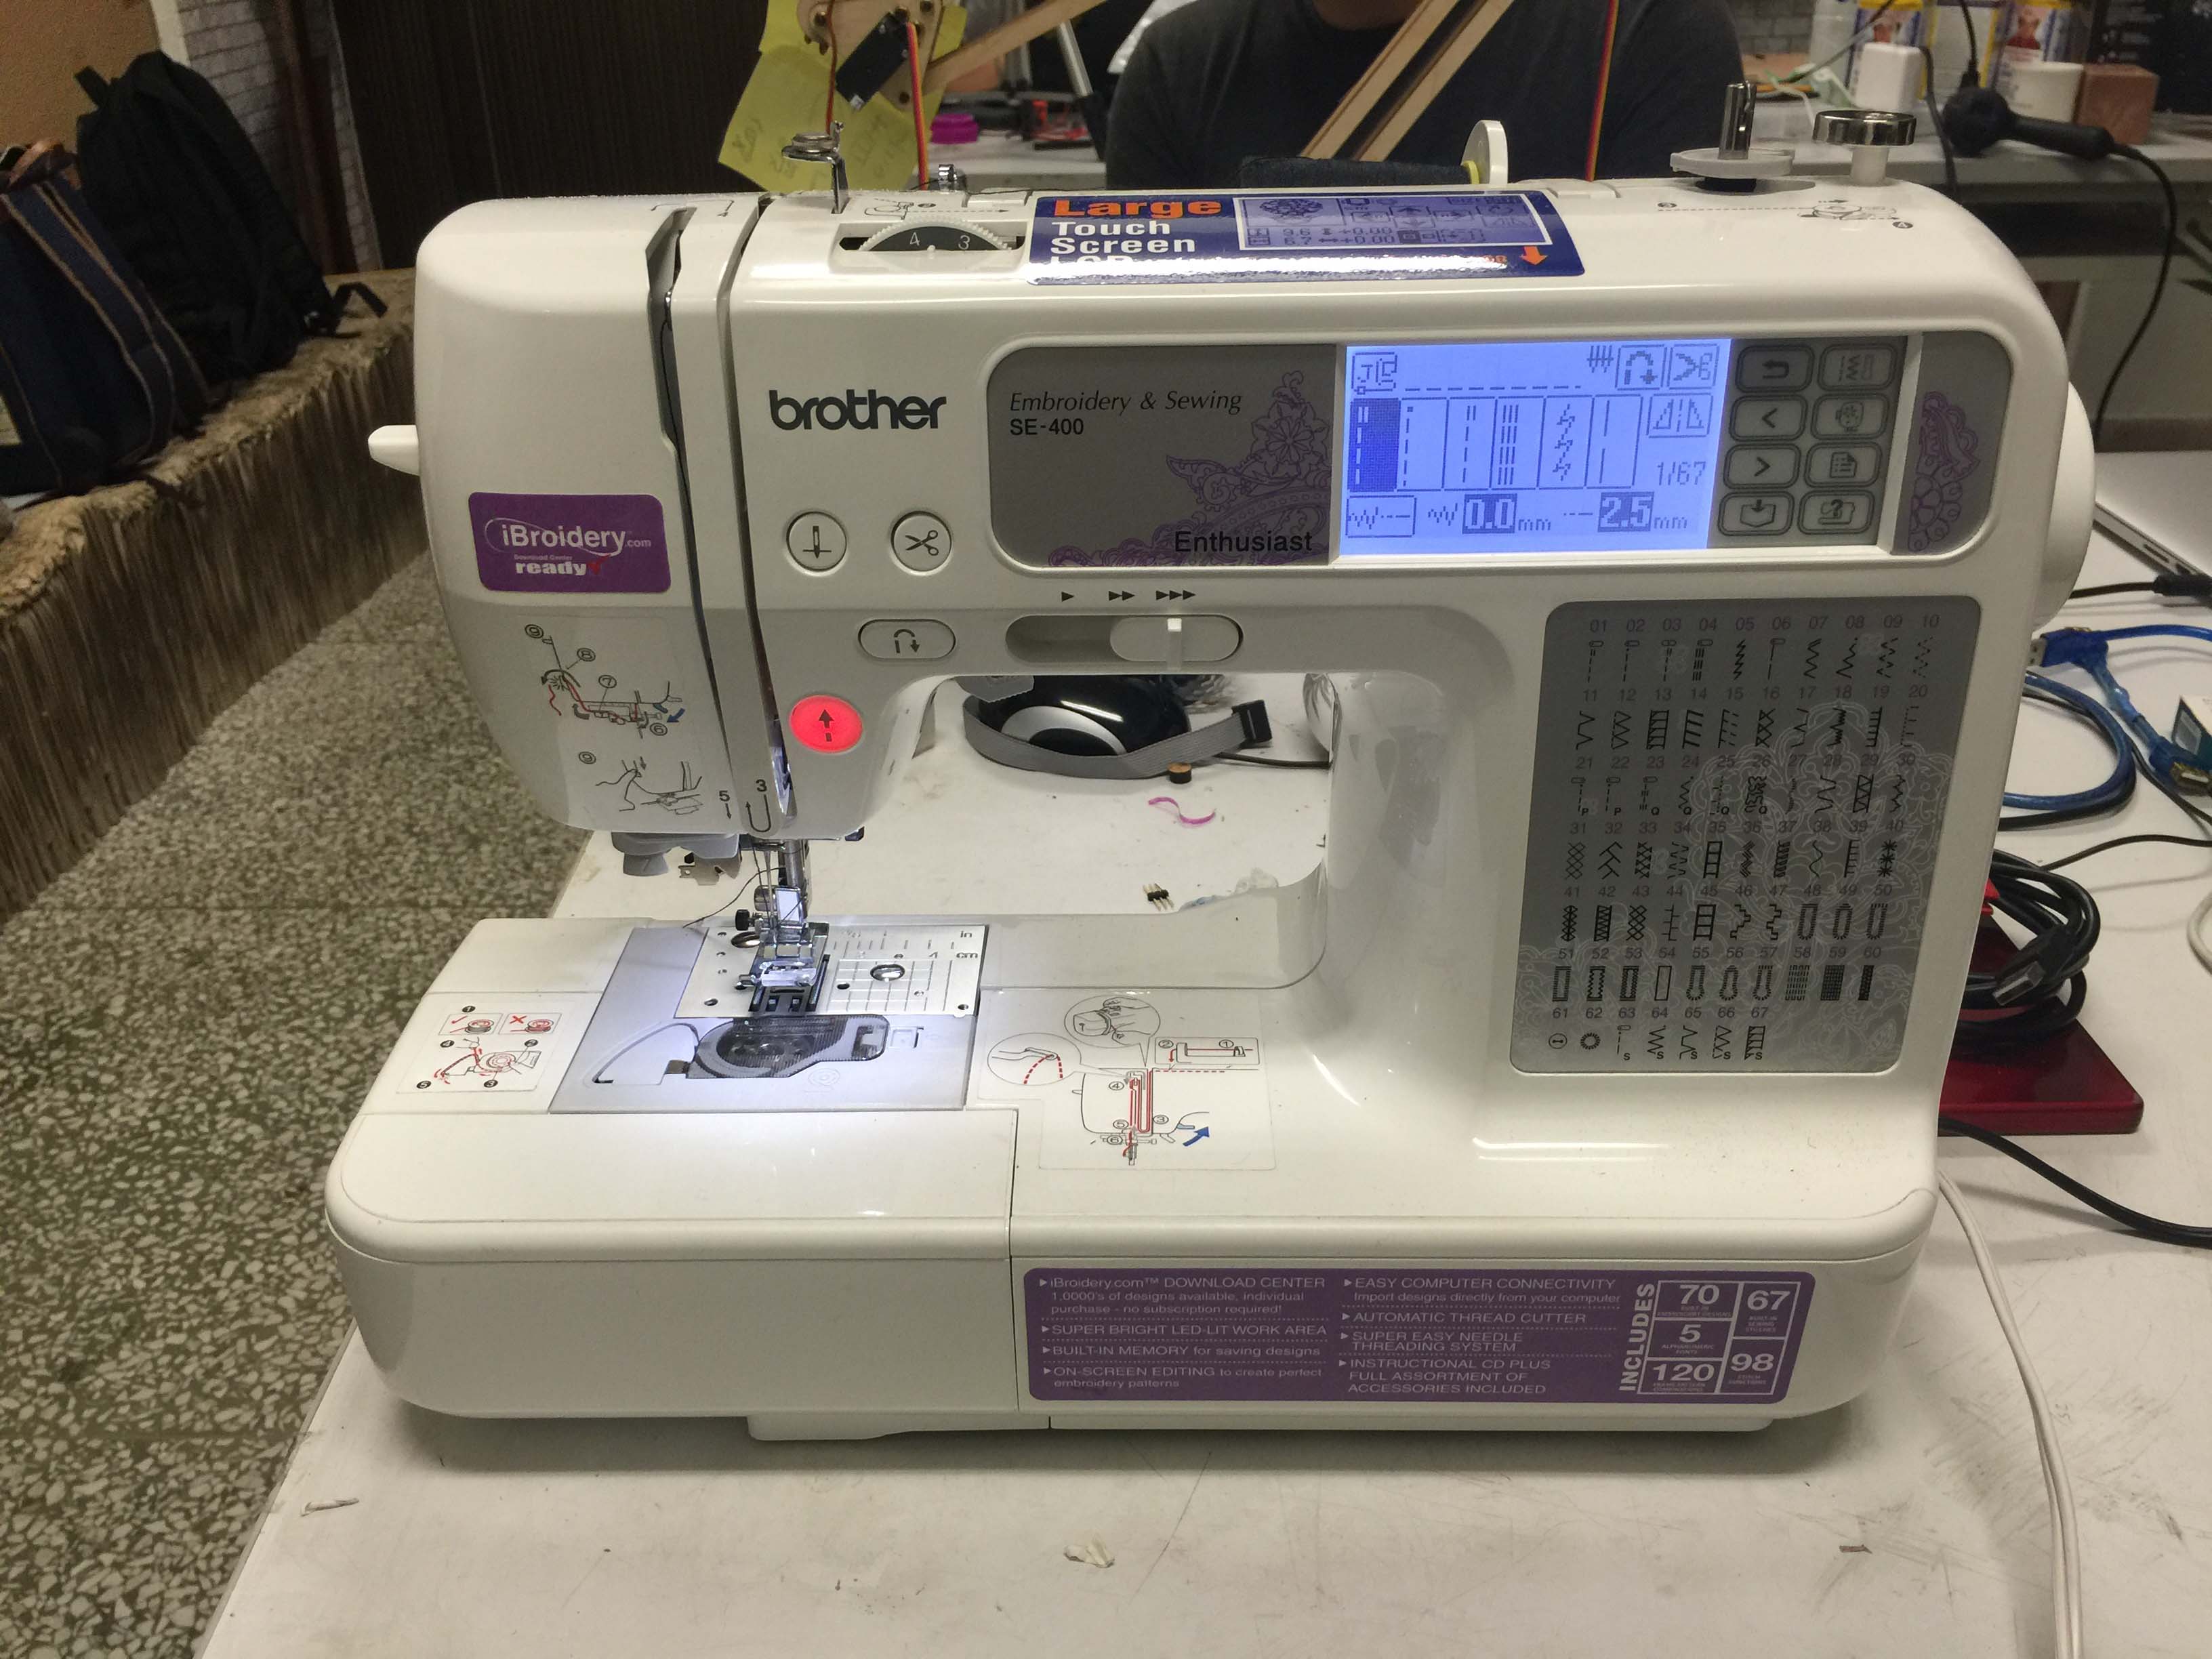
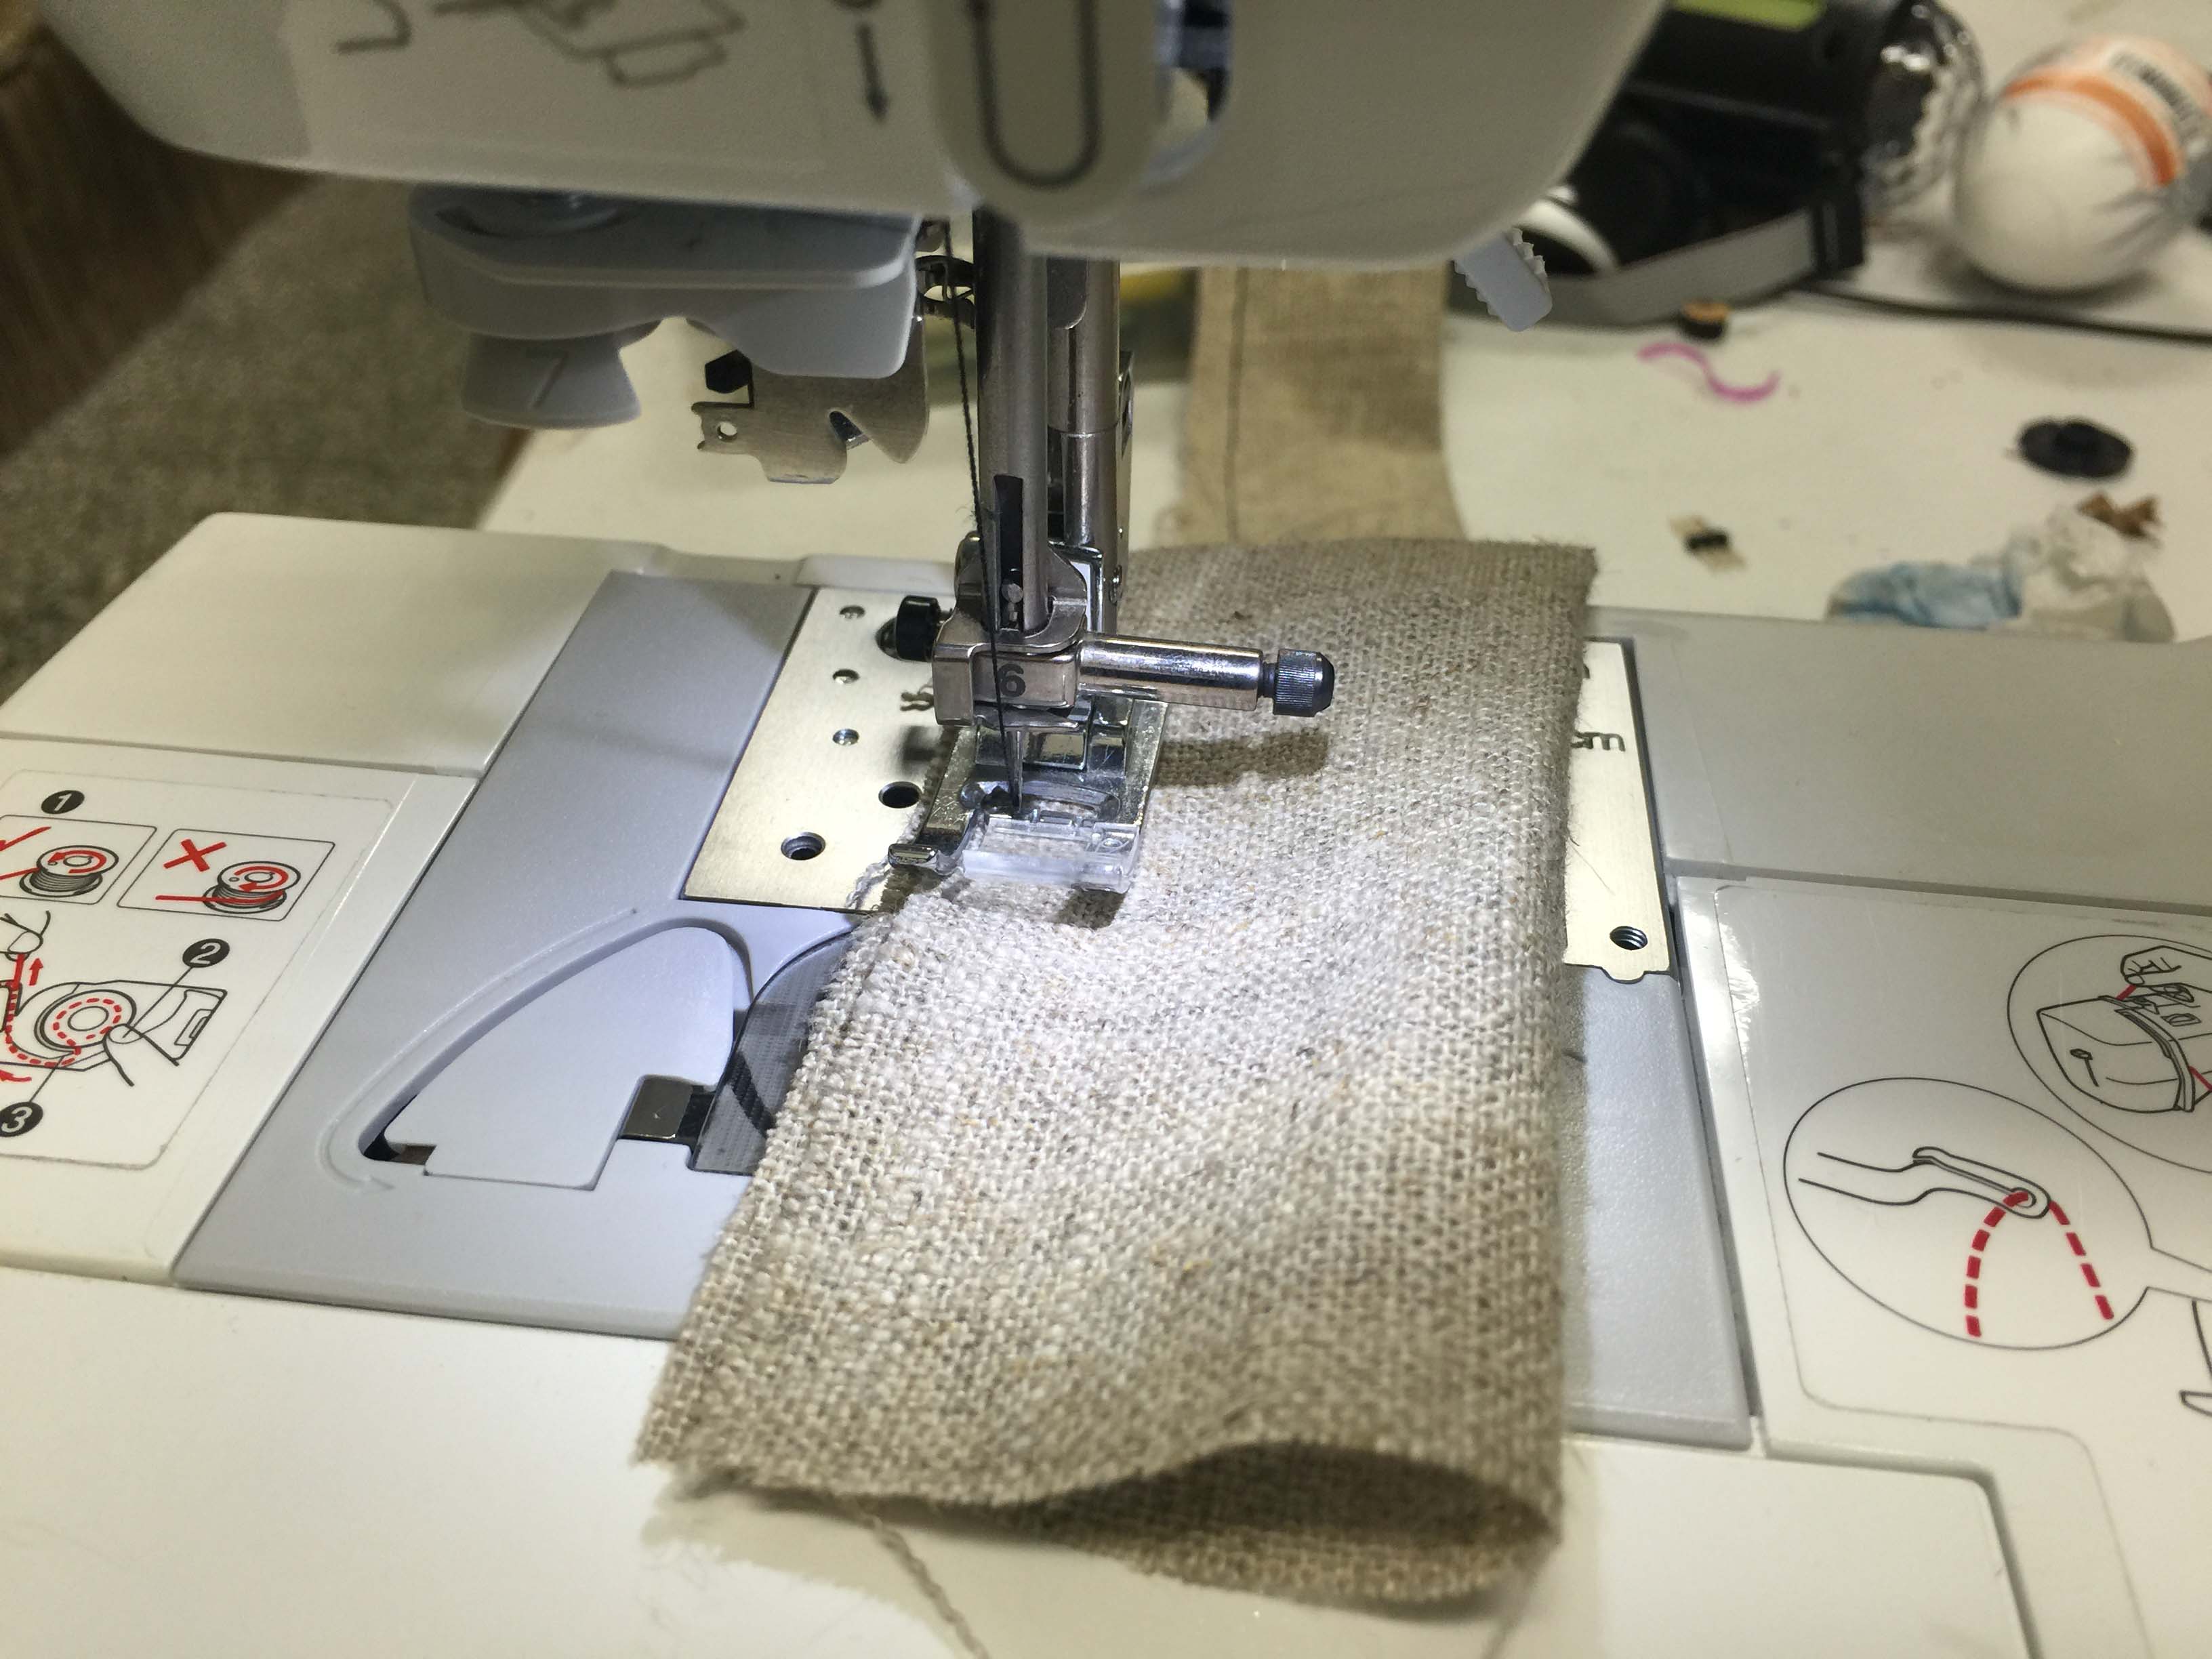
I used extra burlap from composite making to saw a coat for the coolant pipe, just to make the outlook more organic.
LEDs
main housing v. 1
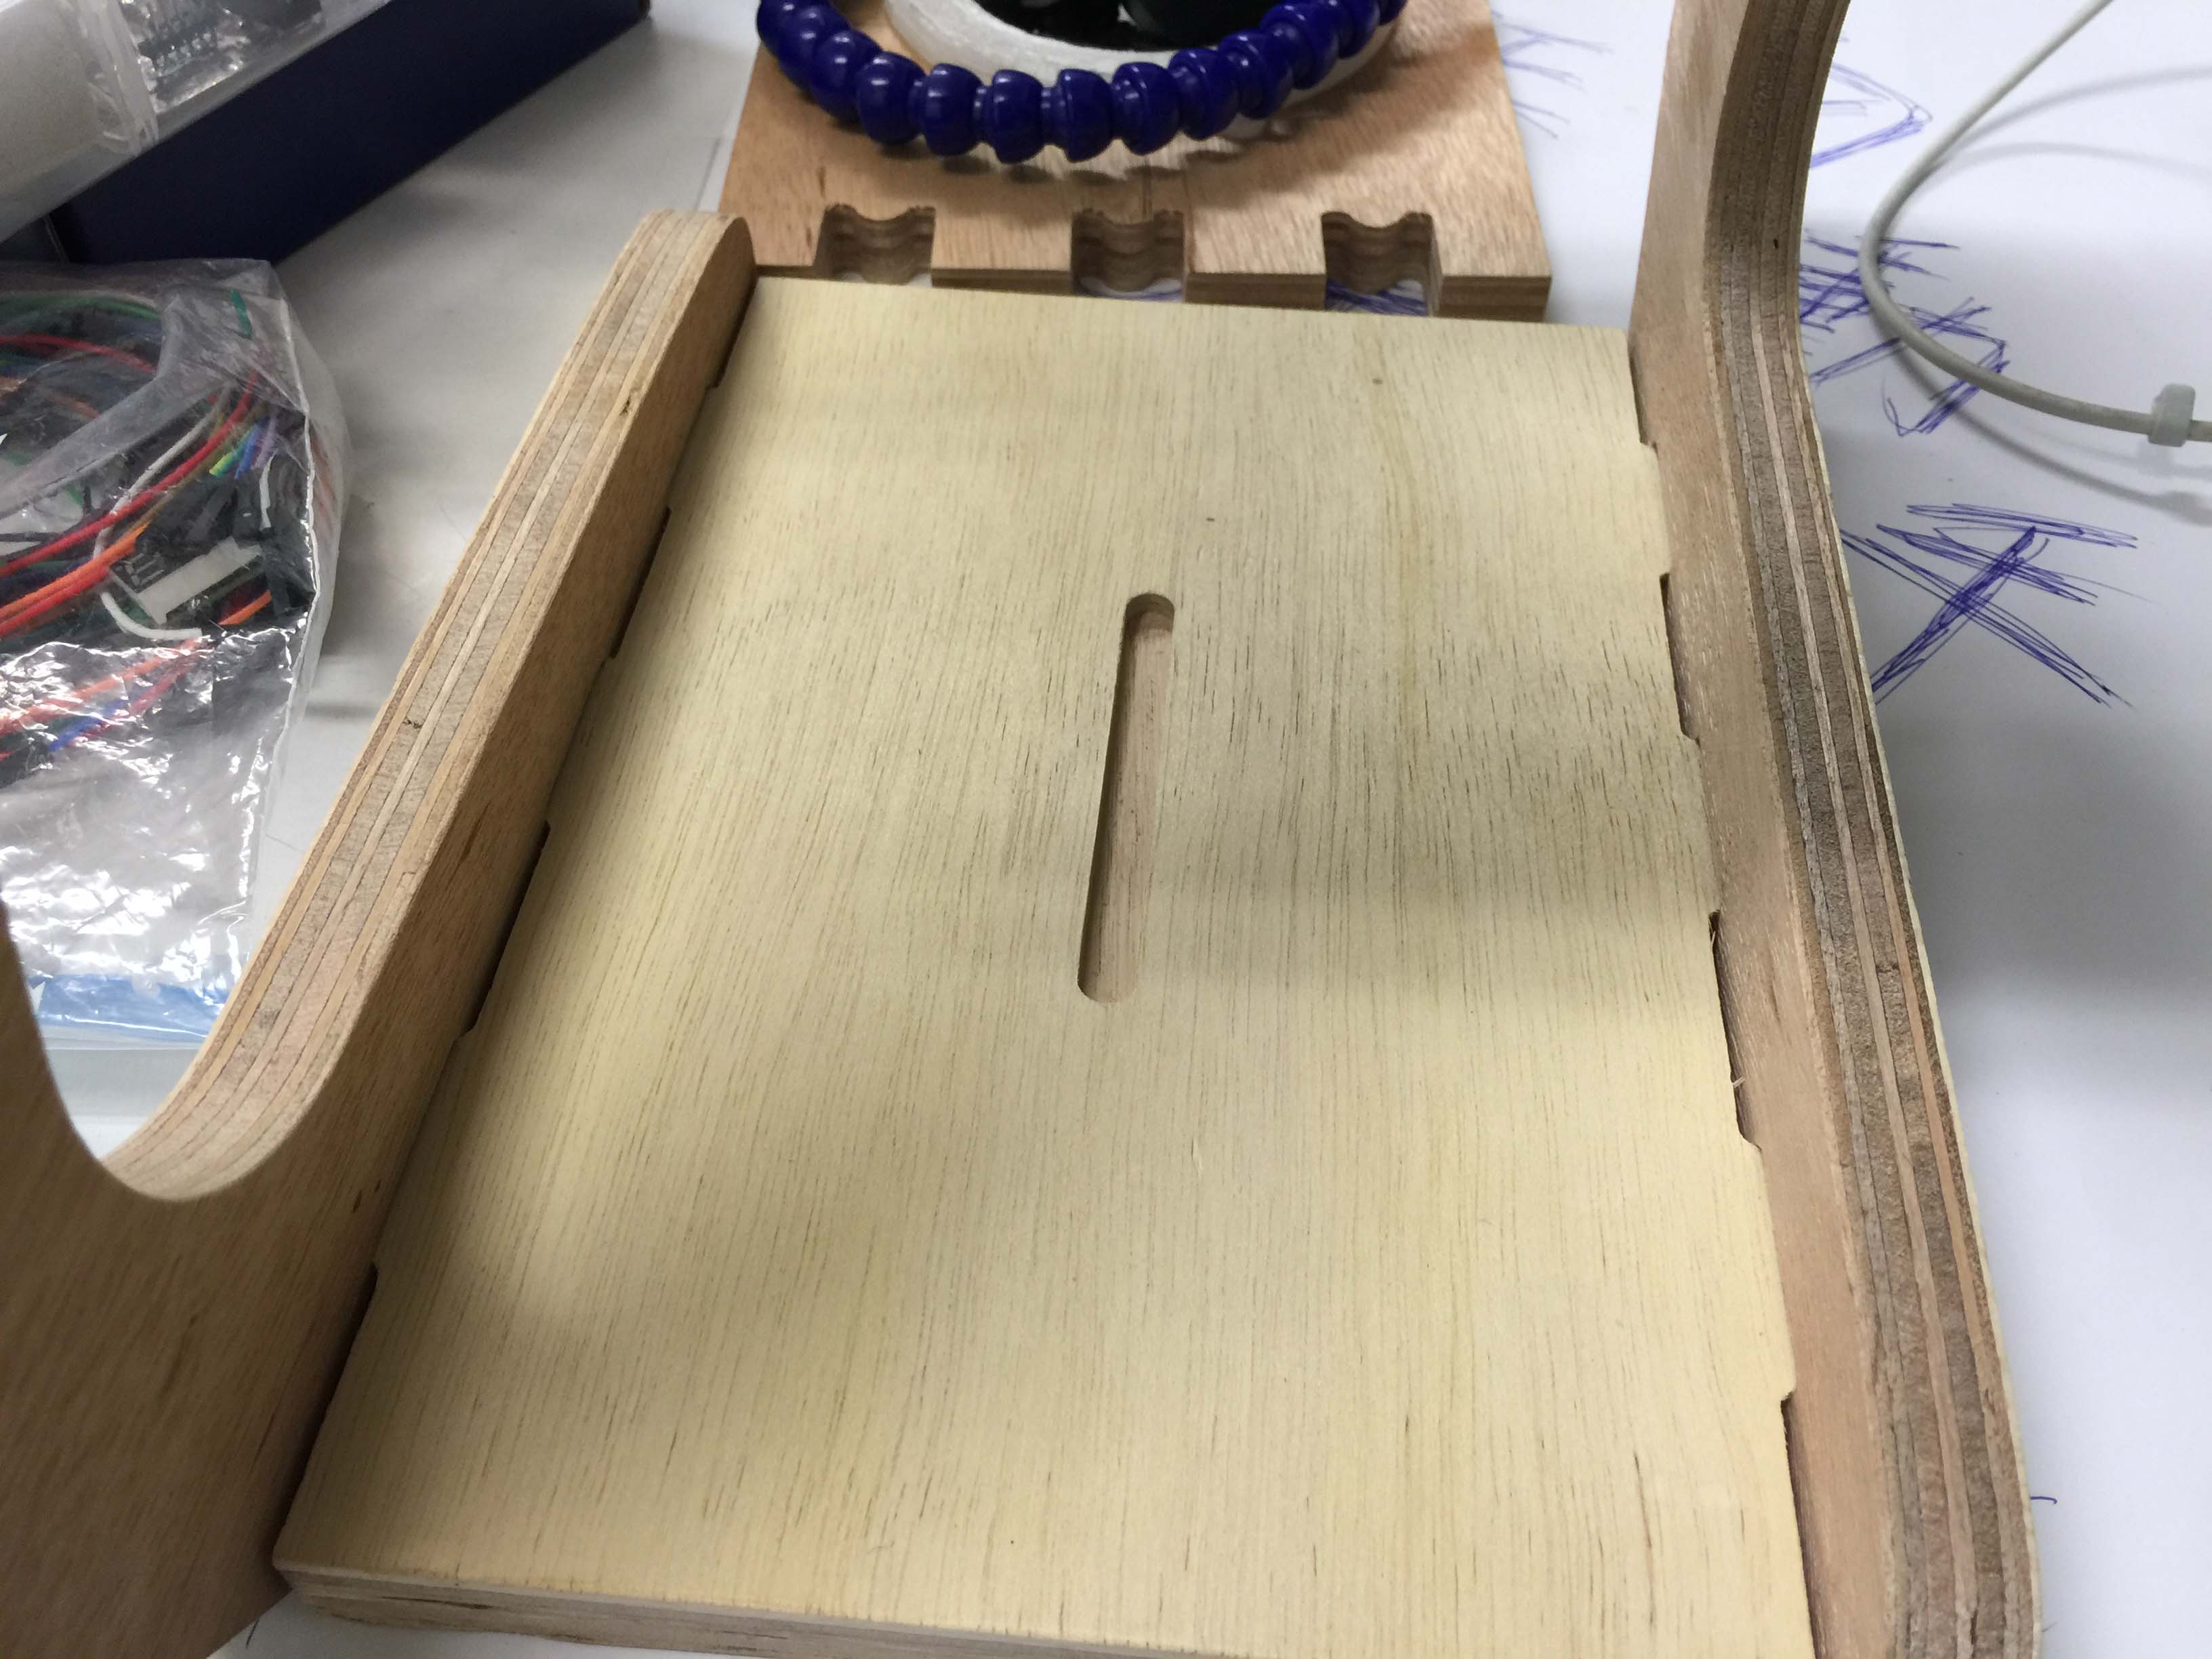
Then I realised all I need is a slot for Arduino and the shield
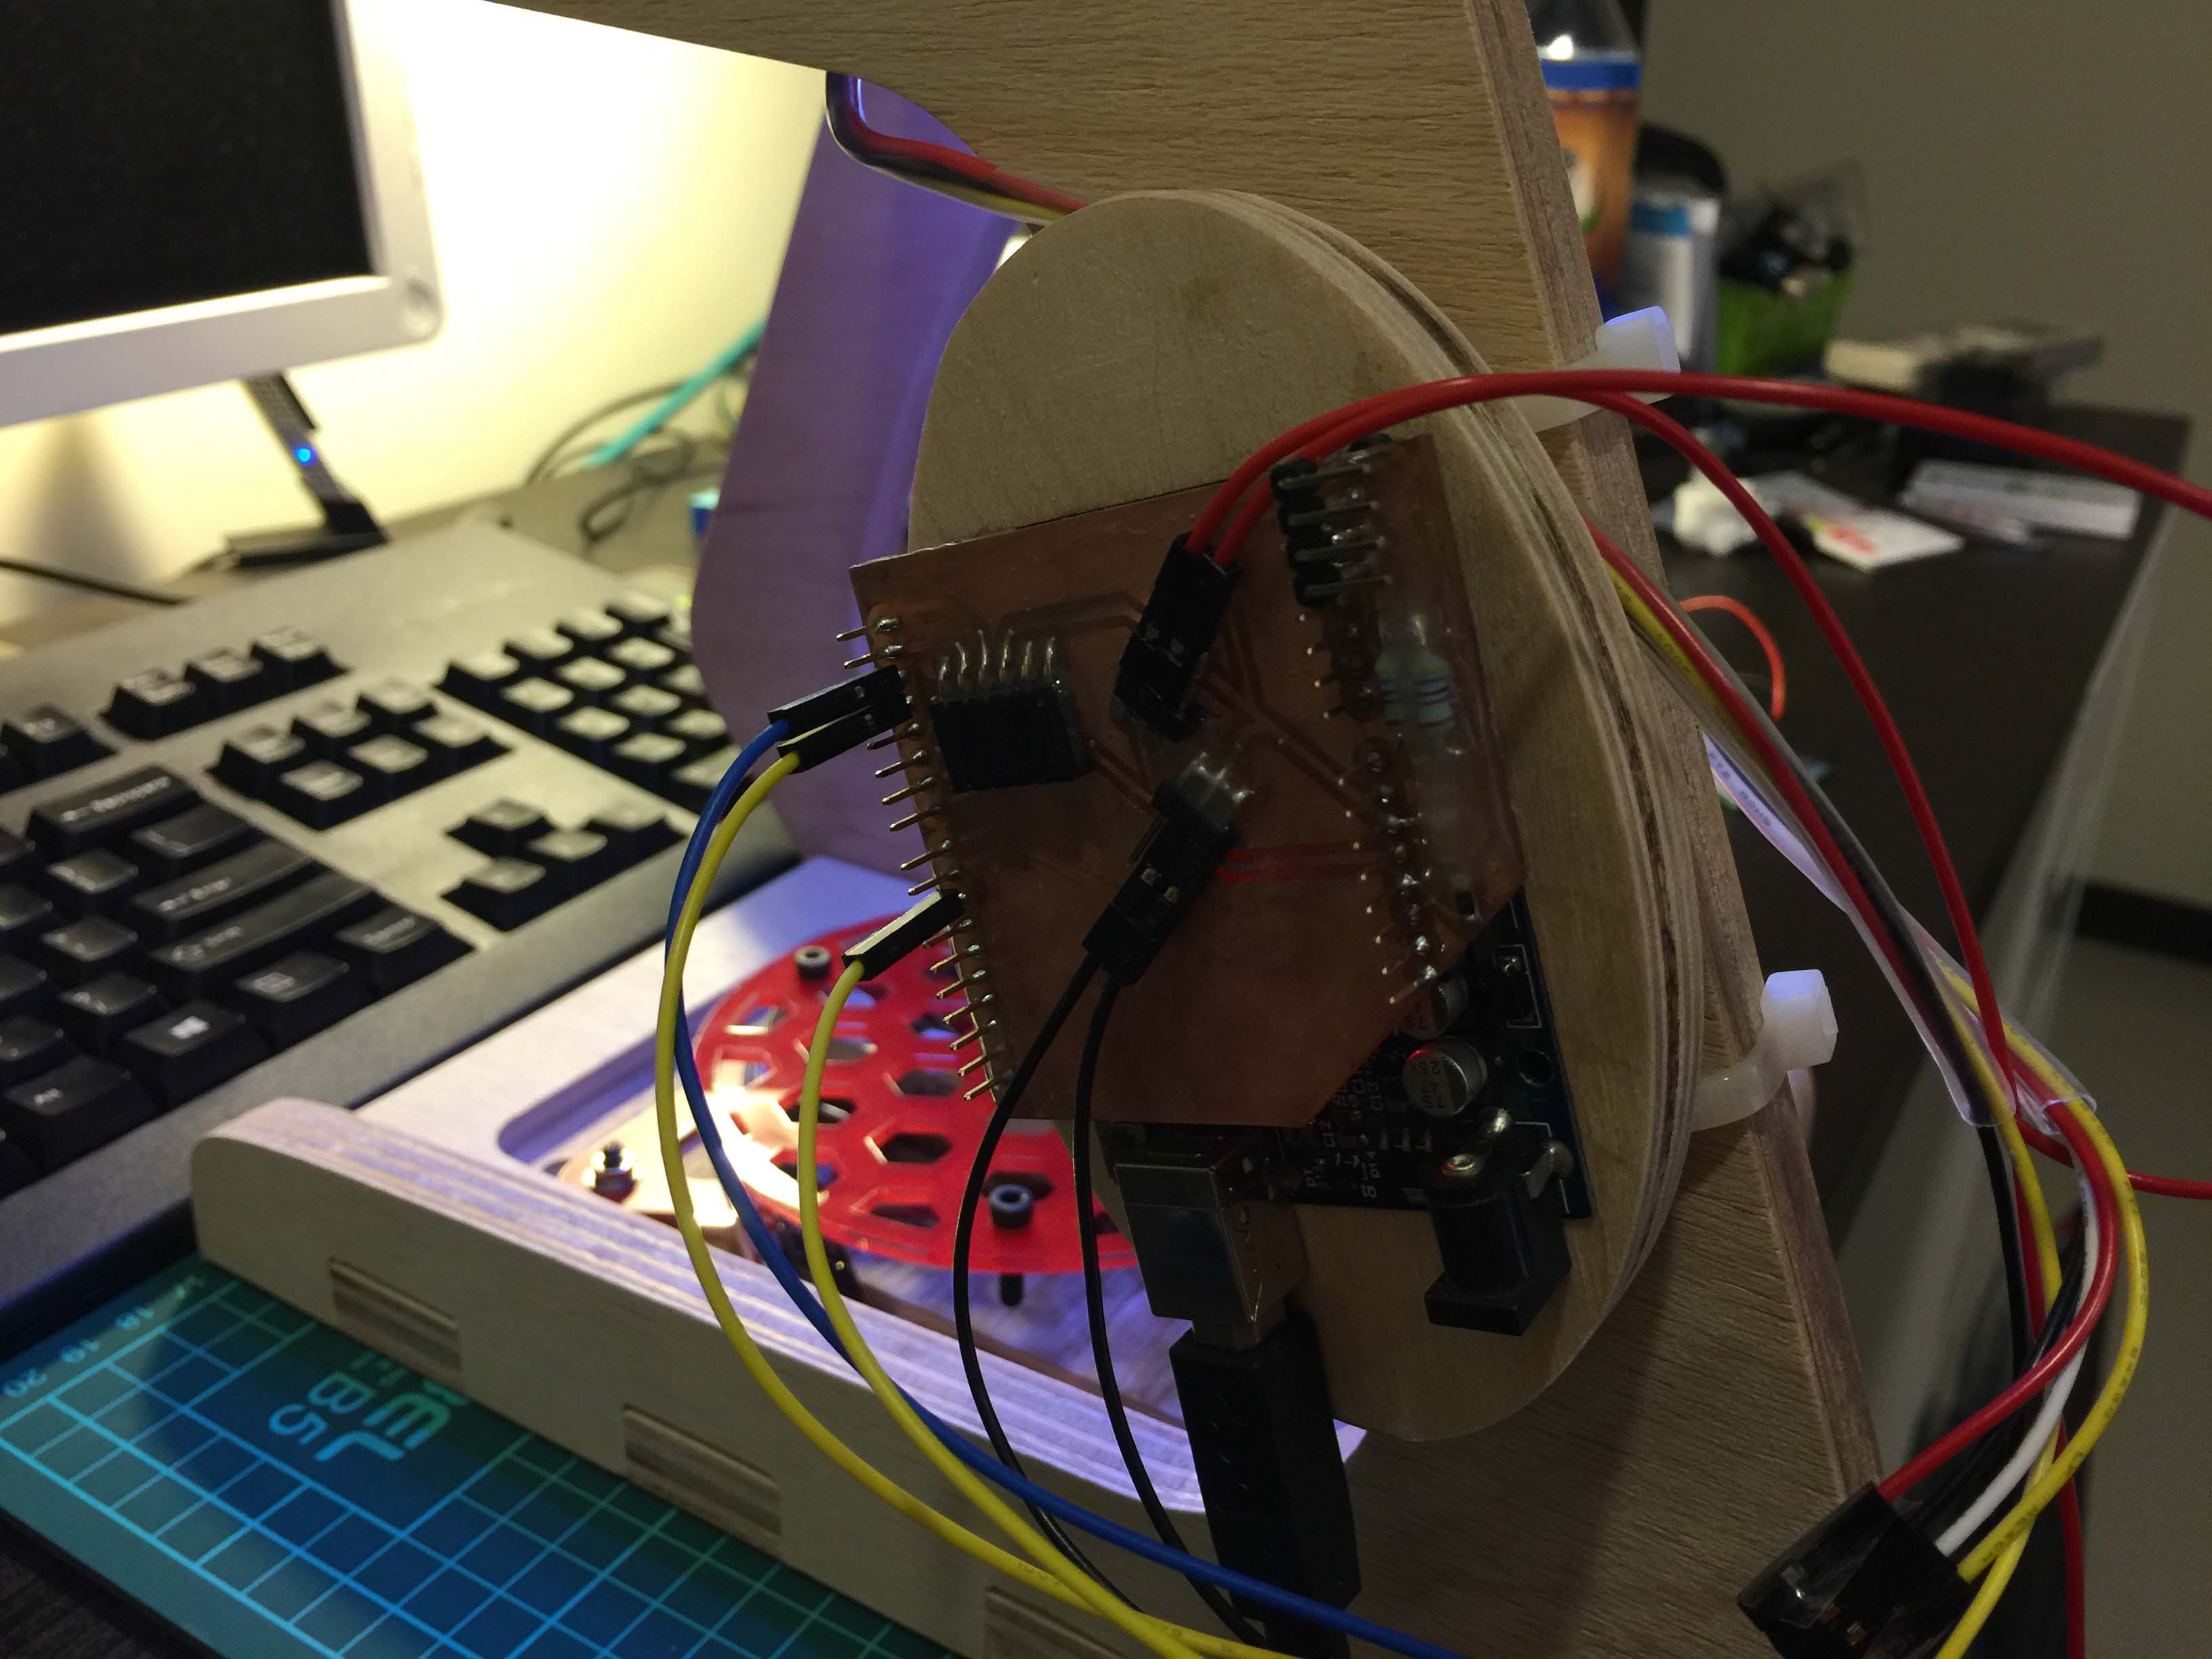
So I used laser cutter and 6mm MDF to make the oval-shaped board slot.
I used Arduino IDE and MIT App Inventor 2
The b_swan work like this:
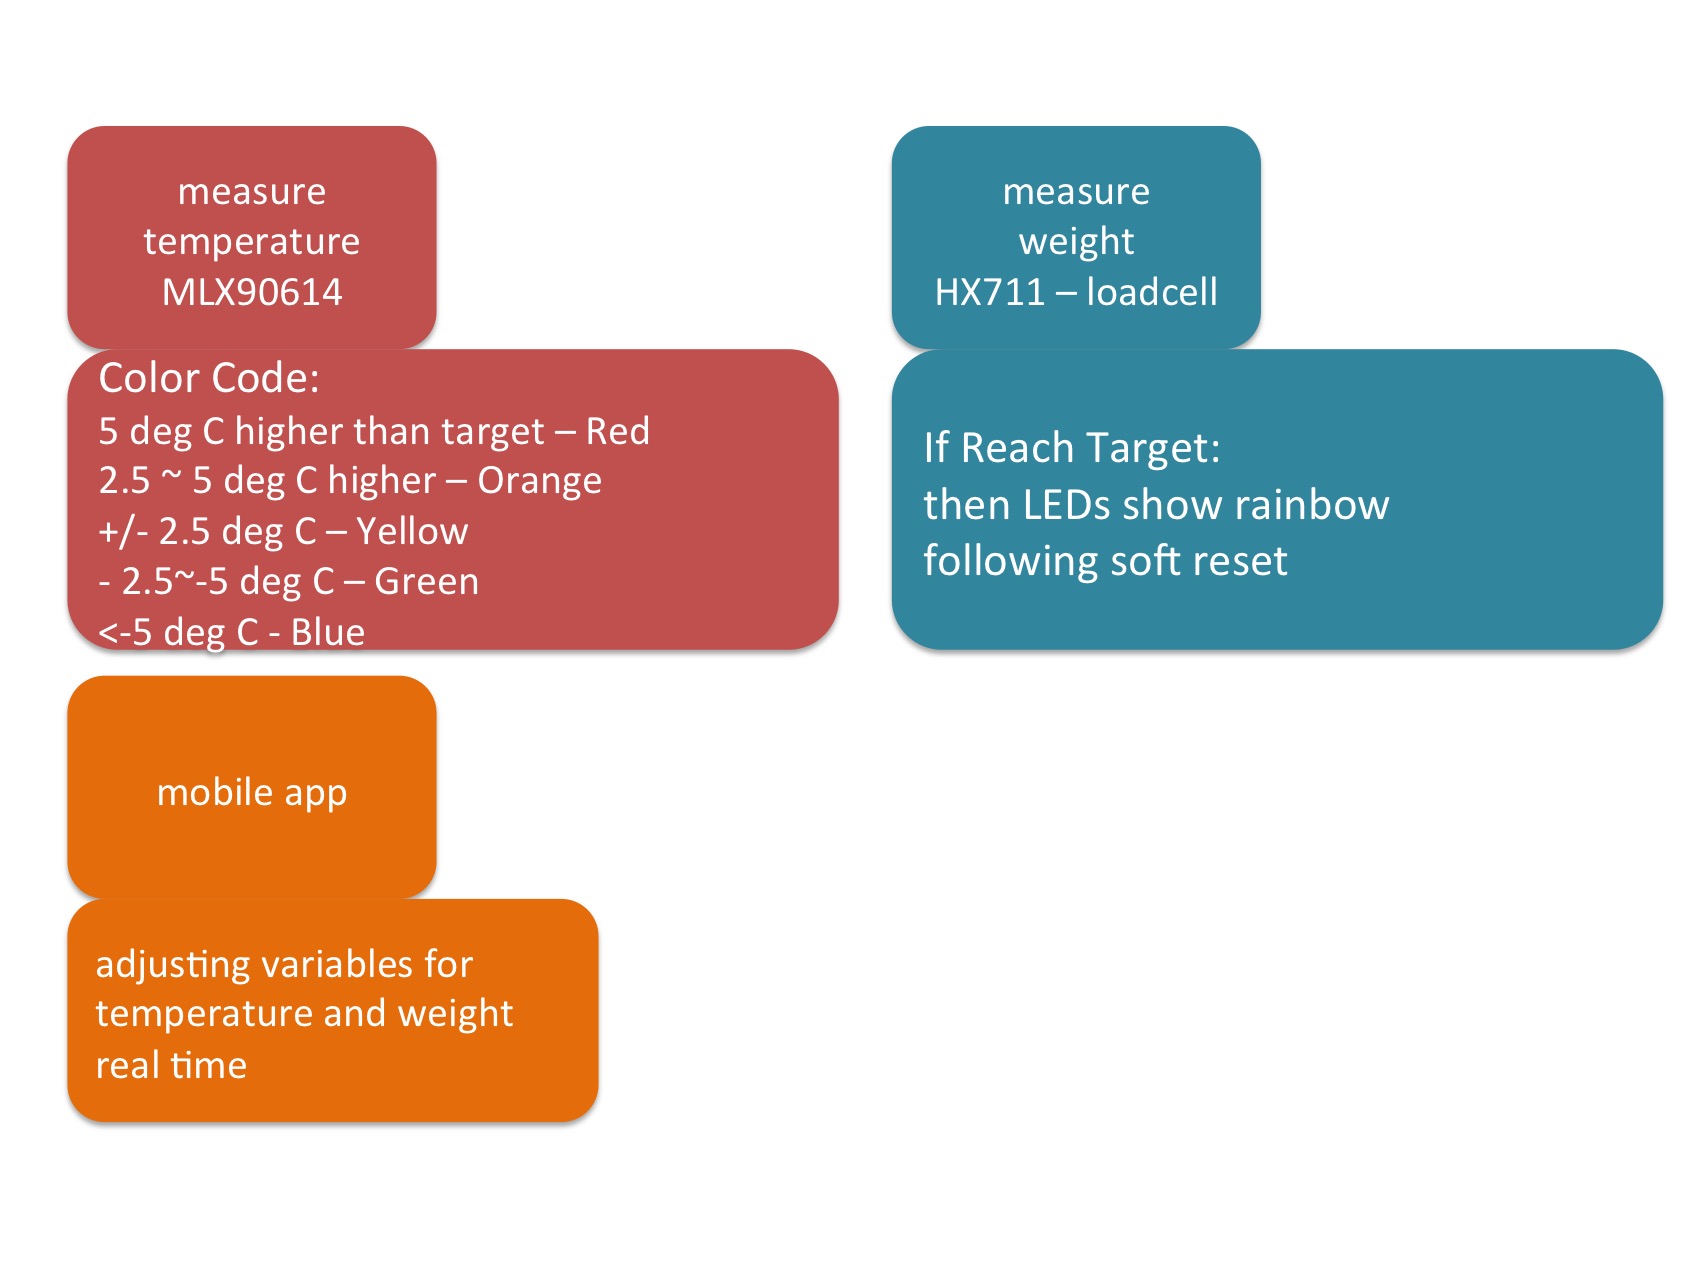 A) Showing temperature with color:
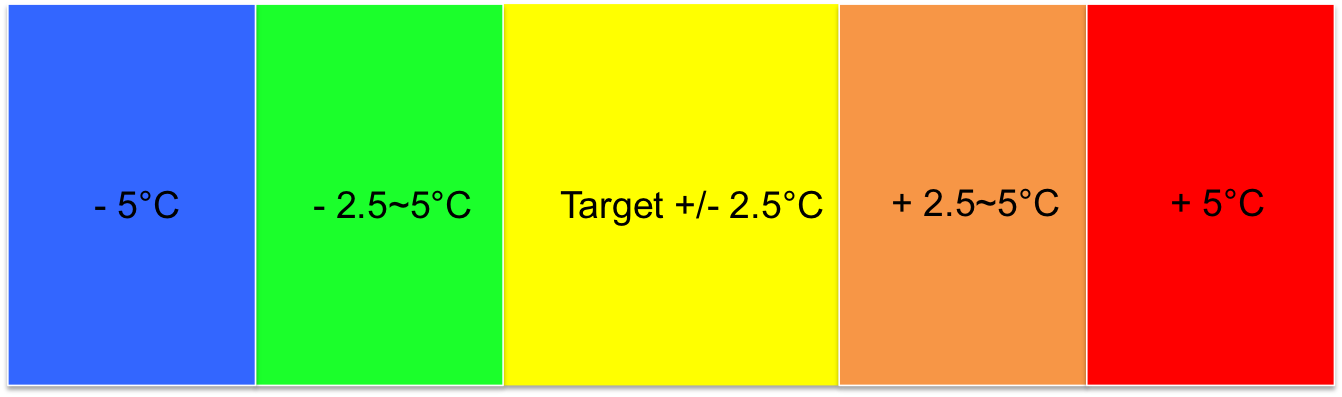
at desired temperature +/- 2.5 degree C, the LED will blink in yellow
hotter in 2.5 ~ 5 degree C: orange
hotter than 5 degree C: red
cooler 2.5 ~ 5 degree C: green
cooler than 5 degree C: blue
in the video I used 30 degree C for testing, for that the LEDs can easily indicate the temperature changes from the heat of my palm
B) Weight mark
The HX711 auto calibrates itself. When reach target weight (say 200g), the led will show rainbow color for few seconds then the controller will automatically reset ifself.
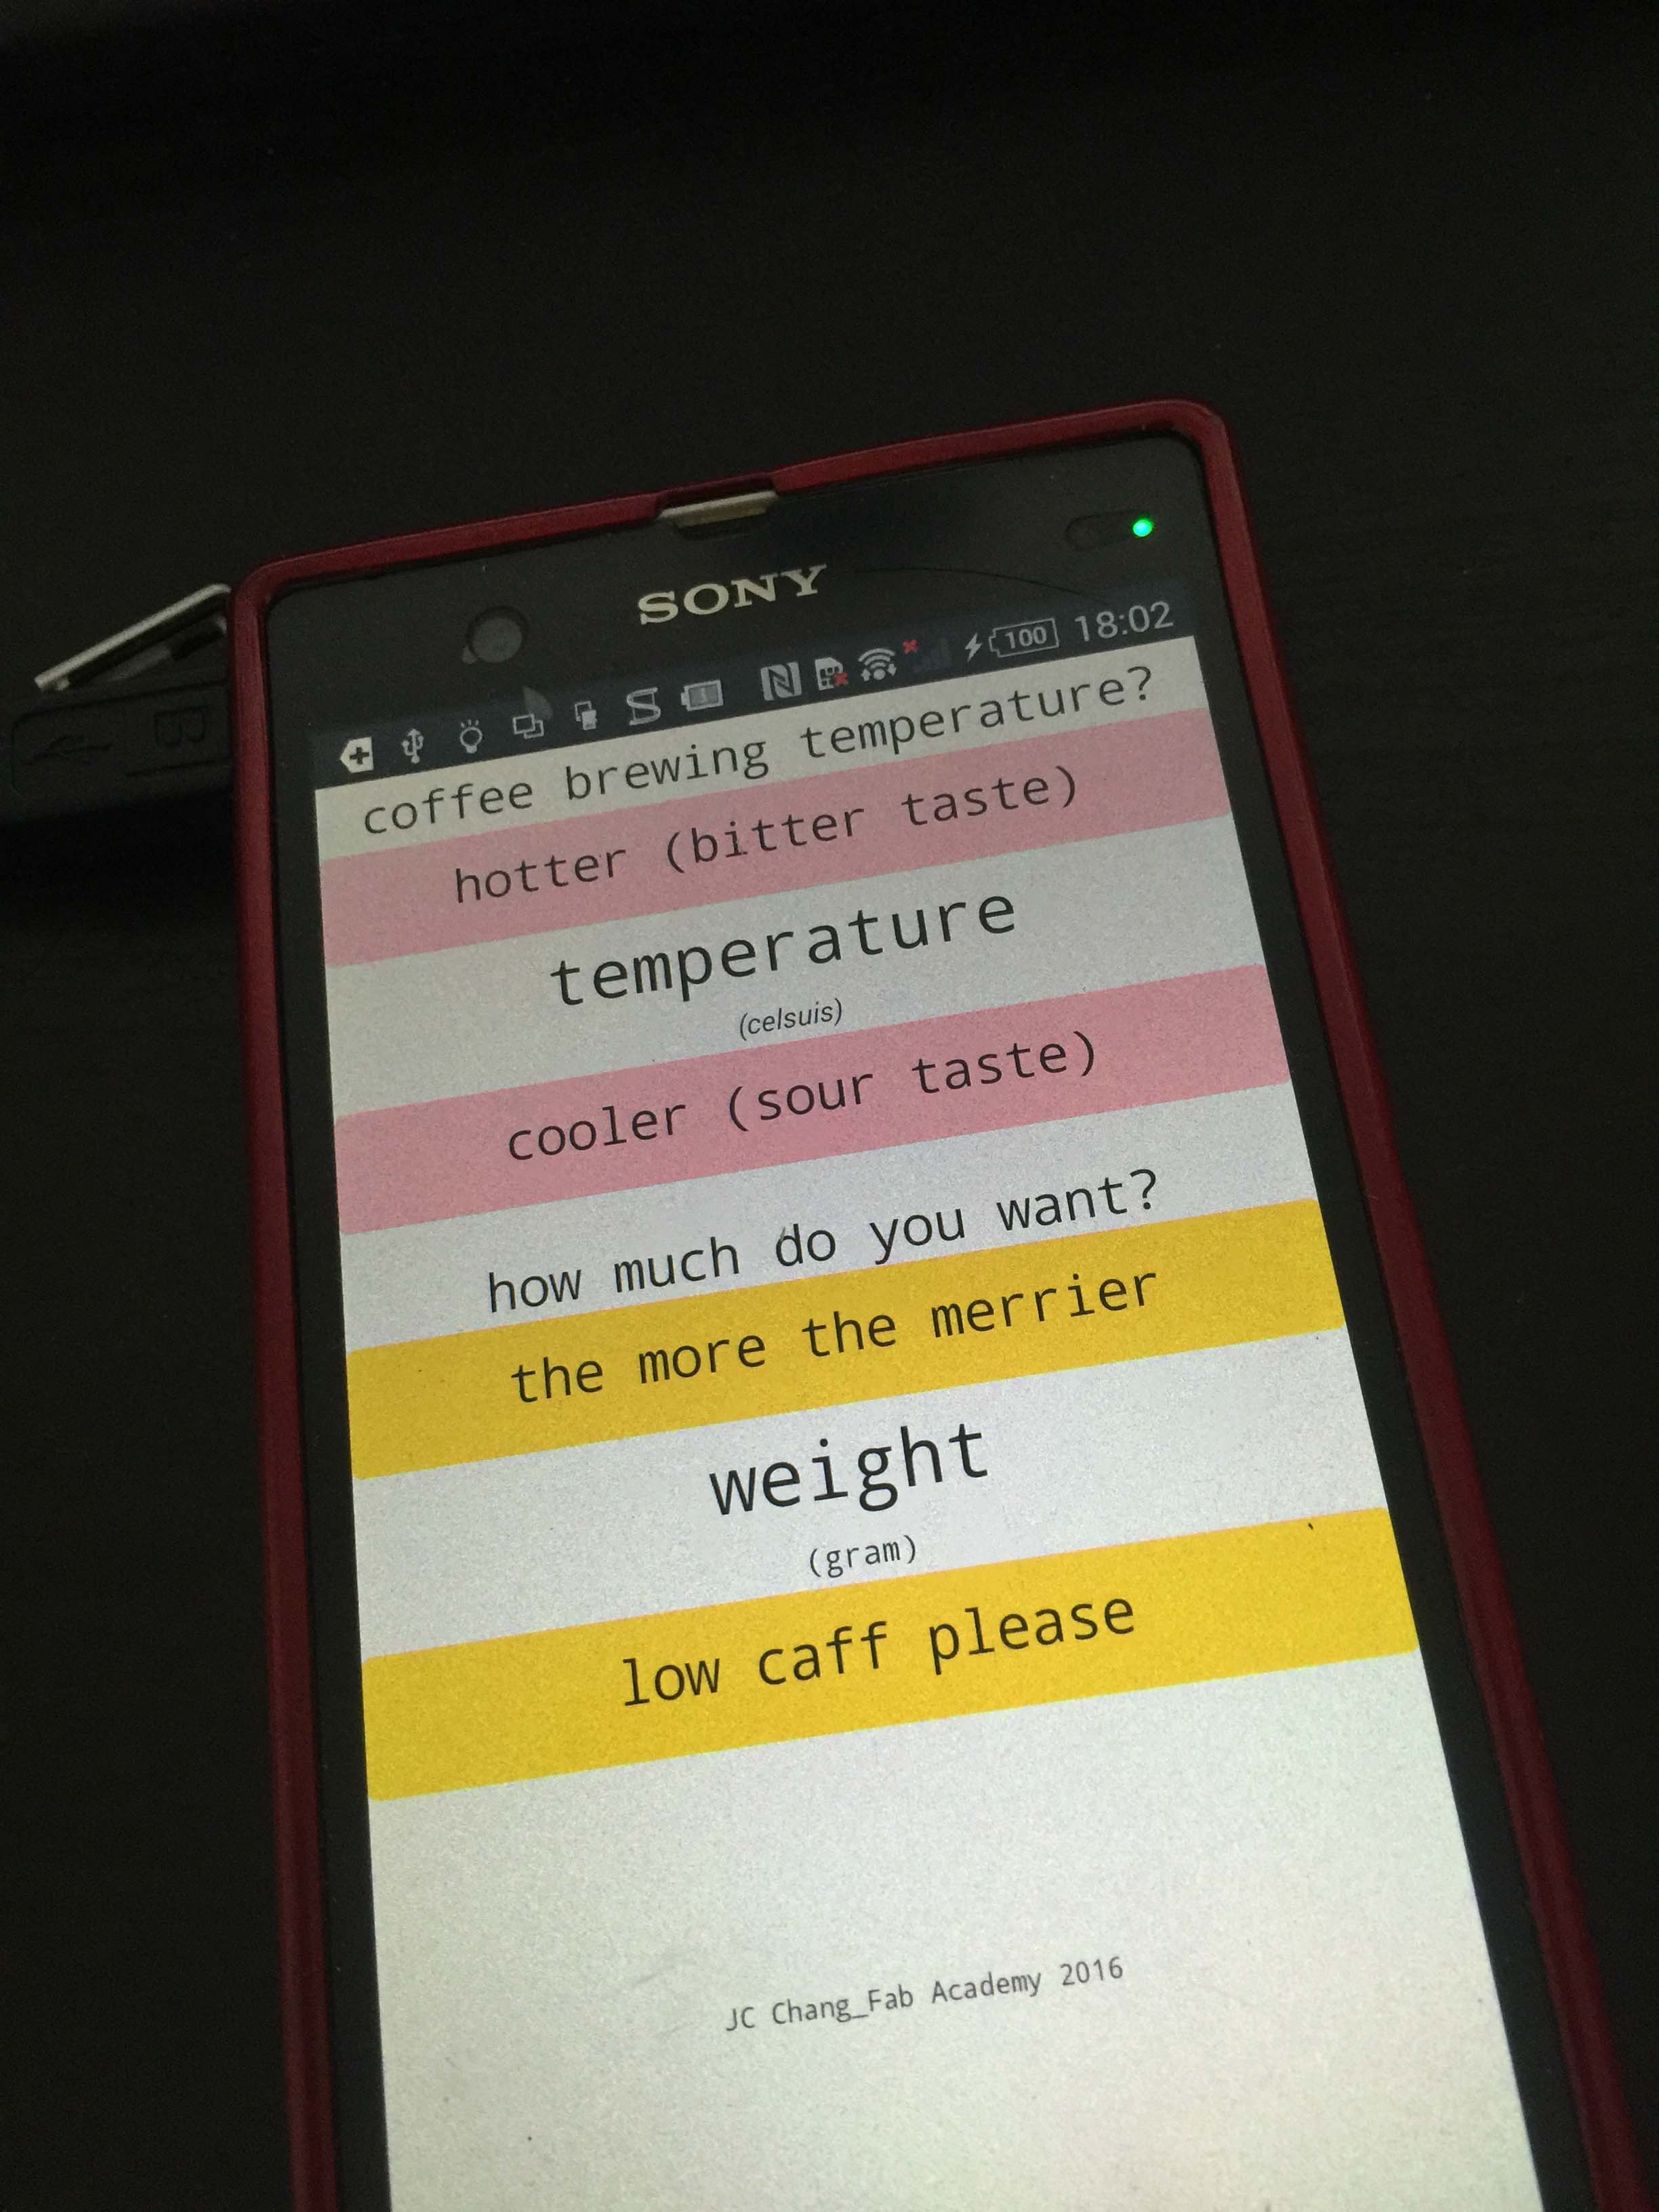
C) App
The purpose of the app is to adjust target temperature and target weight via bluetooth with mobile phone.
D) Testing the entire function
it works!
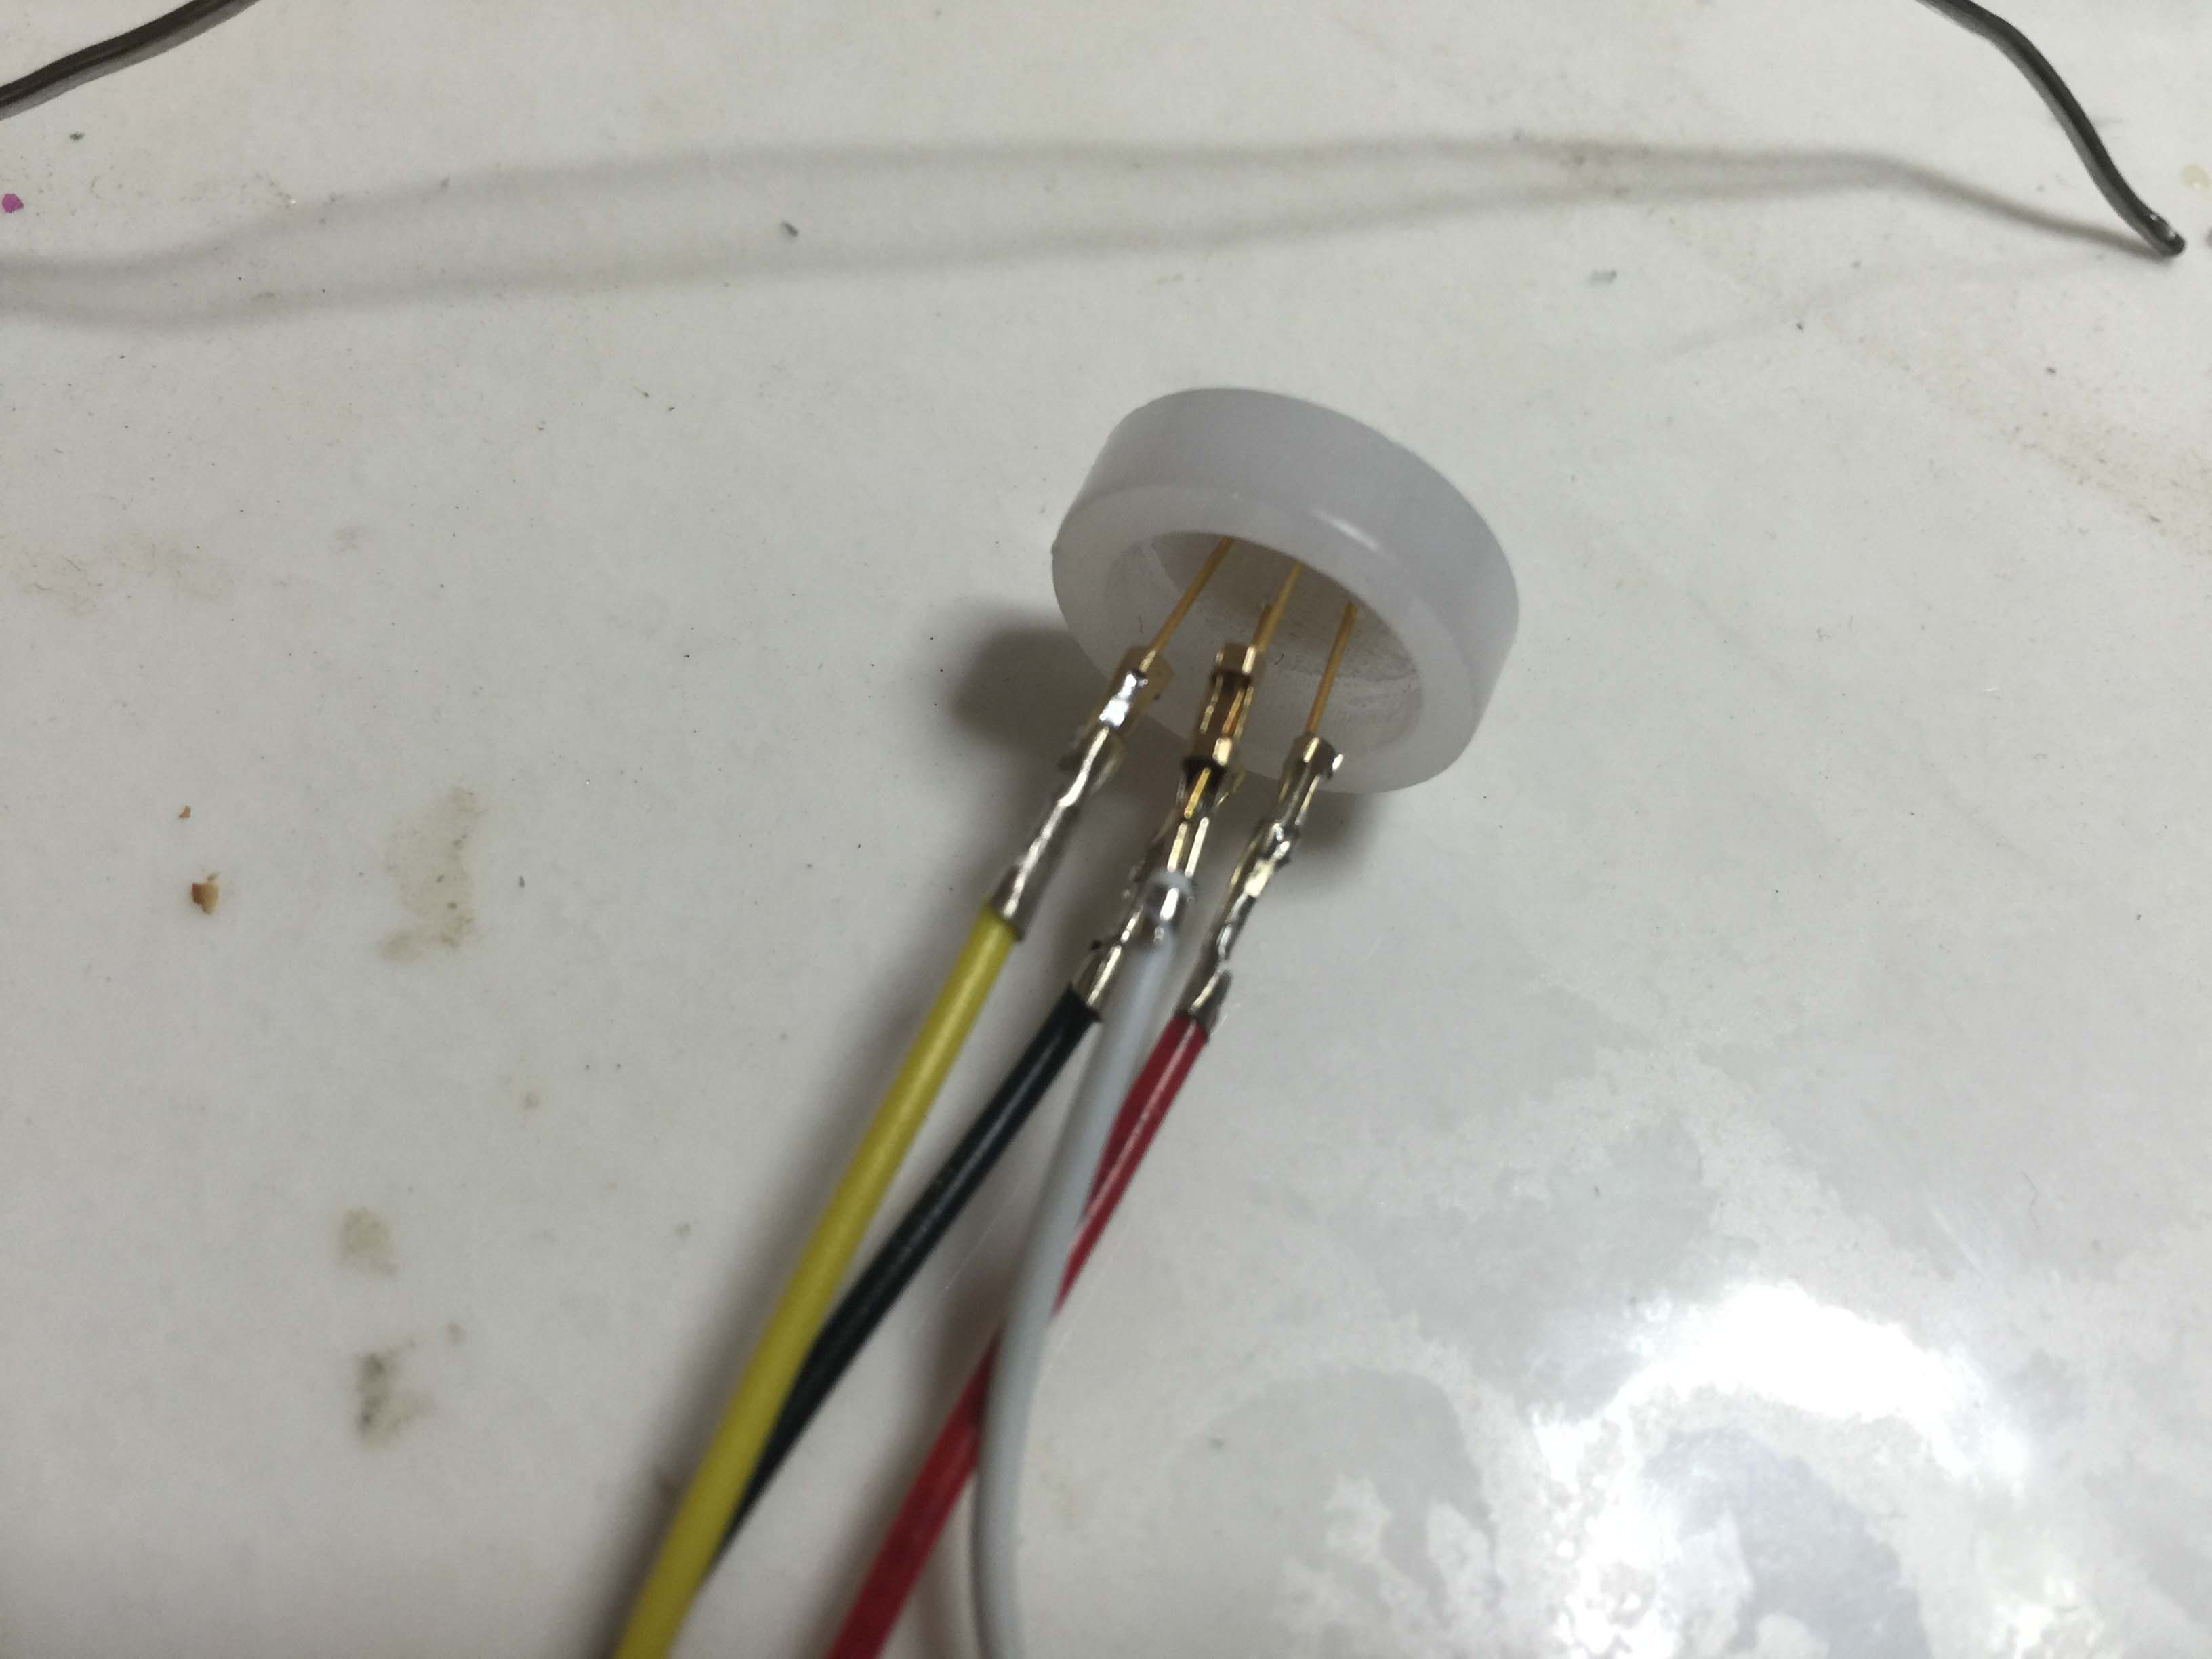
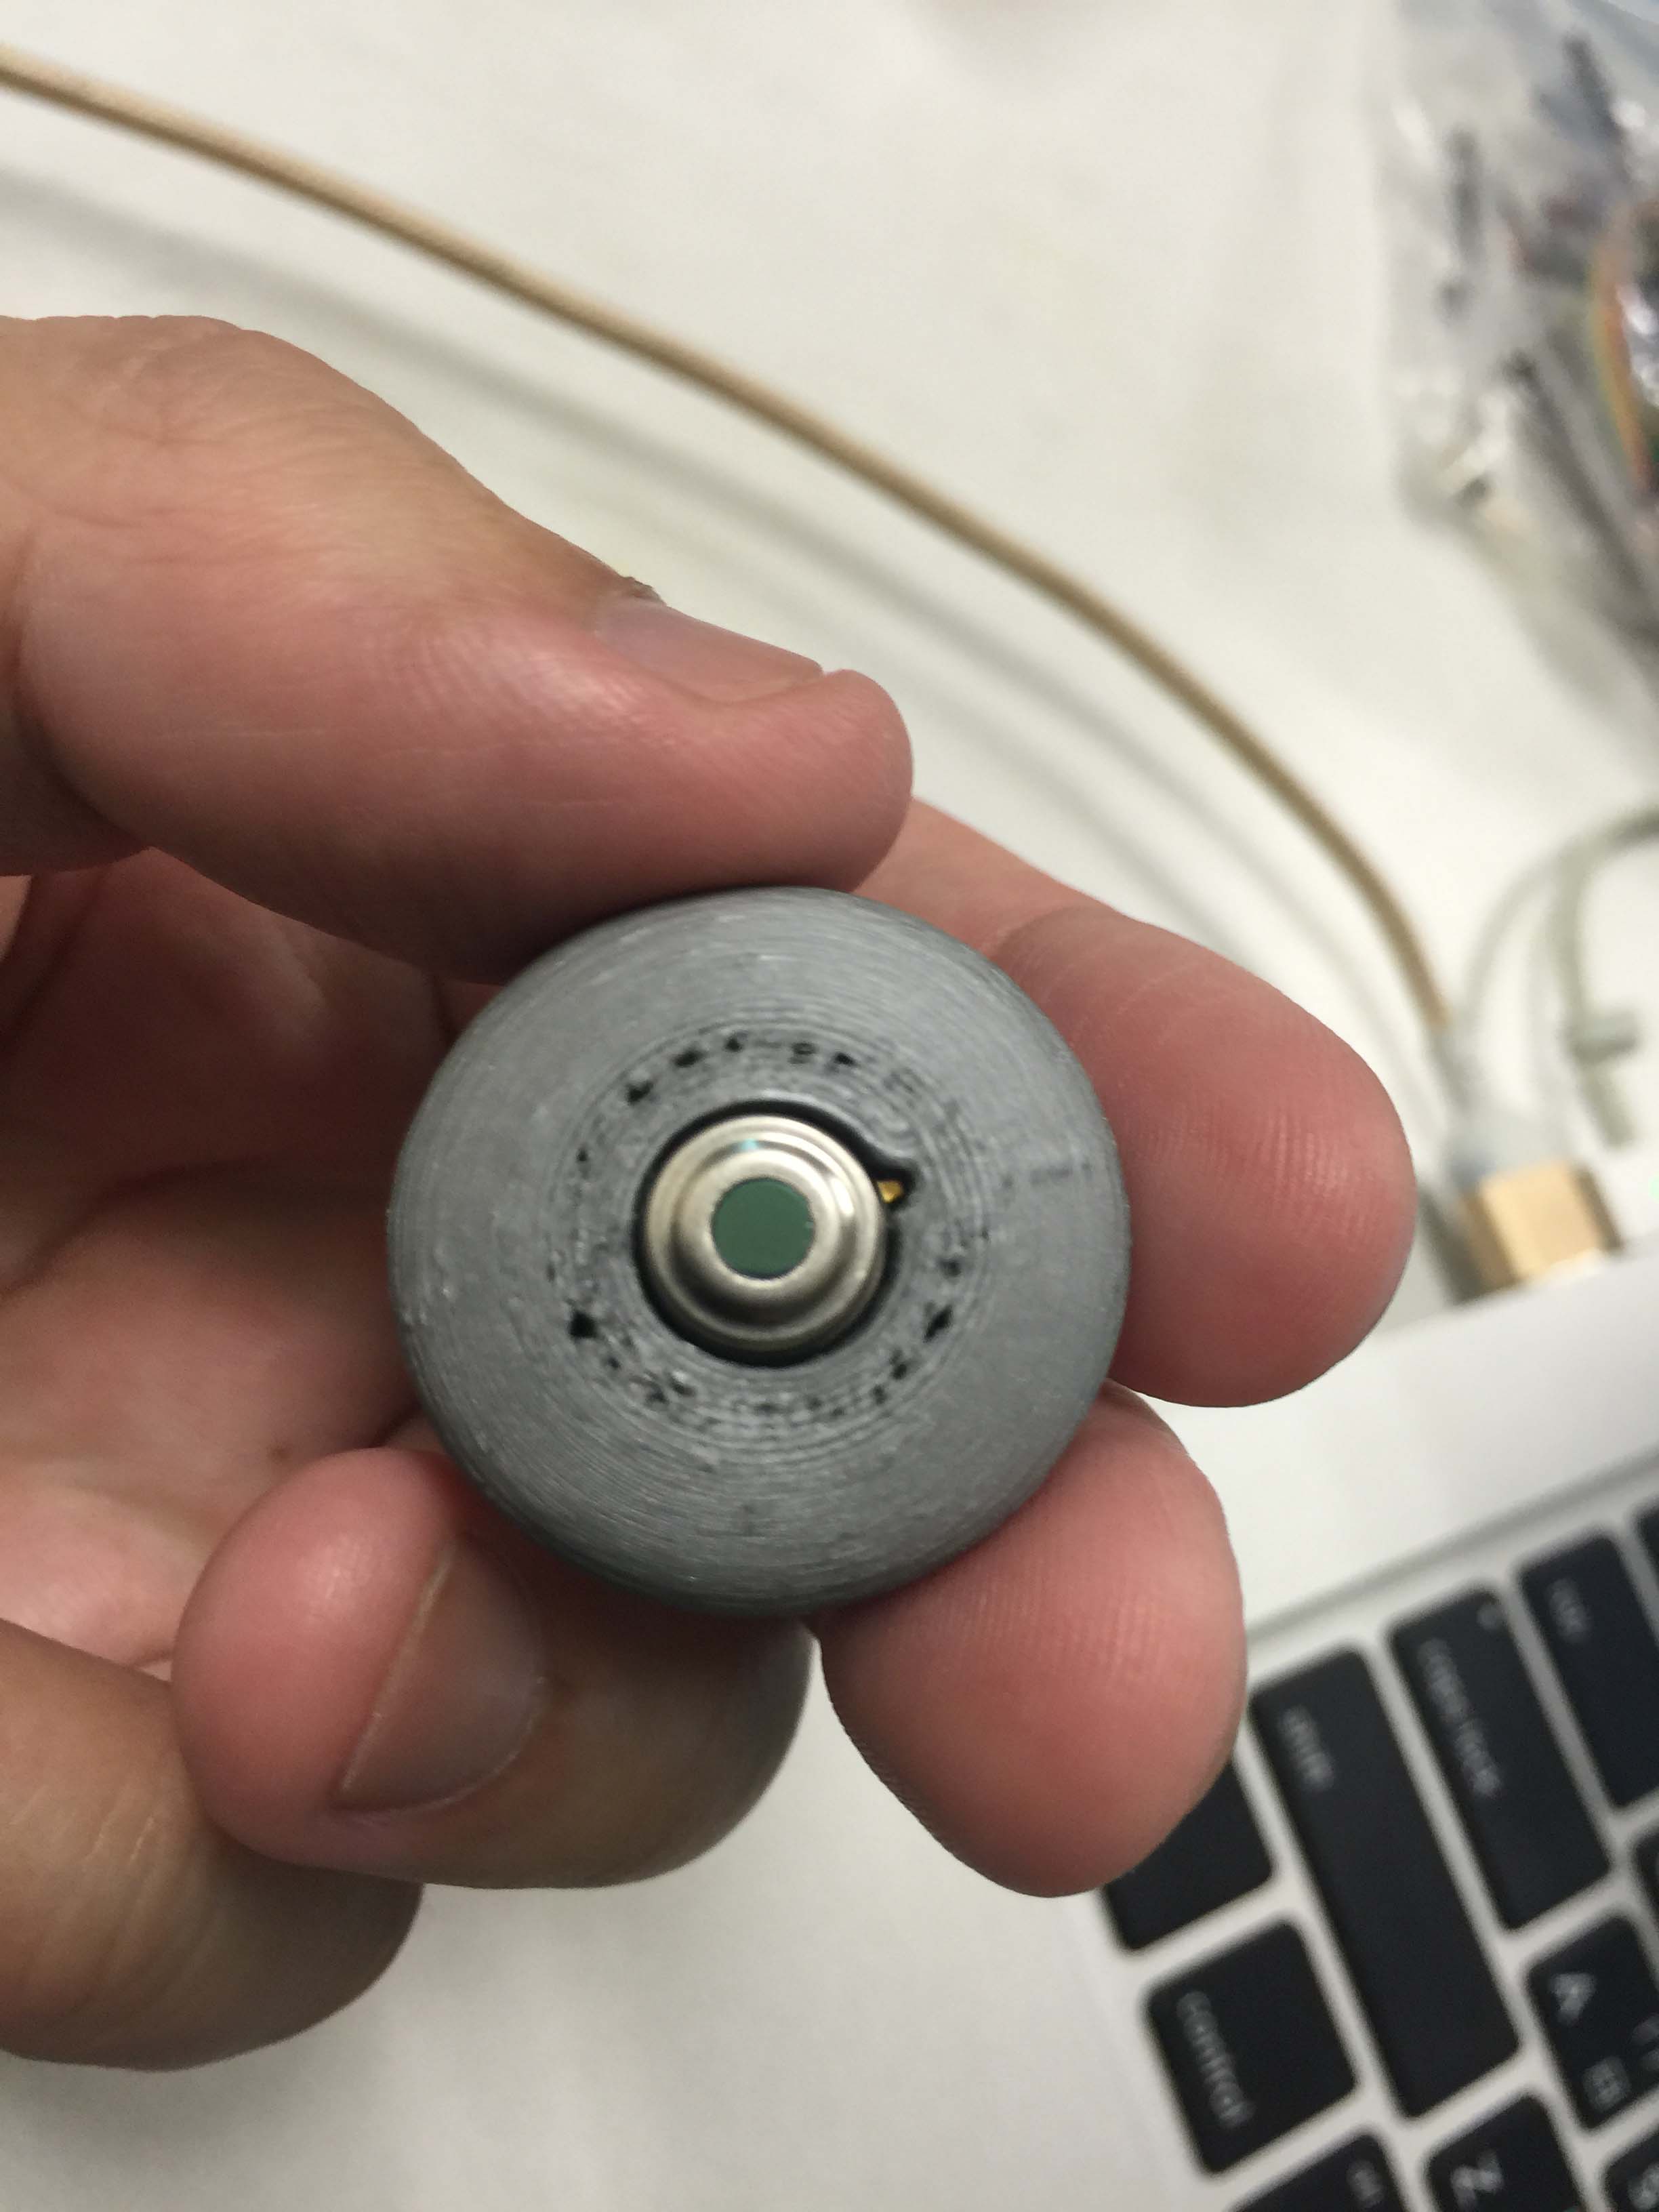
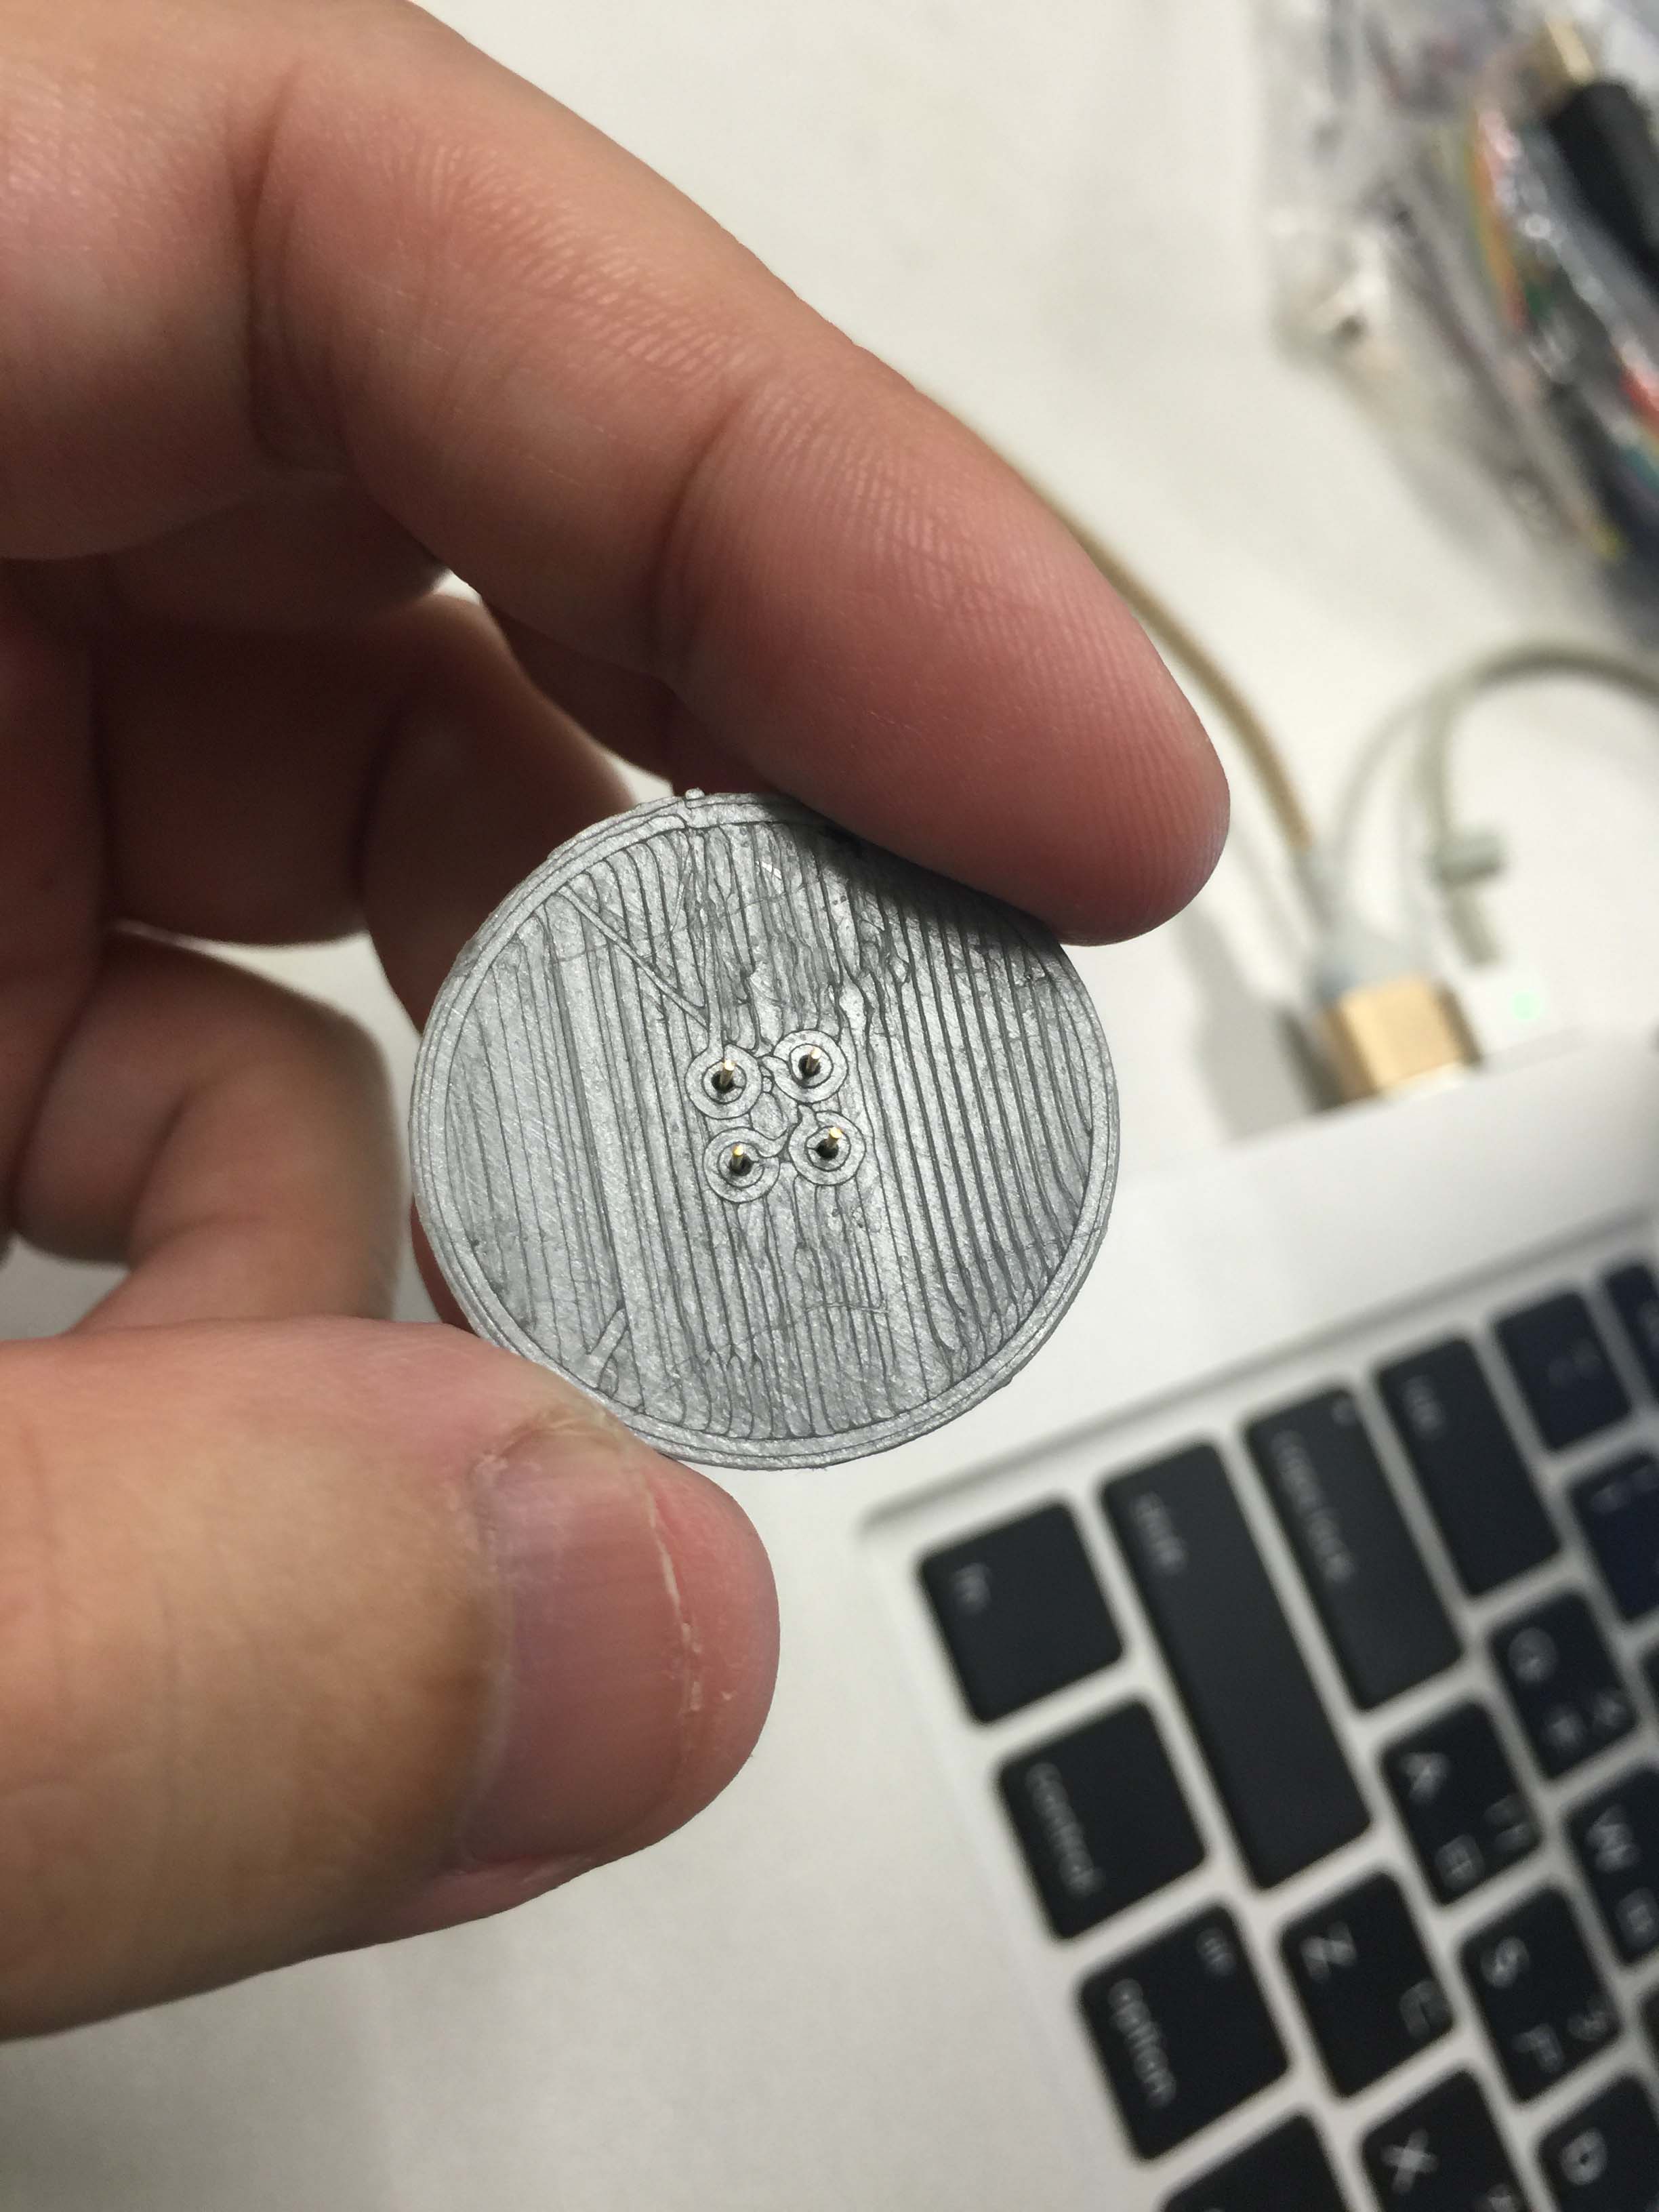
3DP files: includes - LED shade / hand screw nut / sensor holder
CNC files - dripper stand frame - for sides file please check my week 7 work.
Laser cut files - all 3mm material except marked differently
Melexis MLX90614 - ~$15 (DigiKey)
HX711 module - ~$4
4* WS2812B - $4 ($0.5 each, 10 pcs/pack from Adafruit)
5kg load cell - free, you can find similiar ones for about $3
Arduino Uno - $24.95
(an alternative fab version circuit with ATmega328p, 78M05, 1117-3 will cost less than $7)
copper plate (PCB) - $1
HC05 bluetooth module - $6
CNC coolant pipe - $5
pin headers & wires - let's say $5
15mm plywood - 4 cut sheets for $7
PLA filament - $3
burlap + epoxy - $10
sub total: $96.95
Acacia Lunar

http://acaia.co/
this baby will cost you $220 (MSRP). So if I tried to commercialize b_swan, and put same tag price onto it, the hardware cost need to be cut down drastically from $97 now. The rule of thumb for consumer electronics pricing: MSRP = X * (BOM + manufacturing + NRE shares), X can be anywhere from 5 to 10 depend on quantity and sales channel.
NRE stands for non-recurring engineering fees here.
The MIT License (MIT)
Copyright (c) < 2016 > < JC Chang jc.cy.chang(at)gmail.com >
Permission is hereby granted, free of charge, to any person obtaining a copy of this software and associated documentation files (the "Software"), to deal in the Software without restriction, including without limitation the rights to use, copy, modify, merge, publish, distribute, sublicense, and/or sell copies of the Software, and to permit persons to whom the Software is furnished to do so, subject to the following conditions:
The above copyright notice and this permission notice shall be included in all copies or substantial portions of the Software.
THE SOFTWARE IS PROVIDED "AS IS", WITHOUT WARRANTY OF ANY KIND, EXPRESS OR IMPLIED, INCLUDING BUT NOT LIMITED TO THE WARRANTIES OF MERCHANTABILITY, FITNESS FOR A PARTICULAR PURPOSE AND NONINFRINGEMENT. IN NO EVENT SHALL THE AUTHORS OR COPYRIGHT HOLDERS BE LIABLE FOR ANY CLAIM, DAMAGES OR OTHER LIABILITY, WHETHER IN AN ACTION OF CONTRACT, TORT OR OTHERWISE, ARISING FROM, OUT OF OR IN CONNECTION WITH THE SOFTWARE OR THE USE OR OTHER DEALINGS IN THE SOFTWARE.
It is alway not easy to design and build a hardware project. In the future I look into get few things improved:
It has been an exhausted yet extremely fun experience of building so many thing in so little time!!!