Feel free to explore and laugh out loud. (I deleted all the pics to save server space)
Любуйтесь, смейтесь (я удалил все изображения из соображений экономии места на сервере)
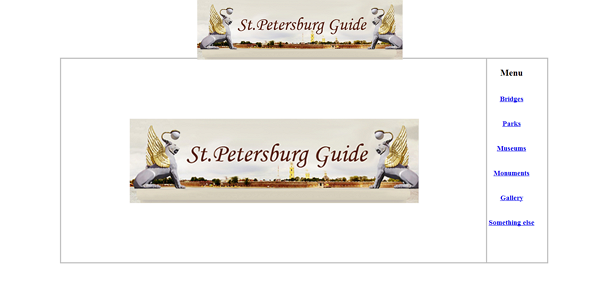
Default DW template, feel the difference
Стандартный шаблон Dreamweaver, почувствуйте разницу
Once upon a time...
Давным-давно...
In 2010 I had to make an HTML site for my school English and Computer Science exam with using JavaScript and that was the only time I came across web design.
So I opened notepad and... closed it like a minute later because creating a goodlooking site from scratch would take enormous amounts of time which I didn't have. And that's why I started looking for HTML editor which would satisfy me.
The decision was kinda easy: I googled a site where almost every HTML editor is mentioned and saw Adobe Dreamweaver which was classified as "semi-visual" and that was perfect for me.
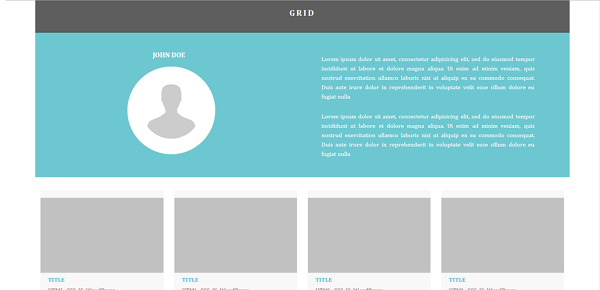
And then I discovered Bootstrap. My GOD, this is awesome. I've never thought making a web site could be so easy and satisfying.
В 2010-м мне надо было сделать HTML сайт с использованиемя javascript для школьного экзамена по английскому языку и информатике , и это был мой единственный опыт в веб-дизайне.
Так что, я открыл блокнот... и закрыл его несколько минут спустя. потому что создание хорошо выглядещего сайта занимает огромное количество времени, которого у меня не было. Поэтому я начал искать подходящий мне HTML редактор.
Решение было достаточно лёгким: я нашёл страницу, на которой были перечислены все существующие HTML редакторы, и увидел там Adobe Dreamweaver который позиционировался как "полувизуальный", что вполне меня устраивало.
И потом я узнал о существовании Bootstrap. Боже, какая это классная штука. Я никогда не думал, что создание сайта будет таким лёгким и приятным делом.
Multilingual challenge
Трудности перевода
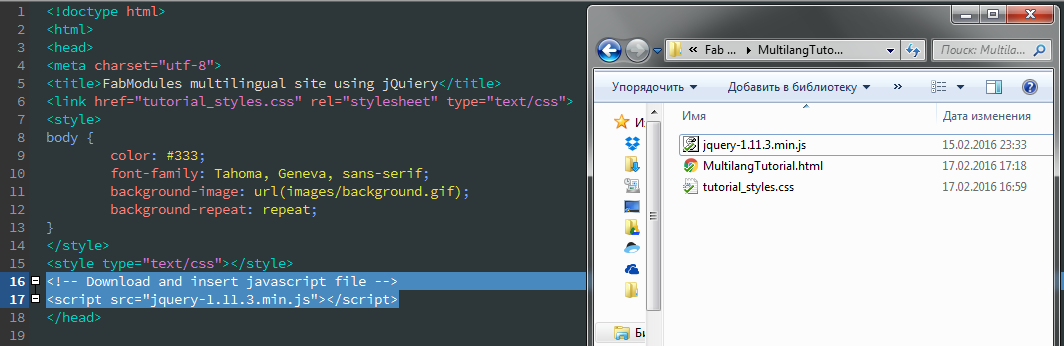
It might be a surprise but most of my life I speak Russian, so my supervisor said that I should make a Russian version of my site. Well, this is the case when "should" means "must". After attempts to make the components stay one behind another and then change their order, as I did with my school project site, and the realization that Bootstrap so is unable to do it (Bootsrtap sites with support of two languages consist of two sets of pages and that didn't suit me), I decided to take up the scripts.
Bootstrap works with jQuery library, which made a very good tool for searching site elements. In particular, just writing "$ (" p ")" allows you performing actions with all the elements "< p >" on the site, and "$ (".test ")" would allow to perform actions with all elements with "test" class . So, that's all I had to do: make duplicates of all the texts on the site, create classes "ru" and "en", make a couple of buttons and write three functions to switching class which is shown on the page.
Так вышло, что большую часть своей жизни я говорю на русском, и мой куратор сказал, что хорошо было бы сделать русскую версию моего сайта. Что ж, придётся делать. После попыток сделать компоненты один под другим, а потом менять их порядки местами, как это было сделано в школьном сайте, и осознания, что Bootstrap так не умеет (сайты на Bootsrtap с поддержкой двух языков делаются в виде двух комплектов страниц, что не устраивало меня), я решил взяться за скрипты.
Bootstrap работает с библиотекой jQuery, в которой сделан очень хороший инструмент поиска элементов сайта. В частности, просто написав "$("p")" можно совершать действия со всеми элементами "< p >" на сайте, а "$(".test")" позволит совершать действия со всеми элементами, с параметром класса "test". Дело осталось за малым: сделать дубли всех текстов на сайте, создать классы "ru" и "en", сделать пару кнопок и написать три функции, переключающие класс, отображаемый на странице.
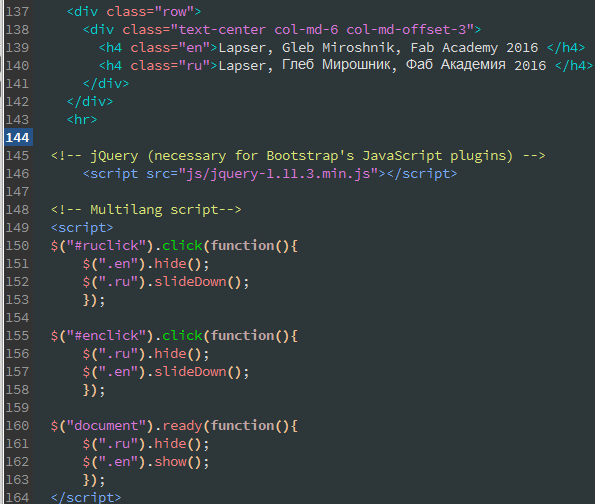
- function to set default language as shown
- function to switch default language to secondary
- function to switch language back
$("#ruclick").click(function(){
	$(".en").hide();
	$(".ru").slideDown();
	});
$("#enclick").click(function(){
	$(".ru").hide();
	$(".en").slideDown();
	});
$("document").ready(function(){
	$(".ru").hide();
	$(".en").show();
	});
- Even br tags have to be classified if they are inside the paragraph you translate
- If you are not fond of sliding effects, you can use "hide" and "show" functions
- If, on the other hand, you'd like to use sliding as much as possible, use "slideUp" and "slideDown", but using both functions in one action may cause conflicts which are not beautiful.
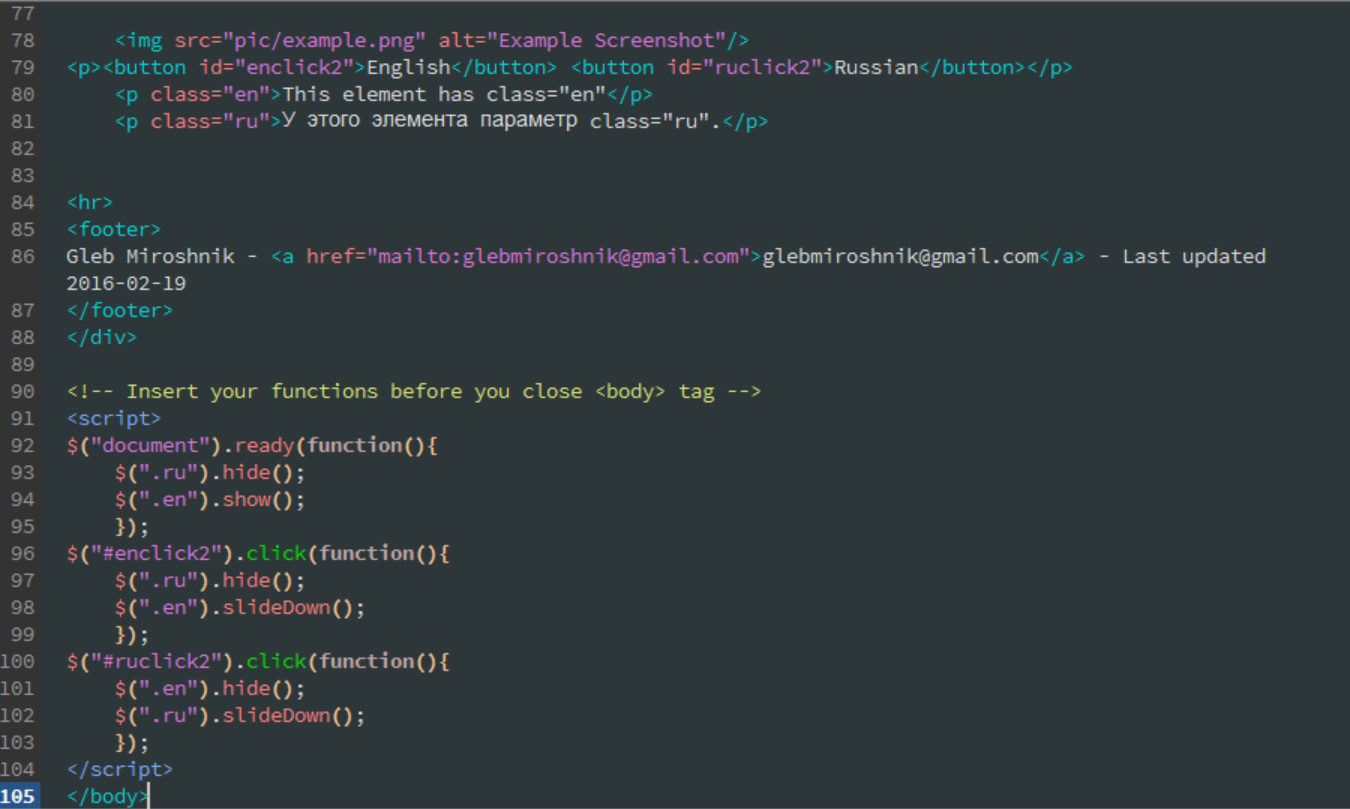
This element has class="en"
У этого элемента параметр class="ru".
Yeah, git was bad. Very bad. To be honest, I still don't quite understand what should I do with it, but when I just started getting into it... A one true nightmare. Luckily, a friend of mine, Arseniy told me about one fancy visualized tutorial by Peter Cottle and after a while I could actually do something using git, made a couple of test repos on my computer and eventually got myself a github account. Maybe one day I won't imagine a single step without making a commit.
Всё очень плохо. Честно говоря, я и сейчас-то не всё хорошо понимаю, а вот в самом начале... Сплошной кошмар. К счастью, мой друг Арсений рассказал мне о клёвом интерактивном туториале от Питера Коттла, и, спустя какое-то время, я смог что-то делать в git: сделал пару тестовых репозиториев на своём компьютере, и даже смог перекинуть их содержимое на свой аккаунт на github. Возможно, однажды я и шагу не смогу сделать, не сделав коммит.
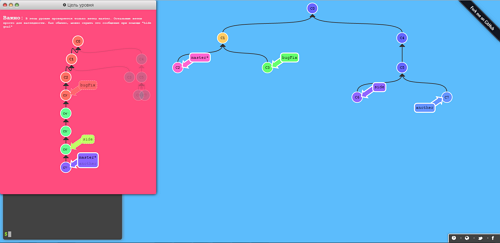
you should totally give it a try
вам определённо следует попробовать эту штуку
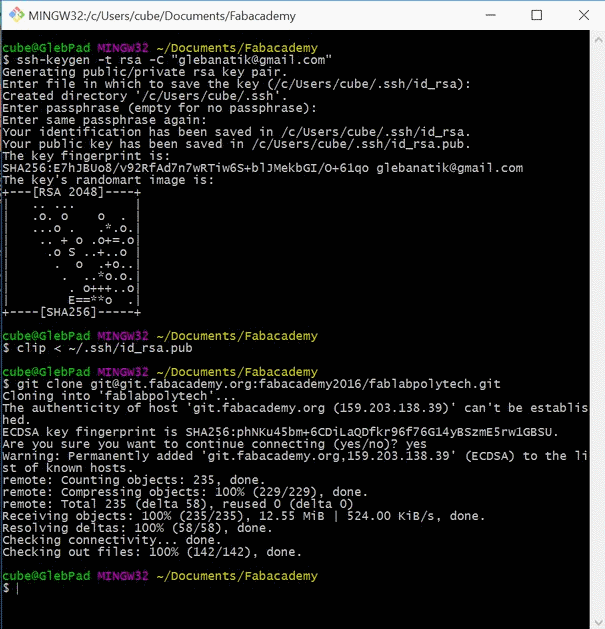
But basically you just generate ssh code to paste it on git.fabacademy.org, colne repo (it also sets pull/push server automatically) and then you are feel free to commit, push and pull changes. Seem easy, I know. The main part is not to enter anything in "Enter file in which to save the key" - it was the main reason I was stuck in the beginning (yes, I know that I'm bad at reading tutorials and such).
Но вообще-то надо просто сгенерировать ssh код, чтобы скопировать его в свой аккаунт на git.fabacademy.org, склонировать репозиторий (этим же действием настраивается сервер для pull/push), а после этого можно спокойно коммитить, пушить и пуллить (овладеваю сленгом как могу). Звучит просто, согласен. Главное - ничего не писать, в строке "Enter file in which to save the key" - в основном из-за этого я потерял уйму времени в начале (да, я плохо читаю инструкции).