WEEK 8
EMBEDDED PROGRAMMING
EMBEDDED PROGRAMMING
The week entailed taking the recently manufactured and stuffed HelloWorld board (with a button and LED) and making the button switch the light on, as well as experimenting with other programming languages if time allowed.
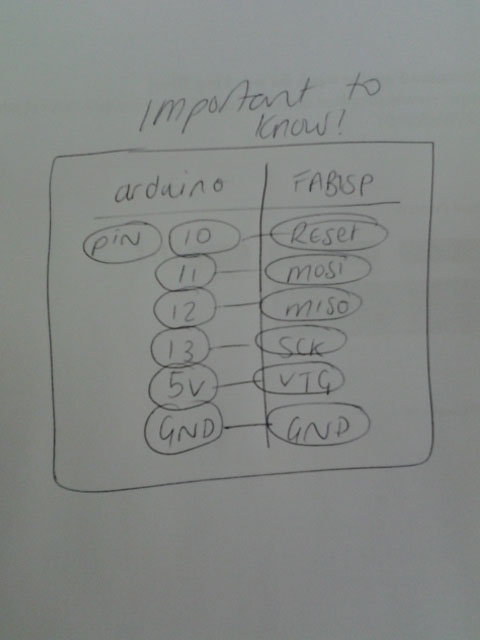
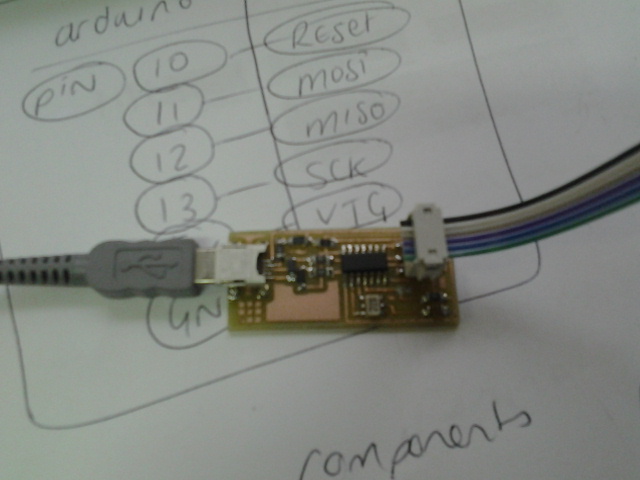
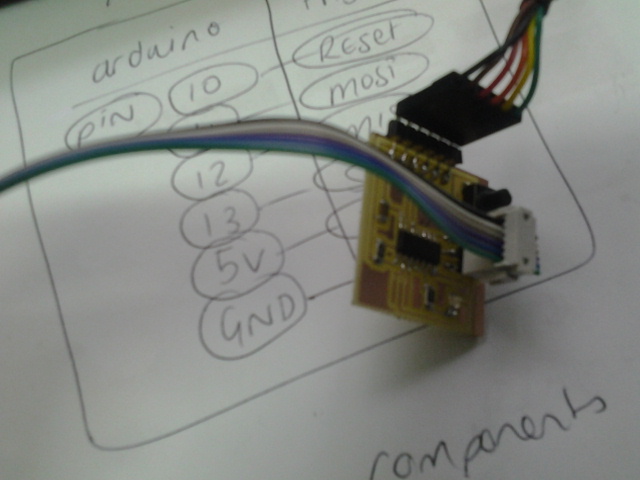
As a first step I downloaded Arduino 1.6.8 and installed it on both a Windows and a Linux/Ubuntu computer so that I could experiment with both platforms. I originally was a Windows fan and found Ubuntu really difficult to navigate, as the weeks progress however, I am much more fond of the Ubuntu platform especially when it comes to coding/programming because you have a much more visual platform to work with and can really "see" the work happening. One thing that WAS REALLY IMPORTANT was understanding the pins and their correlation to the FABisp and Arduino. Below you will see an image of FABisp to Arduino that is a serious GO-TO page because you can get really confused when you are plugging everything in. For the Arduino and HelloWorld board linkage the pins you need to use (which I struggled to find on other students pages) are ARDUINO PIN 10,11,12,13 and GND. I also then read the data sheet here and the pictures mostly helped to make it make sense, although it took application to really understand what everything was and how this related to making your own board using these microcontrollers.
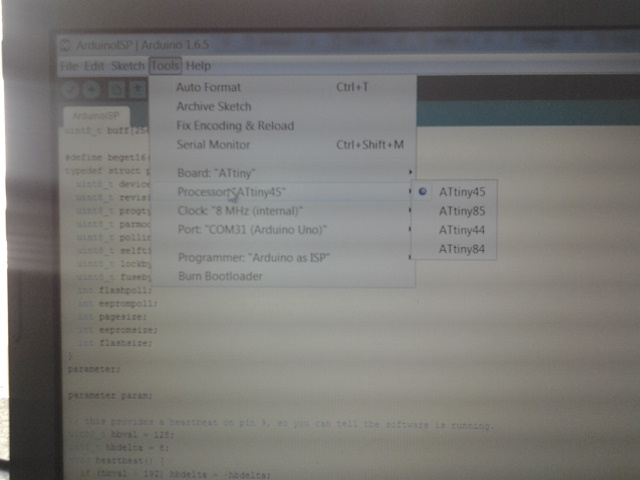
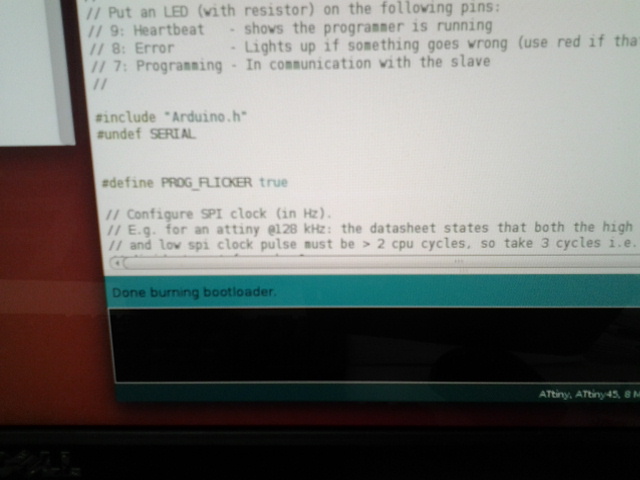
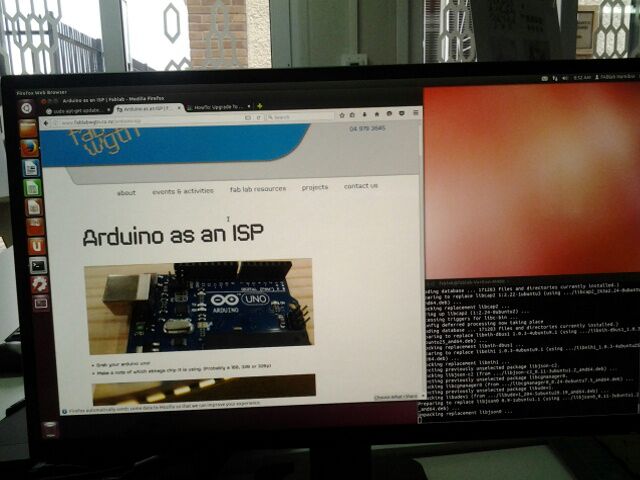
When in the Arduino IDE you make sure to load all the correct tools (and the David Mellis attiny library which you load onto the installed library list) and choose Processor>ATTINY44, Clock>8MHZ (This was done in the beginning because we had not received our 20MHZ crystals yet and I had no success trying to program the board until we changed all our boards to have the right crystal and used this in the Arduino tools menu as well), Port>Arduino(must be listed here - mine is ACM0) and Programmer>Arduino as ISP if you use Arduino or Usbtiny if you use the FABisp. Using the Arduino was fairly easy following the online tutorial from High-LowTech which is an MIT group. YOu have to load the Example Arduino ISP and upload the sketch, then you need to setup as per the above and Burn Bootloader. At first mine did not want to burn the bootloader and this was really confusing. I followed some tutorials and looked at ALOT of student pages (so many that it would take hundreds of pages to mention) and in the end our friends at FABlab Wellington (NZ) put up an AWESOME extra tutorial for us to follow here. We were working concurrently on both the temp.sensor and hello.world and so you need to make sure that you select the RIGHT attiny - for the temp.sensor it is a 45 and for the hello.world it is a 44!
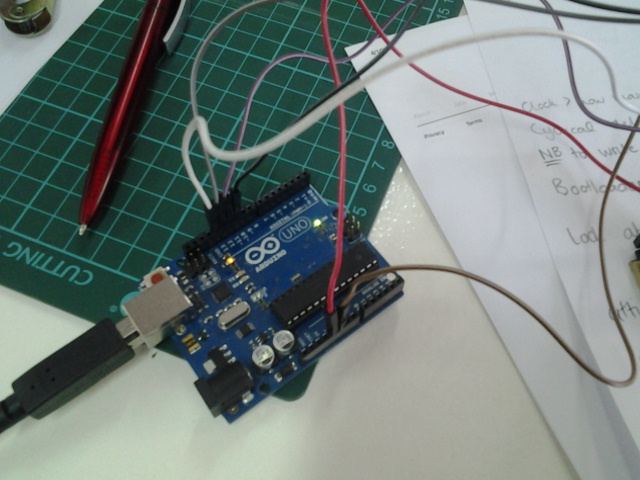
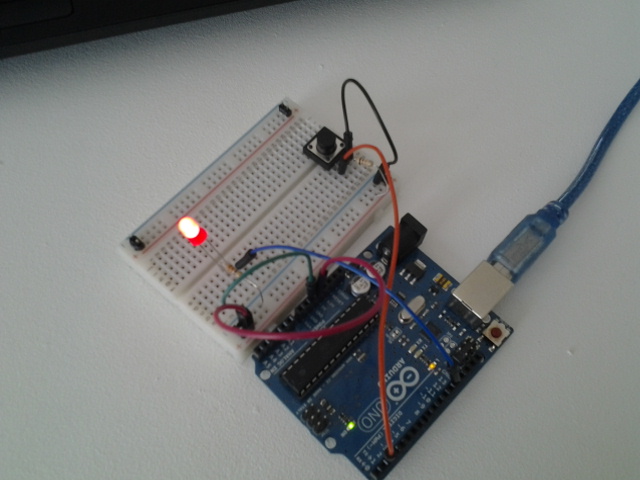
So if you see above I was plugging power into the board but this was not actually necessary so I removed the wire and carried on with the rest. In the meantime I also setup a breadboard to imitate the hello.world scenario and checked that everything was functioning. In any event just seeing the light blink when the button is pushed restores the will to get back into the electronic programming bubble when you reach brick walls with error codes and bootloader does not load etc!
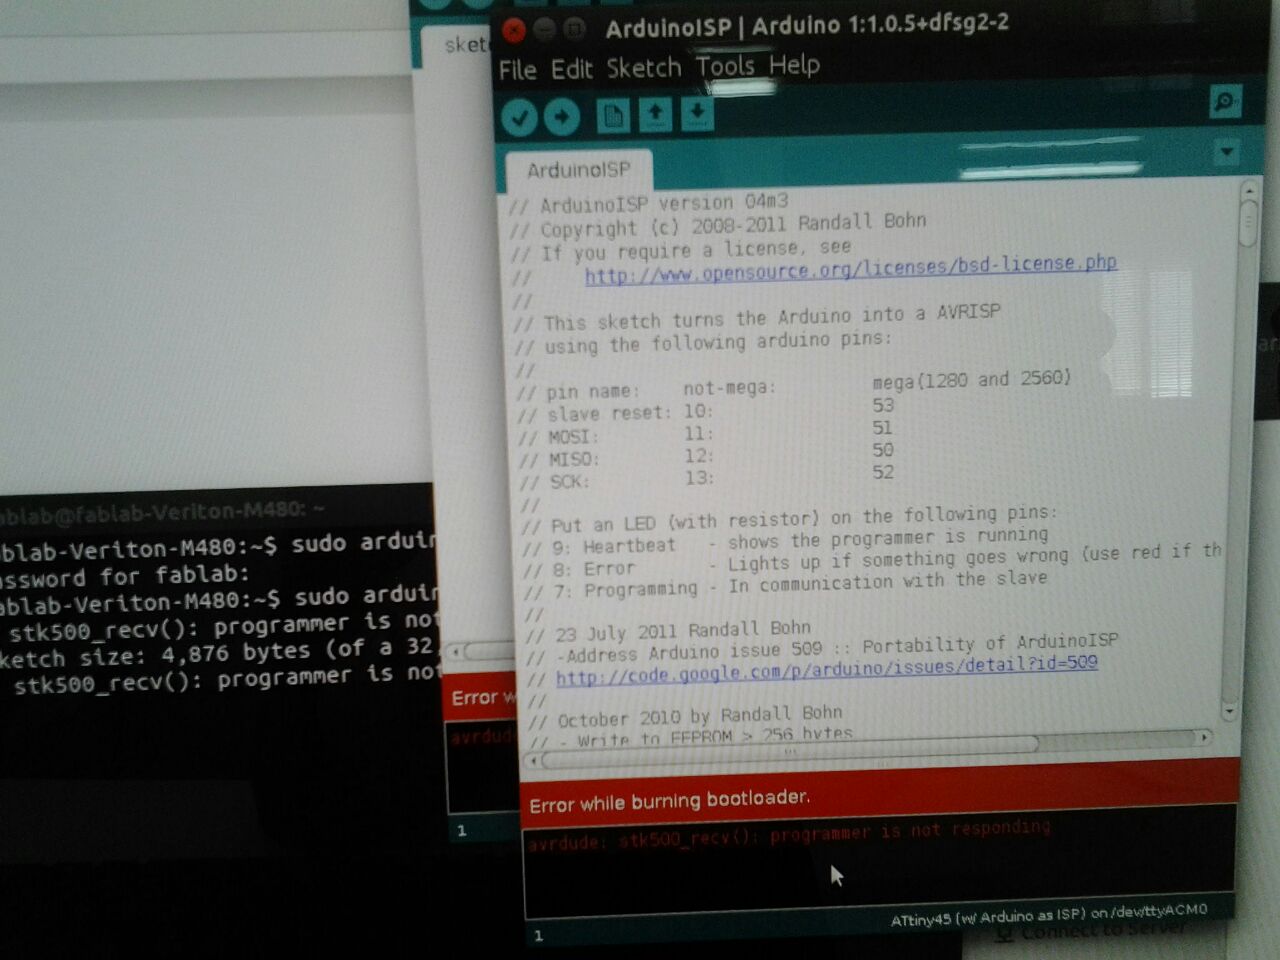
The
error of the stk500 was a mind boggle! Mainly because when I came back to the computer the next day, I realised I had plugged the RESET pin into RESET instead of the right arduino pin! Luckily, I switched that around and had PIN10,11,12,13 and GND connected and all was well! The bootloader loaded and I am able too program my hello.world.
I added the arduino as a programmer into the makefile (as per Craig from FABNZ tutorial) and then in the terminal I ran the code: sudo make -f hello.ftdi.44.echo.c.make program-arduino NB IF you are USING THE FABISP and not ARDUINO then the last bit is different - program-usbtiny and therefore this always needs to be edited depending what programmer you use. In the Arduino IDE I loaded the Exampls>Digital>button sketch and uploaded it to the board to make it blink. I used some examples from here which were really helpful too! Below you will also see a pic of our FABlab NZ friends tutorial, hopefully it will help others as much as it helped us!
Using the AVRMKII was also an interesting experience. Again I must mention that I have no background in code/programming/electronics and this means that in general all of these assignments take ALOT longer than the others because you need to spend time orienting your self with your environment and the tools. The nice thing about it is that it immediately tells you if your board is functioning because it has an LED! I have decided that I must always include an LED onto the upcoming boards, if time allows, because this is a great spirit booster to see a light blink! So I checked the cable orientation and it was the wrong way round! So when I turned it around, everything was green for go!!

To program the board using the AVRMKII I again amended the code and ran avrdude -c avrisp2 usb -p t44 and this gave me errors! I was communicating with my mentor, Ohad, and he suggested trying sudo before the code and this worked!

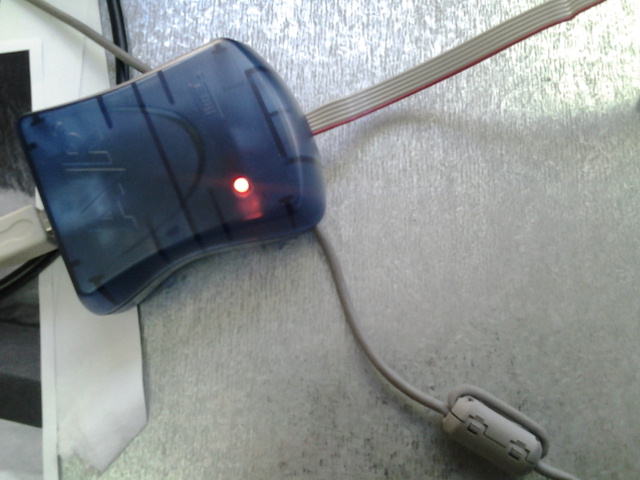
Next up I took a look into the FABisp which we had all made!
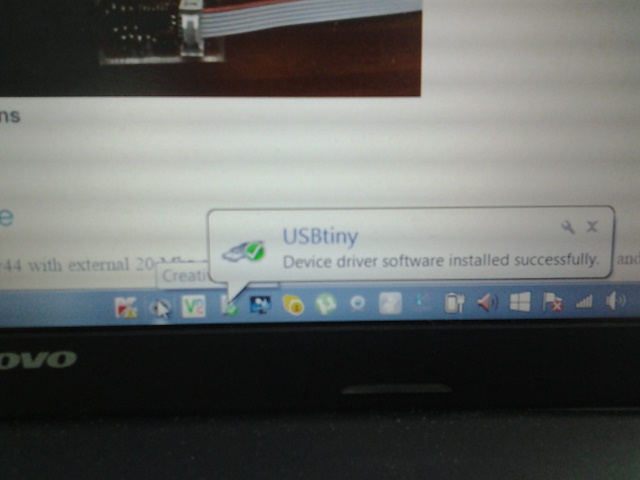
So using the Arduino IDE and plugging in the FABisp the driver software automatically loads and you see it appear as USBtiny! I also used the FABisp to programme the board, which was again a modification of the programmer code and checking the makefile before programming was done. So far I am looking forward to the next board creation in the input and output device section of the Academy because these are crucial points to the final project development.