
E06: Electronics design
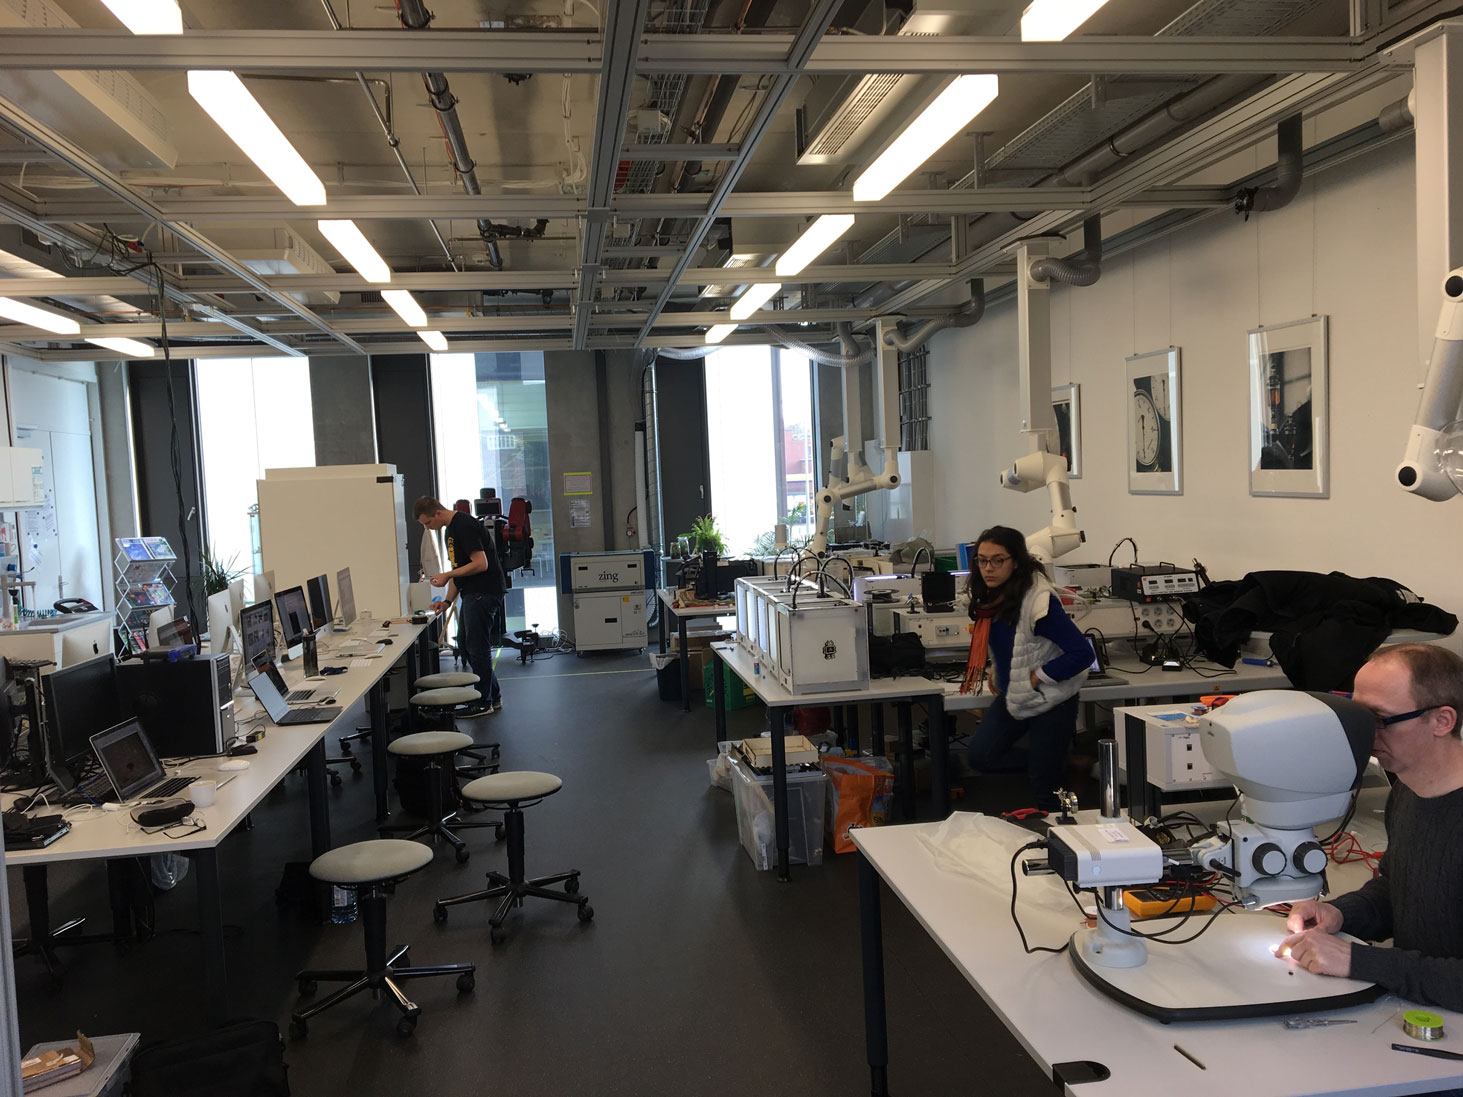
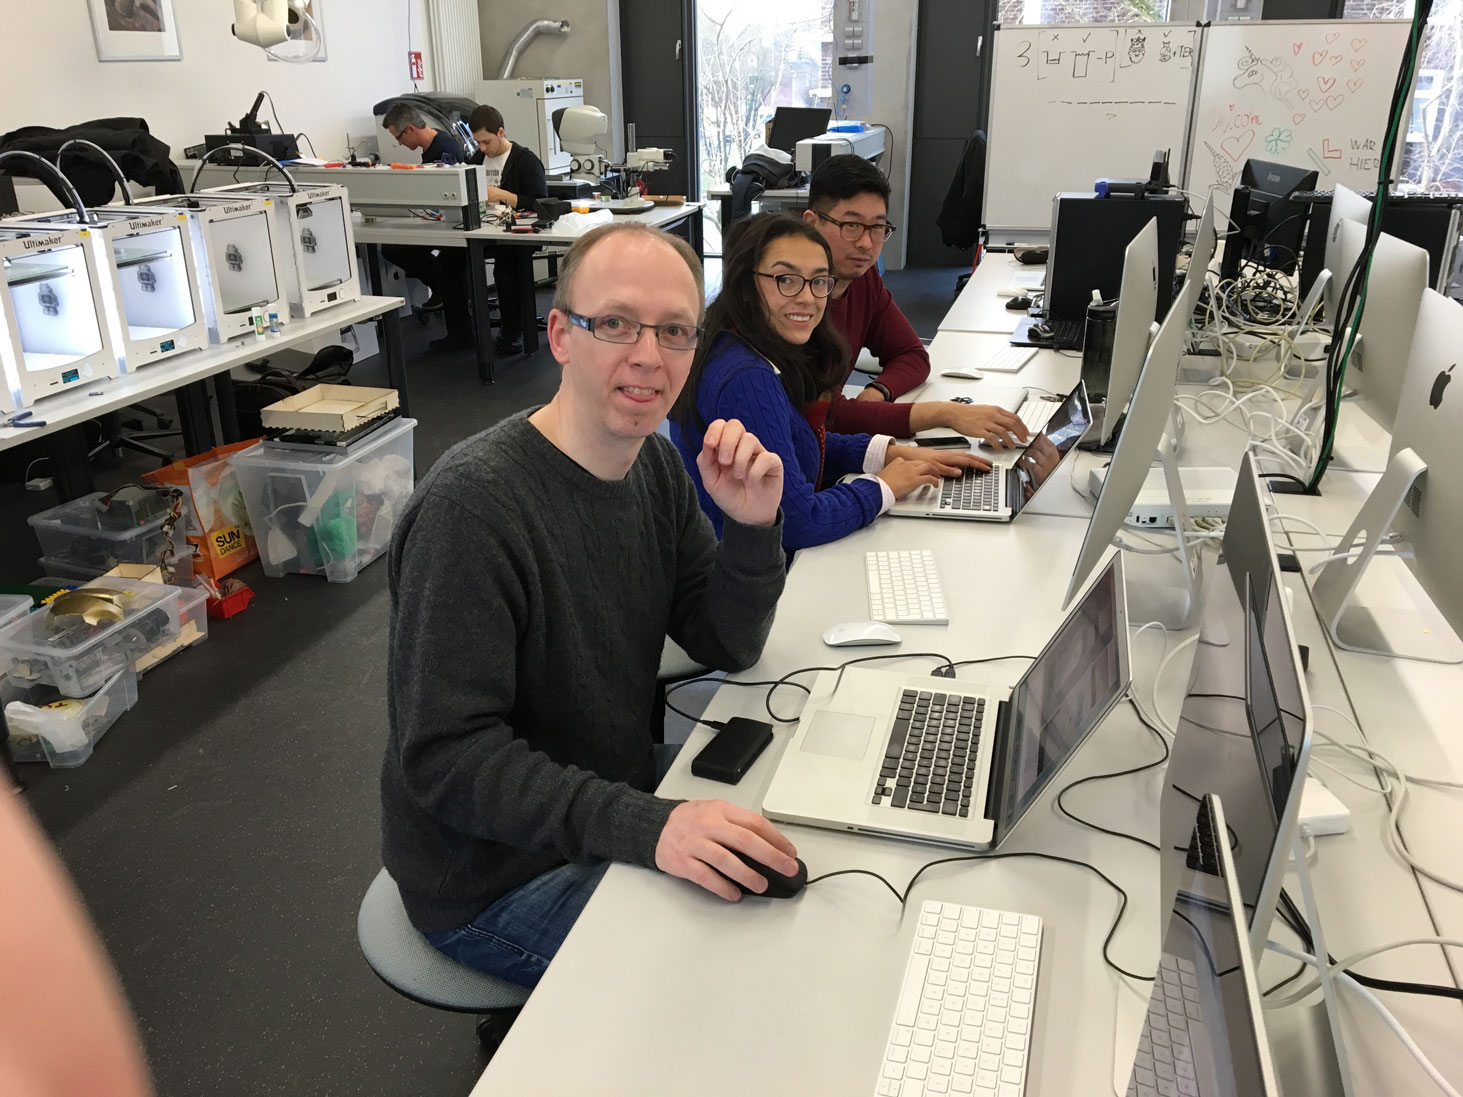
This week is about electronic Design. We decided to visit FabLab HRW in Bottrop and to do the assignment together with them.
-
Assignment:
- 1: redraw the echo hello-world board, add (at least) a button and LED (with current-limiting resistor), check the design rules, and make it
- 2: extra credit: simulate its operation Machines/Tools:
- 'Reflow' Nabertherm TR60, ProMat S63 (CNC Mill), ProtoPlace S (Placement-Machine) Software:
- EAGLE Results:
How to MAKE it
I hereby refer to week 04: in which I already started creating own PCBs using EAGLE.
To get started with EAGLE I recommend to follow two tutorials, provided by Jerry Blum.
Tutorial 1 for CadSoft Eagle: Schematic Design
Tutorial 1 guides you through the process of designing a PCB. It shows how to „get the program up and running, how to navigate the interface, how to design your first schematic, and how to use DesignConnect to build a Bill-of-Materials.“
Tutorial 2 for CadSoft Eagle: Printed Circuit Board Layout
The second tutorial shows „how to turn your schematic into a board design that you can get manufactured! Specifically, I’ll cover part layout, automatic and manual routing, layer and grid controls, ULPs, ground pours, net classes, and much more!“
There are also more tutorials in the FabAcademy Archive
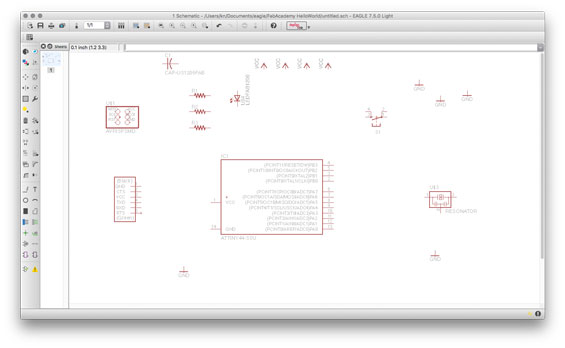
Creating the schematic
There are standard operations, such as rotate, delete, etc. which are explained in Jerry's 1st tutorial and do not need to be mentioned here. I just state the most relevant steps in a logical order.
- First, you create a new project and create a new schematic (right click on projects name in the projects treeview of EAGLEs starting dialog).
- Add the relevant libraries (Menu:Libraries->Use) to your project, i.e. fab.lbr and supply1 and mabye supply2 from the EAGLEs standards libraries.
-
Start adding ("Add" icon) the needed components to your layout.
- Roughly place and arrange the components in the way you like them to be. You will change their position using the "Move" command.
You may want to add/use GND and VCC as components (even though, they could also just be Labels, as shown below). I recommend to use the components. - Create connections using "Net".
- Name the components using "Name" and set their values using "Values";
-
Labels are used to label a net/wire. Labels can have a different appearance. They are used to connect components virtually. This helps to get a better and structured layout as you can create groups of components, as shown in the following picture.
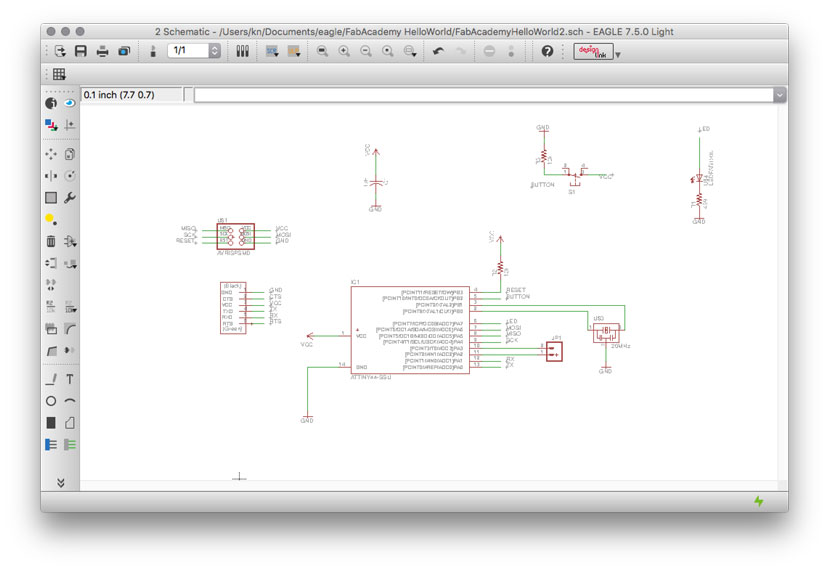
- When you are finished with the schematic you can change to the board view.
- First, I reccommend to change the grid to 25mil, which is the standard distance on breadboards, etc.

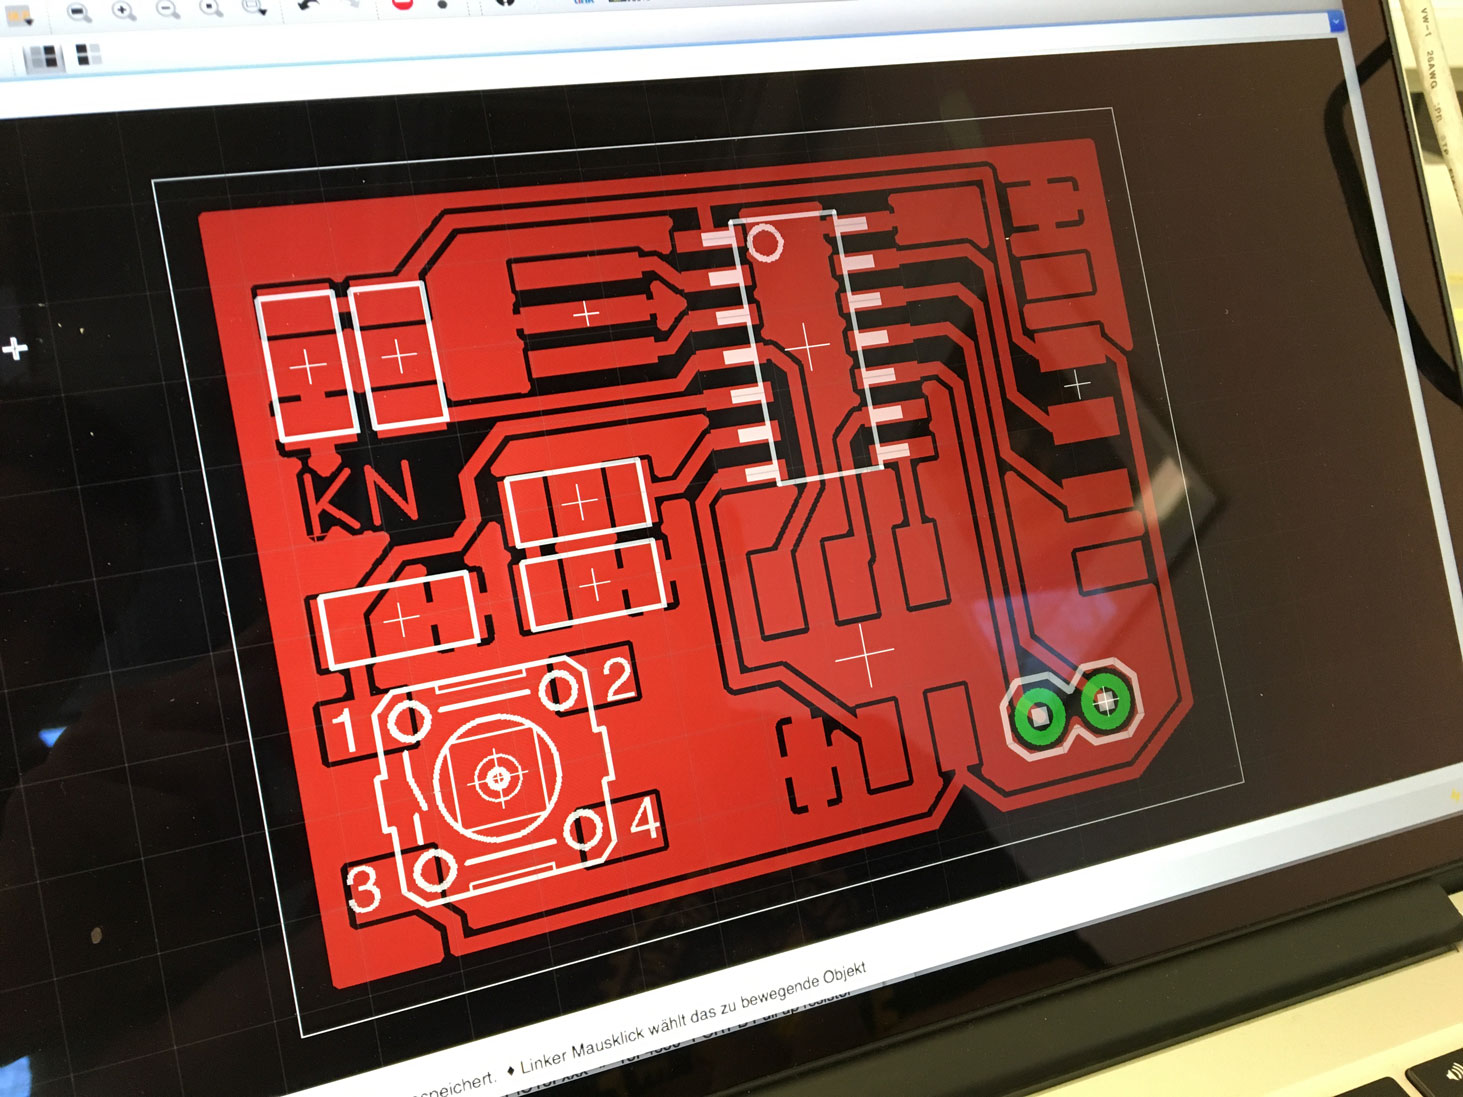
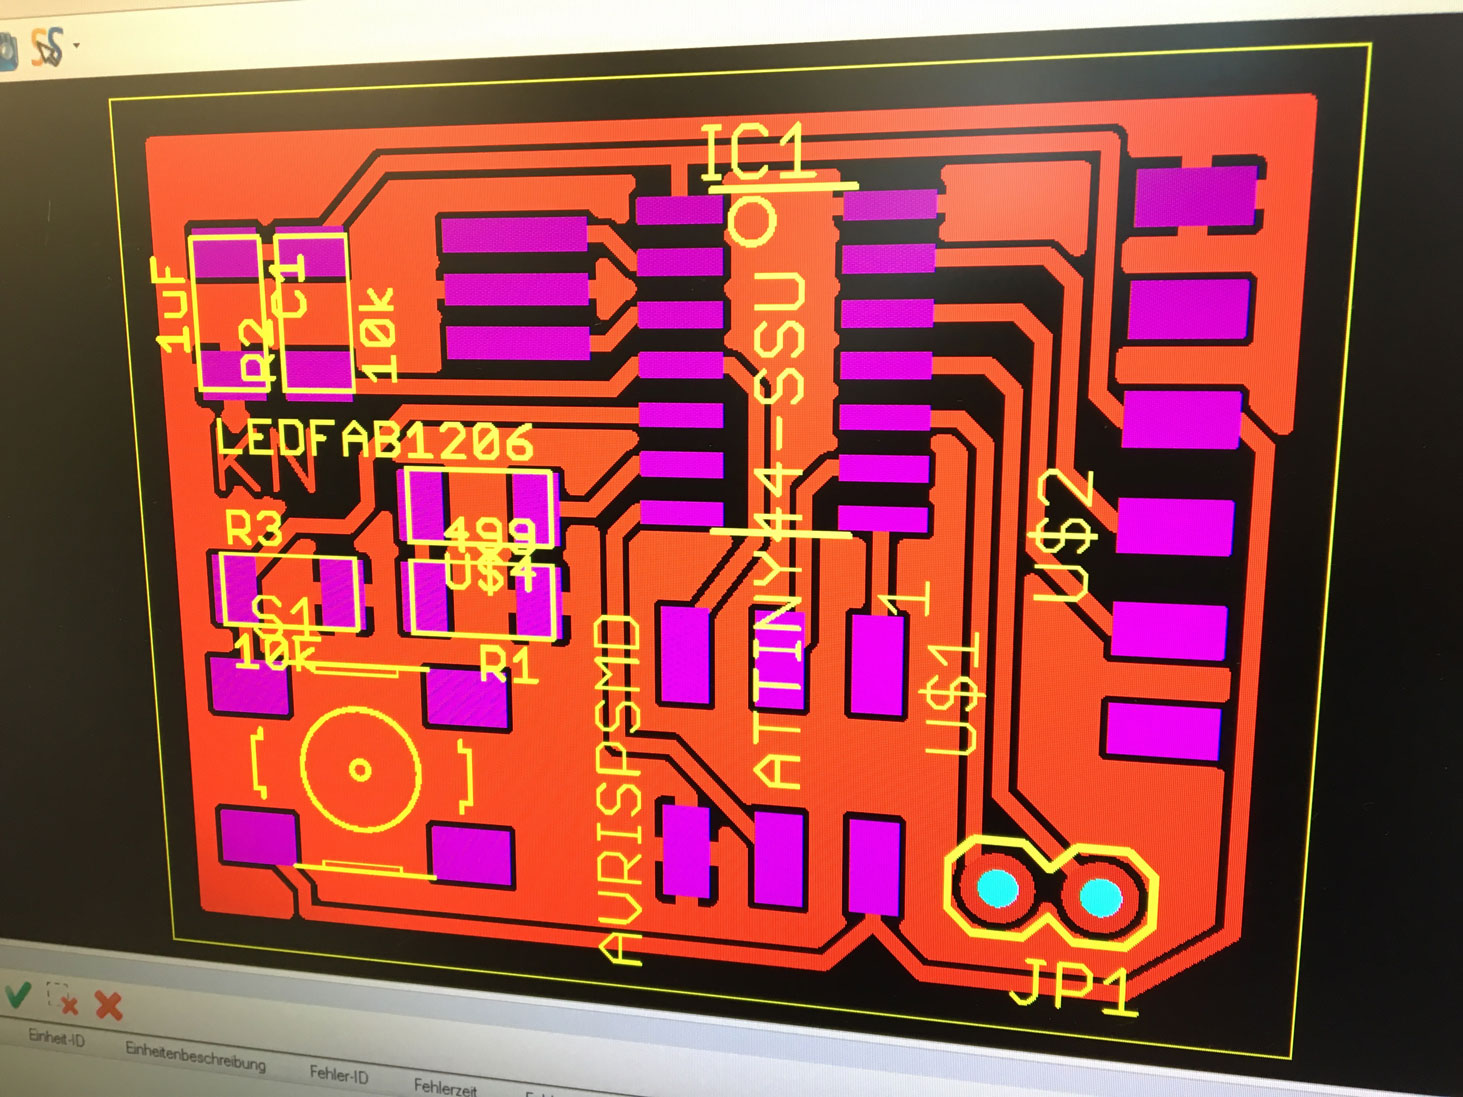
- Then, the next you have to do is to arrange the components. At the beginning, all of them are placed outside the board. In EAGLE light you have to place all of them at some place on the board to start layouting. You should also consider the design rules (DRC) of your machine. Here, I have set the minimum with to 16mil.
- Later, you may want to resize the board and also, to create a GND layer. See Jerry's 2nd tutorial for the basics.
- "Ratsnest" is used to calculate the shortest path, for instance, after components have been moved.
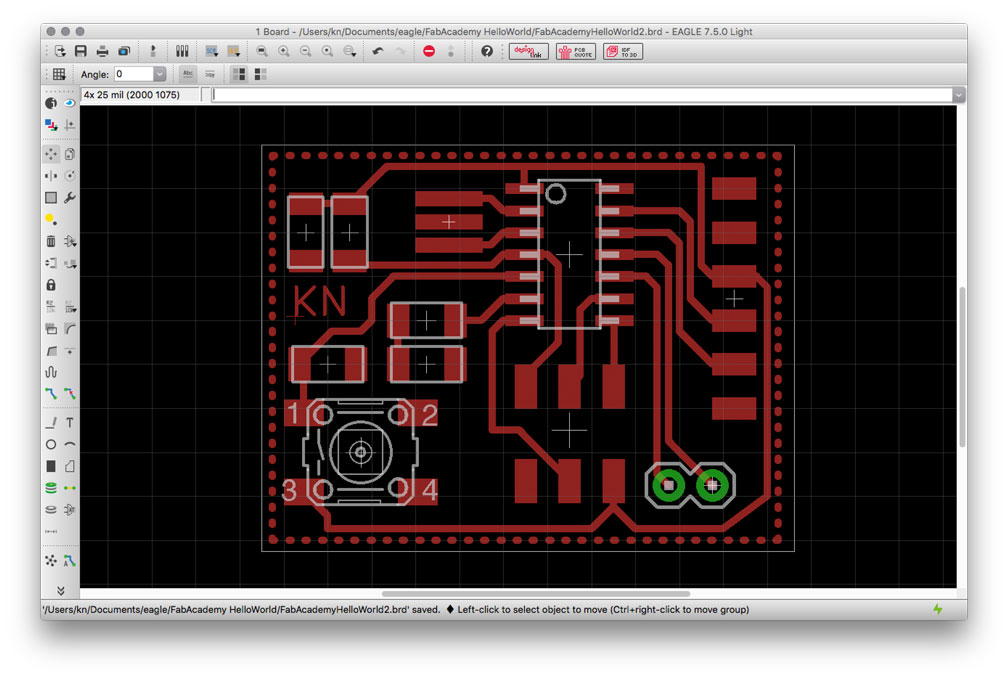
- "Autoroute" calculates the 'best' routing. IMPORTANT: don't press "End Job" in the Dialog unless you are satisfied with the final design. Following picture was a result of autorouting. Even though, EAGLE told me a 100% completion in routing it turned out that some components could not be connected (green lines).
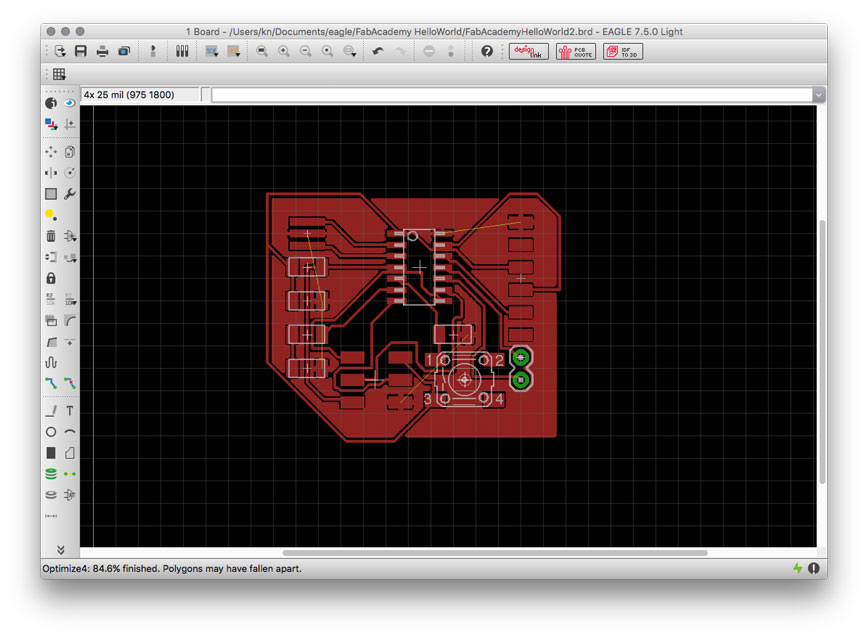
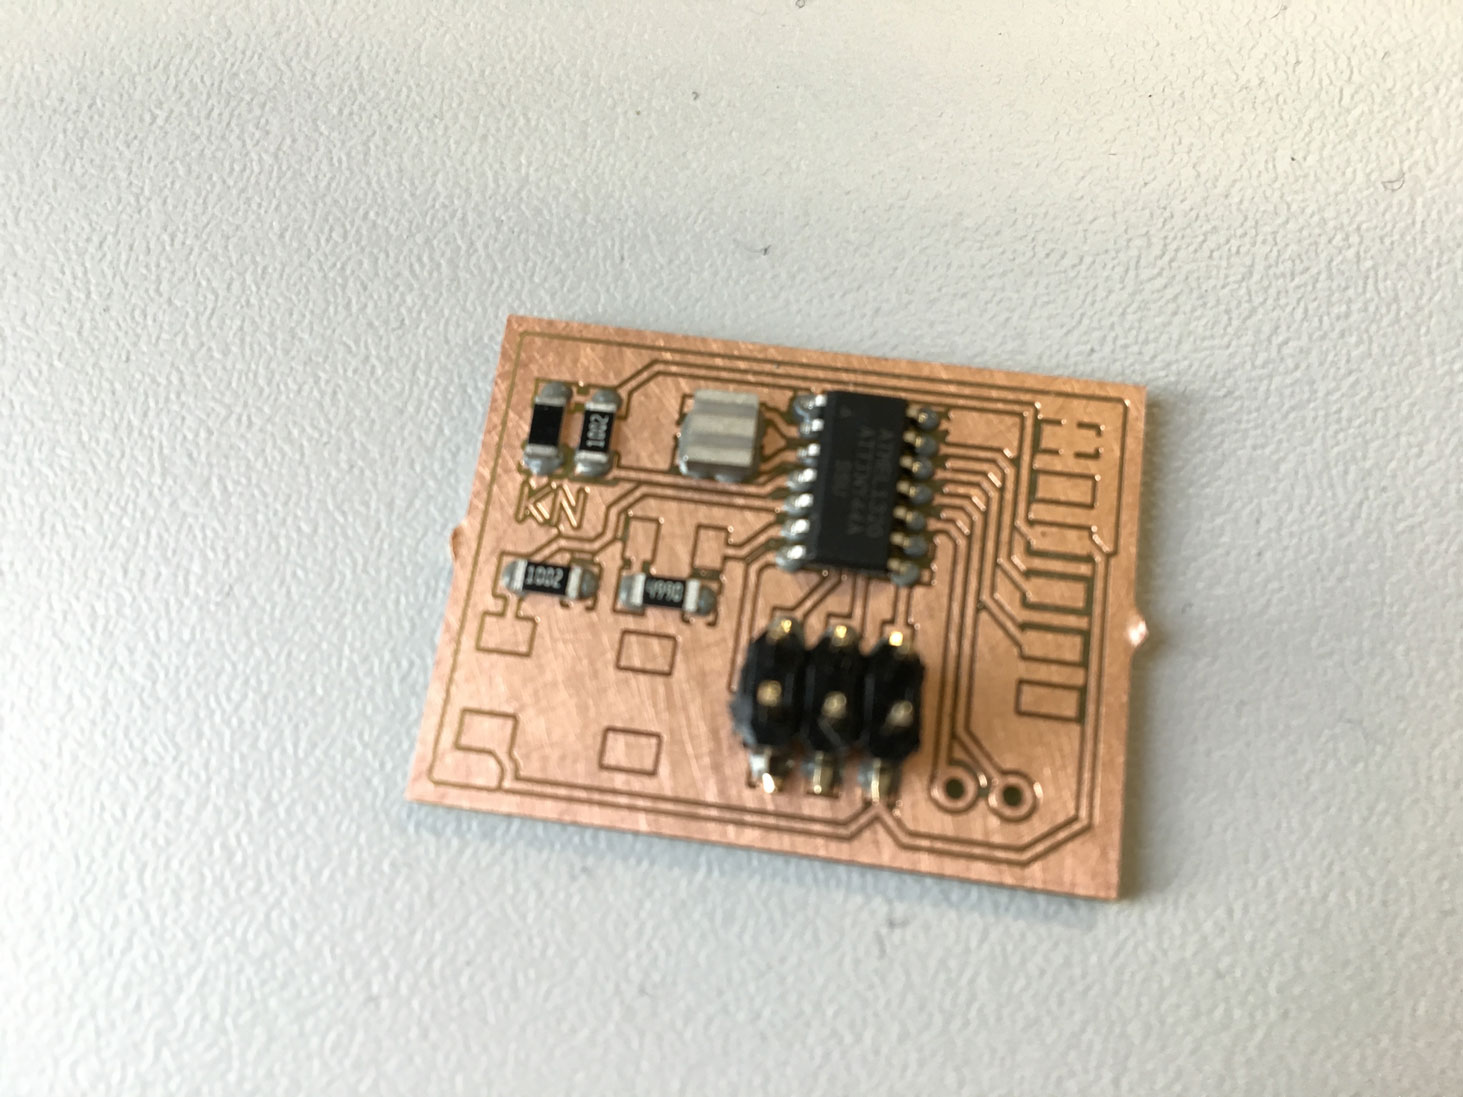
At the end, I had to wire it manually and the board looked like this:

Check & Solder
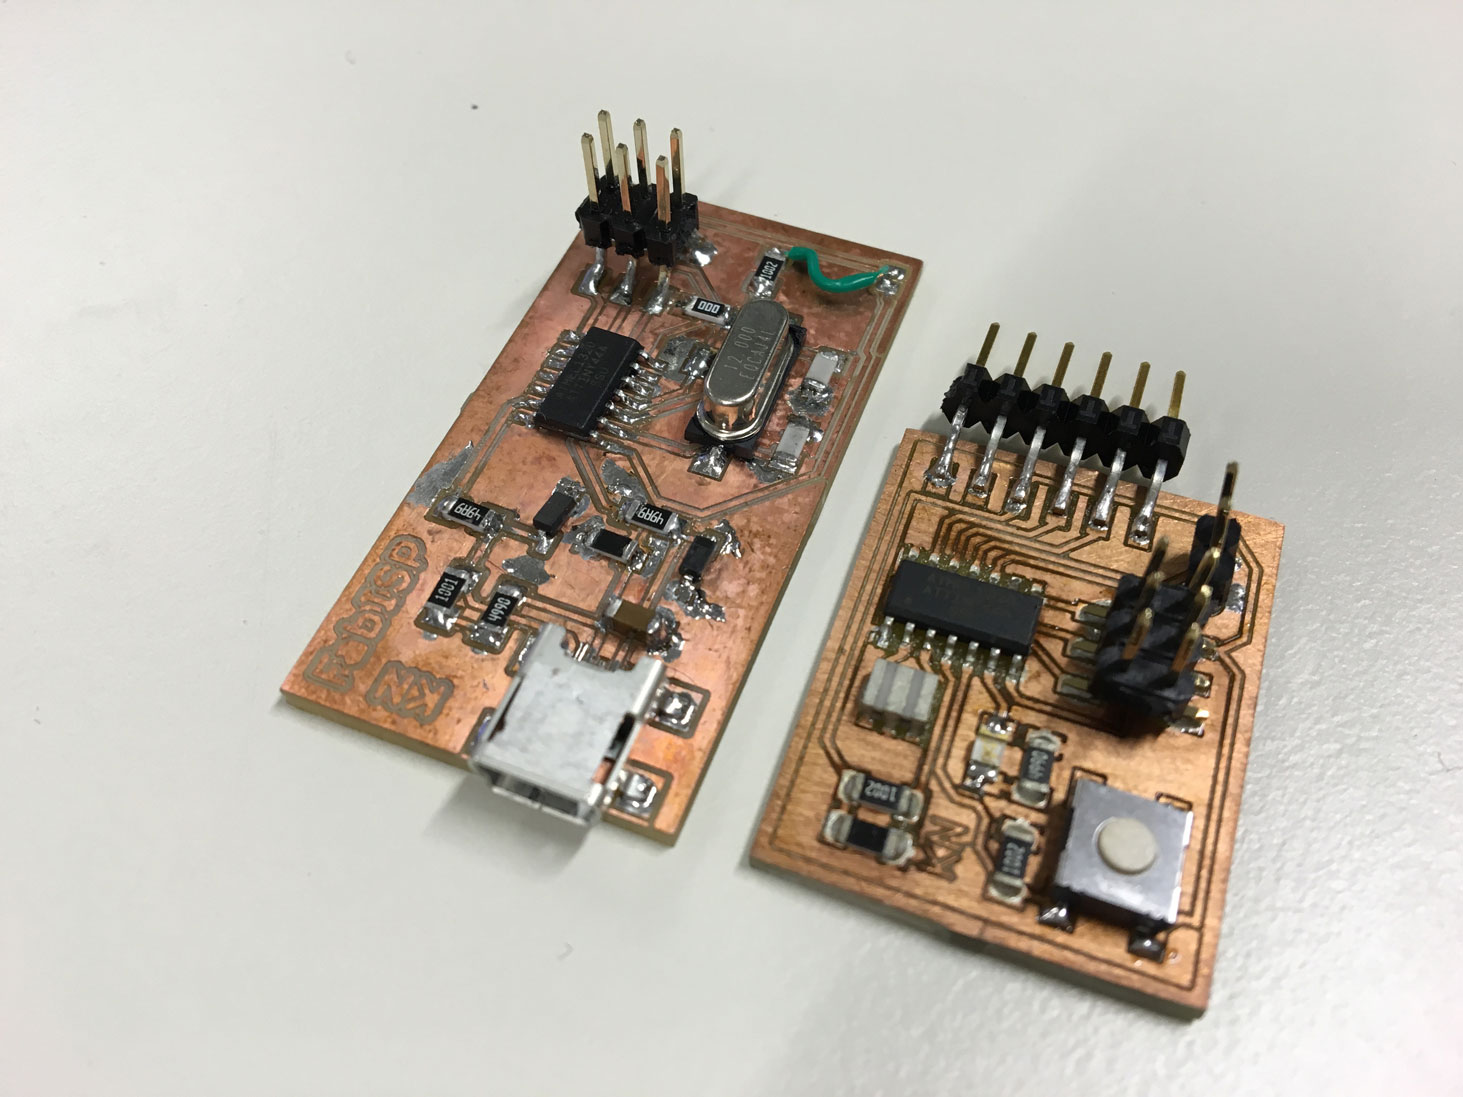
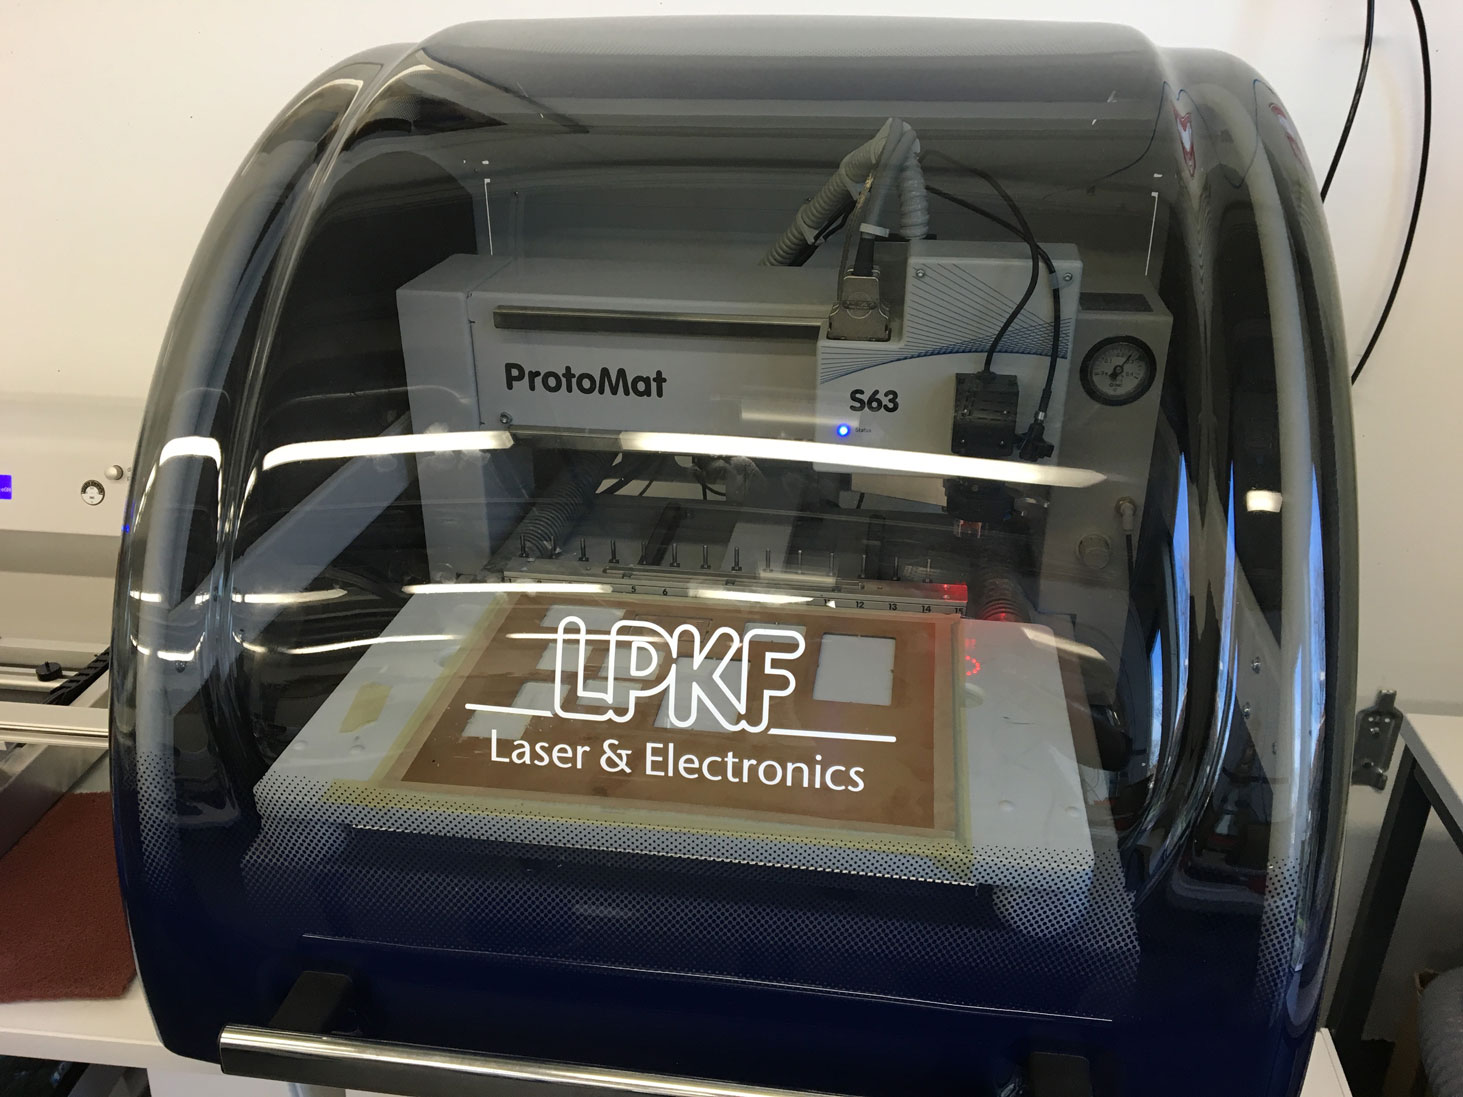
In difference to the milling procedure in week 04 in which I used our Cirquid CNC machine, I used the ProMat S63 (CNC Mill)
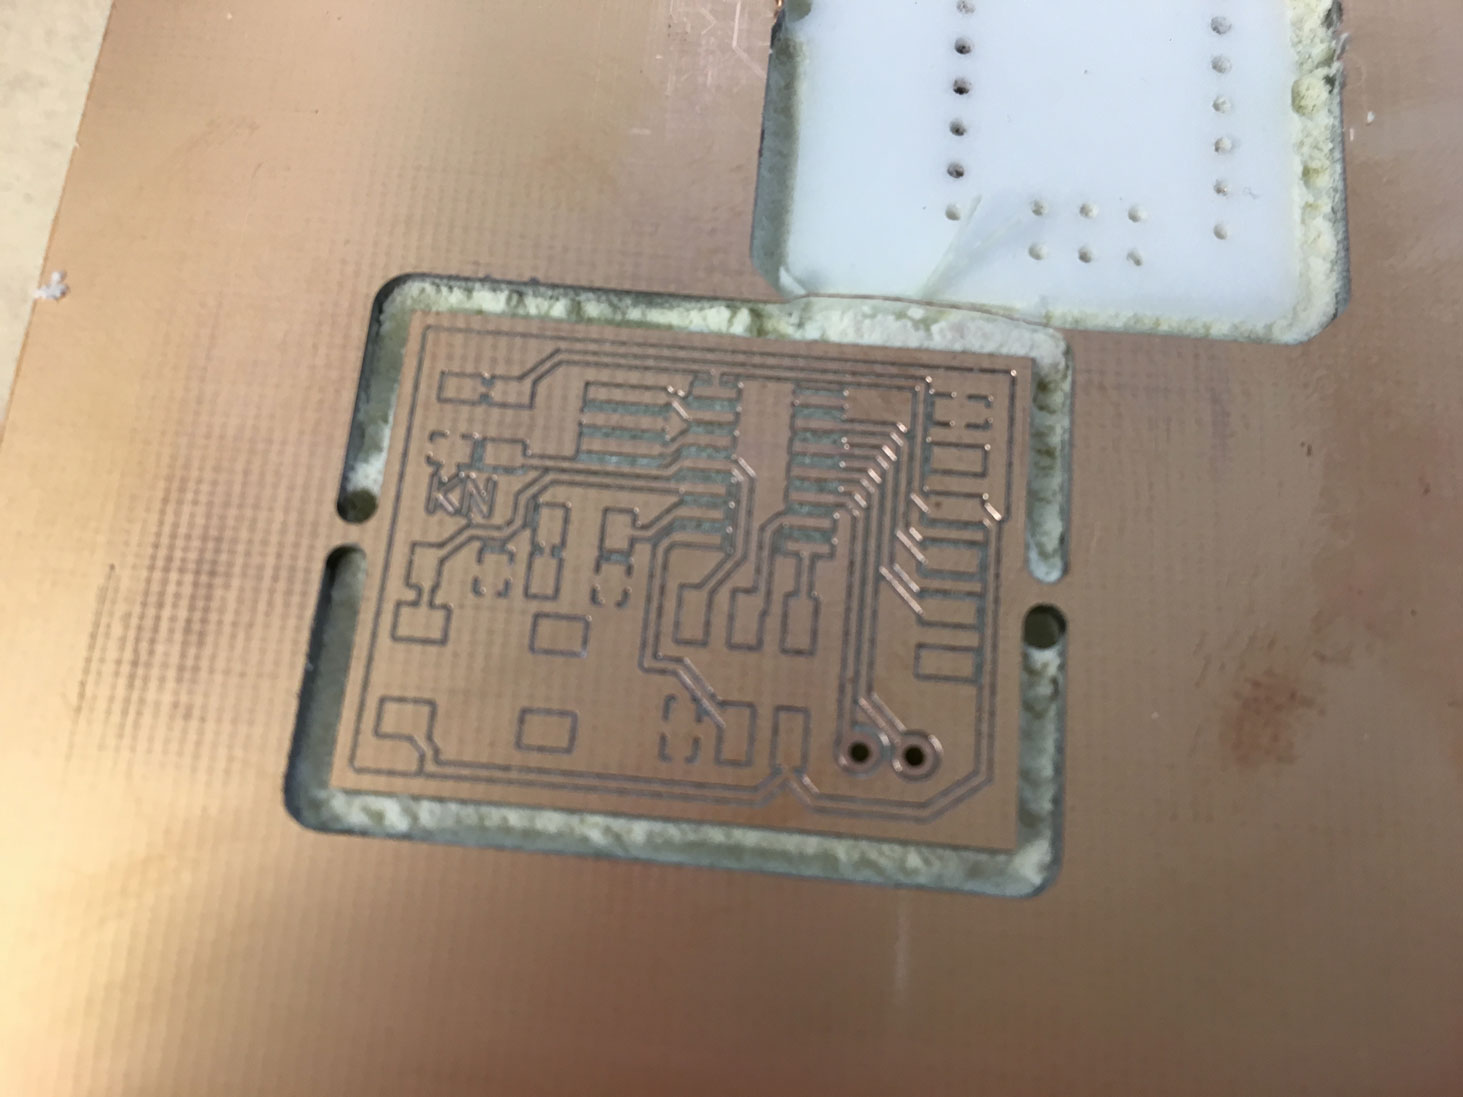
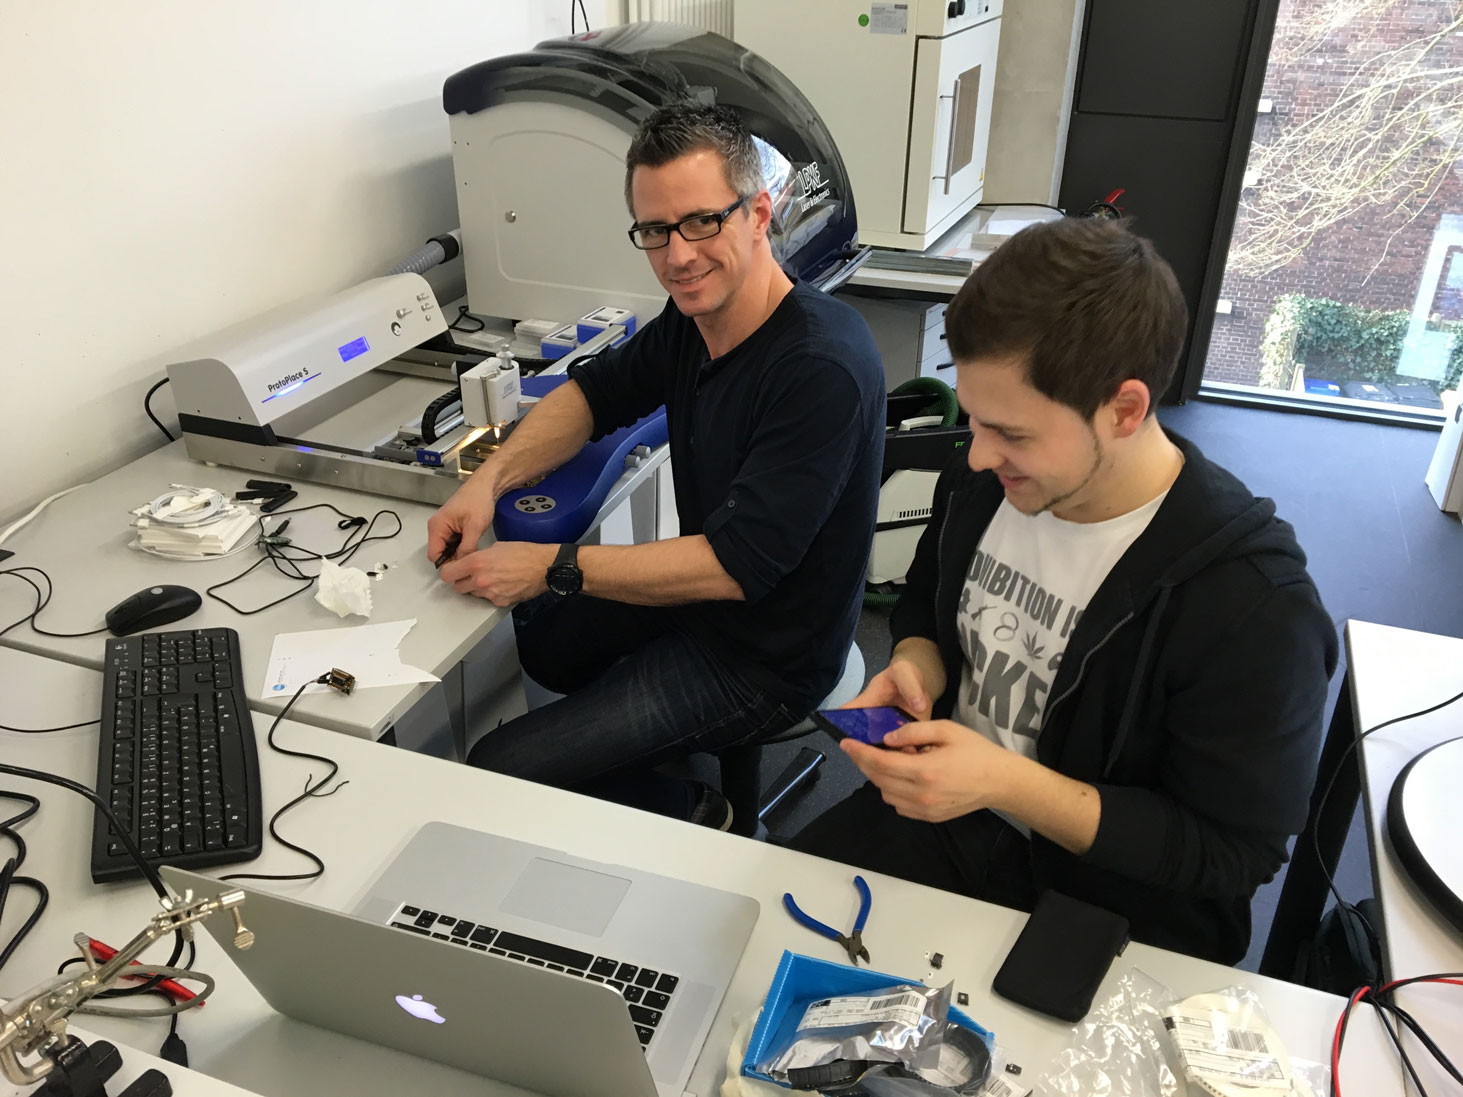
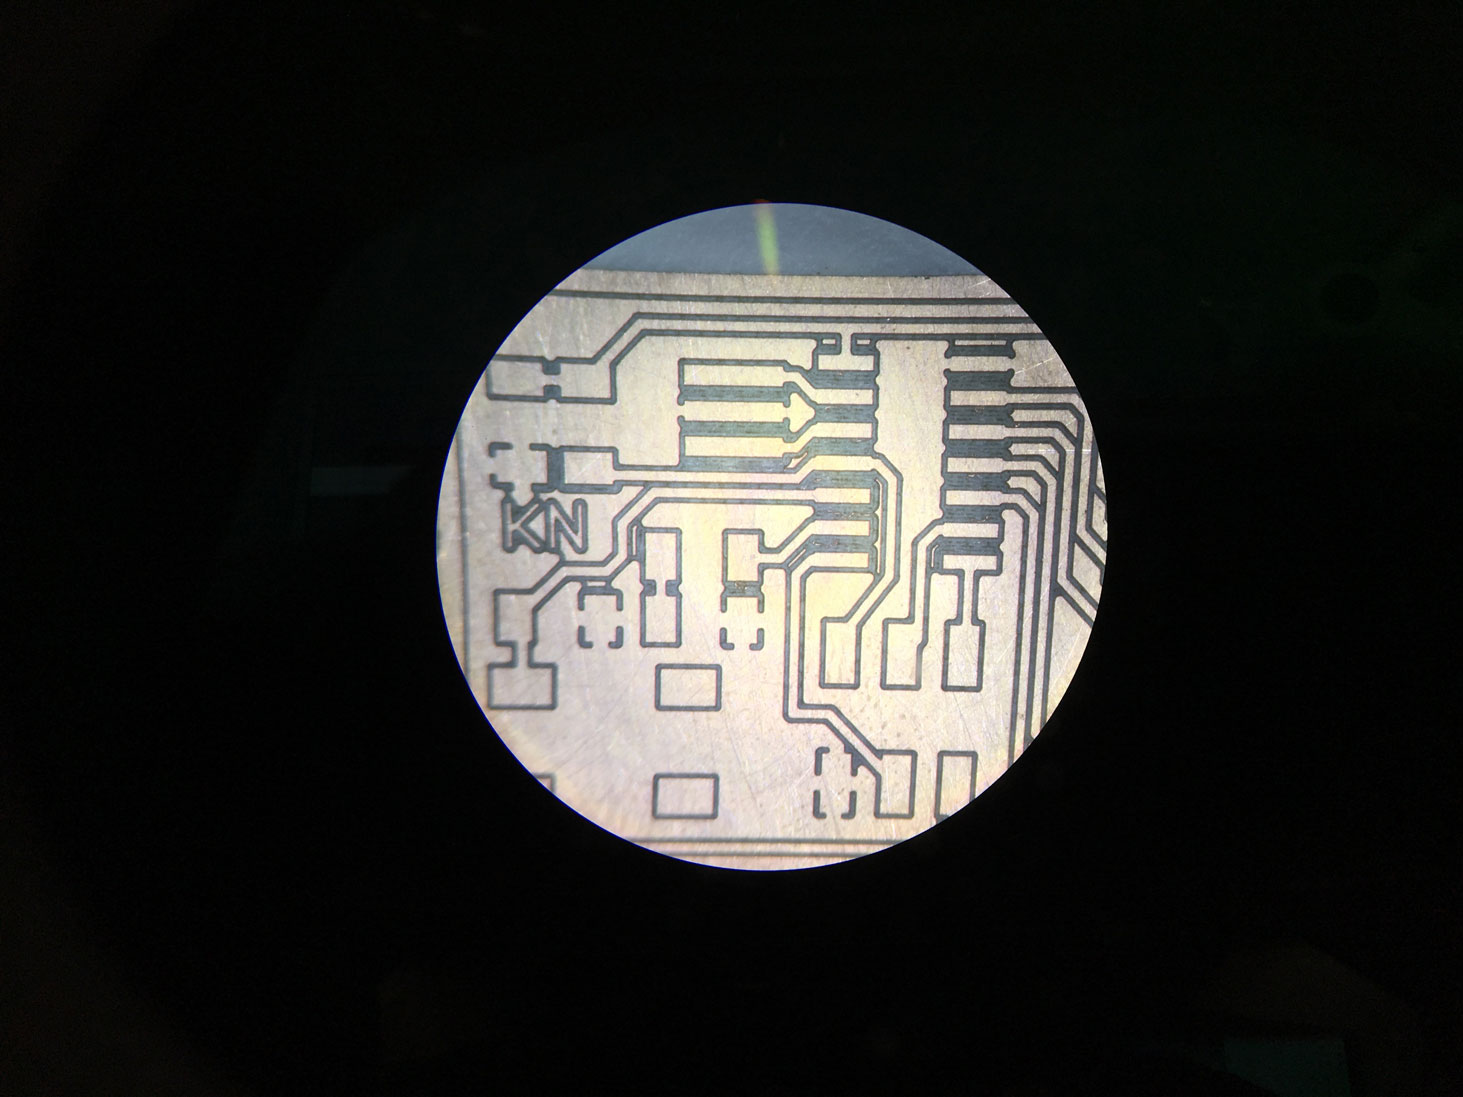
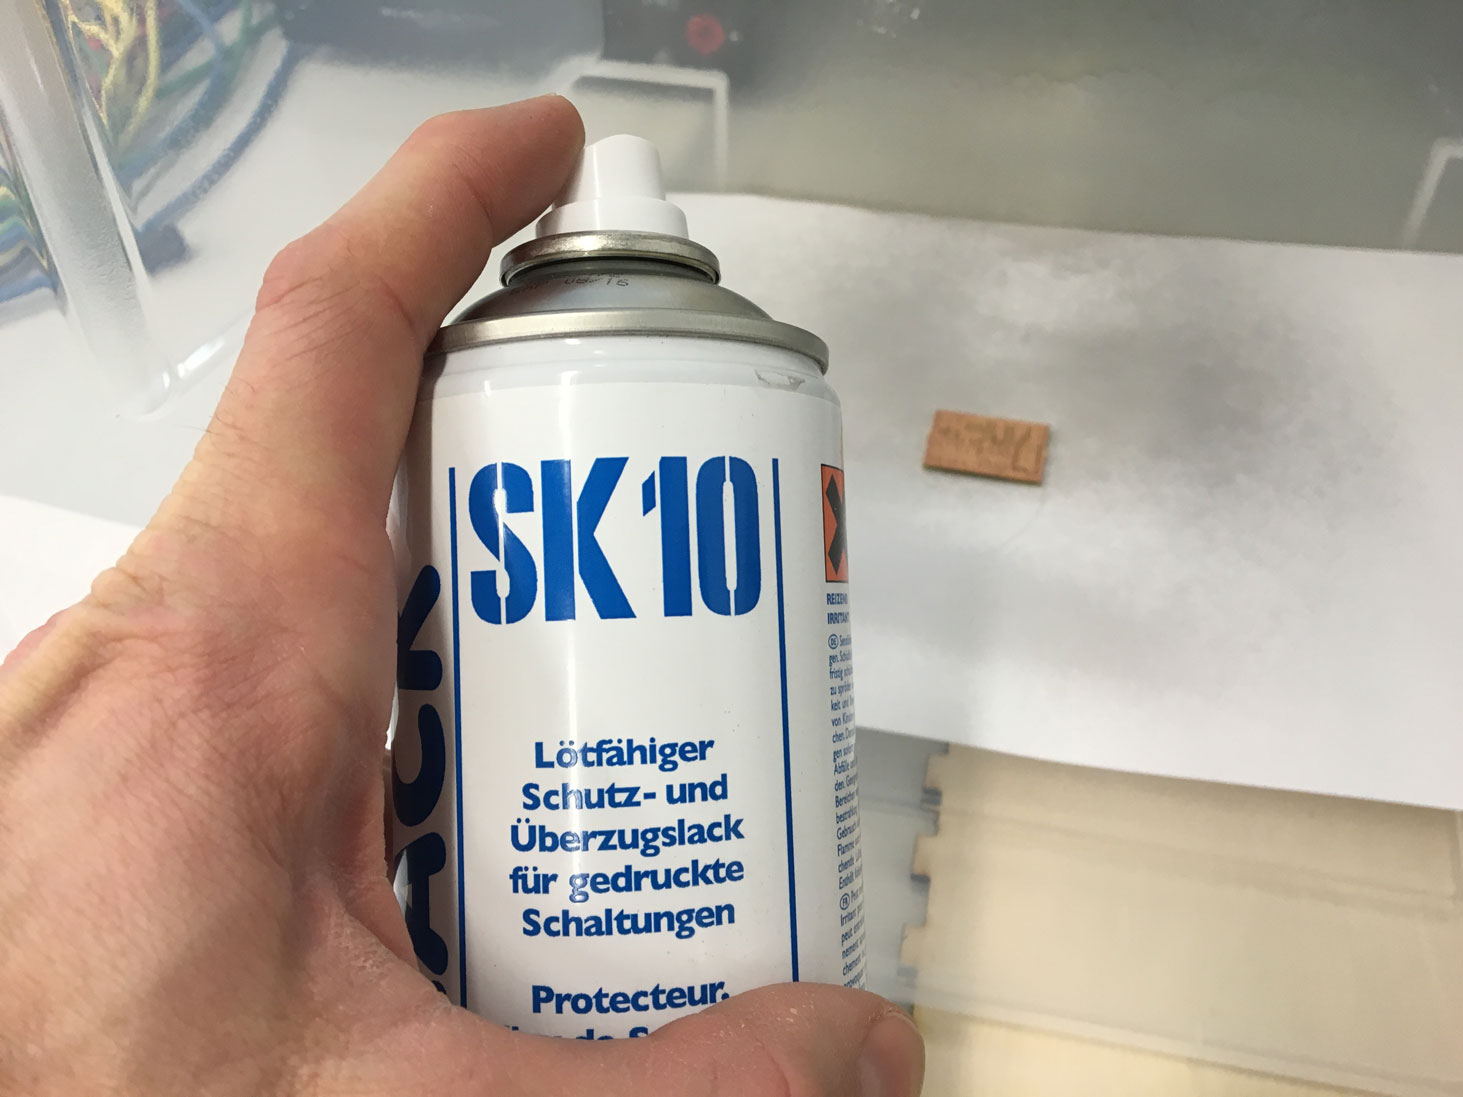
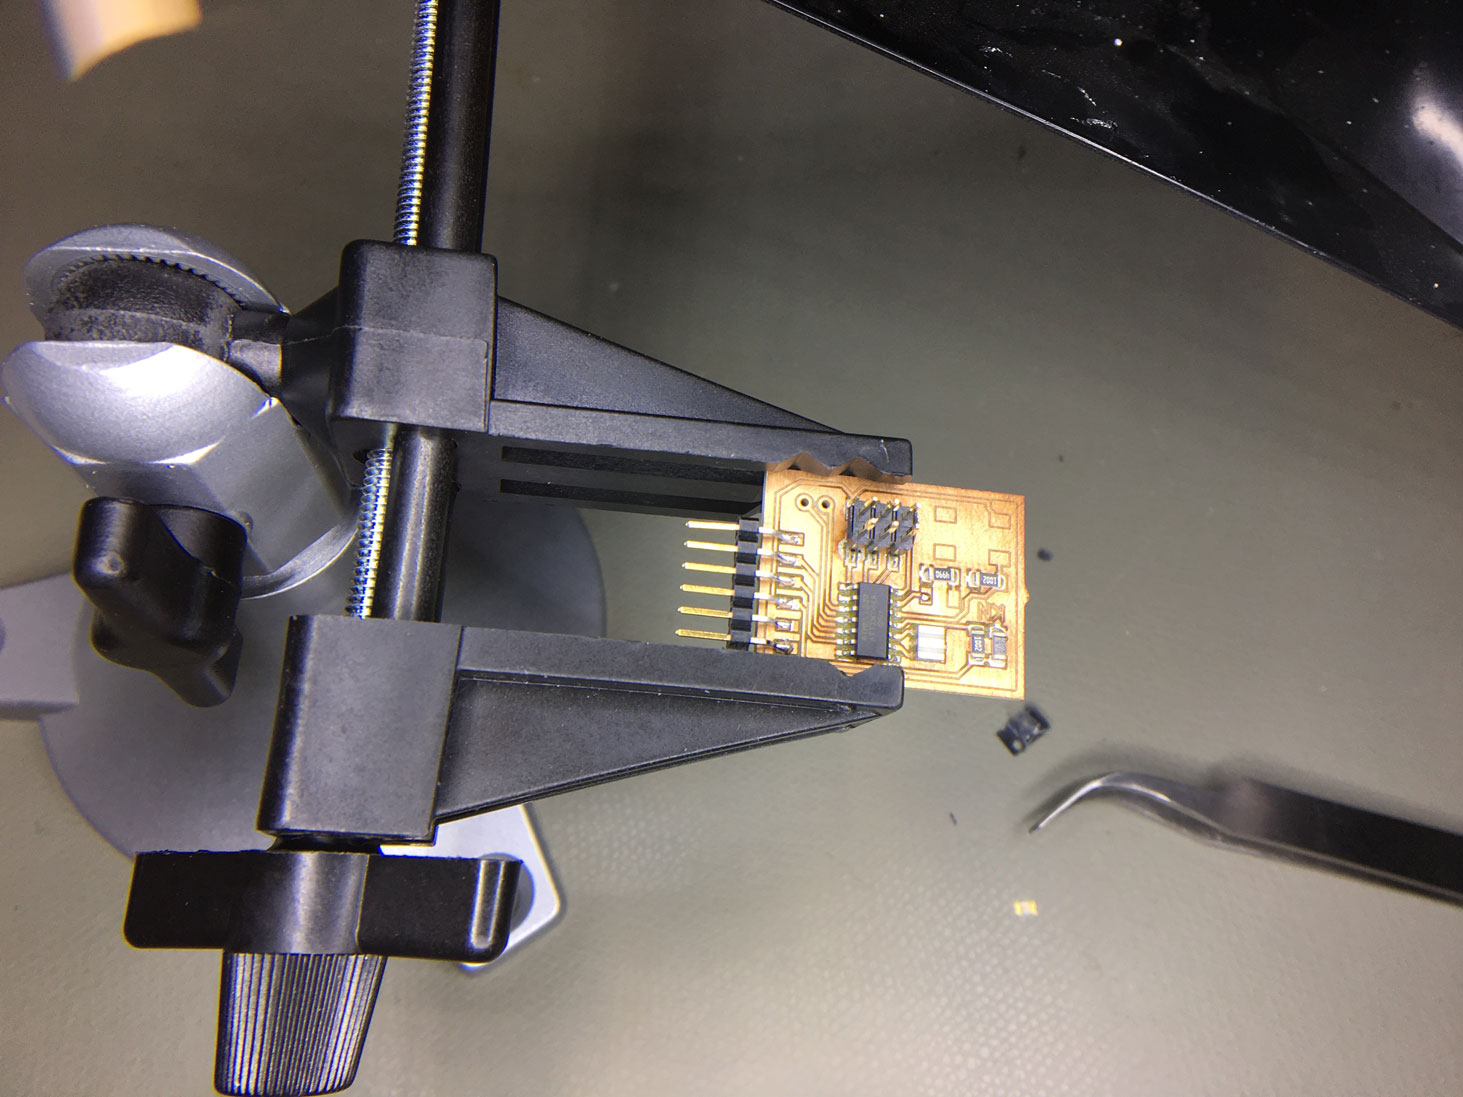
I used the microscope to check the quality of the board after milling. All looked fine. We used solder varnish to seal the surface from oxidation.
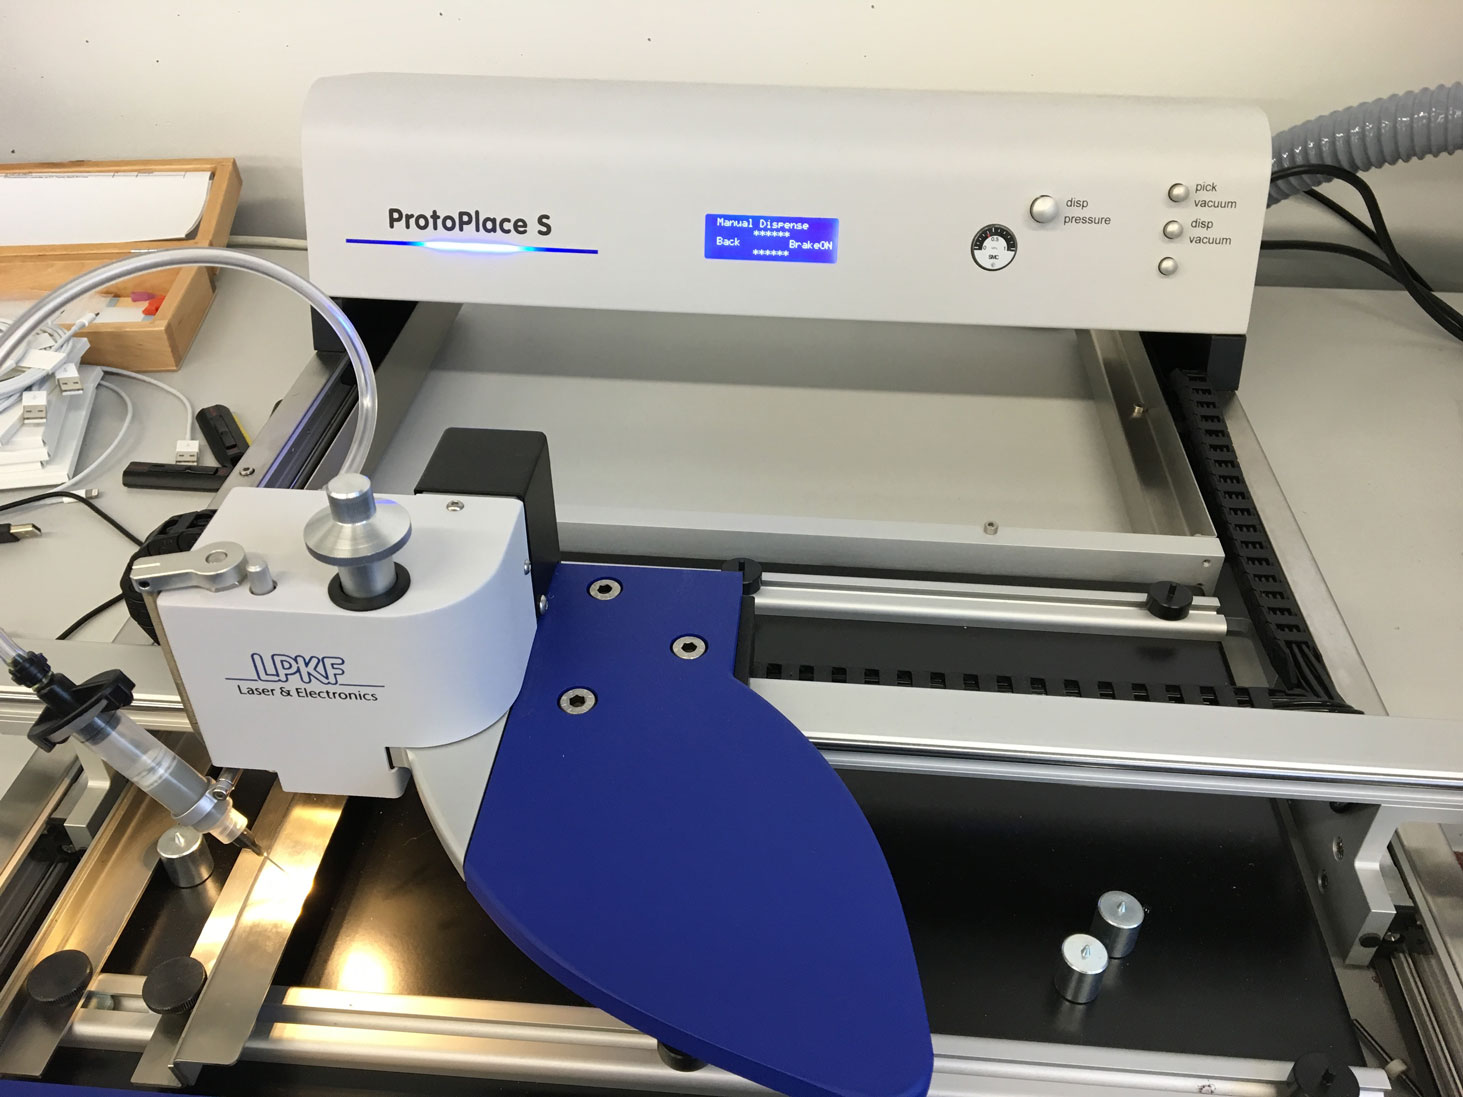
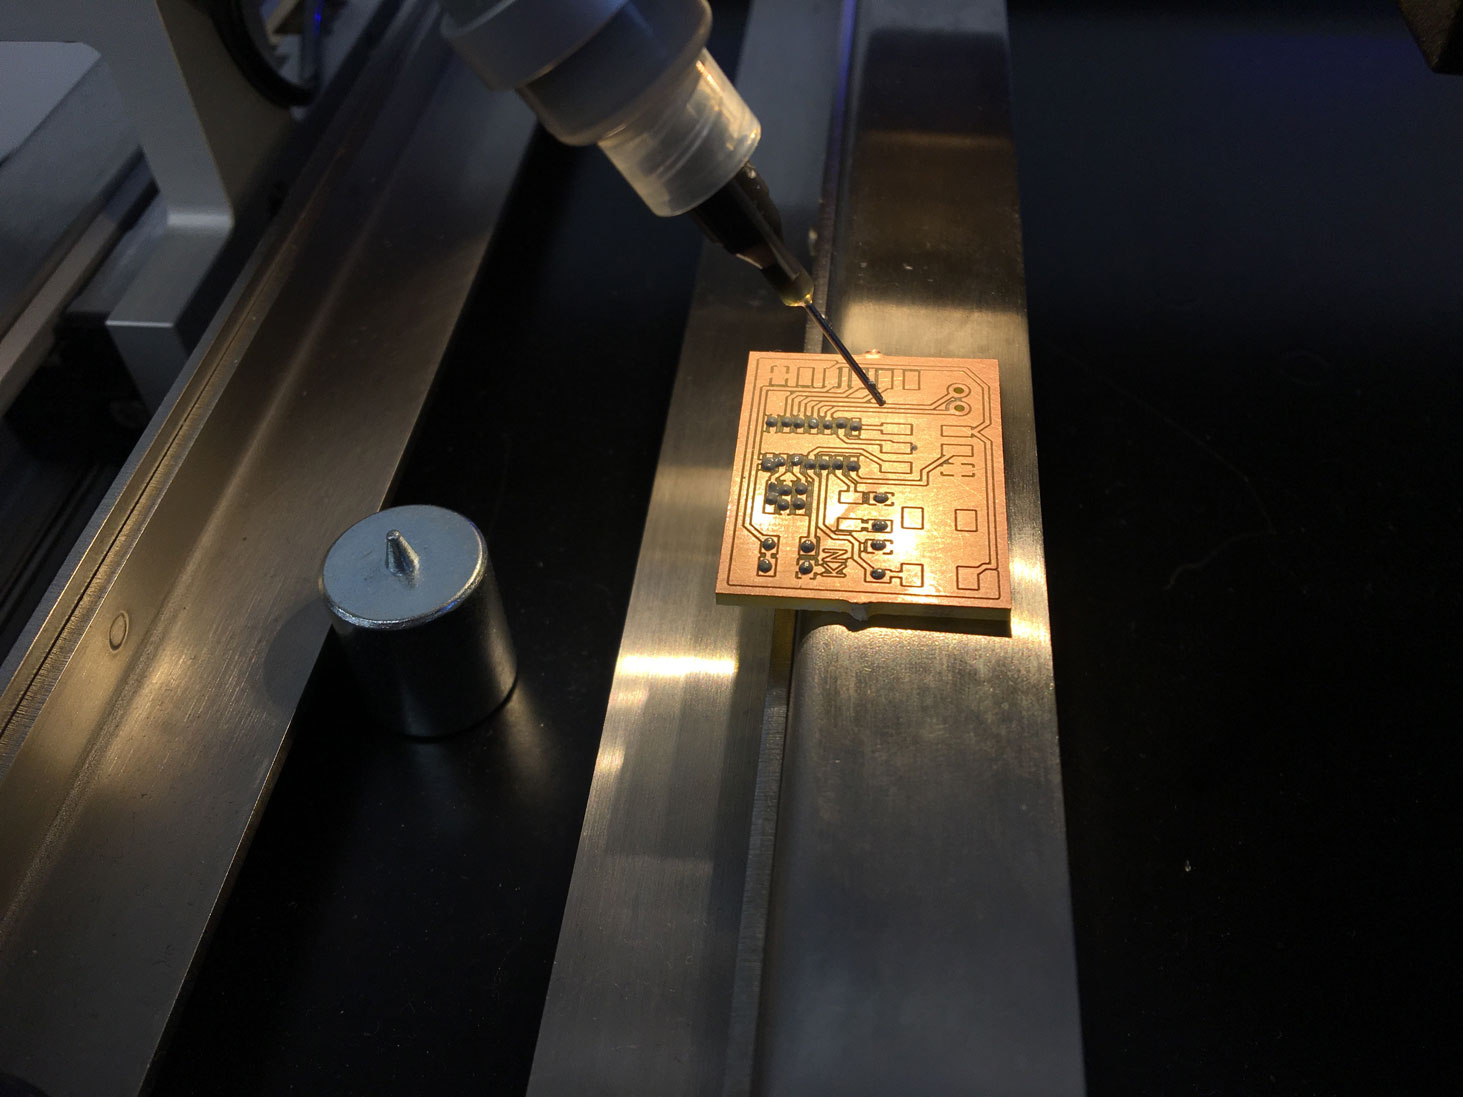
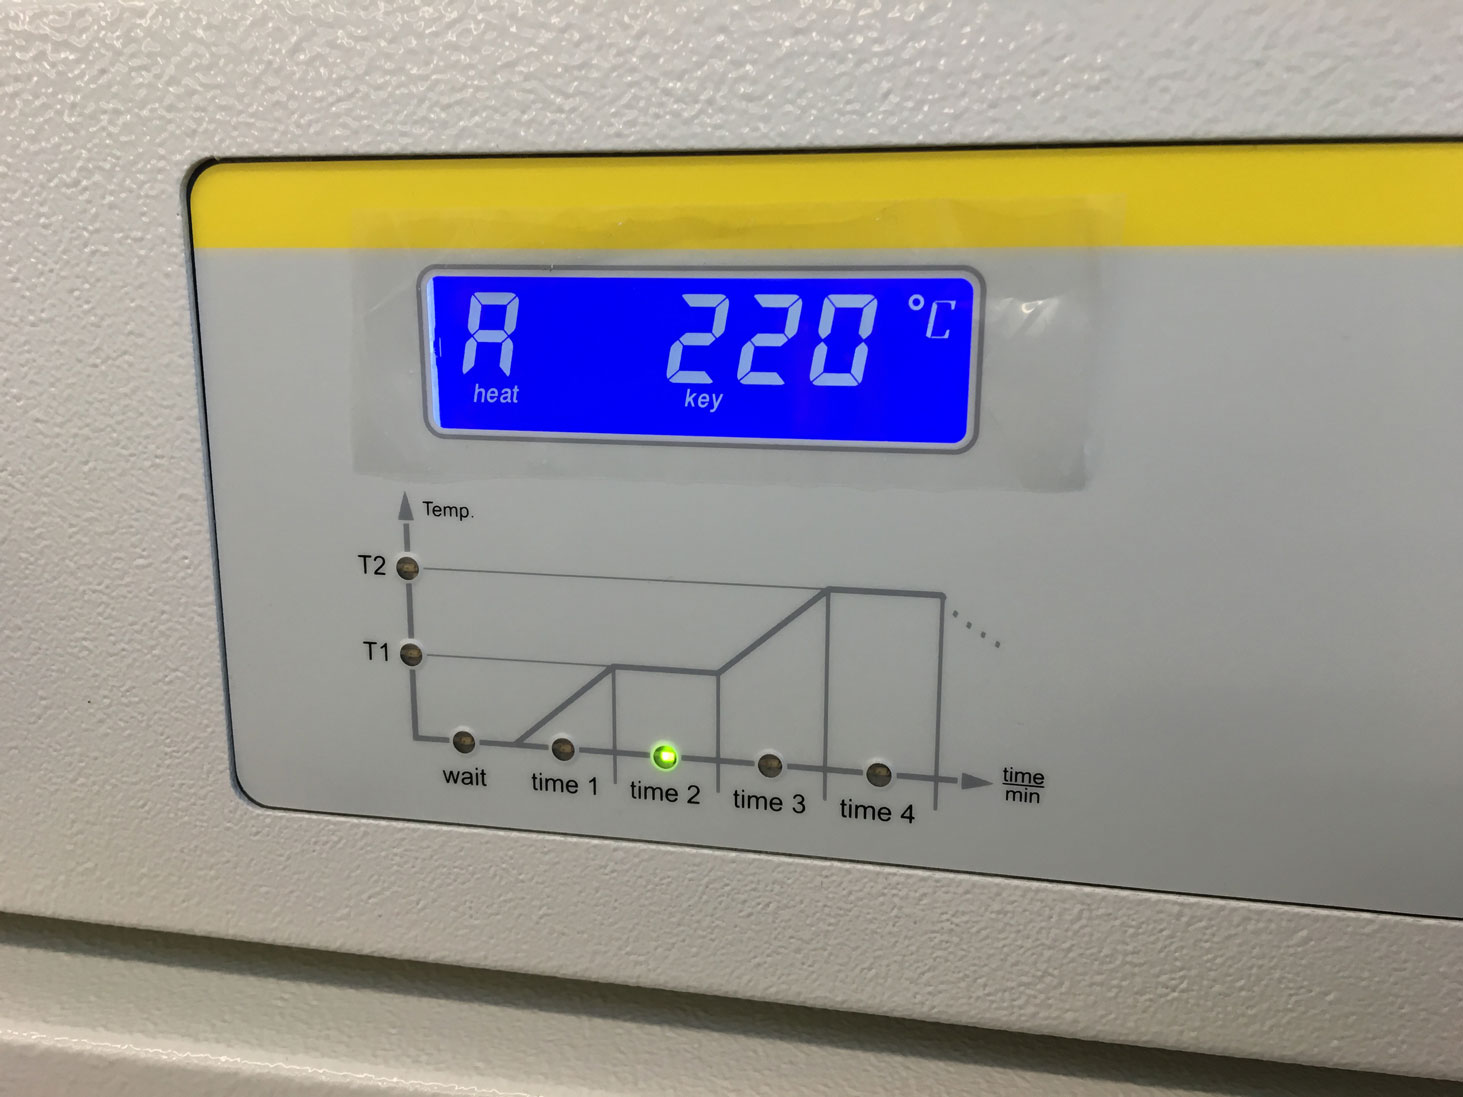
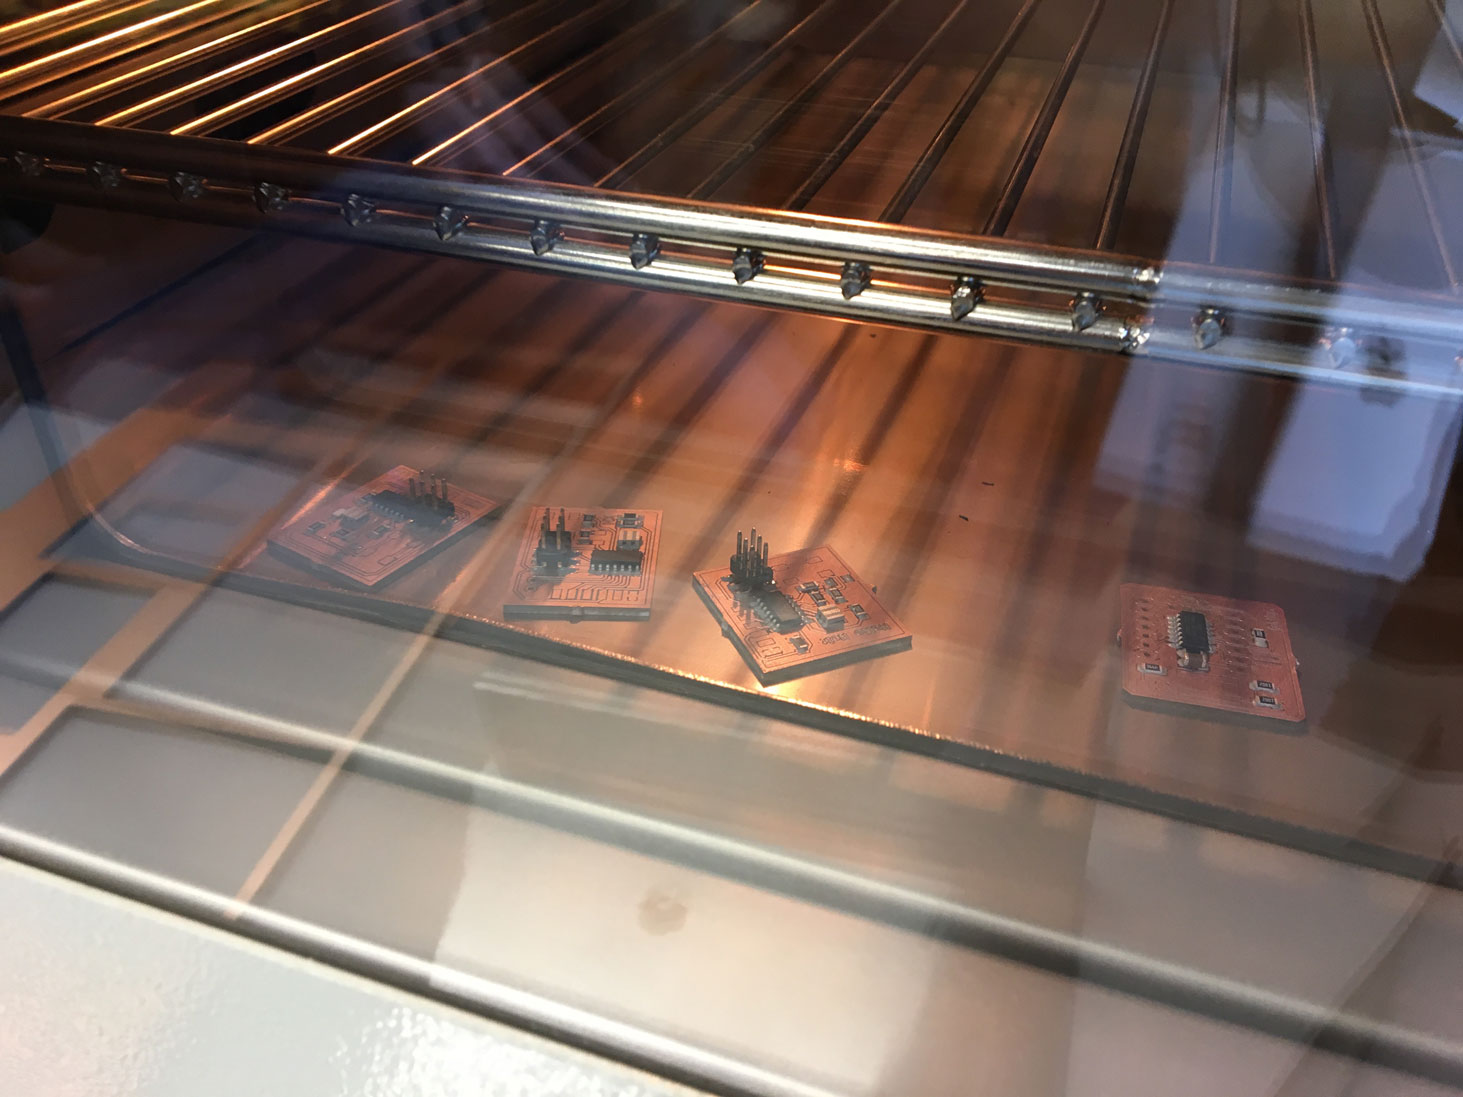
This time I did a combination of reflow-soldering and manual soldering. At FabLab HRW they have a dispensing machine which is the ProtoPlace S. The placement of solder paste was quite easy and precise, too. For placing the components the solder paste extruder was exchanged with a vacuum needle that can hold and manually place and release your components wherever you like them to be.
We put the boards into the reflow-oven (Nabertherm TR60) at a temperature of 220°C for about 2 minutes. During the process we observed how the soldering paste starts to fluidize and to lift onto the components connectors.
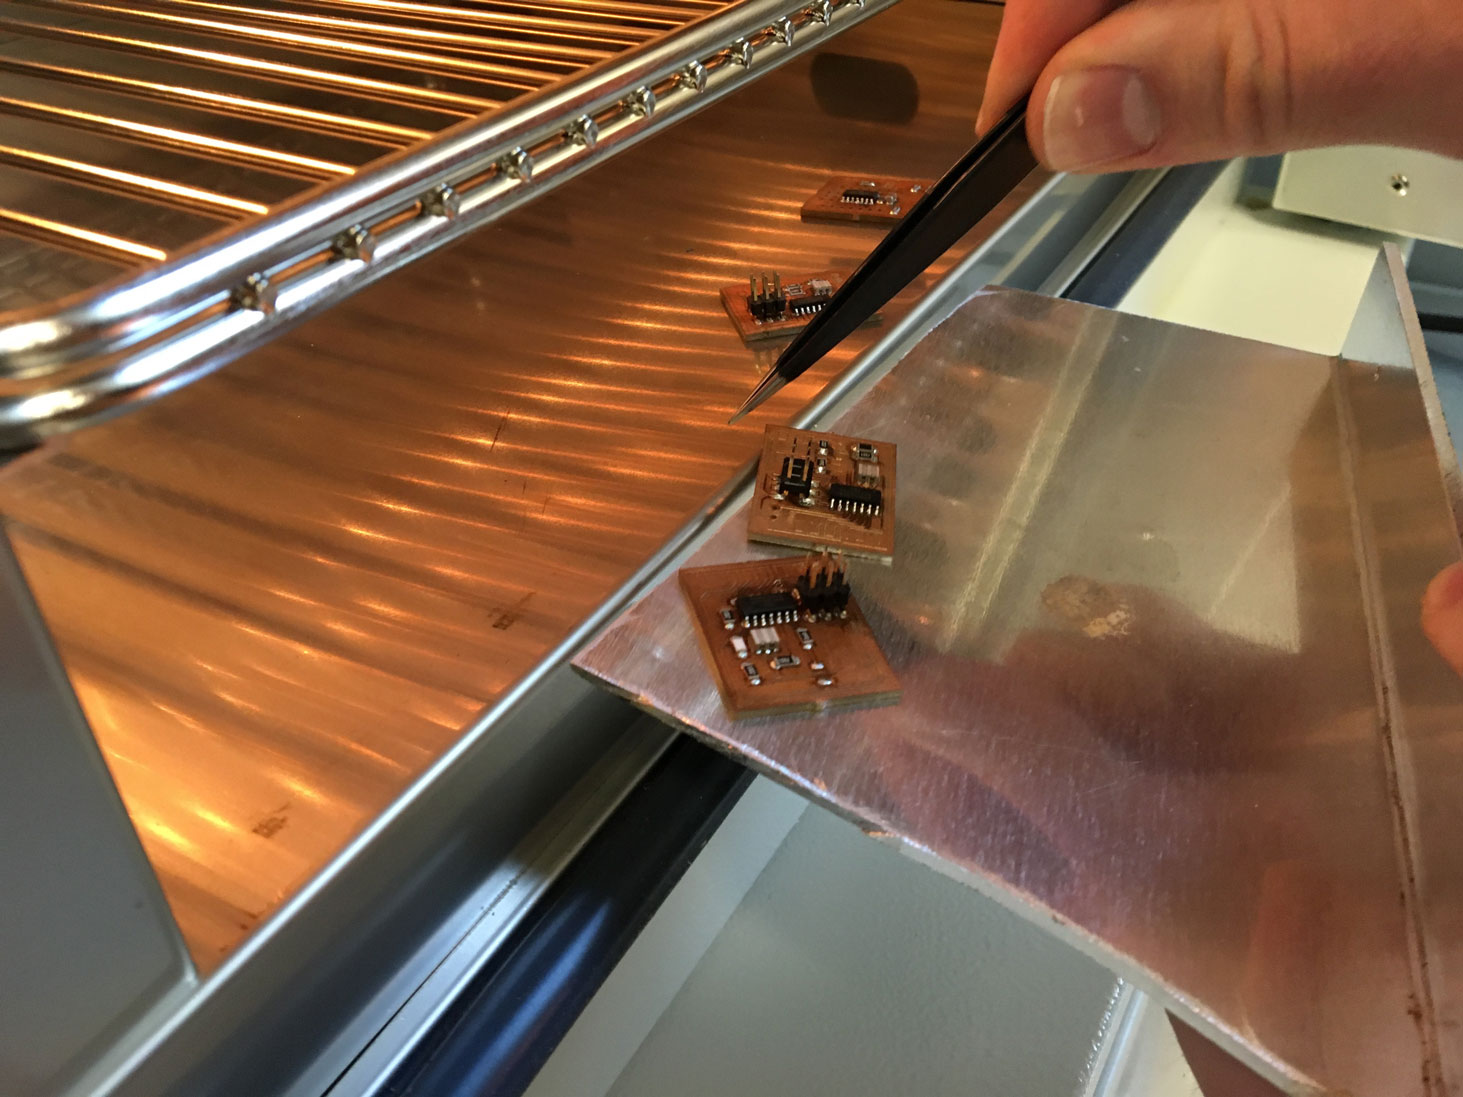
At the end, we had to solder some components manually.
Download
Take Away's
- This was the second time I made a PCB (week 04). Due to the learning curve it was way easier to create it.
- Using the Reflow-Oven for the first time was quite impressive. It is good to see how precise placement of components can be - but is also good to know how to do it manually.
- The autorouter in EAGLE not always works (even though if EAGLE tells you that works 100%). Always check for open connections.
- The visit at FabLab HRW was really nice. Going to other FabLabs and MAKING your stuff there opens your mind.