For this week's assignment, because we are using new (to some) machinery, I want this project to be ambitious and exciting. For this assignment, I would like to make a sitting stool. I've never made furniture ever so this could be either something to look forward to, or despise beyond my wildest dreams. Hopefully, it won't get too out-of-hand.
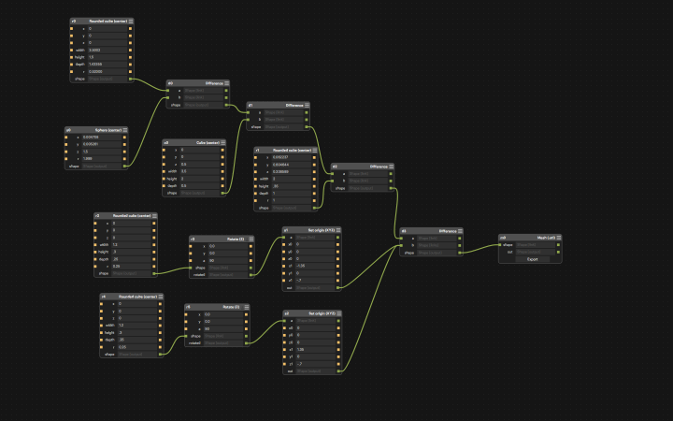
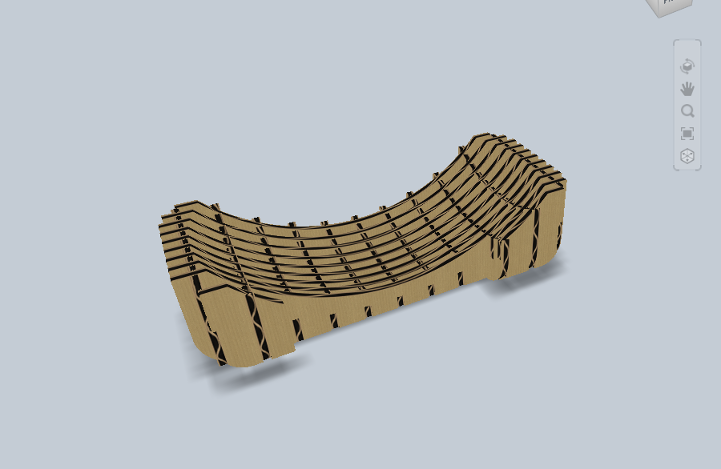
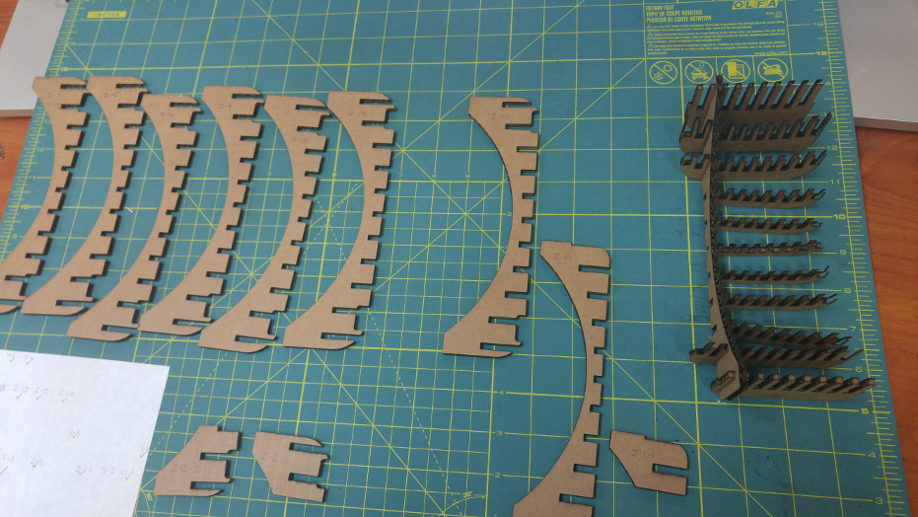
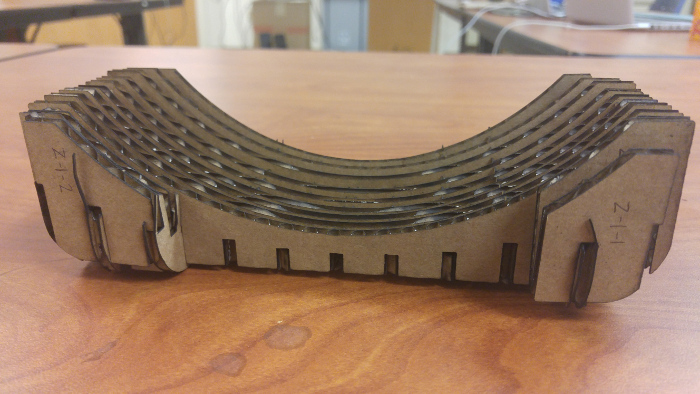
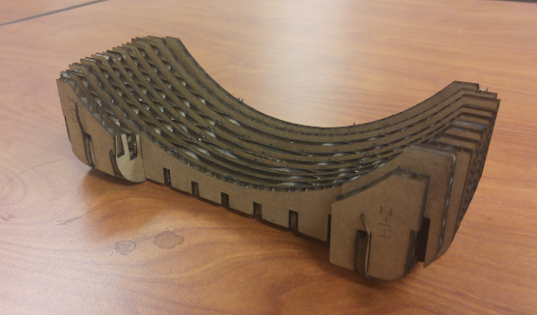
Rather than my seat being a single flat and "uncomfortable" surface, I would like for it to be a somewhat enjoyable (less than uncomfortable) piece of furniture created in pieces adding in a 3D effect with a bit of art (although I don't really consider myself an artist). In order to get my 3D effect, I would like to use this opportunity to experiment and create my actual seat in Antimony. Other parts (like the potential backrest and the legs) will be created in CorelDraw. Before cutting out my pieces, I will build a quarter scale prototype to be sure the design is how I want it to be.
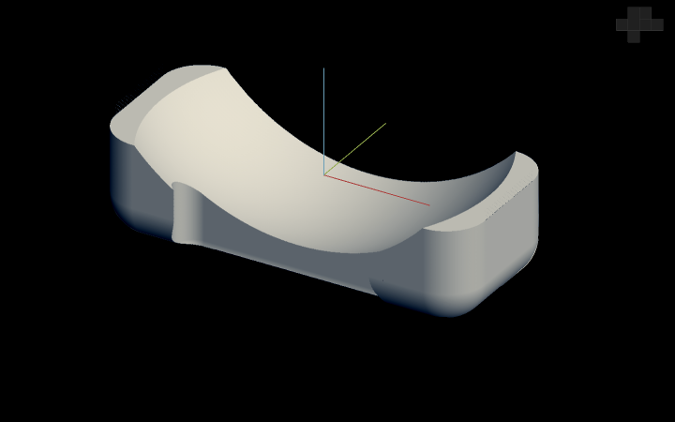
Now that my Antimony design is finalized, I'm going to use the ShopBot to mill out multiple pieces and then put them together like a press-fit.
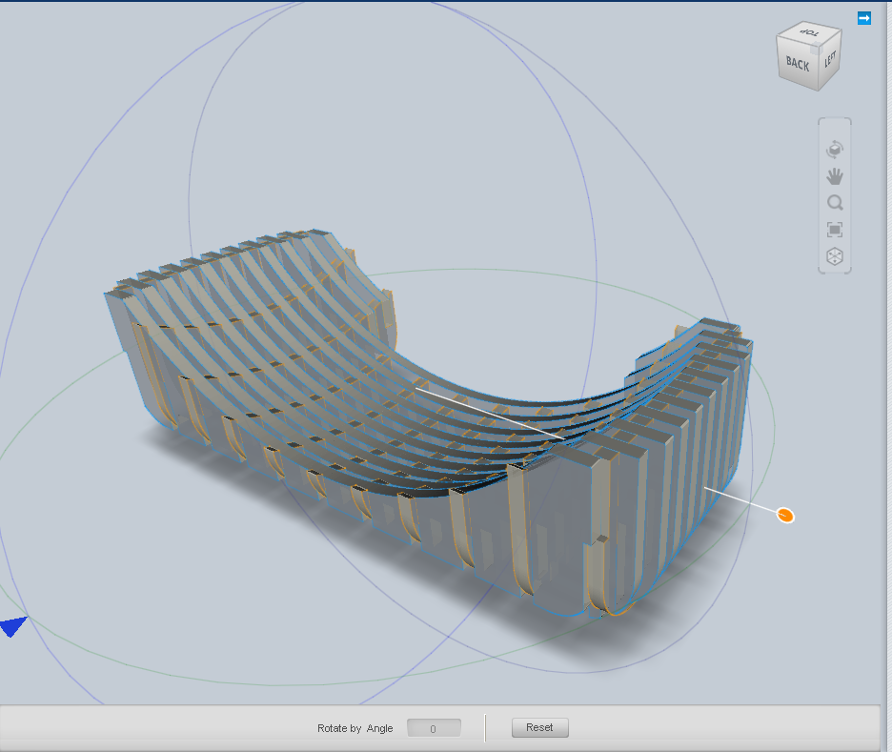
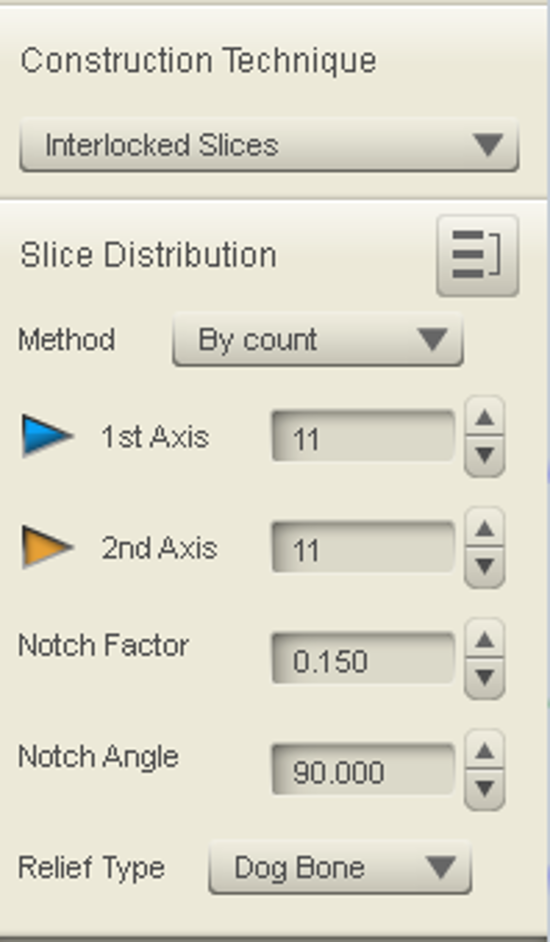
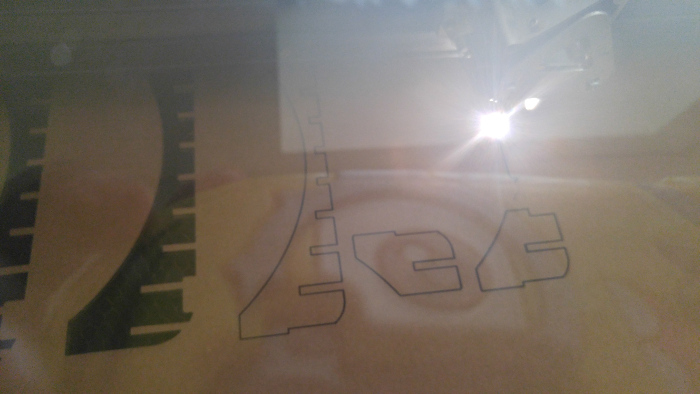
So I exported my design from Antimony and imported it into AutoDesk 123D Make. I played around with the tools in order to get the right specs for the piece: the Construction Technique I think that will be best is Interlocking Slices; in order to get no errors for each press-fit piece, I used Slice Distribution determining the number of slices for each axis-- which I made odd, as well as rotate the pieces to eventually be in positions that are comfortable for the individual to sit. Once my design was fit to be milled, I exported my design from Autodesk as a .DXF into CorelDraw to be laser-cut from cardboard.
Design Files
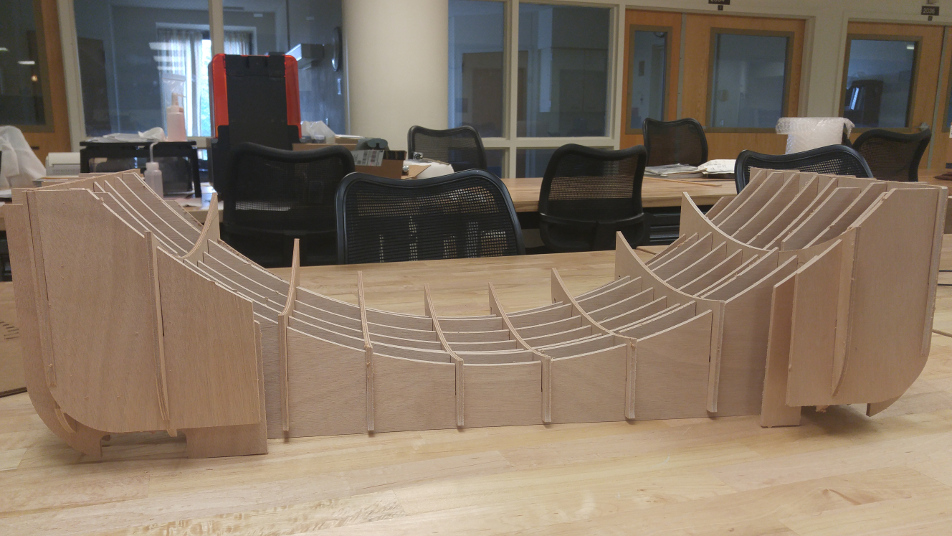
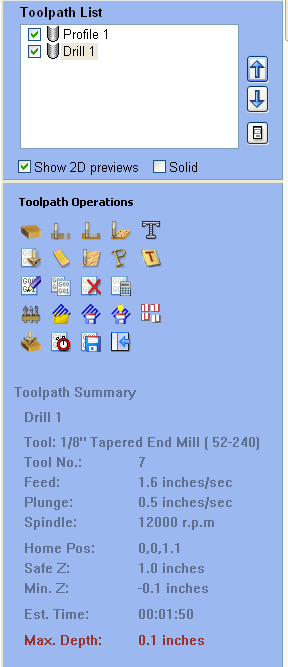
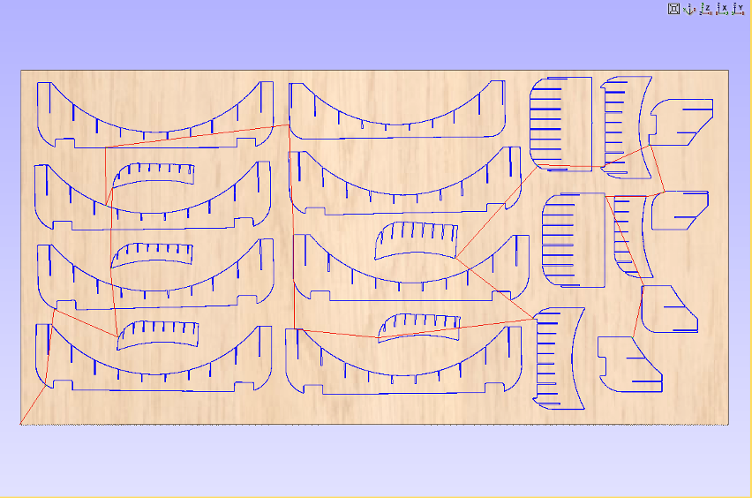
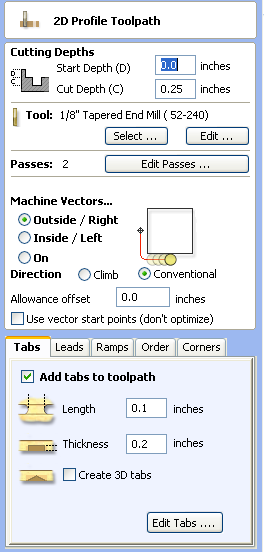
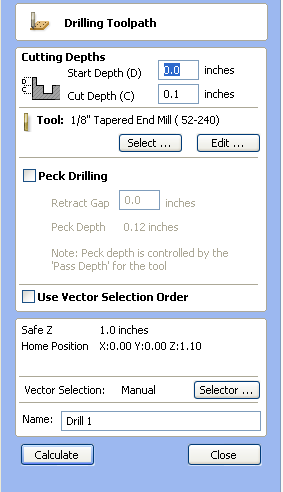
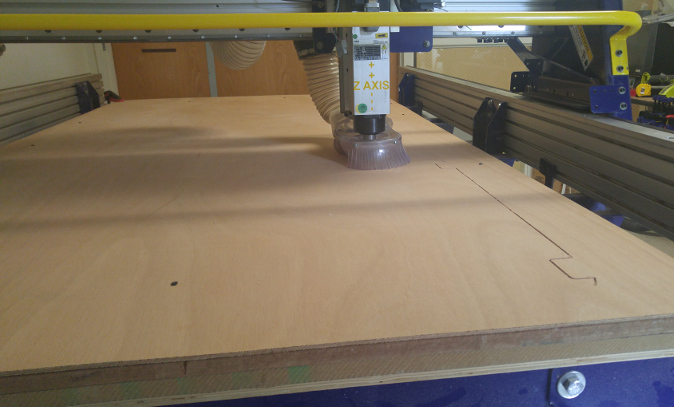
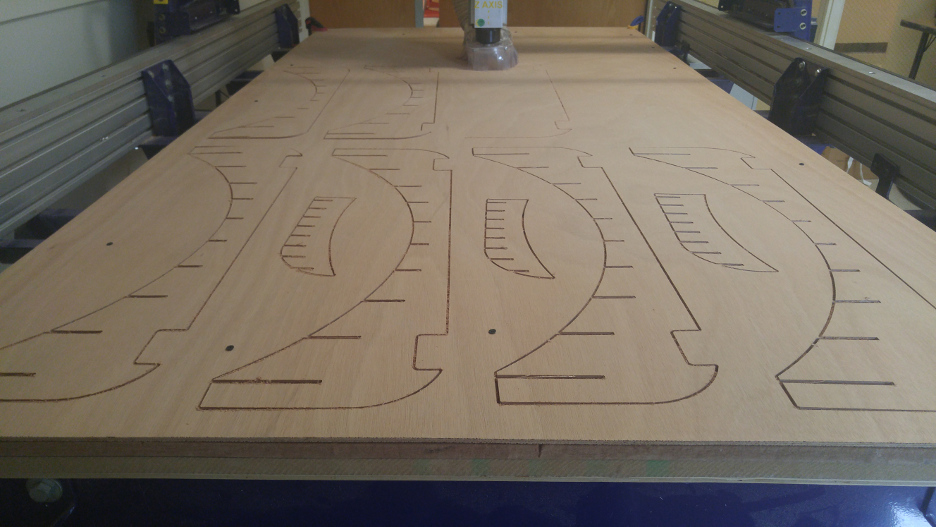
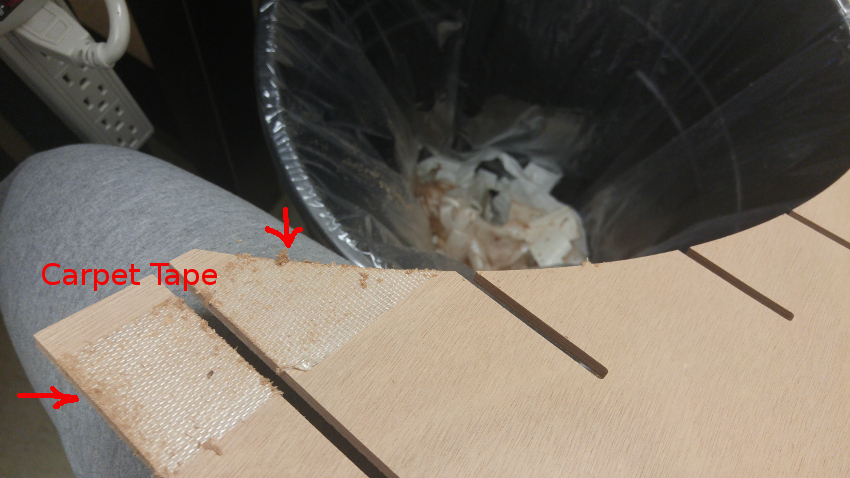
Now that my prototype has been milled and built, I have a good grasp on the workflow towards my Something Big object being completed. This time, I will reiterate the steps I took for the prototype: go back into AutoDesk, scaling up my object to its full size, making needed adjustments-- number of slices per axis, needed rotation, etc, export as a .DXF to CorelDraw, and finally saving that file and opening into Partworks for milling. When setting up my material onto the machine, I used carpet tape so that it would fit securely. I also noticed that the board was a little warped, so I created a drill path in addition to my Profile Toolpath for cutting the slices out. With my material being no more than 1/4" thick, I knew that the set speed of the material should only be so high so as not to damage it, and using a bit that was of equal or lesser thickness than the thickness of my material in order to cut the slots. I used an 1/8" flat bit and set my speed to 12000 RPM.
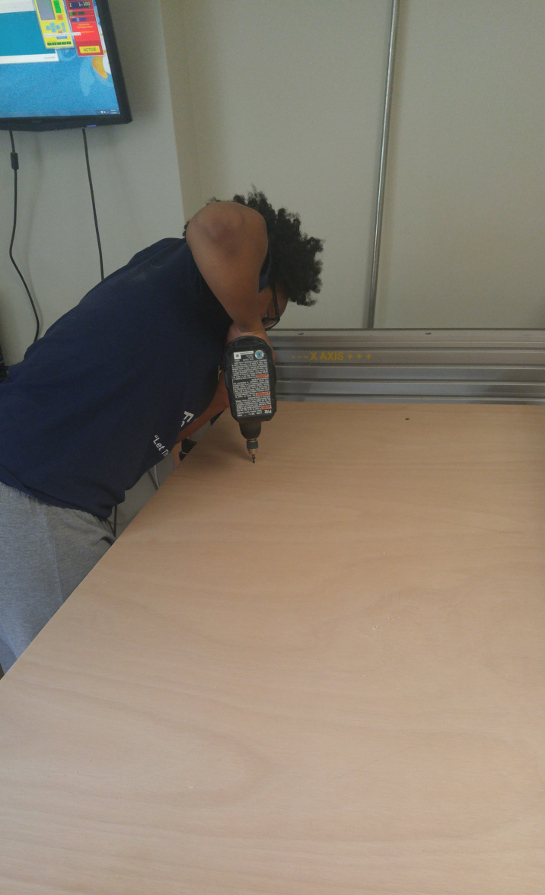
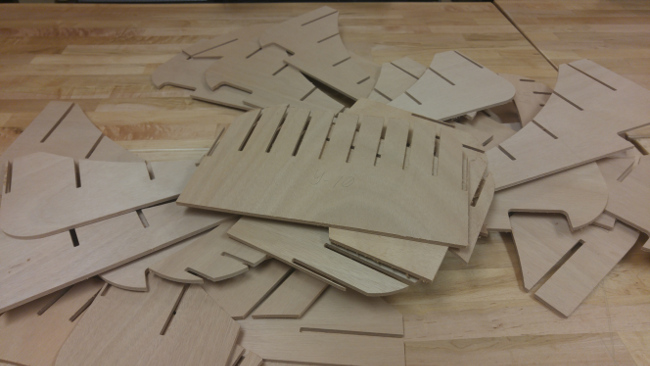
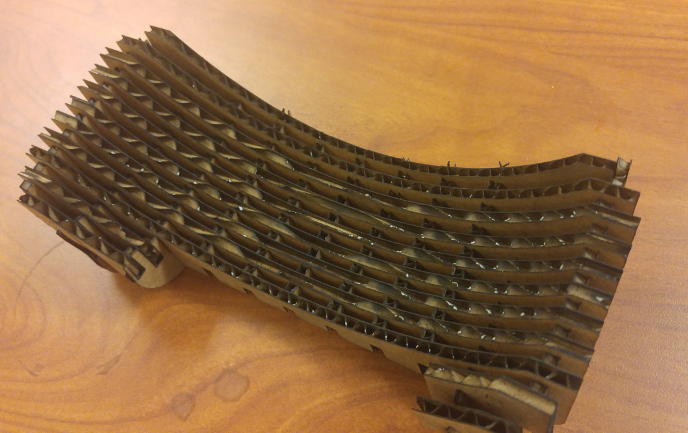
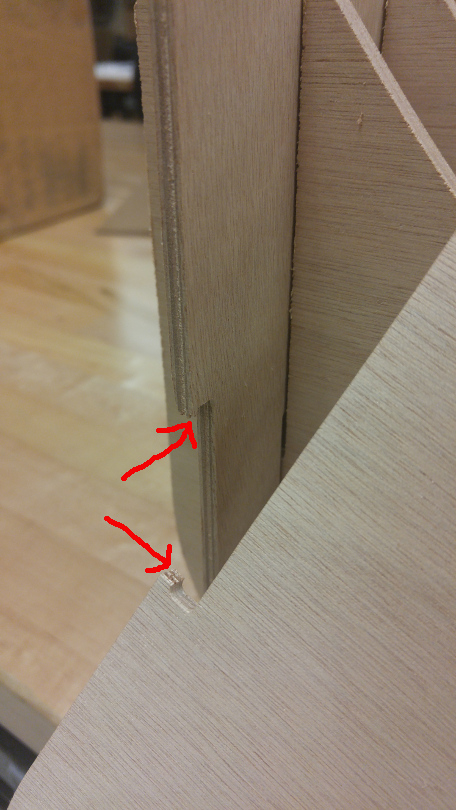
While I was constructing my object, I also encountered some minor issues: two teeth that were attached to end slices had broken off (which could have been avoided if I had altered the 3D model in 123D Make); it was a harder sliding the parts together (but I had to remember, wood is not as forgiving as cardboard); some slots were not as tight as they should be.
Once my construction was complete, the entire design was how I wanted it to look. I believe I was successful in understanding how to use the ShopBot to make something big. From my minor defects, I would like to take this project further in the future by decreasing the width of slots for a tighter fit and increase the number of slices for a more secure foundation. Although, my initial idea evolved from a stool, to a booster, I think this idea can go further to possibly become a frame for a full futon or bed.