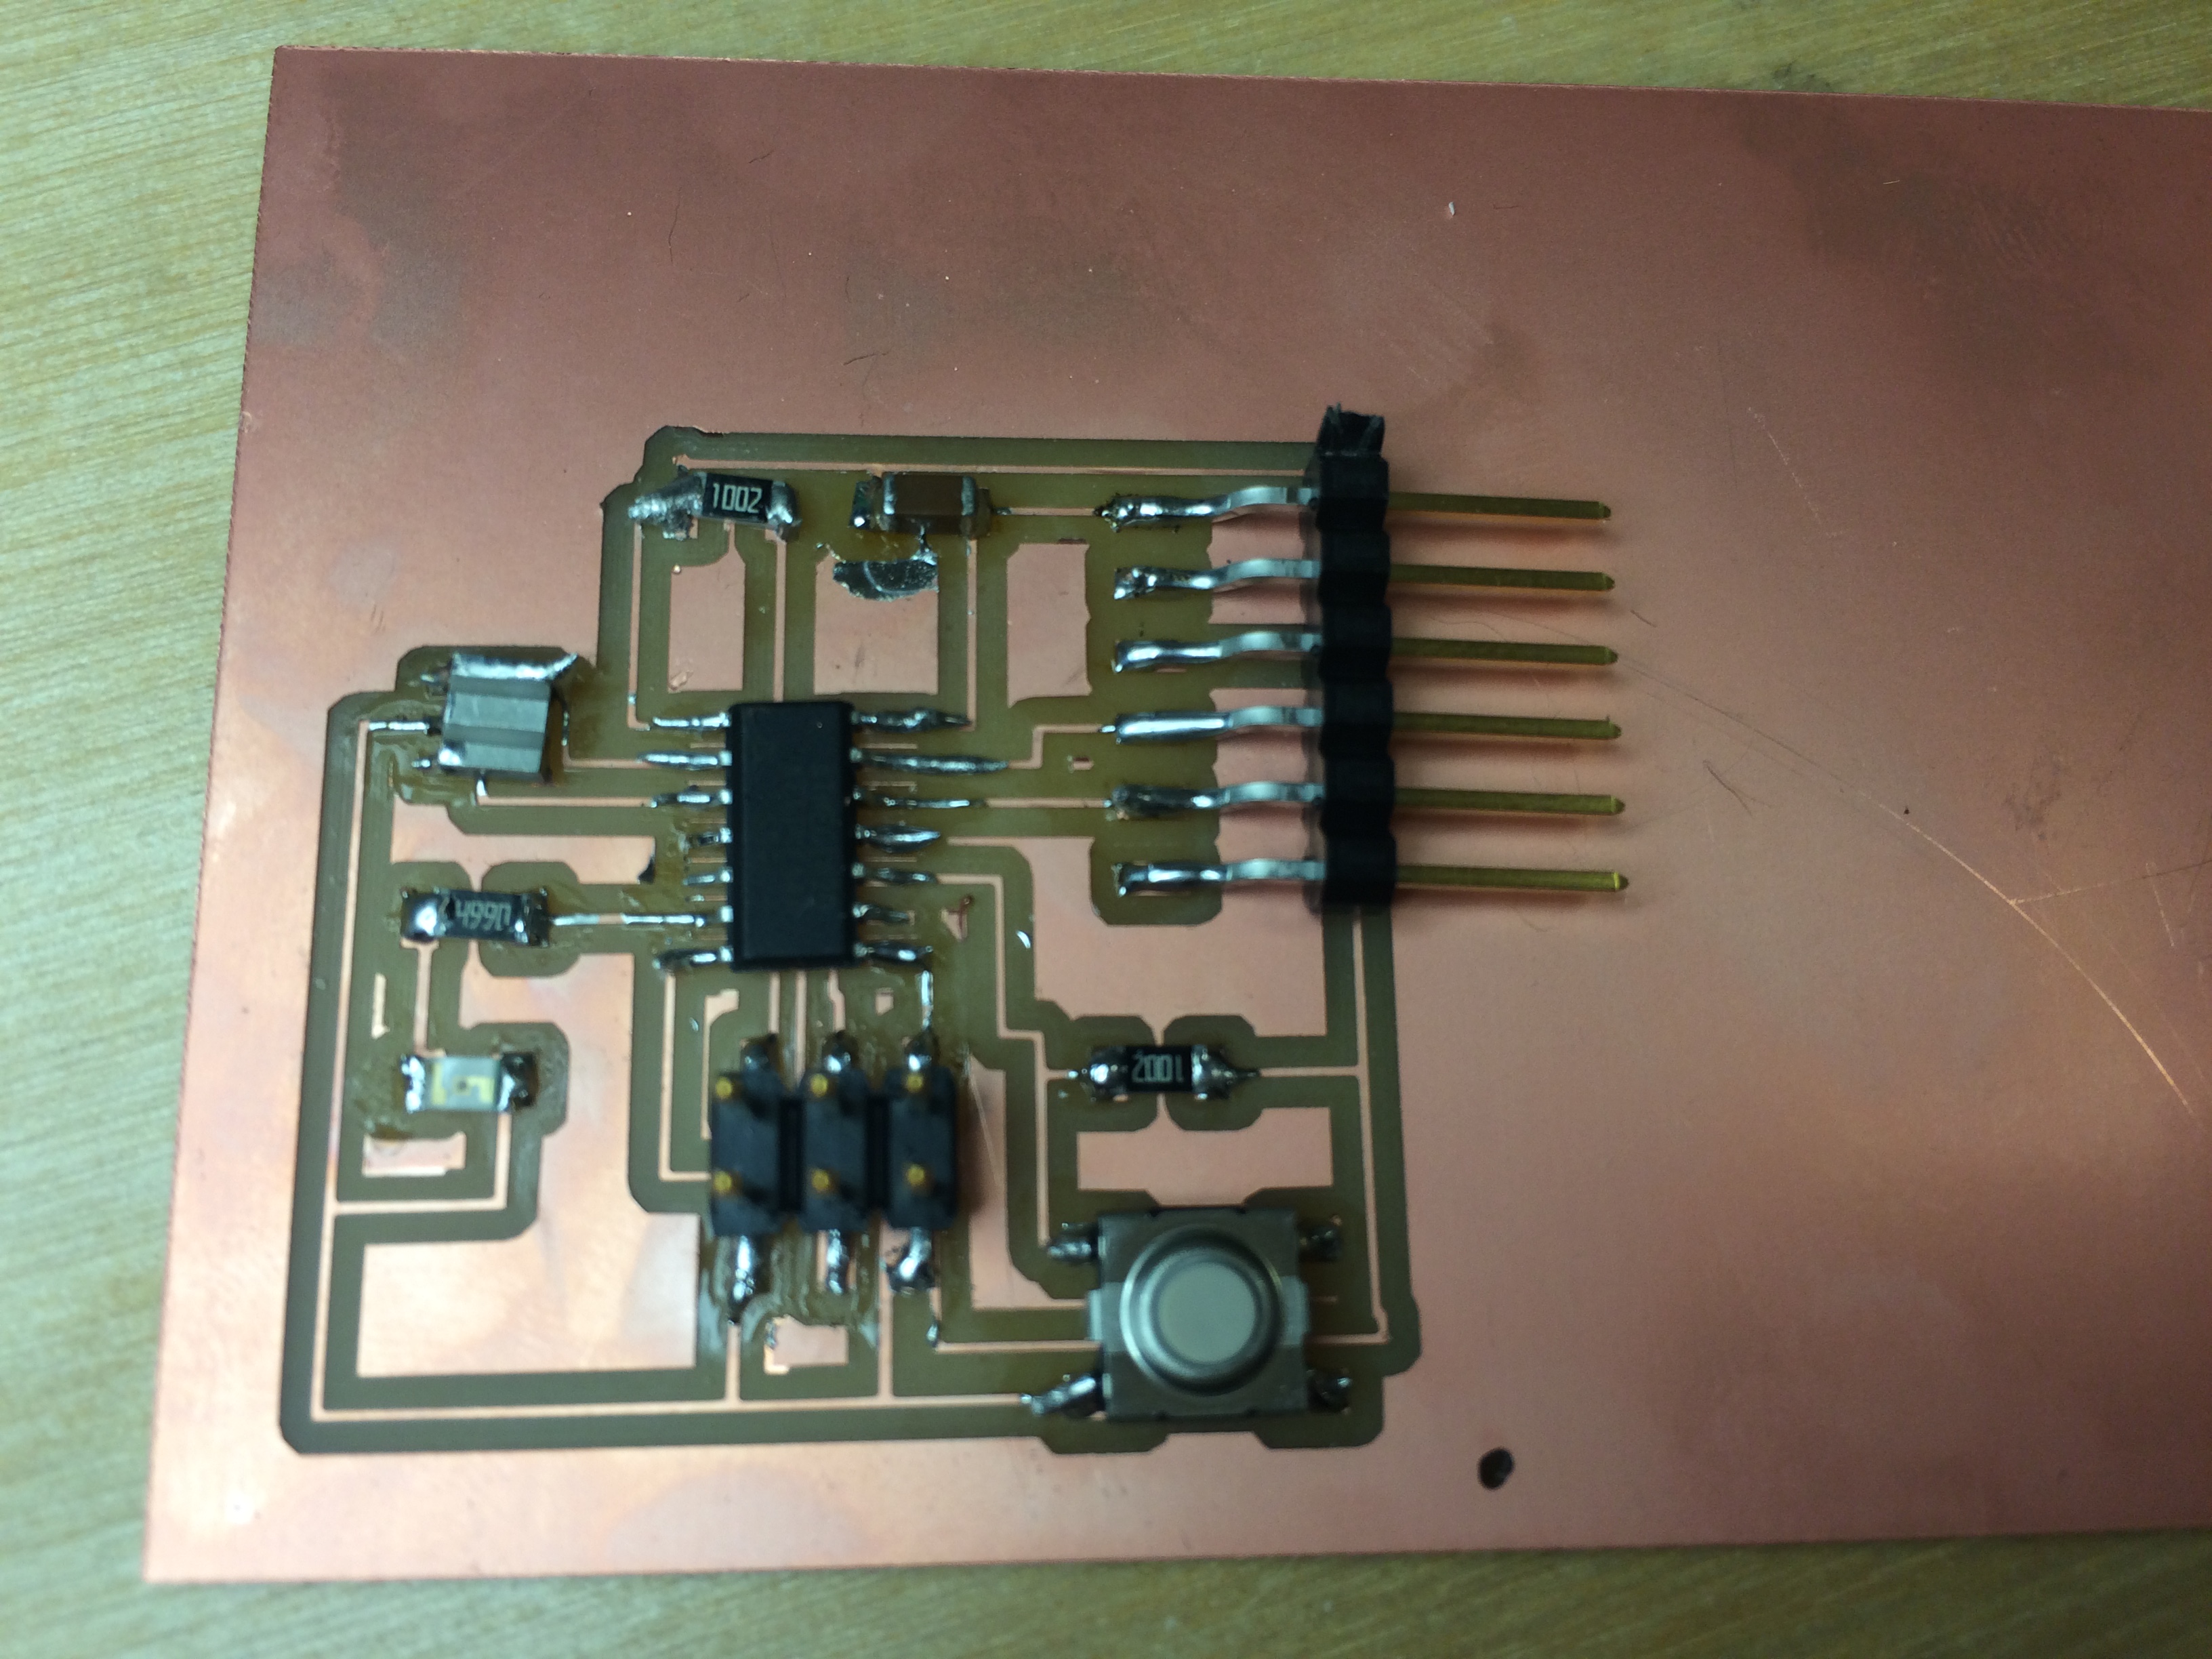
This week's assignment was actually part 2 of an assignment. Details on part one, electronics design, can be found here. I built a Hello board and added a button and an LED. Now it was time to program that board.
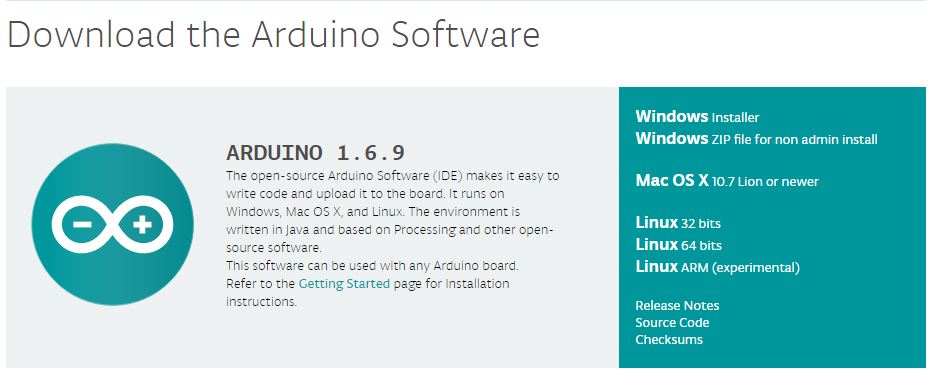
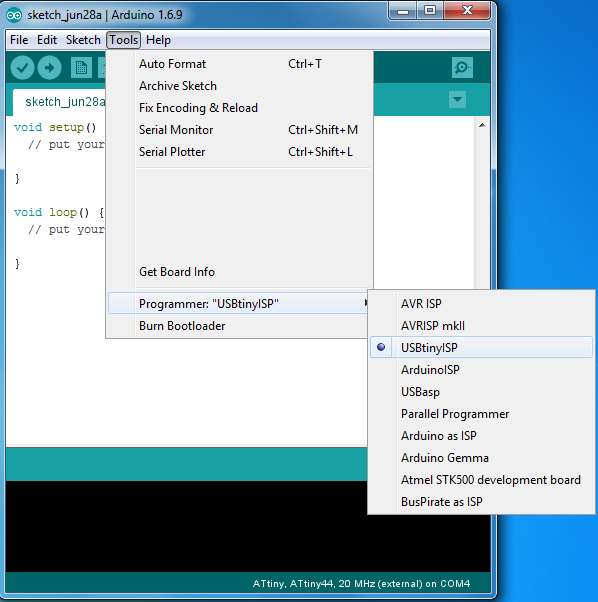
First I had to download Arduino IDE from the internet and install it on my Windows 7 computer. Here is the website I used to download the Windows installer. Once I ran the installer, I tried to find the programmer option for using my Fab ISP controller from the dropdown menu. What I was looking for was the option "USBtinyISP" under "toolbar>programmer" but I couldn't find it. After searching around a bit on the web, I decided to just un-install and then re-install Arduino IDE as an administrator. So I downloaded the ZIP file.
Once I installed Arduino IDE as an admin, things went smoothly. For some reason, the USBtinyISP programmer was in the dropdown menu, and I was ready for the next bit of install.
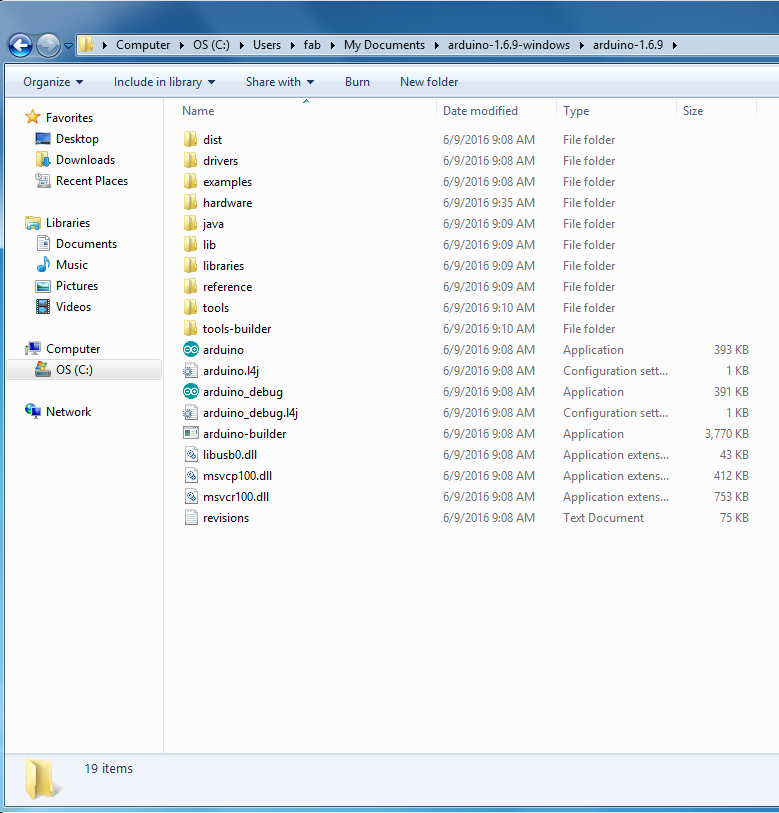
Next, I had to get the right board files, so I downloaded the ATTiny board files from a github repository. Then, I found my Arduino hardware file folder which was located under My Documents>arduino-1.6.9-windows>arduino-1.6.9>hardware. All I had to do was drag that folder into the hardware file folder, and I was good to go.
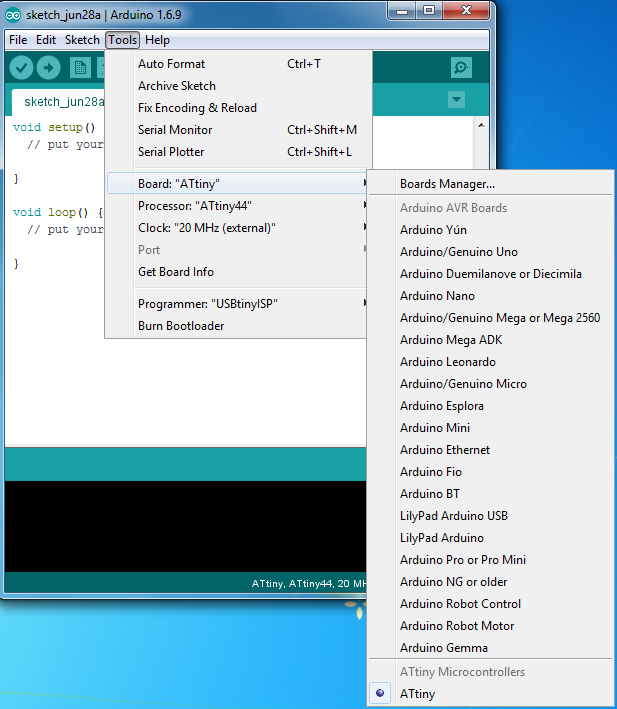
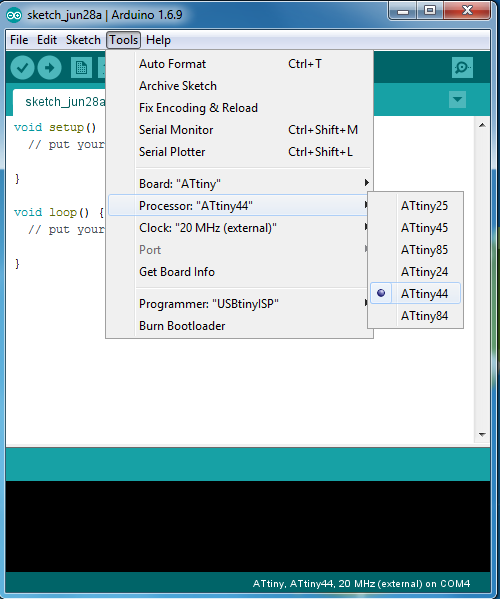
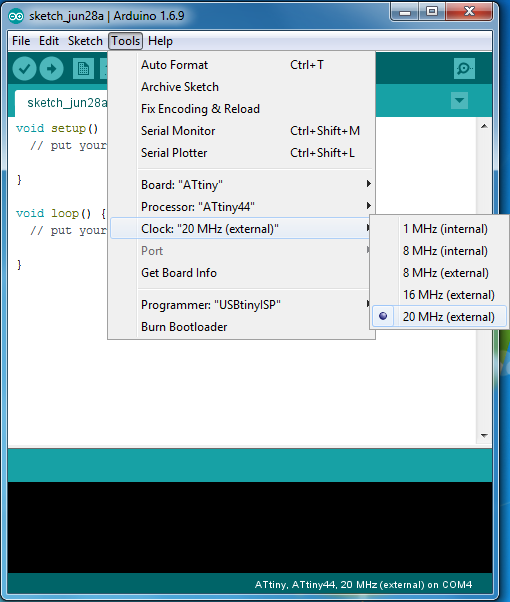
Before being able to burn the bootloader, I had to make a few selections. In my version of the IDE, these selections were located in separate drop down menus under the heading Tools. First, under Boards, I selected the ATTiny. Then, under processor, I selected the ATTiny44. Finally, under Clock, I selected "20MHz"
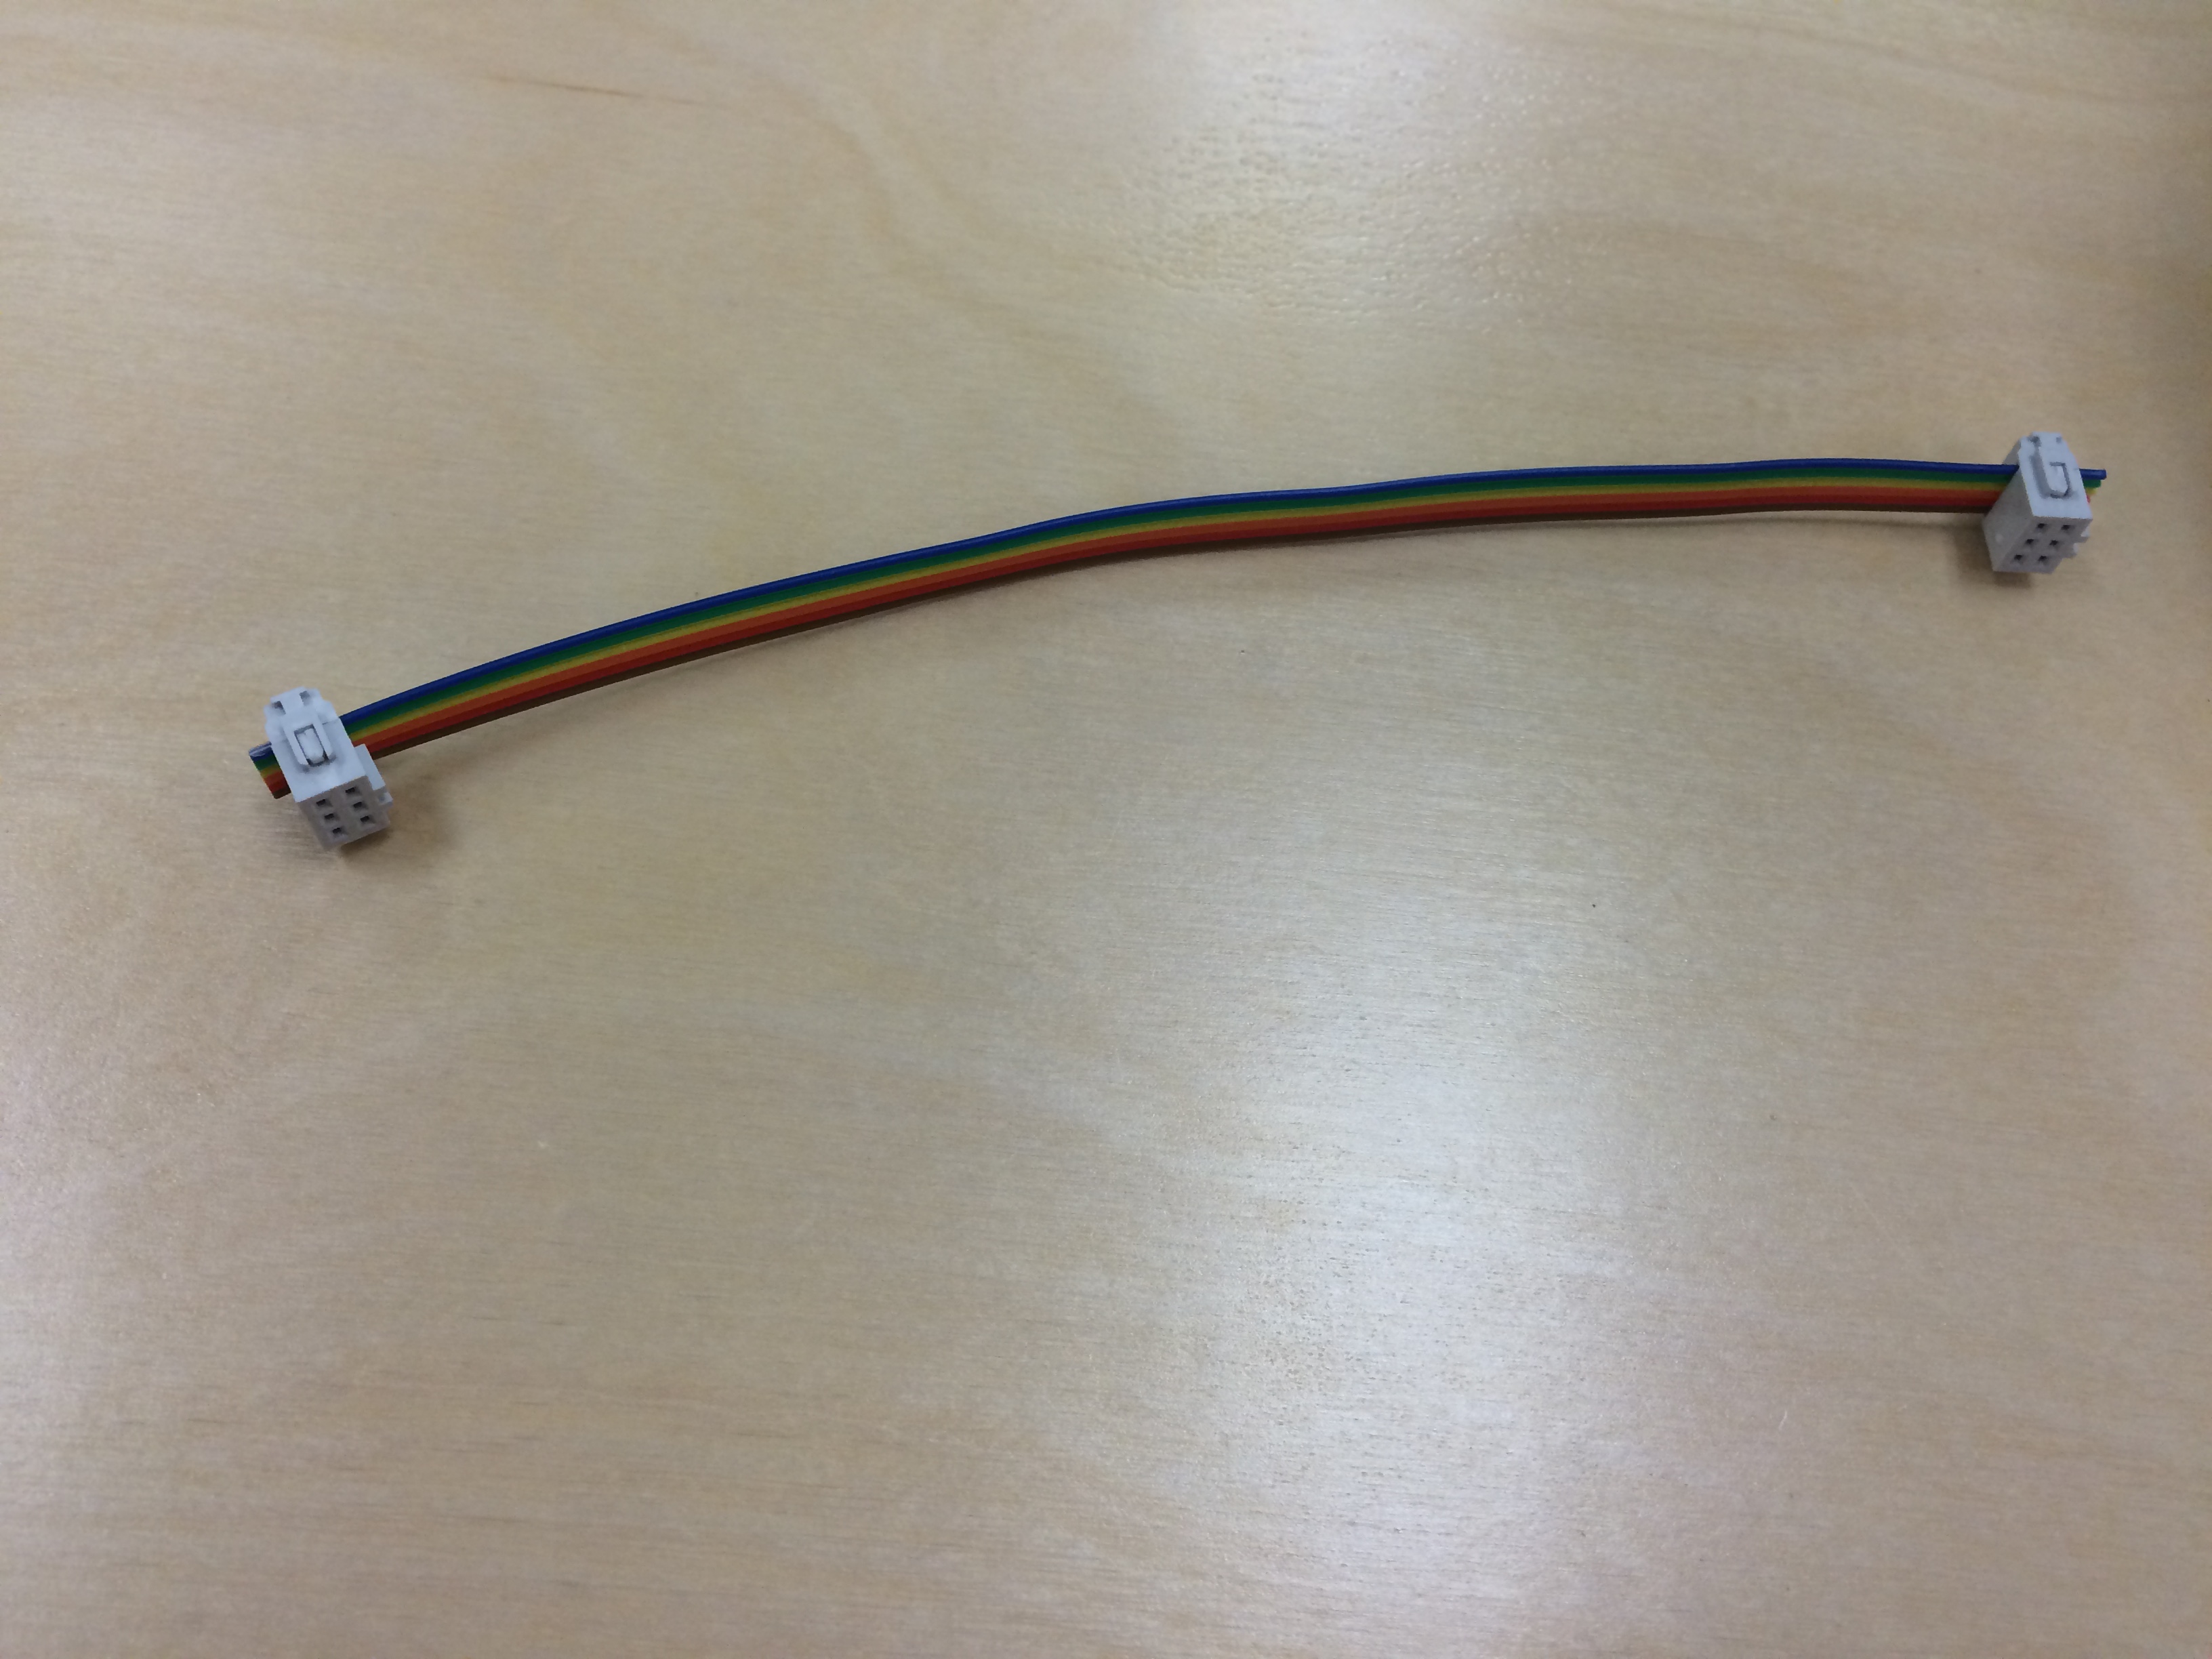
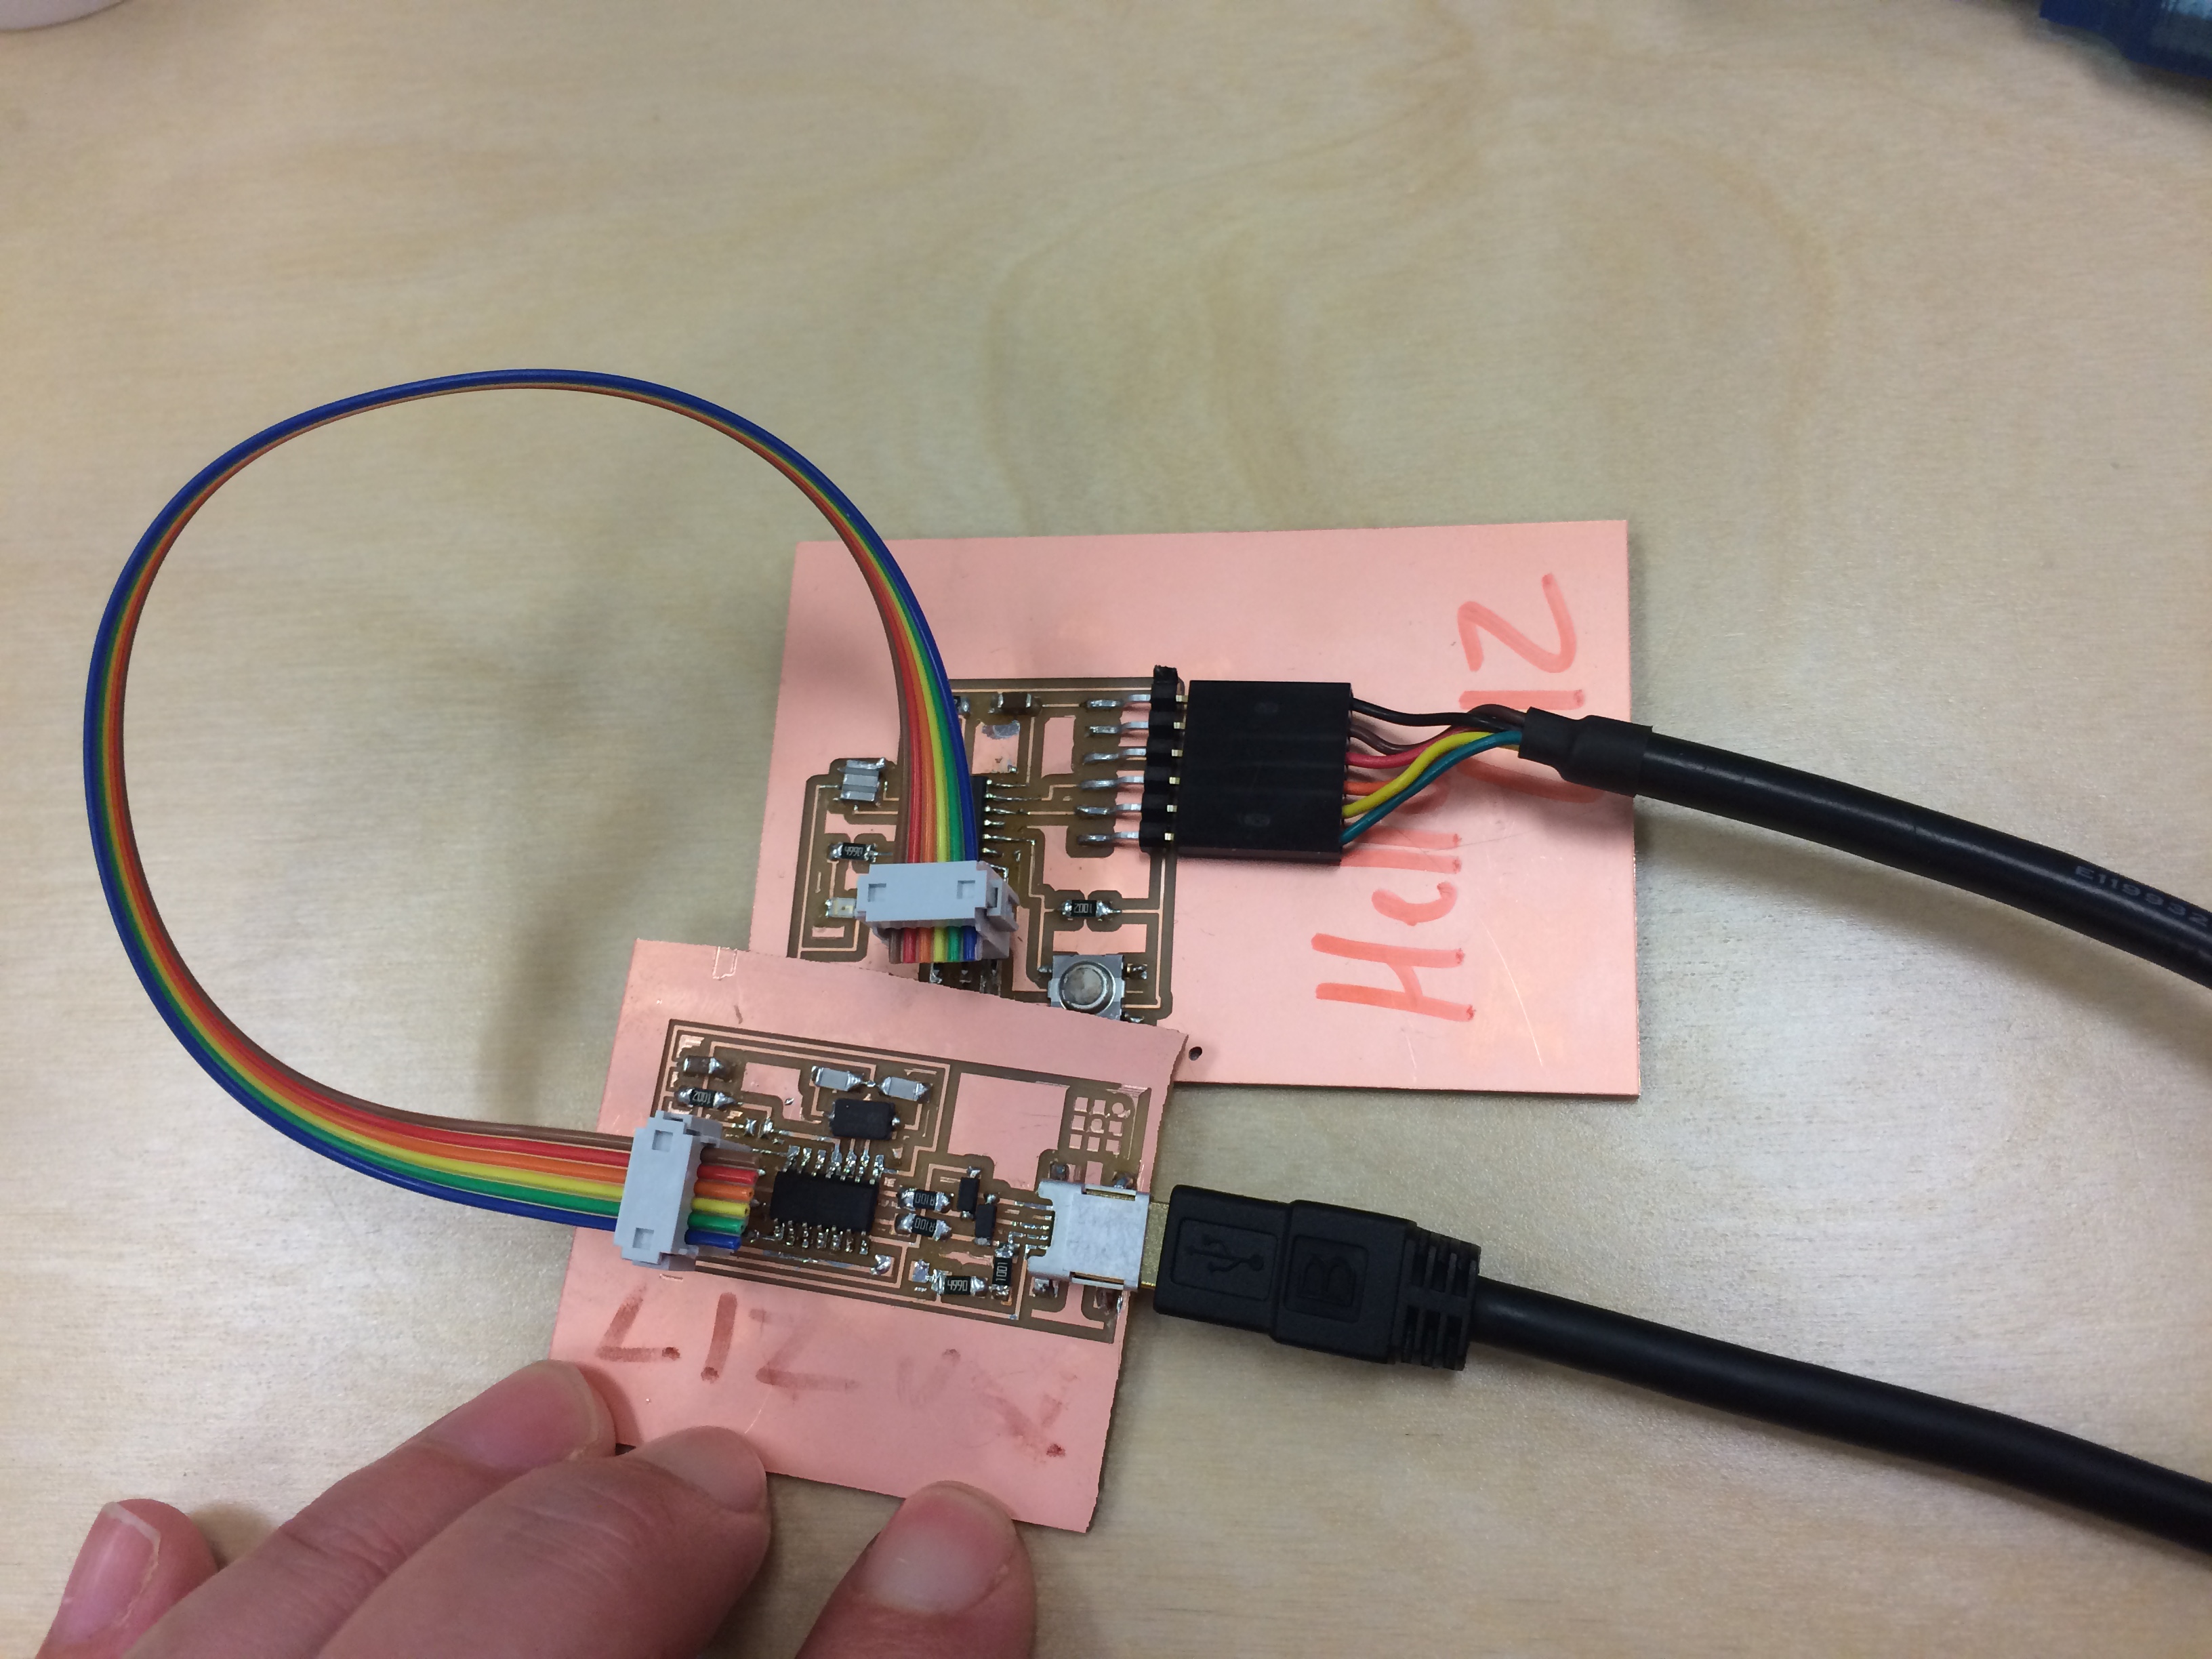
Finally I was ready to burn the bootloader. I pl;ugged my Fab ISP board into the computer using the USB cable, then I attached it to the Hello board. I used a ribbon cable that I made and was careful to match the pins correctly. I also attached the Hello board to the computer using the FTDI cable.
When all the boards were hooked up correctly, I selected "burn bootloader" from the Tools menu. Once this step was done, I was ready to download my program onto the Hello board.
I modified a program I found on Anna Kaziunas France fab academy site. First, I read through the program to understand what was going on. I ensured that the pins were connected and set in the command:

In order to make sure that my pins were correct for my ATTiny44, I looked through the Data Sheet! This is a huge document, and can be found here. This document is 238 pages long (though it is inclusive of the ATTiny24/44/and84), and most of it was confusing to me. I was looking for the specific pin diagram, though, and I found it.

Once I had the pins all set, I was able to play withthe code a little bit and do some cool things with the LED and the button...Well, the word "cool" is relative here. I thought it was pretty cool that I could change how the LED light works by changing the reading from HIGH to LOW (either on or off).