Week 5 - 3D scanning and printing
Assignment
Group project: Test the design rules for your printer(s)
Design and 3D print an object (small, few cm) that could not be made subtractively
3D scan an object (and optionally print it) (extra credit: make your own scanner)
3D Scanning
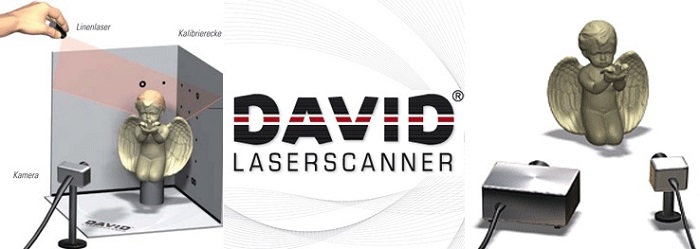
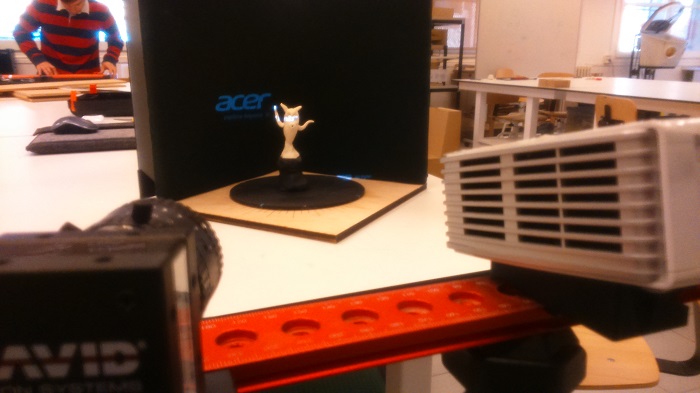
To do the 3d scanning exercise I will use the structured light scanner David SLS-2, this is one of the scanners of my lab and have not had enough time to prove it. This is a good opportunity to evaluate their usability and results
Scanning objects must have some practical purpose. In many cases it is a matter of reengineering. The result of a scan can be very complex or get errors which must be edited with a 3d design software like Blender, and this is not easy, sometimes it is better drawing than editing.
I have some experience printing with 3d printers with FFF technology and although it is true that there are different configurations that can be set from a printing software like CURA but the most important thing is to have the printer very well calibrated.

This scanner software is open source and we had to pay for it. It is visually friendly and uncomplicated. I will follow the instructions to run it. The configuration of the screens is a little complicated but this is a matter of Windows 10.
The basic elements of the scanner are:
LED video projector
Cámara
Base camera rail with camera slide
Tripod
Glass calobration pannel
Cables
Scanner 3D David SLS-2 Data sheet
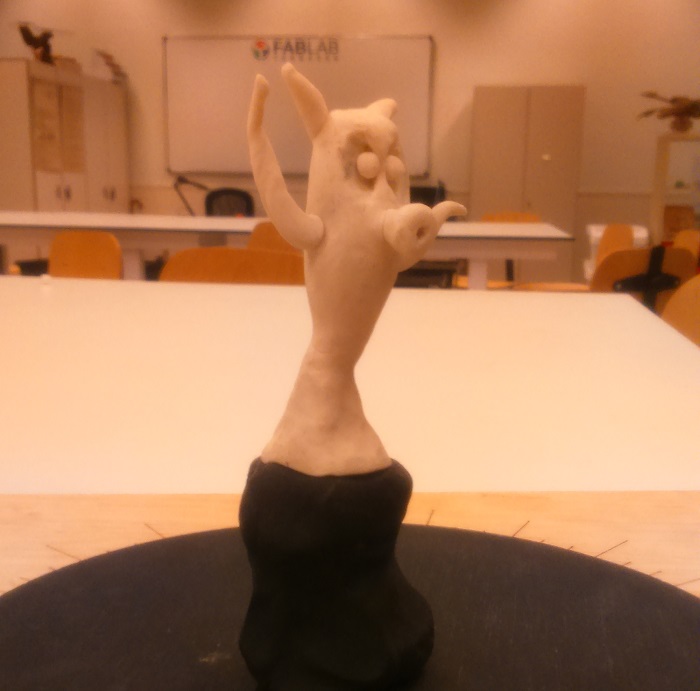
I will use a model made of clay by one of the kids who come to the school activities we do in the lab, I sure he will be happy to see his monster digitized
we have manufactured a basis for manually rotate the object
we added a clay podium to raise the object and get better results
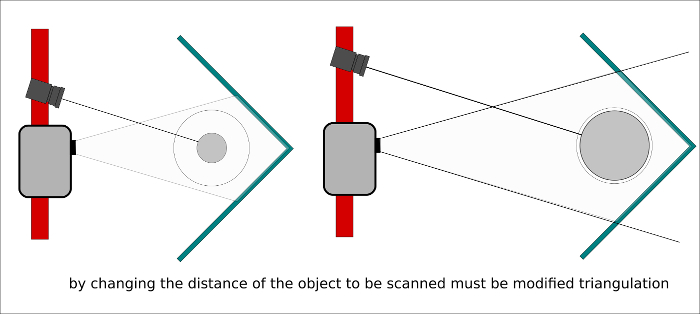
It is time to calibrate the scanner and here intervenes different factors that will make the result is good or bad.
Working distance, Projector focus, Position of the camera, Exposure time, Camera focus, Camera brightness, Select the pattern ( it depends on the size of the objet to be scanned)
There are many more settings to configure but I decided to leave the default values to see what happens. I set the resolution and alignment mode, setting the resolution to 1000 and the alignment as Free(so I will decide how many shots i will do)

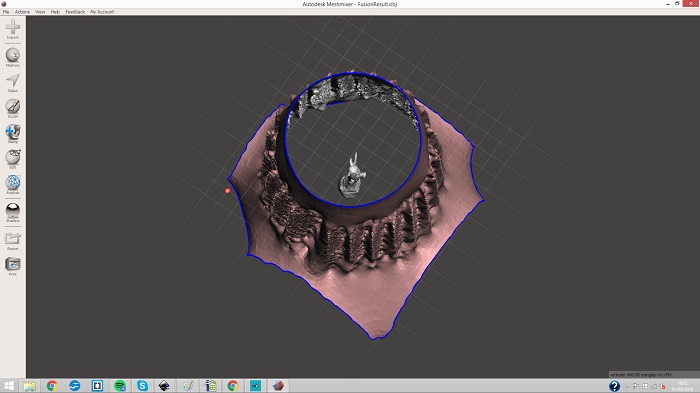
first shot of 24
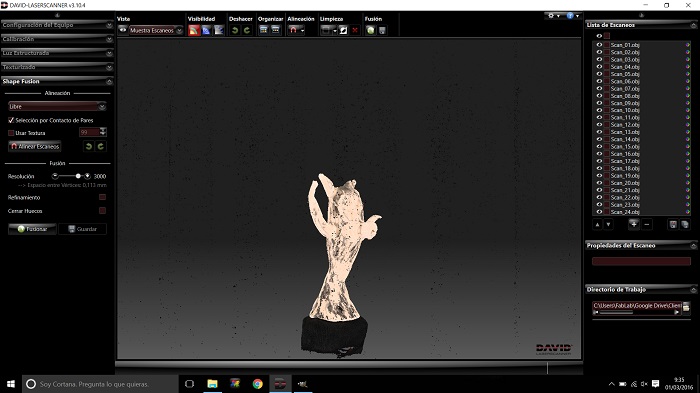
This is the scans fusion result, now i need to save the obj file
Last week we work with blender, I found it a very complete software with many options to work. In this case I will work with meshmixer, understand that it is easier software to be use by children or people with less experience.
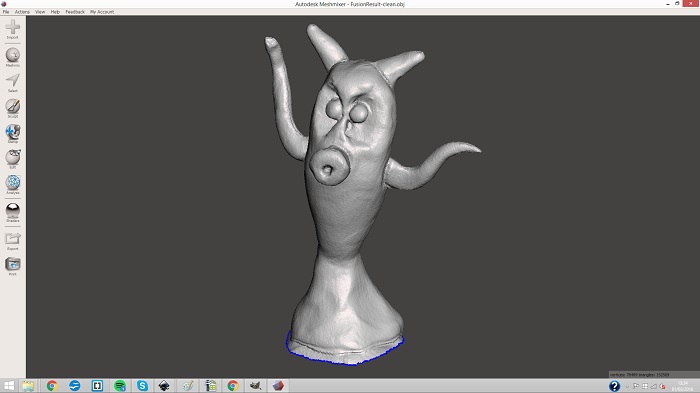
This is the result
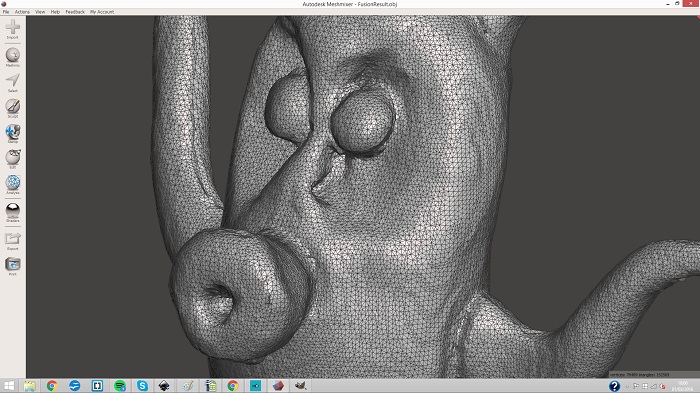
Nice quality
3D Printing
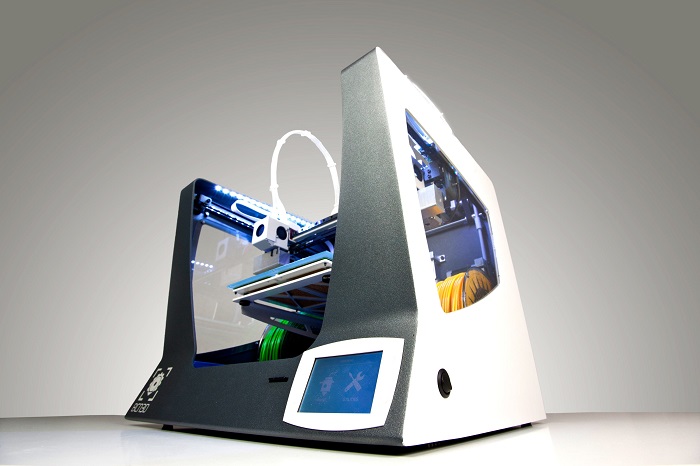
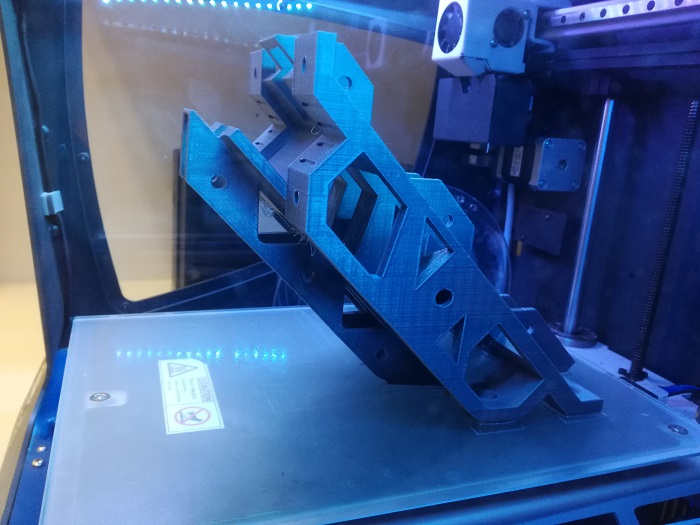
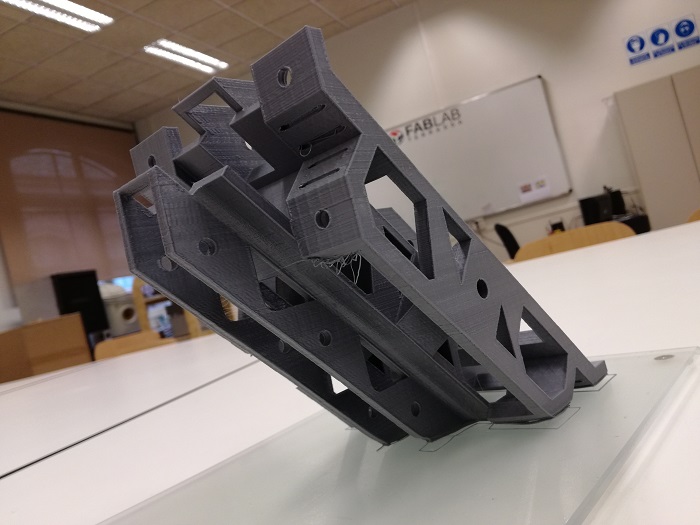
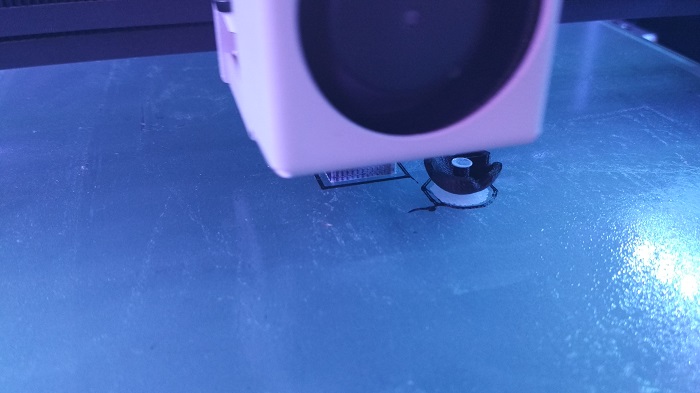
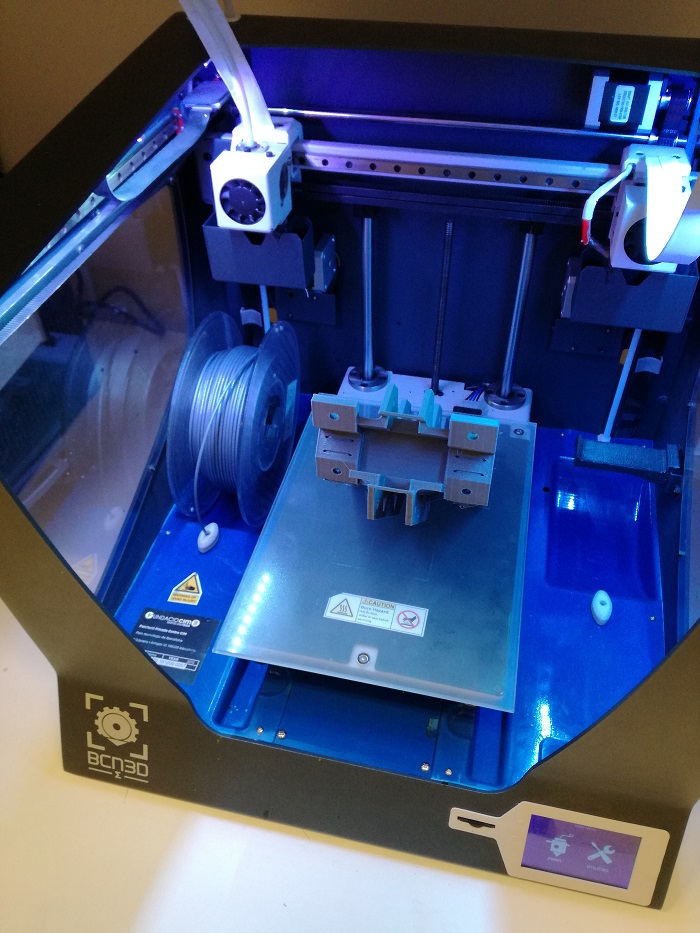
For the 3d printing excerce i will use de Zigma 3d printer fron BCN3d Technologies. It has two extruders!
As FabLab we offer 3D printing service and for this we have printers FDM open source as Reprap BCN3D +, Zigma printers BCN3D Technologies and MJM Objet 30 Printer.
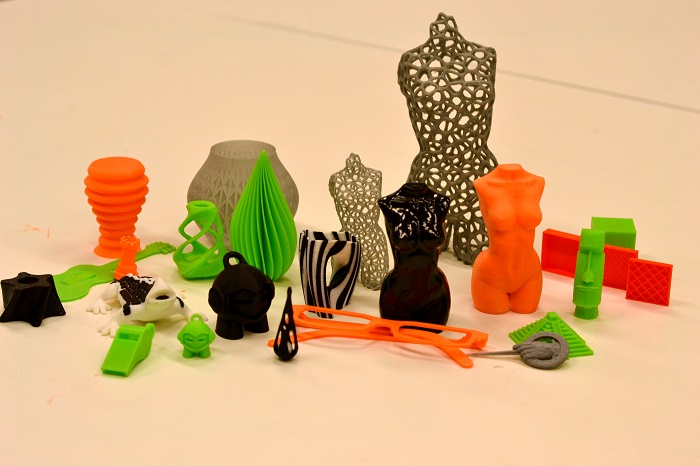
To ensure the quality of service we performed different tests and printed different models to show our customers what you they expect from our machines. We also have a brochure explaining how to prepare ther files for printing and show what can not be done.
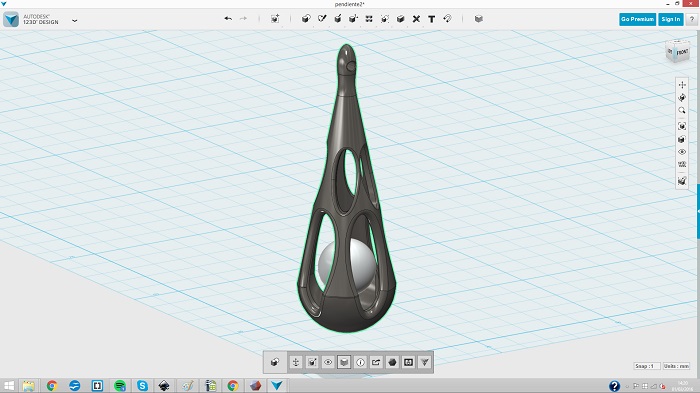
I designed a earing pendant using the design software 123D design. I think it's important to show that with a simple software you can design nice objects.
Easy !, a sphere cut in half, a cone, join these two pieces, duplicate, and scale the duplicate and then empty the larger object, finally subtract some volumes and insert a sphere.
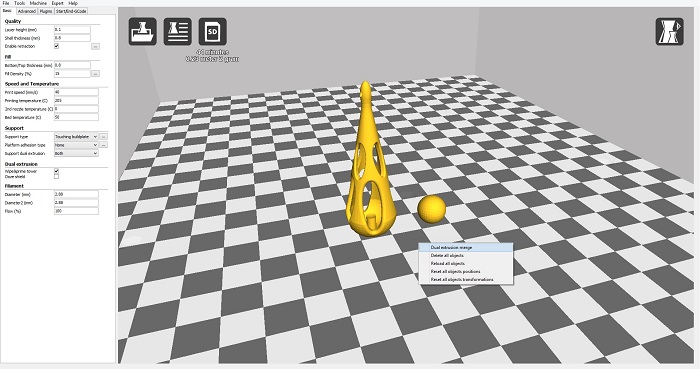
I am using the Cura software to generate the Gcodes files. I decided to make an impression in 2 colors so I had to make two stl files
Explanatory text about the image
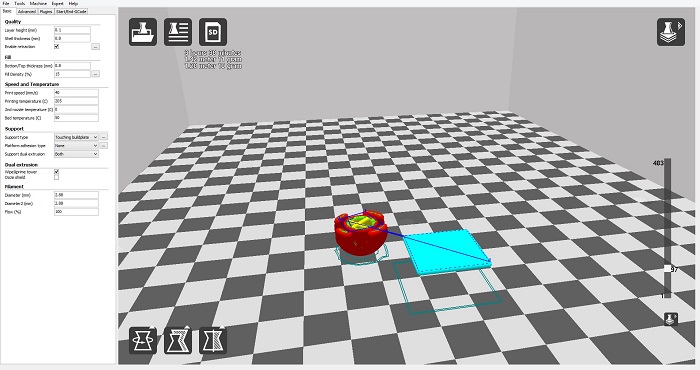
To print in diferents colors or material this printer needs an extra element to clean the extruder and to ensures the continuity of the deposition of the material, this extra elment is like a tower but its to big for the object i will print so i will change the size of the tower.
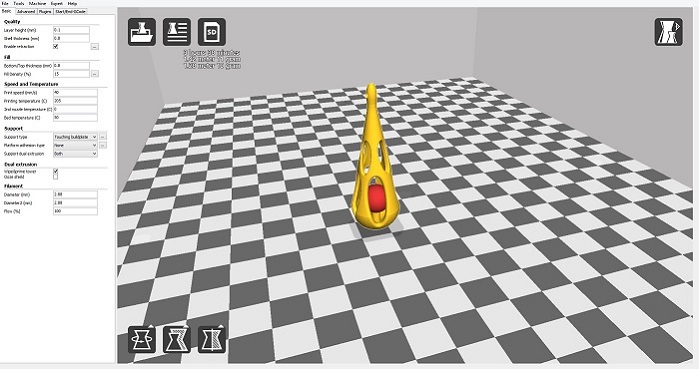
I had to place an extra element to support the sphere. I will remove this element later
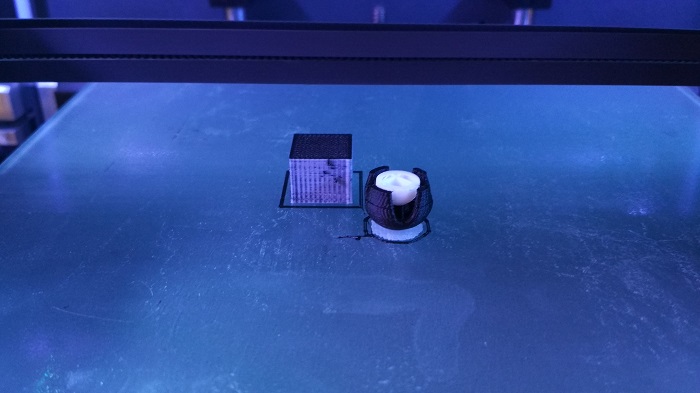
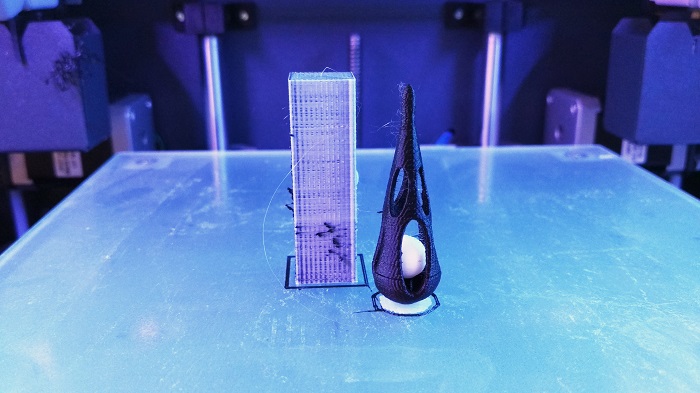
Final result!
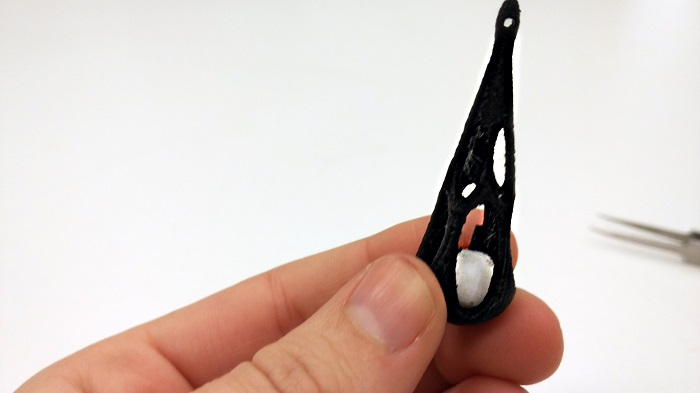
Now I need remove the extra element from the sphere
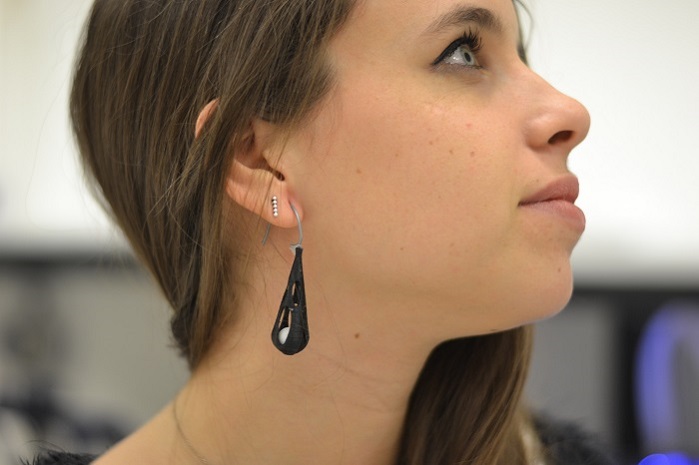
my colleague using the pending
First piece of my final project