Embedded programming
22_03 to 29_03 2017
Assignment:
a) Read a microcontroller data sheet
b) Program your board to do something, with as many different programming languages
and programming environments as possible
08_Week work
Sofware:
Arduino IDE for Mac
Materials:
Hello-World board button + LED/ FabISB board / Mini USB cable/ FTDI cable
Drive files:
Download week work
Archive files:
blink.ino
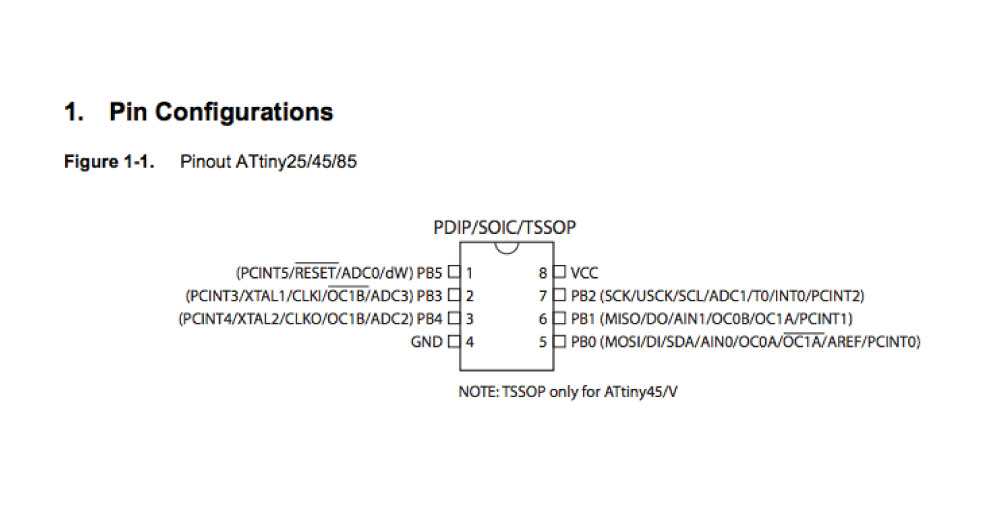
ATtinny 45:
ATtinny 45 Data sheet / Digi-Key: ATTINY45-20SURCT-ND, Manufacturer: Microchip Technology, Manufacturer Part Number: ATTINY45-20SUR: Description: IC MCU 8BIT 4KB FLASH 8SOIC.
Operating voltage: 1,8 V - 5,5 V. This range is compatible with USB power supplying. USB is mainly used for the board powering while programming and testing. Pin configuration and pin description: for schematics, wiring and possible later reparations of the board. In some cases, one pin can have several possible functions. The datasheet gives this functions and the configuration for each one.Block diagram: block diagrams for the microcontroller and its parts. It gives information like the units in te microcontroller, timers, shift registers.
Arduino IDE:
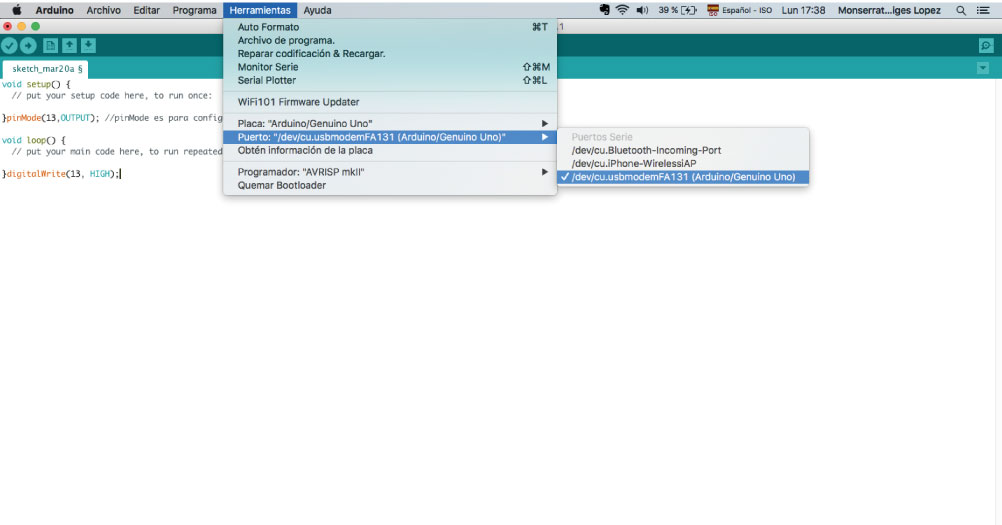
Firts I must connect de Fab ISP and install the drivers wit an USB cable. Now is momento to open de Software Aduino.
To program the Hello-World board with Arduino,you can installed the software, Open the File menu Preferences, in “Additional Boards Manager URLs” field and copy and paste the link https://raw.githubusercontent.com/damellis/attiny/ide-1.6.x-boards-manager/package_damellis_attiny_index.json
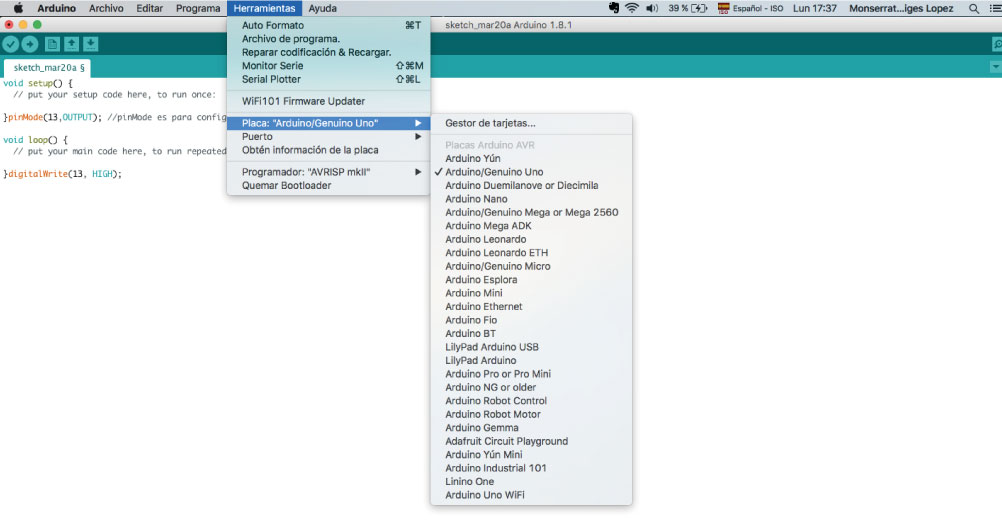
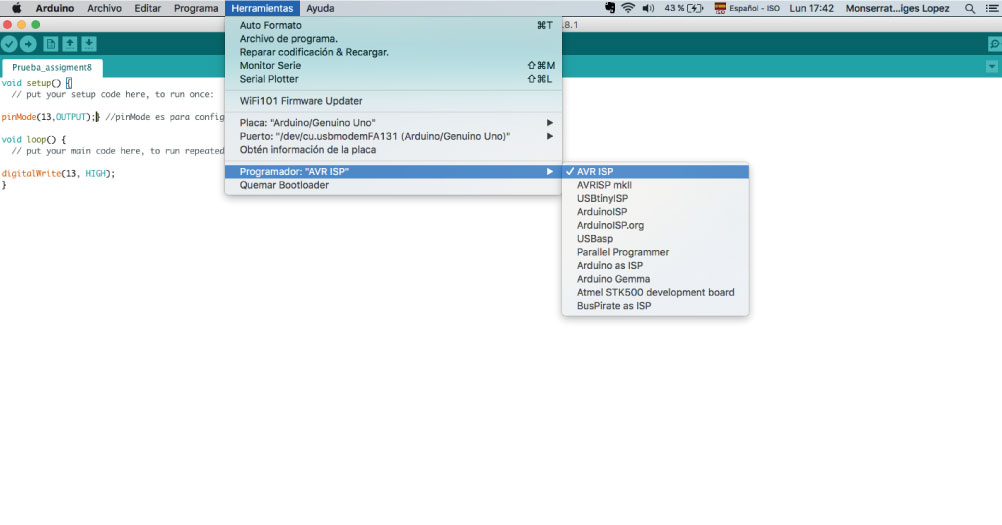
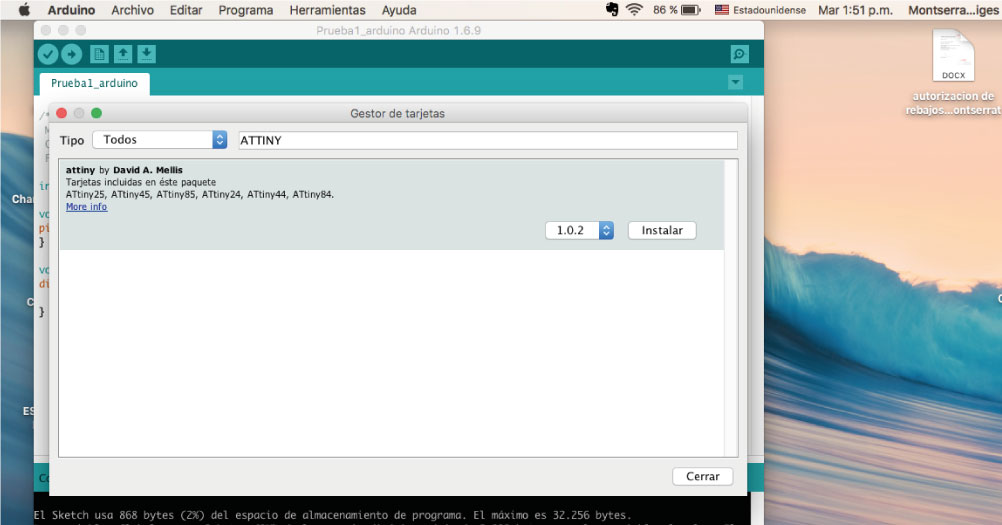
Next step is open Tools menu and go to Boards manager. Find with "att" the attiny by David A. Mellis version 1.0.2. Then Install and again Open Tools menu and go to Board, check on ATtiny25/45/85
Finally Open Tools menu, clock and check Internal 1 or 8 MHz.
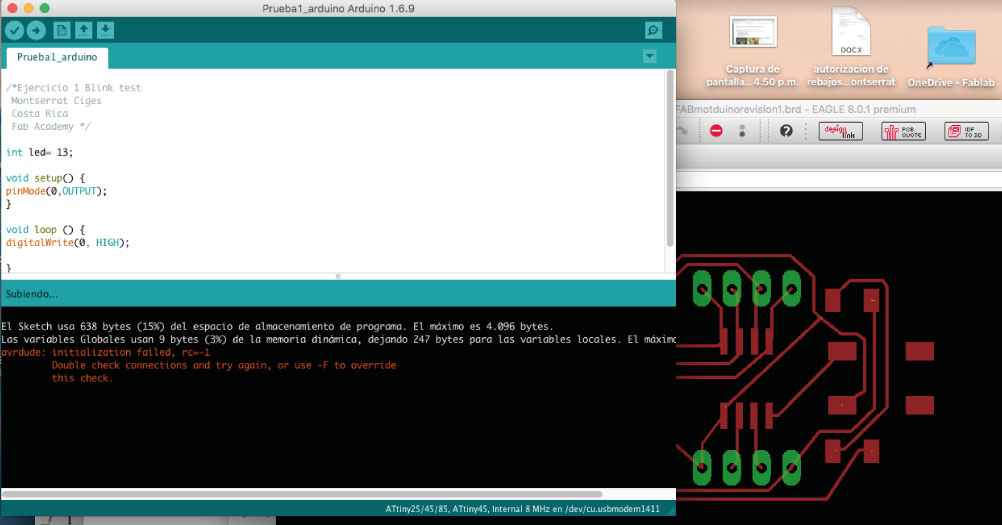
Arduino Code:
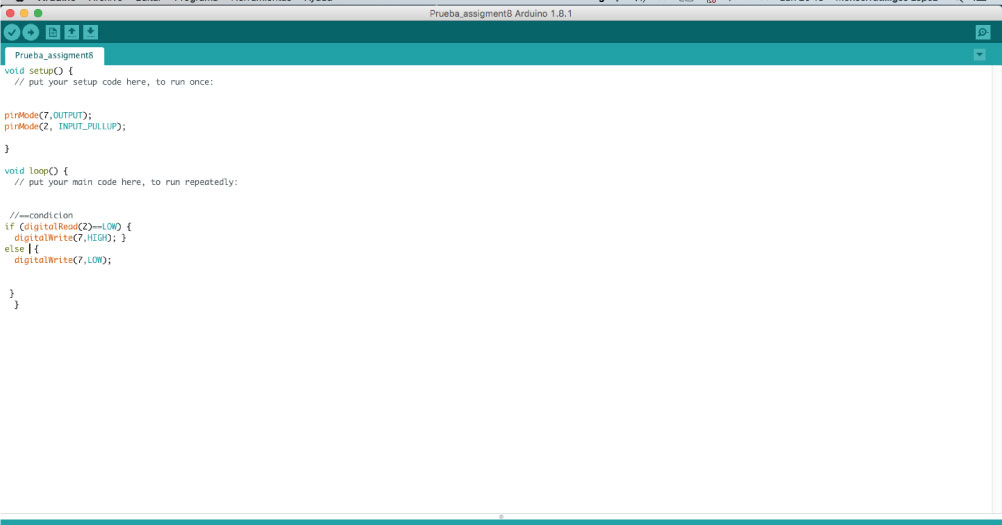
Code for the blink program:
void setup(){
pinMode(0, OUTPUT);}
void loop(){
digitalWrite(0, HIGH);
delay(1000);
digitalWrite(0, LOW);
delay(1000); }
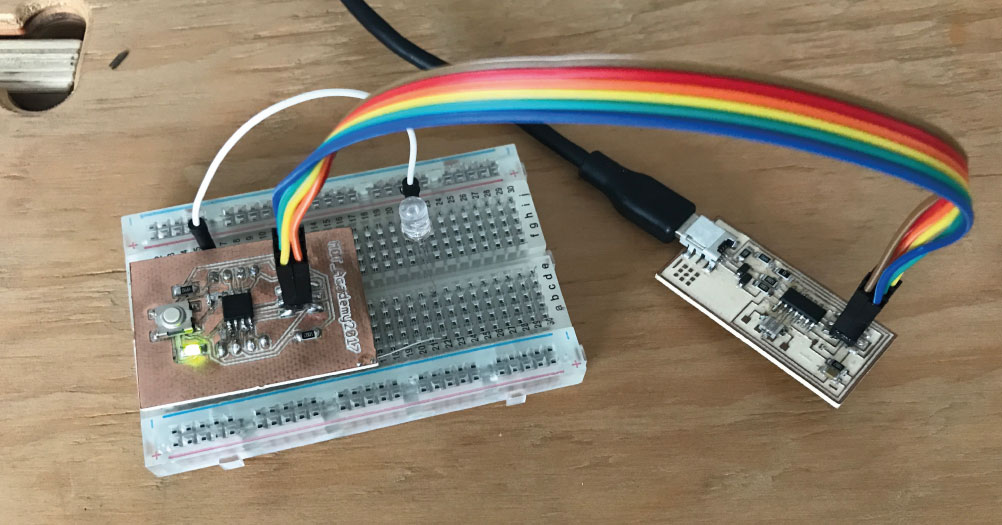
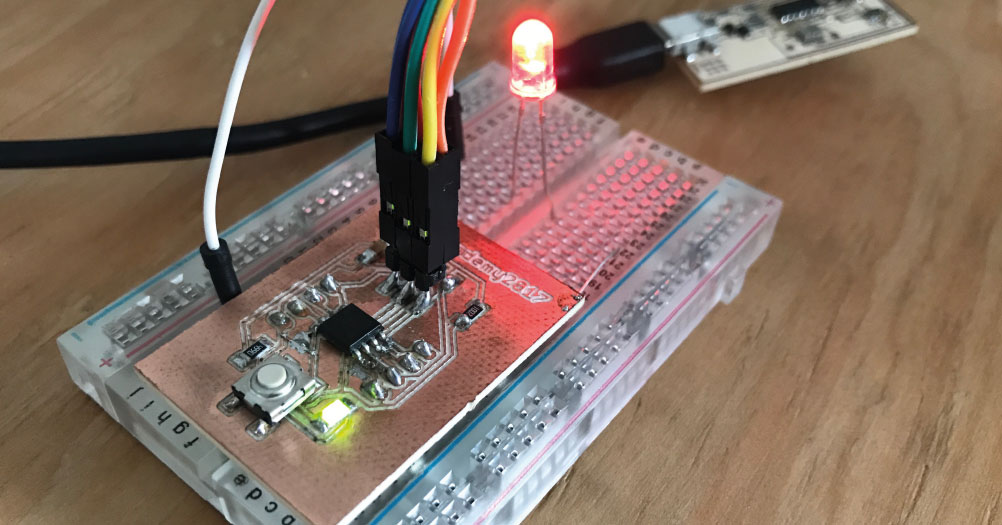
Testing :
Finally I connect the FabISP with the Hello Word board.The LED turns on, meaning that the board is recieving power. With a breadboard I conect a LED in a pin. The LED is connected of the microprocessor and resistance to GND. The ISP is connected to my computer which acts as a power supply for the board.