


-crop-u4893.jpg?crc=36609094)


2.jpg?crc=4058268360)


-crop-u4883.jpg?crc=4046795425)


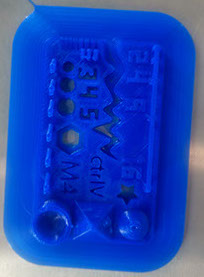

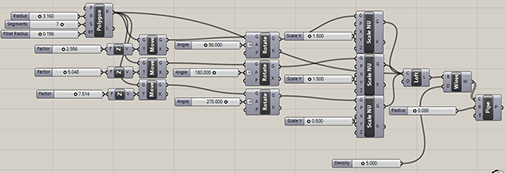
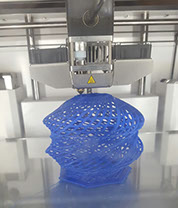
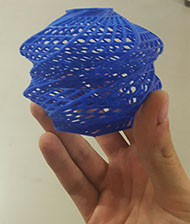
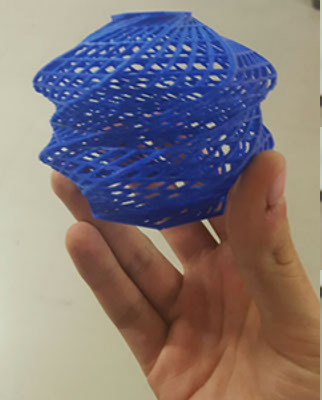
Heptagons twisting in different highs
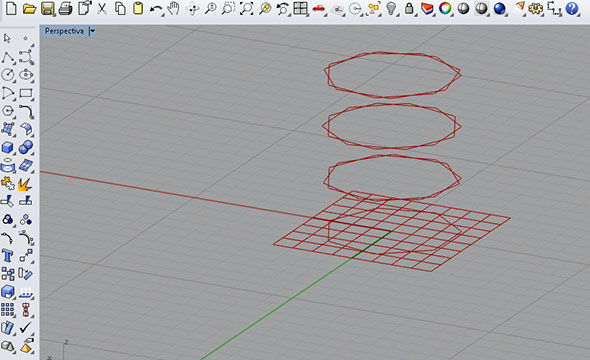
The polygons with the mesh
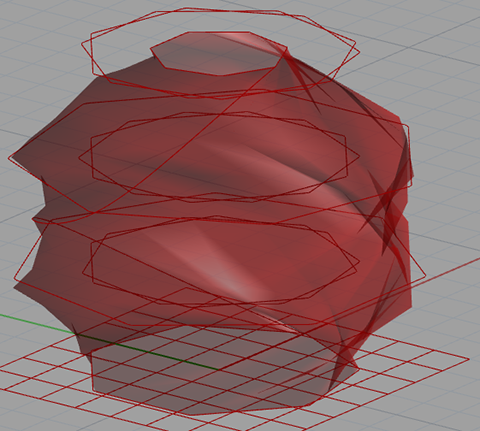
The mesh lines converted in tubes
3 - 3
<
>


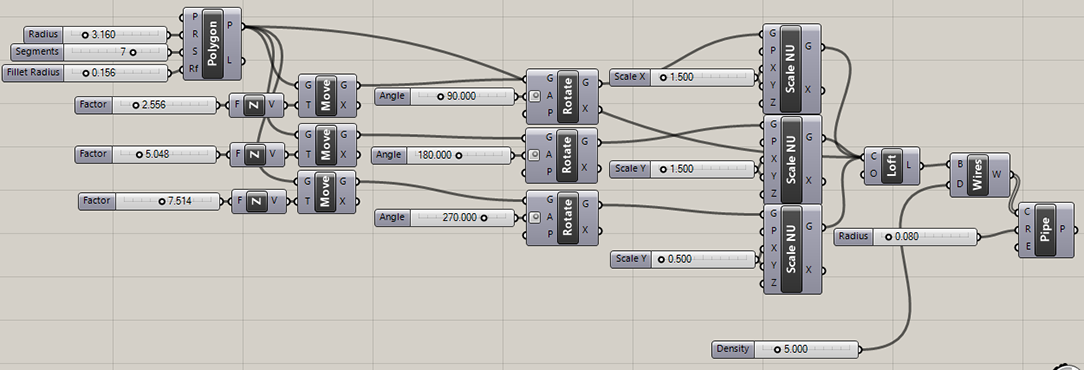
Heptagons twisting in different highs
The polygons with the mesh
The mesh lines converted in tubes
3 - 3
<
>


