
WEEK 2 (01 February 2017)
[Computer - Aided Design]
The second assignment for the FabAcademy was about a computer aided design software, here I start thinking about my final project: Automated Cat Feeder, using different tools and environments, like Autodesk CAD 2D and Ilustrator, for 3D drawing Solidworks and i also explored Rhino, these were my first steps with Rhinoceros, looking for geometric generative possibilities and iterations to draw my final project.
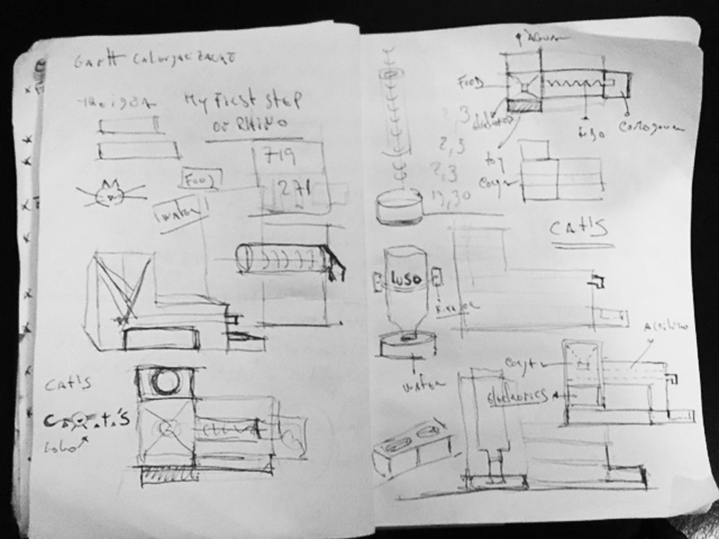
In this class session I have started to sketch the cat feeder.
Sketches:
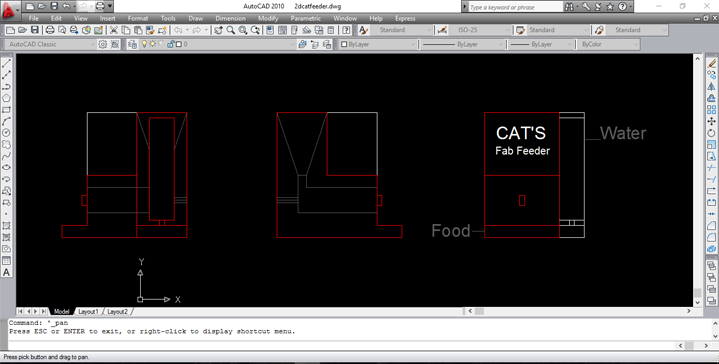
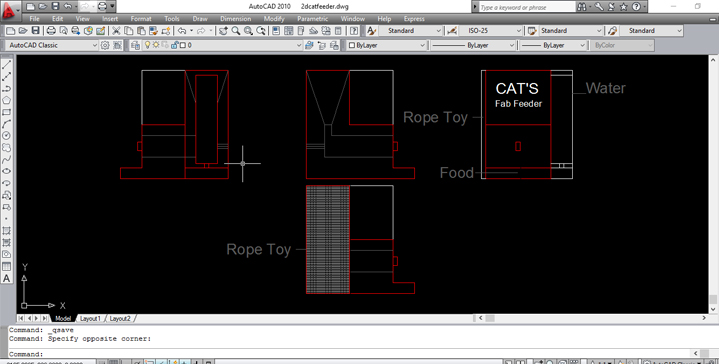
Project Studies in 2D Autocad:
These are my final project studies in 2D , these drawings were made in autocad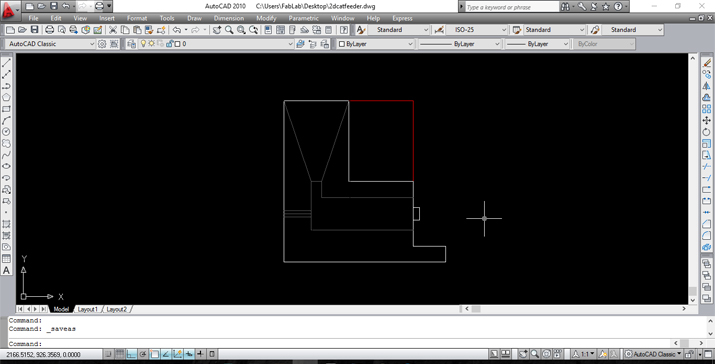

First Steps With Rhino:
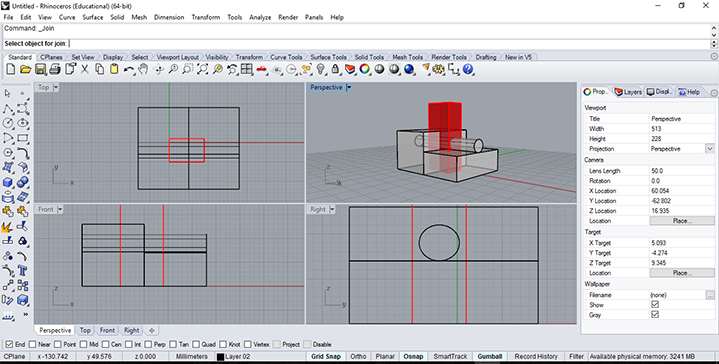
1.select surfaces or polysurfaces to subtract from, and press Enter;
2.select surfaces or polysurfaces to subtract from, and press Enter;
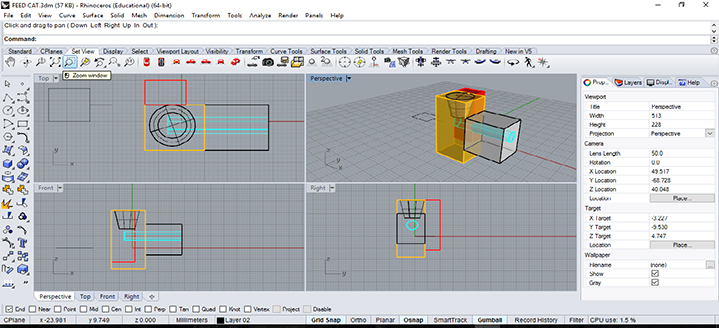
I made each face in a different layer and with a different color to identify them more easily. The "extruve curve command" creates a surface by tracing the path of a curve in a straight line.
You can do this command in 2 steps:
1.select a curve;
2.specify a distance:
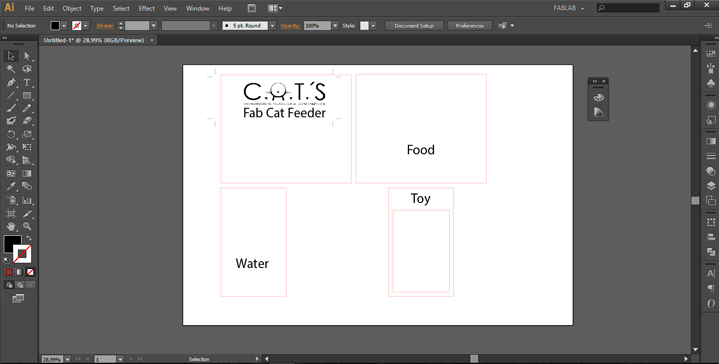
Project Studies in 2D Ilustrator:
I used Ilustrator to draw the written parts of my project, which I want to build in acrylic, and I also drew de logo of the final project.
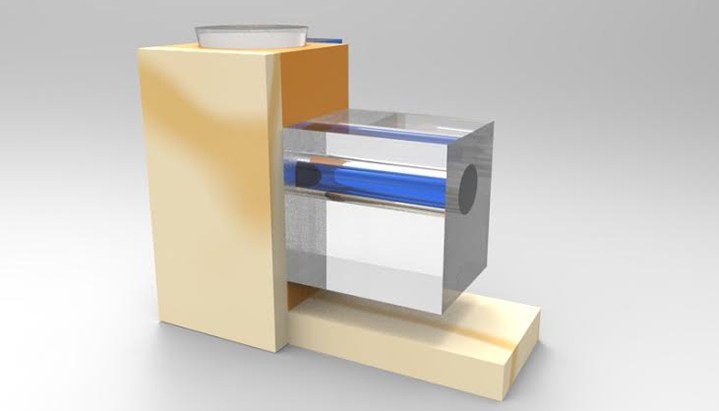
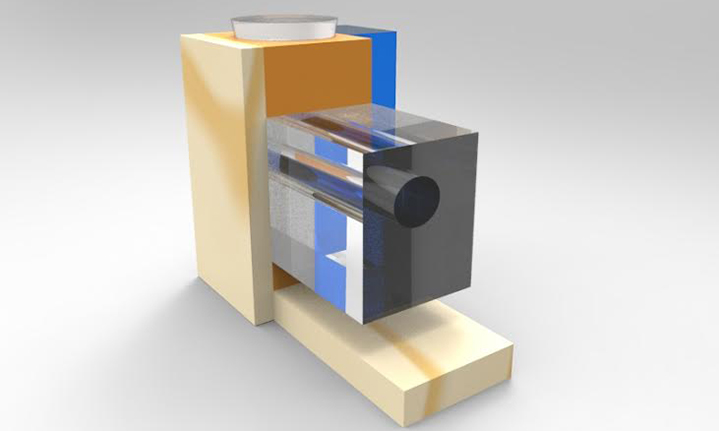
3D (Render) of my Final Project :
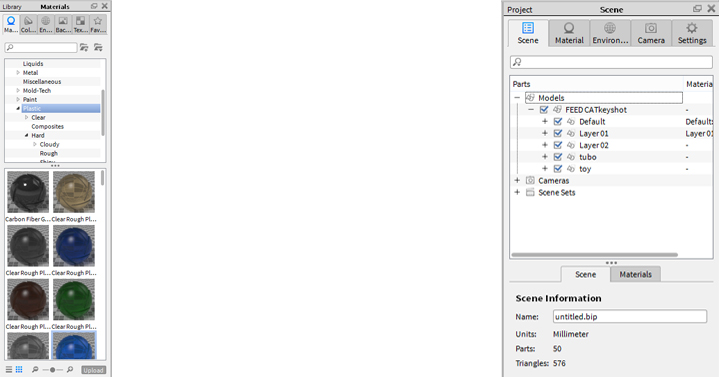
These are my final project 3D Renders, these drawings were made in KeyShot. It was the first time I used KeyShot to render, it's very easy and very similar to "Artlantis", which is another program that I use to render.
First step: I opened the Keyshot and made "Import" from Rhino file;
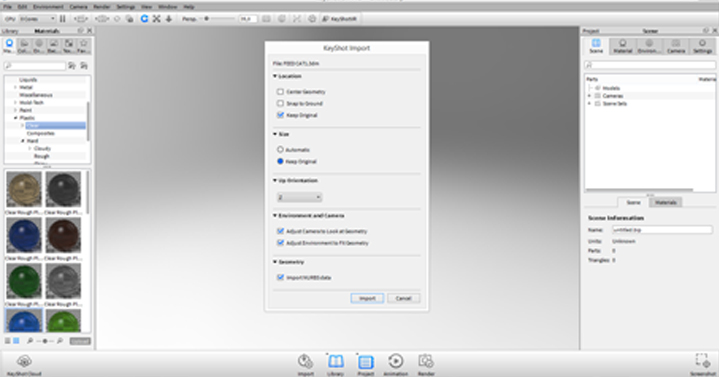
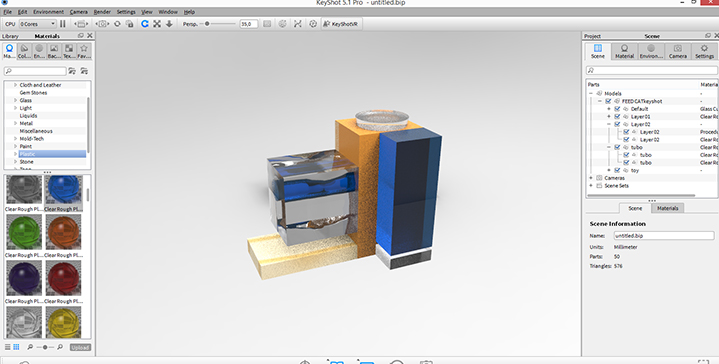
Second Step: In this step I will choose a material to apply on the different layers of my project;
Thirt Step: Then I drag the materials and textures to the 3D object;
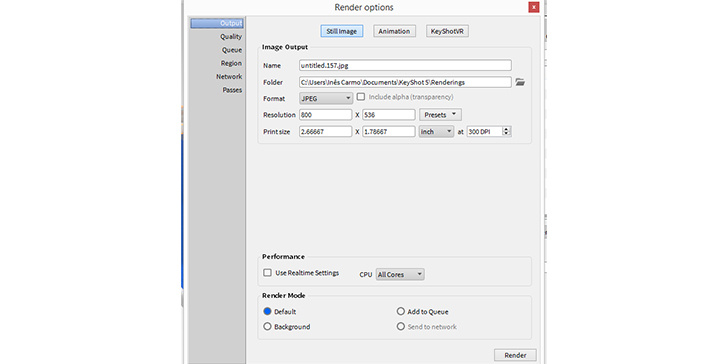
Four step: We go to "render" menu and choose render command
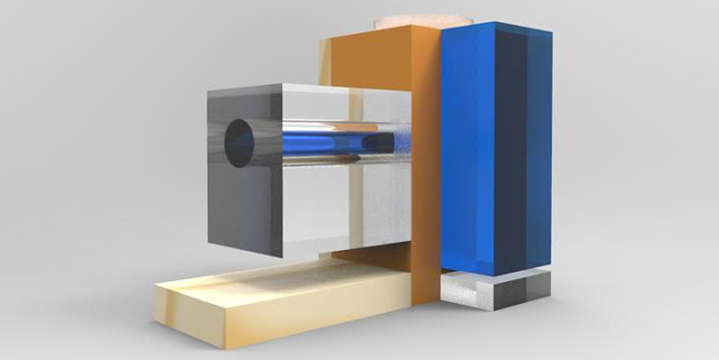
Final result:
3D Animation of the Final Project
It was the first time I did an animation with Rhino, and it was quite easy with 7 quick steps, I made a video in Rhino:
- Control Point Curve;
- Create a Single Point;
- Make some Points On;
- Lock Object;
- Make a Set Up Path Animation;
- Choose 180 frames;
- Press Play;
Watch the VIDEO:
Loop continuously
Show frame counter
Animation created in Rhino.