
WEEK 12 (19 April 2017)
[Molding and Casting]
This week the molding and casting assignment is to design a 3D mold, machine it, and cast parts from it. We learnt how to create detailed molds from machinable wax and make casts from them.
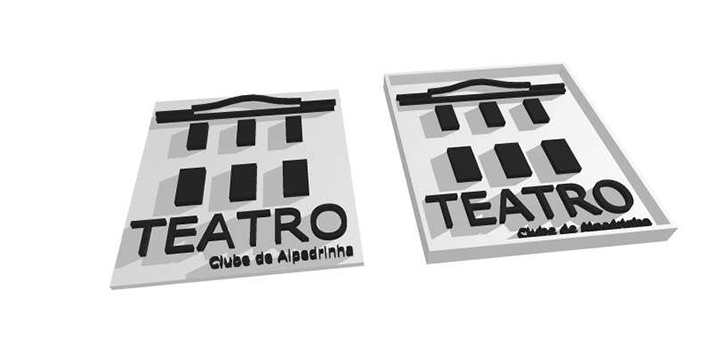
I made a mold of a logo. The idea was to create a pin using the logo of Theatre Club of Alpedrinha.
The steps to follow are:
1 STEP - Designing the object in 2D and 3D
2 STEP - Milling the wax
3 STEP - Creating the mold - MOLDING
4 STEP - CASTING
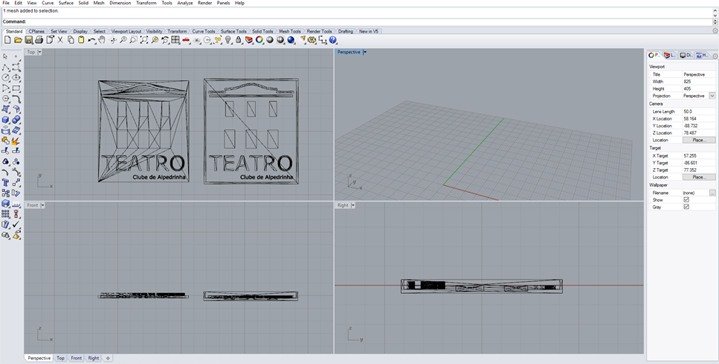
STEP 1: DESIGNING the object in 2D and 3D (Illustrator and Rhinno)
I used Illustrator and Rhinno to design the mold. While creating the file I was able to do all of the things that I wanted. The difficult part was to find out what was needed to turn the pin negative or positive in order to make my final cast come out correctly.


The Wax:

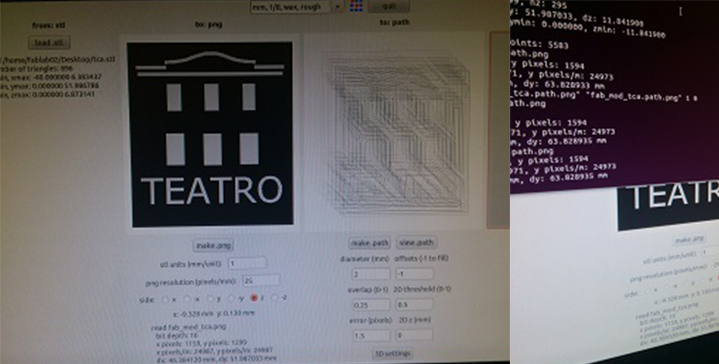
STEP 2 : Milling the Wax
To make the molde I used the Modela machine with the given parameters shown on the next pictures.
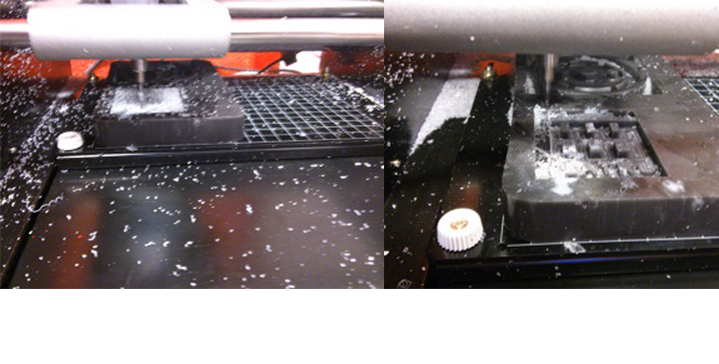
STEP 3: Creating the mold - MOLDING
Before using Matt's wax I did a test with a wax of less quality that we have in the Fab Lab, in order to see the results.
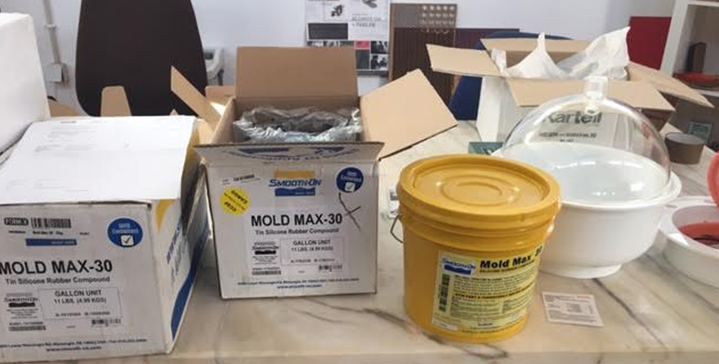
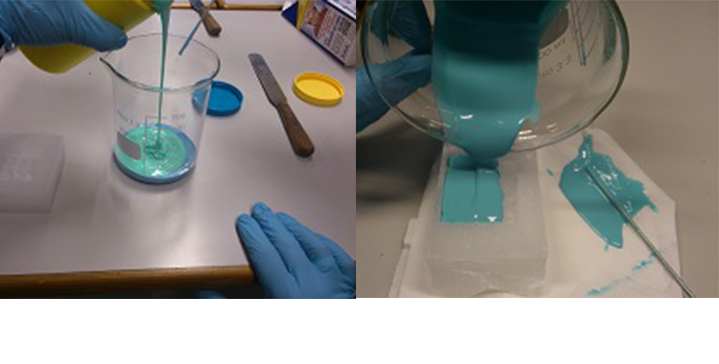
The Mold Max is a tin-cured silicone rubber compound, it's a 10A to 1B mix (to weight):
STEP 4 : CASTING
STEP 5 : Conclusions
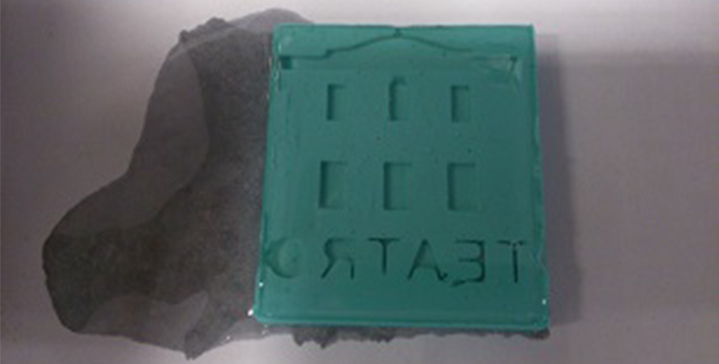
The final result wasn´t what I was expecting due to the quality of the wax. So I repeated the whole process one more time with a different wax, this time i used the matt - carving wax from the fabacademy inventory.
I had to use the vacuum to improve the quality and to avoid bubbles.
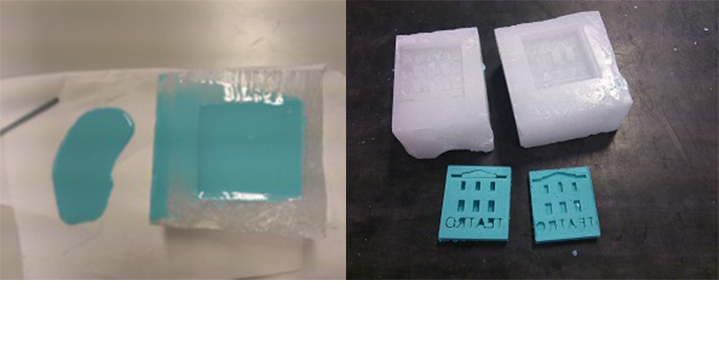
After that I mixed the silicone, I put it in the wax mold, and waited overnight, after I removed the rubber mold from the wax mold and the result was very good.
For the cast I used the Smooth-Cast 300 that is bright white and virtually bubble free.
Vacuum degassing is not necessary, 1:1 mix ratio by volume.
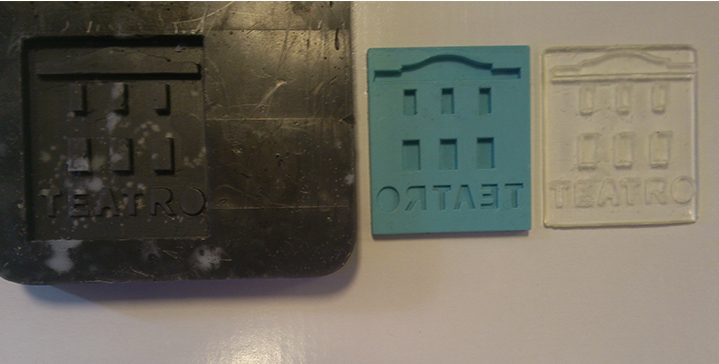
Final Result:
Files:
- Illustrator and rhinoceros Files