Week #13: Casting and molding
Our tasks for the thirteenth week were:
- Design a 3D mold, machine it, and use it to cast parts
Since our final project presentation is not so far, I chose to cast something that would help me with my Automatic Copper Wire Recoiler: buttons!
My idea was to just let the silicone cast button lie on a SMD push-button with the following dimensions:
My design was simple enough to not need a two piece mold. I did it on Fusion 360 and the files are here (password abc123).
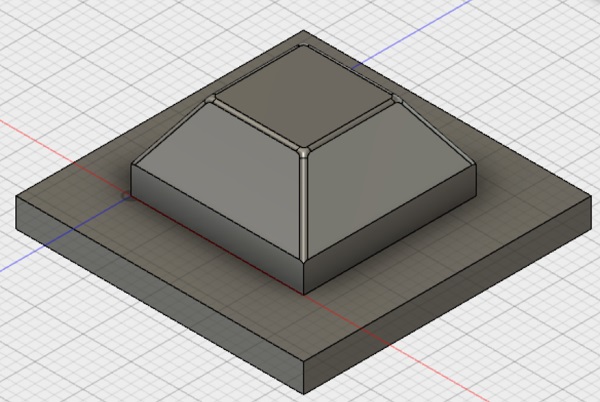
This is the button:
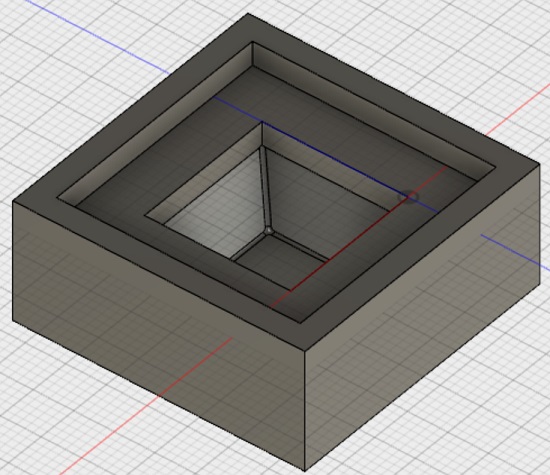
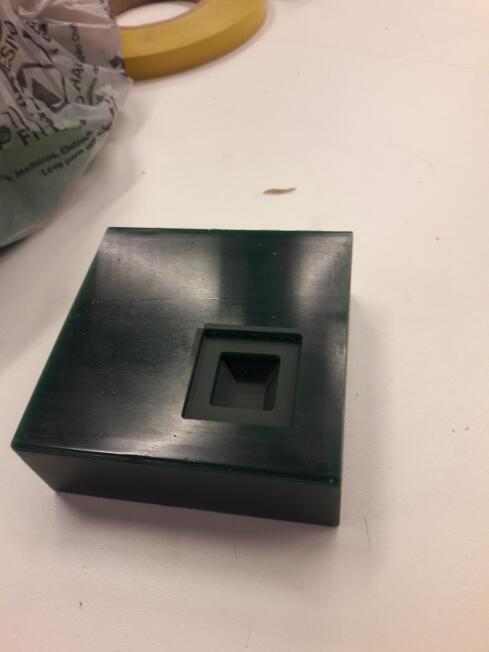
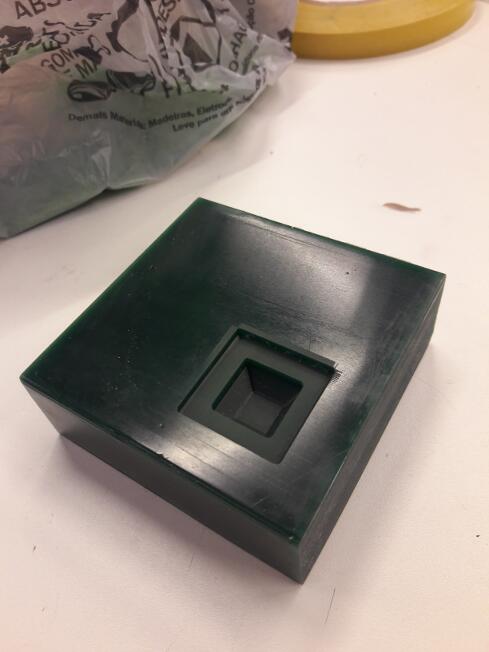
And this is the mold (simply a negative of the button):
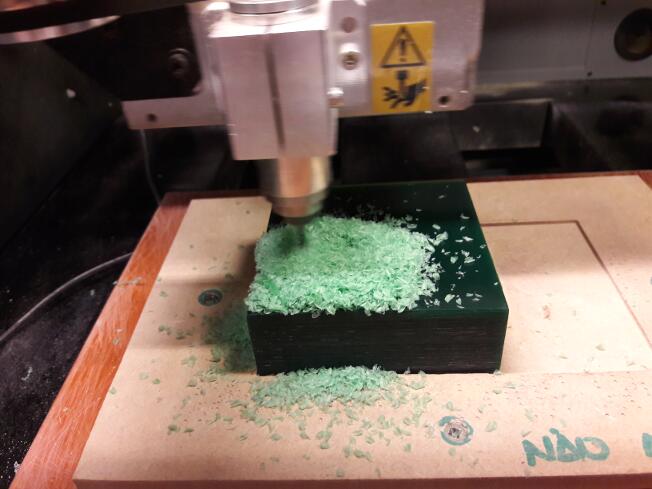
Since
my mold was comprised of only one part, I could mill it on a wax block
and pour the silicone directly into it. I used the Roland Mill MDX-40
for this job:
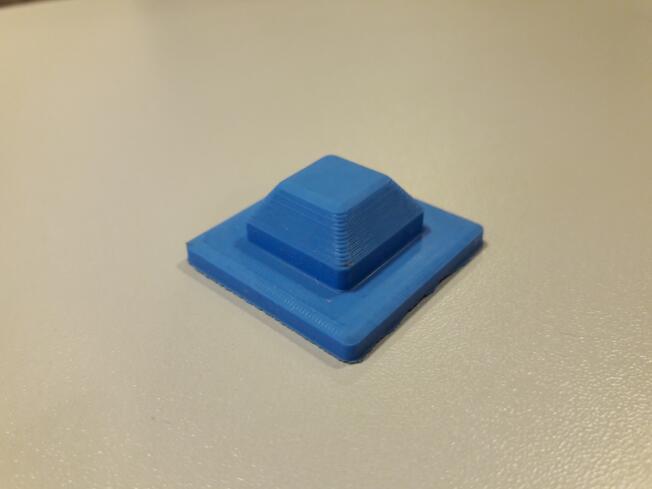
These were the results:
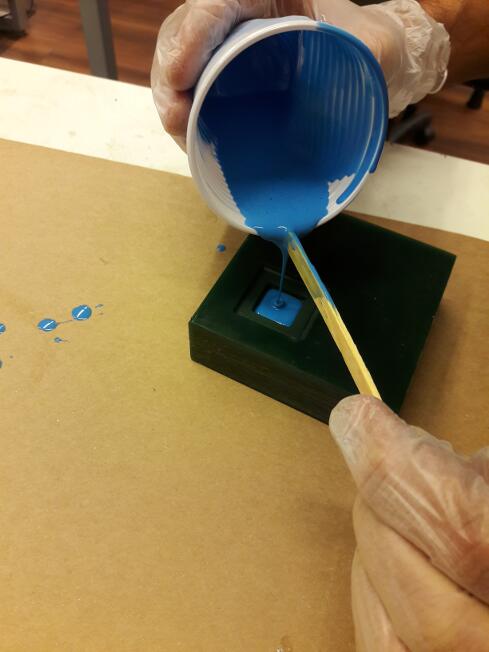
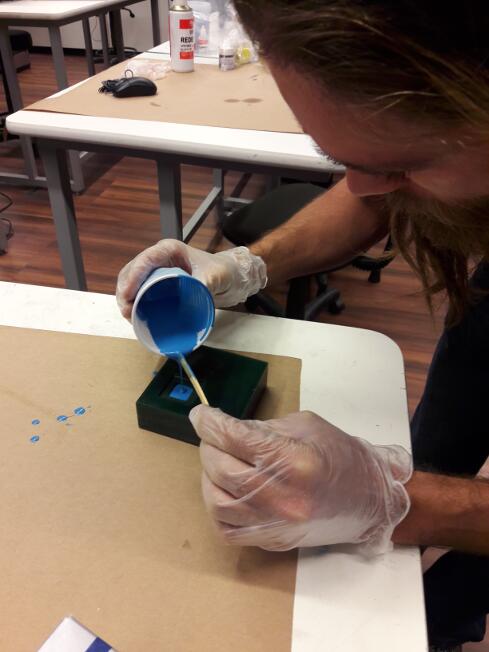
Since
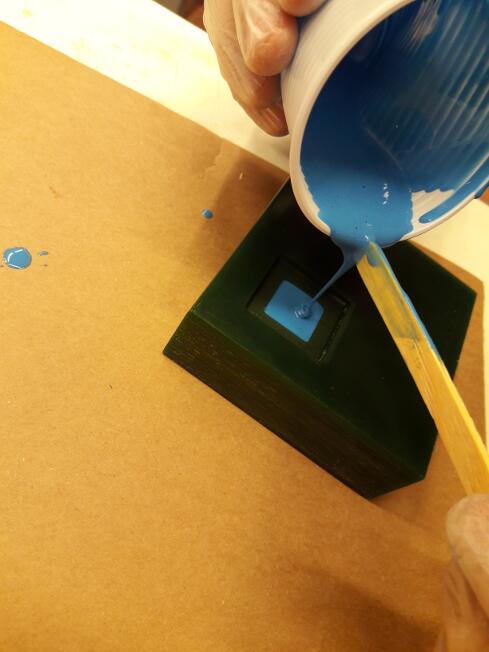
I wanted a soft button, I chose the silicone as the material to cast
the buttons. It's quite easy to use, does not have a strong smell and
does not seem to form many bubbles. This is the pouring process:
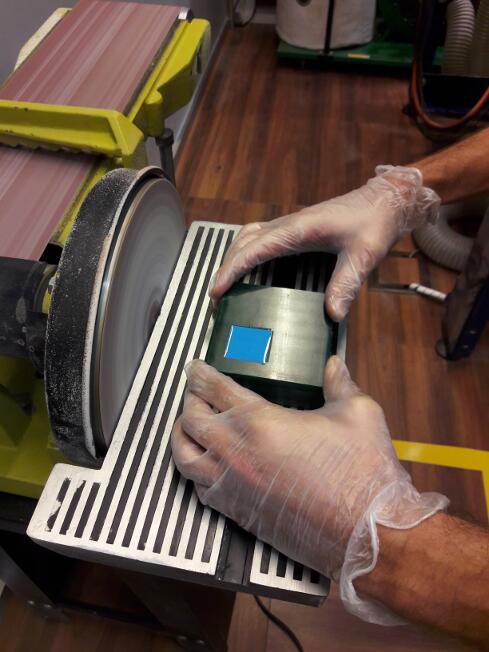
After the mold was filled, I let it rest for a while on the electric sand mill platform, to let the bubbles out:
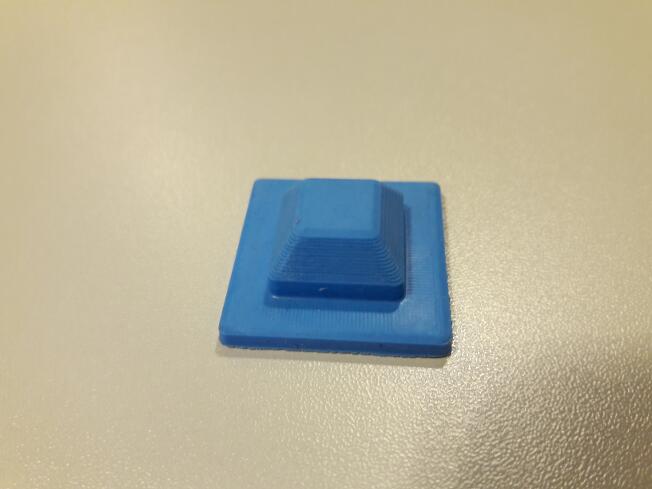
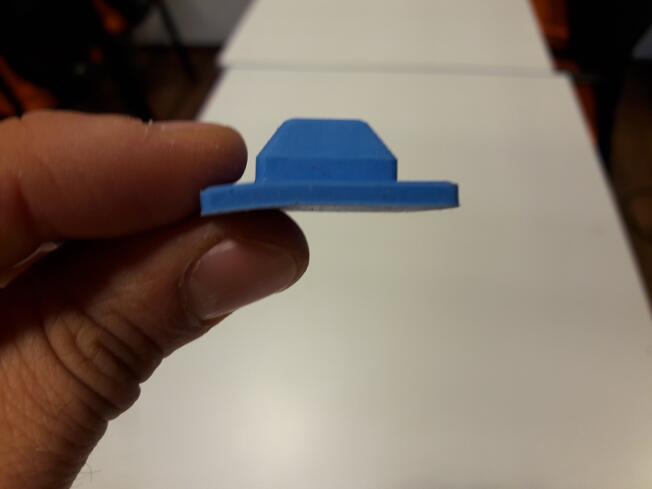
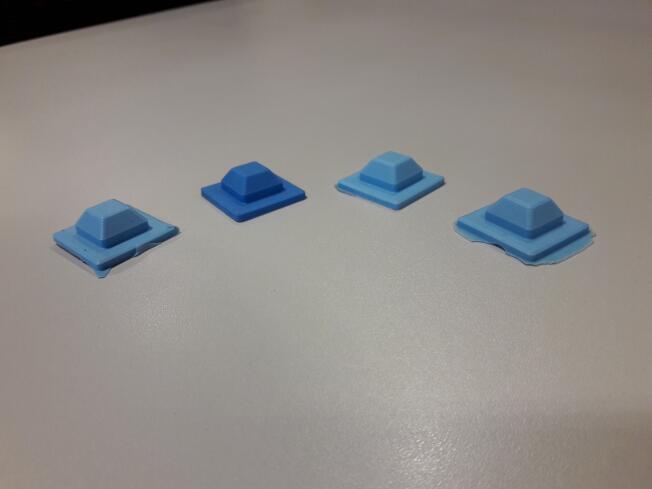
The drying process is quite quick, taking no more than 2 hours. This allowed me to make 4 buttons in a single day:
The future of these buttons will be described on the Automatic Recoiler page.