Week 5
3D Scanning and 3D Printing
This week was about being able to capture real world objects, digitise them with 3D scanning and being able to print objects which are unique in production processes. I scanned a Khulad, a tea cup which an Indian used to use everyday, and make locally. I had designed a 3D object in week 2, which I decided to print out this week.
3D Scanning
Tools Needed
- XBox Kinect Sensor
- DSLR of your choice, preferably with a Prime lense
- Mobile Phones
- Software like Agisoft PhotoScan | VisualSFM + PMVS and CMVS + Meshlab ReconstructMe | Kinect Runtime and SDK | AutoDesk Recap Others
Relevant questions from the handbook
How was it done
3D scanning basically extracts depth information from a series of photos/video of an object in focus and presents it as an viewable/printable object. One can use either a series of photos or a streaming video as a source. I tried the video scanning method using the Kinect Scanner and Scanect with the team. It gave low res scan attached here. I preferred the image based option using Agisoft's PhotoScan software, VisualSFM or Autodesk Recap.

Images clicked: 33
Experiments tried: Different software, different capture tools - Mobile vs DSLR vs Kinect
Objective: make 3D scanning as easy and capturable in detail as possible
Reason for the cloth in the bottom: easier to calculate movement/depth.
Problems: Included in the software and solutions put seperately below
Limitation: No post editing this time as I prefered to capture the same across different devices to understand how to make 3D scanning within the reach of common people with the least edits.
AutoDesk Recap
is the simplest. Upload the images. Let it do its magic! Link to the output is here.

VisualSFM
is very flexible, like Linux. It has to be used with different software, but it is Opensource and Free. I chose to scan a khulad, a clay container used to drink liquids, now invreasingly being used to drink coffee and tea as a biodegradable alternative to paper cups.
Cons: Difficult to edit cameras/views we want to drop intuitively. Since it has multiple additional packages to complete the task, setup takes longer.
Pros: It seems to allow more control as one gets used to it.
Output is here

Agisoft PhotoScan
is a software which does the best job, but doesn't allow to save the file in the trial edition. Hence, I will not add a gif tutorial here.
Cons: Paid software, trail doesn't allow saving
Pros: Intuitive to use, does a 10% better job than VisualSFM
Setup for scanning
- Get a rotatable wheel mounted on a stand and place the object on it
- Ensure that the lighting is good and even
- The object scans best when it is not shiny
- The toughest challenge was to get the photos right. The focus has to be such that the image is in focus and not the background. The scan is best when you rotate around the object, and not when the object is rotated.
- Take about 1 photo each step to the side, and take from atleast 3 different angles - top view, eye level and 35 degrees towards the bottom.
Problems and hacks:
- Poor focus, a lot of background data - Shift to a prime lense, or move your phone as close to the person as possible, such that the background is blurred and lost in focus.
- Images don't align - practise, practise and practise. Listen to a song, and time your steps such that the size of each step standardises to the beat. Ensure a alignement of the images on an X axis, else all of these softwares reject data from unaligned images.
- Lighting is poor - light the place up! It has to be even, or gaps will appear.
- Texture - anything with better texture captures better
Hero Shot
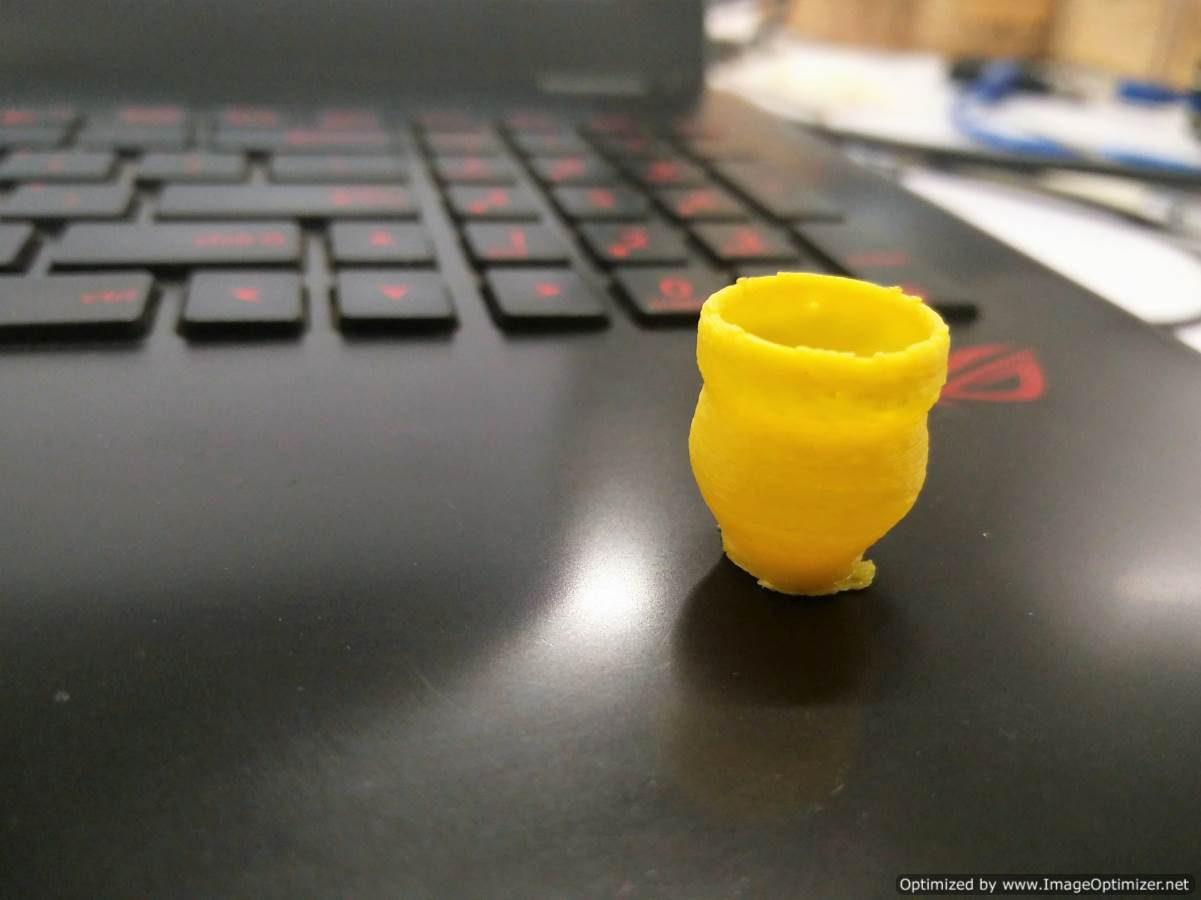
As a bonus, I decided to 3D print this khulad I scanned, and it came out pretty well. Notice a gap on the bottom right, which happened as the Khulad had a white stain which co-incided with a white block on the cloth in the background. Here is the Design File

3D Printing
Using the 3D printer has a simple learning curve. We have an Ultimaker 2+ in the lab and are printing with ABS. Once in the past, we have printed with PLA as well.
Tools Needed
- Cura Software
- Ultimaker 2+
How to print in 3D

This is purely possible in 3D print process as it has perfectly preserved threading on the inside and a angular cut window in the object.
- Design a file, in this case, I have taken the 3D file I designed in Week 2, linked here.
- Open Cura, and insert your SD Card. Open the 3D file in Cura s ashown in the below .gif image, and select the settings of your choice. Make sure the correct material is set - ABS or PLA based on filament loaded. YOu can choose between Noraml, Fine and Extra fine settings, which decreases layer height, making the print finer. However, the trade off is in time and material.
 For my design, these are the differences in material and time based on setting
As you notice above, the thickness of the wall and infill density (amount of material filled inside the walls of the print to give it strength) increases with the increase in fineness of the print settings.Setting
Thickness
Time
Material
Shell - Wall thickness
Top/Bottom thickness
Infill Desnsity
Normal 0.15mm 3hr 35min 2.84mtr or 19gm 0.7mm 0.75mm 18% Fine 0.1mm 7hr 47min 3.38mtr or 23gm 1.05mm 0.8mm 20% Extra Fine 0.06mm 12hr 47min 3.42mtr or 23gm 1.05mm 0.72mm 22% - Gradual Infill steps reduce by half the density of material deposited in each step away from the top surface. This has a significant savings in material, and a lesser saving in time. For example, using the fine settings for my 3 sq cm object with a 15mm diameter through hole, the design file is linked here
Gradual Infill Steps
Time
Material
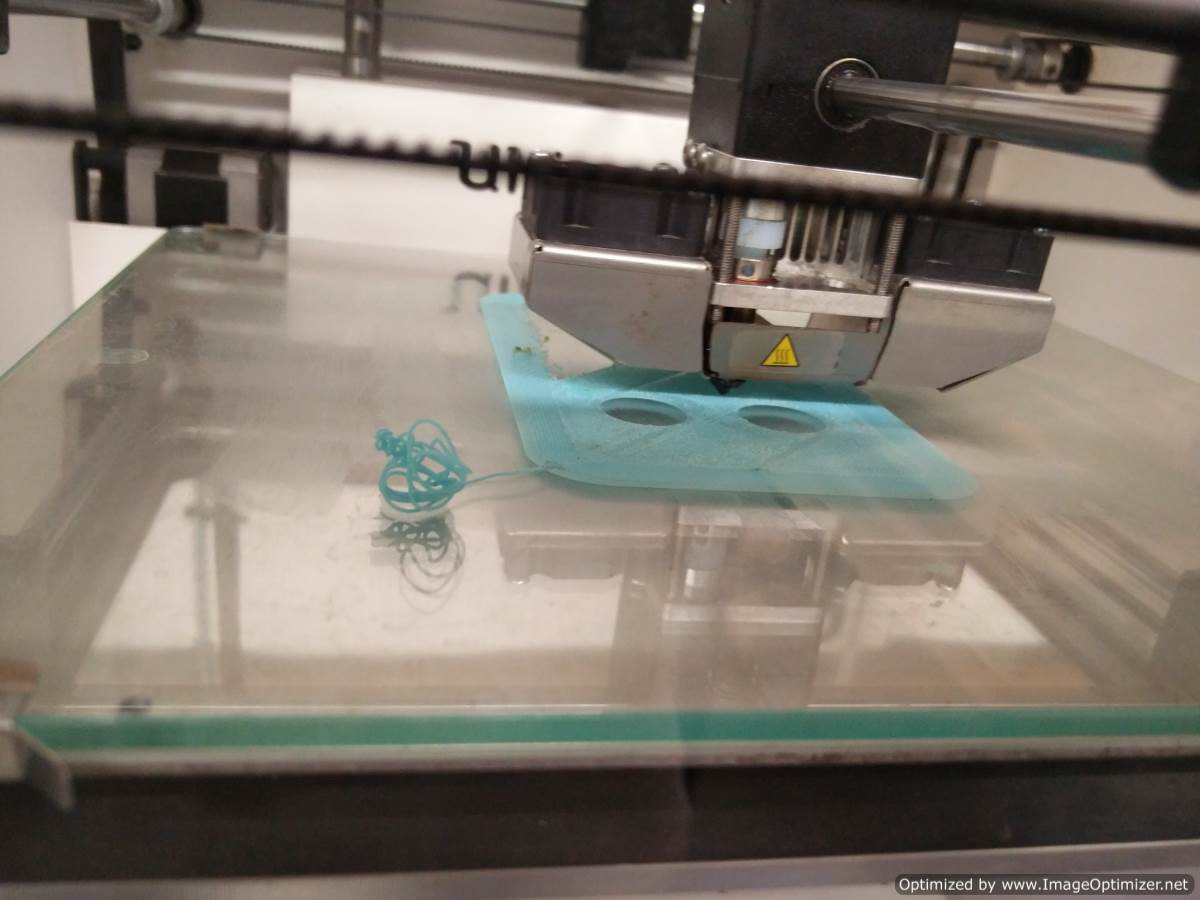
0 2hr 42min 1.48mtr or 10gm 1 2hr 26min 1.24mtr or 8gm 2 2hr 17min 1.16mtr or 8gm 3 2hr 42min 1.10mtr or 7gm 5 2hr 14min 1.06mtr or 7gm - Once the settings are final and the object is loaded into the SD card, follow steps shown in this video
Week 5 Intro to the Ultimaker Menu system from Gautam Prakash on Vimeo.
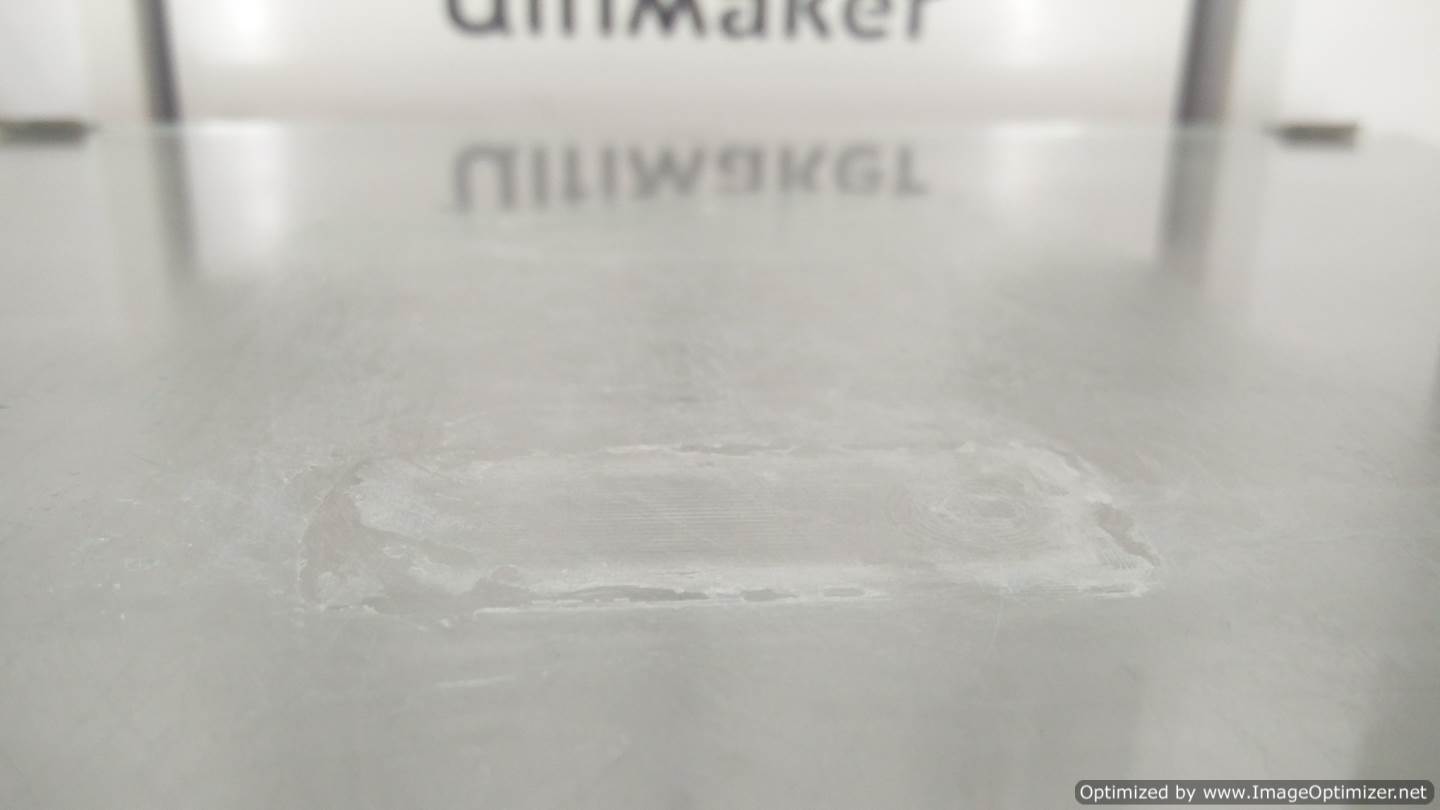
- With ABS, we need to put an adhesive on the plate in the approximate size of the object being printed. With PLA, there is no need for such an adhesive. Since I am printing with ABS, I have to put in adhesive as shown in this image
- The LCD screen indicates details like heating of base plate, time left etc

- The print starts with a small extrusion - the white thread like line seen in the bottom left of the print and the brim is printed next, on which the bottom layer is printed with the thikness defined

- Once this is done, the printer sets the support layer, printing one layer on top of each other


- Once the print is completed, and supports are pealed off, this is how my design looks from the front and top

Learning from the printer
- Size of the base layer and brim affects the print quality. Too thin a brim warps it.
- Smaller the image, more loss in resolution
- reducing
- Distance between 2 unsupported surfaces cannot be longer than 2 cm, post which we can see horizontal bars sag.
- Speed of the printing can be increased post 50% completion if the balance print is not critical/fine in quality.
- Leaving a little bit of filament loose/unwound at the spool makes the printing errorfree.
- I need to play around with the printer more. We have 3+ errors when we tried to make the print file too small or when there was uneven glue on the base plate as seen below

Left: Test print, Image too small that the top didn't print and the support was as wide as the image. Credit to the author for a bad design. Right: Improper glueing of ABS to the baseplate. 
Uneven glue meant that one side of the 3D print flowed on to each layer as it was being layed.
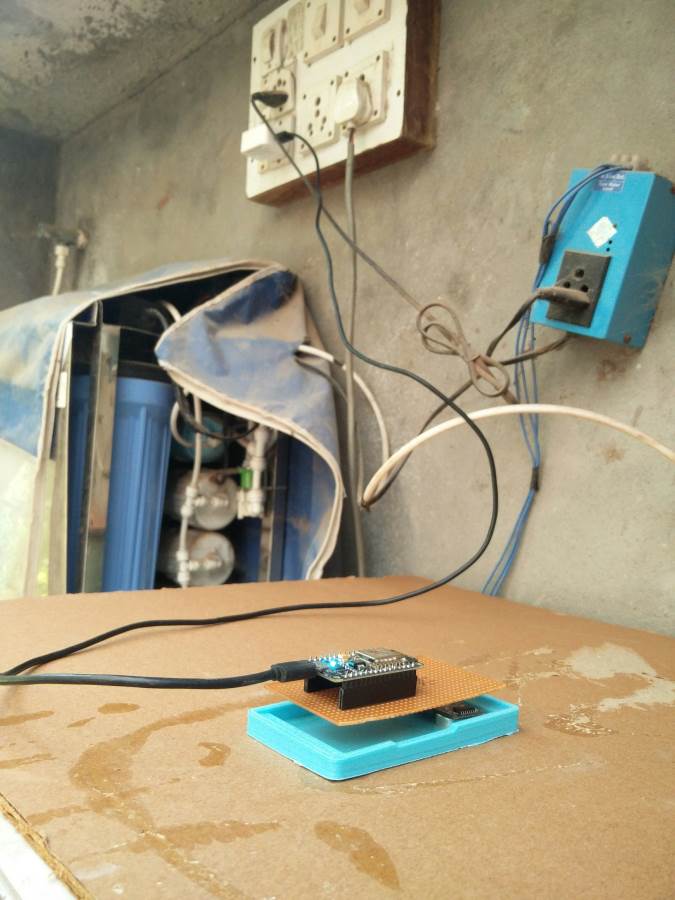
Some other 3D printed objects I made
.jpg)
.jpg)