Computer Aided Machining
Parametric Design | Laser Cutting | Vinyl Cutting

Parametric Design
How was it done
I chose to try out parametric with Autodesk Fusion 360.
For paramteric design in AutoDesk Fusion360, I read this tutorial on HackadayThe option "Change Parameters" under the Menu "Modify". Add values under "User Paramters" and using the dimension option, type the variable names assigned like "Length1", "Length2" etc to vary the design as needed.
This image highlights how to use Fusion360 in a parametric manner. Click on it to see a .gif file.
 In the Menu, click on option "Modify", and select "Change parameters"
  In this menu, you can press the "+" button to create variables and give these variables values. Below are the values I have given

- As shown in the gif image above, draw a rectangle of your choice. Hit "d" on the keyboard to select dimension tool and select the side of the rectangle you want to measure. As you move your mouse away from the object, you will see a line showing the measurement. Once yo left click to place the measurement, the measurement box pops-up, alowing you type the name of the variable you have defined earlier. You can double click and type the name of a new variable to change the size of the object. This ability is applicable to height, breadth, length or radius of an object.
How I made the pressfit kit
In week2, I had used AutoCAD to design a box for my Raspberry Pi server. I modified the file to have a through cut of the thickness of the material thickness (2.5mm mdf) and width of 3mm. I put tongues in the long sides and groves on smaller sides like this  which resulted in a design like this, makingmy design pressfit..
Click on the image to see a video showing a 360 degree view.
which resulted in a design like this, makingmy design pressfit..
Click on the image to see a video showing a 360 degree view.
Laser Cutting
We started with an Epilog Laser Cutter, and midway, upgraded to a SIL Laser Cutter. This documentation is updated accordingly. The steps to cut the material are:
- Export the design file as a .dxf file which can be opened in RDWorks, the control software for the LaserCutter
week3 Laser Cutter RDWorks software from Gautam Prakash on Vimeo.
- Get the machine prepared for cutting - turn on external blower
 laser chiller
  powerup the blower pump inside the Lasercutter
- Power panel on the Laser Cutter
Week3 Laser Cutter Power Panel from Gautam Prakash on Vimeo.
- Setting up material for a cut
Week3 Laser Cutter Setting the material for a cut from Gautam Prakash on Vimeo.
- Setting up Z Axis
Week3 Laser Cutter Setting up Z Axis from Gautam Prakash on Vimeo.
- Is this a good cut?
Week3 How to differentiate between a good and poor cut from Gautam Prakash on Vimeo.
- Has the cut gone through?
Week3 Lasercutter- has the cut gone through from Gautam Prakash on Vimeo.
Material |
Thickness |
Cut |
Power |
Speed |
Frequency |
| MDF | 2.5mm | Full | 60 | 30 | 2500 |
| Acryllic | 2.5mm | Full | 60 | 15 | 4000 |
Design files:
Test cut to figure out Kerf I needed 0.1mm as kerf
Parametric Design File to do the assignment.
Design of the Parametric File
- I started with the idea to build something like a lego block, extensible. I decided to use Fusion360, and came up with a simple design like this

- I opened the file in AutoCAD and using the "Array" command, made copies like this

- I cut the design on 3mm acrylic, at the local laser cutter.

- I got 6 peices of cut design, which can be put together like either of these designs.


Bottom and top pieces need to be designed differently, without 1 of the 2 tongues.
Vinyl Cutting
The Vinyl cutter can be used to make signages, as well as flexible circuits. THe second requires practise, as my efforts so far have failed (3 attempts).
How was it done
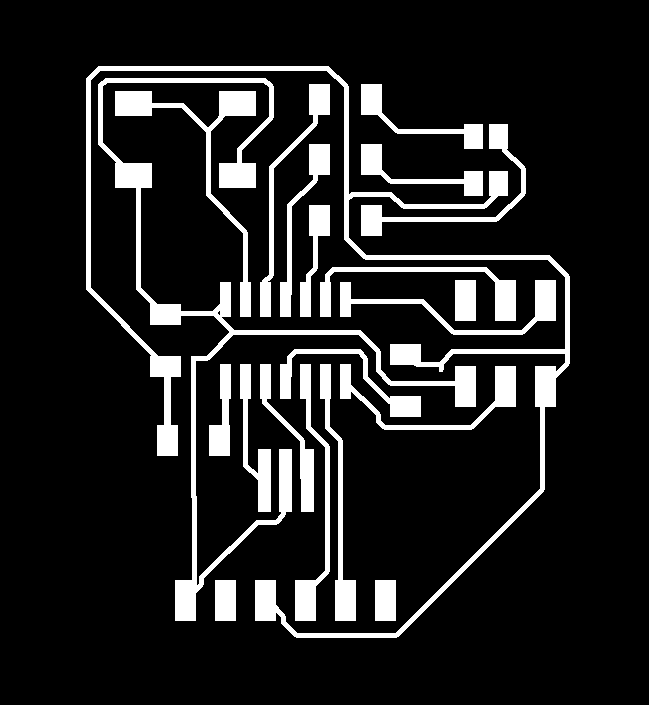
- Create a image. I started with a basic set of alphabets on Roland's Cut Studio. (Updated) I made a Hello-Echo board in Eagle and exported it as an .png and bitmap. I also used Paint3D, a free software packaged with Microsoft Windows 10, and using the simple options there, created this image


- I opened Cut Studio, and selected the image. I some cases, we have to use the import option like this
 or
or  Then I right clicked on it and chose the option called "Image Outline". I did this with all above files.
 - A menu popped up to allow me to extract contour lines, and increase/decrease image density


- Once the image was seperated from its borders, I could left click and drag the borders away from the image and delete the image.


.PNG)
- Select the menu option called "Cut" and it opens the Print Menu, where you click on "Properties" option.
- In properties, click on "Get from Machine" button to get the accurate measurement of the width of the roll of vinyl/copper.
.PNG) This following video runs through most of the functions post these steps to get a final cut of a vinyl sticker.
This following video runs through most of the functions post these steps to get a final cut of a vinyl sticker.
Week 3: Using the Roland CutStudio from Gautam Prakash on Vimeo.
- Final files are linked here (Circuit CutStudio file) and here (Poster/Sticker CutStudio file)

Learnings
- Rolls which do not pass under both the rollers in the machine do not roll out evenly, and tend to sivwel around on the roller which is holding it
- Any cut which is too close like a QR code which has interconnected parts, or a circuit need to be done with extreme care and the settings (pressure and speed of movement of the cutting needle) needs to be customised for the cutting needle and machine - Image of pressure testing on copper tape
 . Wrong pressure settings do this
- Use the cutting edge to cut the used sticker out as shown in this image