Week 12
Casting and Moulding
I decided to cast and mould a simple ramp with a curve and the words "Test" in a wax piece. Design files were made in Fusion 360, history recorded and linked here and as .f3d type here.
How I milled the wax block
- I took a wax block, and mounted it with 2 sided tape on the Roland Modela MDX-20

 Choosing between the rough cut (end) and finishing (ball nosed) bit, I installed the 1/8th flat end bit
- Starting the FabModules, I selected the option of .stl as input and Modella as Output
- Selecting the stl file, with Chandni's help, realised, that it was rotated, and was seeing one side and not the top view
 . So I went back to Rhino and rotated the stl using "Gumball" option and saved it.
 - This time round, it milled as designed
 . After a rough cut, I changed bits to a ball end bit and ran the fine cut settings in default values.
Week 12: Interface explanation of Fab Modules from Gautam Prakash on Vimeo.
Week 12: Rough Cut in Wax for Casting-Molding from Gautam Prakash on Vimeo.
Week 12: Fine Cut in Wax for Casting-Molding from Gautam Prakash on Vimeo.
- Seeing the finished cut, I realised that this is a fail, as the text hadn't come out clearly as expected

- I redesigned the cast in Rhino again with my name as the design element, and ran it through the rough and finishing cuts on the rear part of the same wax block and was good to go to cast.


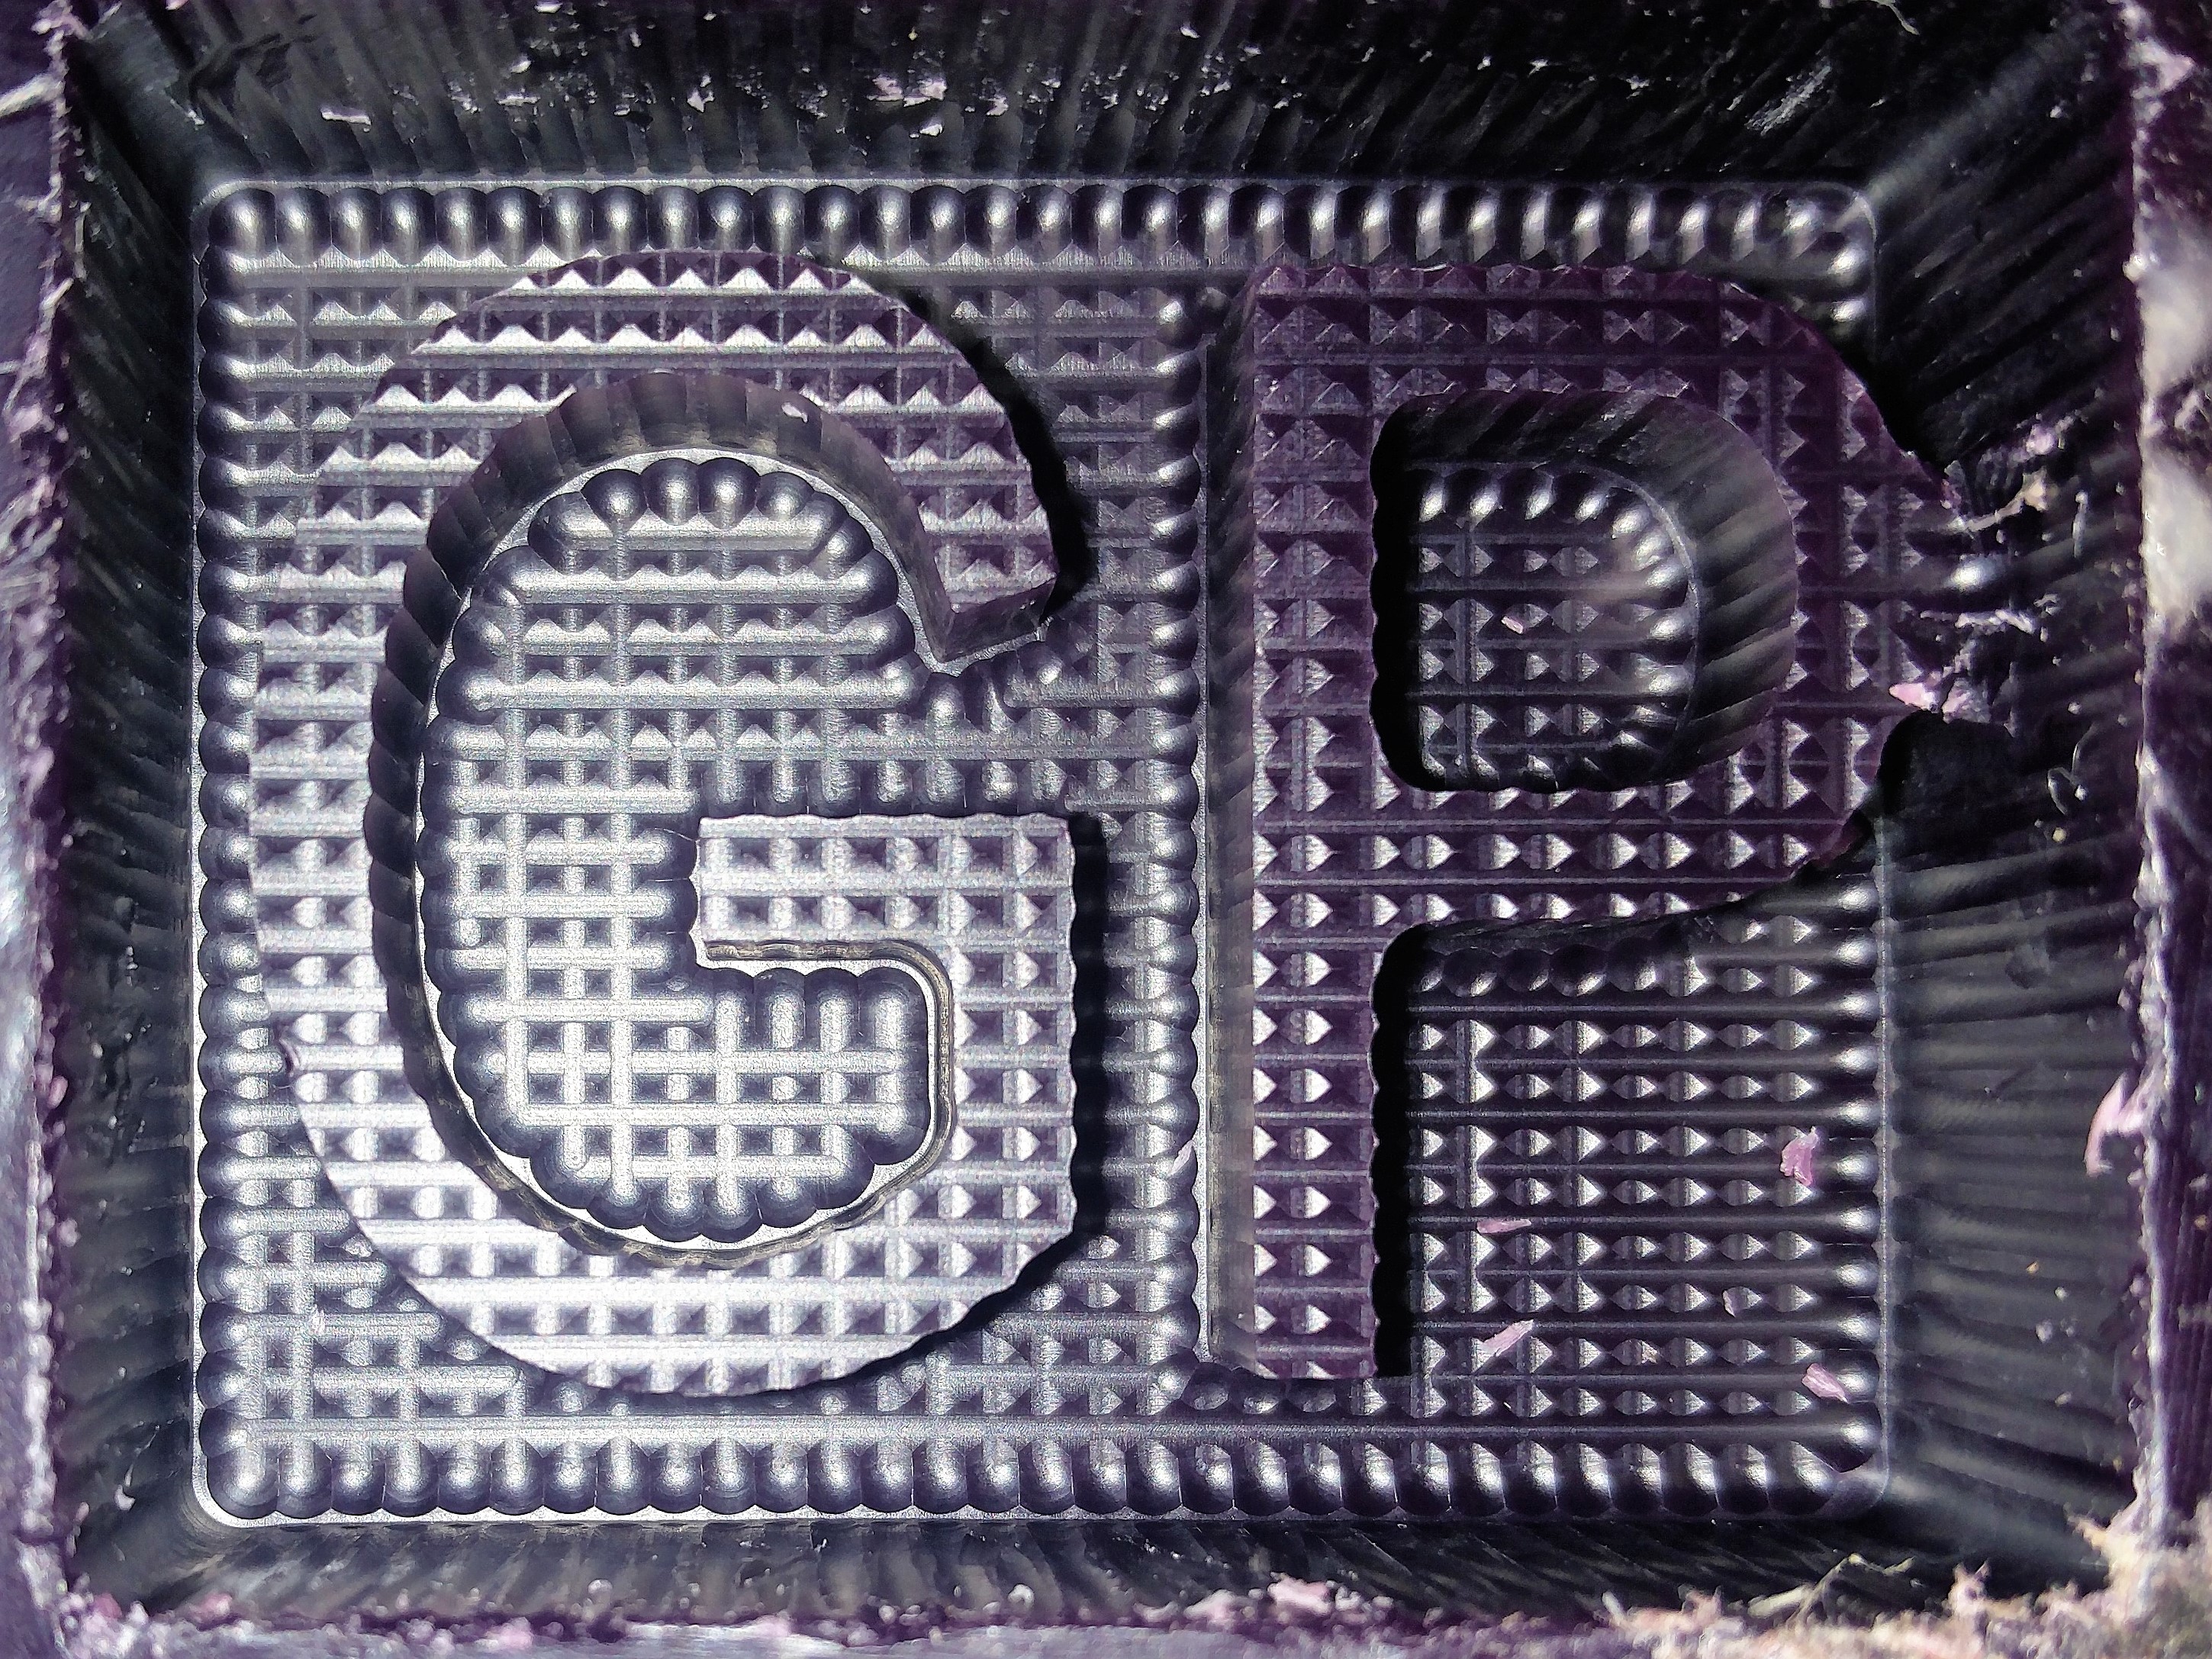
At this point, I realised, I had made a poor design, where the P has a bit attached to the border. I realised that both the endmill and balmill where unable to get between the P and the border and pass. Since this was a good learning and there was limited wax, I decided to go ahead with the casting.
How I made the Cast
Materials Needed
- Plastic Cup and Wooden Icecream stick
- Weighing Machine
- Vytaflex PolyEurathane - Part A and B
- Liquid Plastic
I chose to go the PolyEurathane rubber and Liquid Plastic route. So these are the steps I followed:
- I started by pouring 20gms of Part A


- I then added 20 gms of Part B of the PolyEurathane mix, making it a 1:1 ratio


- Then I stirred vigorously, to it mixed well and changed colour to a uniform mud coloured mixture

- This I then poured into my wax mould and filled the cavity completely

- It was then let to set over 16 hours
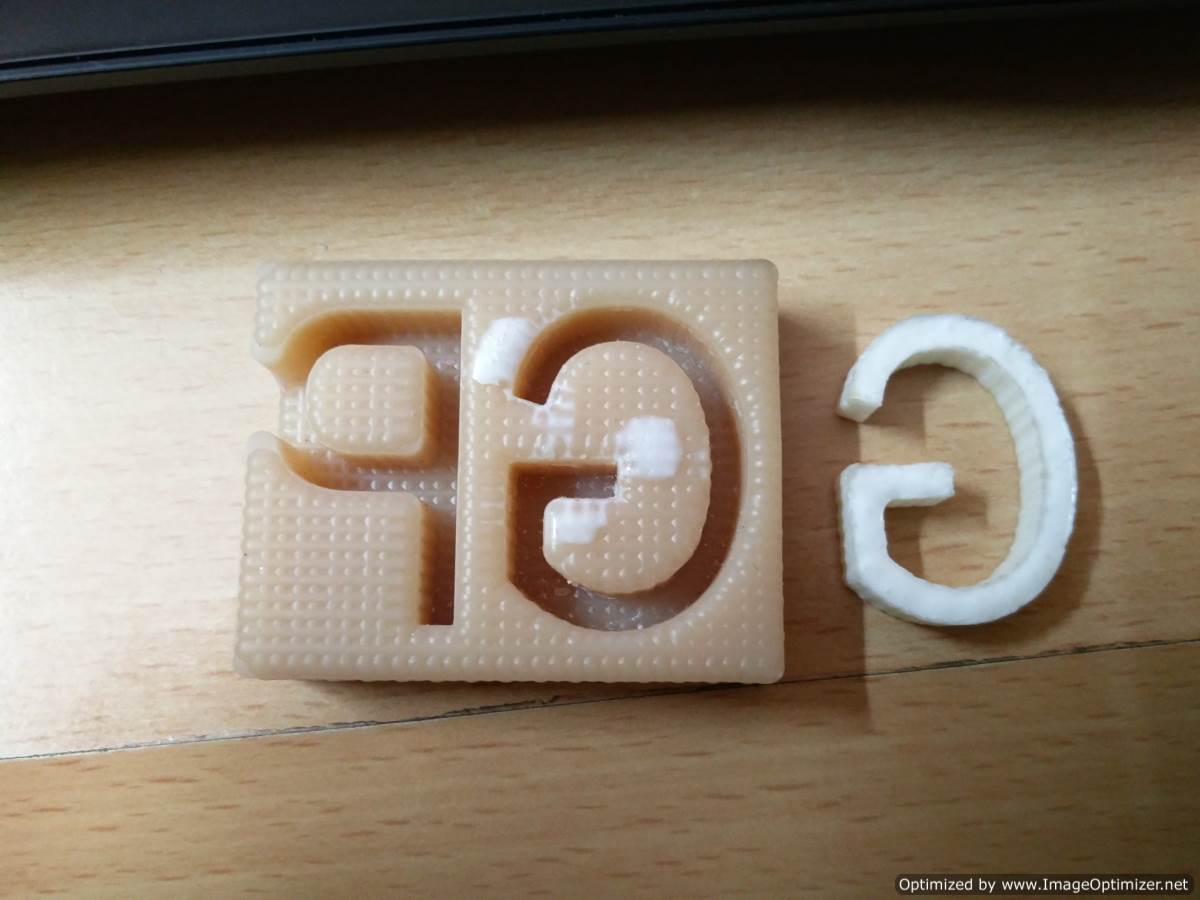
The cast looks like this 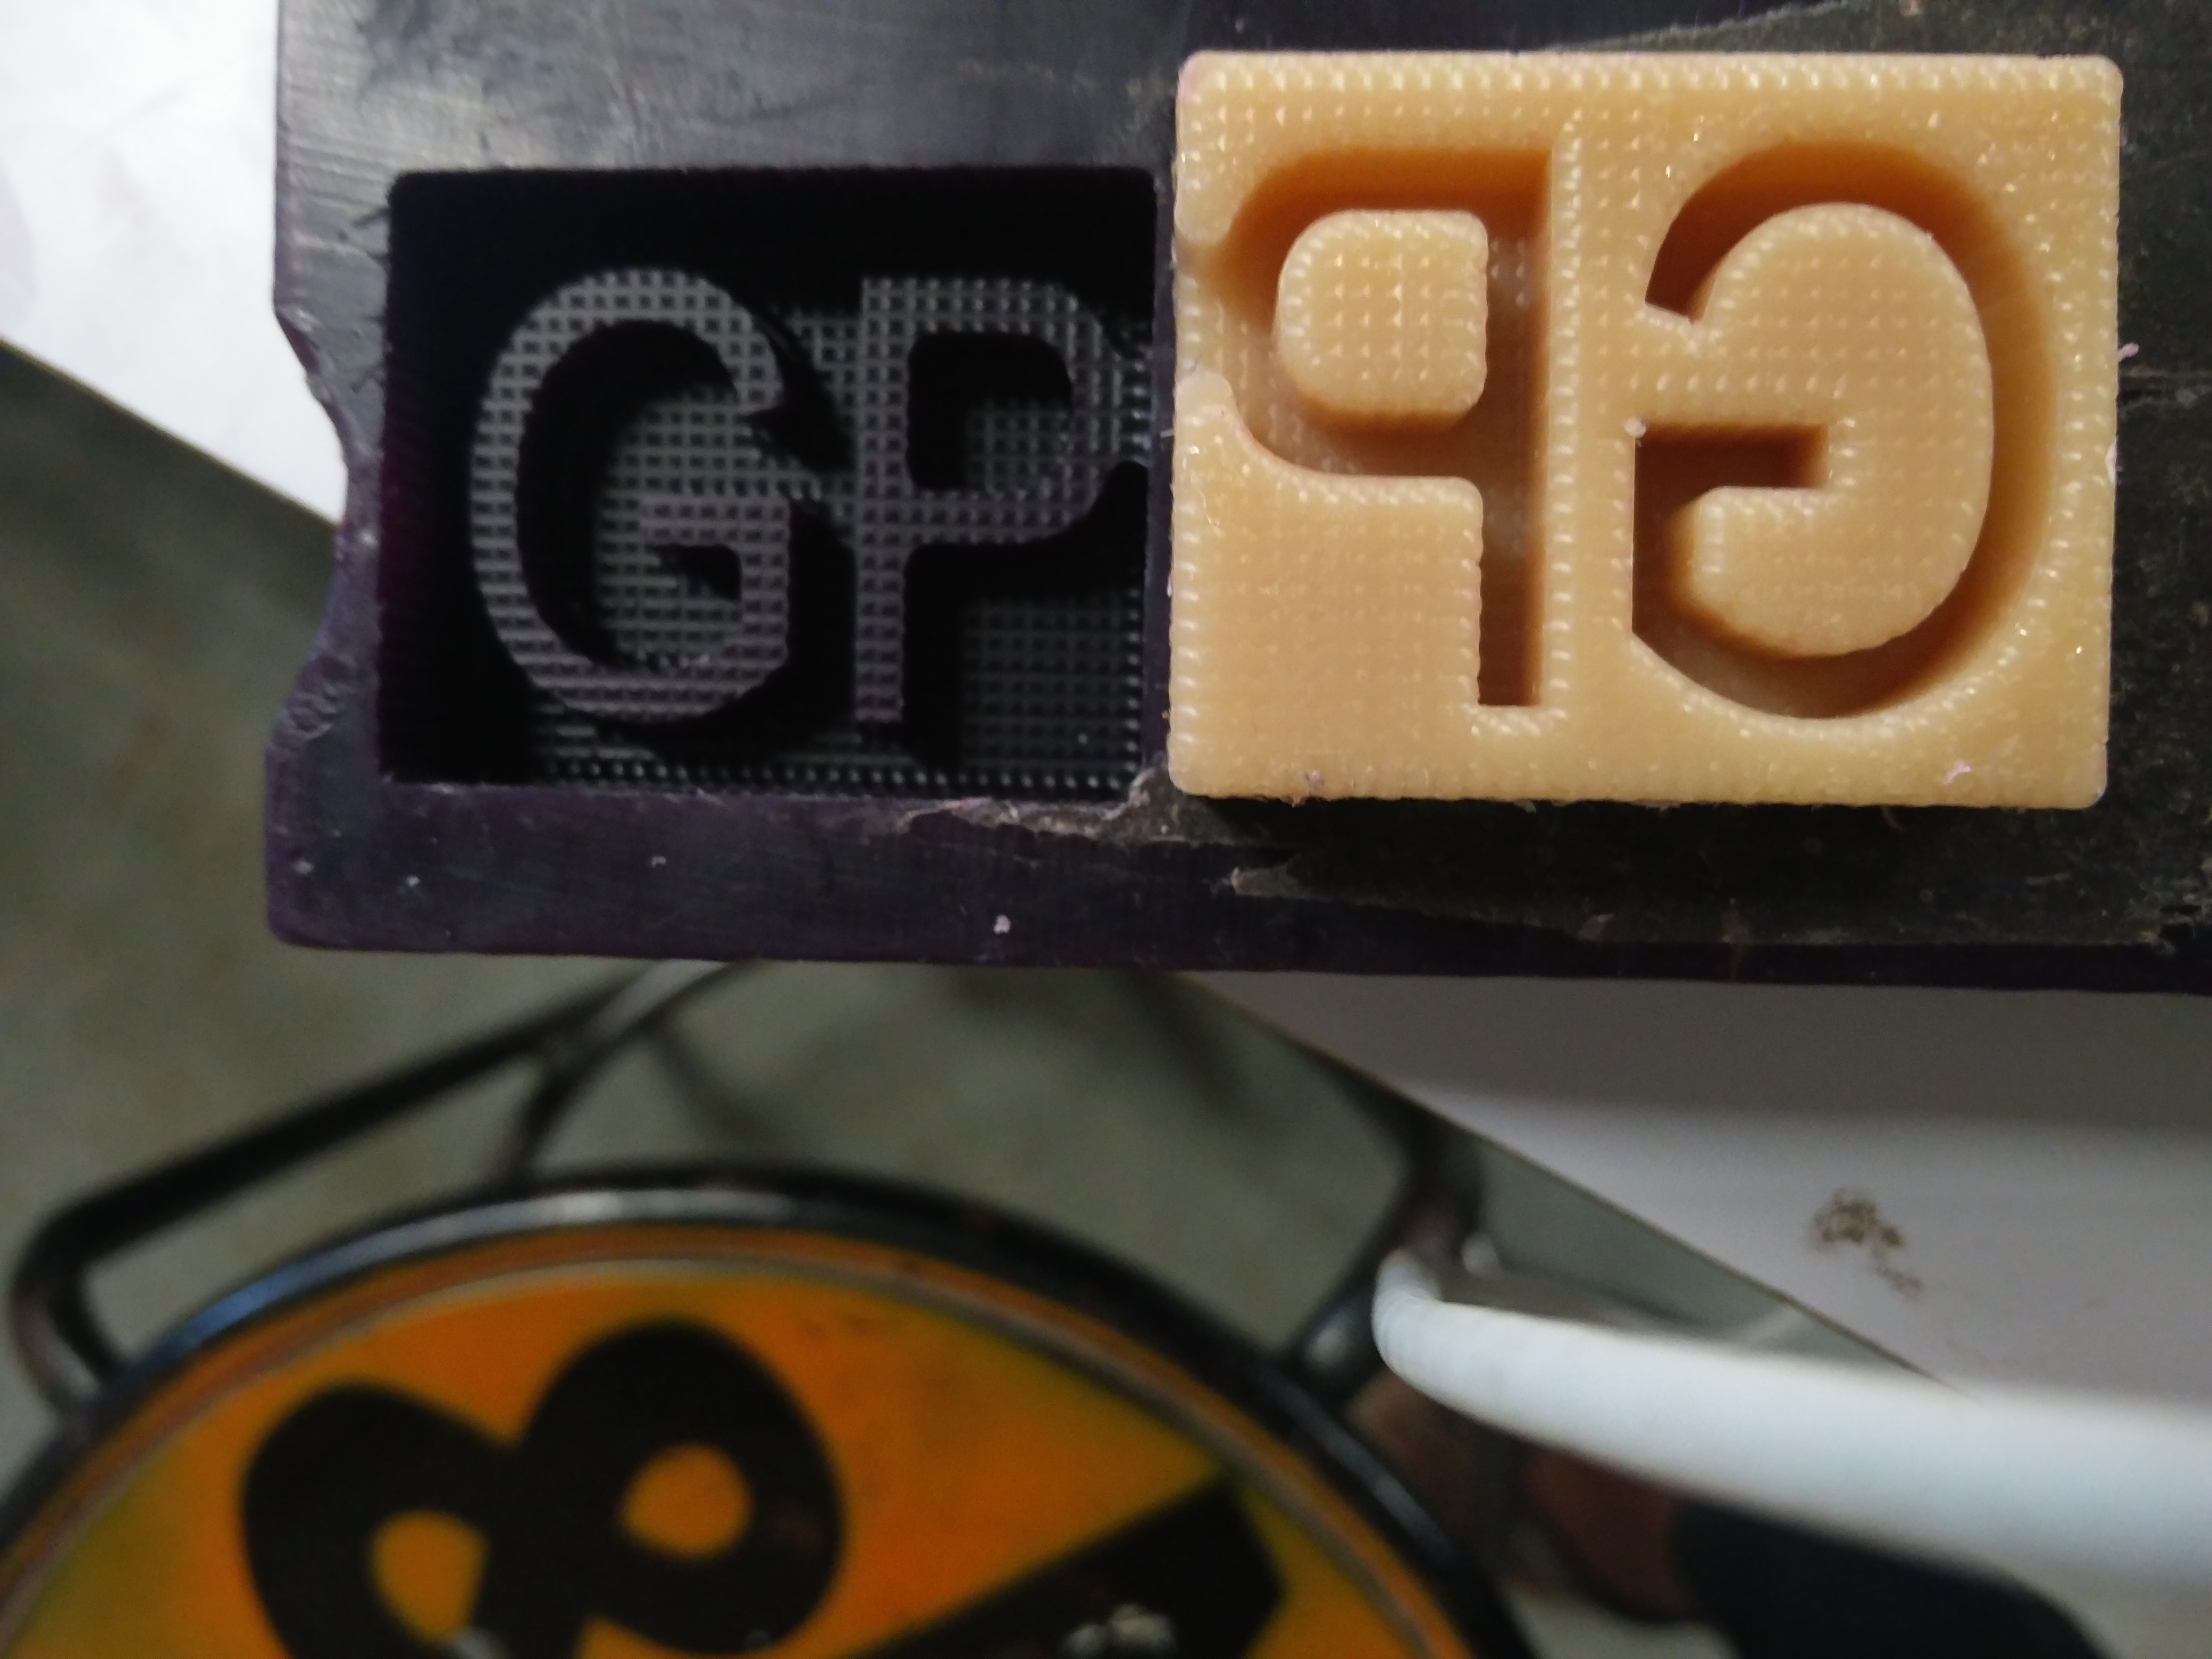
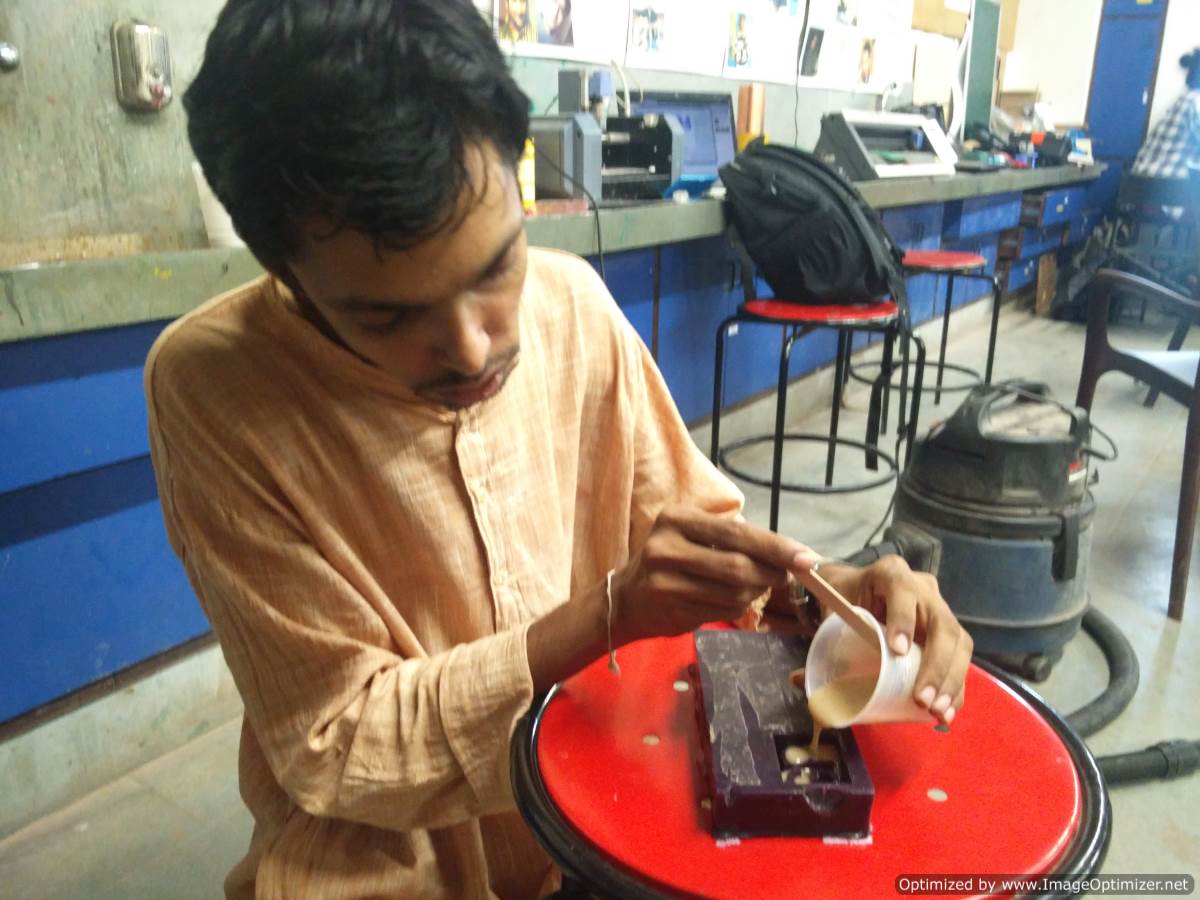
The following video shows how to mix the liquid plastic and pour it into the cast. We mix Part A and Part B of Smooth Cast 305 Liquid PLastic Compound in the ratio of 1:1. Make sure that it is stirred well. Pour an amount lesser than the brim (atleast 20% lesser), as the plastic compound expands.
Week 12: liquid plastic from Gautam Prakash on Vimeo.
The outcome in my case was