Web Development
How to create a website
What is a Website??
I think a Website is a journal/representation of my digital self in its most basic form. When you type in an address on your browser, serves the created content. Its built using HTML and CSS and more complex ones can go into different coding languages. Visually, it can be explained like this

How did I make a website
Web Development has these stages - Development and Deployment. This can be explained by this mindamp.

Stage 1: Development
This is the stage where you design the content of the website, its purpose and then develop it. It is about 70% planning and 30% developing. Explaining the maindmap:- Needs: Answers questions like what is the need or purpose of this website, whom is it for, what is the work I need to do before I start developing the website.
Purpose of this site - Document my work
Audience - anyone who is interested, age group no bar, grade 6 onwards
- Content: Once this is clear, it's easy to write the content [PS - I didn't do too well on this point. SO I am using the week between Apr 10-17 to redo the content]. I am using this structure to write the content and store it

Fig 2: Mind Map of the folder strucutre 
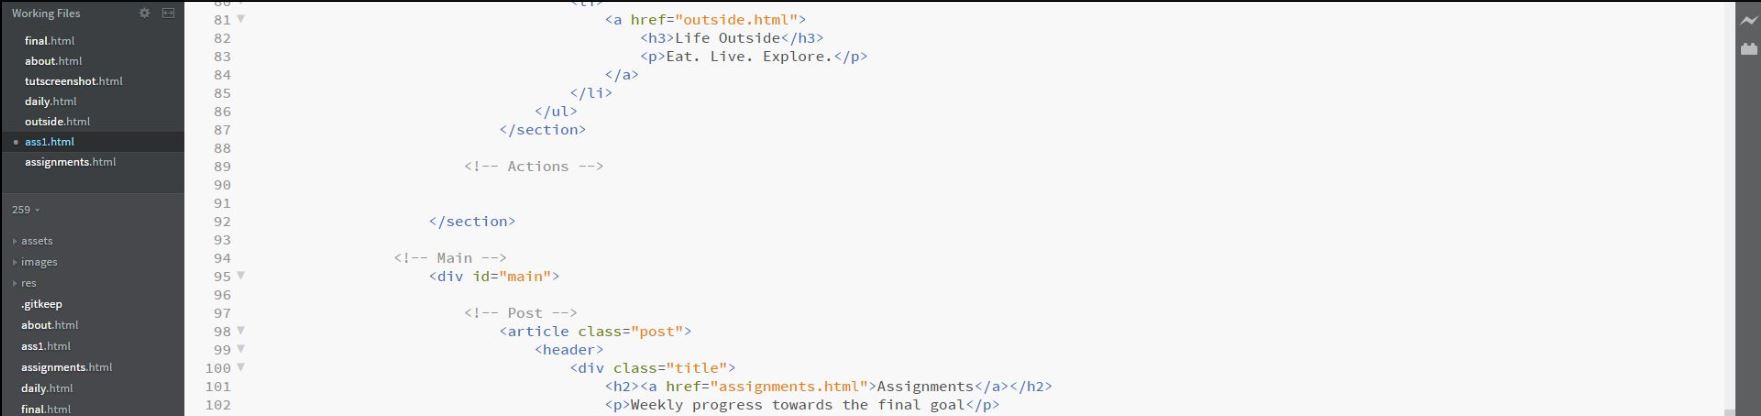
Fig 3: Actual folder structure, with base .html files and the "assets" and "css" folders created by the theme I chose - Design: I had 2 choices - 1.create the theme and design from scratch or 2. Use an existing theme. In order to keep the connect with coding, I chose to go with a theme from HTML5UP. These themes are 100% free to use as long as credit is given and Responsive i.e they adapt to the screen size (Laptop Vs Tab vs Mobile) and present the content as shown in the image below

- Technology This section can be further broken up as Coding language, tools to code and tools to test.
Coding Language options were Bootstrap, HTML 5 Initializer or a theme from HTML5UP. I chose to go with HTML5UP theme as I realised I couldn't get a consistent feel with a site built from scratch using either Bootsrap or HTML 5 Initializr.
Tools to Code include options like a
text editor like Brackets, Sublime Text, Atom, Notepad++. There is a review of different text editors for web development by me here.
IDE like Visual Studio, Eclipse, Adobe Muse
Testing software to create a local server to see how your site responds and looks like WAMP Server, XAMPP Server to name a few
Since I wanted to stick to HTML, I used the HTML5UP theme and edited it using Backets text editor, as its feature called Live Preview allows us to create a local server(using Node.js) and test the site. I tested Atom, and Sublime Text and dropped both. Atom as it slowed down sporadically, and Sublime as it didnt have a live preview option. One Windows, I used IntelliJ Ultimate. This was only to test development using an IDE. While it has certain intelligent options like Refactoring, I found that it was an Overkill.
I followed these steps to create my website. It is more complex than a system like Adobe Muse as it requires one to manually enter the code, or modify the code taken from elsewhere. I have chosen this option because it allows me to grasp important concepts without having to reinvent the wheel. My first attempt was a basic html, and realising that I wasn't getting the formatting right, switched to this theme.
Some optional videos to watch on the tech/software mentioned above:
HTML5 Initializr for a Hello World Site
Stage 2: Deployment
This was taken care off, for us, as FabAcademy uses Gitlabs. A google search on "What is GIT" takes us to this link by Altassian which says
Git is Performance Security Flexibility Version control. By far, the most widely used modern version control system in the world today is Git. Git is a mature, actively maintained open source project originally developed in 2005 by Linus Torvalds, the famous creator of the Linux operating system kernel. A staggering number of software projects rely on Git for version control, including commercial projects as well as open source. Developers who have worked with Git are well represented in the pool of available software development talent and it works well on a wide range of operating systems and IDEs (Integrated Development Environments).Git works in a very simple, robust manner as explained here and by this image taken from the git-scm website linked above. All credits go to them for the awesome documentation!

There are mutiple points we need to address when it comes to using git. These can be broken up as Git Software and their setup, Git upload modes and alternatives to GIT as shown below

Installation and configuration
I have installed Git-SCM on a Mac and on a Windows Machine.
- A .pkg file, similar to a .zip file is downloaded. Double click to extract. Double Click on installer to install the software. This doesn't show anywhere on the Launcher like this

- Under windows, its a simple double click on an .exe file. However, Microsoft Windows creates a shortcut to gitBash, gitCMD and gitUI, making things very very simple. During installation, accepting the defaults is the best. Only change I made was to prefer the command prompt environment of gitCMD over the bash-like linux environment of gitBash.
- Follow this Tutorial by Altassian to complete the installation on OS X or Windows or Linux.
- Important commands needed to configure git are
git config --global user.name"Your Name"
The name and Email need to be same as the ones we used to either create an account on github or the ones we used to create accounts on GitLabs for FabAcademy. This ensures that the uploads are tagged with your name and email, so communication and traceback of errors is possible.
git config --global user.email"Your Email" -
git clone http://git.fabacademy.org/fabacademy2017/fablabcept.git to use the HTTPS method to sync
This can be got from these screens once you login to our GitLab.
OR
git clone git@git.fabacademy.org:fabacademy2017/fablabcept.git to sync via SSH

Project dashboard once we login to the GitLabs

HTTPS link accessed by the dropdown inside the fablabcept project

SSH link accessed by the dropdown inside the fablabcept project
To change from HTTPS to SSH use this commandgit remote set-url origin git@git.fabacademy.org:fabacademy2017/fablabcept.git
Changing from SSH to HTTPS can be done bygit remote set-url origin http://git.fabacademy.org/fabacademy2017/fablabcept.git
which is just changing the URL we copied earlier as shown in this image below
 The current mode of syncing can be verified by the command
git remote -v
The response tells you based on the URLs (as described above) if sync mode is HTTPS or SSH. - SSH needs a unique highly secure key, which you can generate by
ssh-keygen -t rsa
as shown in this link. It creates 2 files - one private key to not be shared, and one public key to be shared. These can be differentiated not only by the file ending - .pub indicates public key, but also by size as shown below

This key needs to be entered in the User's SSH Key option under User profiles as navigated through these 3 screens

Click on the User name in the bottom left and access this screen. Click on "profile settings" to access the next screen

Click on SSH keys in the left menu to access the next screen

Copy contents of the public key and paste here and click on save button
This ensures that you can push and pull content from this Git without using your username and password. - Pull in latest updates using this command
git pull
- Make any file changes and add them all to "Staging" ie prepare them for commiting using this command
git add .
- Commit changes ie prepare them for being pushed online using this command
git commit -m "Message to inform you later what changes you made this upload, very important to write a good description for when you are backtracking changes"
- Push or upload changes online using this command
git push
Enjoy creating and pushing your content online! Email me for any clarifications!
BONUS Links
If you are someone with a Student email ID, look these offers up - they are AWESOME!
Git Student Pack It includes free hosting, free pro software etc.
Jetbeans offers students all their software including IDEs, linked here.
Final Project proposal
My final project will aim to create a building water management system, which will track water in stock, calculate time to empty water in stock and using Wifi, control motors or valves. I like the concept of circular development, so will develop the complete system in stages. See this link to track my progress.
- Jan - map the college for water flow and get IT to allow my IOT devices through the Firewall. I will start development using NodeMCU and WeMOS D1 (ESP8266 development boards) to push data on to thingspeak server on DigitalOcean.
- Feb - Mount a distance and flow sensor with a Lasercut and 3D box. Design a power safety circuitry
- Mar - Test output of sensor data on an LCD
- Apr - Add a relay control. Added - experiment with MQTT protocol on the raspberry pi server
- May - Test run a version of the solution
- Jun - Finalise case, power and final product. Updated - redo the PCBs as required by the assessments.