07. COMPUTER-CONTROLLED MACHINING
Assignment
Make something big (on a CNC machine).
Lecture
IDEA
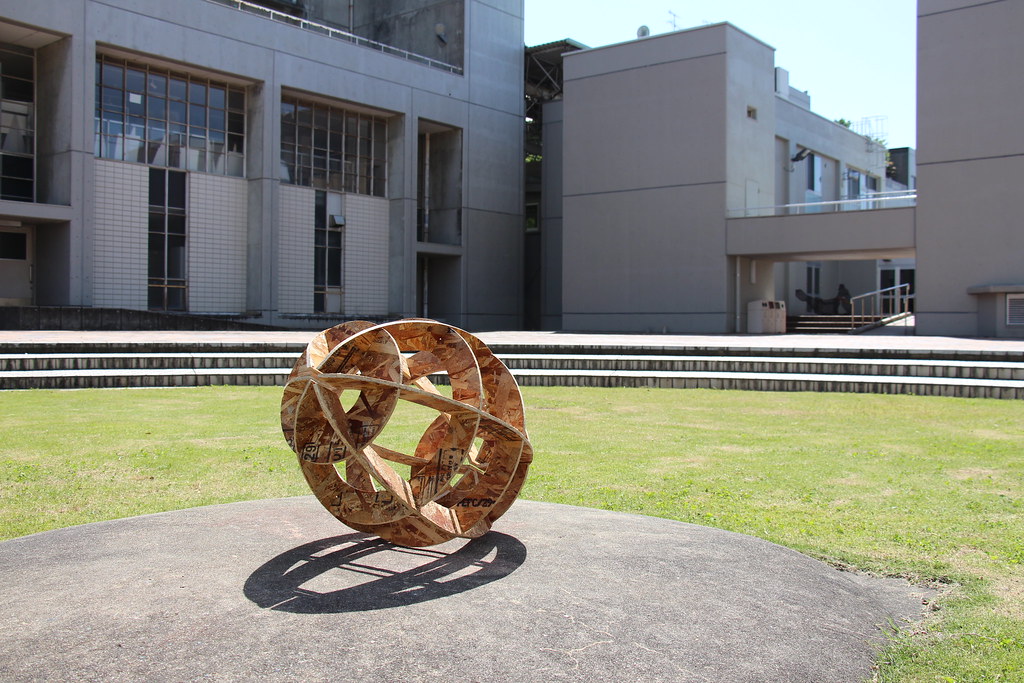
Egg style Lampshade/Shelf
This week I would like to make an egg shaped shelf/lampshade for my room interior.
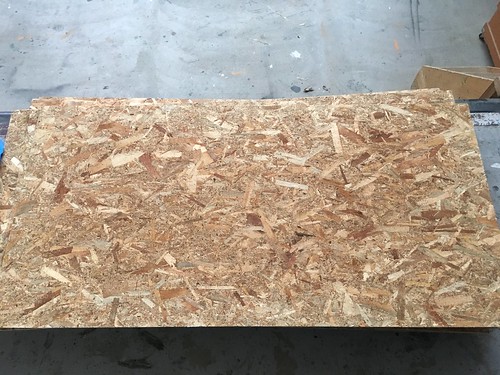
Material
We had 2 of 900 x 1800mm 9mm thickness OSB boards.
Digital Making
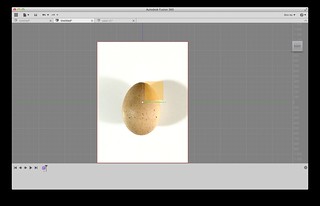
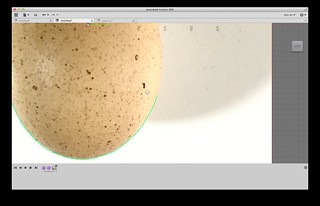
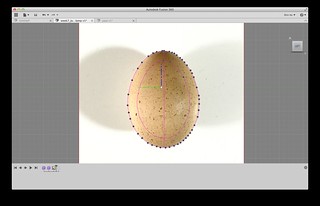
First, I wanted to have a natural shape of an egg. I took a picture of an egg in my fridge.

Autodesk Fusion360
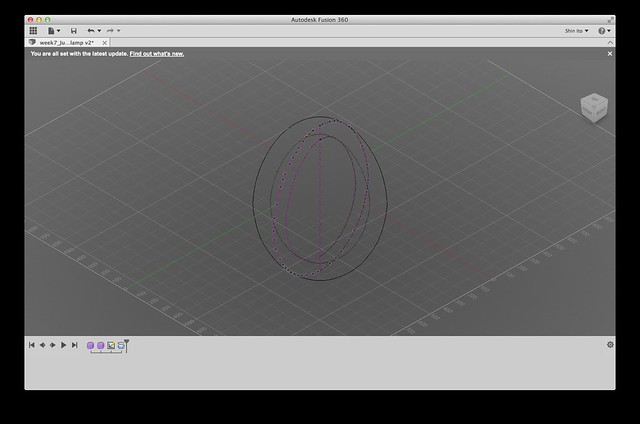
I imported the picture of the egg with Fusion360 and took outline. I did "Offset" command to make smaller oval.
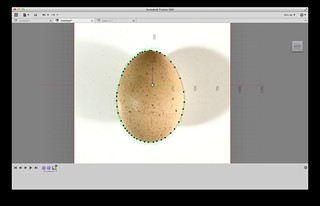
Then I did "Revolve" commnad to get solid egg shape with a space inside.
Get the Fusion360 file
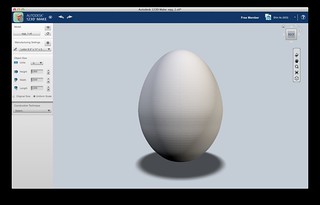
Autodesk 123D Make
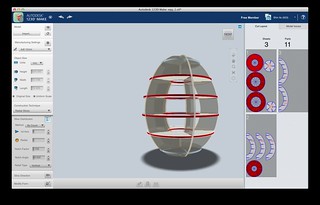
I used Autodesk 123D Make for making 2D data from 3D data. I imported the .stl file which is exported from Fusion360.
Settings:
Download 123D make file
illustrator
After get the exported layout file from 123D Make, I changed the layout of all parts to fit in the one OSB board.
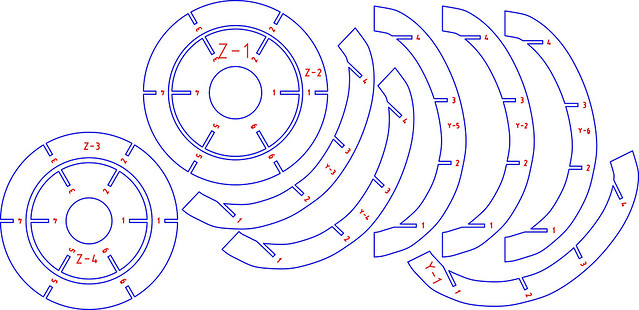
Download illustrator file
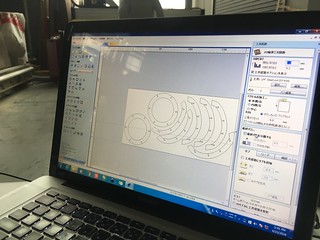
CAM: V curve
V curve is the CAM software I used.
Procedures:
Download .sbp file
Download Vcurve file
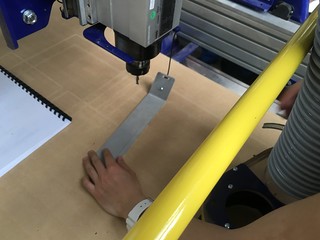
Analog Making
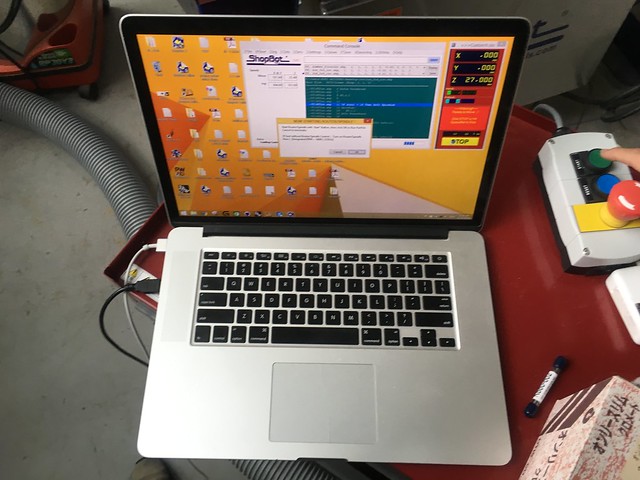
ShopBot
Procedures:
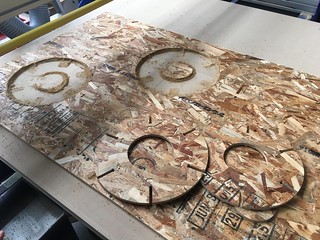
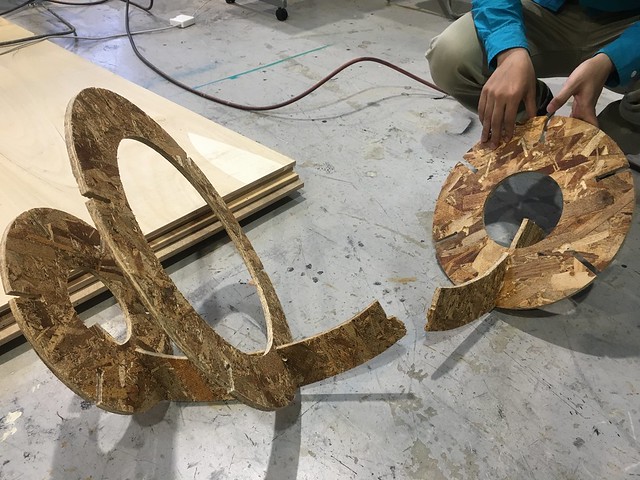
Assembly
First, I sanded the edge of the parts because it had many burr especially at the bottom part. That was because I used downcut endmill.
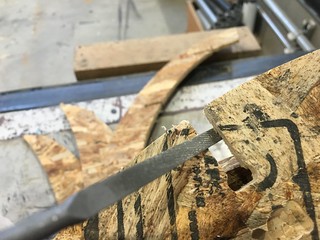
Trouble
I broke one of the parts when I was asemmnlying all parts with hammering. The cause of the trouble was the offset(0.2mm) was too small. Also, the material was not that strong. So, I changed the offset to 0.3mm and run the shopbot to make the 6 side frames. 0.3mm offset parts were still hard to fix together. However, after 2hours assemblying I finished to make it!
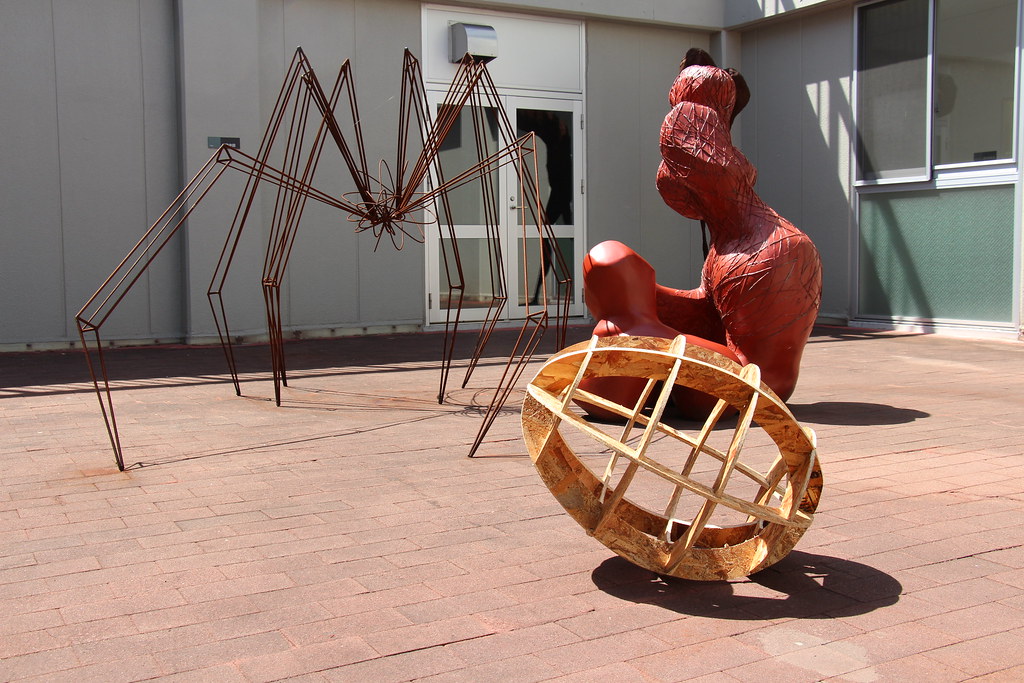
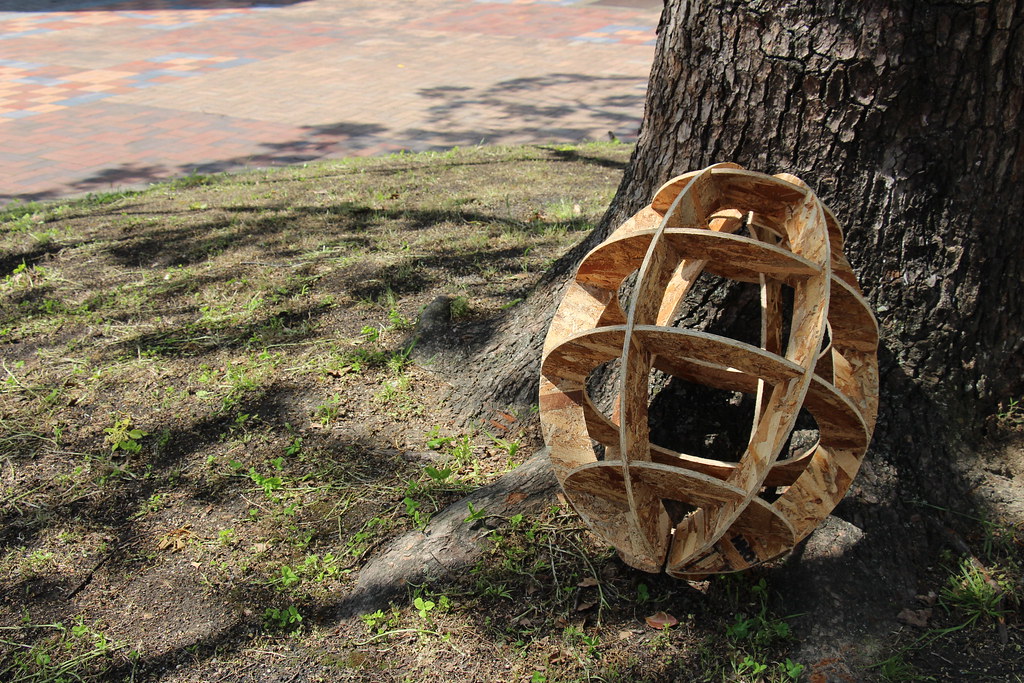
Outcome
Special Thanks!
The Yamaguchi Center for Arts and Media(YCAM) for providing us to chance to use ShopBot
Koki Akiyoshi for ShopBot lecture
Thank you for your support!