04. Electronics Production
Assignment
Make the Fab (tiny)ISP in-circuit programmer.
Lecture
FabISP
I chose original FabISP designed by Professor Neil.

Those are the basic png image of Niel's FabISP


Designing
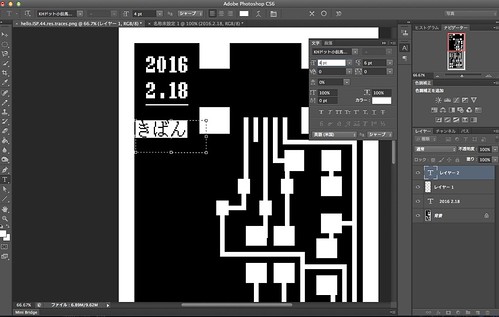
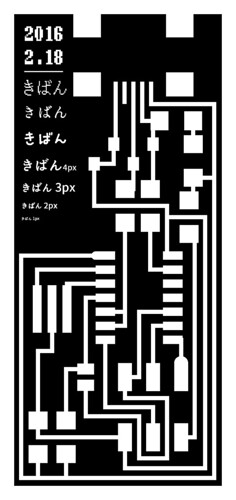
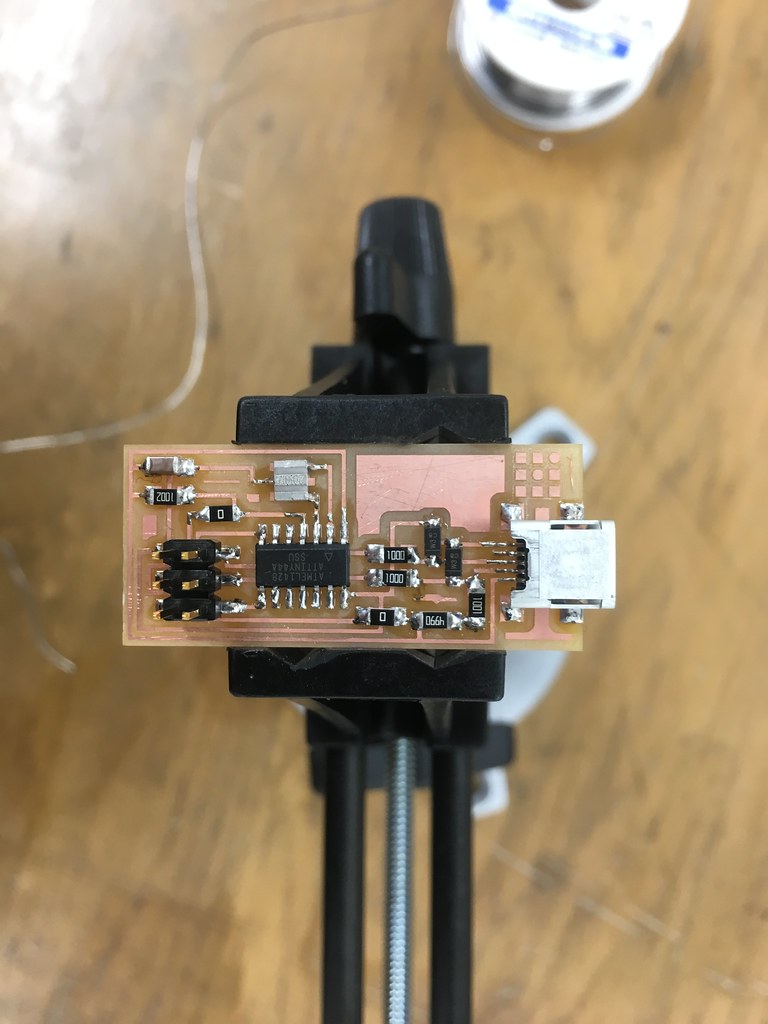
Based on Neil's FabISP, I modified the board design with Adobe Photoshop.
I add words with several sizes to check how the mill can mill the precisely.
FabMoules
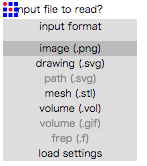
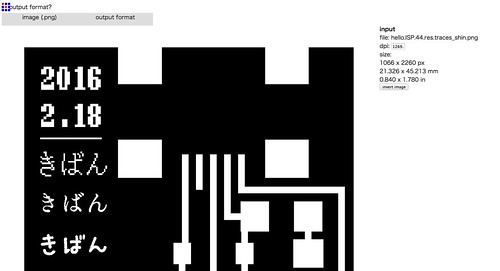
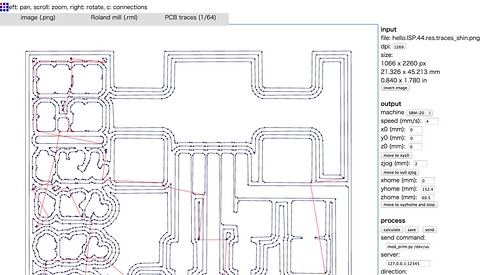
To make the file for milling I used FabModules. The fab modules provide a set of software tools for personal fabrication, intended for use with machines common to fab labs. About FabModules check this page: http://kokompe.cba.mit.edu/
1. First, opne the FabModules on the web browser (Google Chrome is reccomended by our local tutor).
2. Choose "image(.png)" in "input format" menu and load the outline and trace png file.
3. Choose "Roland(.rml)" in "output format" menu because we use Roland milling machine.
4. Choose PBC traces(1/64) or outline(1/32) in "process" menu.
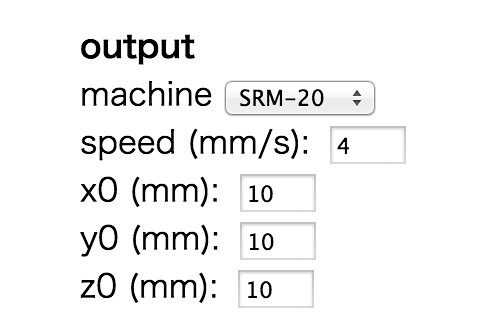
5. Choose machine, in my case "SRM-20".
6. change the value of x0, y0, z0 from 10 to 0.
7. press "culculate" then it show the toolpath.
8. pree "save" and now "".rml" file to move milling machine is ready.
change status on FabMoludes here:
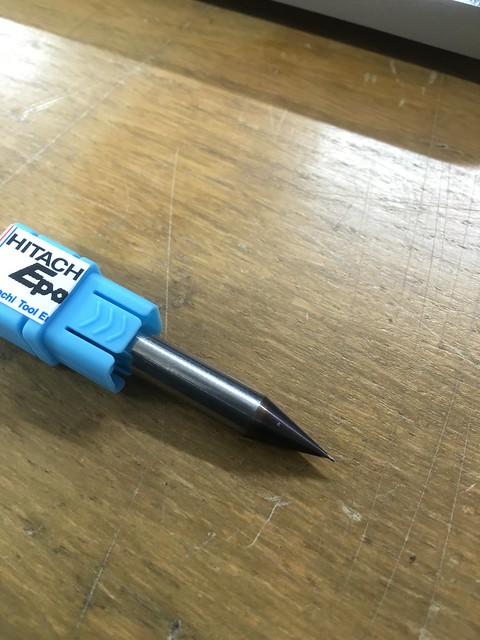
Tools
CNC Milling machine: Roland SRM-20
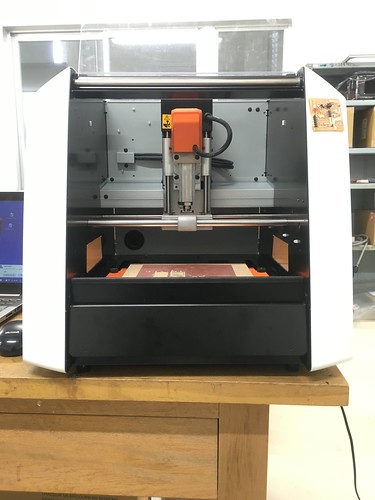
Collet: I used 6mm diameter collet which is the defauld collet of SRM-20
we have 2 collets in our FabLab. but we only have φ0.8mm and φ0.4mm endmills for 6mm collet.

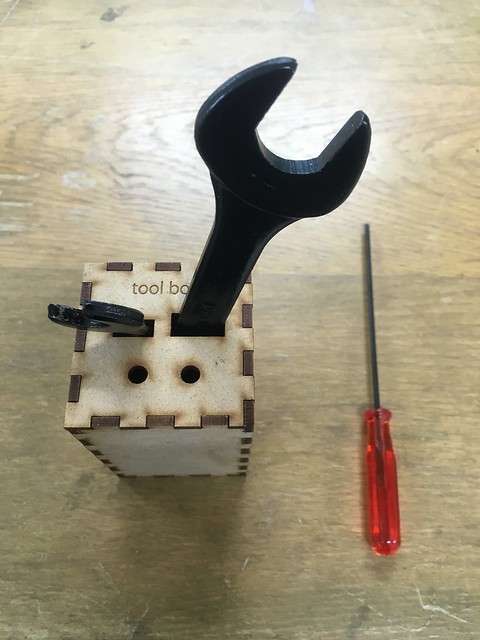
They are the tools for setting collets.
They are very important tools to tighten the endmill. If the collet does not fixed well, it would cause the dropping of the endmill and you might kill your endmills.
How to fix the endmill
First, I fix the endmill to the collet TEMPORARY.
To support the endmill while I'm fixing the endmill is important not to fall the endminll down.
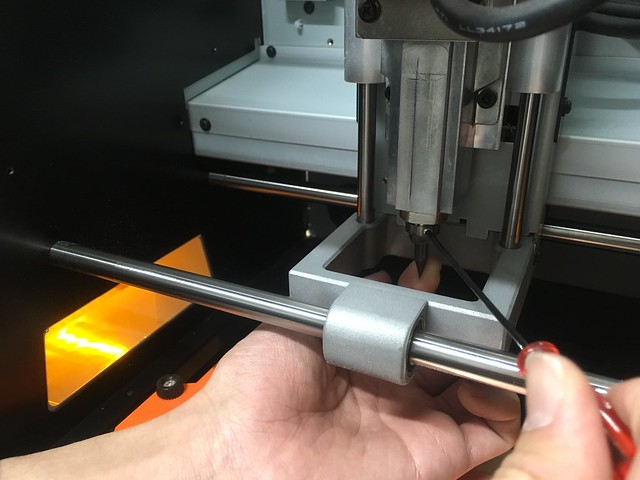
set Z axis
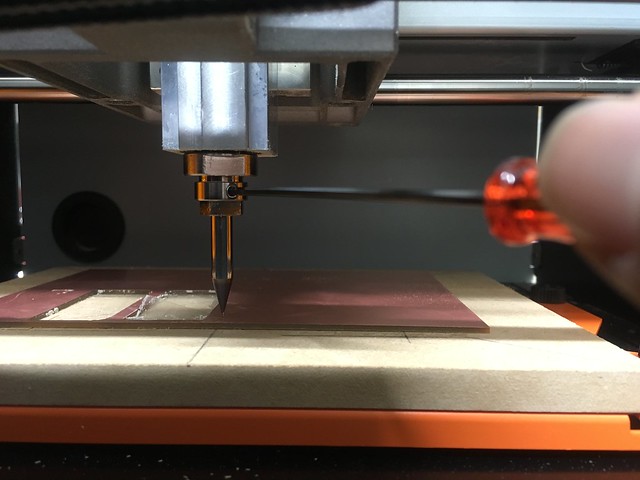
Send the job and Let it mill
How I failed
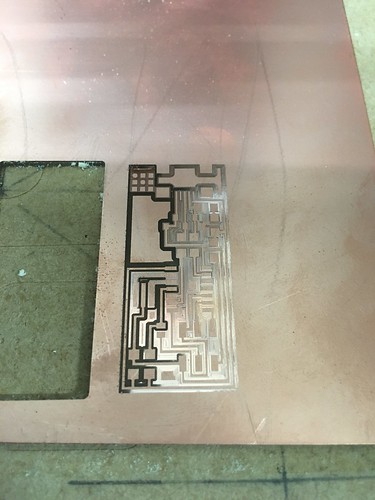
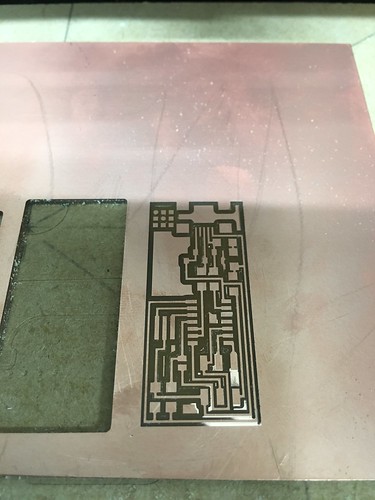
After first milling, I realised the PCB board was not completed.
The problem was that it didn't cut enough deep.(the shiny part on this picture)
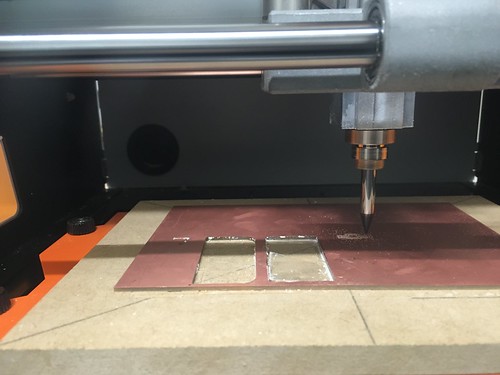
The learning is to remove the dust on the PCB board and to check the PCB board is cut well after milling.
The reason was the 0.4mm endmill was not sharp enoguh.
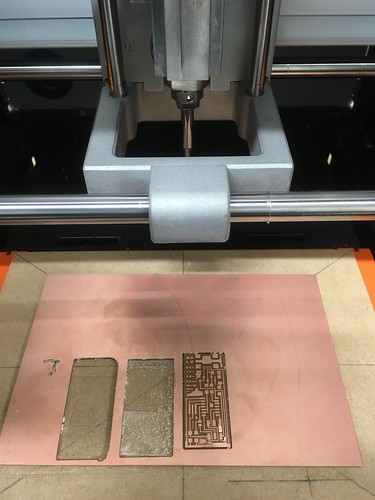
How I solved the problem
First, I milled the trace normally.
Lower the endmill 0.05mm
Spin the endmill before lower the endmill 0.05mm. Otherwise, the endmill hits to the board and break it.
And milled it again

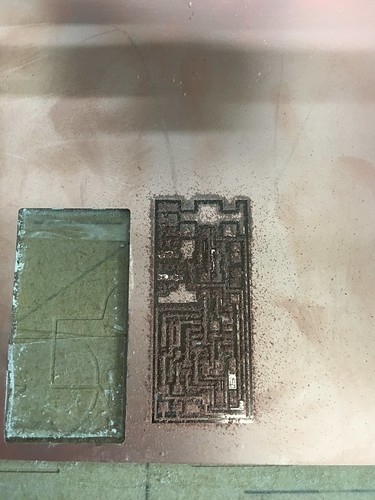
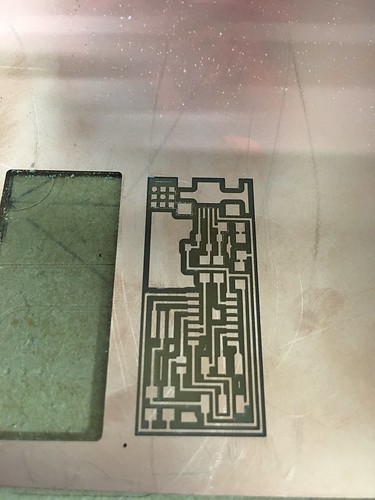
after 2nd milling,
Still it had shiny part.
After 3rd milling it looked good.
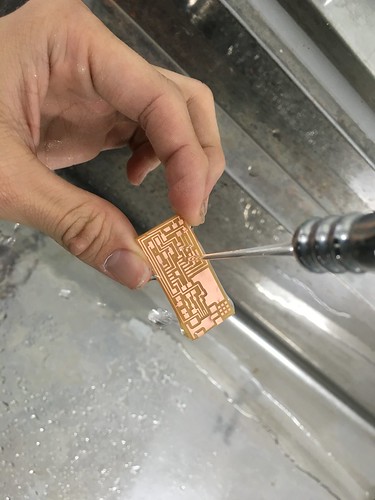
Cleaning
Cleaned the board with water:
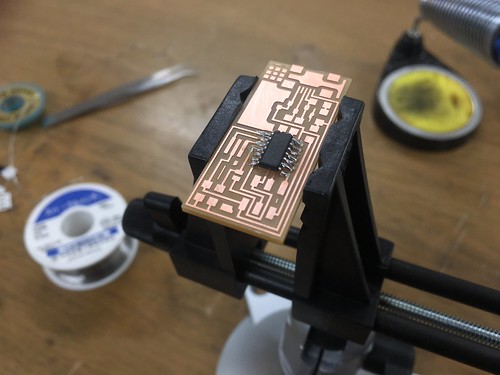
Soldering
The basic tools and setting for soldering is like this:
■ Soldering Iron
■ Soldering
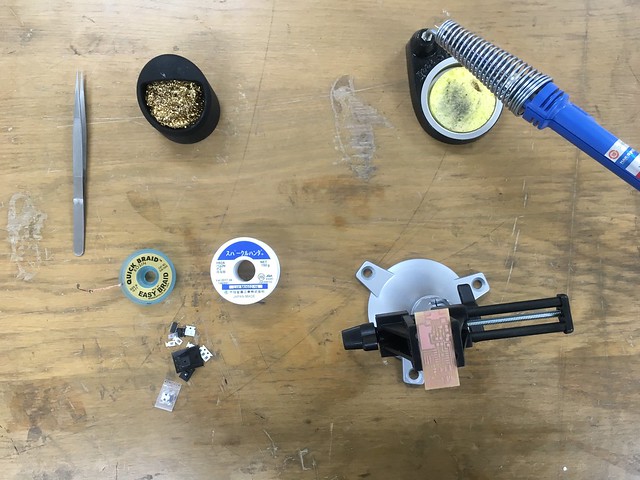
Solder from center to outer.
AVR programming
We used an AVR writer called "AVRISP mkⅡ" to program the FabISP.
There is a good document about programming FabISP here by AS220.
I used my laptop with OSX 10.9.5 for programming.
1) Download CrossPack which is a AVR development environment for Mac OSX from here.
2) GetXcode.
3) Download the firmware fromhere.
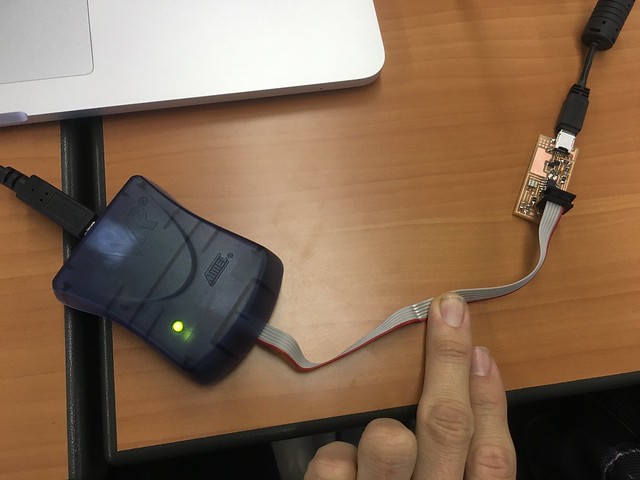
4) Connect the FabISP and Laptop with miniUSB cable.
5) Then, connect the AVR writer and FabISP with the 2x3pins cable. The direction of the cable is important for write communication between FabISP and AVR writer.
2x3 pin socket has following pins:
Whole set up is like making a loop with AVR writer and FabISP (following pictures show how to connect).
Move to firmware directry
cd ~/Downloads/fabISP__firmware
Then program following command:
        make clean

        make hex

        make fuse

        make program
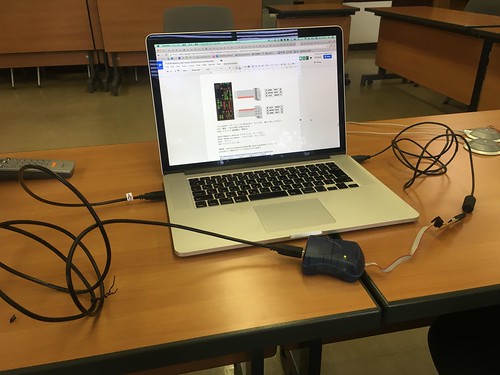
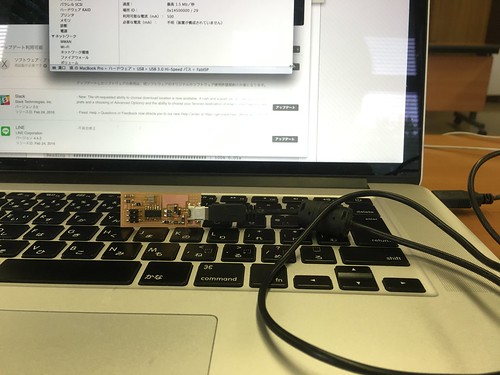
If it succeeded to write the program, the laptop recognize the FabISP like this.

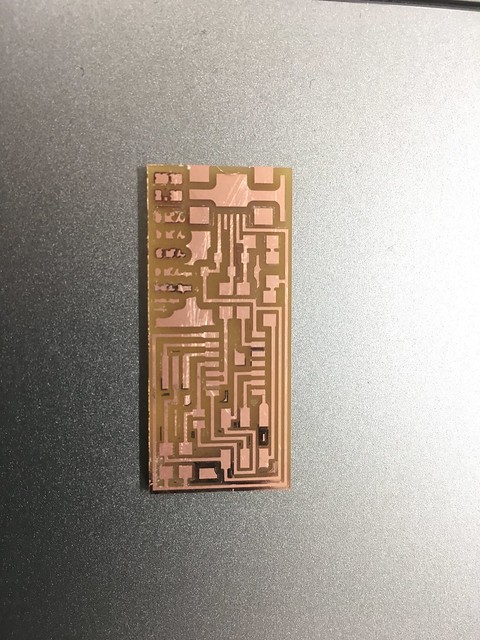
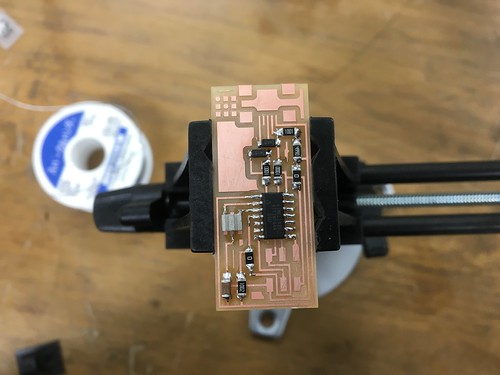
Final Result
Photos
