Molding and casting

HAPPY king's day!
Assignment: Design a 3D mold, machine it, and cast parts from it
Learning outcomes:
- Design appropriate objects within the limitations of 3 axis machining
- Demonstrate workflows used in mould design, construction and casting
Design a 3D mold
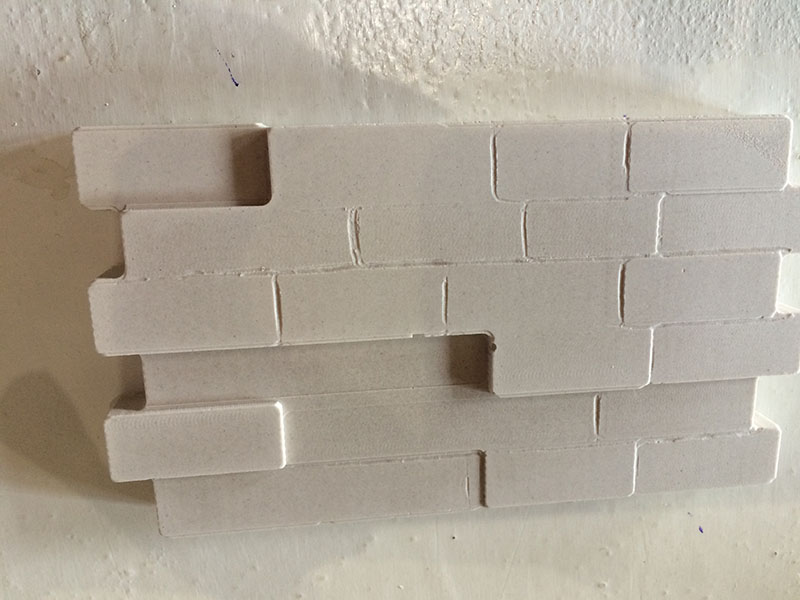
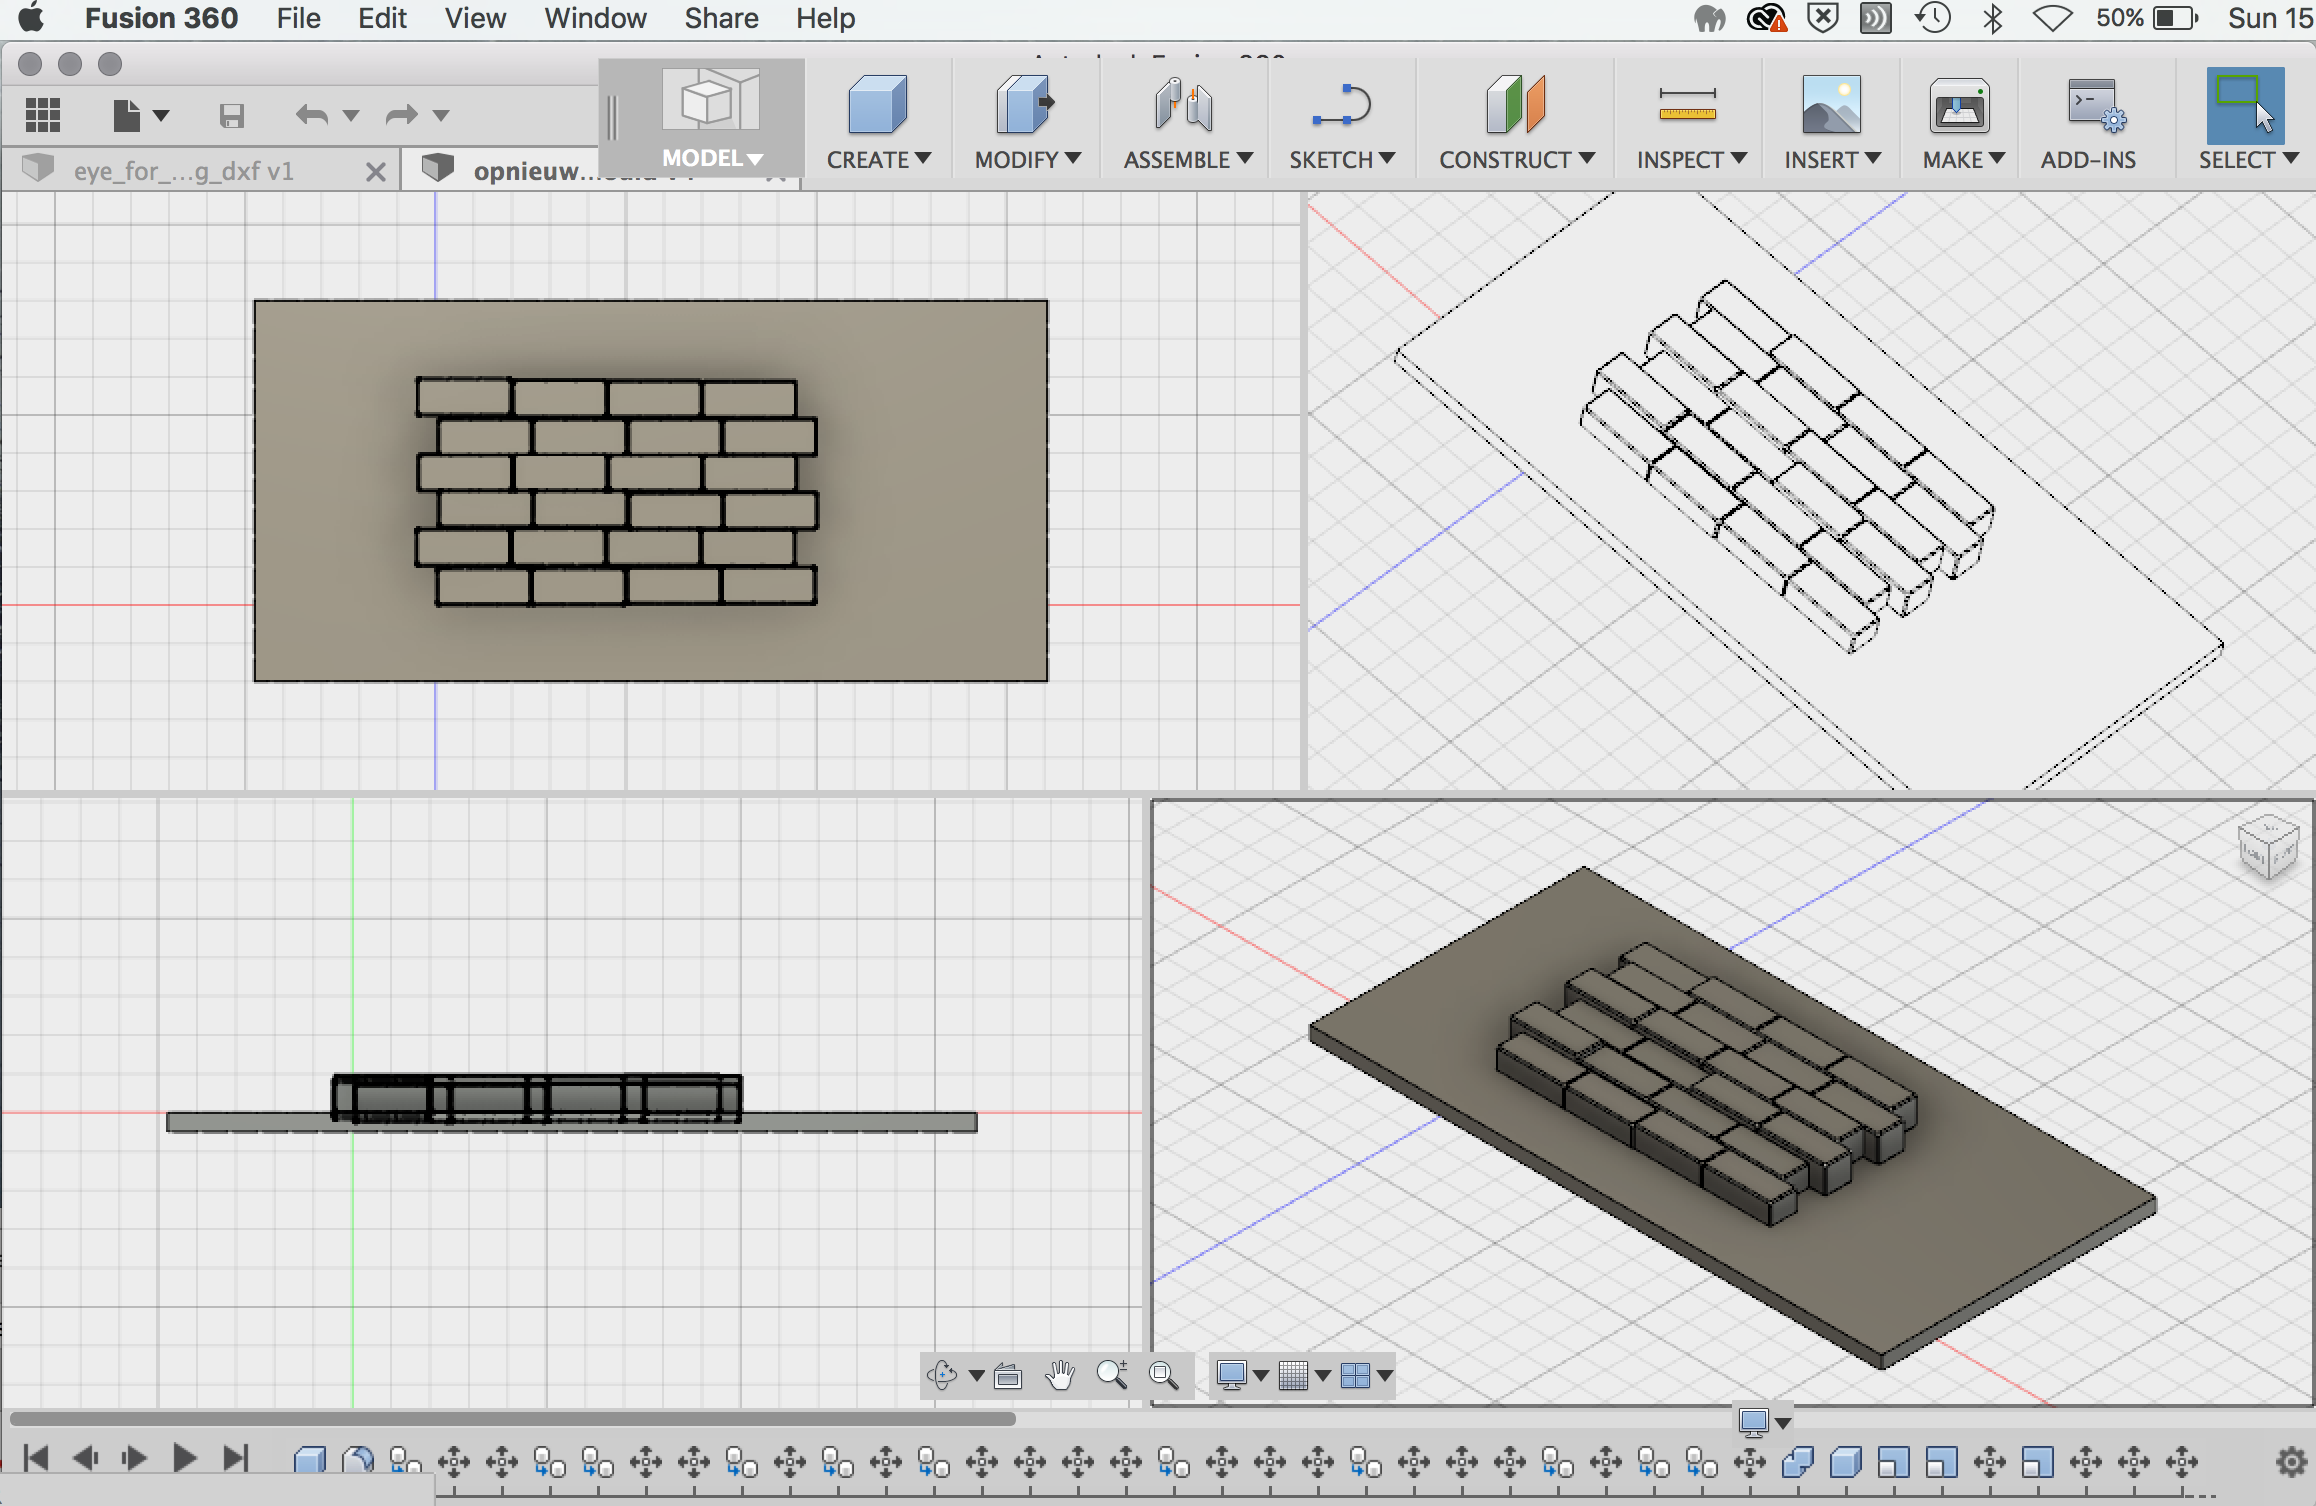 It took a bit of time to get my head around what I wanted to make; lots of discussion, positive and negative (mould) thinking and (side view) drawing with Emma and Mickael. Important design requirements were that it was (1) feasible (that is why I eventually opted for a one piece mold in which no pouring or venting holes are needed. Also the height limitation (because of wax block and end mill length) was carefully considered in the design, and (2) contributing to my final project (so that is why I designed a wall in the end).
Machine It
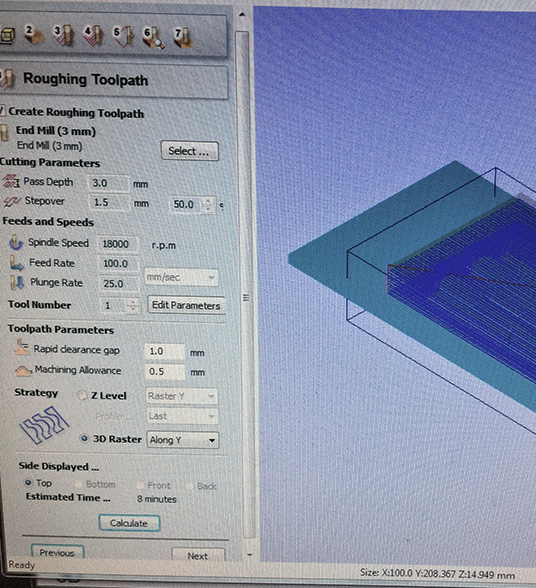
For machinging the mould with the Shopbot (faster than the Modela) I used 3mm end mills for the roughing and finishing path and a spindle speed of 18000 r.p.m.

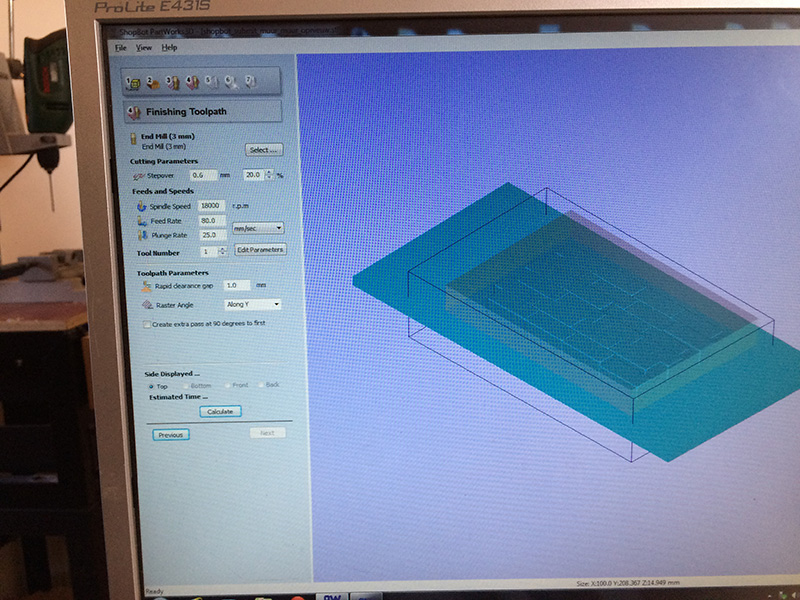
First, with the help of Michael, I set up a roughing path and then a finishing path (slower) for getting more detail. Settings overview for the roughing path (rp) and finishing path (fp):
- Step over: rp- 1.5 mm (50%) | fp- 0.6 mm (20%)
- Feed rate: rp- 100 | fp- 80 mm/sec
- Plunge rate: rp/fp- 25 mm/sec
- Rapid clarance gap: rp/fp 1
- Machining allowance: rp- 0.5 mm
- Raster angle: rp/fp- along y
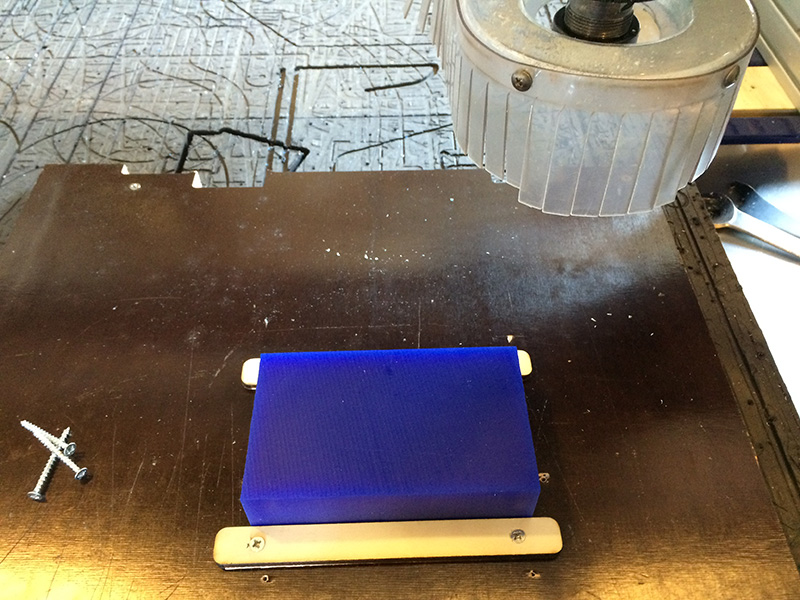
I used doublesided tape and extra screws to make sure the wax would not move.
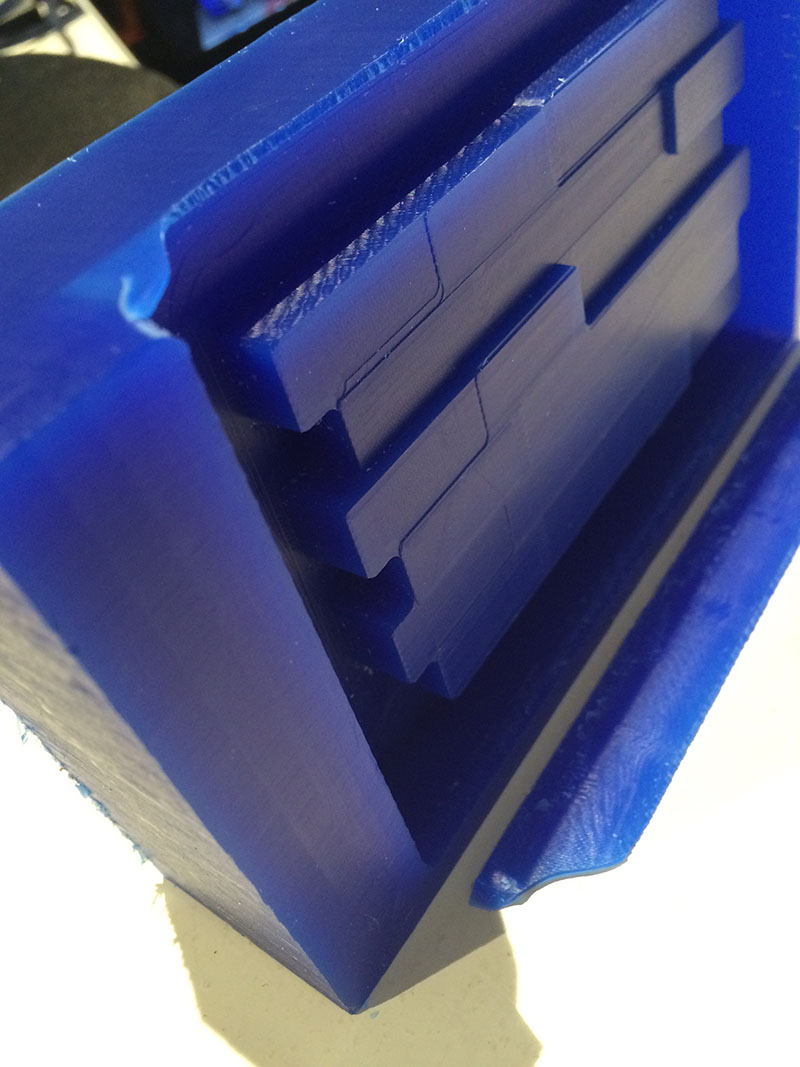
 Although the top part broke when removing the wax from the Shopbot (so be careful!), the result looked good. I used a pen to carve extra structural detailing in the positive mold which is hard to create with a Shopbot.
Cast parts
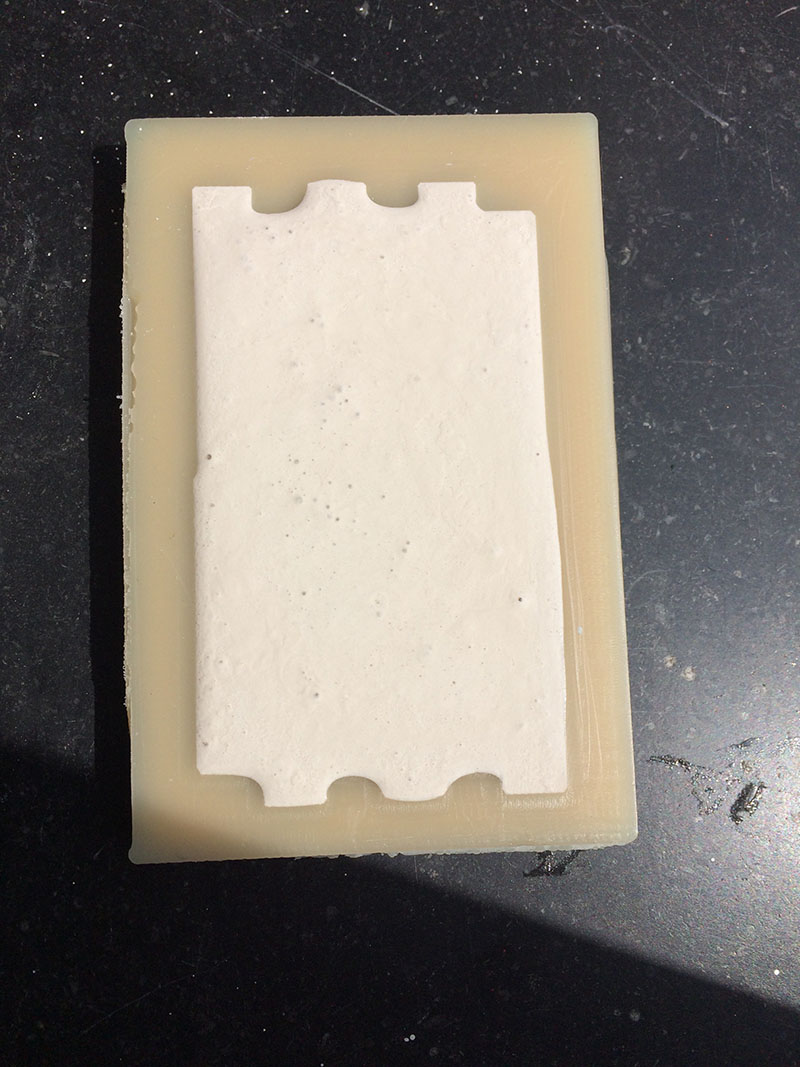
For the casting I wanted to use relatively allergen friendly material, so that is why I got help with the more risky material for creating the final mould and used plaster to create the wall.
File
Wall (.stl file)


")


 mould")


