computer-aided design
- This week we have to try different CAD programs so we can have a good range of view before deciding which one fits the most our needs. in this week am going to try
solidworks, fusion 360 and freeCAD
on 3D designing part and on 2D design i will test:corelDraw and inkscape
2D design
1.Corel Draw
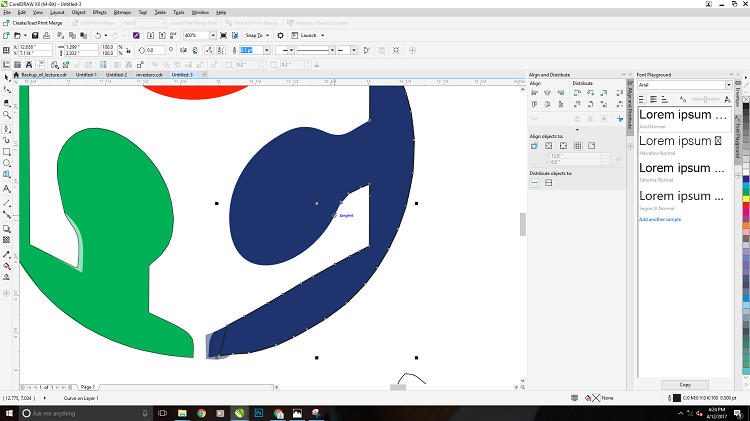
I usually only use CorelDraw to vectorise my files before sending them to a laser cutter or just to convert them in DXF or SVG but I know that it is also a powerfull drawing tool, I just never did something else with it.
CorelDRAW Tutorials and download and practice (2d drawing)
- CorelDRAW Download link
- Youtube Tutorials

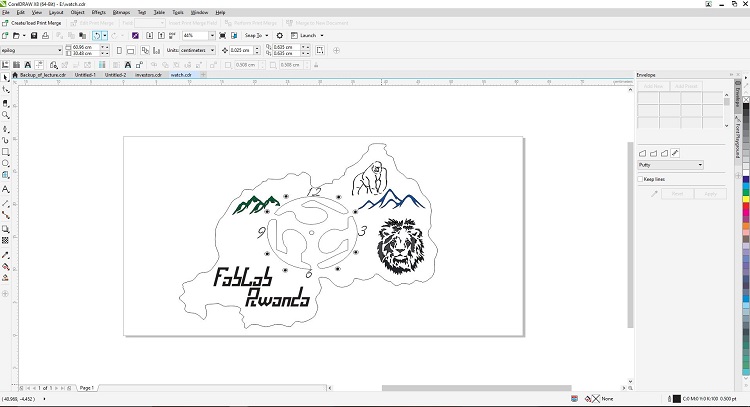
After look over a bunsh of tutorials i decide to make a small wall clock for our fablab Rwanda


Inkscape
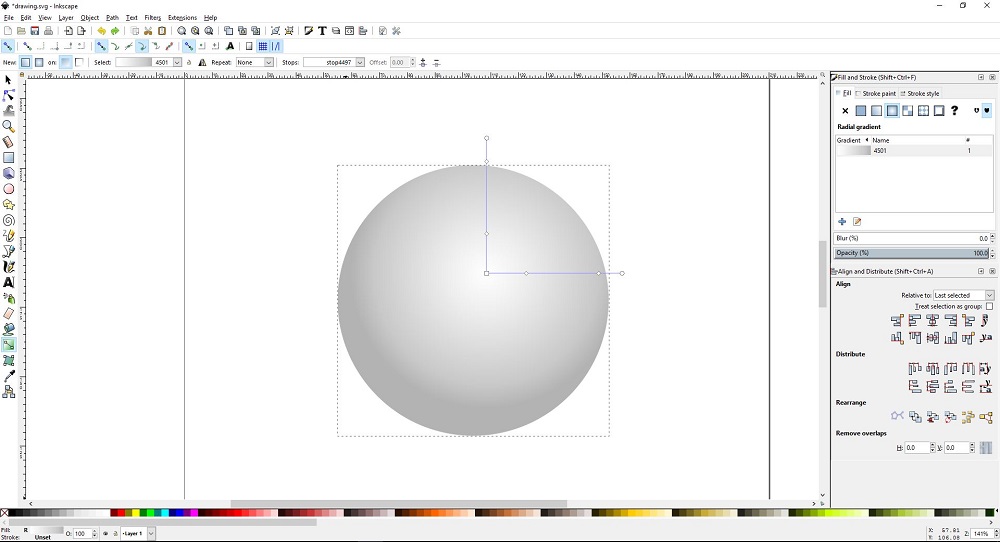
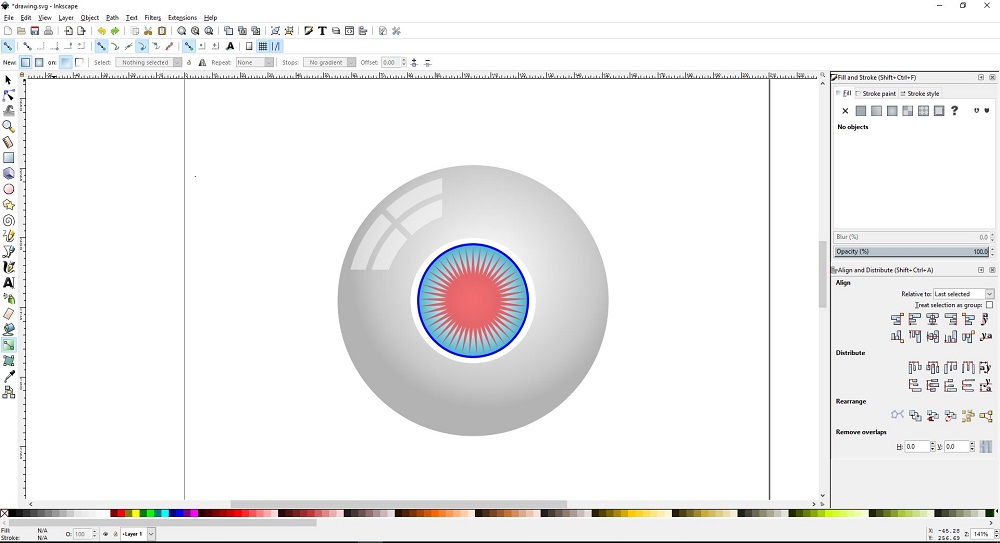
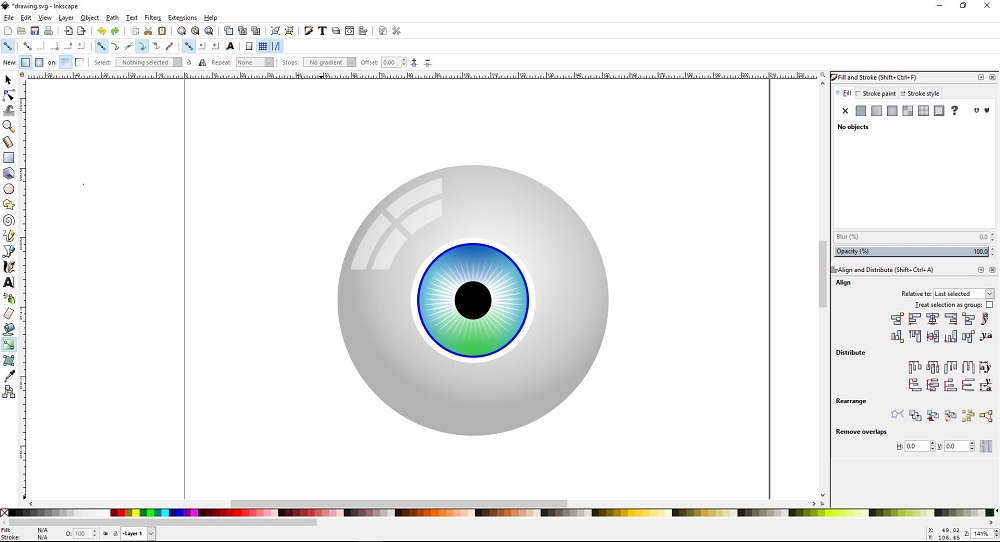
Inkscape is a free software for creating and editing vector graphics,…similar to applications like Adobe Illustrator, FreeHand, and CorelDraw. Inkscape is multi-platform. inkscape works in Windows, Mac OS and Linux. in inkscape it was my first time to design anything from nothing I have a look on many YouTube video about the inskcape I tried to design an robot eye with some light effect with the help of YouTube tutorial as reference, let have a look on how i did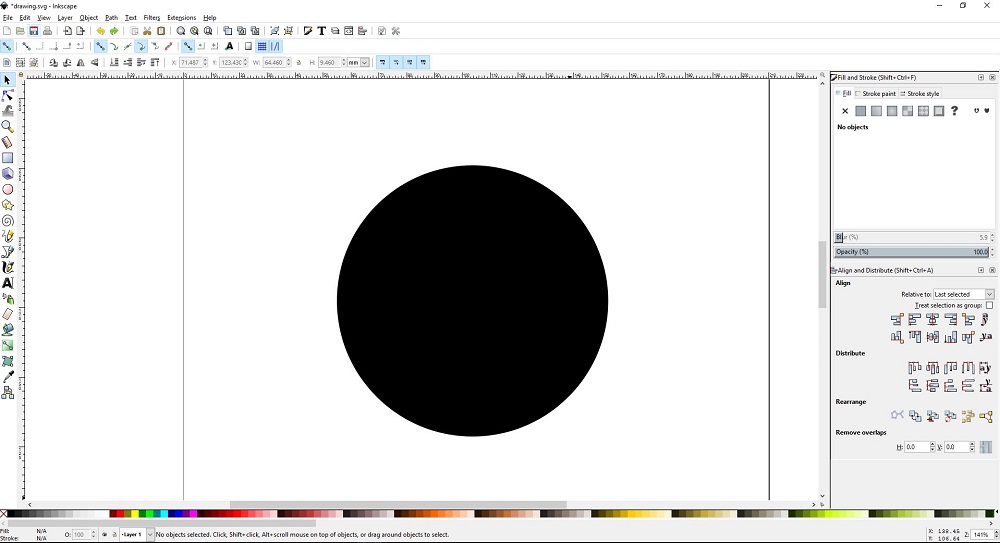 after opening the inkscape i draw a circle with black color fill inside it was default color fill then I changed it into glay (color selection tabs located at the bottom of the workspace)by using gradient tool the founded on top left pads i adjusted the gradient parameter in order to have the image below
 By right clicking on the circle vector created i duplicate the circle and resize it by reducing its diameter(not defined measurements for this assignment) after duplicating and resizing the circle i changed the back circle to red color fill
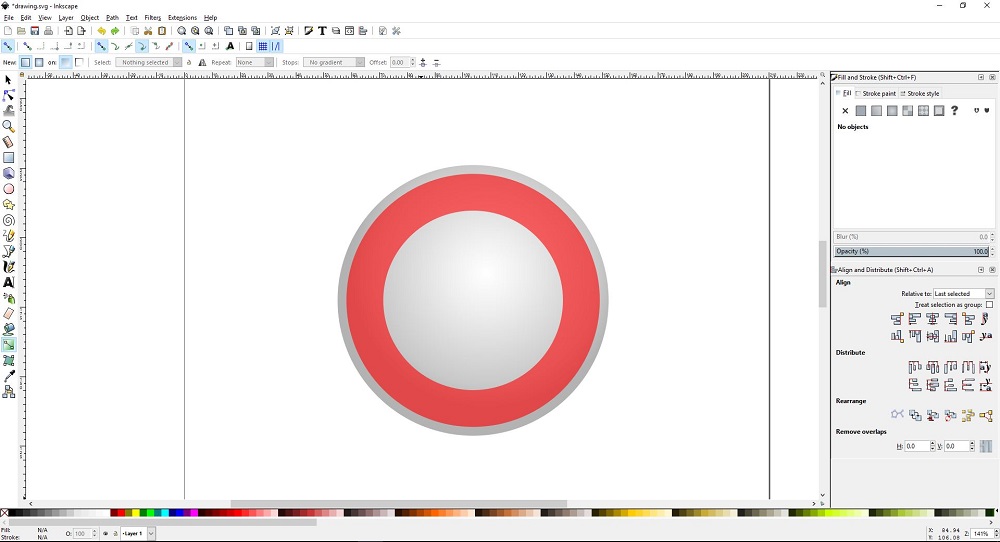
 after changing and customize everything obtained the basic shape for form of the eye

3D design
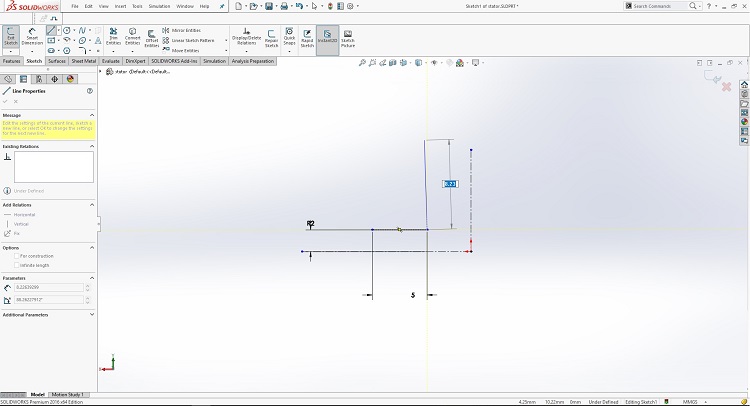
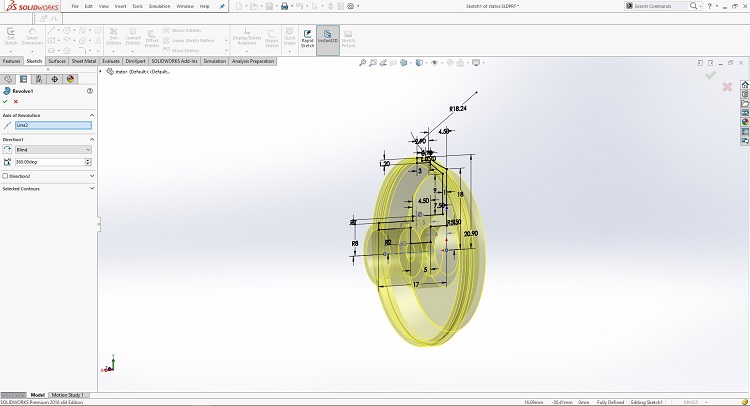
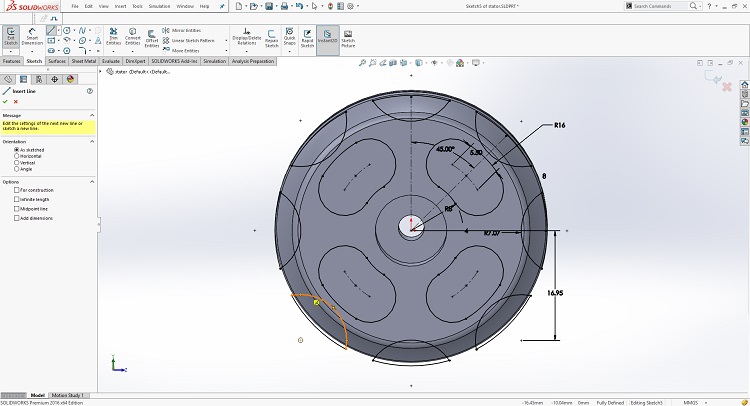
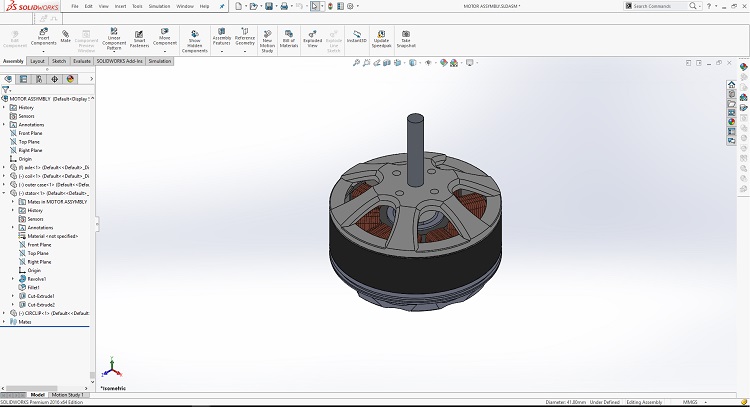
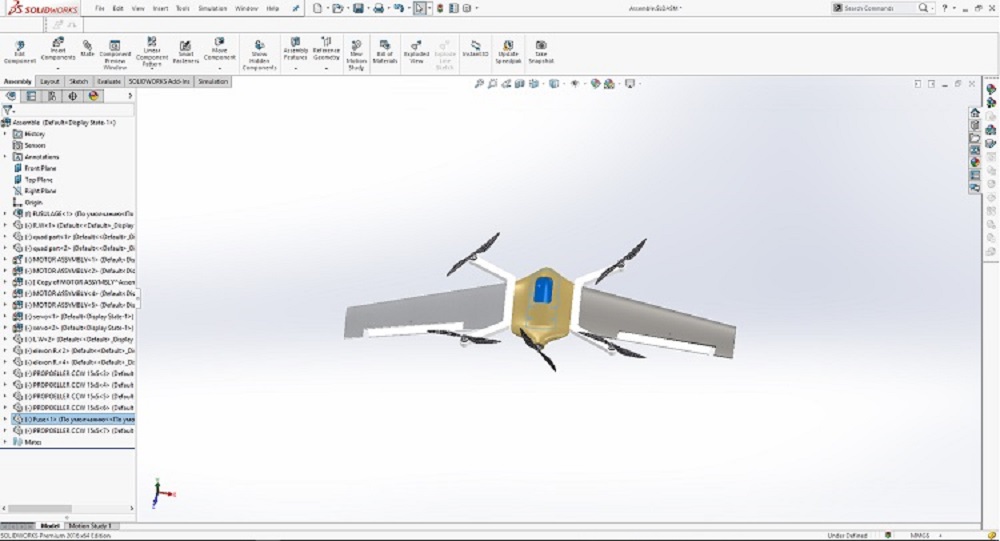
Solidwork
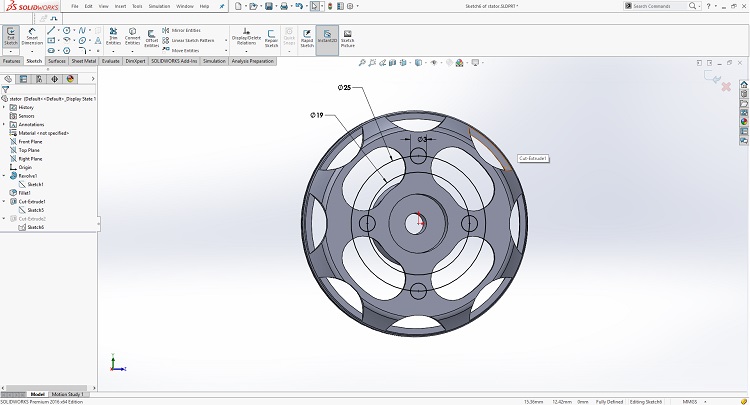
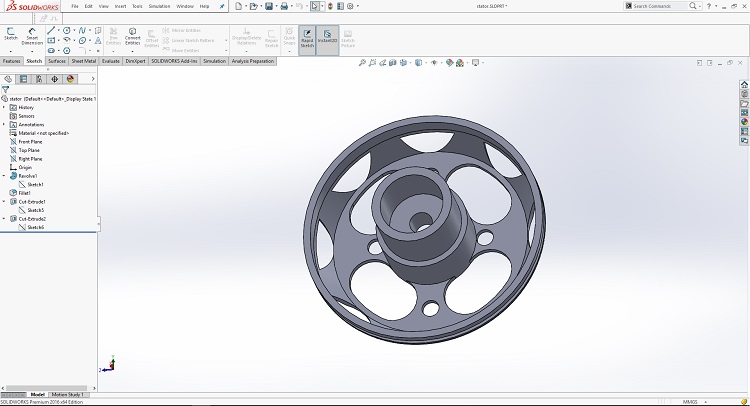
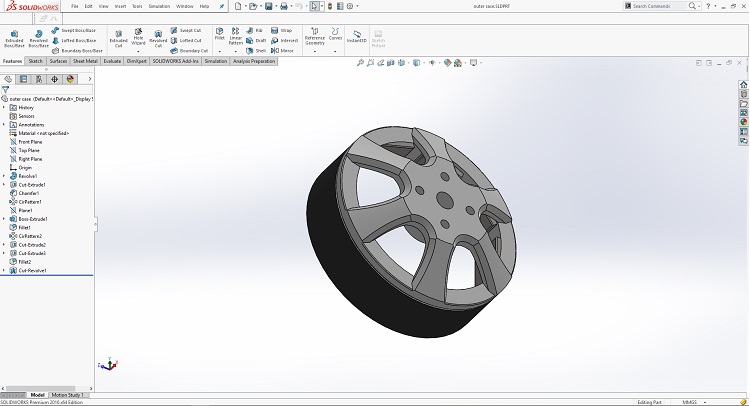
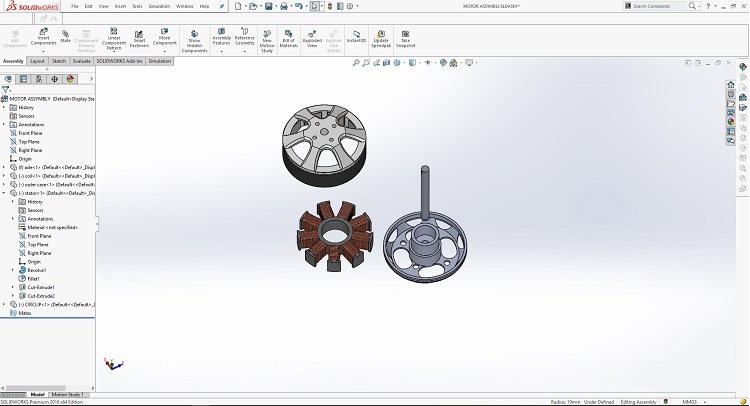
i like solid work for 3D design and as well as 2D design from 3D by saving the file in Dxf or DWG for and i like the vectors obtained from solidwork but after many days of learning solidwork final i tried to simulate my design but it field but am still trying and i want to import the designed model to fusion in coming days i didn't done it before becouse i want to constrated and be familiar with on one software the after i can migrate to another down here there is a process of designing a drone brushless motor.


Fusion 360
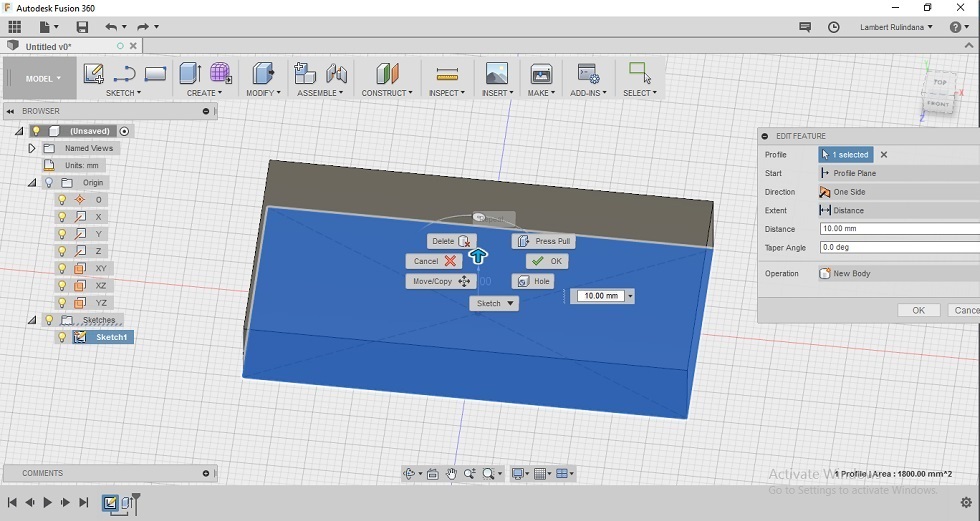
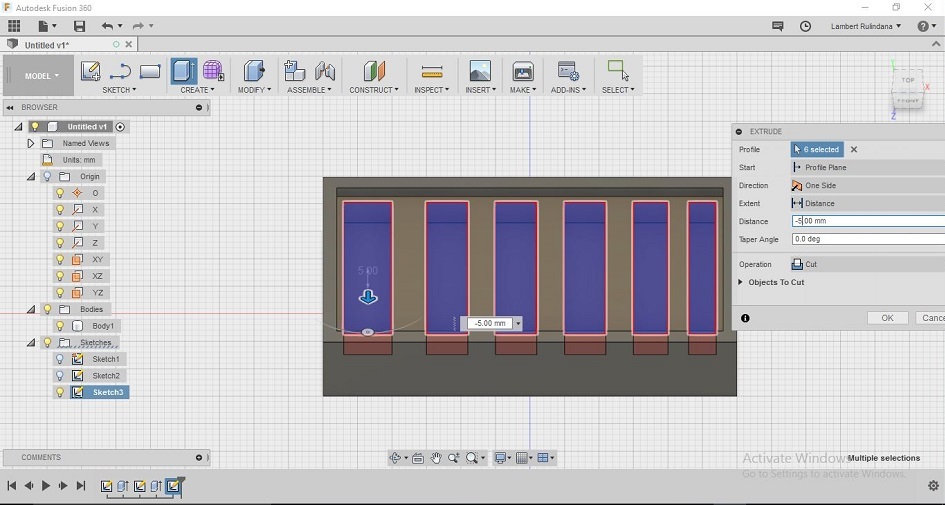
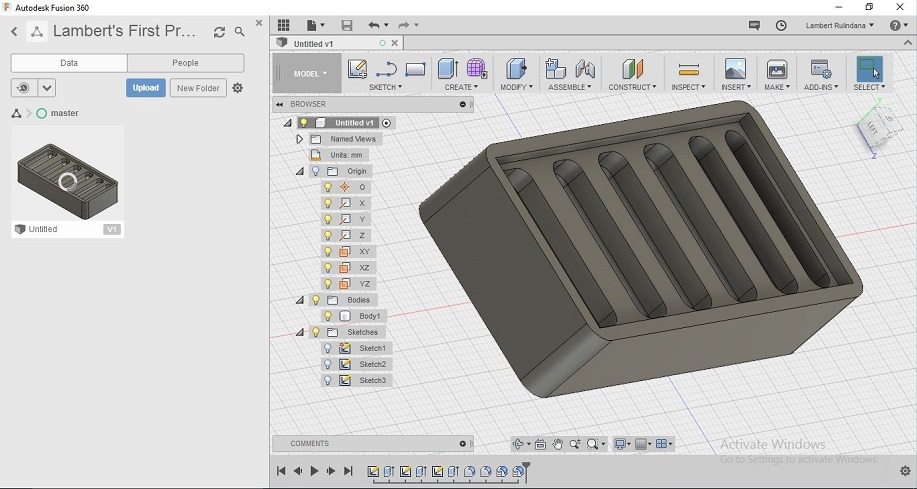
 honestly this is my first time i work with this fusion without any tutorial as guidance because i had some knowledge on solidworks i have to try it competent fusion 360 most thing works the same but the one thing i found on fusion is that both part design and assembly are done in one window no need to switch to assembly mode the second thing if you click on right click while you are working it pops-up the previous features used the other feature it has is the cloud storage and i can recomend anyone who want to use it directly with cnc mashine because it have a mode of creating mashine toolpaths they are many comparison between solidworks and fusion 360 but now let me talk what i tried to design in fusion after designing my final project in solidworks, ofcourse i was looking like i was out-off time but in short time i was remaining with i designed a small smd components organizer box that can be used in case some one is soldering and no need of putting all components in descret order,


time line of the work in fusion 360
this feature i didn't find it in solidwork where i can access with realtime editing this means you can go back to thw work you made and change some feature or even if there is any eature deleted can be rolled back and edited again without lossing the succesive features with this timeline you can play as simulation of how you start the design until where you are now which is a cool feature.
DOWNLOAD FILES
package of all stl files of my peojectfusion 360 box
inkscape software