Have you:
2)Explained how you made your files for machining (2D or 3D)
3)Shown how you made something BIG (setting up the machine, using fixings, testing joints, adjusting feeds and speeds, depth of cut etc)
In this assignment we created a press fit to know what is the correct size to do anything with MDF(wood) of 15 mm, the first step is create the file,
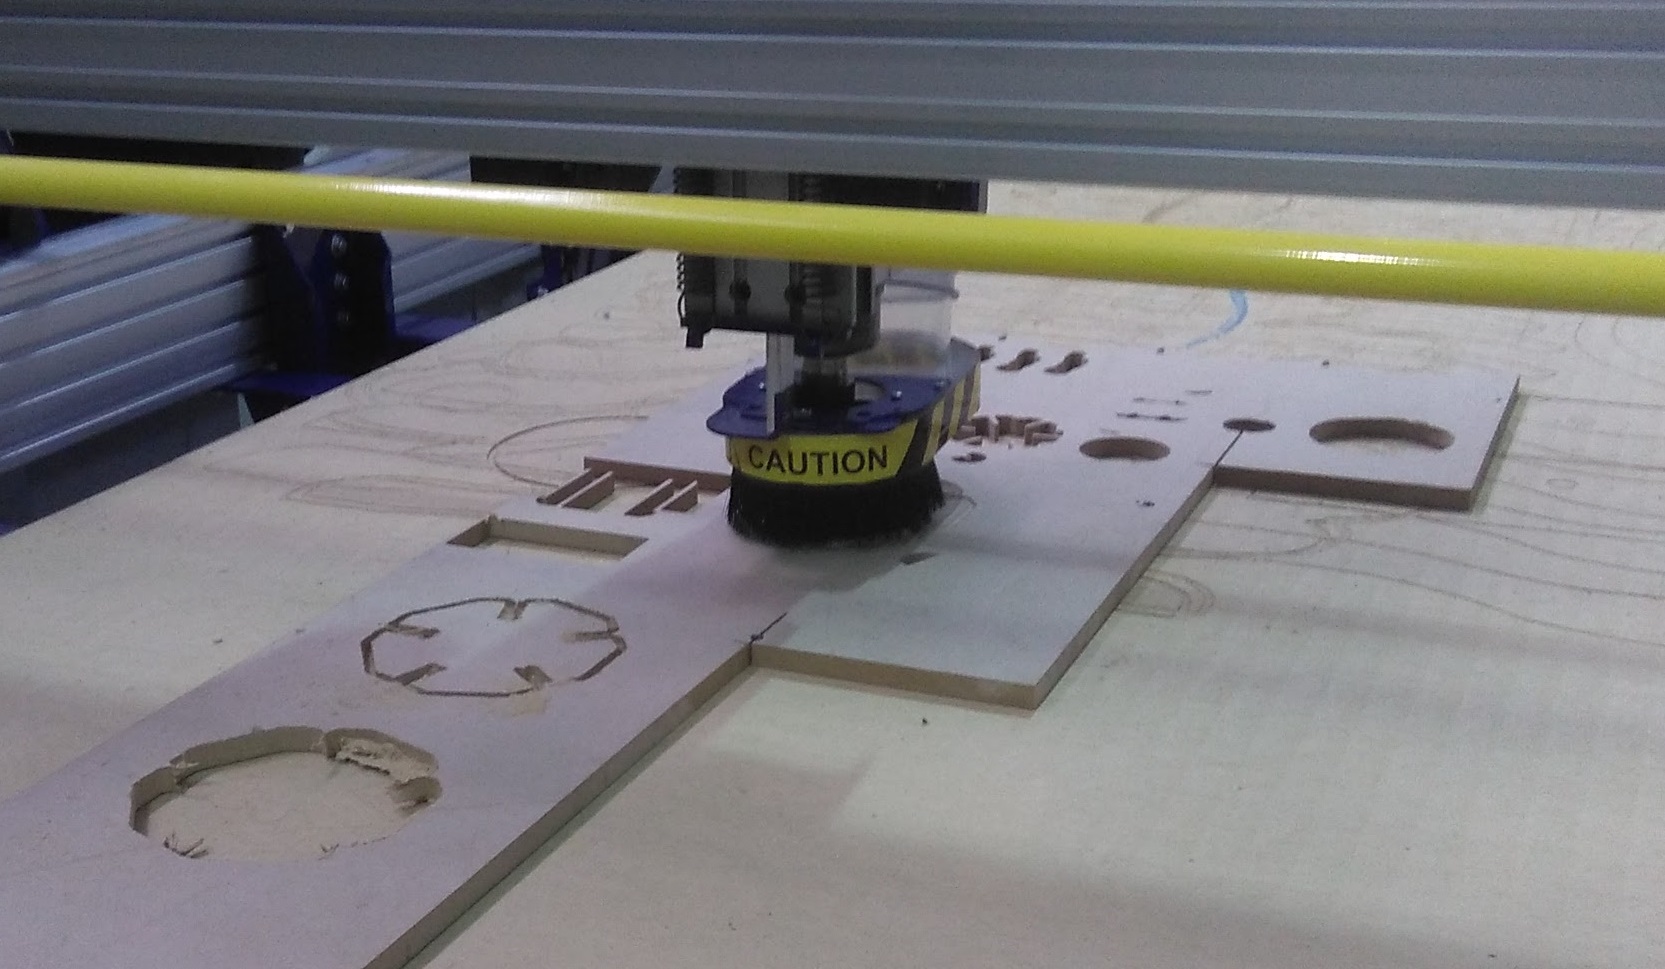
Then we can import the file to the software of the machine. the Machin than we use is a ShopBot than you can see in the image.
I considerate than the best important is the safety of people, it depend of the machine than you are using, in this case the protection
to eyes and ears is really important, but the clothes than you use and some factors to considerate when you use this machine.
The first step to work in the Shopbot or in some one machine is always check the state of the machine, we checked the emergency stop button,
The correct tools to work. when all the systemis ready, the personal protection and tools are correct, then we can turn on the machine.
Verify always the emergency stop button is up.
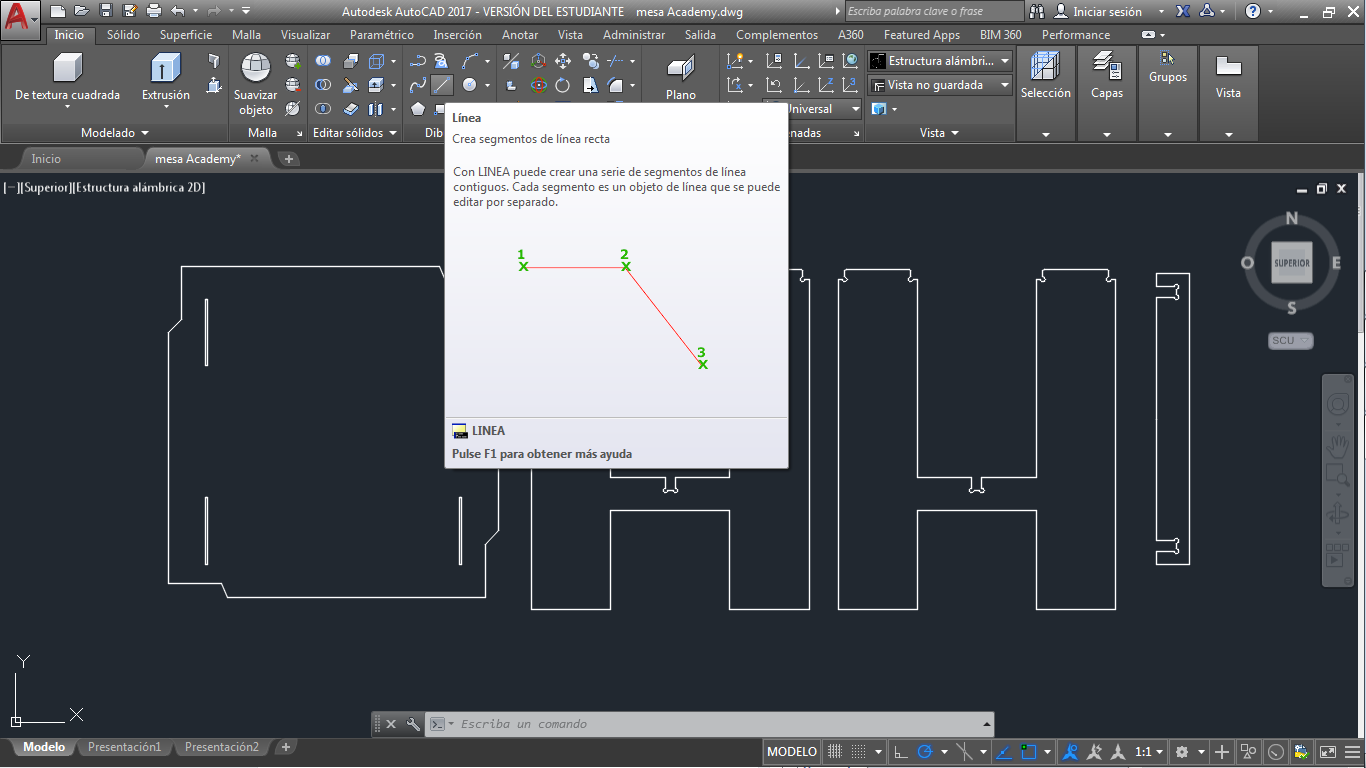
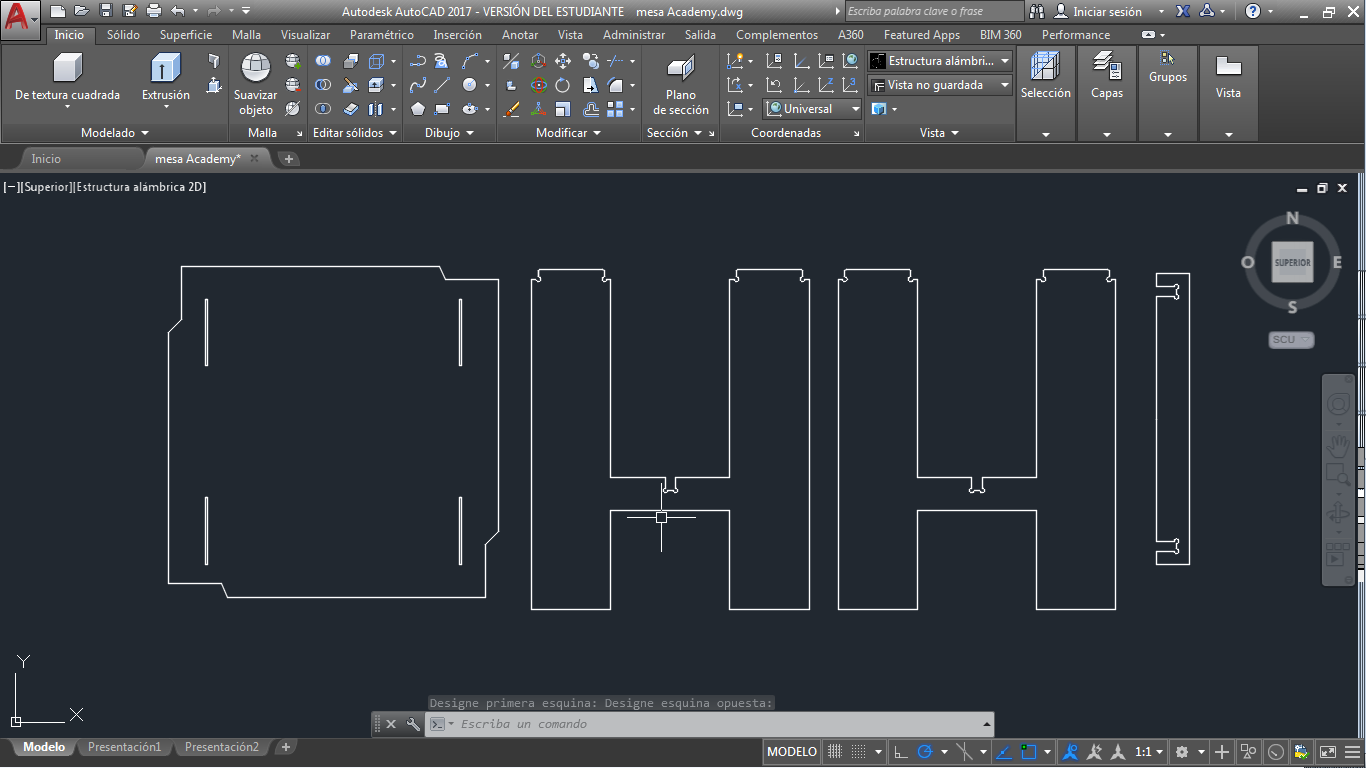
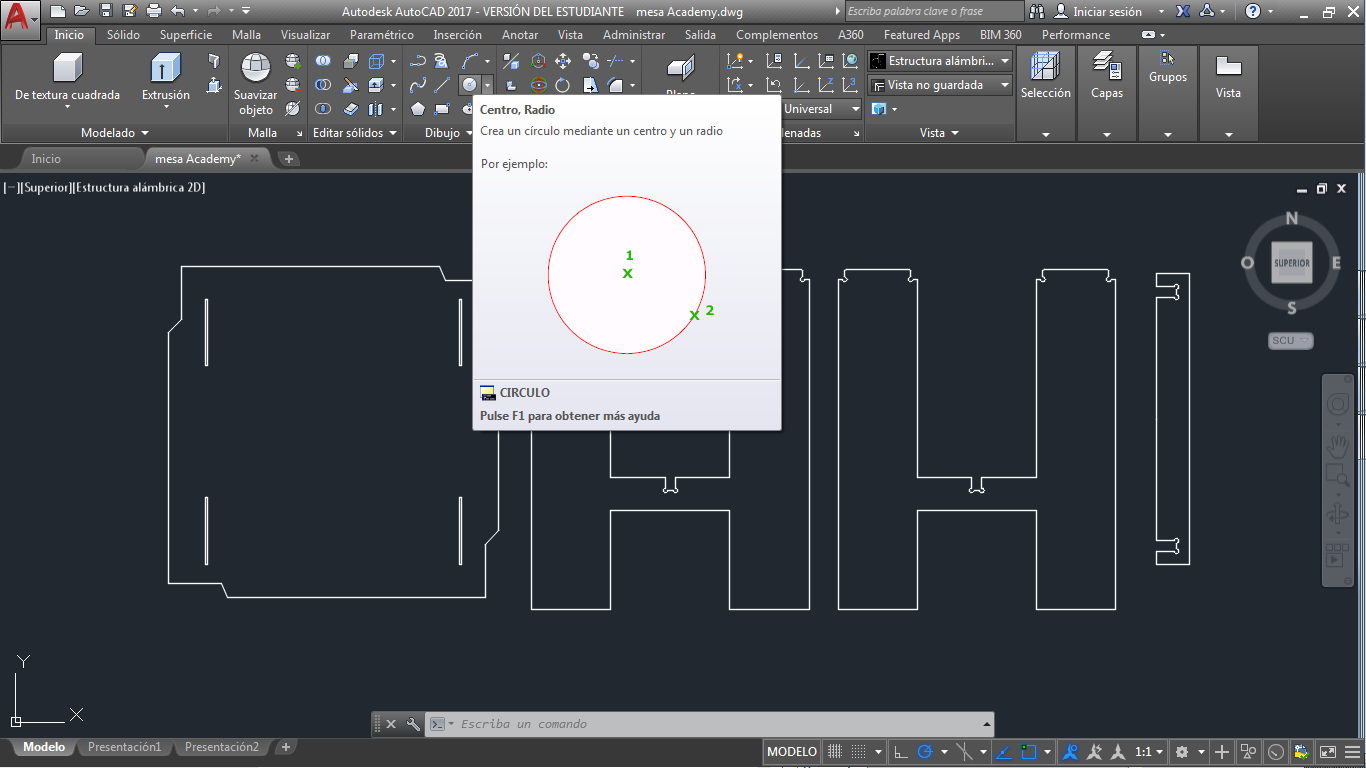
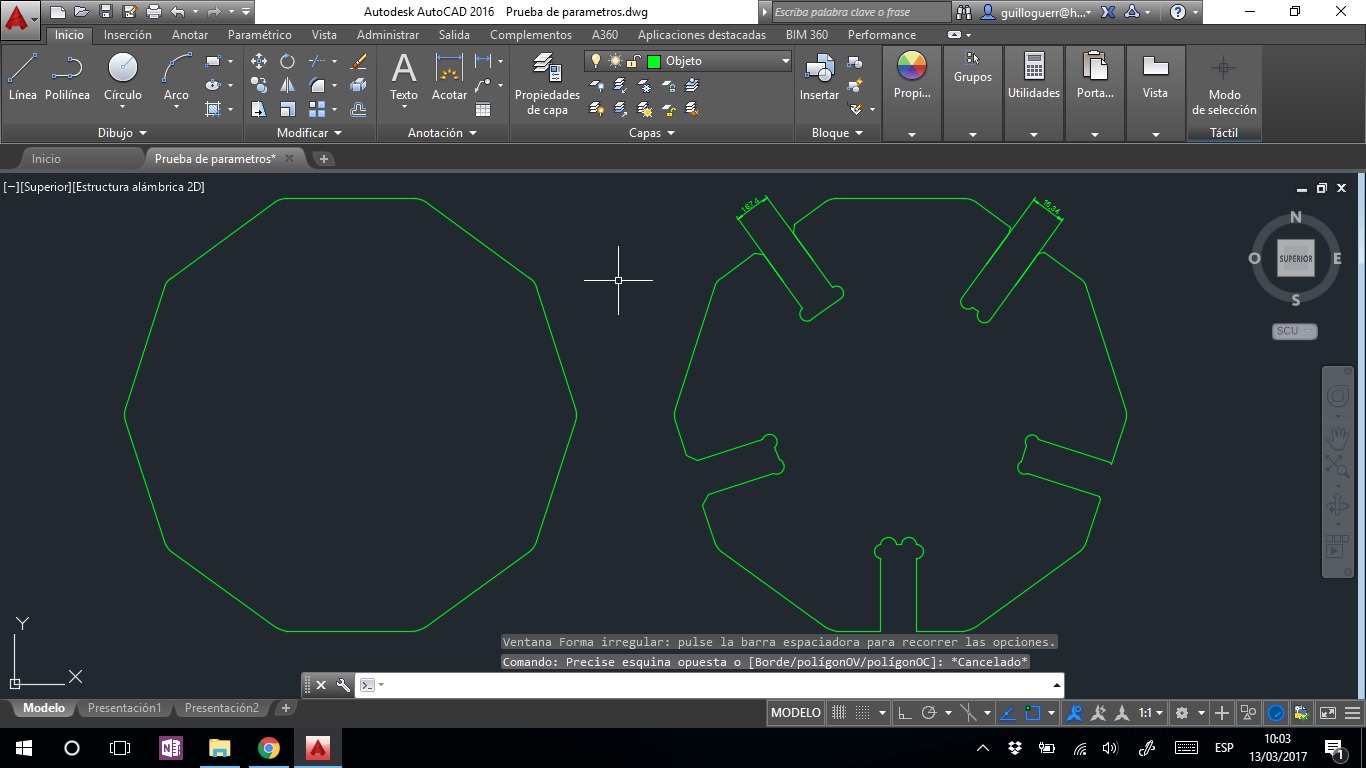
I mentioned that we decide to make a prove. The fist is create the file in a software, we use AutoCAD you can see the picture and download the files in the final of this page.
The design is based to the material, in the next picture you can see the material and the thickness on millimeters.
A recommendation is save the file in ".dxf" format.
 when the file is ready to import to the VCavePro. VCavePro is the editor software of Shopbot.
Open the VcavePro, in this software we have to take in count some characteristics like: Job Size (X & Y). it is the vectors x and y, I think it is better ion cero because the axes wen the file is created you can see a line and the machine is going to move to another place .
when the file is ready to import to the VCavePro. VCavePro is the editor software of Shopbot.
Open the VcavePro, in this software we have to take in count some characteristics like: Job Size (X & Y). it is the vectors x and y, I think it is better ion cero because the axes wen the file is created you can see a line and the machine is going to move to another place .
Material (z): it is the thickness of material, you can choose the z zero upon or down of the material. the thickness of the material than we use is in the previous image, it is 16.3mm.
X Y Datum position: it is the point where the machine generate the zero of the piece.
The Units to work are really important, take care.
When this is ready, press ok.

If all this is ready, open the toolpaths, it is on the right.
Select the "toolpaths Operations" select the option than you need, in this case I select the first option to cut. then it opens a window to configure proprieties.
Cutting depths: we have to change the cut deep to 16.5mm, the wood is of 16.3 but we cut a little more.
Tool: it permits me select the tool than I going to use, if you press the milling configurations, it opens a windows, you can see the window in the picture two. there we select the tool than we are using, we use 1/4 straight. then press ok.
Machine vectors, it is the way to cut, we select outside/right.
If it is ok, we press calculate. sometimes it opens a window with an error, it is because you have to select the image. then you have to press calculate.

When you press "Calculate" it opens a window, it is because the material is of 16.3 mm and the cut is 16.5 mm it is more. it is ok because we have sacrifice material down. then press ok. And the file generates a 3D
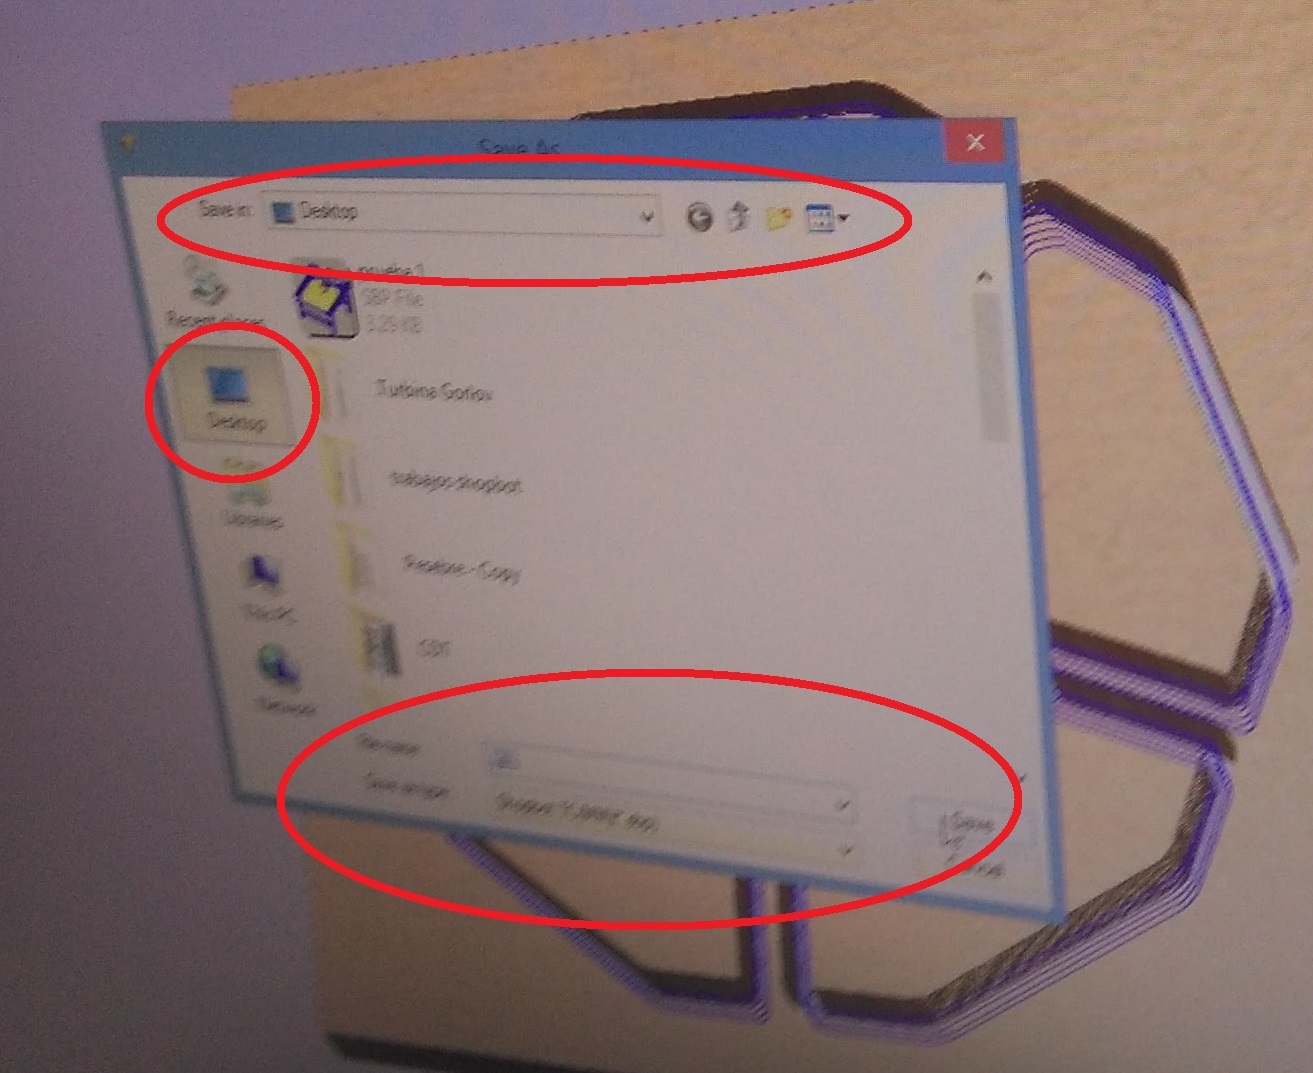
When it is ok, you can see in the right the option to save the file..
The window to save the file is like any software, an option to select the location file, the name of your file, it is really simple.
To use the Shopbot machine remember use the personal protection and the correct clothes. realize a test to prove the correct function of the machine.
If the machine is ok open the Shopbot3 Software.
We do not turn on the machine because we have to change the milling, we remove the key to change the milling because it is united with a wire, it permits me use the tool to change the milling with the machine off. it is a system of security. also we have to verify if the variable frequency system is turn on.
When it is ok, we have to open the Shopbot 3 software and turn on the machine.
The window of this software is in the picture, in this window you can move the machine in the axes X, Y and Z, also you can program the axes in the places than you need.
 We have to move the milling over the material and save the axes X and Y, you can save Z if you want to do a prove in the air. it is really recommendable to do a prove in the air.
When you made a prove in the air, you can check if the file and configurations are ok.
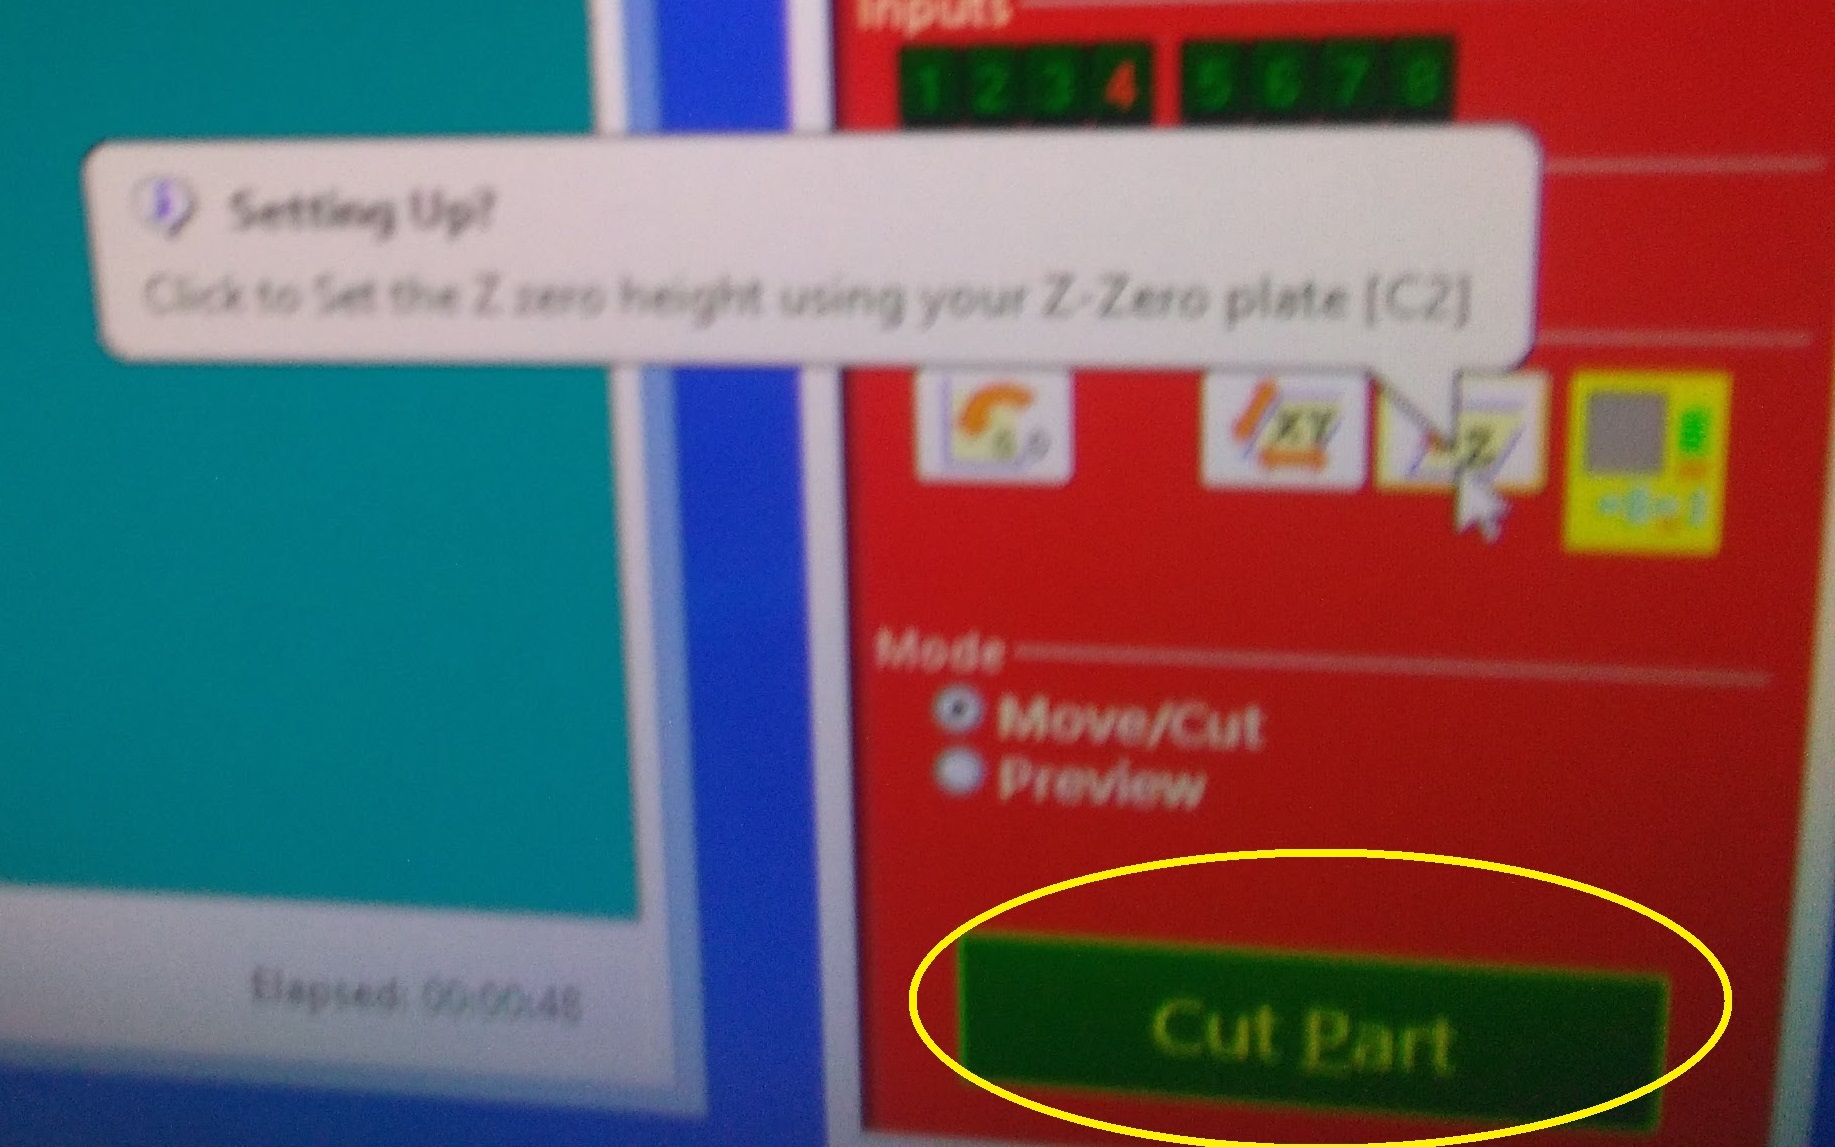
after than you make the prove in the air and everything is ok, you have to setting the Z axis, in the window of Shopbot3 is a button "Z setting", to make it you have to put the sensor upon the materia.
In the Z axis, we have two tools, Lizard claw and a metallic píece, the metallic píecel has to put upon the material to work and the Lizard claw make mass in a part of the machine.

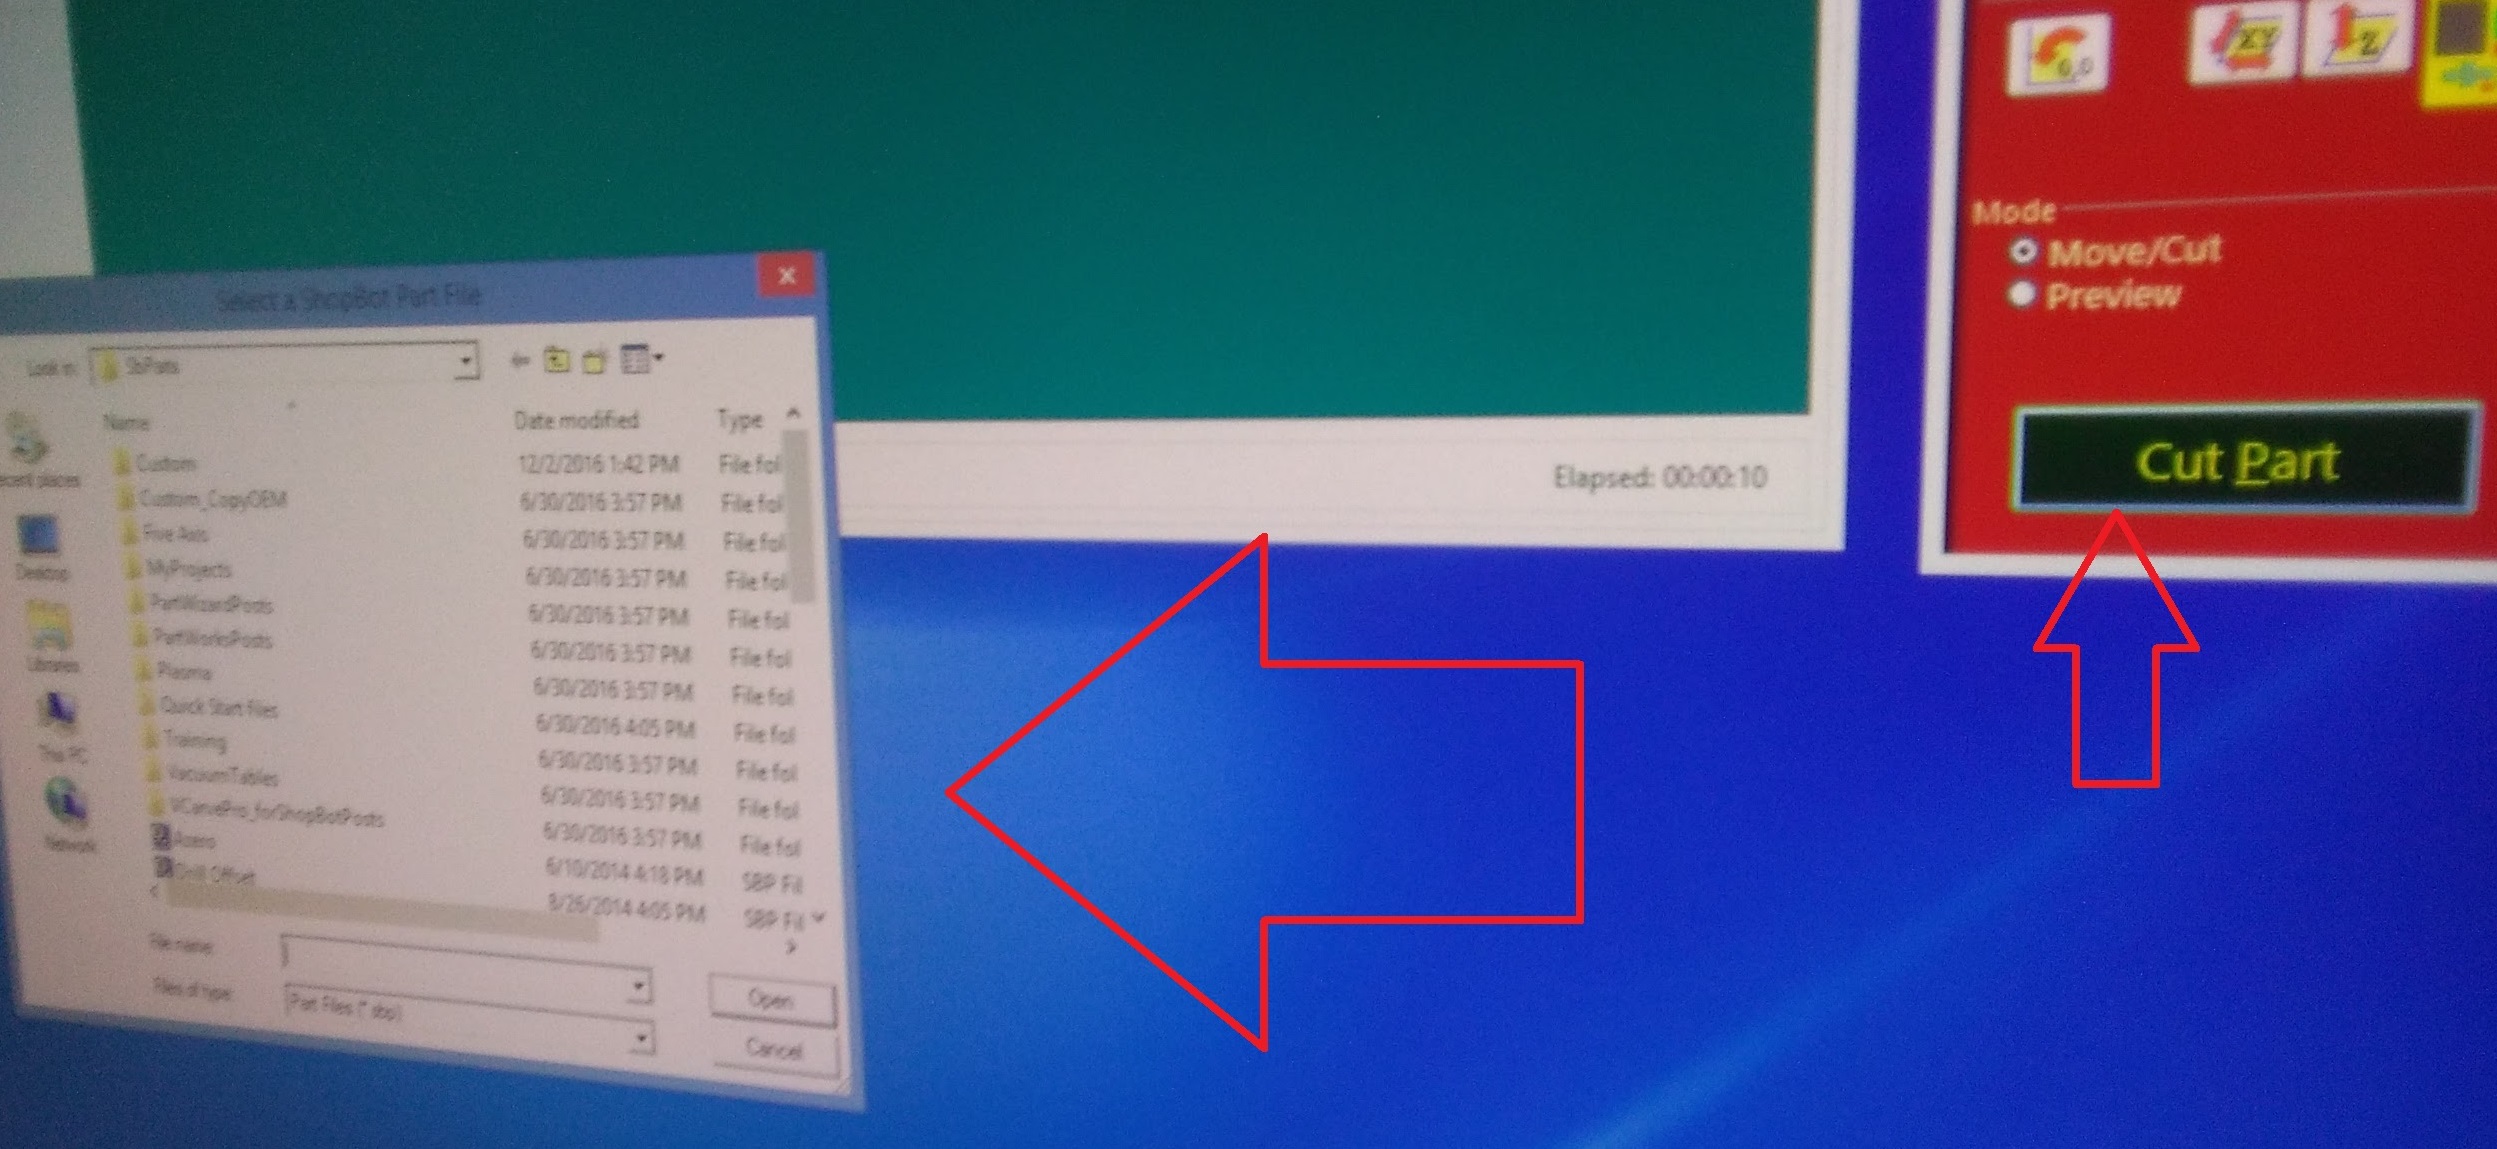
 When everything is ok press the button "CUT PART", it opens a window to upload the file than you generated on VcavePro. then it opens a window and press START.
Remember turn on the spindle to start.
4)Described problems and how you fixed them
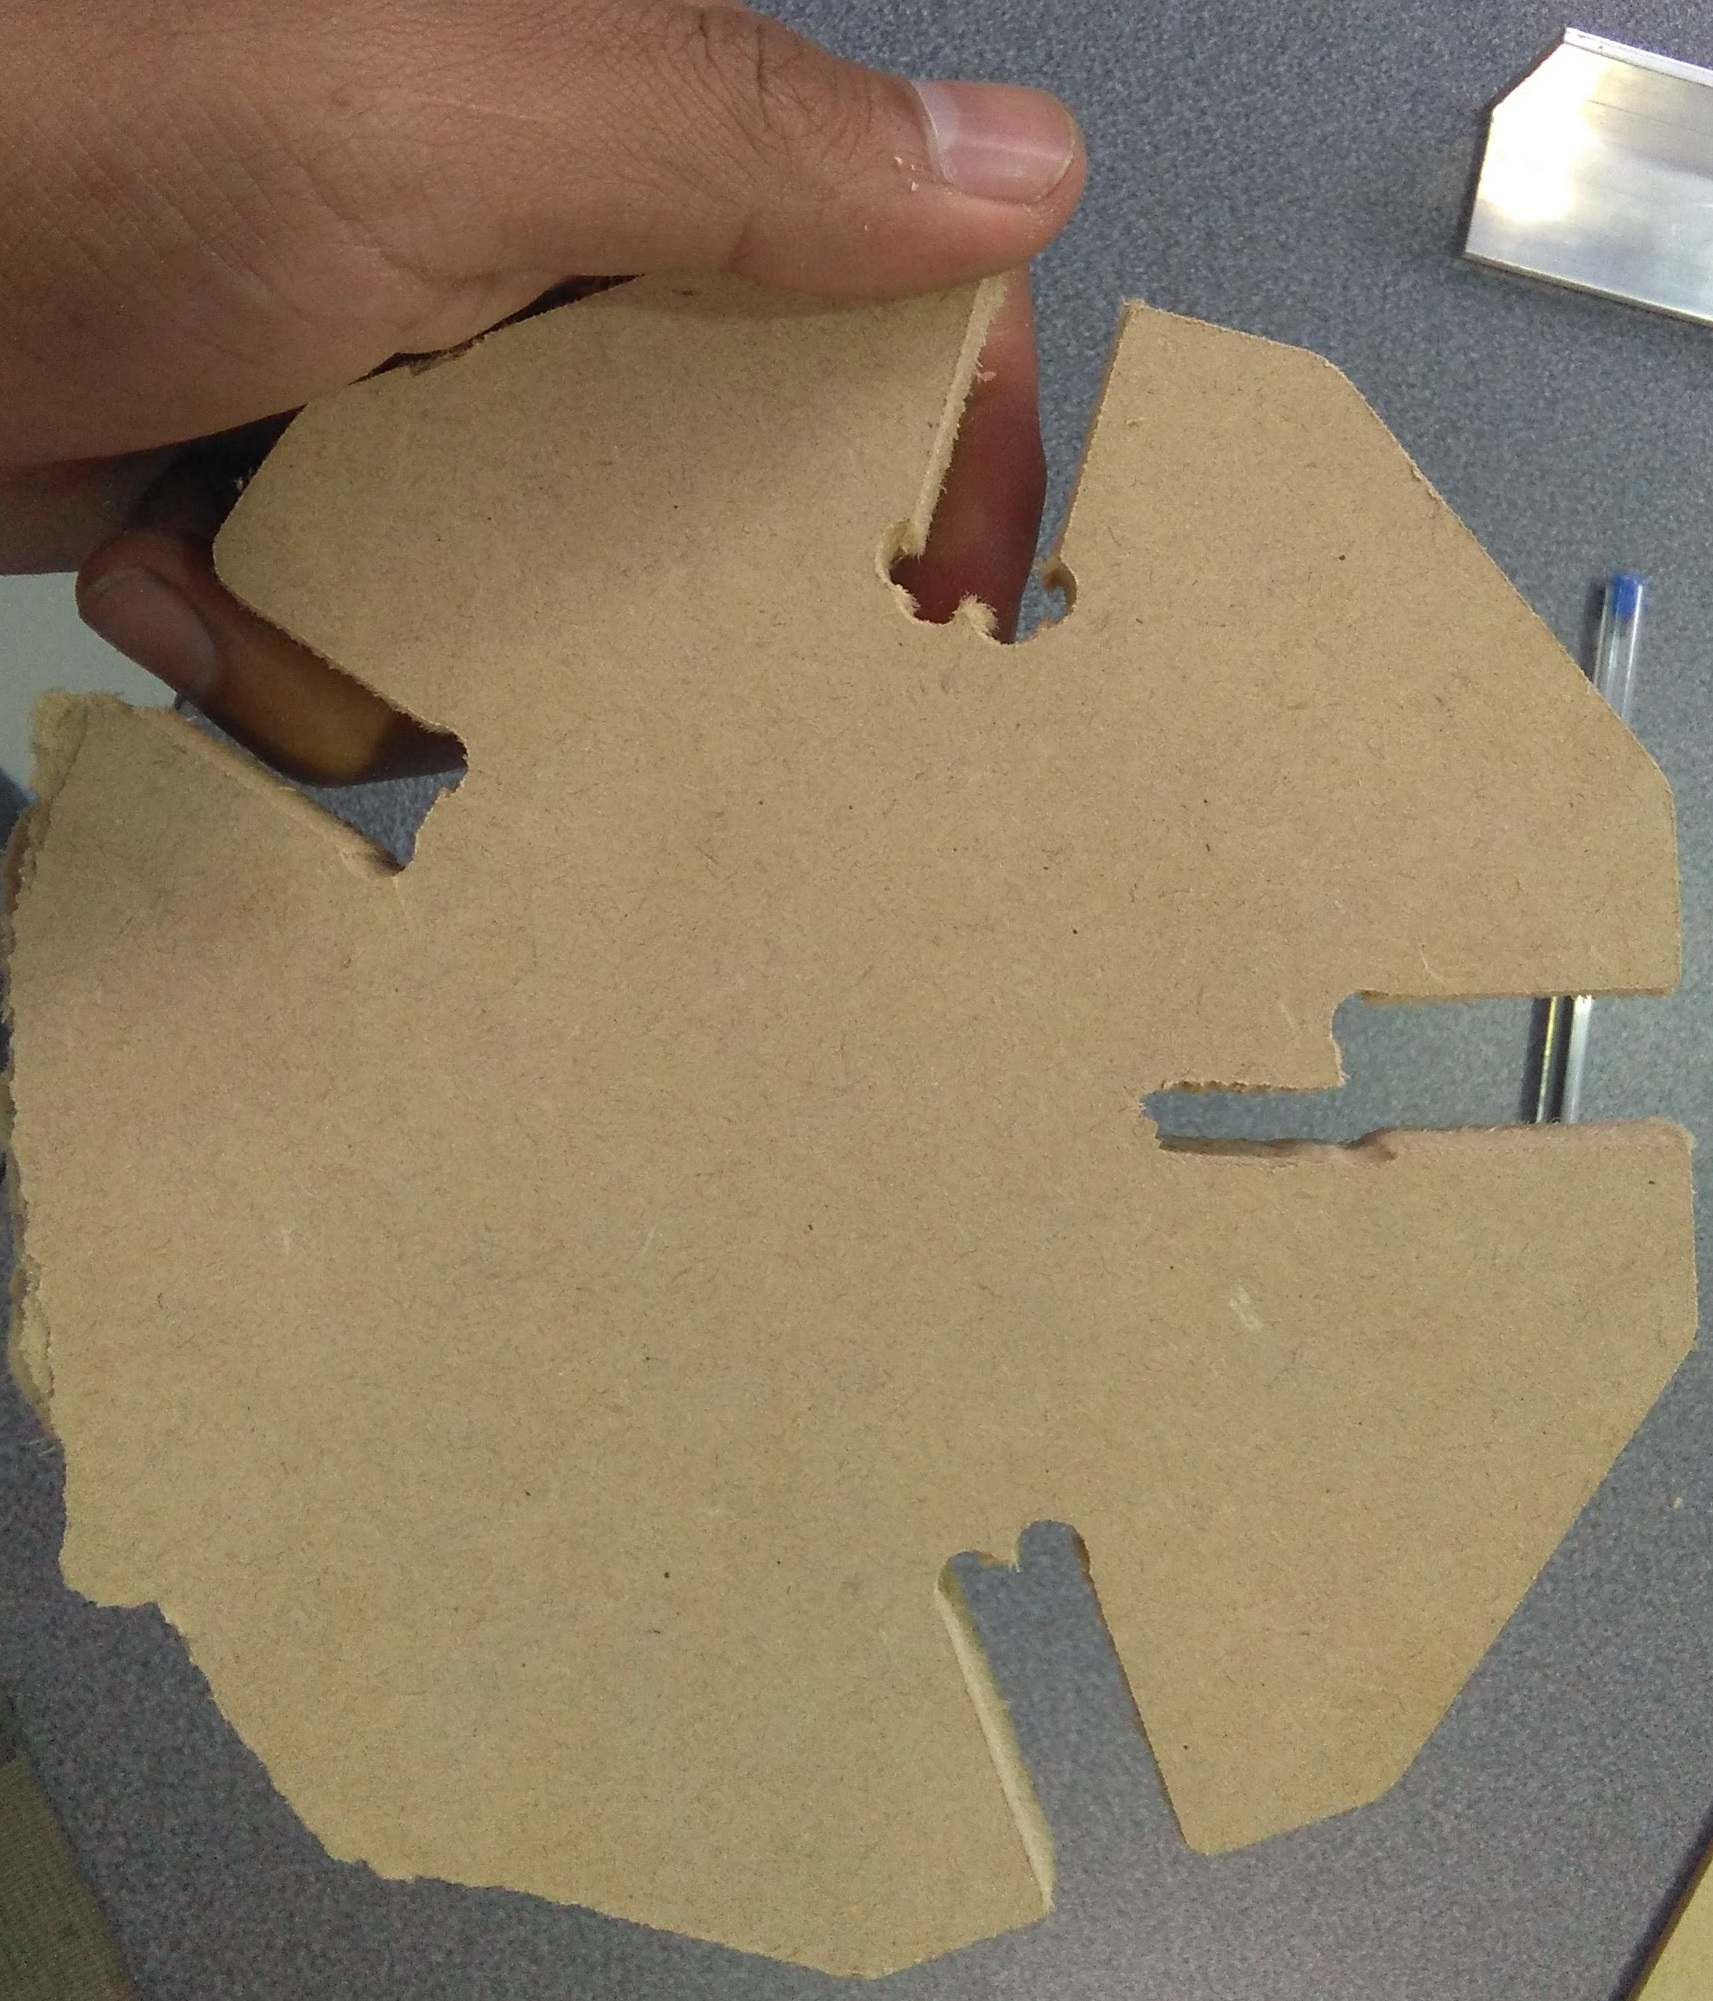
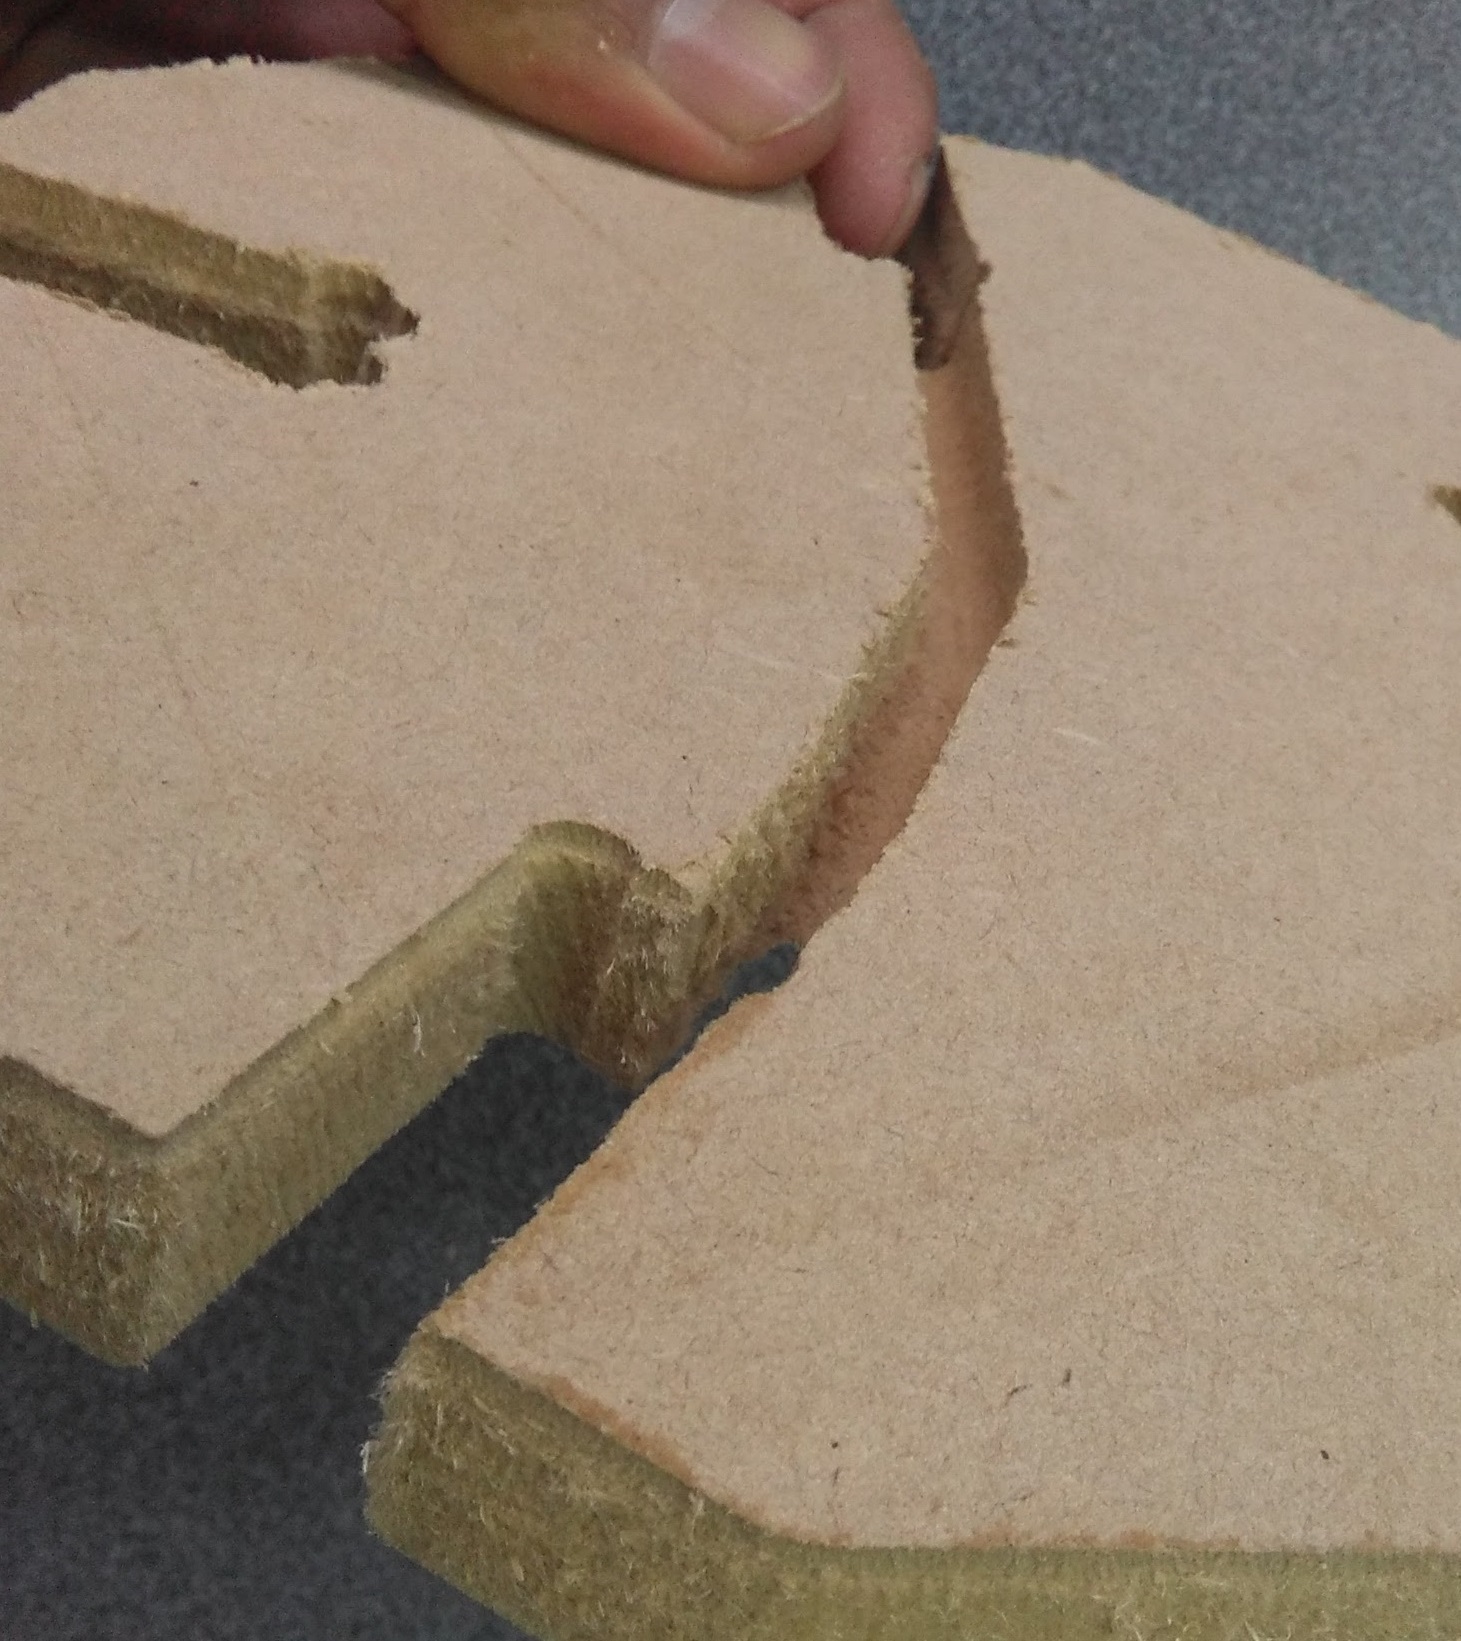
We had a strange problem in the machine, we cut the press fit but we made three attempt, in the first try you can see in the first picture. it does not cut all the deep, we change the Z axes in we second try but it was equal, in the third try we changed the Z axes and the result was as before.
We thought the problem is the firmware installed in the machine, because a friend in the Lab did helps to get ready the machine, he said we than the machine needs a firmware.