Computer-Controlled Cutting

Back

Laser Cutting
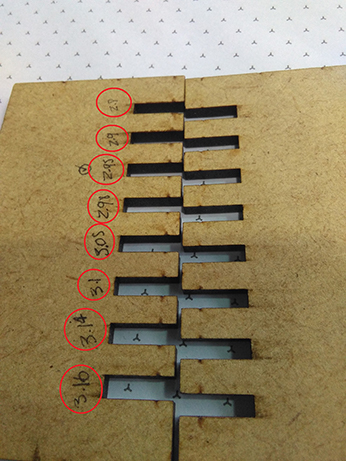
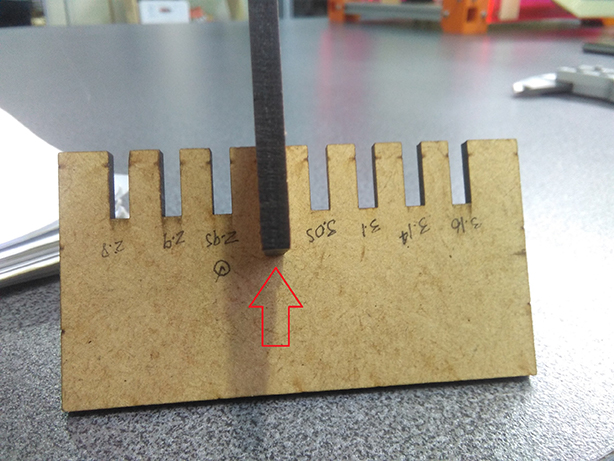
make lasercutter test part(s), varying slot dimensions using parametric functions, testing your laser kerf & cutting settings (group project)
cut something on the vinylcutter
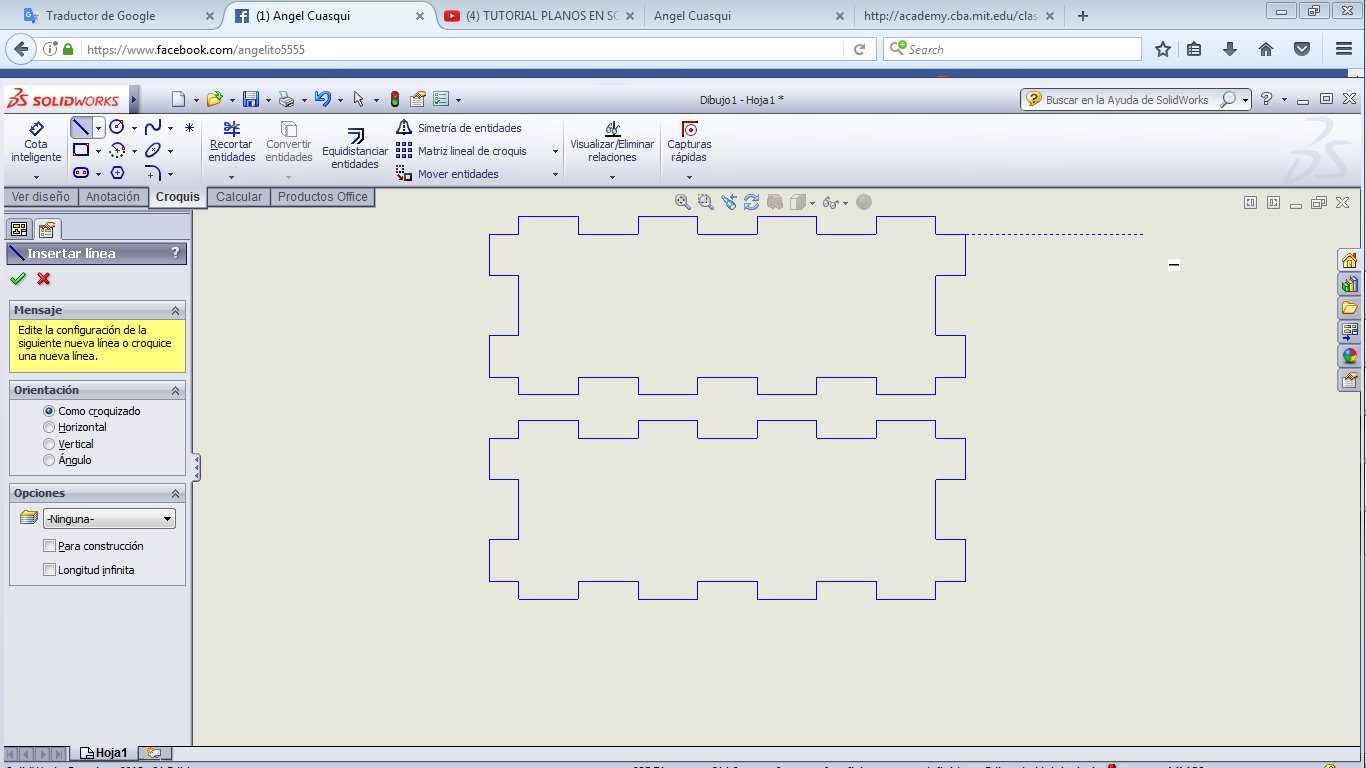
design, make, and document a parametric press-fit construction kit, accounting for the lasercutter kerf, which can be assembled in multiple ways


Learning outcomes:
1)Demonstrate and describe parametric 2D modelling processes

In this assignment I made a box, I want to write a song on the exterior of the box and add some image to decorate it.
I created the box on AutoCAD, you can find the files in the final of this page.

If you have the file ready, export in .dxf format or .pdf format
I did the box with the next sizes: 80 x 40 x 30 mm


I had some feedback about this design and I read the next web about 8 AutoCAD Tips for Parametric Modeling. I applied this tip to make a parametric design.

I used the parametric tool of AutoCad, here you can use differents tools like Parallel lines, perpendicular lines and more. also if you can select more tools you can open more options to select.


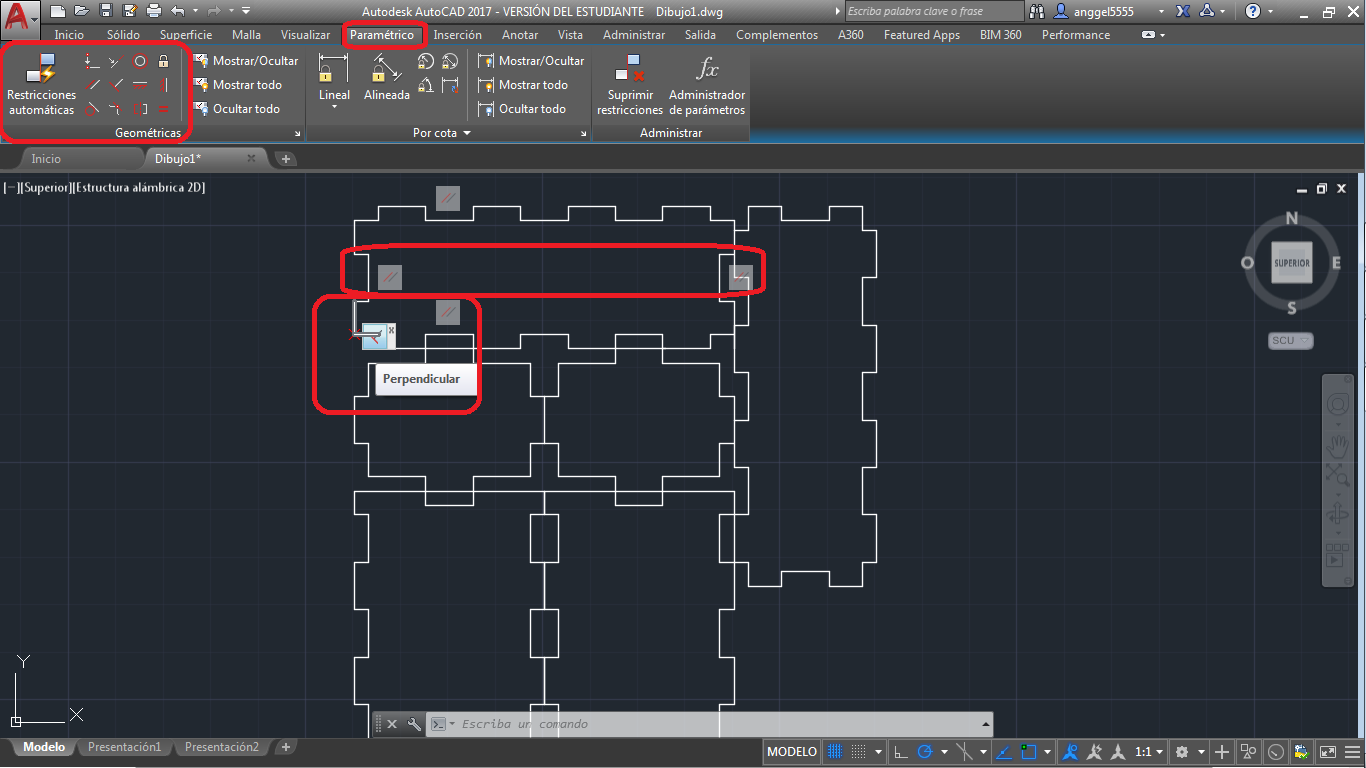
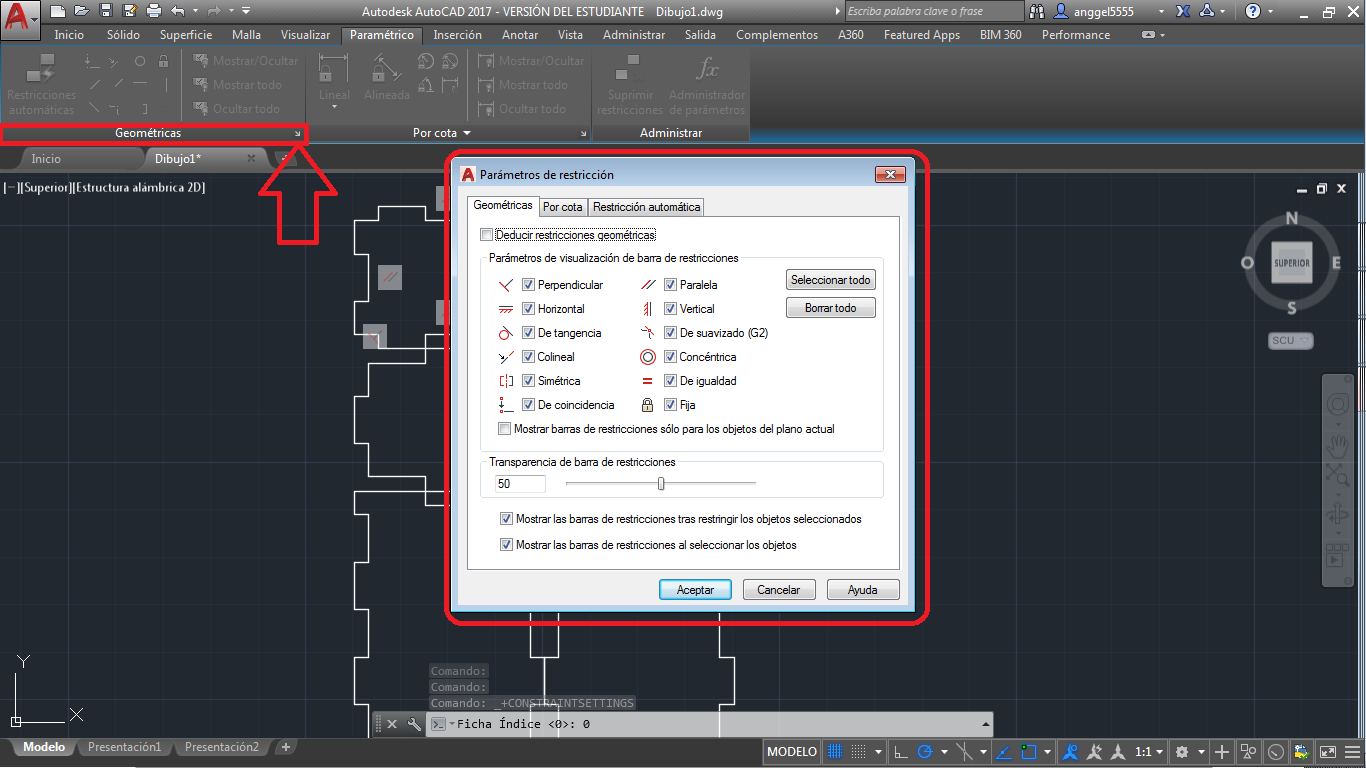
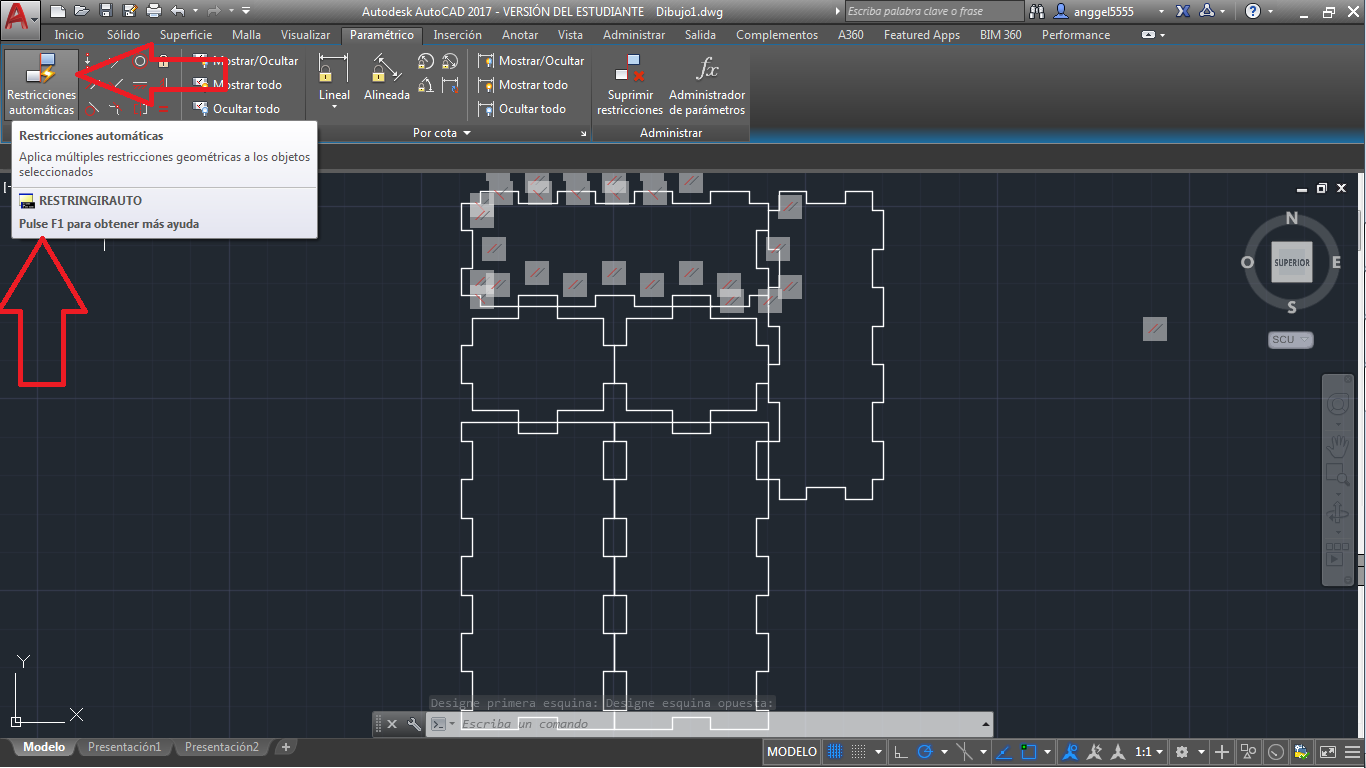
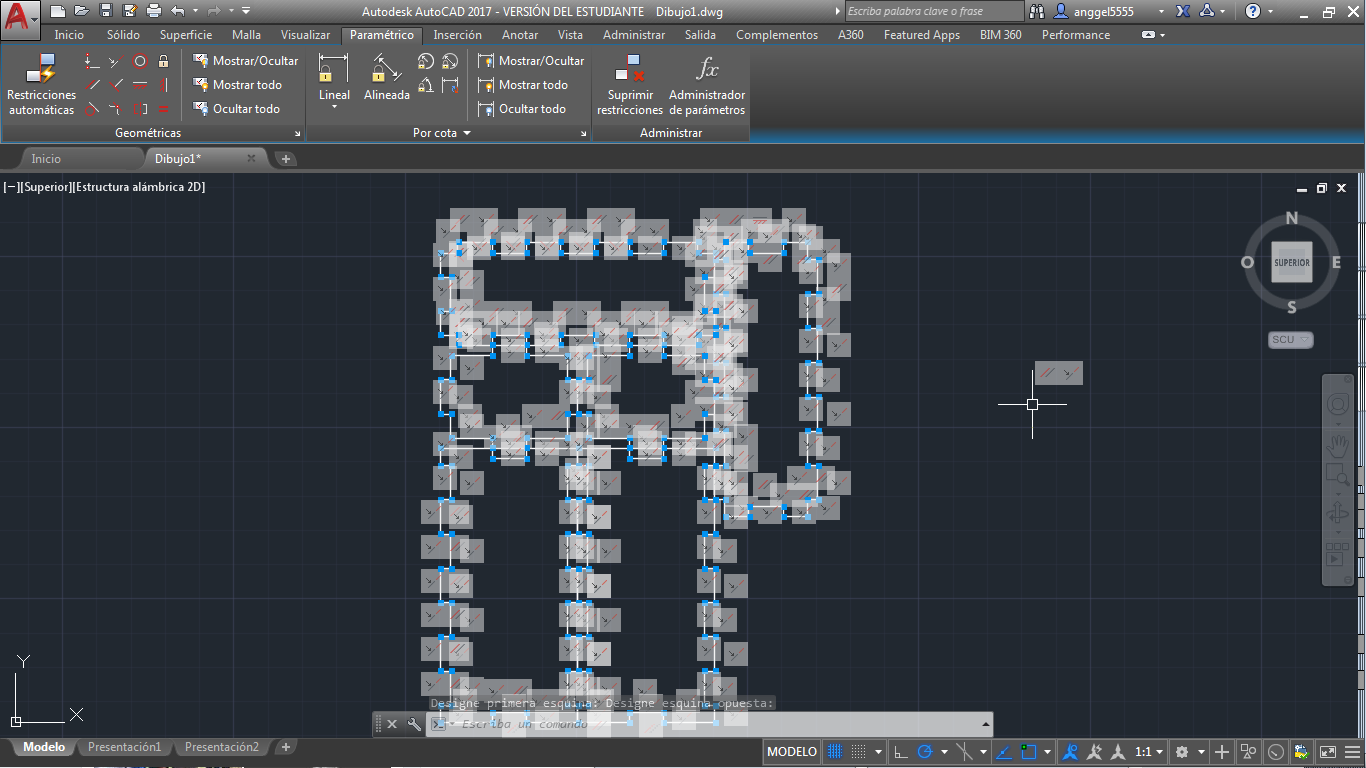
Also you can apply automatic restraints, you just have to select all the lines and press enter, wait a little and all the restraints are done. I think than the automatic is not the best, we have to take care to use it.


You can find more tips 8 AutoCAD Tips for Parametric Modeling.


SolidWorks.

I was learning about parametric design and Autocad is not a parametric software.

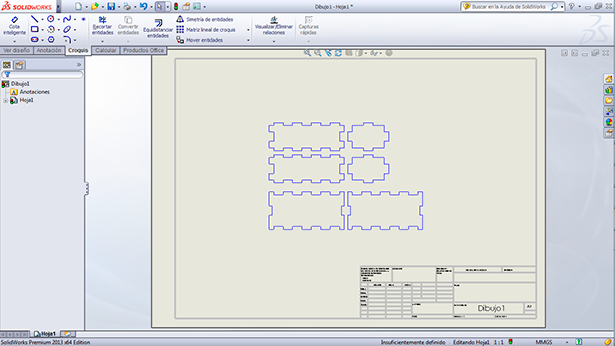
To create a 2D I design again the same box but with solidWorks, I made it because, the desingn in autocad is not parametric.
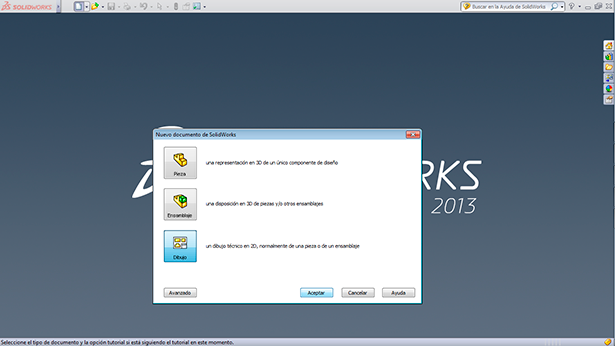
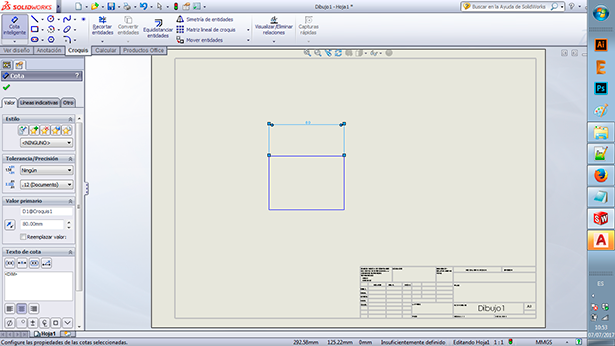
Open SolidWorks and you have to create a new file, and choose the draw option.


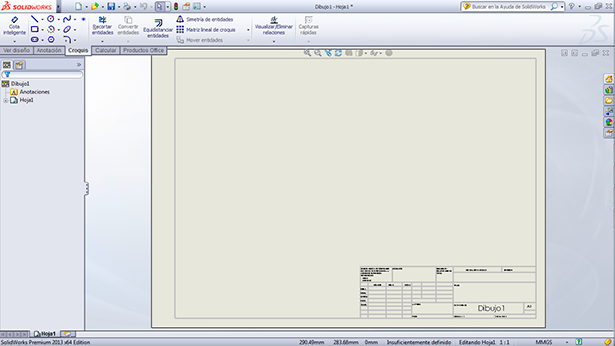
When the work window opens, I used the "Croquis" tool. You can find tools to draw.
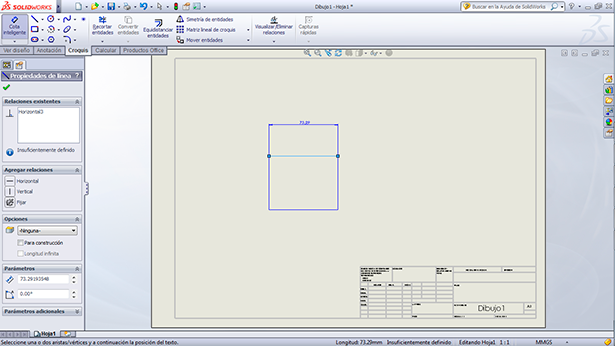
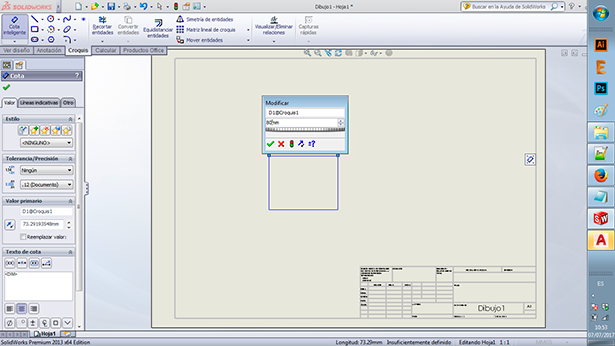
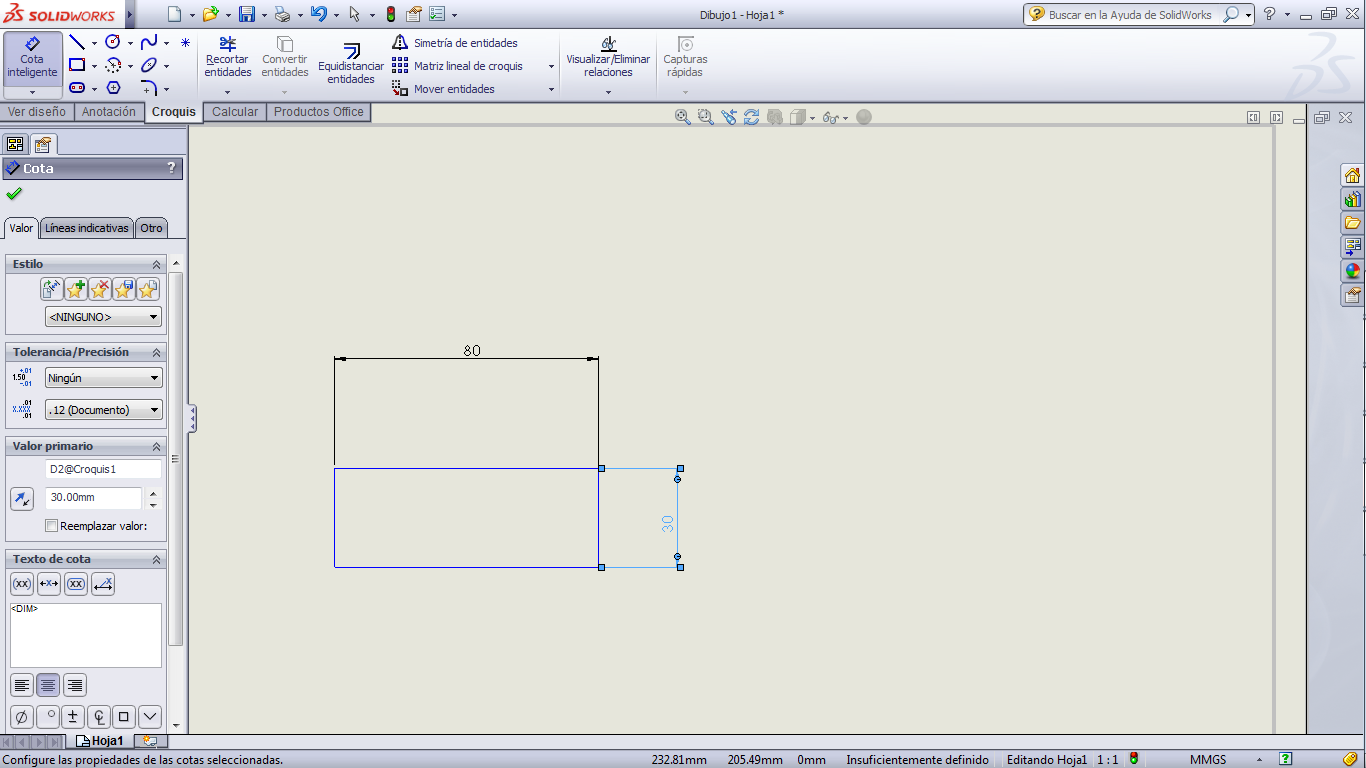
I added a square to create the box and I changed the sizes with the "Cota" tool.


I used solidworks to create the box, it is a parametric software because we can change the dimensions with parameters and maintain design relationships. you can see this characteristic in the next pictures.


I made the process to create my box.


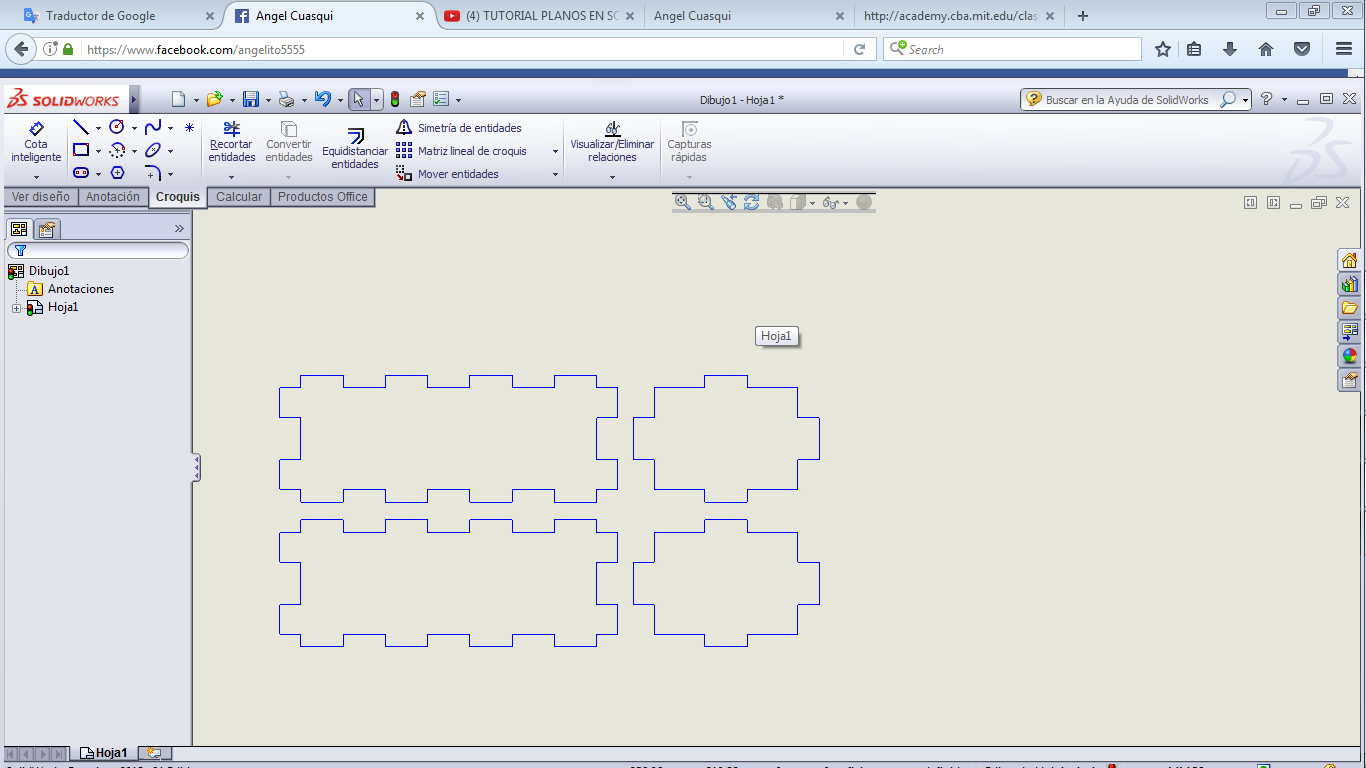
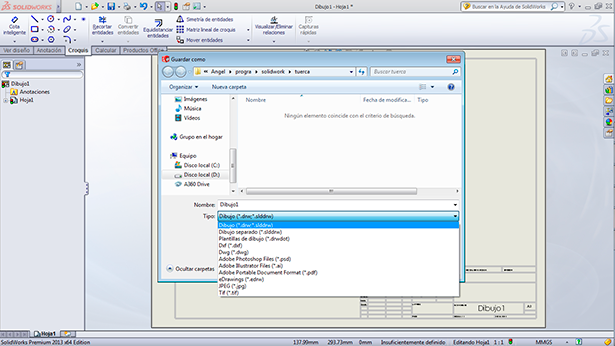
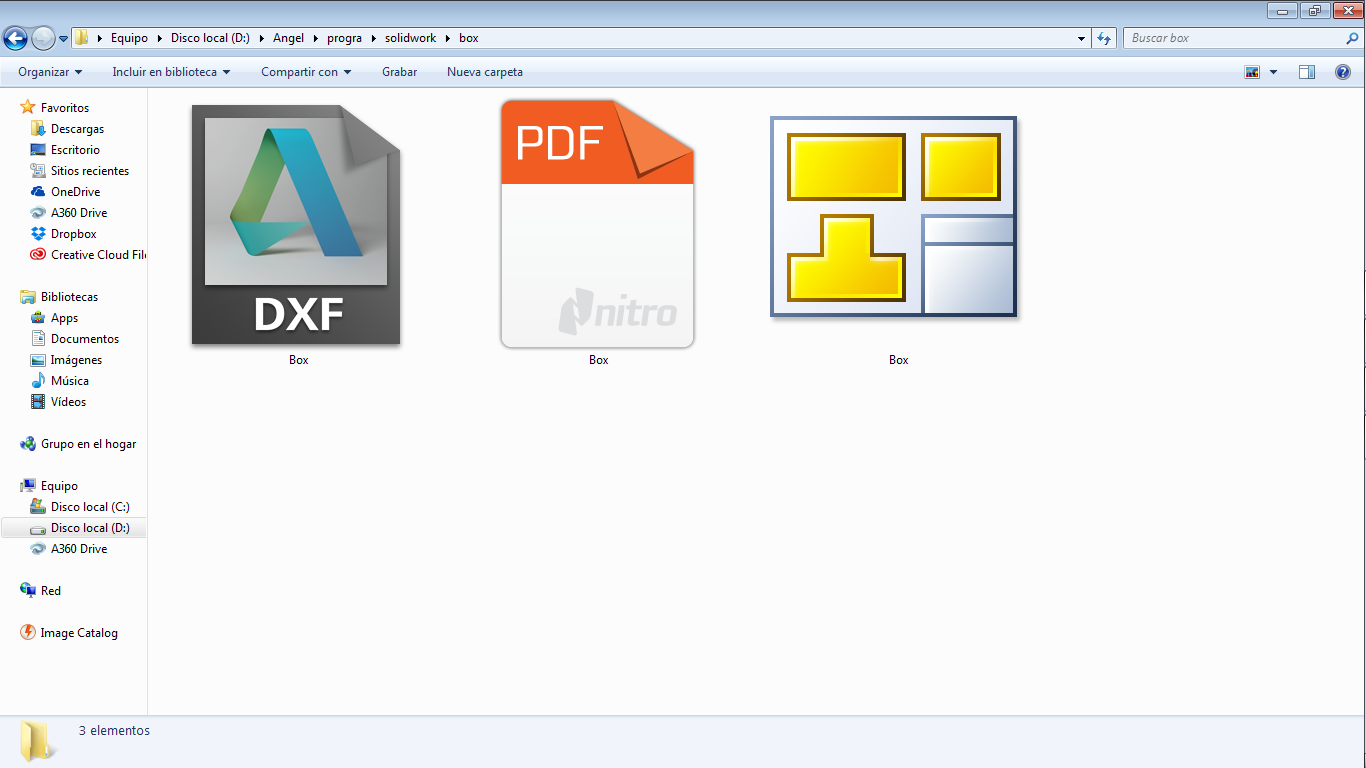
When the design is finished, you have to save the file, I saved the file in differents formats, DXF, PDF and in the original format SLDDRW.


AutoCAD and SolidWorks.
I like solidworks because you can change the parameter to modify the design.
Also you can get the 2d plane if you have a 3d file, it is really easy, also you have a lot of of options to work in 3d.
I think than AutoCAD has more good characteristics to work in 2d and solidworks has more good characteristics to work in 3d, I think it with the little experience working in these softwares.


I used Inkscape to decorate and modify the line to cut. I draw some pictures and write text of the song, the name of song is "sing me to sleep".
I added the text on inkscape with the tools on the left pallet, you can see the letter A, you can write all the text than you want. also I added some pictures to decorate.


If the file is ready, you have to export the file in .pdf format.
You can see the steps to export the files on the next picture.
I recommend to download the last version of Inkscape, because when i opened my file on the version 0.91 I had problems with the scale, the last version 0.92 is very good and do not has problems,
I am working in the last version of Inkscape, y was working with the version 0.91 and when I imported my files, it changed mi dimensions, I was working in this version and I loosed one day of my time.
I download the last Inkscape version, i imported the file and the file was ok.


2)Identify and explain processes involved in using the laser cutter.

If the file is ready, we have to open the file to print and modify the laser cuting machine characteristics, it depends of your machine and the material than you are working, we are using MDF of 3mm, and the characteristics you can see the configuration machine on the next image and here.
Raster setting
Speed 50%
Power 50%

Vector setting
Sped 30%
Power 70%
Freq 1500Hz

piece size(mm)
Horizontal 600
Vertical 300
if it is ok, remember calibrate the machine, you can make it with the focus button on the machine. then you can move the Z axis, use the spring to calibrate the z axis. then you are ready to print, then print in the computer and the file is displayed on the machine display and press go.


I used the press fit of a coworker Juan and Guillermo because it was similar, see the image down.
The sizes are: 2.8mm, 2.9mm 2.98mm, 3.05, 3.1mm, 3.14mm, 3,16mm.
We made this to know what is the size to press fit, we are working in the same material and I think it is not necessary to make tree similars press fit.
We learned the process to make it and the sizes but we made just one.


3)Develop, evaluate and construct the final prototype

This is the result of my box.
I used my box like a press fit kit.

I designed my box using the size of the press fit than I described before (2,95mm), with this size the box get join very tight, but I need open this box on one hand to store things inside the box.
I designed the superior face with a size alittle loose (3.05mm) to open the box easy.


Vinyl Cutting


There is no specific project that is focussed on this very useful tool. There are a range of ways you might utilise it throughout the programme, or your local instructor may set a specific project. You might make:
stickers
flexible circuit boards
a textured surface/relief pattern
screenprint resists/stencils
Ensure that you have used it in some way during this time and met the objectives below.


1)Identify and explain processes involved in using this machine.


I made the vinyl cut using the silhouette CAMEO software.
"Silhouette cameo software" is an editor 2D. it is similar to inkscape.
The machine is "Silhouette CAMEO" and you can see it in the pictures.


We have to set the vinyl measure. Choose the tool to cut, we have to take count the cut deep and the cut speed, in this case it is setting is 0 to 9. the max setting is 2 cm of cut deep in 1 second.


add the spray adhesive on the template. We add the vinyl or a different material to cut, in my case I used vinyl.

Why I used the spray adhesive with the Vinyl cutter

I used a base of vinyl, to cut the vinyl.
I paste the vinyl in the base of vinyl using the spray adhesive. this spray adhesive is not really stronger, it is only subject to not moving, that permise the machine cuts witout problems.
Basically the spray adhesive is to immobilize the material to cut for a litle time.
It was so easy I do not had problems with this.


Included your design files.
PDF design
Autocad DXF
Inkscape file
SolidWorks files

Pressfitkit files dxf, pdf and solidWorks file