In this assignment I decide to learn about Serial communication Arduino.ide
Idid not have experience with serial communication and i wanted to make a serial communication with two bluetooths HC 05 Master Slave.
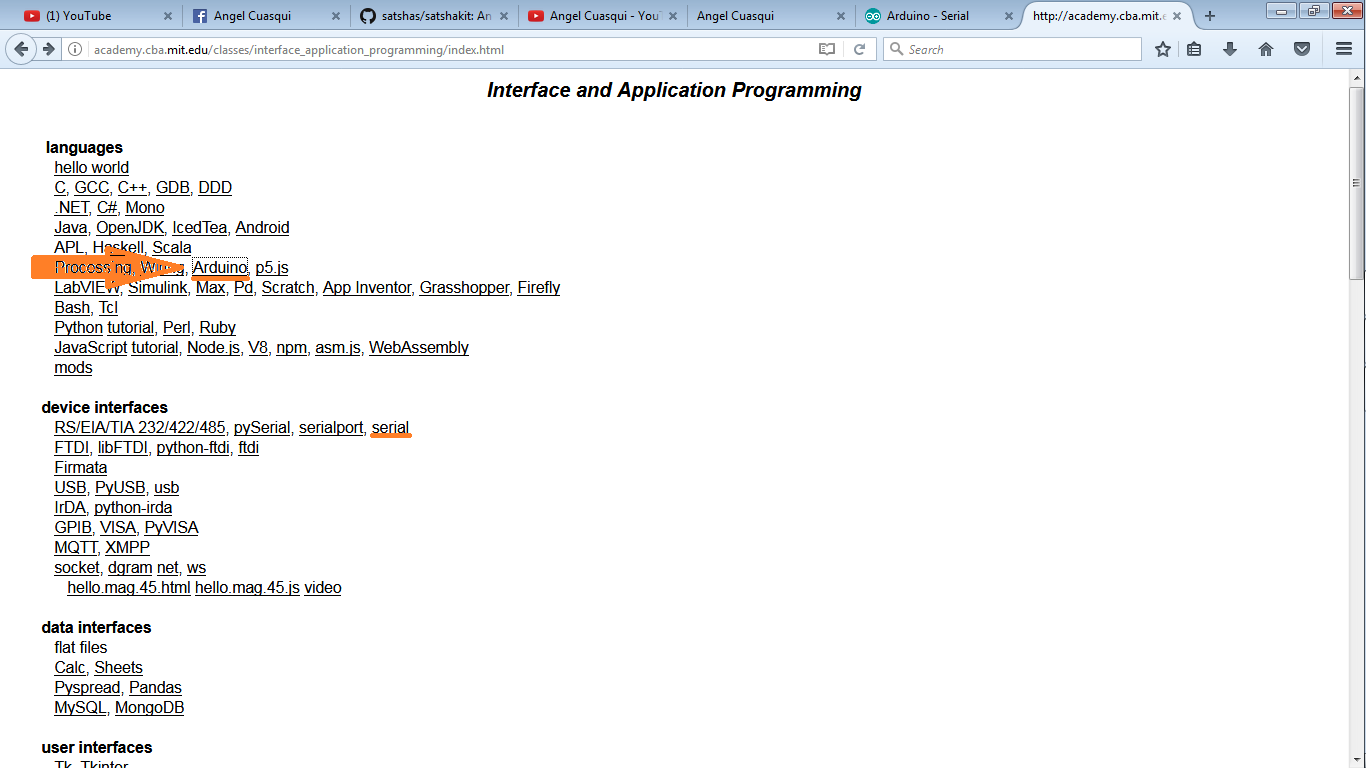
If you want to learn about serial communication you can read this
Link.
And Here.
If you can understand the serial communication, then you have to learn about bluetooth Communication via serial.
Here.
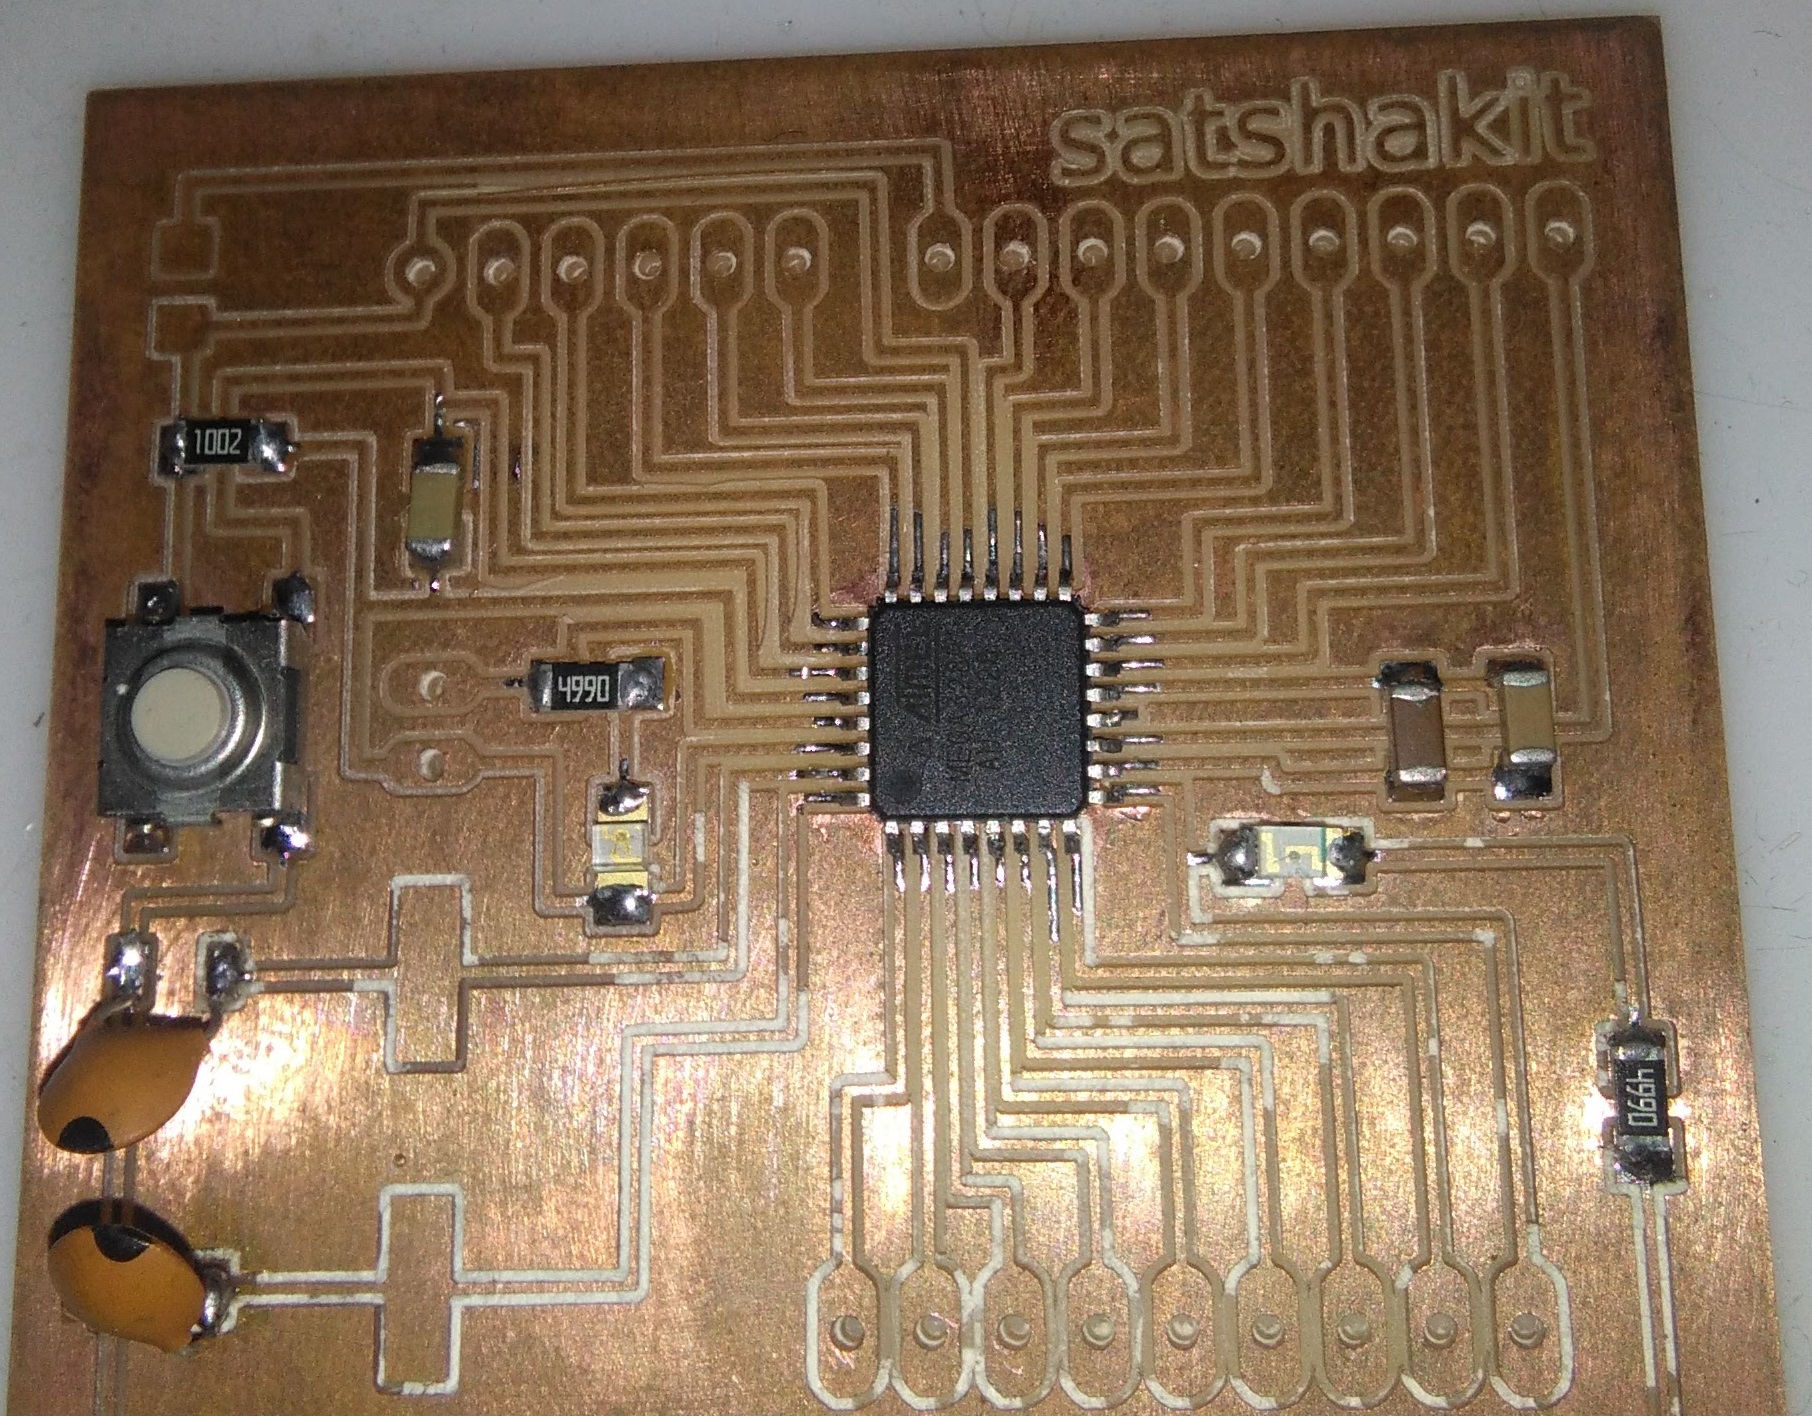
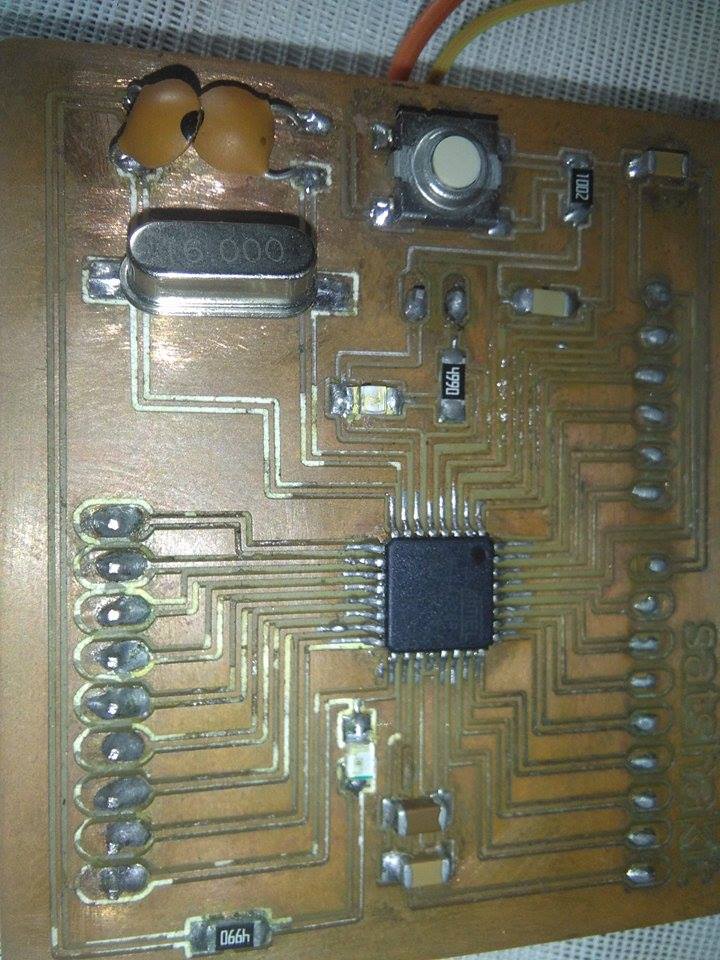
I made a satshakit to work in this project, I read about this board and it is really interesting design, it is a design of Daniele Ingrassia.
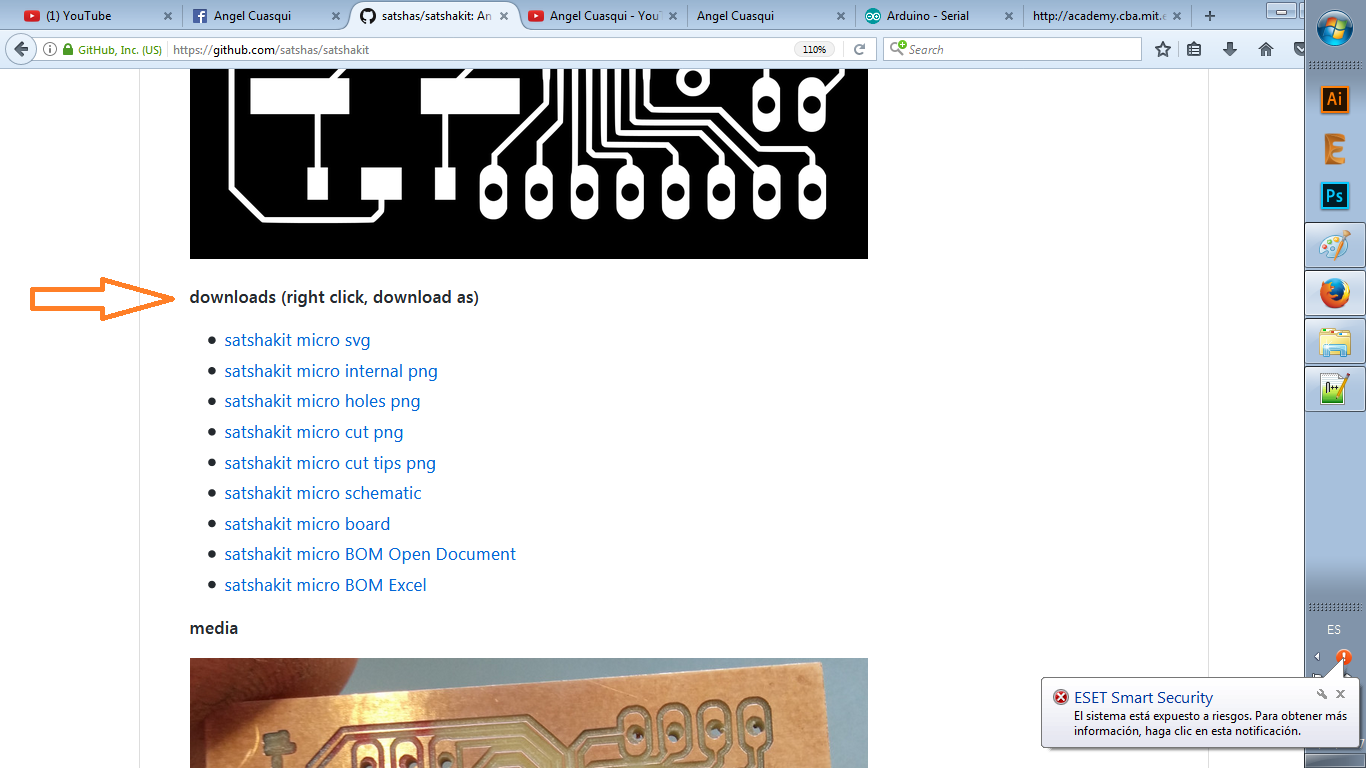
If you want to do this board you have to visit the official page.
In this page you can find all the necessary information and files to make it.
Also you can found the way to burn botloaders and the way to conect your FabISP or Arduino.
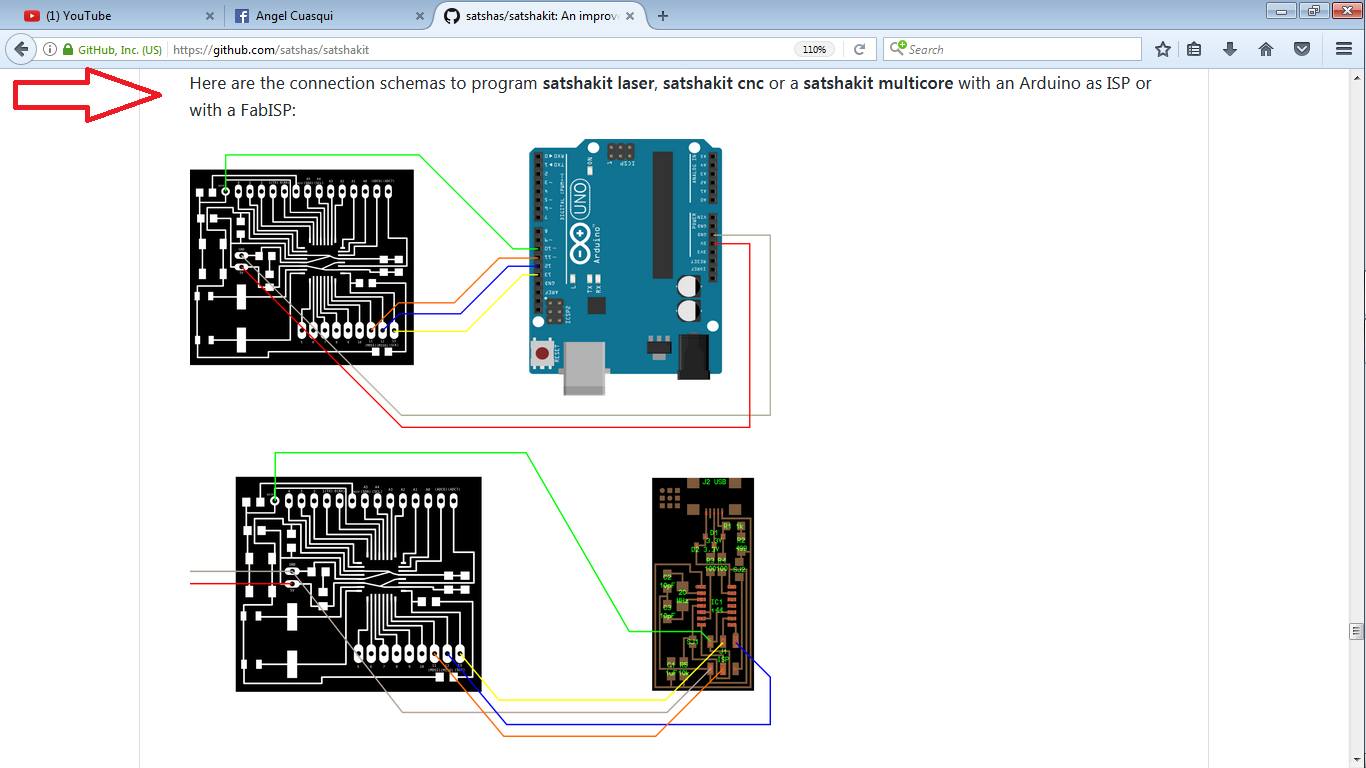
Burn bootladers

I downloaded the files and machine the board, but I had a problem.
I was looking for the electronic components on the FabLab, but I could not find the CRYSTAL 16MHz.
Then we Buy this Crystal follow the steps to burn bootloaders in the official page.
I downloaded the files and machine the board,If you want to know how to mechanize a board, please review the electronic production assignment here.
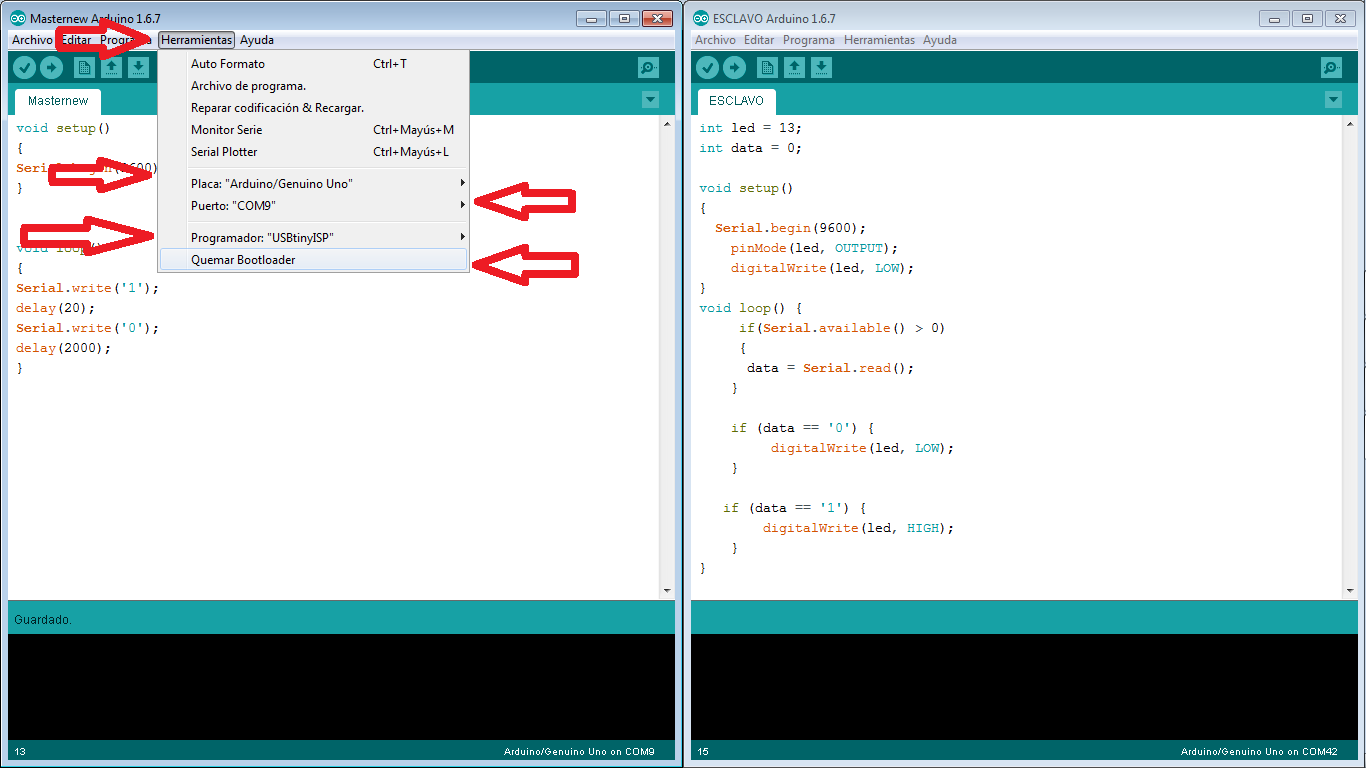
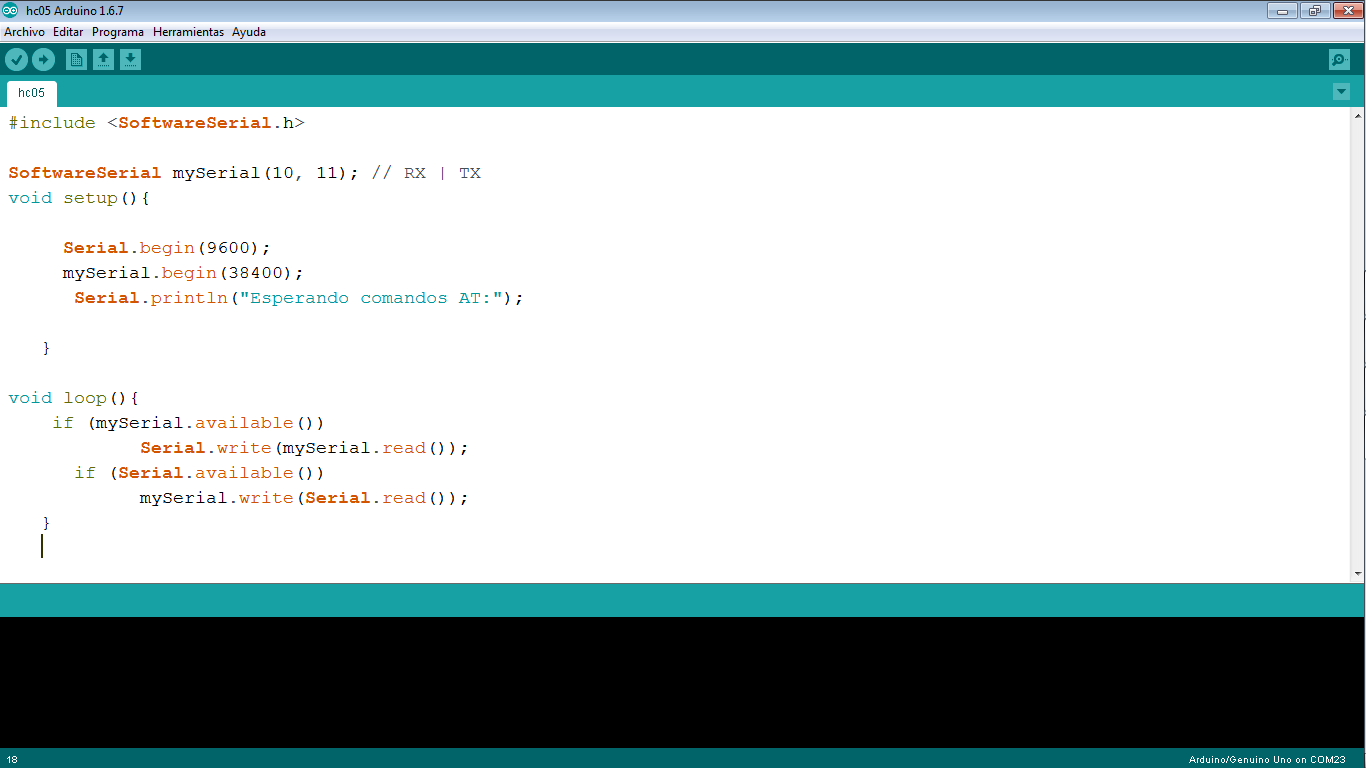
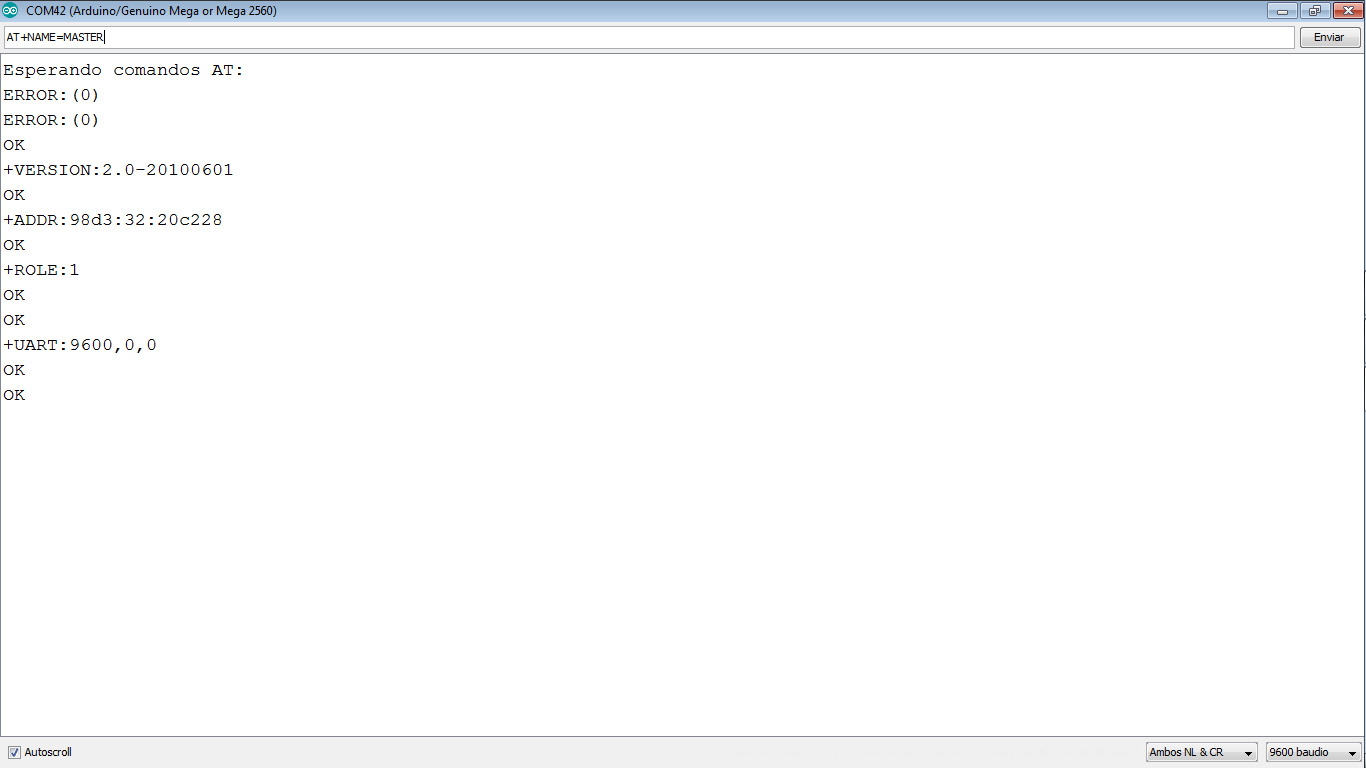
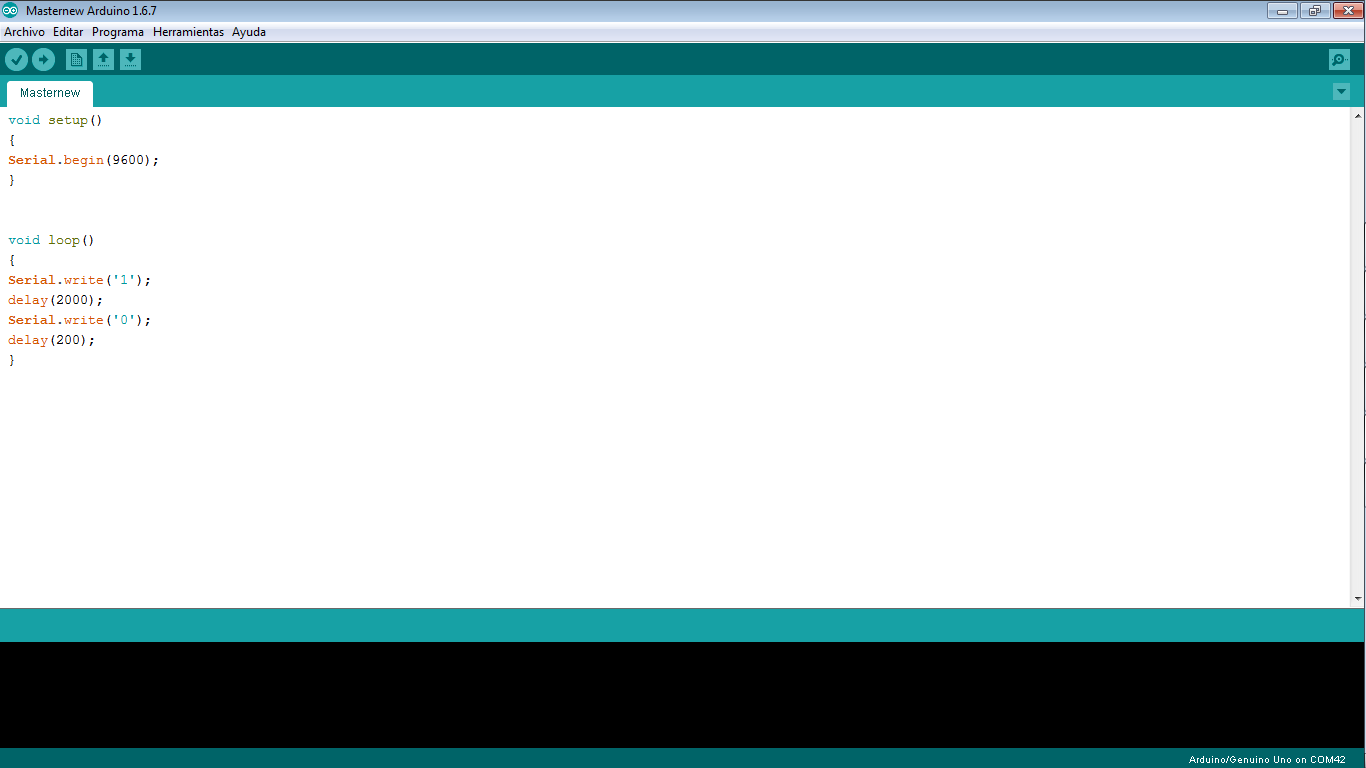
If your satshakit is ready,the firt step is configurate your bluetooth. to make it you have to program your satshakit with this code and apply the AT comands to configurate the your bluetooth.
This code is at the final of the page.
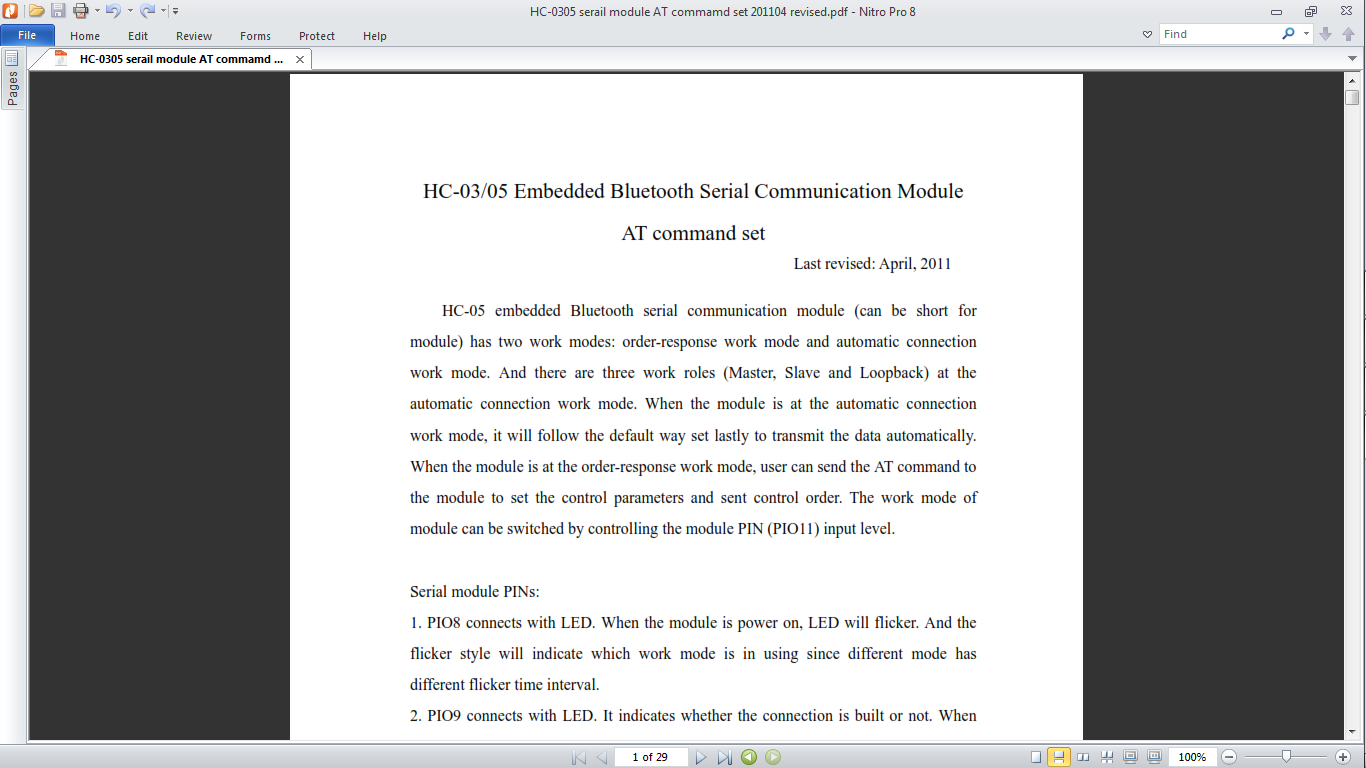
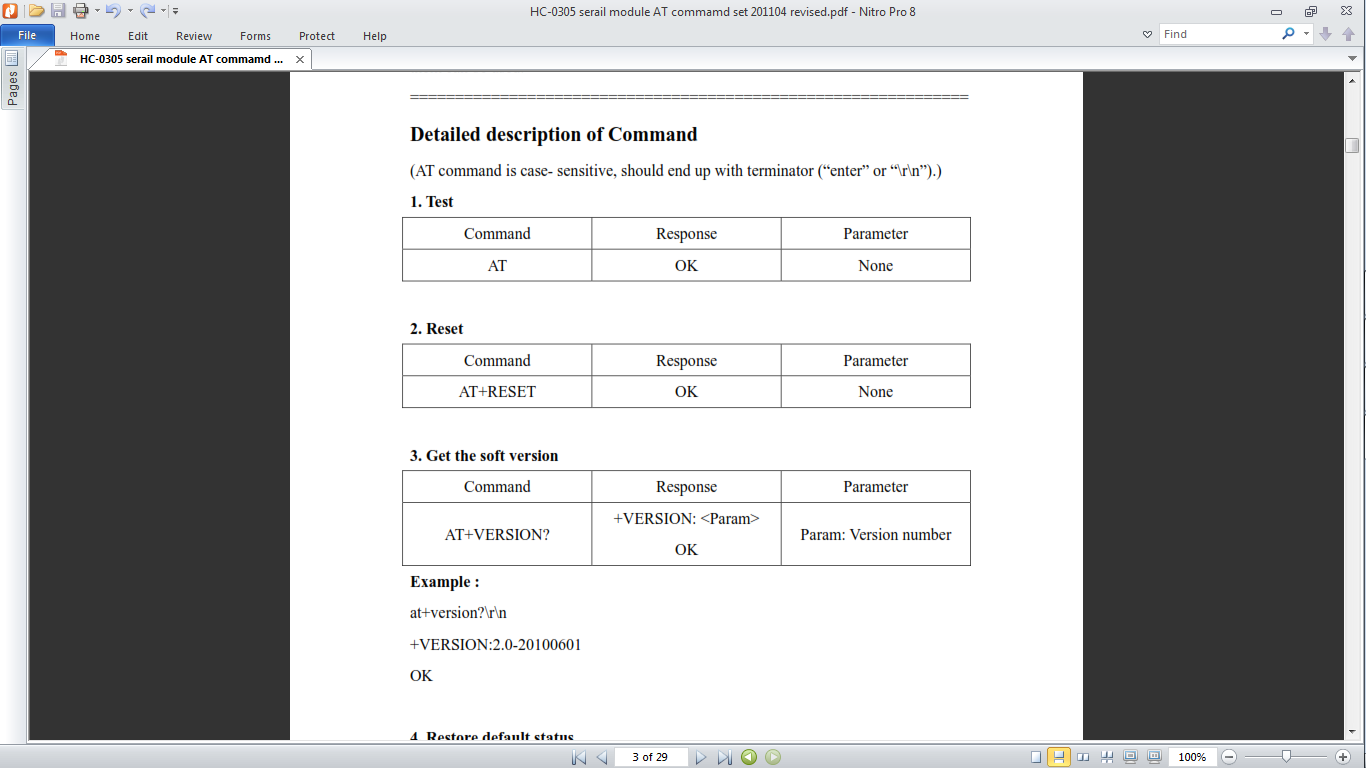
I read a PDF of HC-0305 serail module AT commamd set 201104, you can find this PDF to download on the final of this page.
Also I found a web page about AT commands configuration. Here is the
link
You have to configurate your bluetooth as a slave
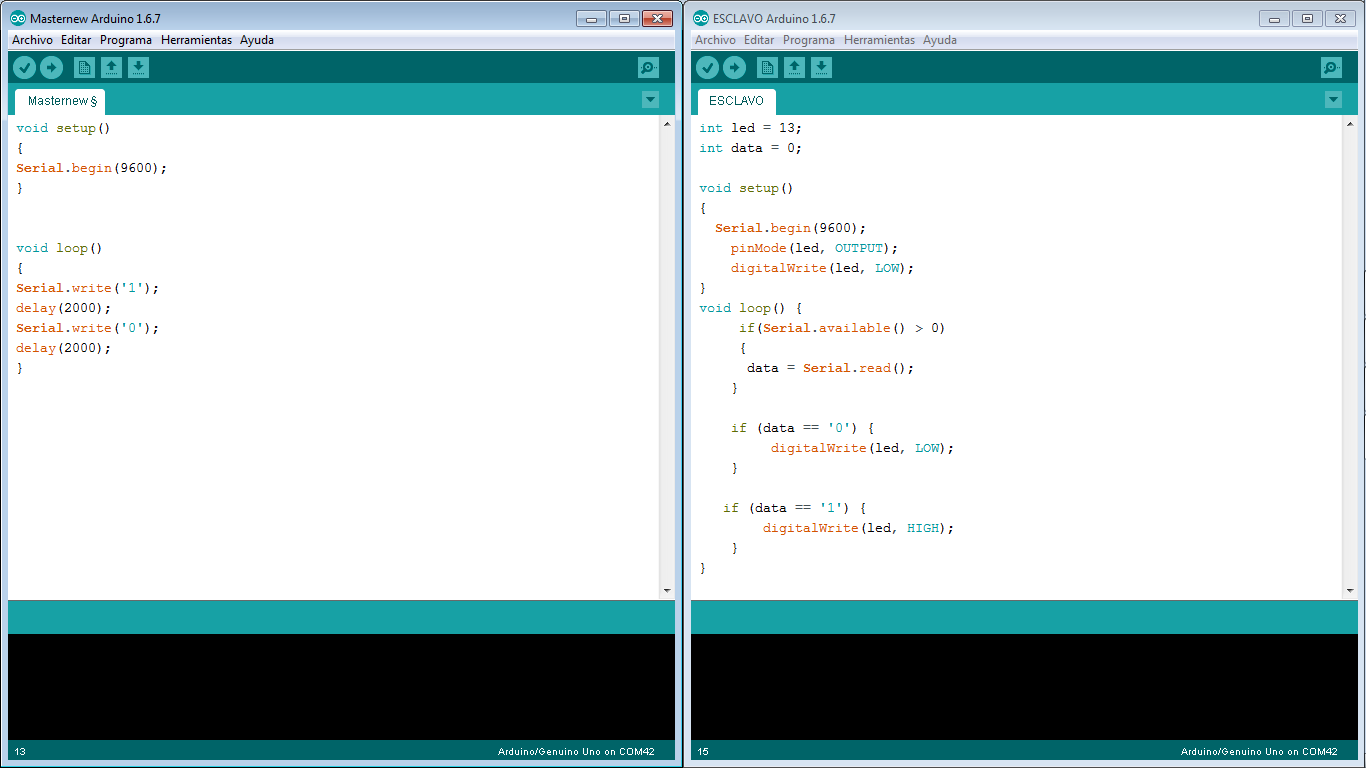
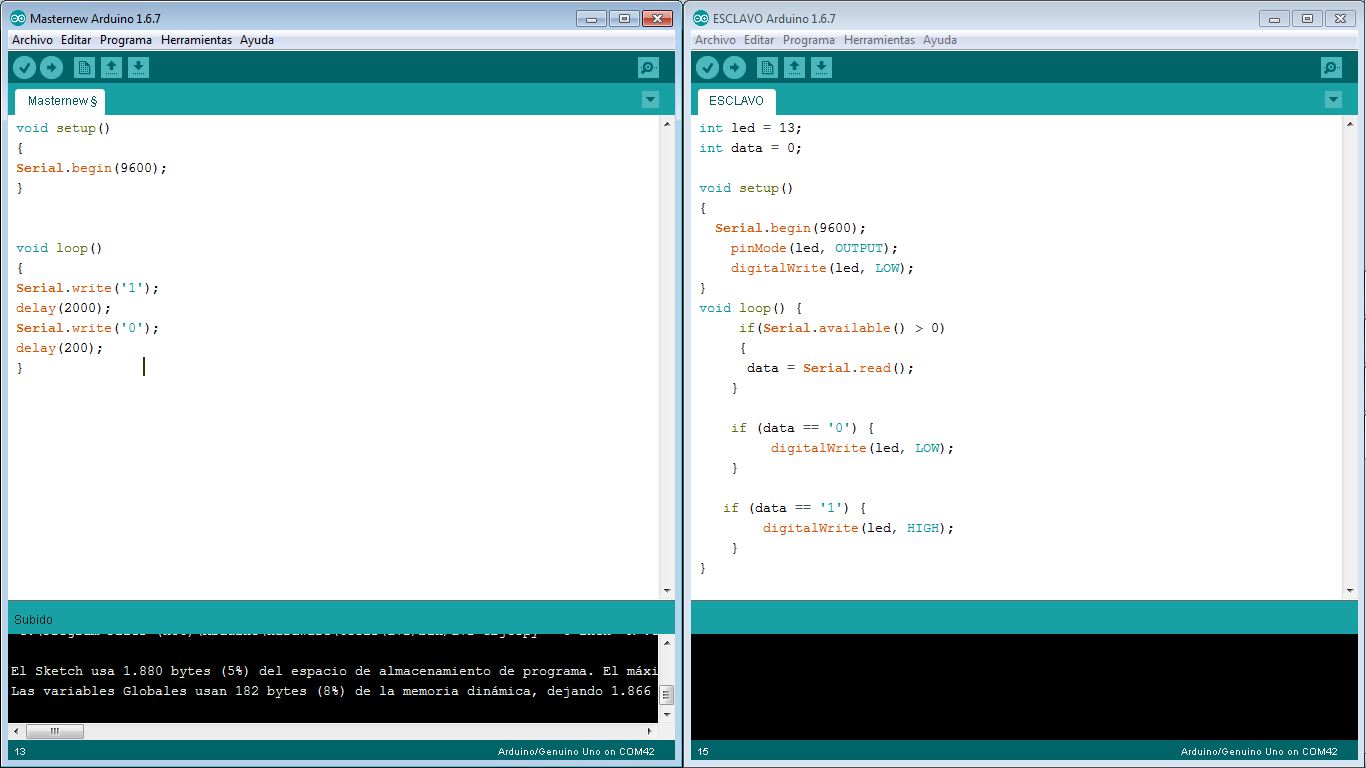
If your AT commands are ready, you have to create the Master and Slave code.
The master code verify the connection bluetooth with the slave bluetooth, then it sends a data (1) wait a time then send another date (0) finally wait another time and repeat the action.
The slave code verify the bluetooth connection, then read if the read a data is equal to (0) turn off a led and if the data is equal to (1) turn on a led.
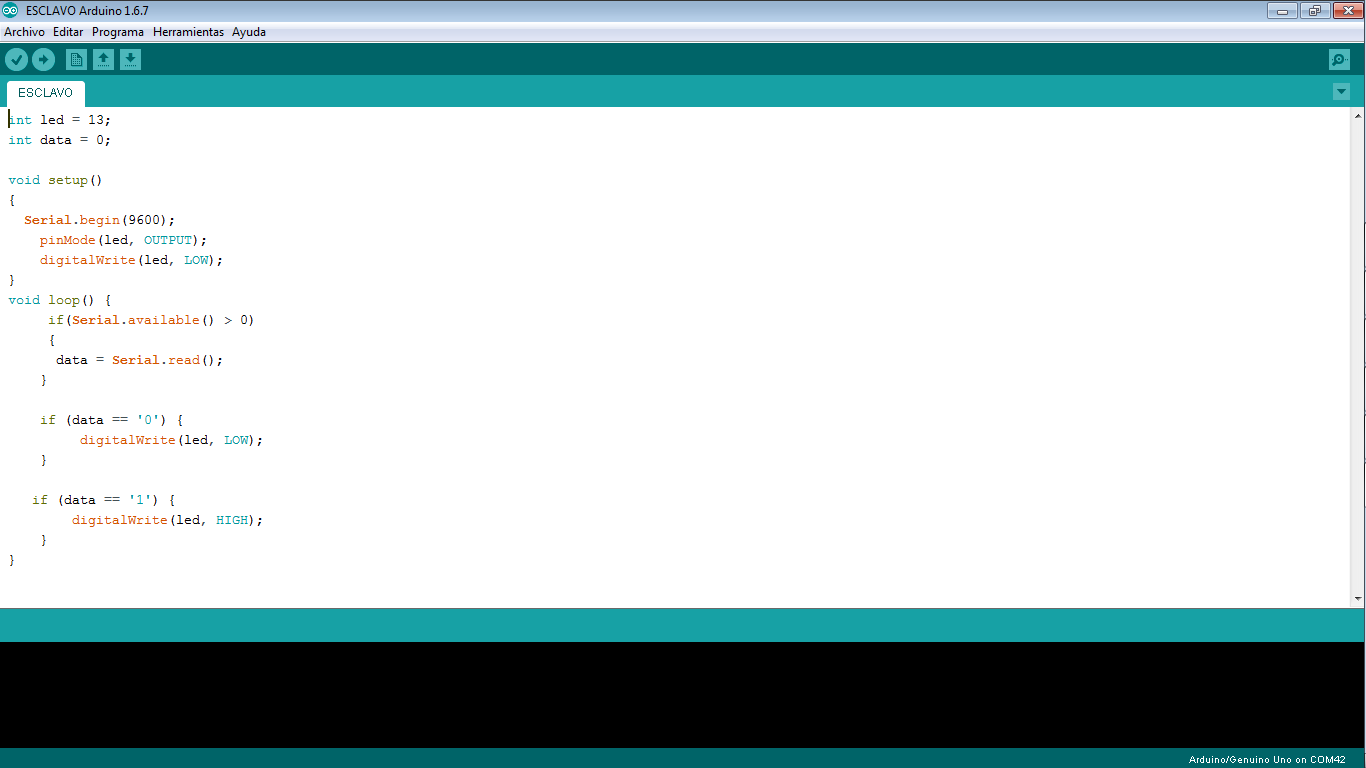
I changed the delay to change the time to turn on and off the led.
1)
2)

3)

4)
I am using two shatshakit and two bluetooth HC-05.
I borrowed a satshakit from my friend Juan Santacruz to work in this project.
In this assignment we decide to work about communication I2C, we were learning about it and find the documentation of Carlos Moreno, he took the FabAcademy 2016.
Here
is the link to view the Carlos Moreno’s page
all the files that we use, they are on the final of this page
The first step is read the program on Arduino.
we have to do two PCB, the first is a master, it is controlling the slave.
we need the master and slave.
I was learning about I2C and I find a video, you can see it here.
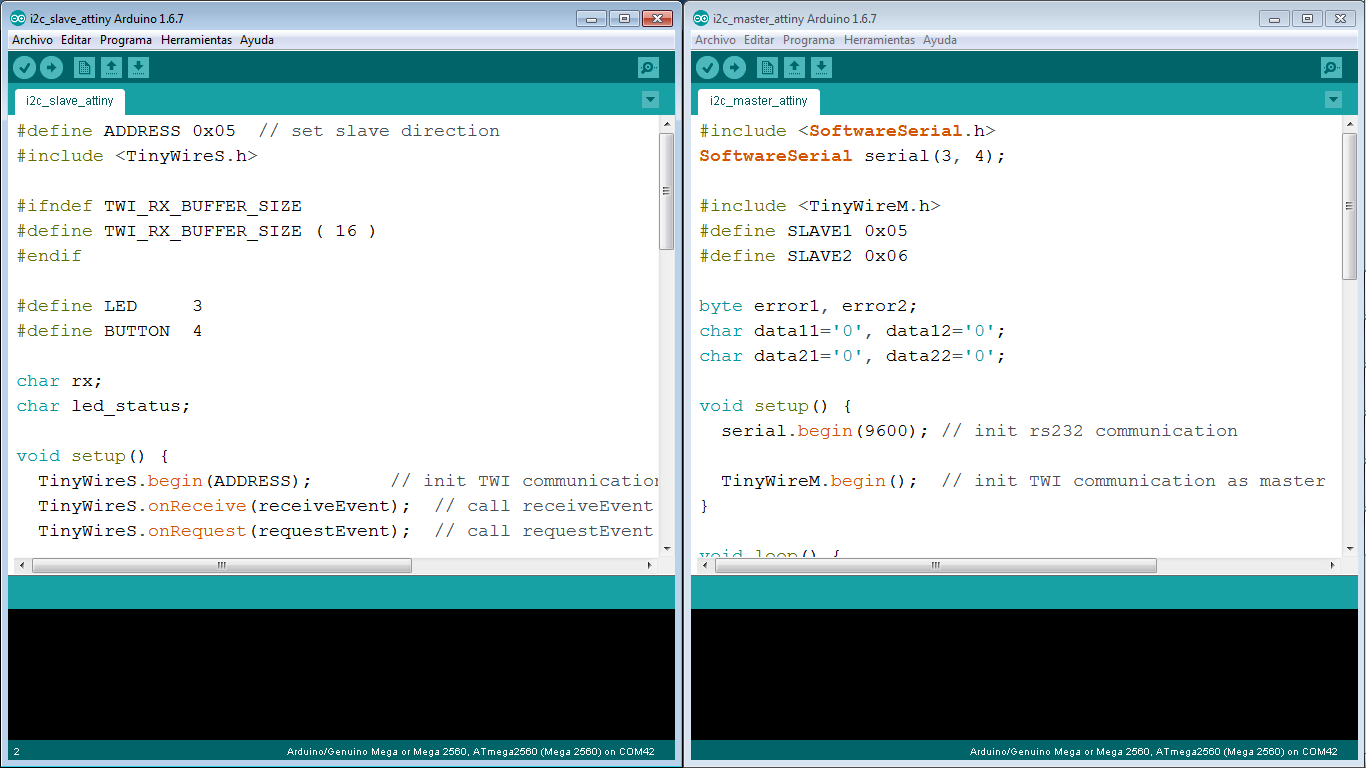
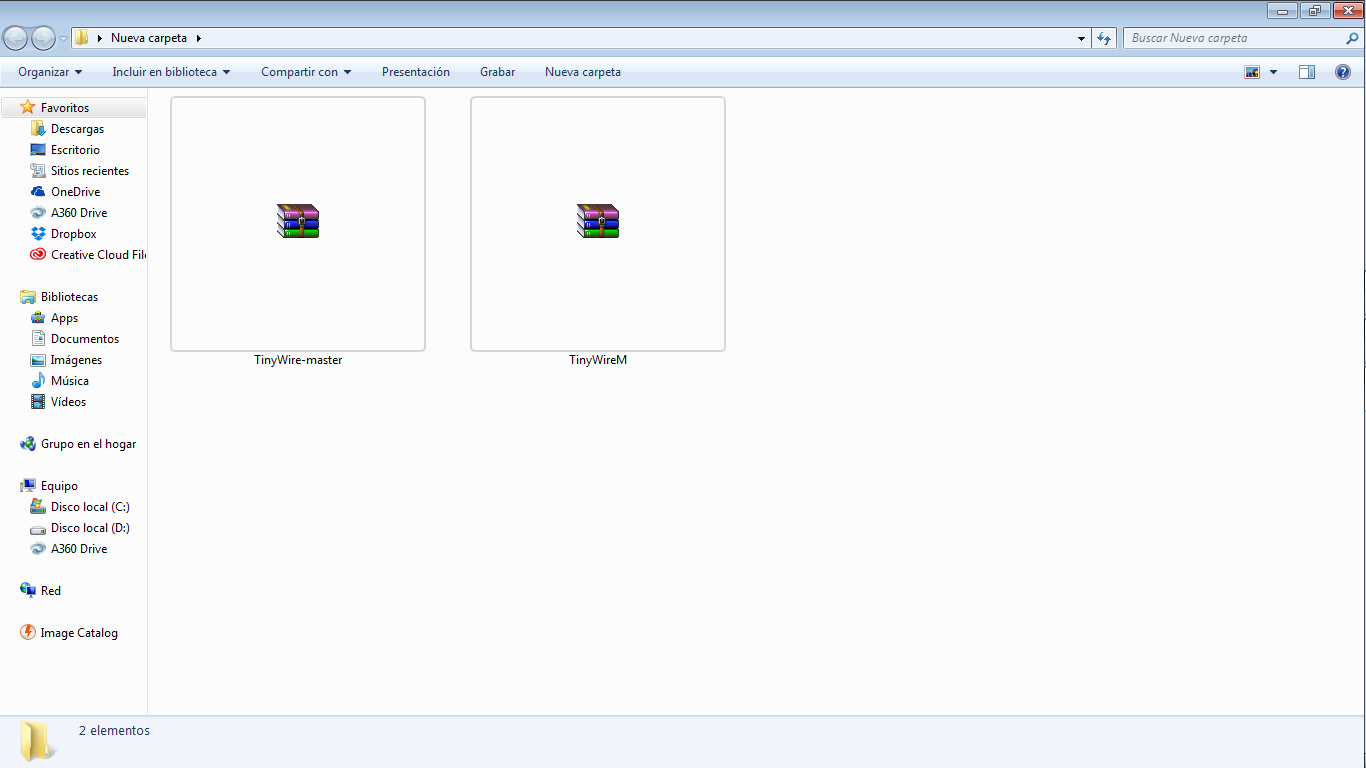
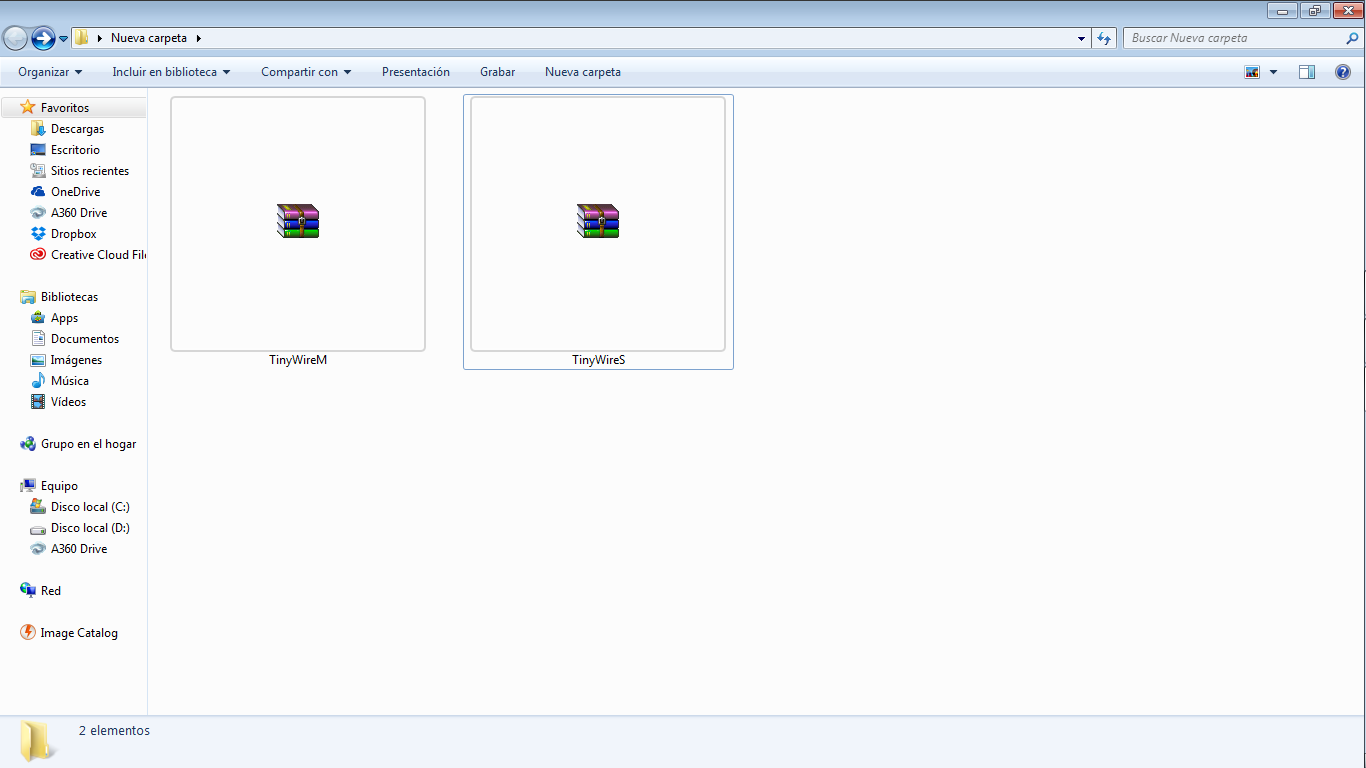
the program is here, you need the two libraries, the first is TinyWireMaster library and TinyWireSlave library. all the libraries you can download down.
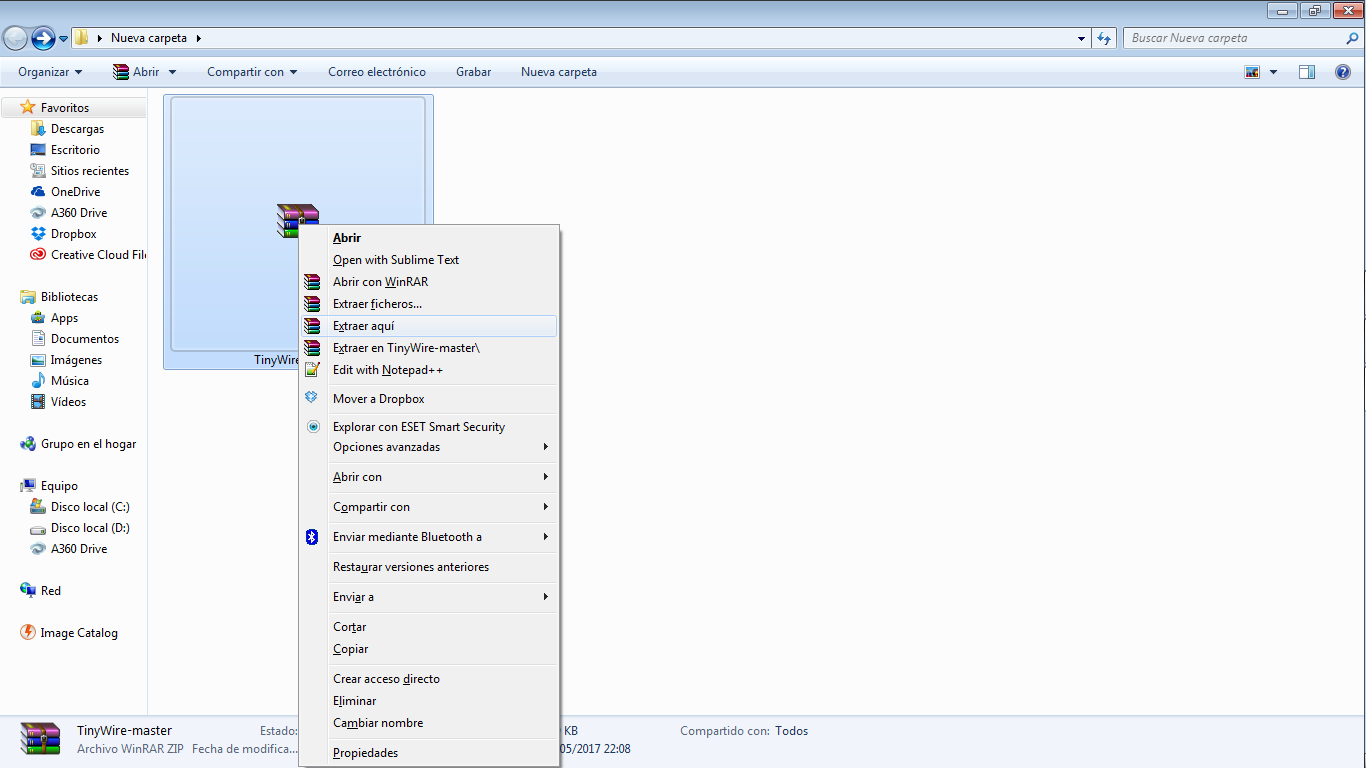
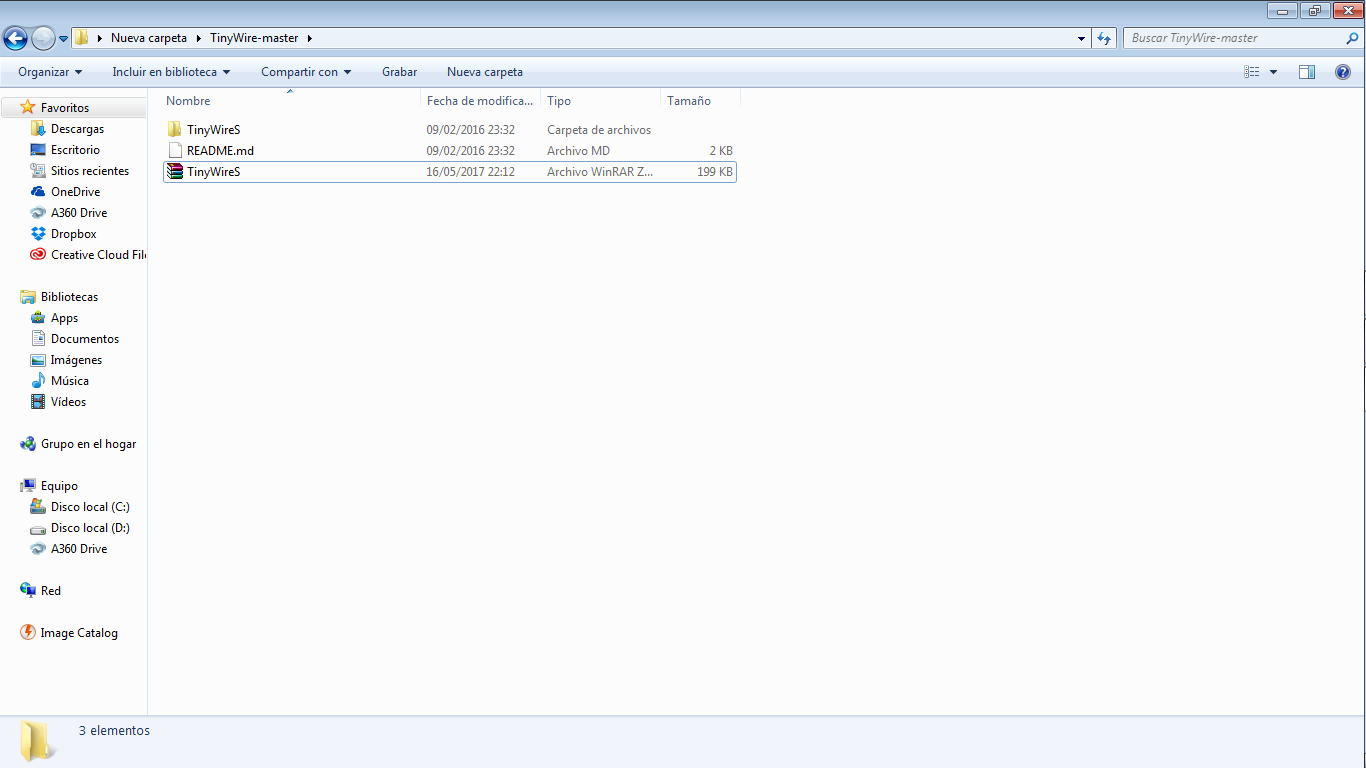
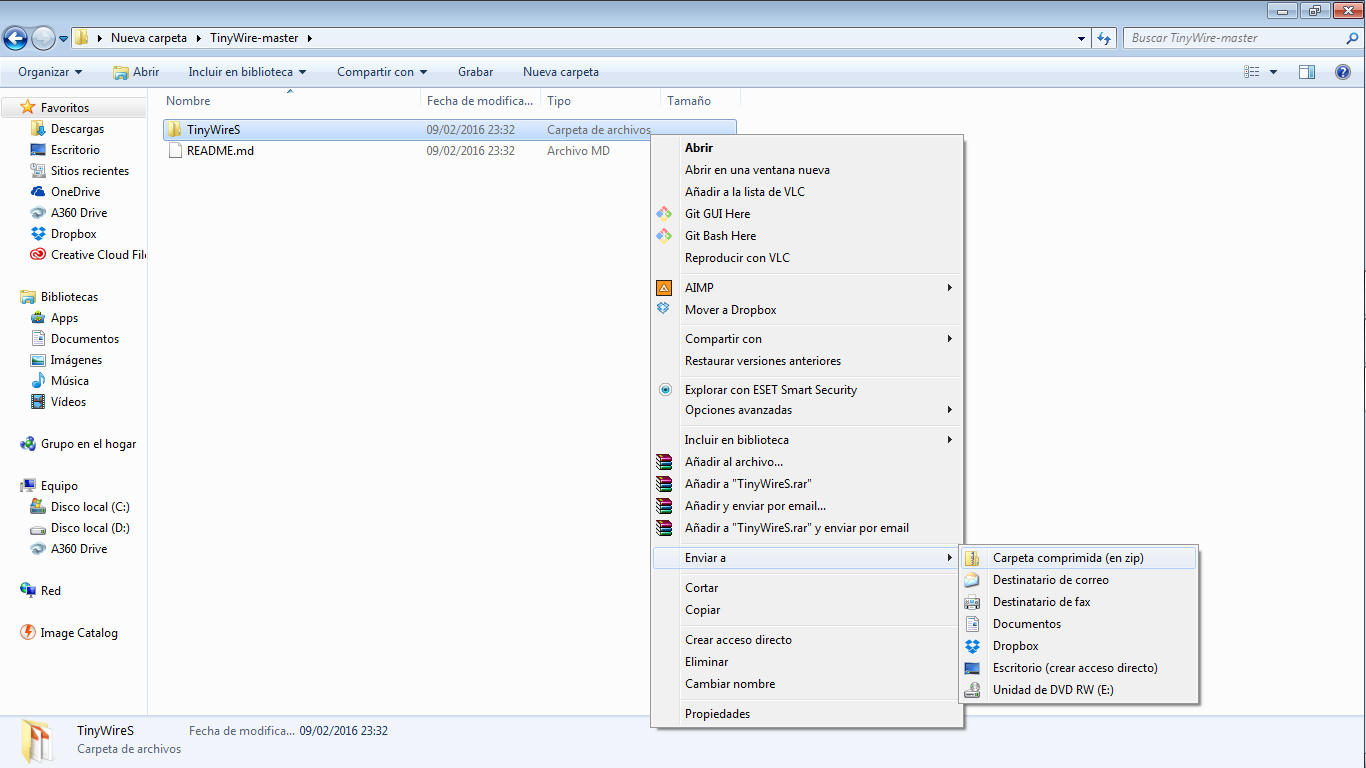
I had a problem whit the TinyWireSlave library, I downloaded but it was inside two folders, but you can find the correct library down, because y had problems with the library.
The problem with the library is: when you upload the library on the Arduino. Ide it does not recognize the library, I reviewed the download folder on the Arduino forum. but this library is inside of two folders, it is wrong because it has to be just in one folder.this problem is just on the slave library.
 The master PCB and the Slave is down on the final of this page.
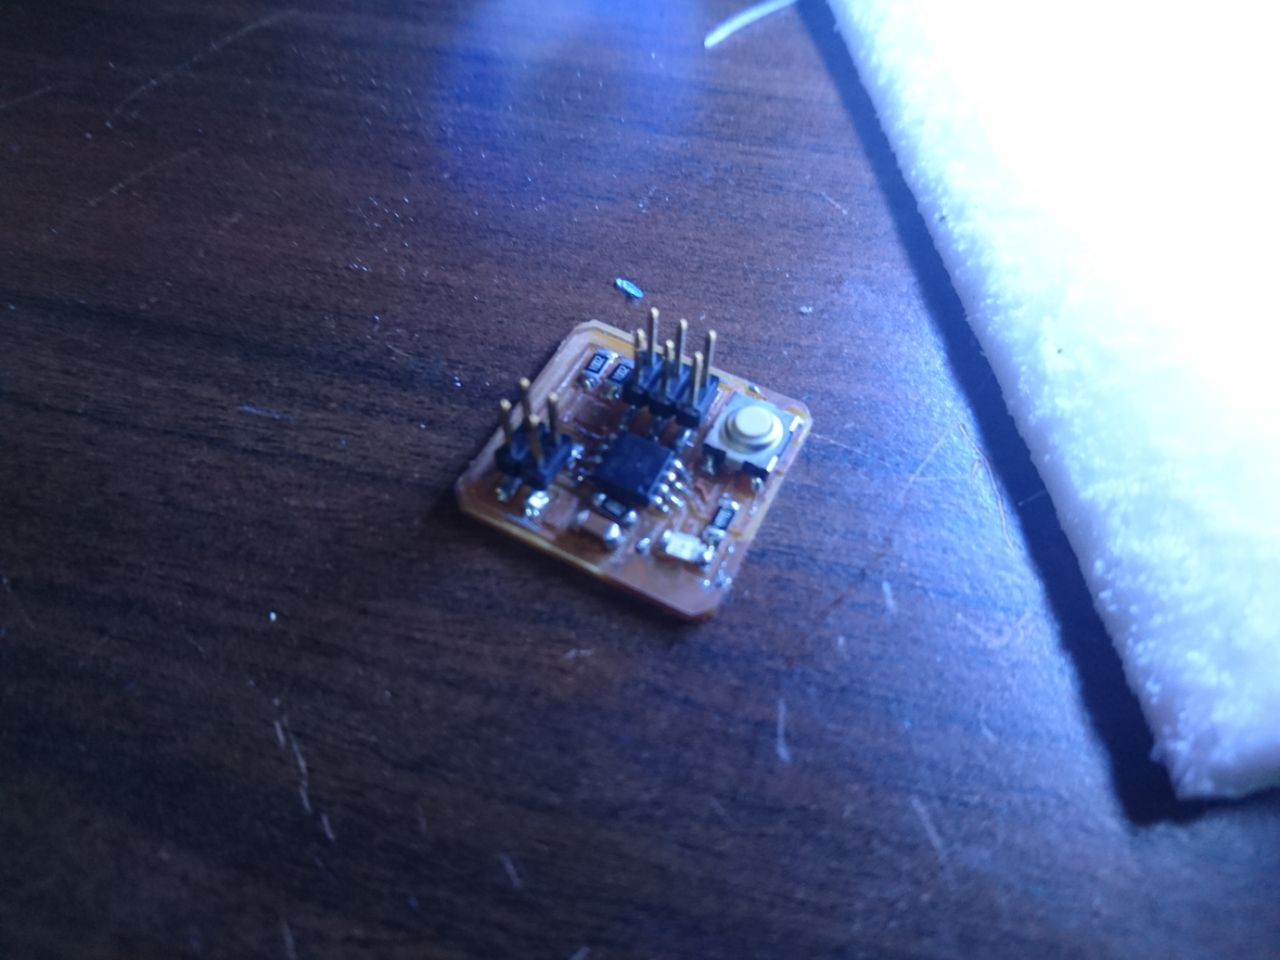
Here you can see the master and slave Eagle PCB.
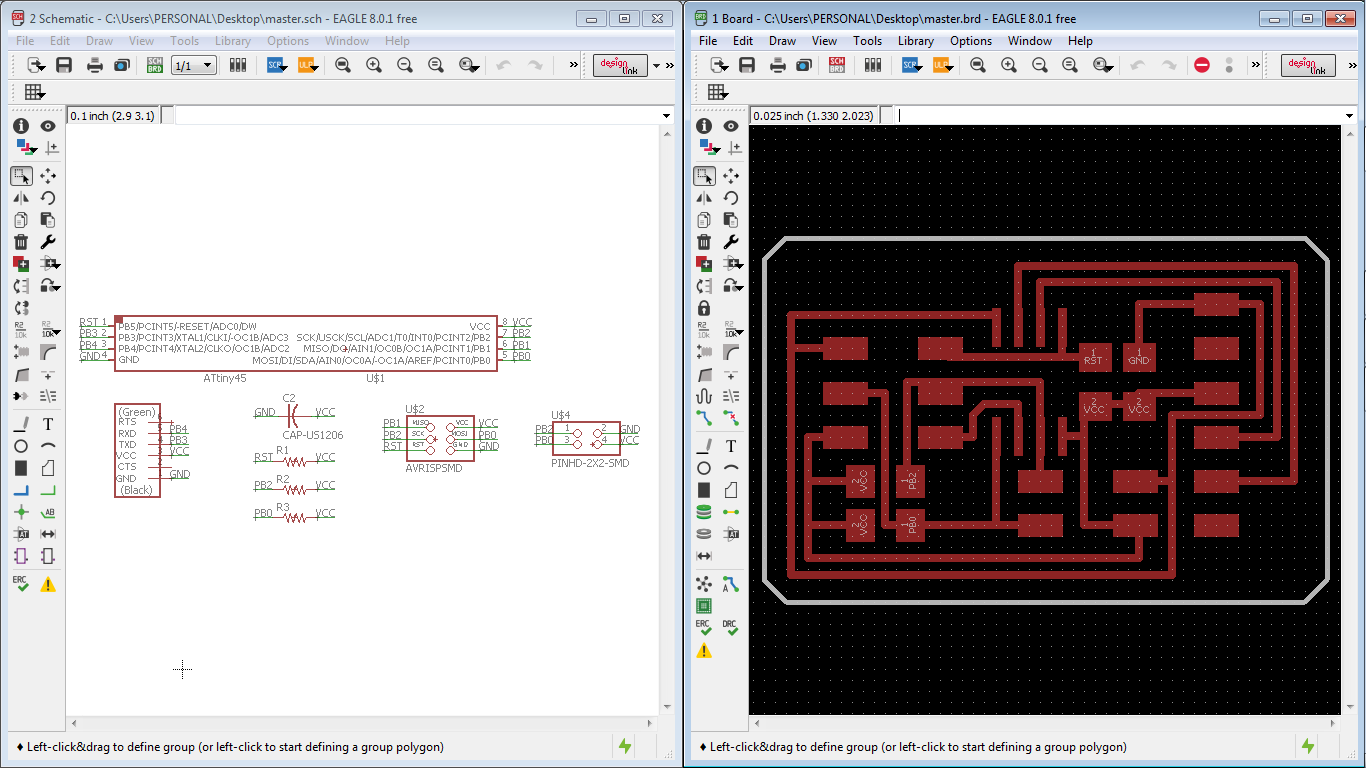
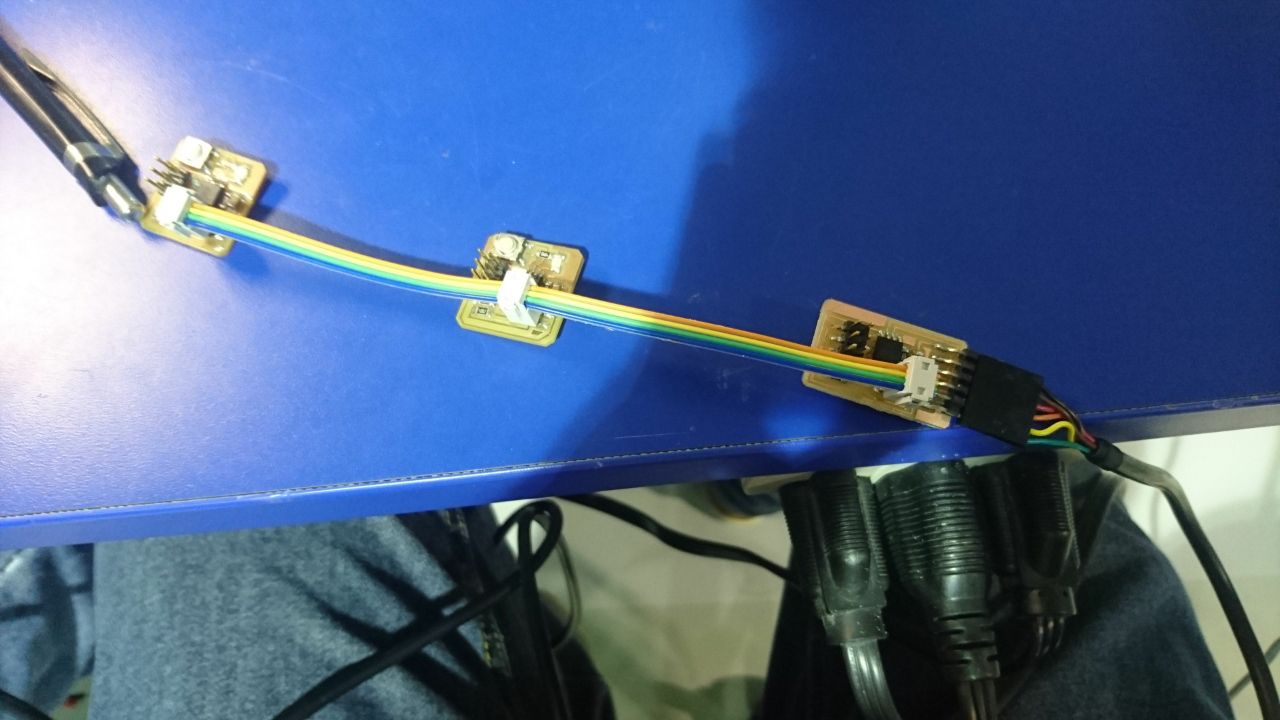
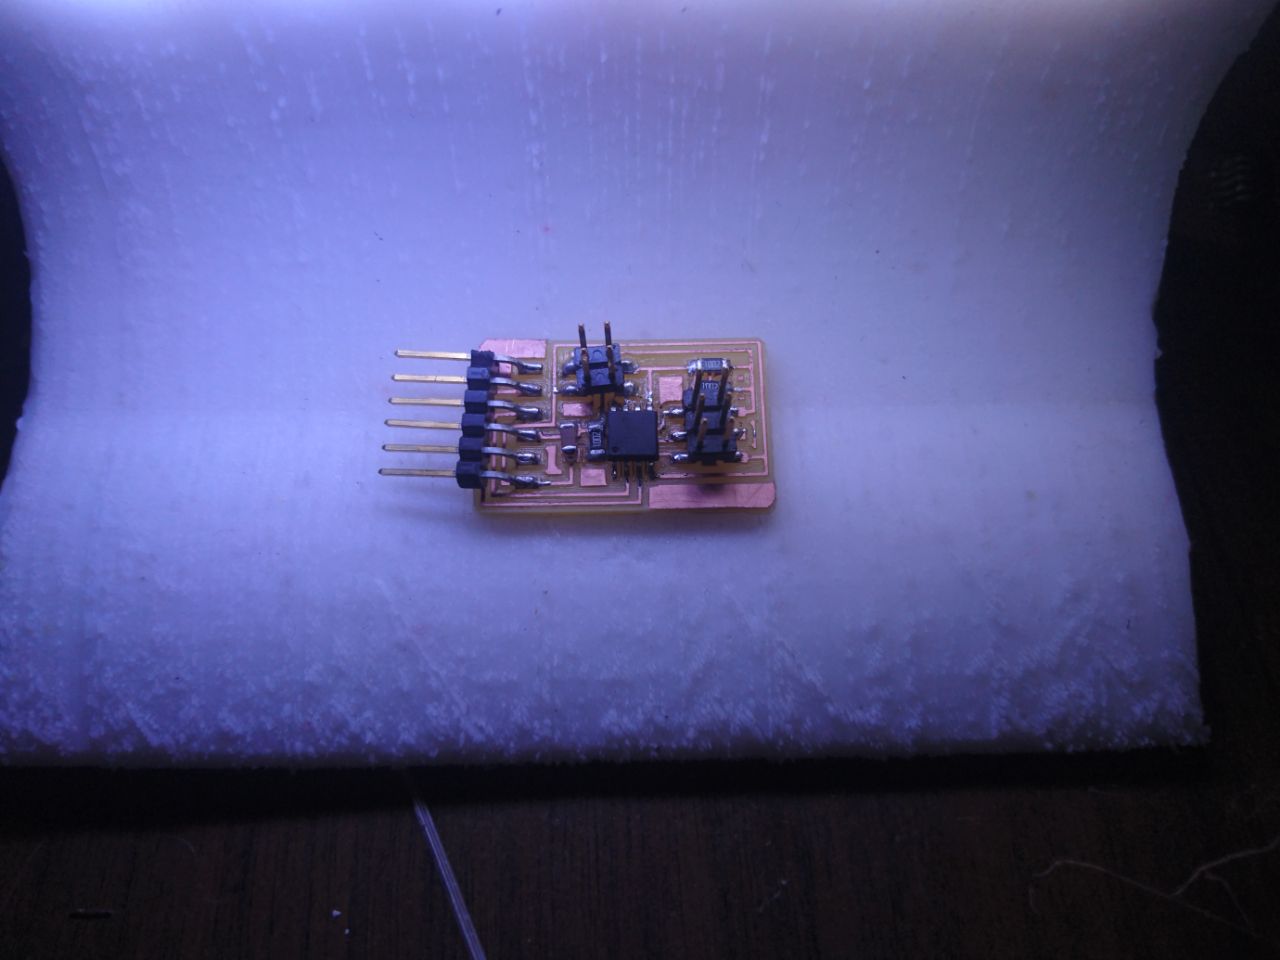
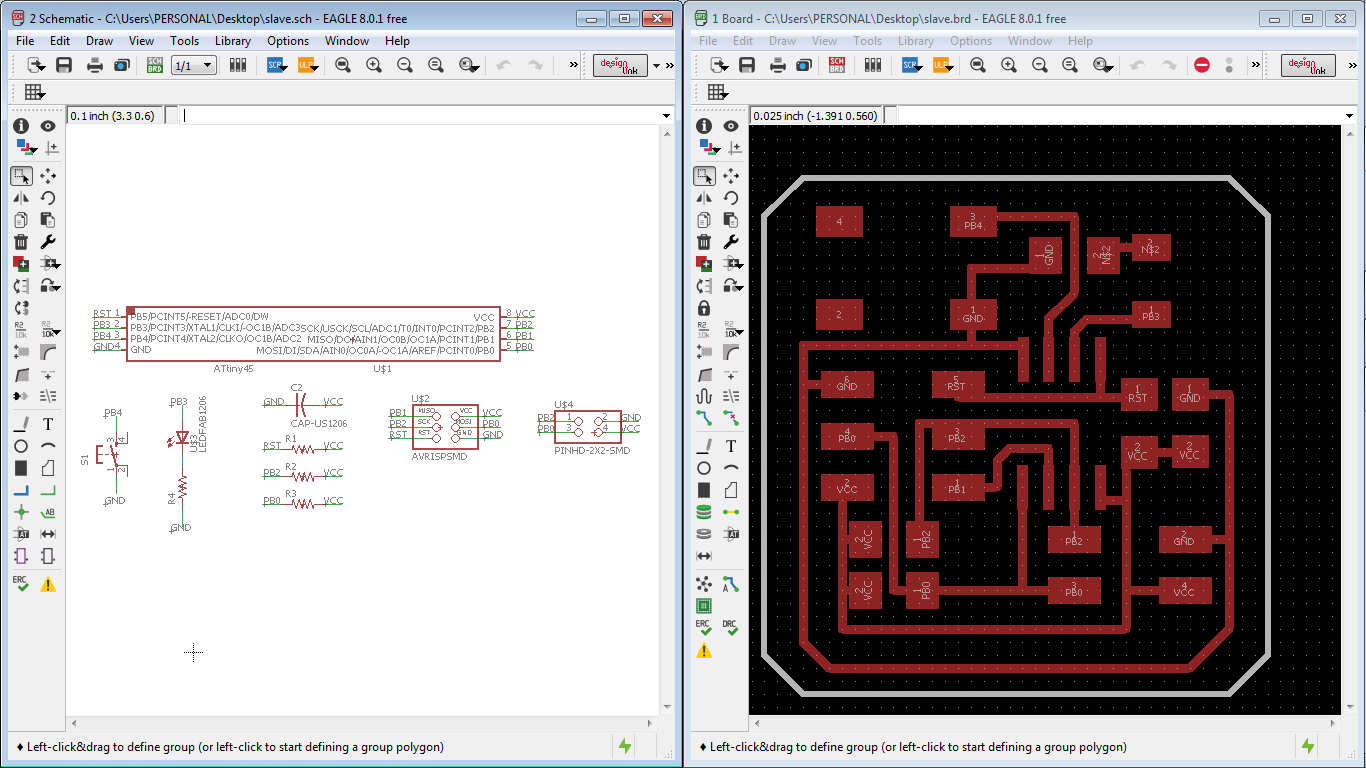 Also there is some pictures of the PCB.
Video working
I was learning about communications to my final project and I need to apply SPI, it is a serial bus to communication. I apply the SPI because I am going to use a SD card on my final project.
I learned about SD Card and SPI comunication on the arduino forum.
here the link.
Link to learn about SD Card and SPI Serial bus
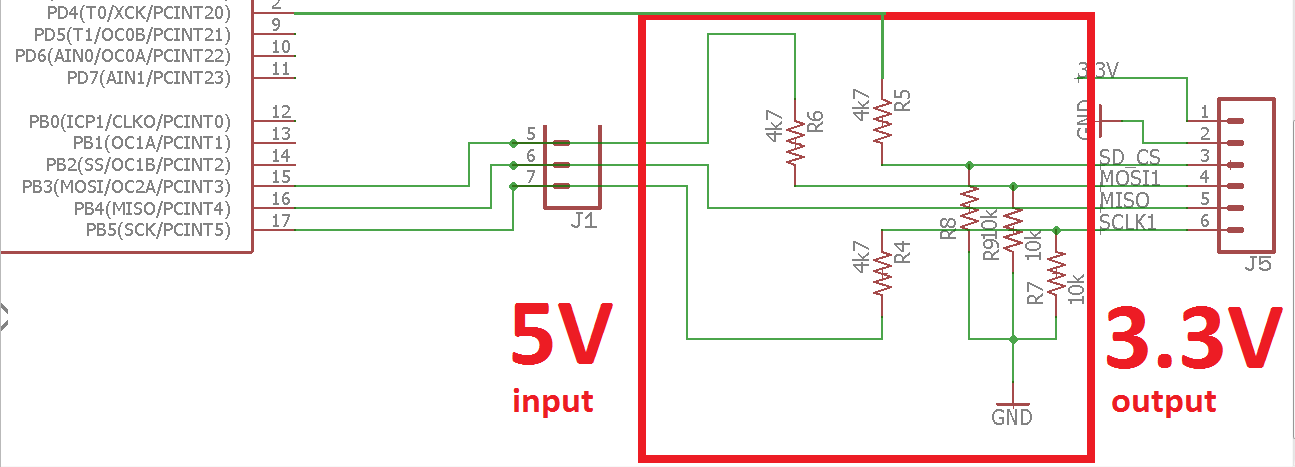
you have to know than the Arduino information sends on 5v but SD Card work with 3.3V, we have to do a voltage divider to get 3.3V.
 I made a prove and read a file.
I am going to be working in this code to my final project, you can find more information and all the files on my final project.
If you want to do this board you have to visit the official page.
In this page you can find all the necessary information and files to make it.
Also you can found the way to burn botloaders and the way to conect your FabISP or Arduino.
Burn bootladers
I downloaded the files and machine the board, but I had a problem.
I was looking for the electronic components on the FabLab, but I could not find the CRYSTAL 16MHz.
Then we Buy this Crystal follow the steps to burn bootloaders in the official page.
I downloaded the files and machine the board,If you want to know how to mechanize a board, please review the electronic production assignment here.
If your satshakit is ready,the firt step is configurate your bluetooth. to make it you have to program your satshakit with this code and apply the AT comands to configurate the your bluetooth. This code is at the final of the page.
I read a PDF of HC-0305 serail module AT commamd set 201104, you can find this PDF to download on the final of this page.
Also I found a web page about AT commands configuration. Here is the link
You have to configurate your bluetooth as a slave
If your AT commands are ready, you have to create the Master and Slave code.
The master code verify the connection bluetooth with the slave bluetooth, then it sends a data (1) wait a time then send another date (0) finally wait another time and repeat the action.
The slave code verify the bluetooth connection, then read if the read a data is equal to (0) turn off a led and if the data is equal to (1) turn on a led.
I changed the delay to change the time to turn on and off the led.
1)
2)
3)
4)
I am using two shatshakit and two bluetooth HC-05. I borrowed a satshakit from my friend Juan Santacruz to work in this project.
In this assignment we decide to work about communication I2C, we were learning about it and find the documentation of Carlos Moreno, he took the FabAcademy 2016.
Here is the link to view the Carlos Moreno’s page
all the files that we use, they are on the final of this page
The first step is read the program on Arduino.
we have to do two PCB, the first is a master, it is controlling the slave.
we need the master and slave.
I was learning about I2C and I find a video, you can see it here.
the program is here, you need the two libraries, the first is TinyWireMaster library and TinyWireSlave library. all the libraries you can download down.
I had a problem whit the TinyWireSlave library, I downloaded but it was inside two folders, but you can find the correct library down, because y had problems with the library.
The problem with the library is: when you upload the library on the Arduino. Ide it does not recognize the library, I reviewed the download folder on the Arduino forum. but this library is inside of two folders, it is wrong because it has to be just in one folder.this problem is just on the slave library.
Here you can see the master and slave Eagle PCB.
Video working
I was learning about communications to my final project and I need to apply SPI, it is a serial bus to communication. I apply the SPI because I am going to use a SD card on my final project. I learned about SD Card and SPI comunication on the arduino forum. here the link. Link to learn about SD Card and SPI Serial bus
you have to know than the Arduino information sends on 5v but SD Card work with 3.3V, we have to do a voltage divider to get 3.3V.
I am going to be working in this code to my final project, you can find more information and all the files on my final project.