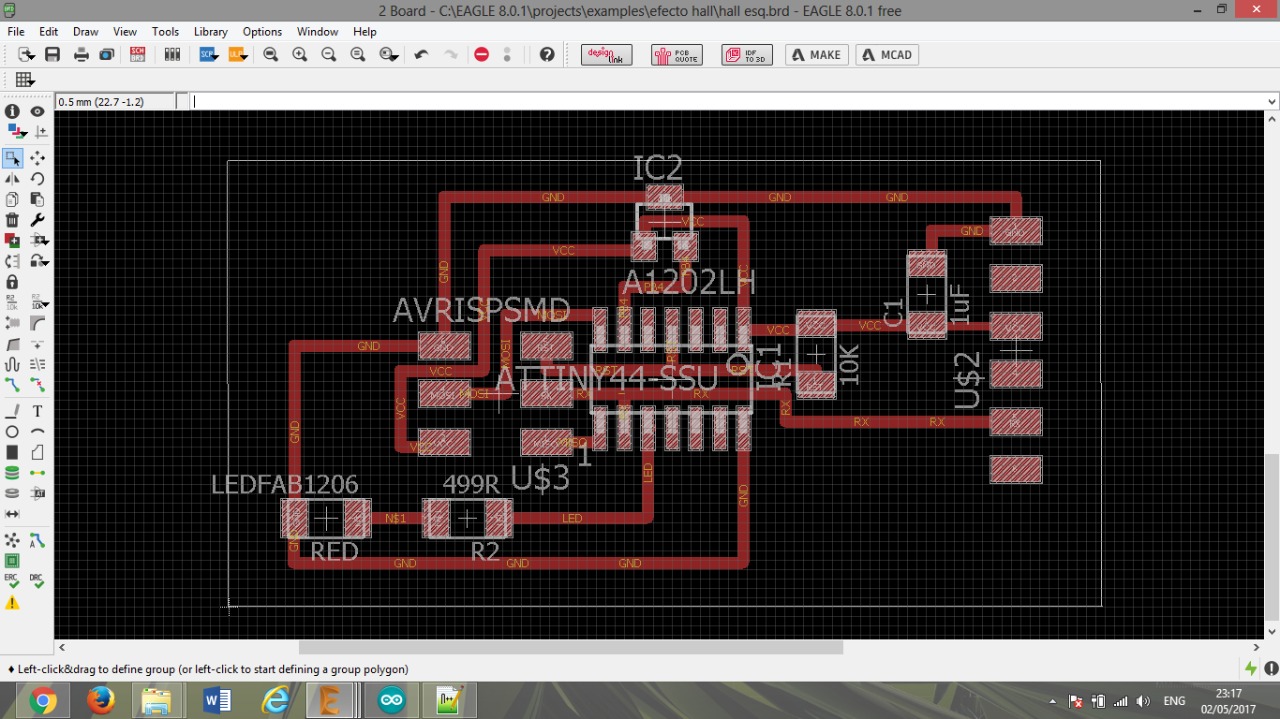
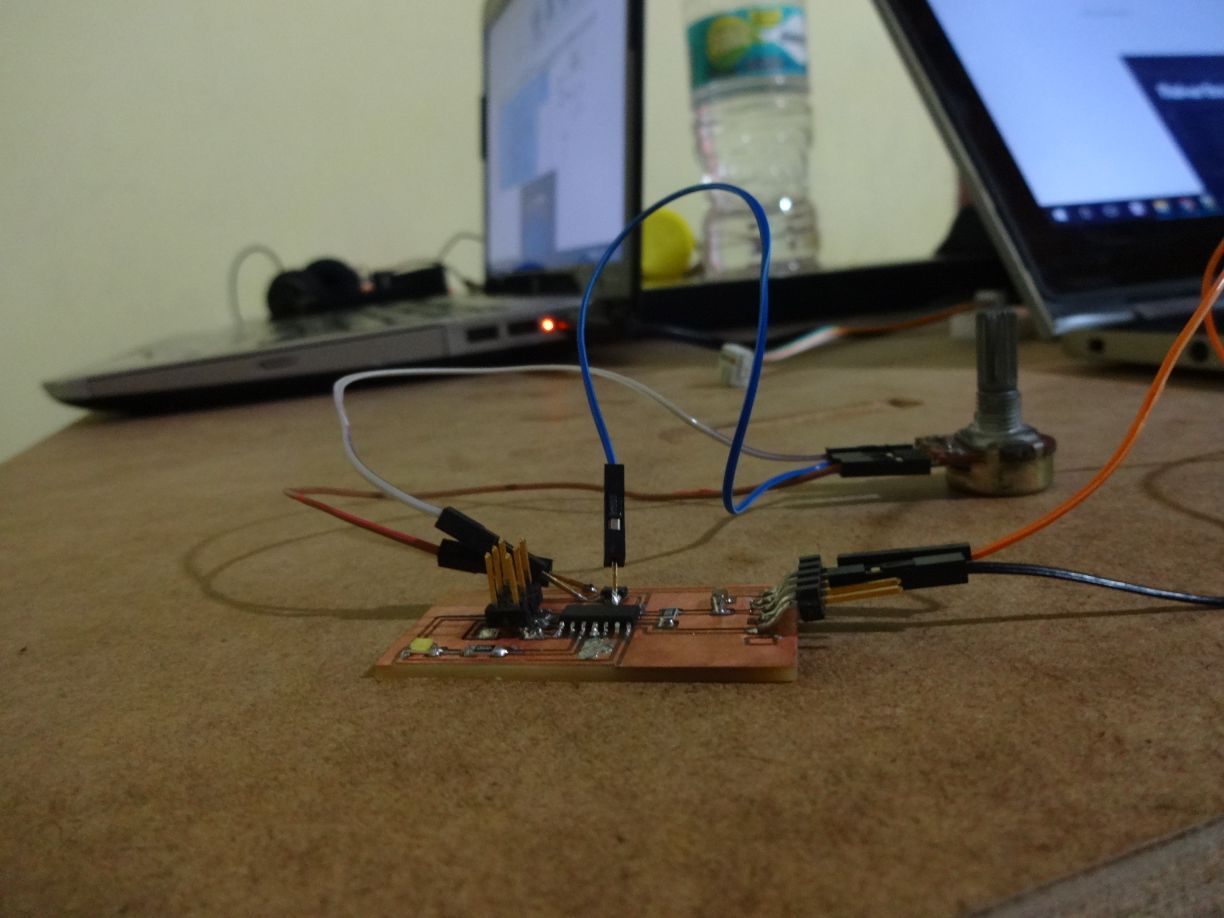
We decided to create a PCB to a hall sensor,I was learning more about it wit my classmates Juan Guerra and Guillo Guerra because it is the only sensor on the stock in the lab, we experiment with a variable resistance connected on the analog pin. I think it is a good idea because you can change the variable resistance with a sensor and experiment with this PCB and different sensors. you can find the Eagle PCB circuit on the final of this page.
2)Implement and interpret programming protocols
I think that the programing protocol applied in this case is serial communication, because we are using the USB to burn bootloaders. In addition, I can say the programing is using a analog communication to get the sensor data.
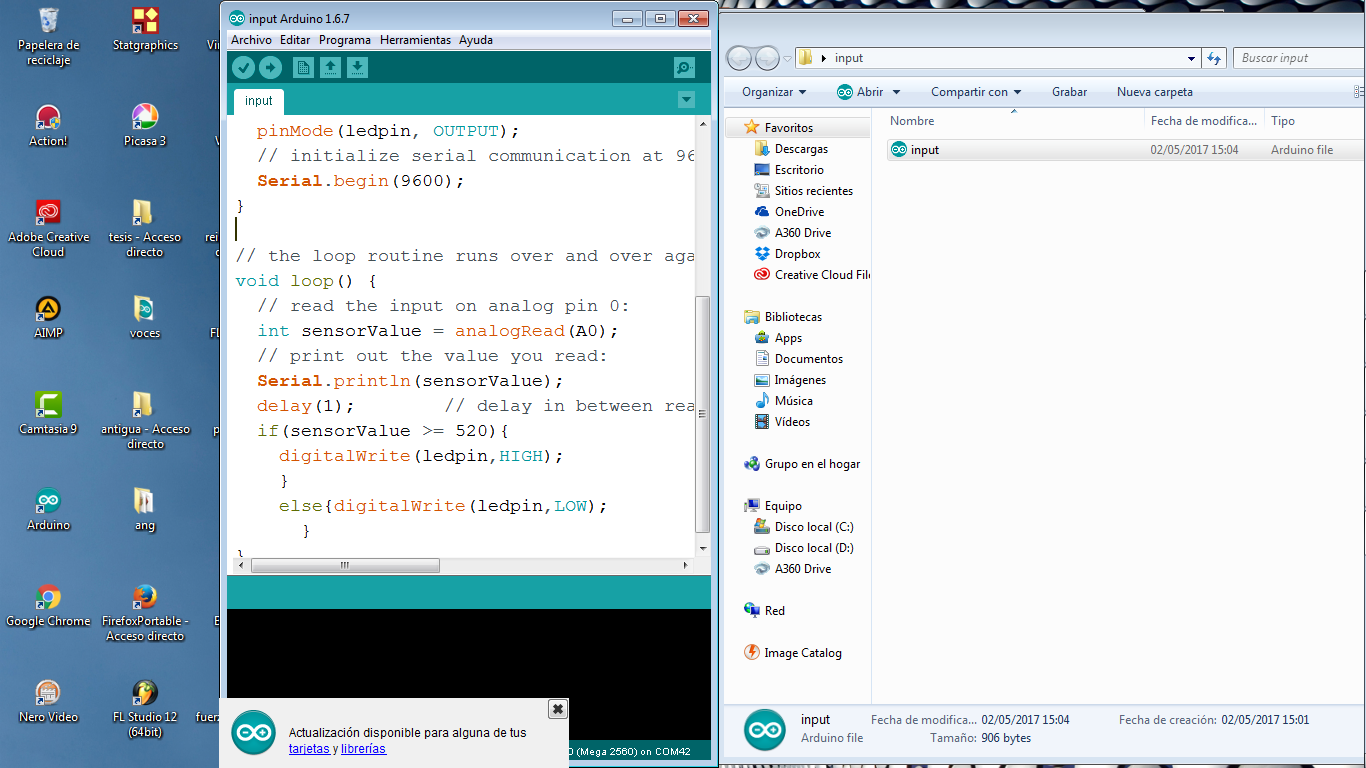
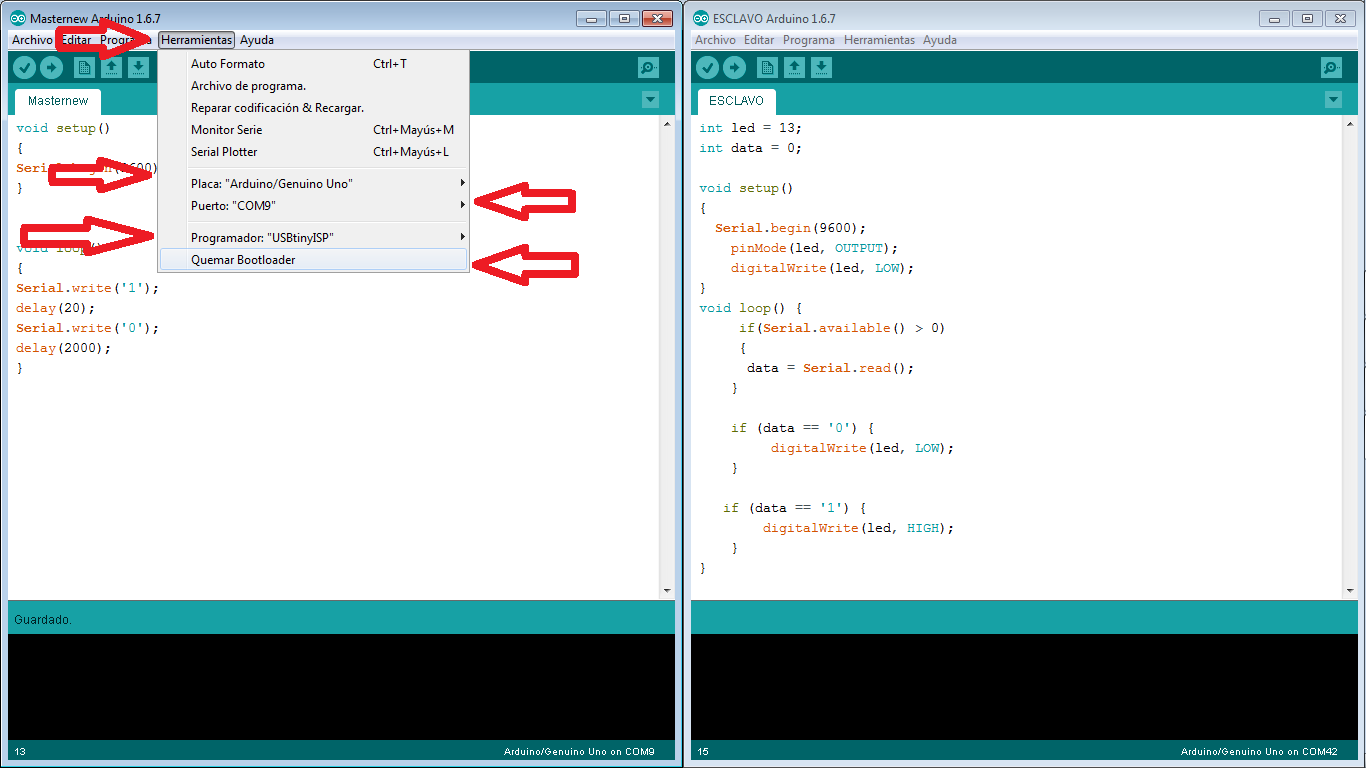
Then we made a code with Arduino.Ide. then we burn bootloader on the attiny and uploaded the program. the code is on the final of this page.
The first prove we made with an Arduino mega.
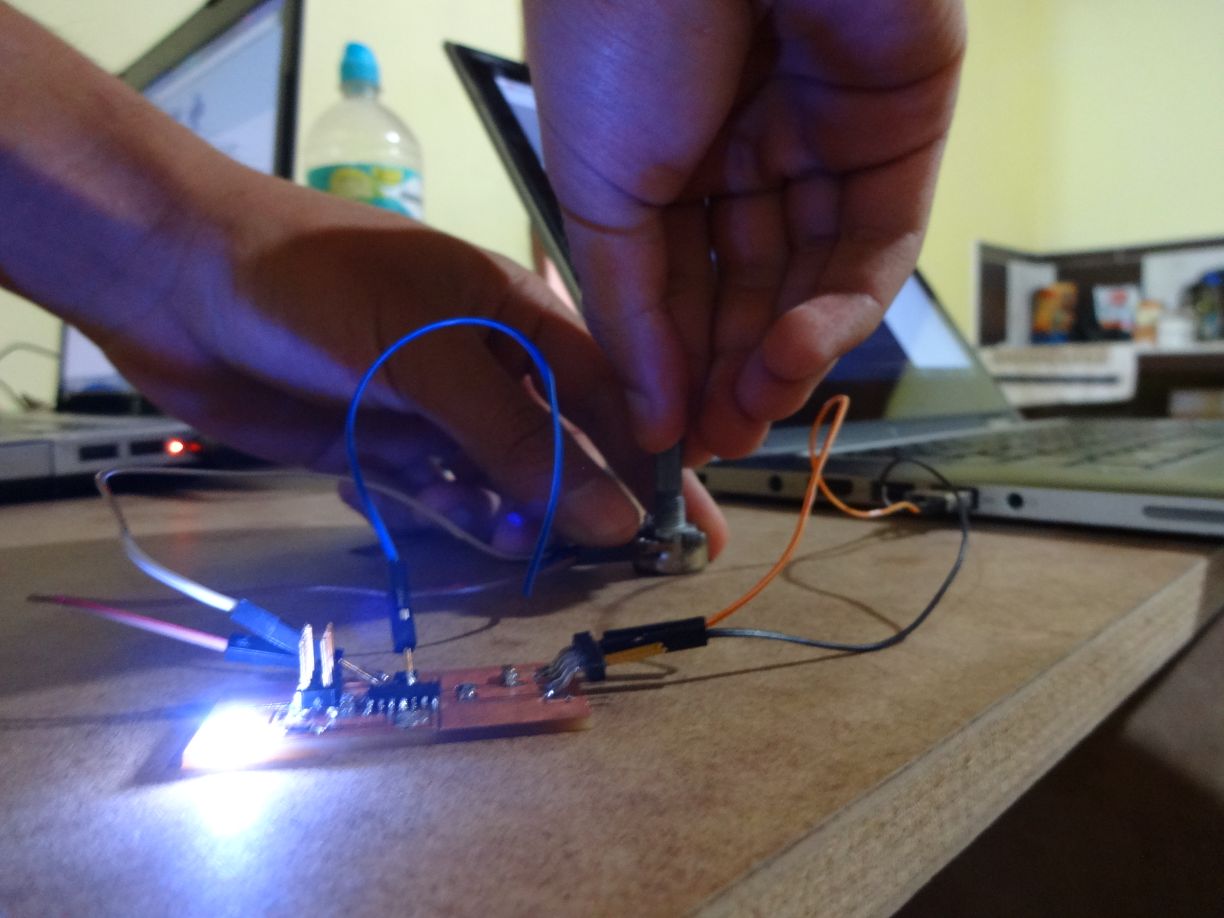
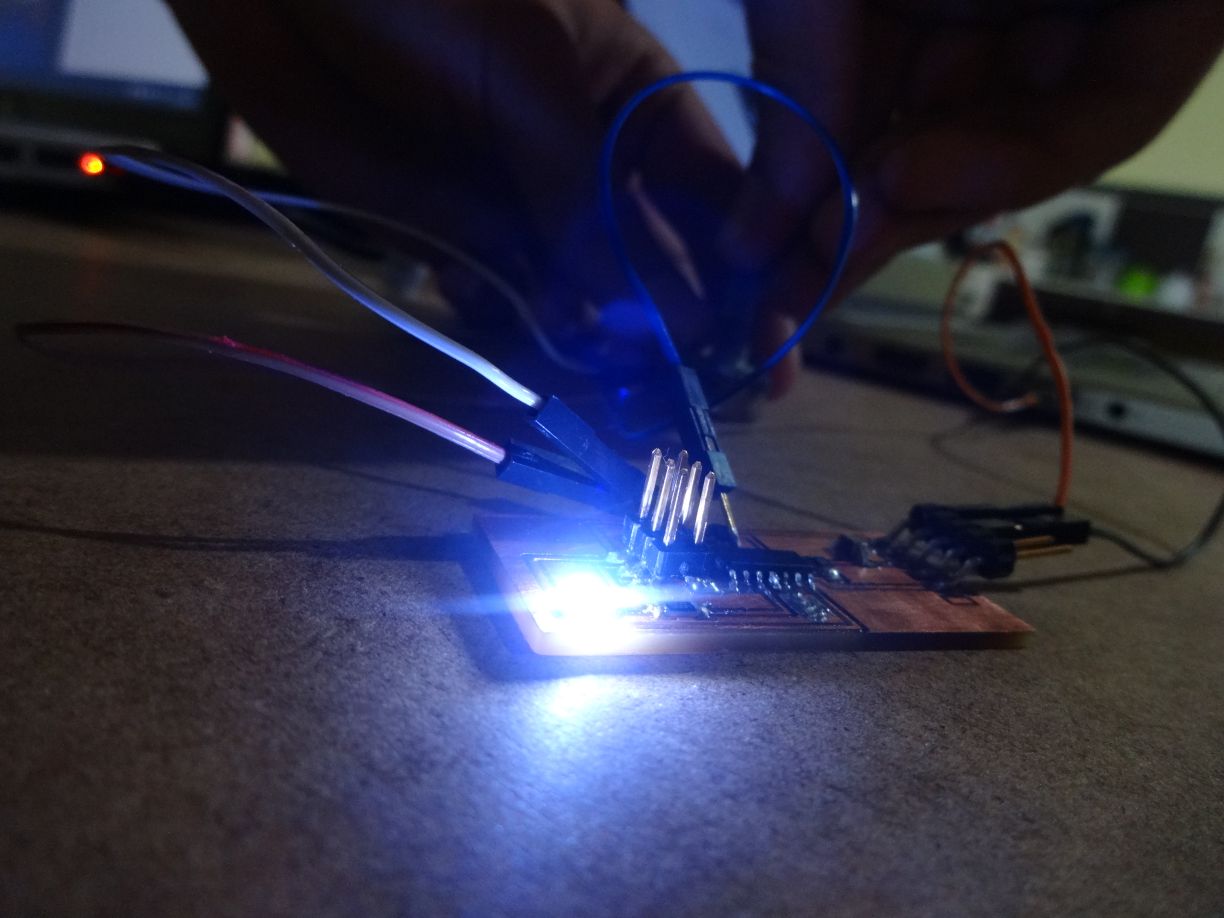
here we turn on a led on the pin 13 on our Arduino mega, if the analogic valor is more than 520 turn on a led light, see the led turn on in the Arduino mega
we print the valor on the serial port of Arduino ide, that is the valor of analogic measure sensor hall.
I was working with my partner of academy, Juan Guerra he made the hall sensor, you can see the video here. we change the variable resistor with a hall sensor.
Always than i read a datasheet of electronic components, I looking for this characteristics in the datasheet.this part it is really important to me because you can read the pin characteristics. also if you want to read this datasheet, it is in final of this page to dwnload.

Also this is the circuit with the variable resistor. is the same circuit. you just have to change the sensor with the variable resistor.
also i made a code to prove a different sensor, but i simulated this circuit on www.circuits.io, here is the video. this circuit can wok with the same code.
Download files
Eagle file
Code
Datasheet
Satshakit + Sharp sensor
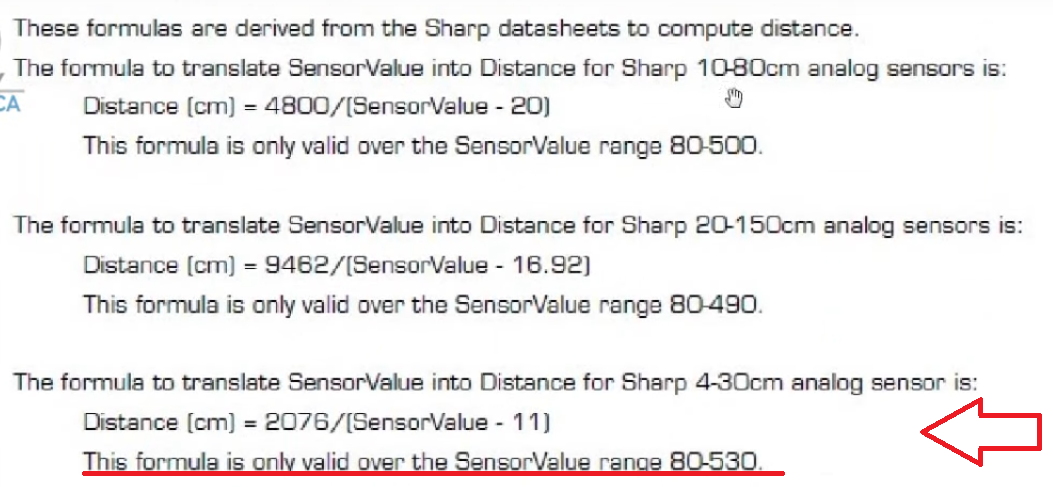
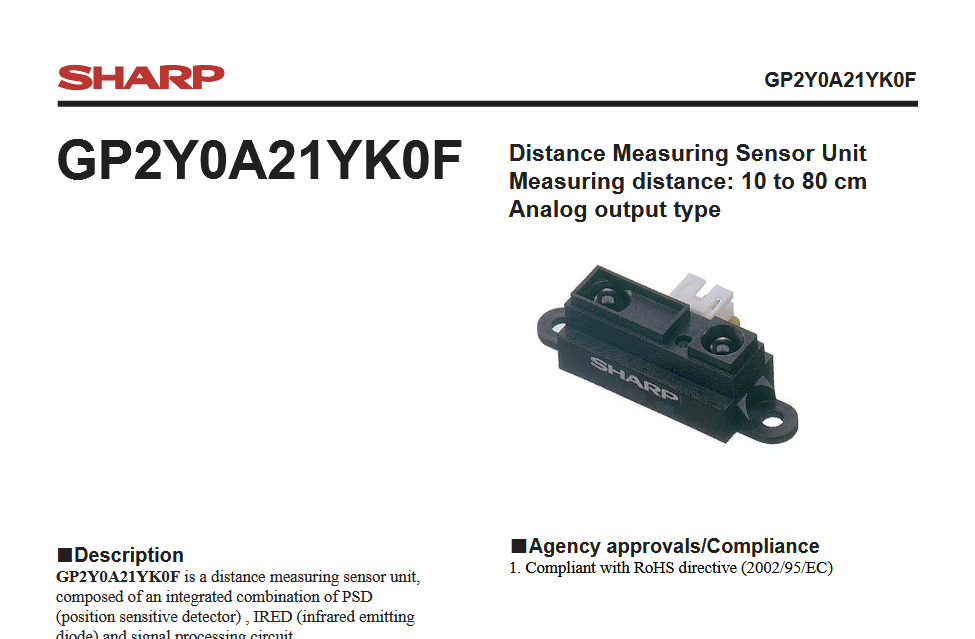
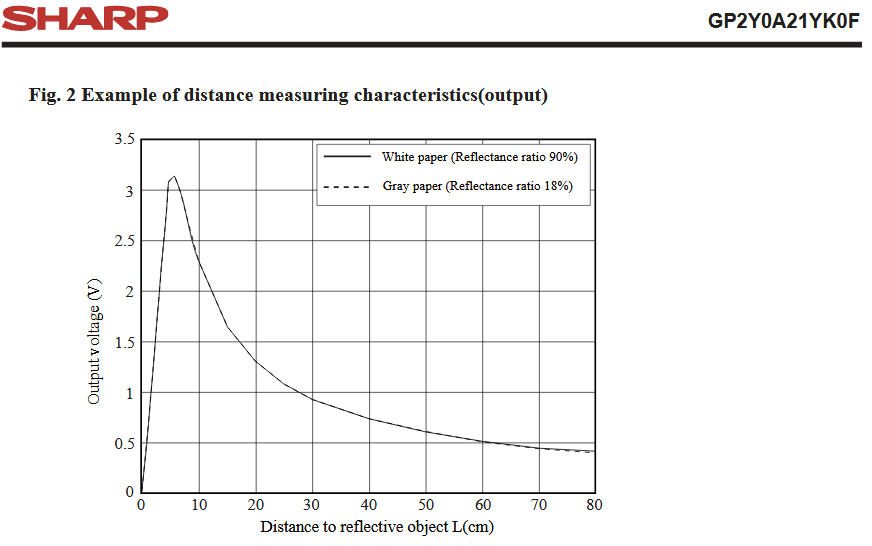
I decide to explore the sharp sensor and create a satshakit, it is a board created by Daniele Ingrassia,You can find all the information to make it in this LINK , also the first step is read the datasheet of sharp sensor, this sensor has an analog pin, positive voltage and negative voltage. This sensor is an infrared distance sensor. Here is the datasheet.
Satshakit:
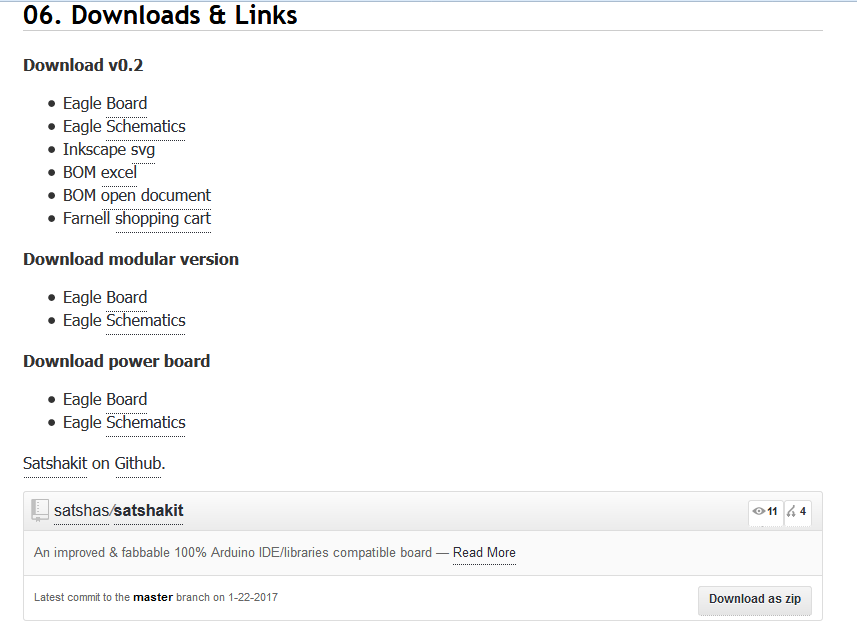
All the steps and all the files to download is on the official web page here.
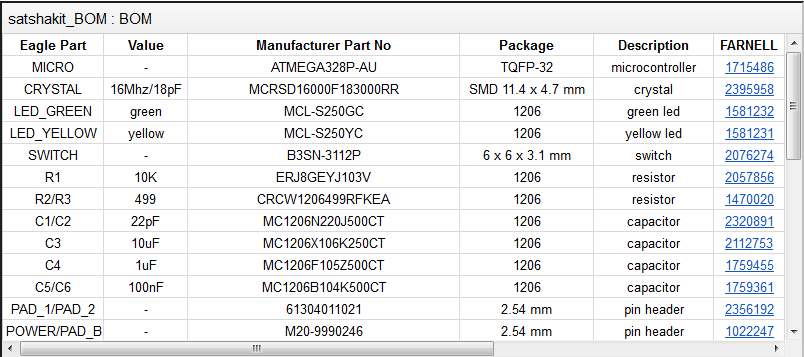
I checked the satshakit BOM, you can find it in the official page.
Also you can find the Eagle PCB board and schematic, if you want to learn more about electronic design here.
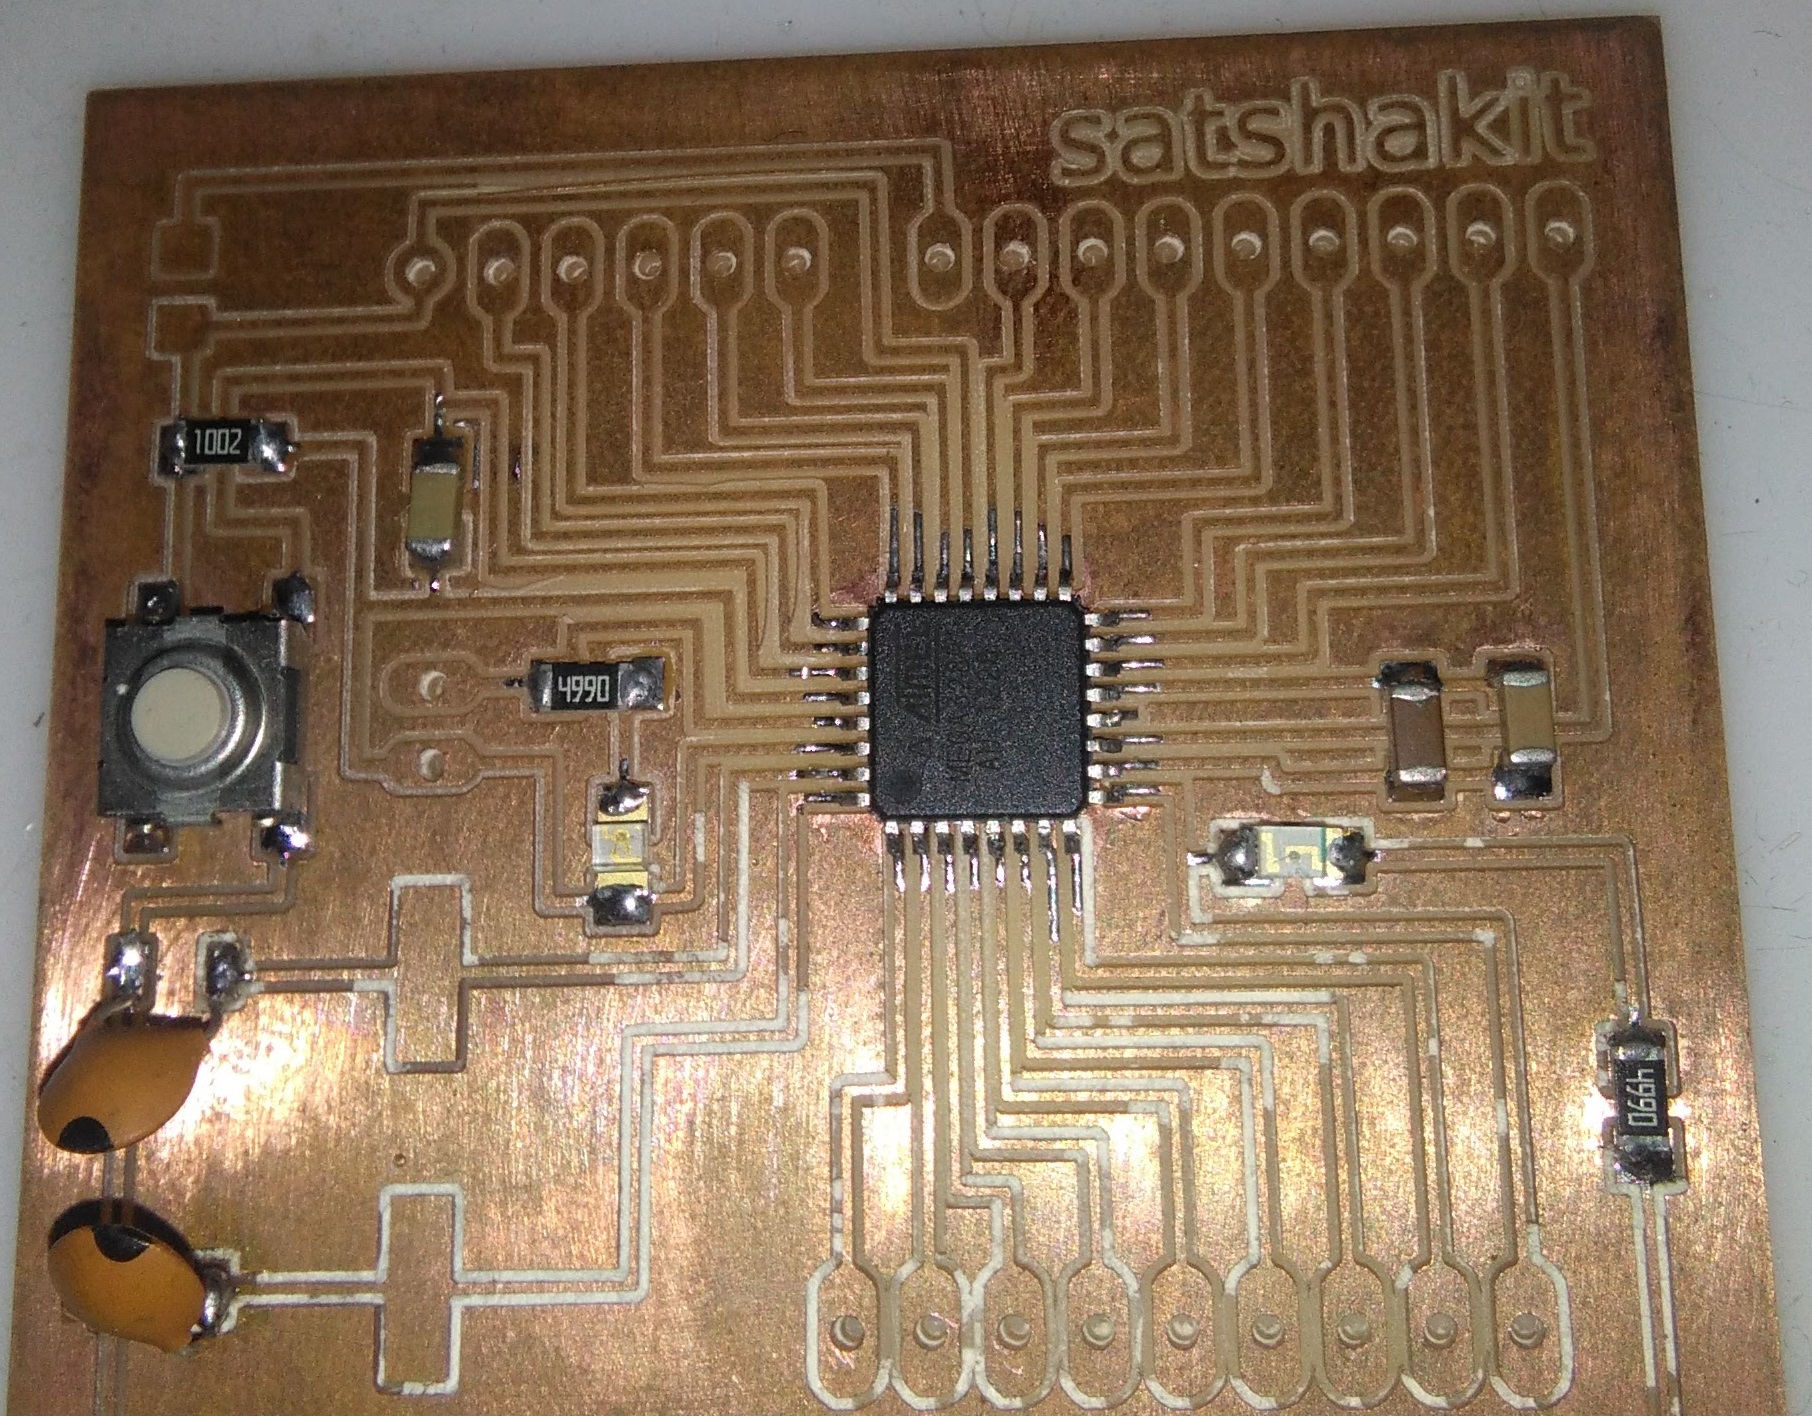
I downloaded the files and machine the board,If you want to know how to mechanize a board, please review the electronic production assignment here.
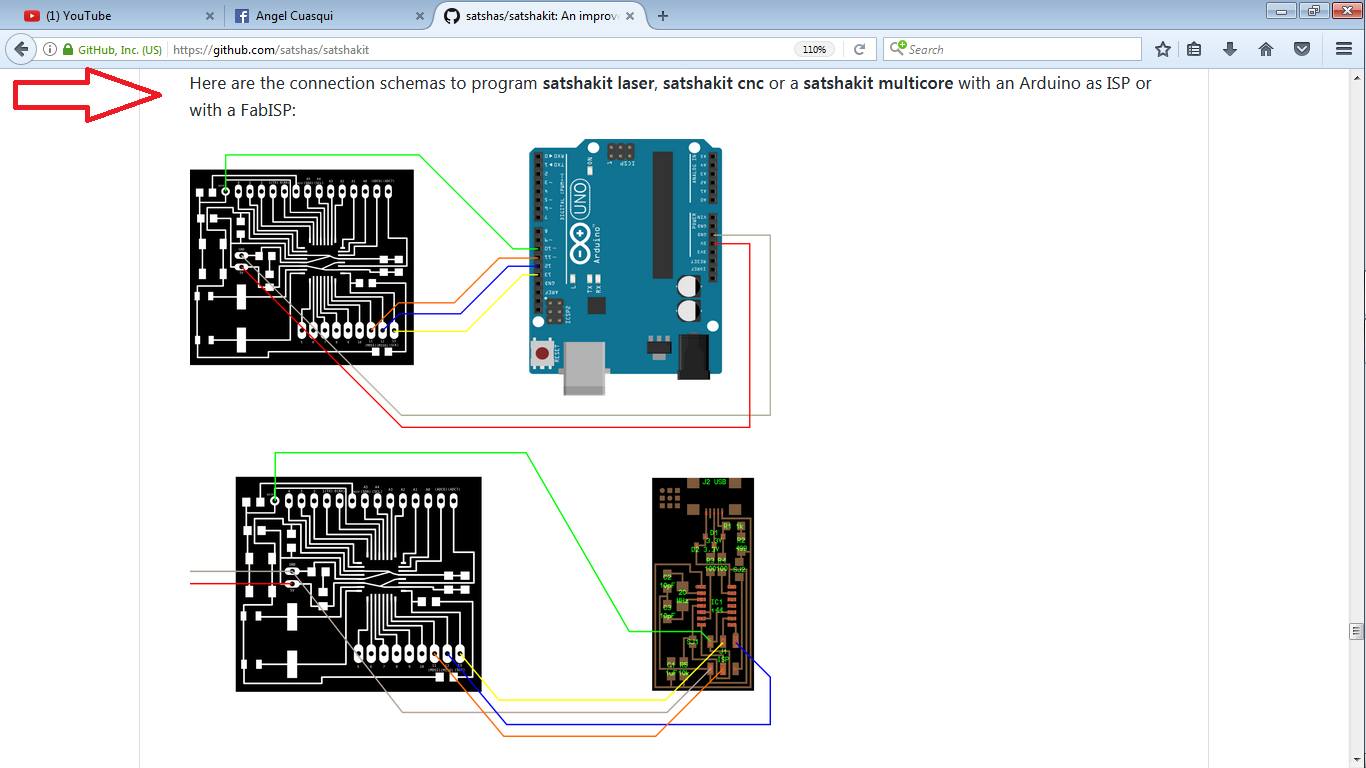
Also you can find way to connect your FabISP or Arduino to burn bootloader.
Burn bootladers

I don't have so much pictures of the process to make satshakit, you can review the my assignment to mechanize a board.
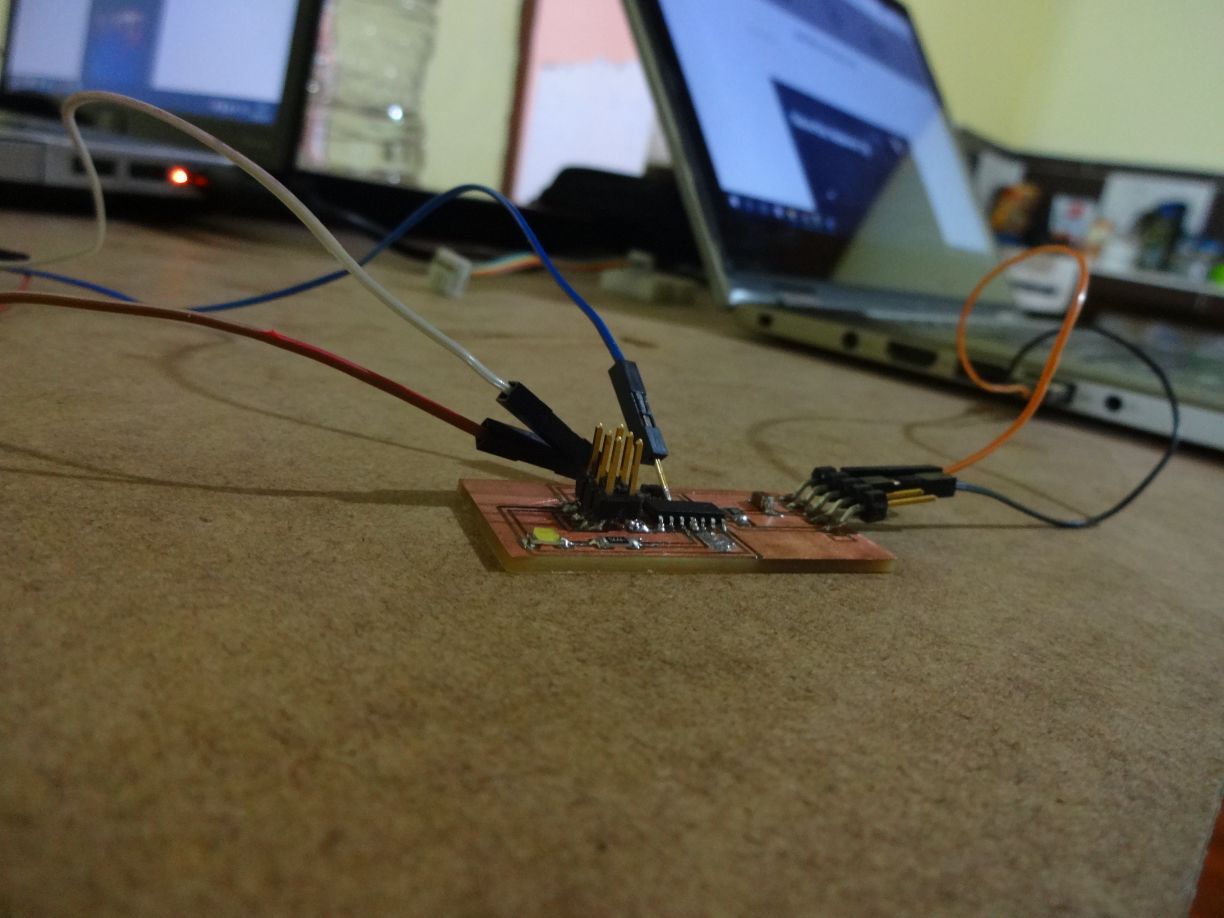
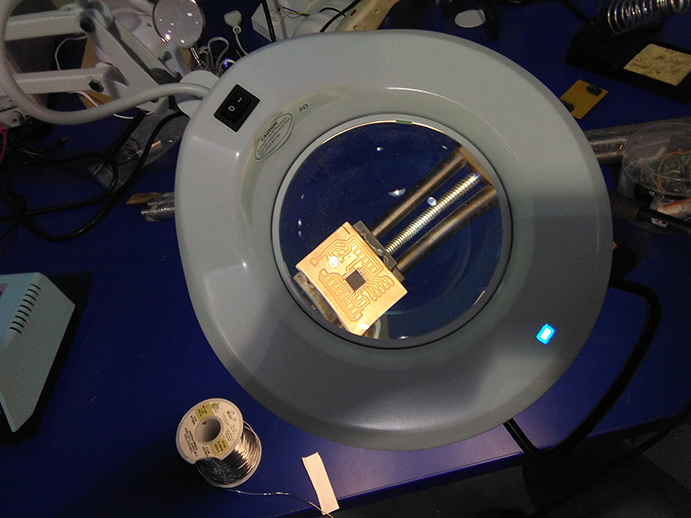
The most complicated step is soldering the atmega328, I used a magnifying glass to can soldering the small pins of atmega328,
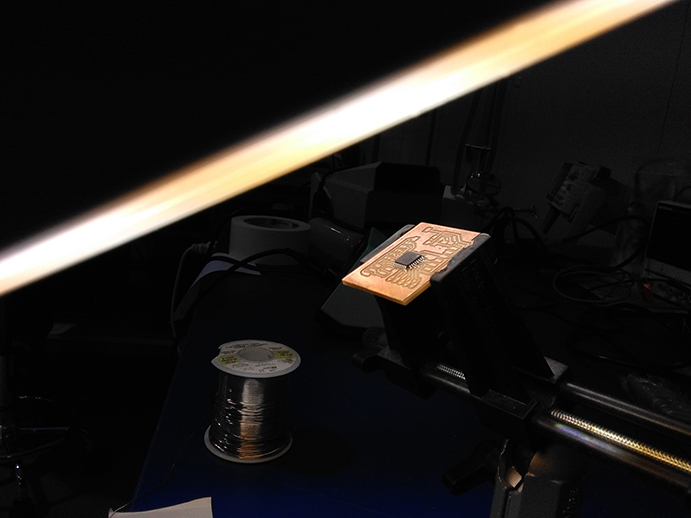
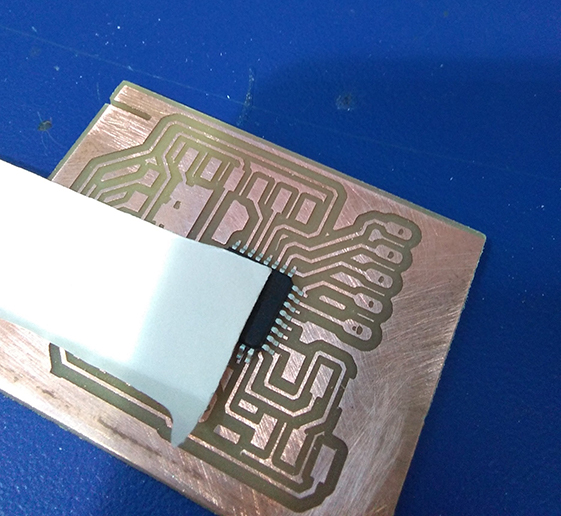
but to soldering I applied tin just in one pin, then I put the atmega above and hot the pin, when the pin was soldier you can solder the next pins.
I just soldier a pin to keep fastened the atmega328.
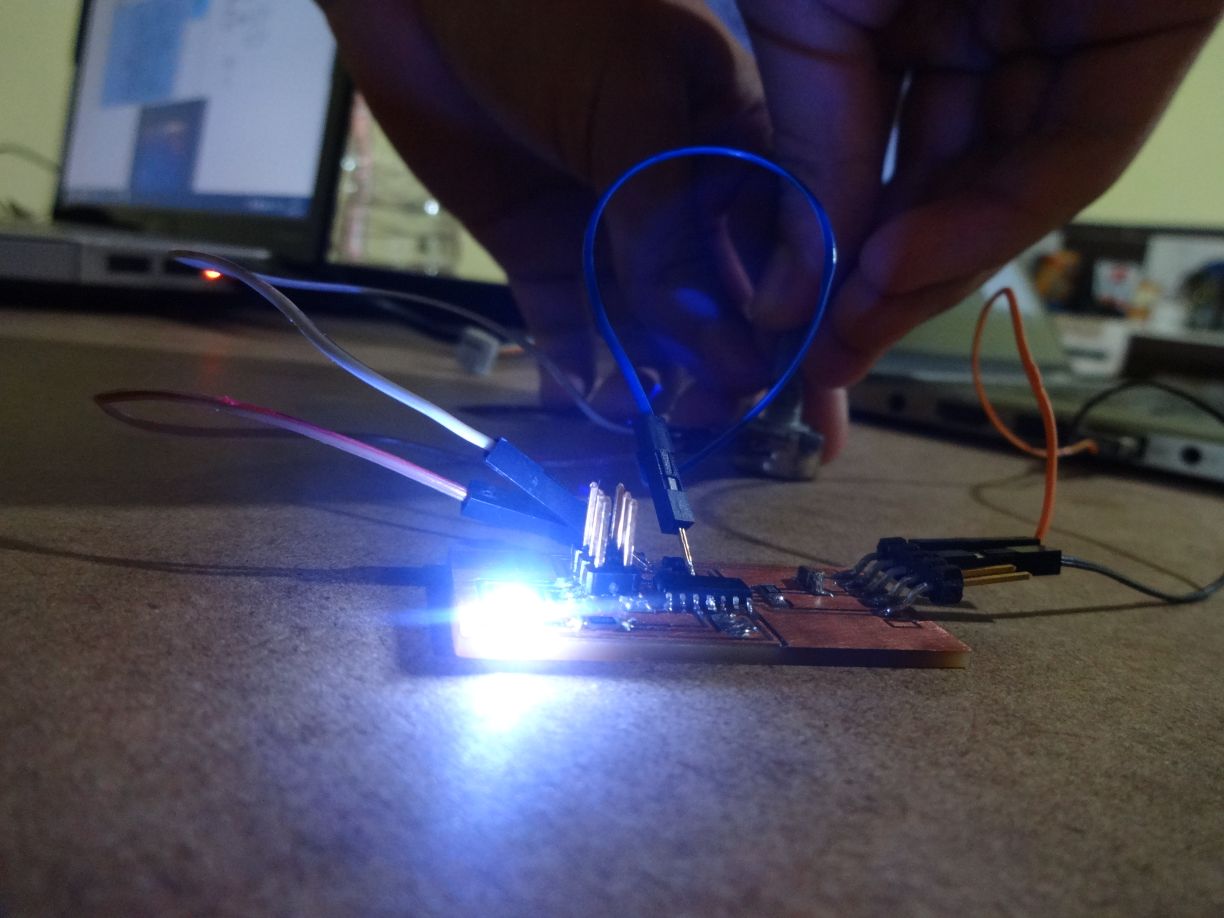
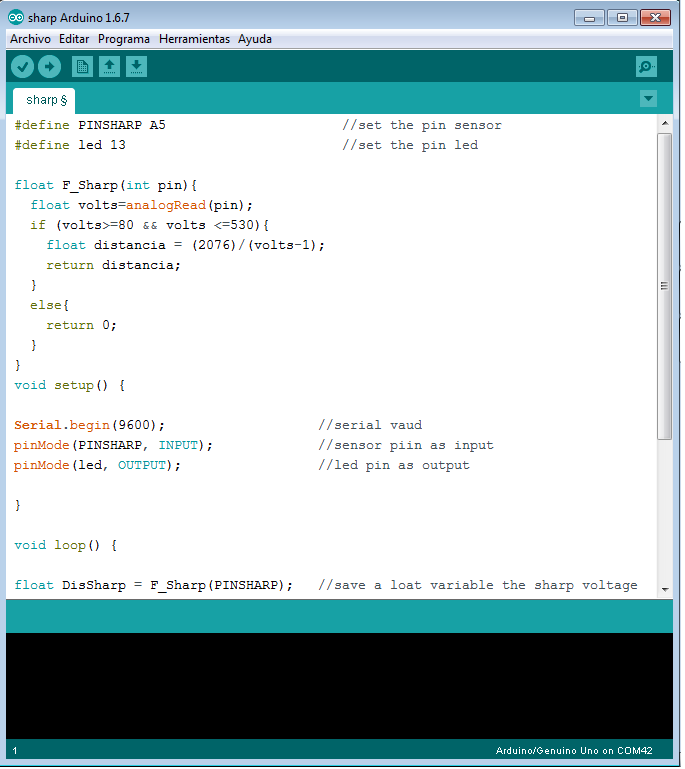
When Satshakit is ready we can work with this board, I was reading about Sharp sensor and I have to read the data with an analog pin, I used the pin A5 on my Satshakit.
When we use this sensor, we have to looking for this characteristics, this is the voltage based with the distance, but we can see that the voltage is not stable, this sensor has a problem with distance less than four. take care with this characteristic.
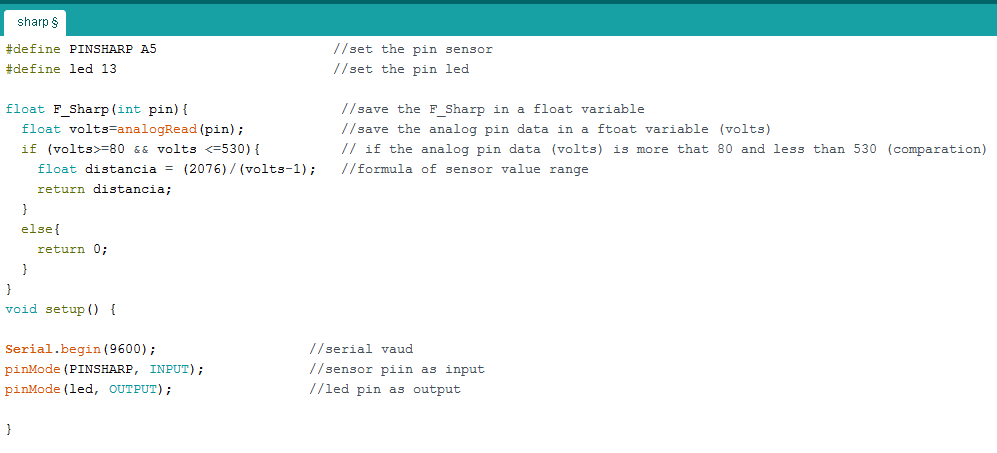
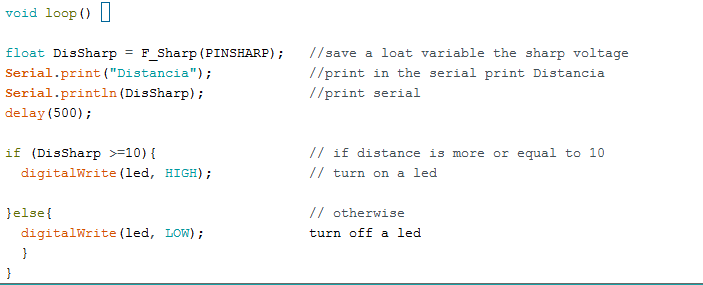
I decide to create the code thinking in the signal sensor. I need an analog pin and a digital pin to turn on a led with a determinate distance. I set a distance to turn off and on a led.
You can download the code in the final of this page.
Video
Talk about how you sourced this public domain code and what you did to change how it works or extend it is functionality
In my case I usually prefer to create a code based on the sensor work.For example, if the sensor send a analog signal, I always try to create a code without a library.
If I am losing time I looking for a library or public domain code, in this case I used an analog pin without a library, I am not using a library because the sensor send a analog signal, I proces the sensor information with an analog pin of the atmega 328, create this code is not dificult.
I find a table to compute the distance of Sharp sensor